Computer-controlled Cutting
WEEK 03
(11/02/2021 11:30 a.m.) This week we begin a new adventure and finally we are going to get down to work on digital fabrication with two of the most famous machines in a fab lab: the laser cutter machine and the vinyl cutter.
To this assignment we have triple exercise, and we need spend much time to make things in the fab lab from Thurday to Monday.
Fortunately, Alberto, my new friend and companion crewmate, offered me the chance to use his workspace and his machines at fab lab UE on Saturday 💚. Both of us, were able to advance our assignments and we were able to meet in person after several weeks of seeing each other online!😍
At first it was strange. But it was nice to be able to meet him in live. I hope to have the same opportunity soon with my instructors Adrián, Nuria and Pablo 💚💚💚 and with the rest of my incredible adventure companions Mauro, Mickael and Sergio 💚💚💚.
Since it's going to be a tough week of experimental and hard work of fabrication, this week's song is going to be Animals by Architects. Lets go to this week!! 💪
Organizing tasks
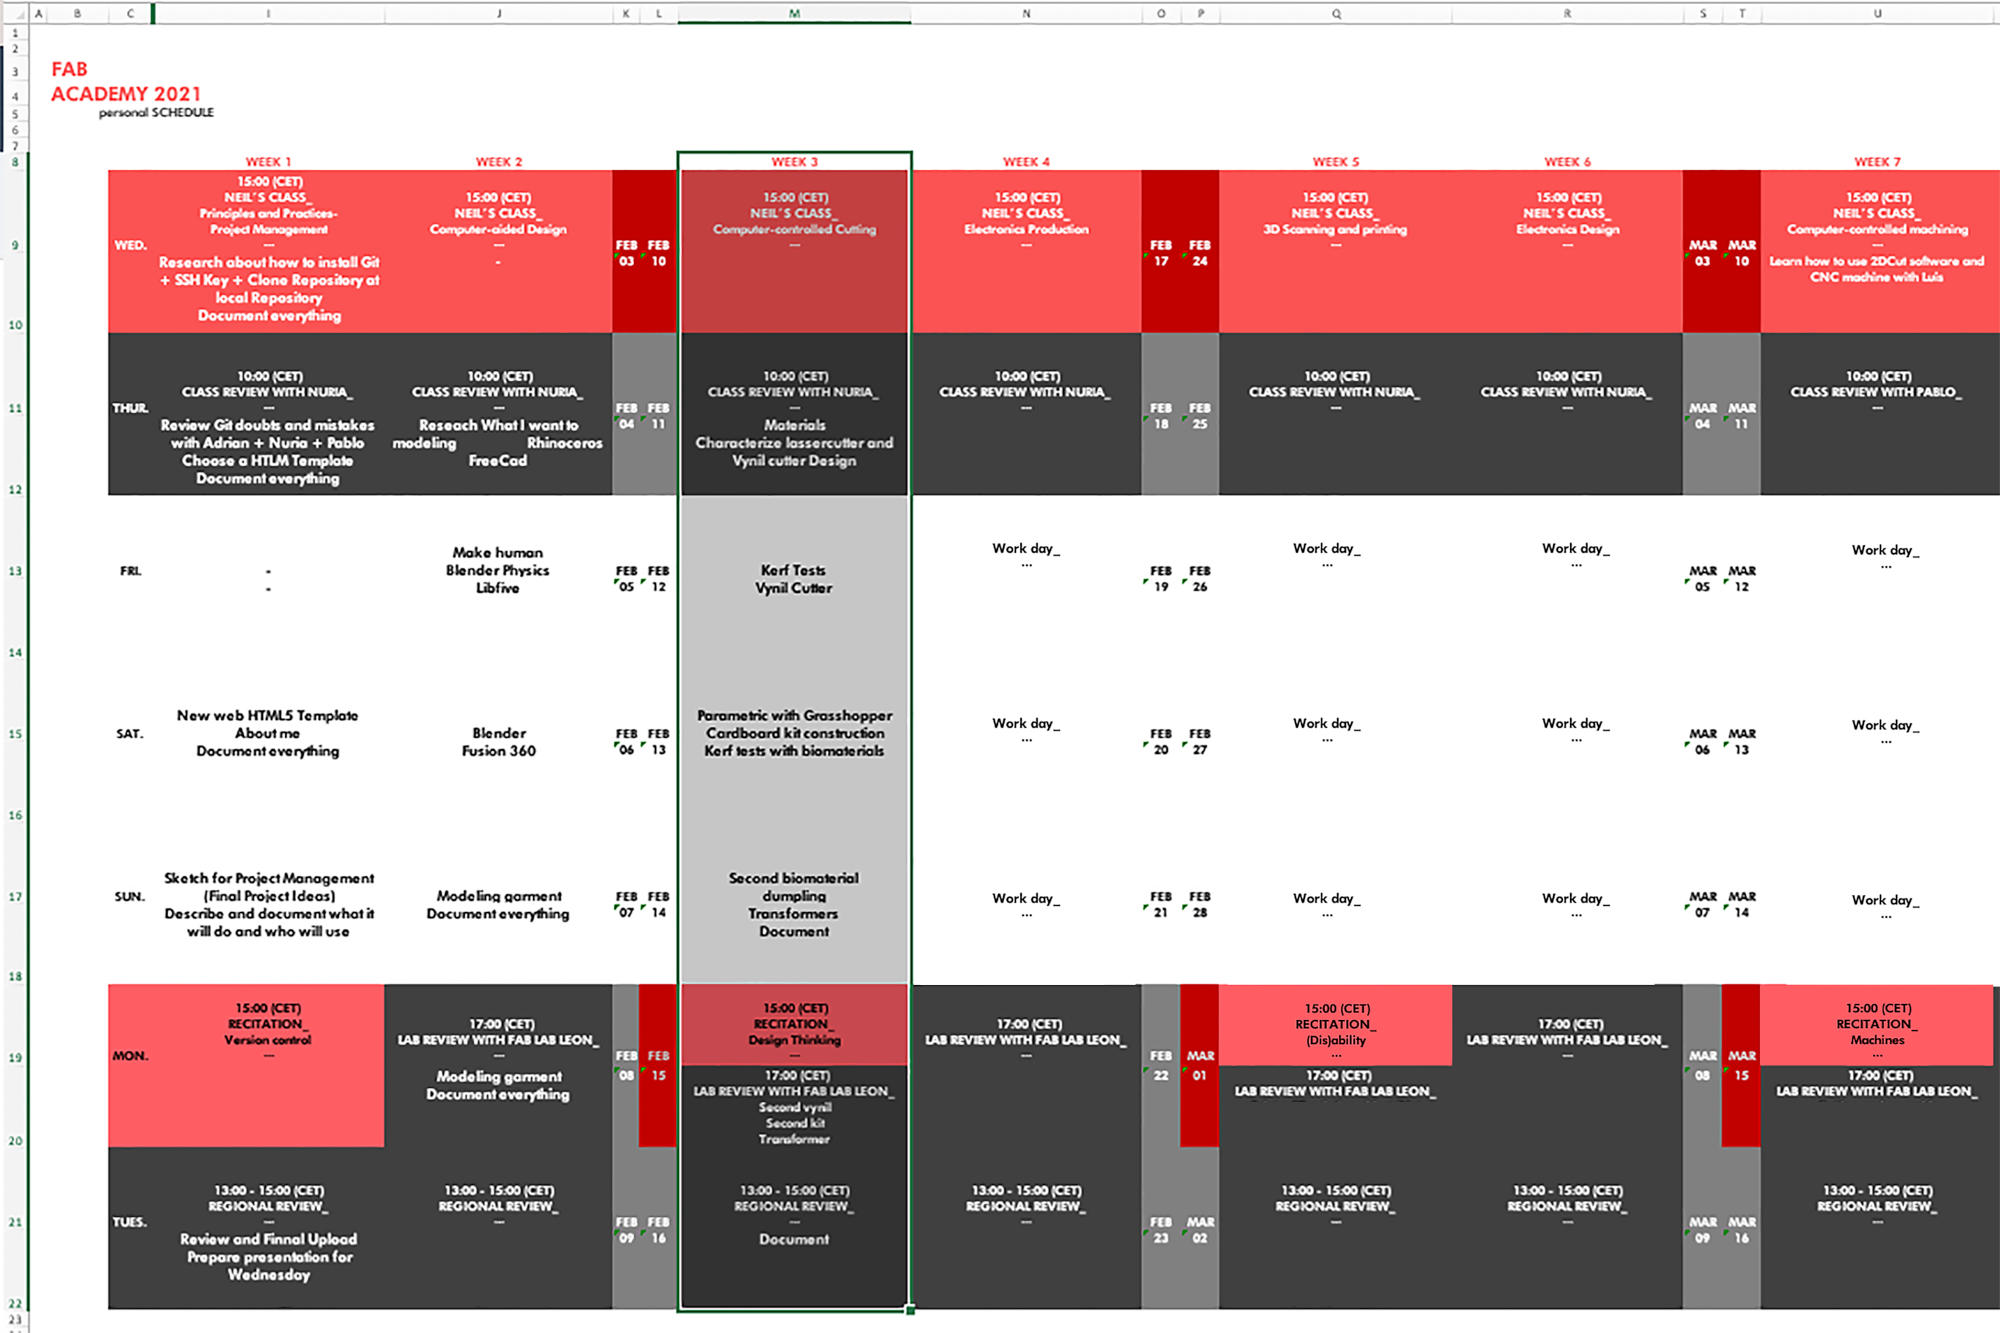
On this new episode, we have to do two exercises and a extra credit, so as usual, I organize my schedule and here the following Evaluation Criteria that we have to approach to complete the Assignment:
- ✓ Characterize our lasercutter's focus, power, speed, rate, kerf, and joint clearance
- ✓ Talk about safety and materials
- ✓ Document our work with the machines
- ✓ Upload our original design files
- ✓ Design and document a parametric press-fit construction kit, which can be assembled in multiple ways
- ✓ Document and upload our original design files
- ✓ Design and cut something on the plotter
- ✓ Document and upload our original design files
- ✓ Design experimental processes using the lasser cutter and/or vinyl machines
- ✓ Document and upload our original design files
- Model 1: Trotec Speedy 400
- Software: Rhinoceros + Drivers Trotec Job Control
- Work Area 1016x610 mm
- Maximun Material Thickness: 125-305 mm
- Model 2: Trotec Speedy 100R
- Software: Rhinoceros + Drivers Trotec Job Control
- Work Area 610x305 mm
- Maximun Material Thickness: 132 mm
- Material to work:
- Corrugated Cardboard
- - Vector: Power:90%, Speed:15%, Frequency: 3000 Hz PPI
- - Raster: Power:70%, Speed:50%, Frequency: 600 Hz PPI
- DM 3mm
- - Vector: Power:85%, Speed:1%, Frequency: 1000 Hz PPI
- - Raster: Power:90%, Speed:70%, Frequency: 1000 Hz PPI
- - Superficial Vector: Power:35%, Speed:10%, Frequency: 1000 Hz PPI
- Jeans Fabric
- - Vector: Power:85%, Speed:5%, Frequency: 2500 Hz PPI
- - Raster: Power:40%, Speed:100%, Frequency: 1000 Hz PPI
- - Superficial Vector: Power:40%, Speed:10%, Frequency: 1000 Hz PPI
- Activate Charcoal Biomaterial
- - Vector: Power:85%, Speed:20%, Frequency: 1000 Hz PPI
- - Raster: Power:20%, Speed:80%, Frequency: 1000 Hz PPI
- - Superficial Vector: Power:20%, Speed:80%, Frequency: 1000 Hz PPI
- PARAMETRIC DESIGN WITH GRASSHOPPER
- Model: Roland CAMM-1 GS 24
- Software: Rhinoceros or Illustrator + Drivers of Roland
- Maximum Cutting Area: 584 mm x 25 m
- Cutting Speed: 500 mm/s
- Material to work:
- Orange vinyl sheet
- Laser Cuttinberg. SVG
- "Emojis" Kerf Test. SVG
PARAMETRIC PRESS-FIT CONSTRUCTION KIT
- Parametric Pieces.STP
- Grasshopper Pieces.gh
VINYL CUTTING
- Fab Academy Logo. SVG
- Iris Van Herpen Waves Detail.SVG
EXTRA CARD
- Origami Cuts.SVG
- _Lasser Cutting Machine
Individual assignment
- _Lasser Cutting Machine
- _Vinyl Cutter
Extra credit
Group Assignment
LASER CUTTING MACHINE
At Fab Lab IED Madrid we have two lasser cutter machines from Trotec company:
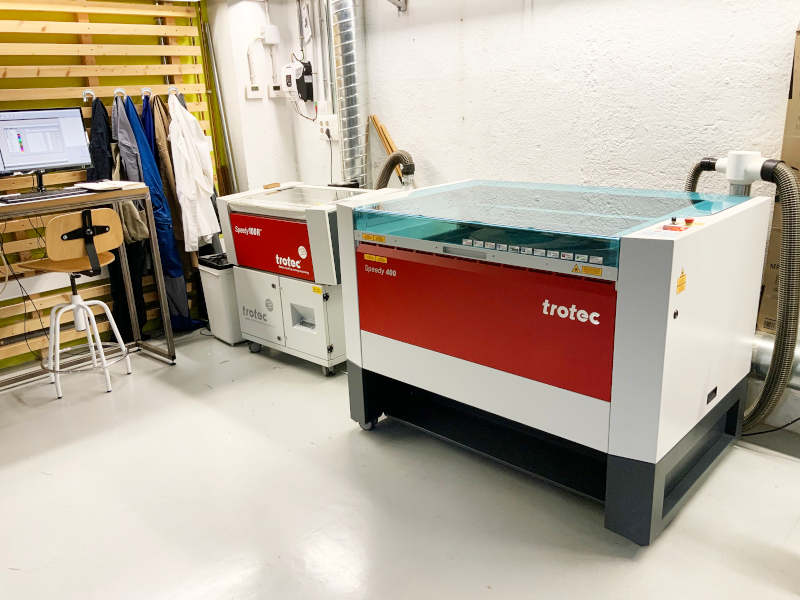
The space of our machines is delimited by a perimeter rectangle, next to the technicians table, where only authorized personnel can enter.
On the front are the machines and on the side the computers of both machines. On computers, for amateur students, we have a table with the lasser cutting security measures and instructions on how to separate each layer and execute it to cut. This instructions are described in Spanish (and on small font in English).
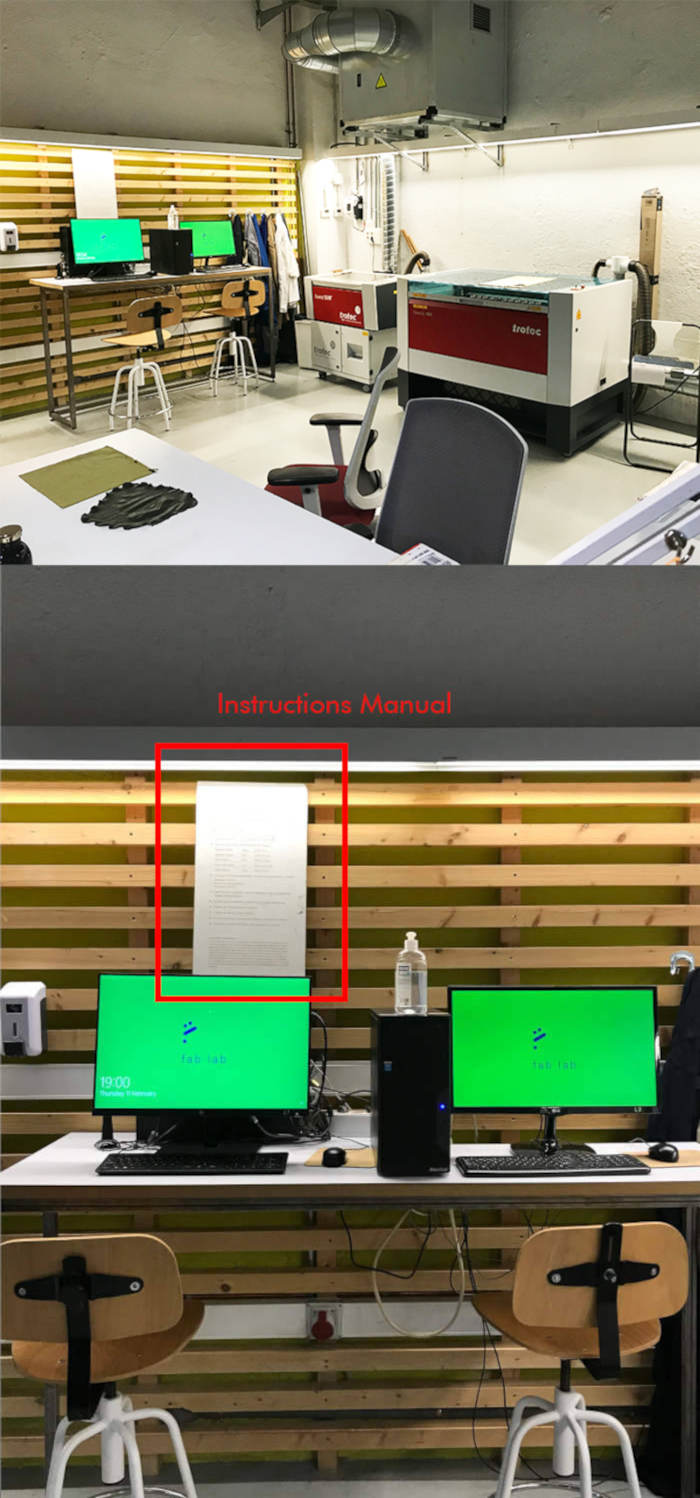
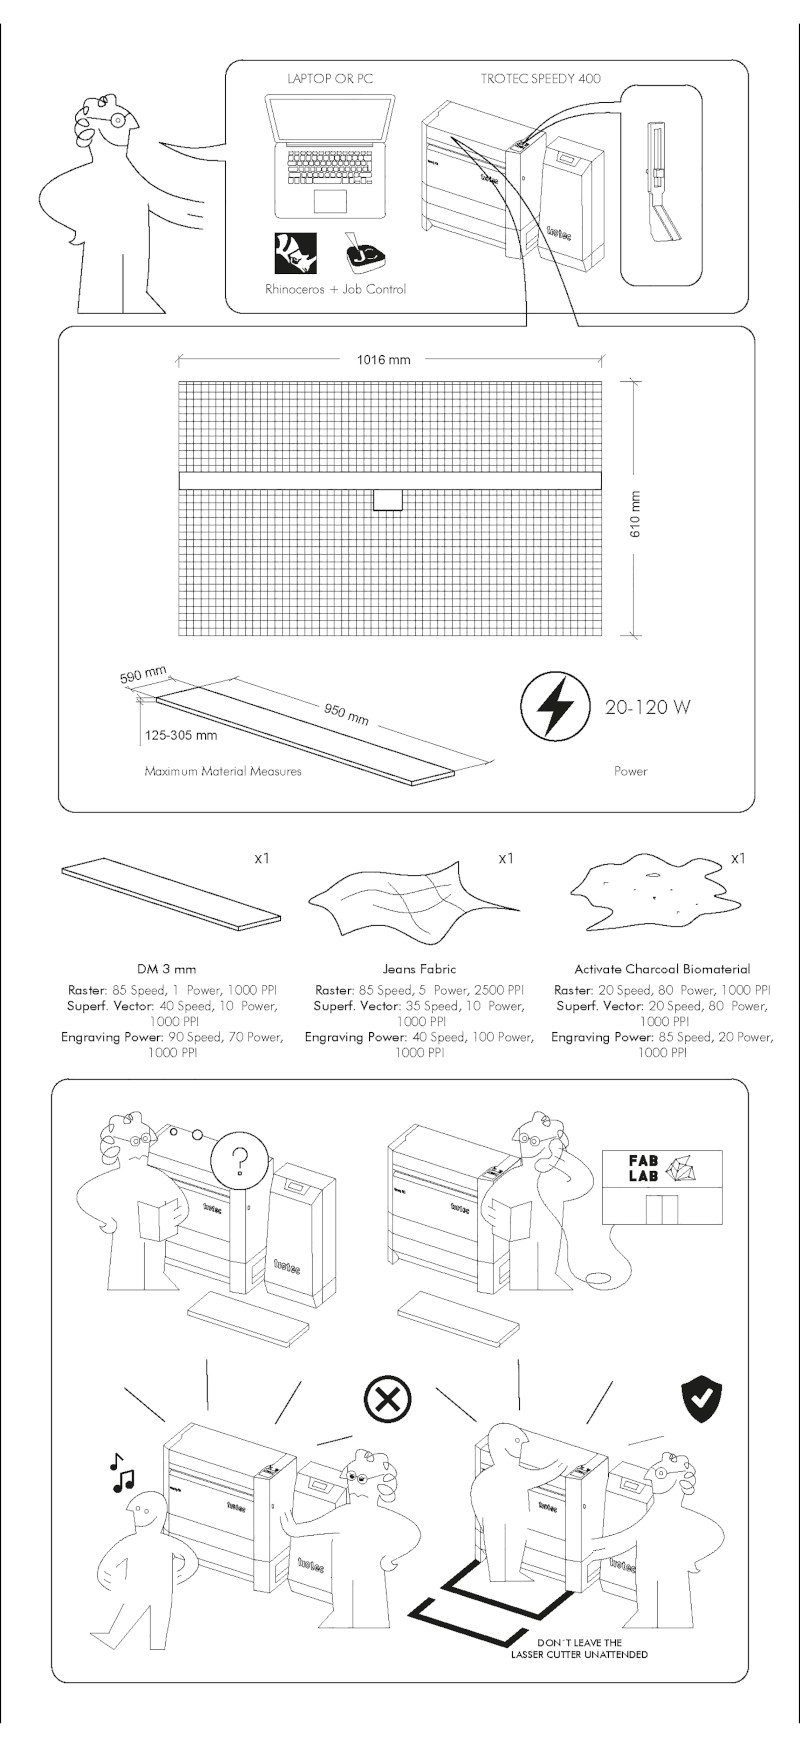
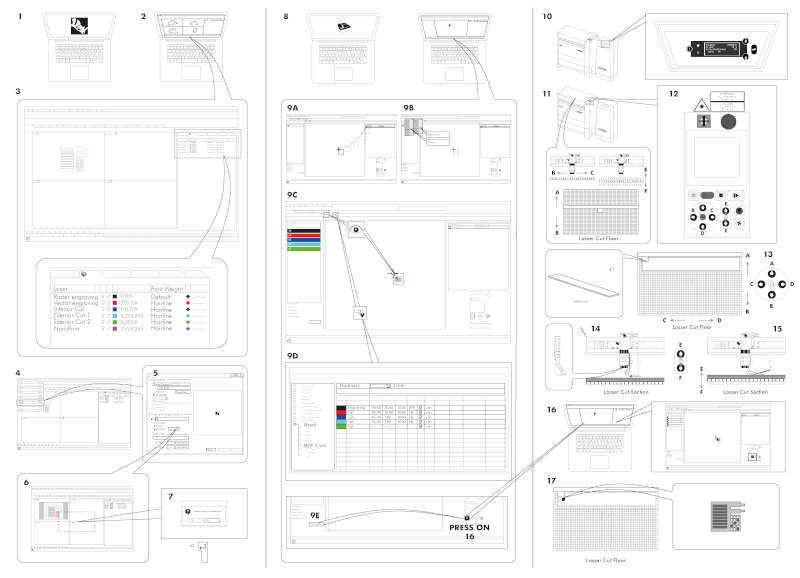
To make these safety measures and instructions more enjoyable and fun, I came up with like a illustrated catalog! (as an Ikea assembly manual), that allows students and new instructors to guide, graphically, themselves in the steps they have to follow to use our cutting machines. I've called it "The Laser Cuttinberg". Click here to watch the Laser Cuttinberg.SVG
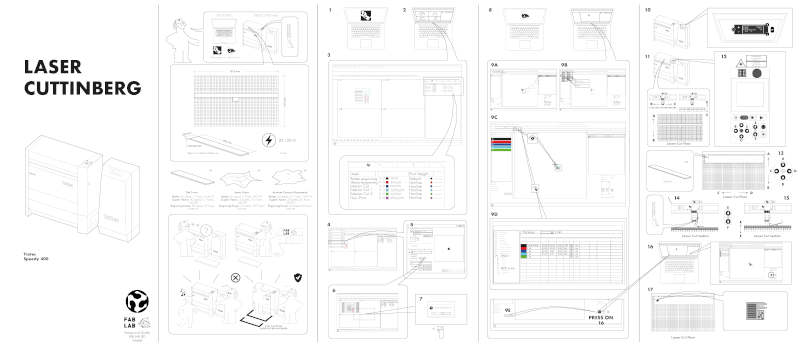
Here in detail, Neil illustrates: the type of programs and machines you need, the measurements of the laser workspace, the maximum measurements of the materials, the power of the machine, the base materials that we are going to use in this assignment, and the safety manual.
And finally I illustrate, by columns, the steps to be carried out in Rhinoceros to subdivide the color layers the steps to configure in Job Control and how to place and prepare the work material before starting the laser cutter.
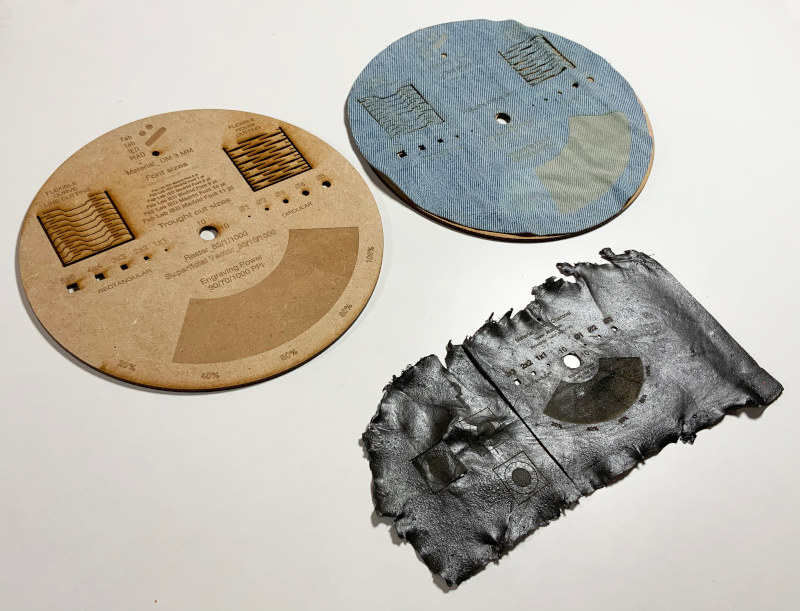
For this group assigment, I wanted to carry out the press-fit test and kerf tests with materials that represent the disciplines I work at: Architecture (corrugated cardboard and wood), Fashion design (jeans fabric) and Biomaterials researcher (activated charcoal bioplastic).
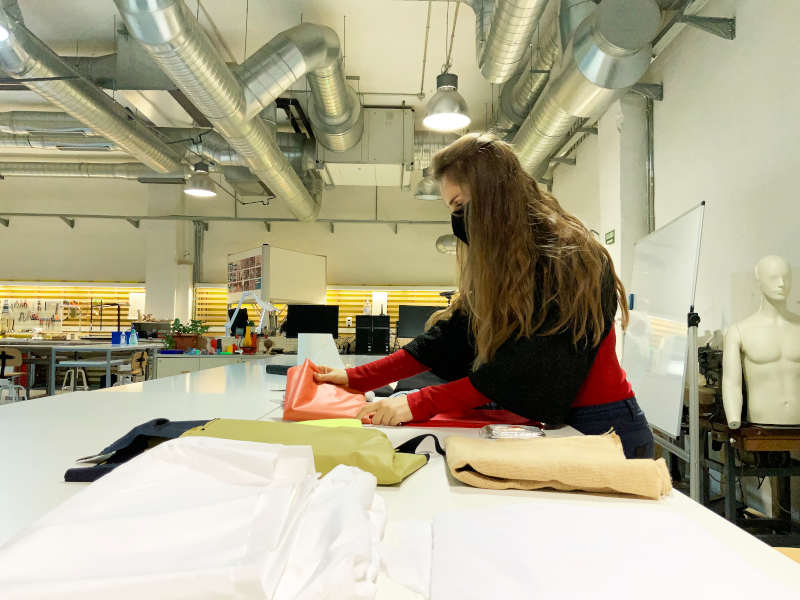
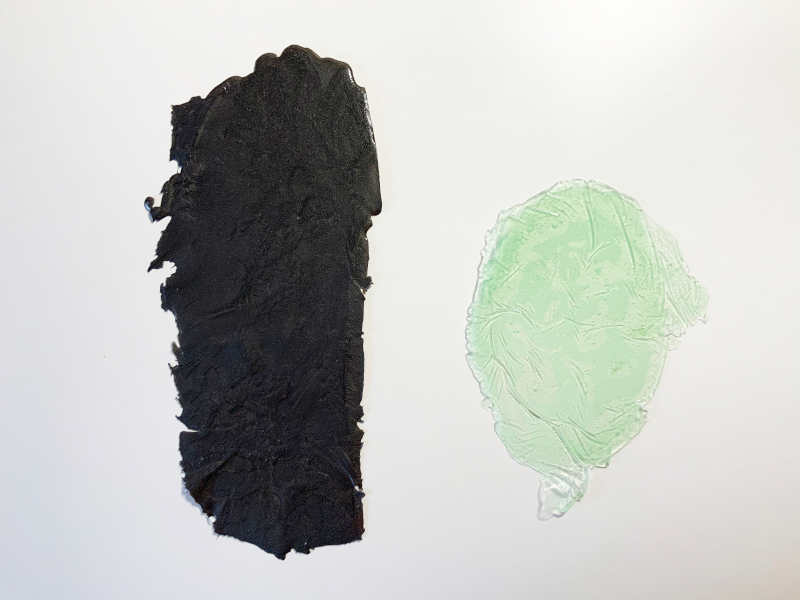
So, on the one hand, I have selected one of the several fabric scraps that we had at the fab lab. (11/02/2021 11:03 a.m. After local review with Adrián + Nuria + Pablo) I have started to cook some small samples of activated charcoal and agar-agar foam biomaterials to let them dry on the next two days and do the kerf tests with them. (15/02/2021 23:37 p.m.) After almost a week, the agar-agar foam biomaterial is still wet. So, I can't use it to cut on the laser machine 😔. There are some biomaterials, depending on the season and temperature, take longer to dry.
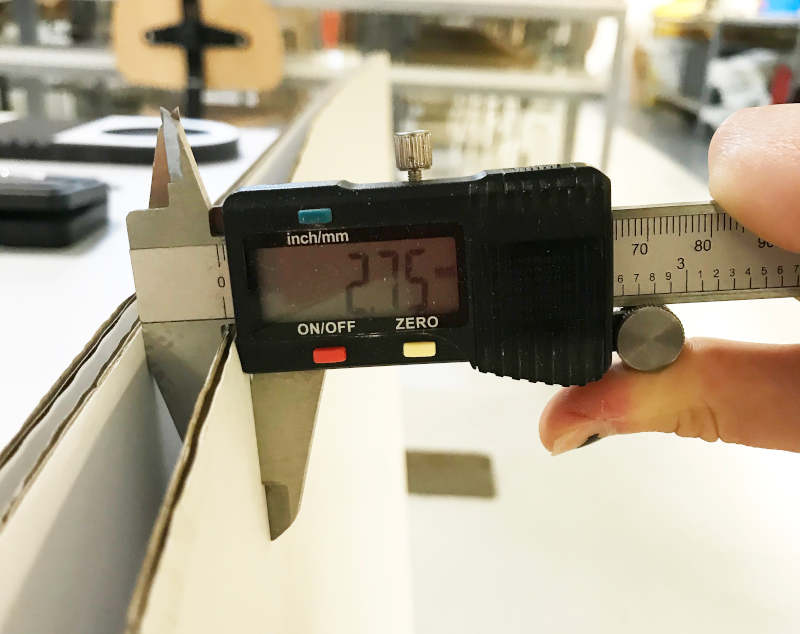
To begin with, I started by doing the press fit test with the corrugated cardboard. To do this, I measured the thickness of the cardboard with the calliper. In this case, the measure was 2.75 mm thick (a bit strange, but possible).
And I looked for the preestableshed parameters that fab lab IED has for various materials. On this case I used the parameters to cut 3mm cardboard: Raster: Power:70%, Speed:50%, Frequency: 600 Hz PPI; Vector: Power:90%, Speed:15%, Frequency: 3000 Hz PPI.
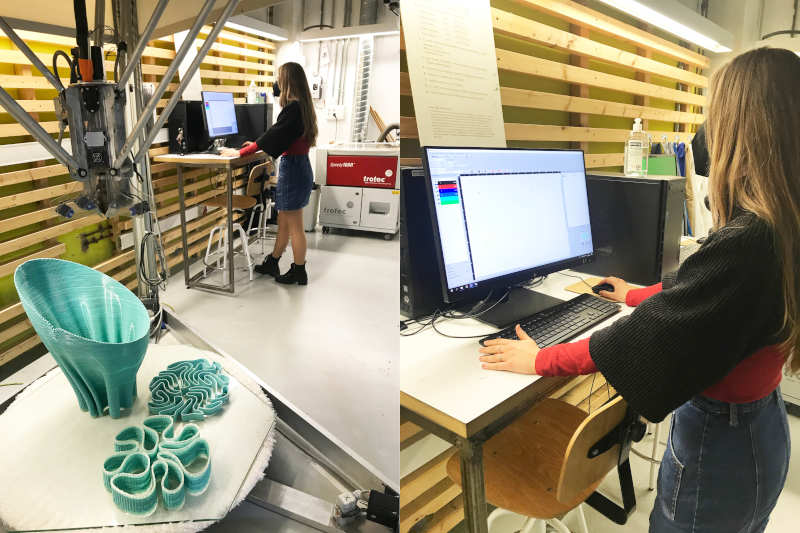
Here you can watch how is the laser cutting process of the "comb" that I did.
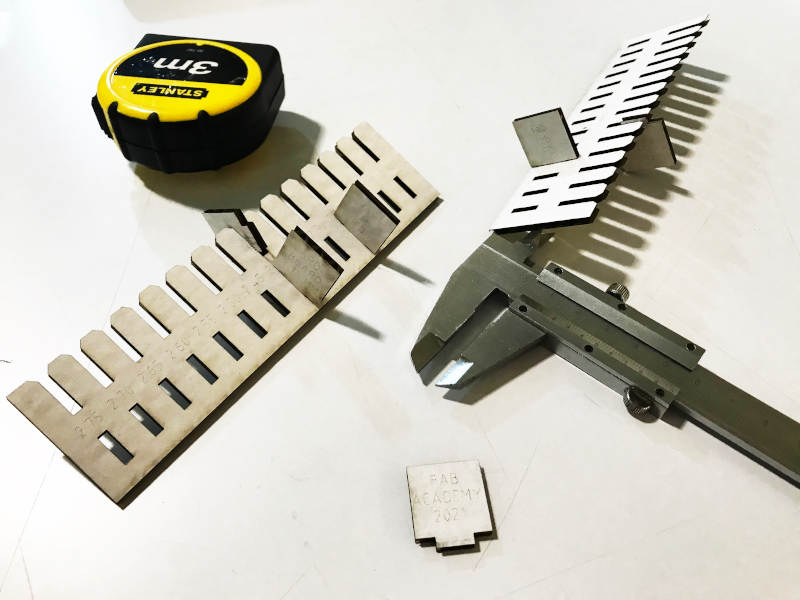
Once the "comb" cut, we check which is the best fit for our pieces. In this case, we see that the best fit value for our future parametric pieces is 2.40 mm. Therefore:
Kerf: 2,75 mm (real cardboard measure)- 2,40 mm (real pressfit)= 0,35 mm kerf of cardboard.
After doing the pressfit, I decide to carry out some kerf tests. With the previously selected materials, I want to follow the theme of illustrating these prefabrication processes in a fun way. For this I decided to design personal boards with Rhinoceros that look like smiley faces 🤣. I have baptized them as Emojis. Here we are going to measure the power percentage of the raster and the vectoring parameters for cutting and marking. This is the file to download the Emojis Kerf Tests.SVG
Individual Assignment
PARAMETRIC PRESS-FIT CONSTRUCTION KIT
To begin, I reviewed and tested the parametric designs of two ex students of Fab Academy 2018 and 2019, Javier Albo (from Fab Lab Barcelona) and Jesús López (from Fab Lab Leon + ESNE Madrid) to understand how their code and their process work of design.
First, I tested with the Jesus code ...
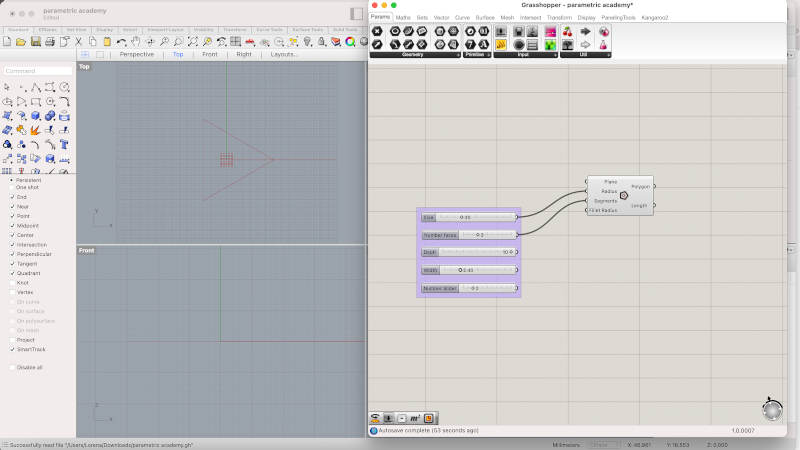
But I did not fully understand some of the steps that Jesus performed in his code, and I could not make the slots on a basic triangular piece 🙁. I only managed to place the rectangles at the midpoints of the pieces 😑😑.
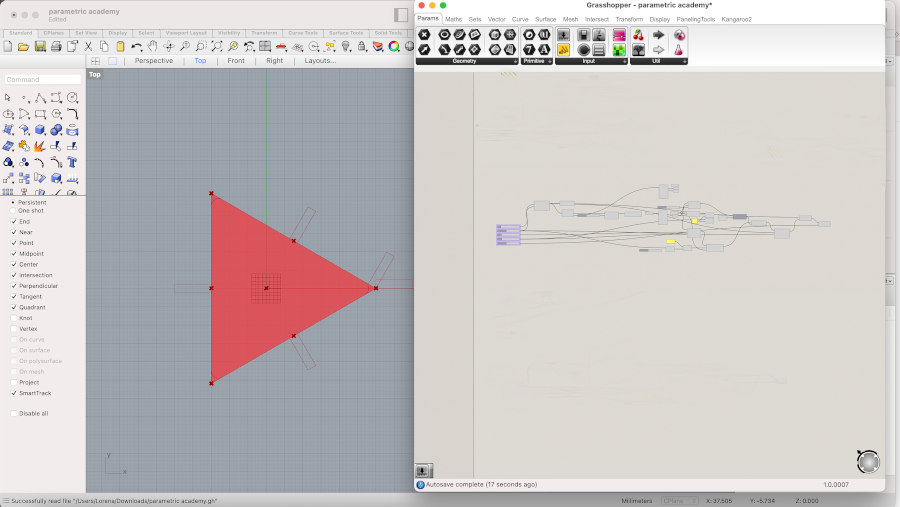
After my unsuccessful attempt with the Jesus code, I tried to understand Javier's code and after three hours it was a success!🎉 The process of understanding each action was much easier. He established an order to explain and understand the concept of his pieces by subtracting areas with areas, instead of polygons with polygons as Jesus done.
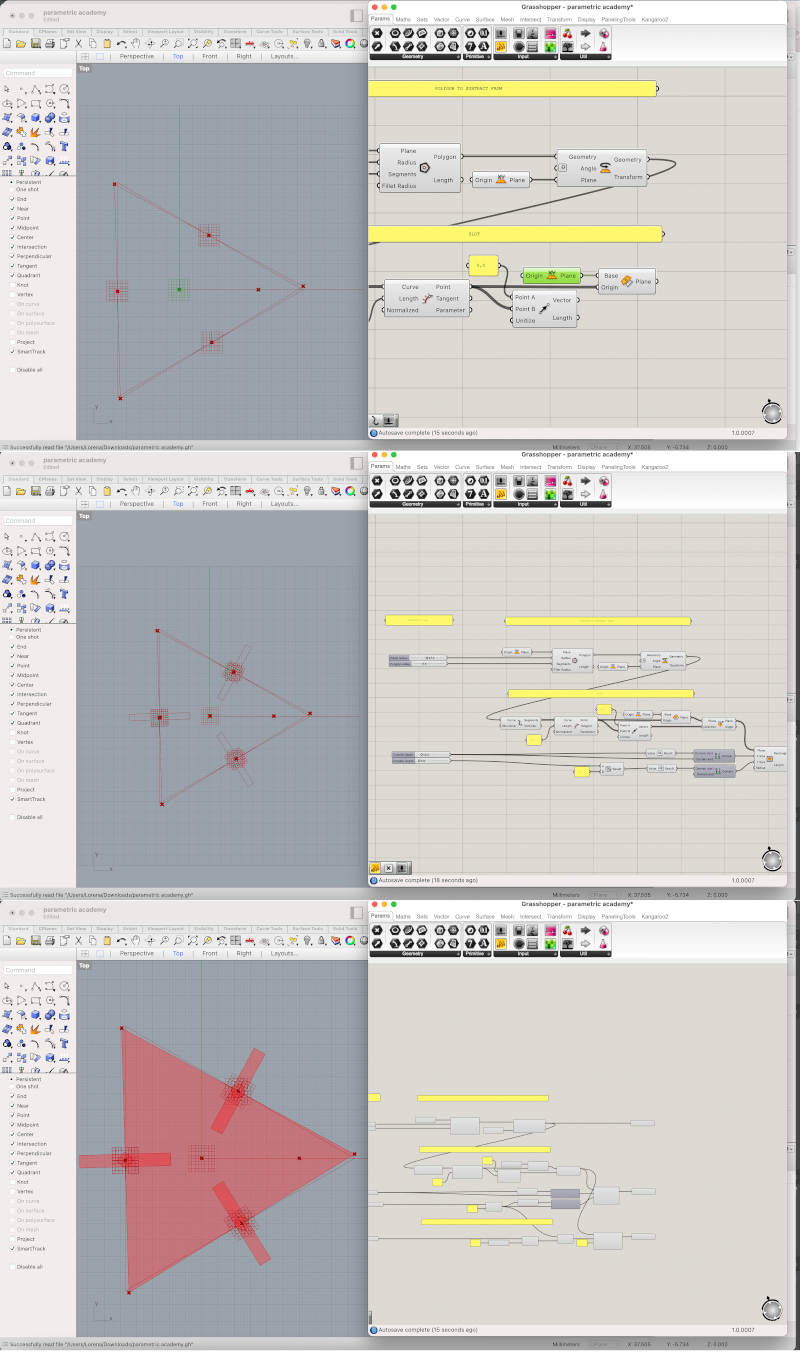
So, with the concepts learned by Javier and Jesus, I did a remix between both codes and this was the result 👇 Parametric Pieces.STP + Grasshopper Pieces.gh :
Once the code was made, I subtracted from it different polygonal and organic geometries to see what three-dimensional possibilities my new construction kit could offer 😍.
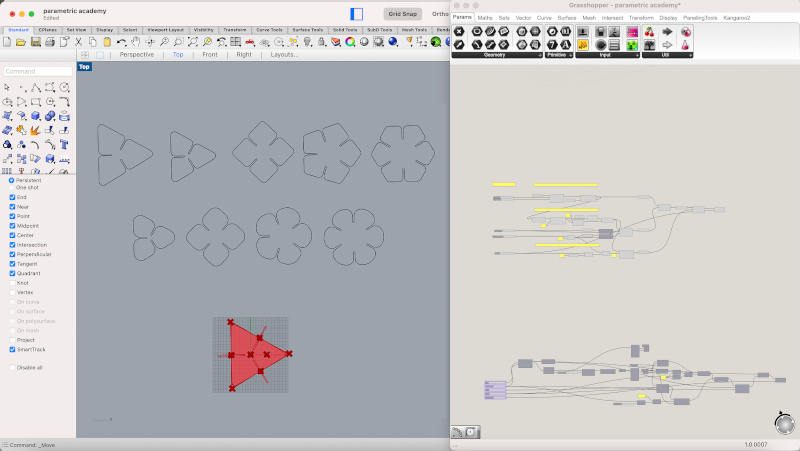
Once drawn, we launched the file to cut on the fab lab UE machines. (at first it took me a time to understand how these machines work, which are different from those of my fab lab, but more or less I could manage)😅. Thanks to the pacience of Alberto and his friend and workmate, Javier 💚💚.
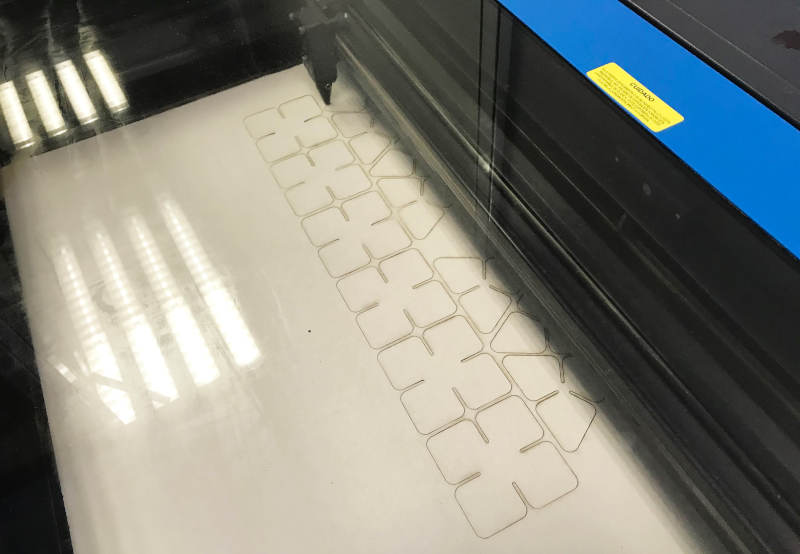
After cutting the pieces, I started to play with them, seeing the different possibilities and geometric shapes that it offered me. And these were the results !!
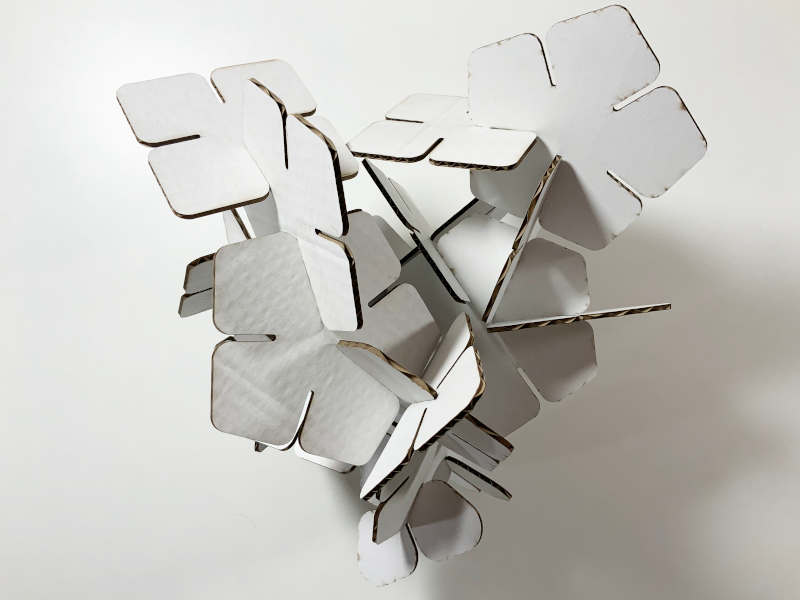
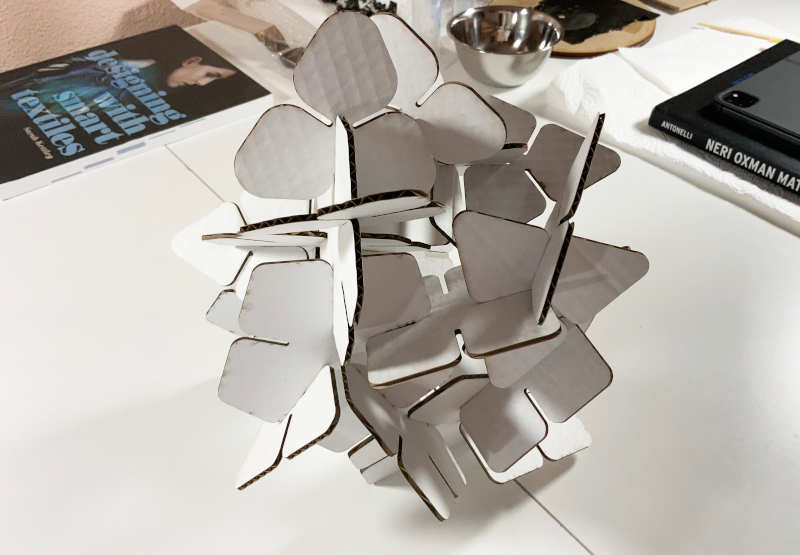
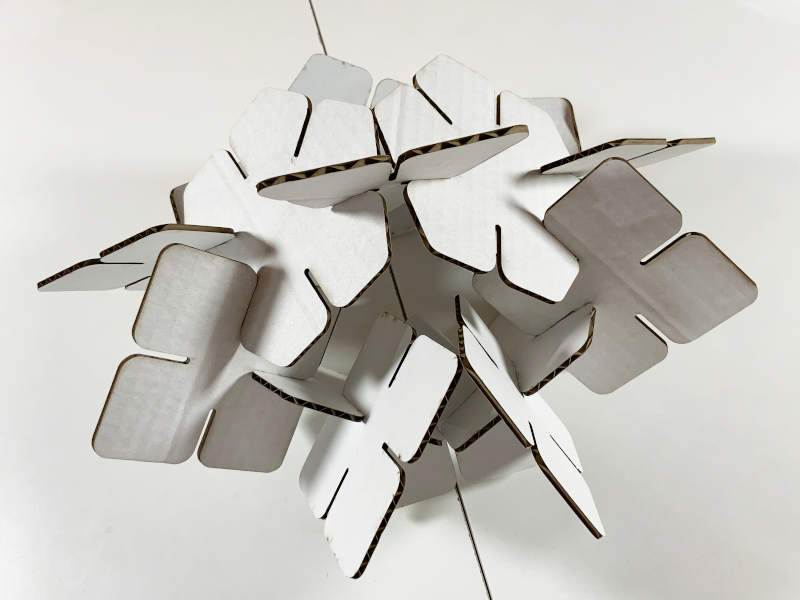
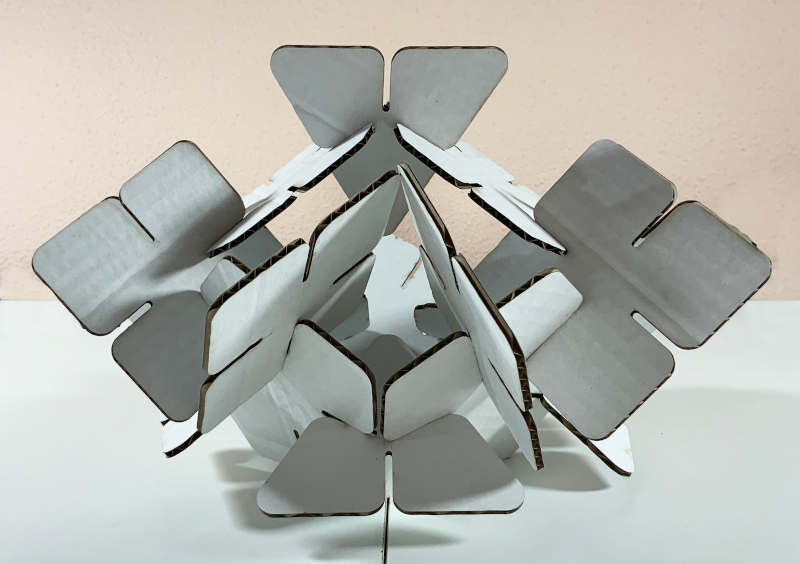
This part of the assignment took me a whole day though. I had a great time doing it, playing and with the best possible company.
VINYL CUTTING
In Fab Lab IED Madrid, we have one vinylcutter:
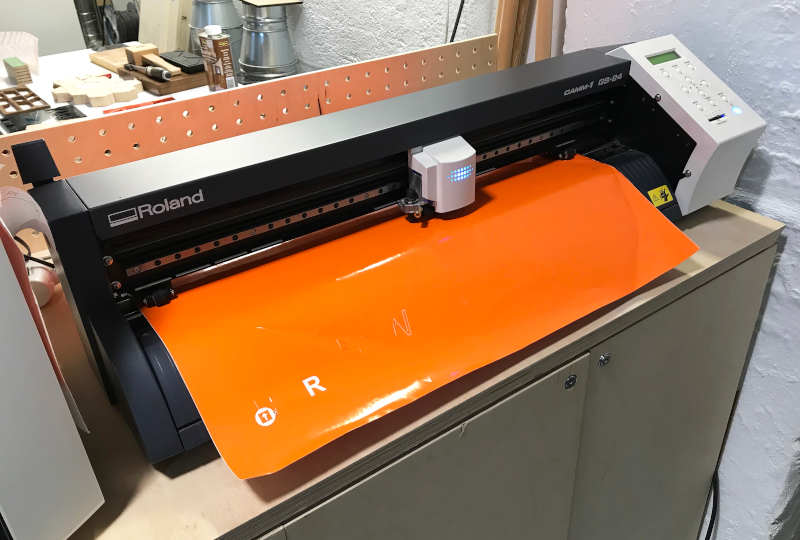
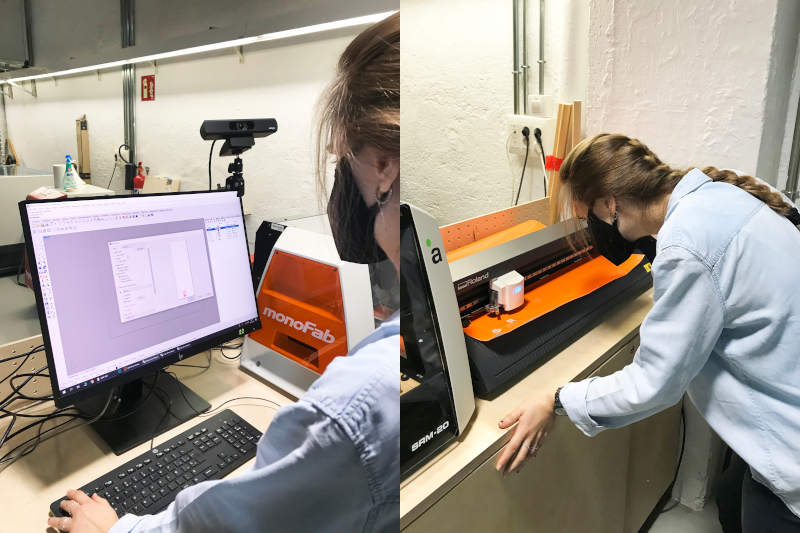
To start this practice, I began with something simple, (mainly to improve my relationship with the machine 👯). For this Fab Academy course, the fab lab IED has assigned me a box to be able to leave in it all my components, fabrics, objects that will be used during the coming months. So, to identify the box respect to the rest of the objects in the fab lab, I rasterized the Fab Academy logo in Illustrator, and cleaned lines and plotted the vectorized drawing from Rhinoceros.
g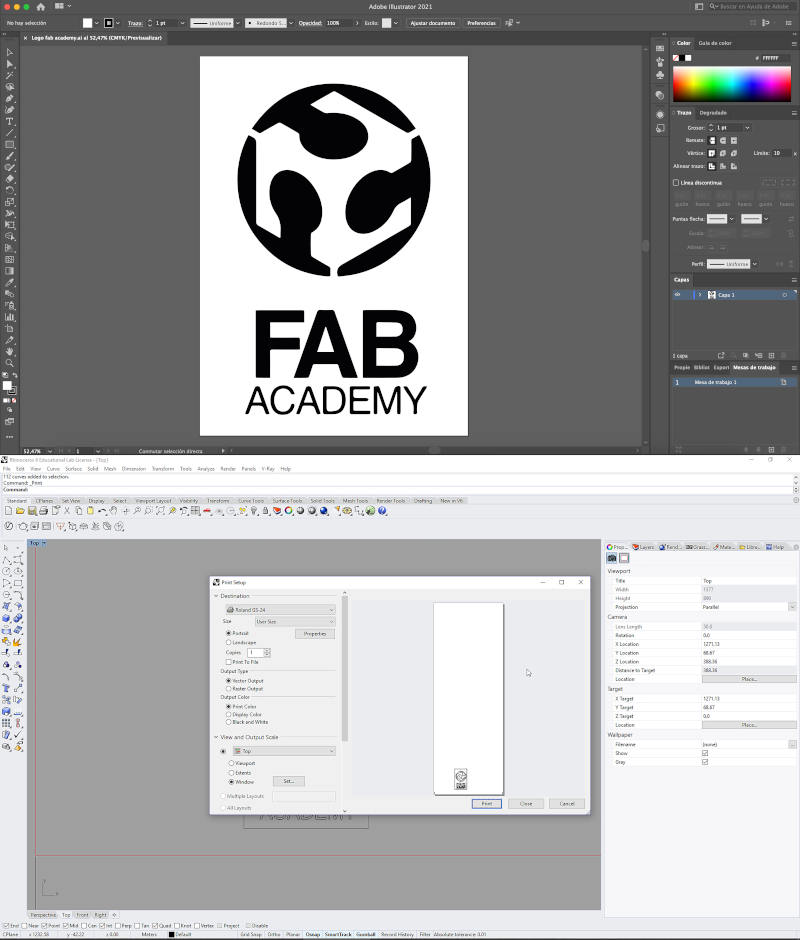
After two unsuccessful attempts (and a major shredding of the sheet), I managed to cut and transfer the logo to the box.
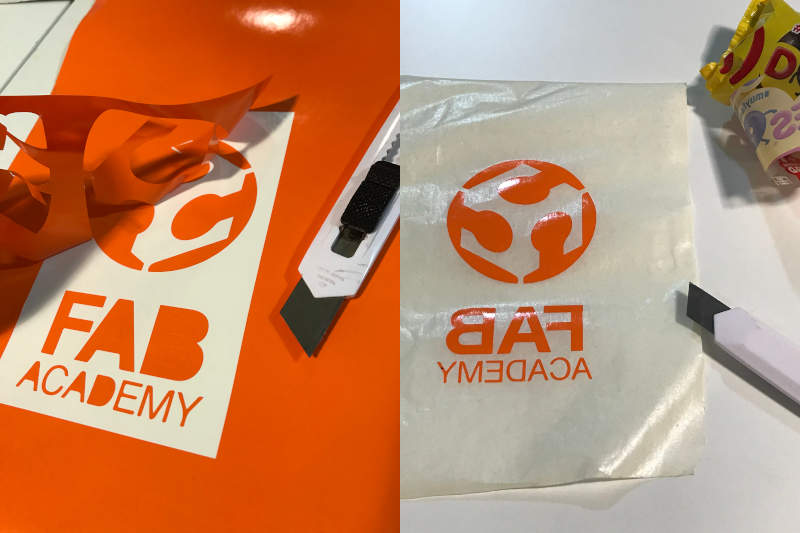
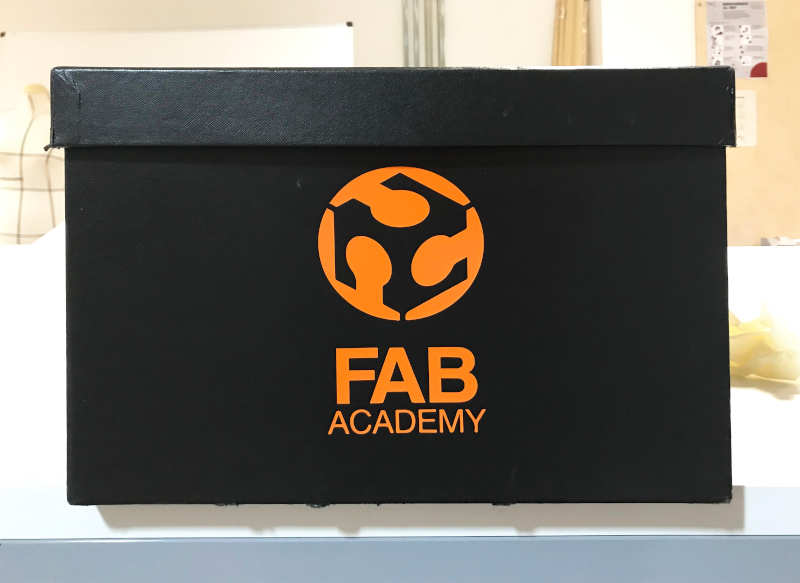
This was the final result! Fab Academy Logo.SVG
Searching among the multitude references that I have 😂, I selected this detail belongs to the Syntopia collection (2018) by Iris Van Herpen. The goal, once the basic shapes are mastered, is to try to cut more complex and organic shapes, and get them transferred to my new custom box.
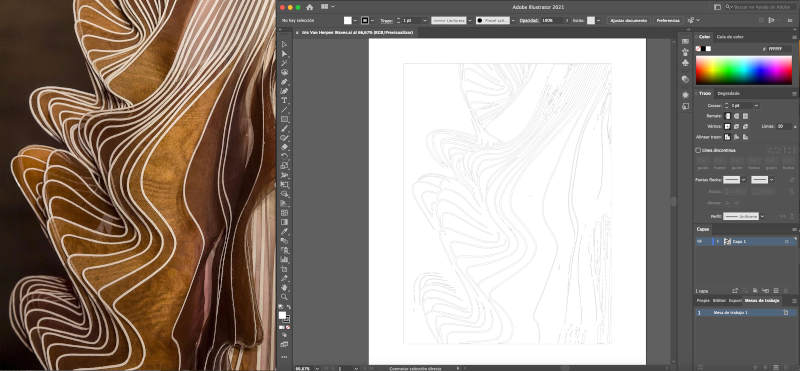
So, I did the same process that I did with the logo. Rasterize the image in Illustrator, clean the lines, outline, and send the file for printing in Rhinoceros. At the end, I got control of the machine and successfully printed the pattern! 😍💪
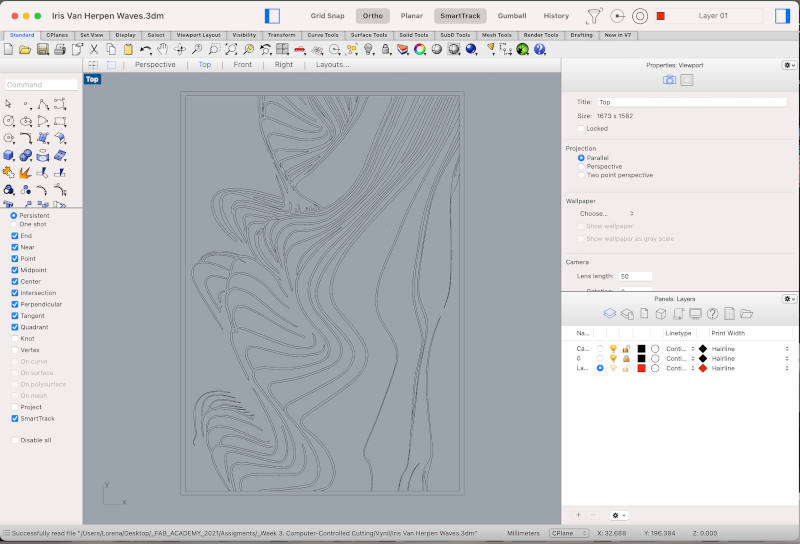
Once cut by the machine, we proceed to the important moment! Transferring the pattern to the box. Here you can see in Time-Lapse, the process that transfer from vinyl to box.
And this is the final result of the pattern! Iris Van Herpen Waves Detail.SVG.
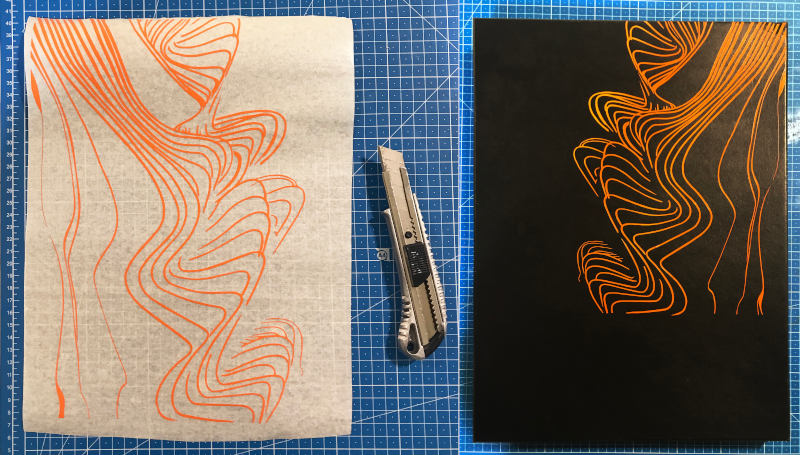
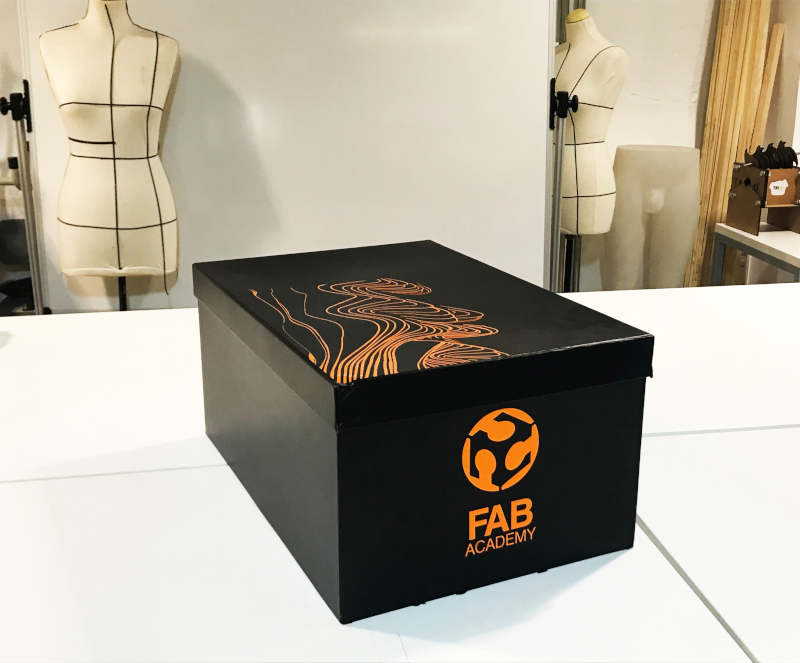
The end result of vinyl cutting was finally sucessful ❤. But, depending on the type of drawings, it is a work that wastes a lot of material in the cut and process. I think it is a kind of tool that you should use very punctually. I have tried to compress the drawings to save as much vinyl as possible.
FILES
LASER CUTTING MACHINE

