Individual Assignment
Write an application that interfaces a user with an
input &/or output device that you made.
This week was all about the interfacing and App devolopment as the App devolopment was new to me.
In this week I want to make a mobile app which can controll ( turn on and off) the LEDs using Bluetooth. For this I
visit the page of different students and study about how to develop the application and interface I found the MIT
app inventer is easy to understand and good platform for new app developers like me.
MIT APP INVENTOR

MIT App Inventor is a web application integrated development environment originally provided by Google, and now maintained by the Massachusetts
Institute of Technology (MIT). It allows newcomers to computer programming to create application software(apps) for two operating systems (OS):
Android, and iOS, which, as of 8 July 2019, is in final beta testing. It is free and open-source software released under dual licensing: a Creative
Commons Attribution ShareAlike 3.0 Unported license, and an Apache License 2.0 for the source code.
It uses a graphical user interface (GUI) very similar to the programming languages Scratch (programming language) and the StarLogo,
which allows users to drag and drop visual objects to create an application that can run on android devices, while a App-Inventor Companion
(The program that allows the app to run and debug on) that works on iOS running devices are still under development. In creating App Inventor,
Google drew upon significant prior research in educational computing, and work done within Google on online development environments.
Found more about MIT App Inventor Here.
Start making App
I Start from making App then after making app I move toward programing and Circuit connection. First I Open the MIT APP Inventor by Cliking
Here.
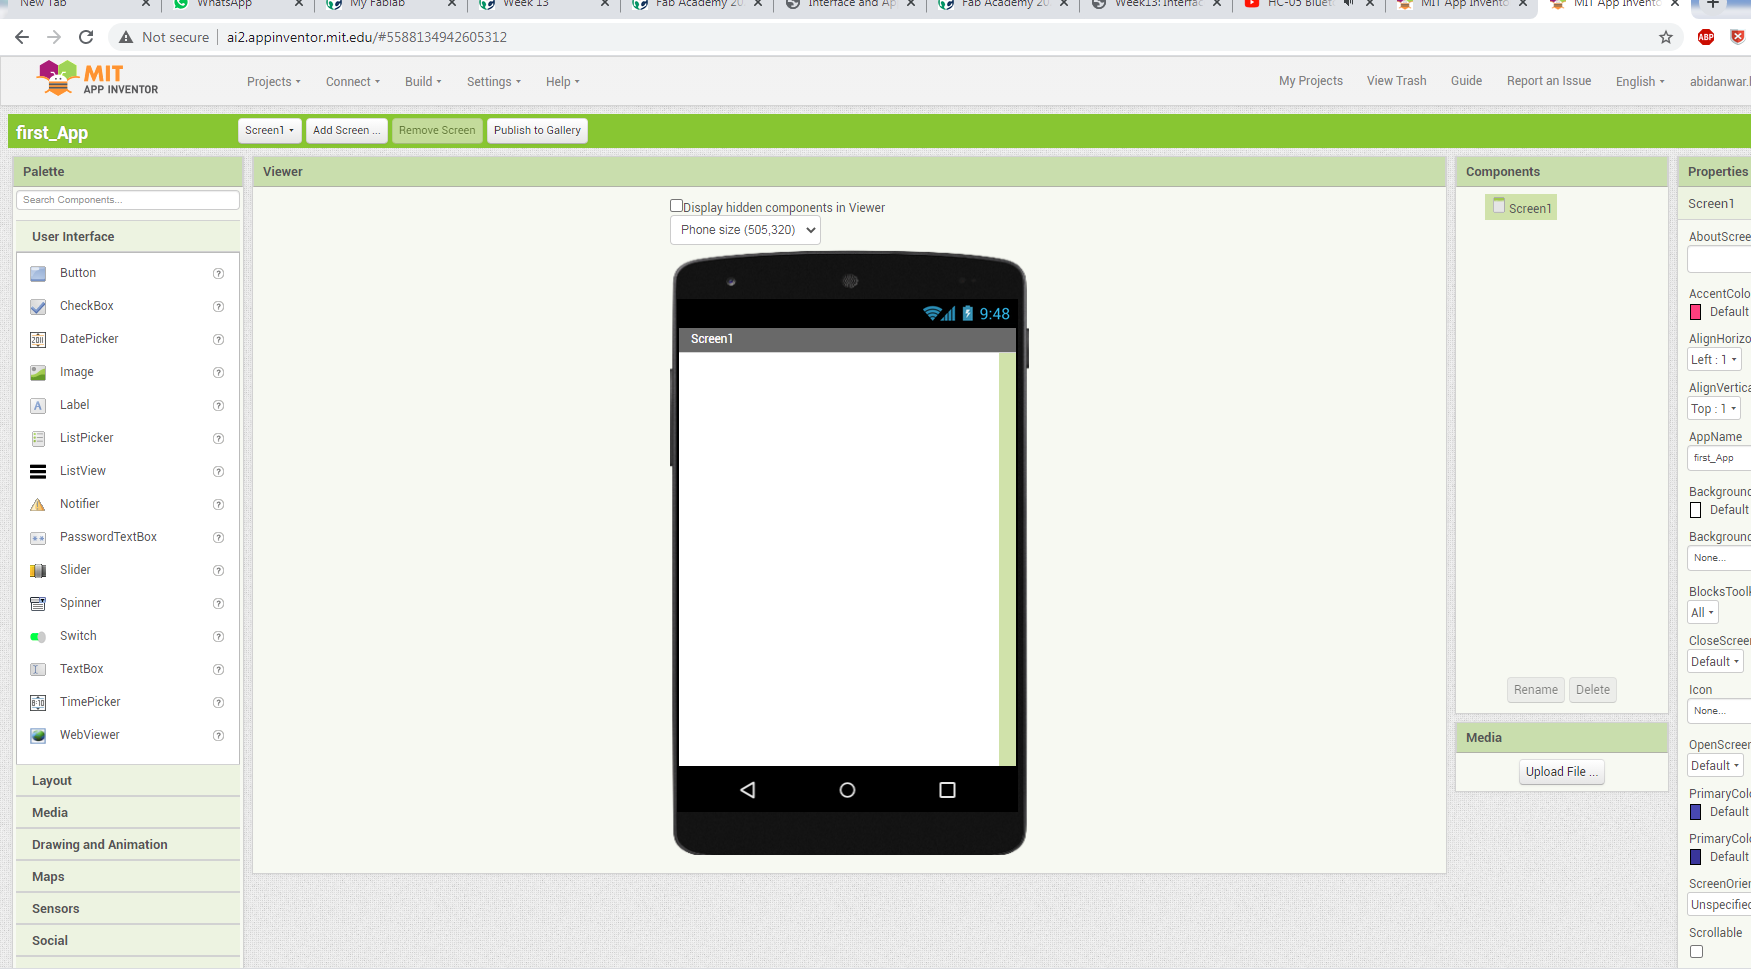
Creating the App
After following the above steps the folowing window appear.
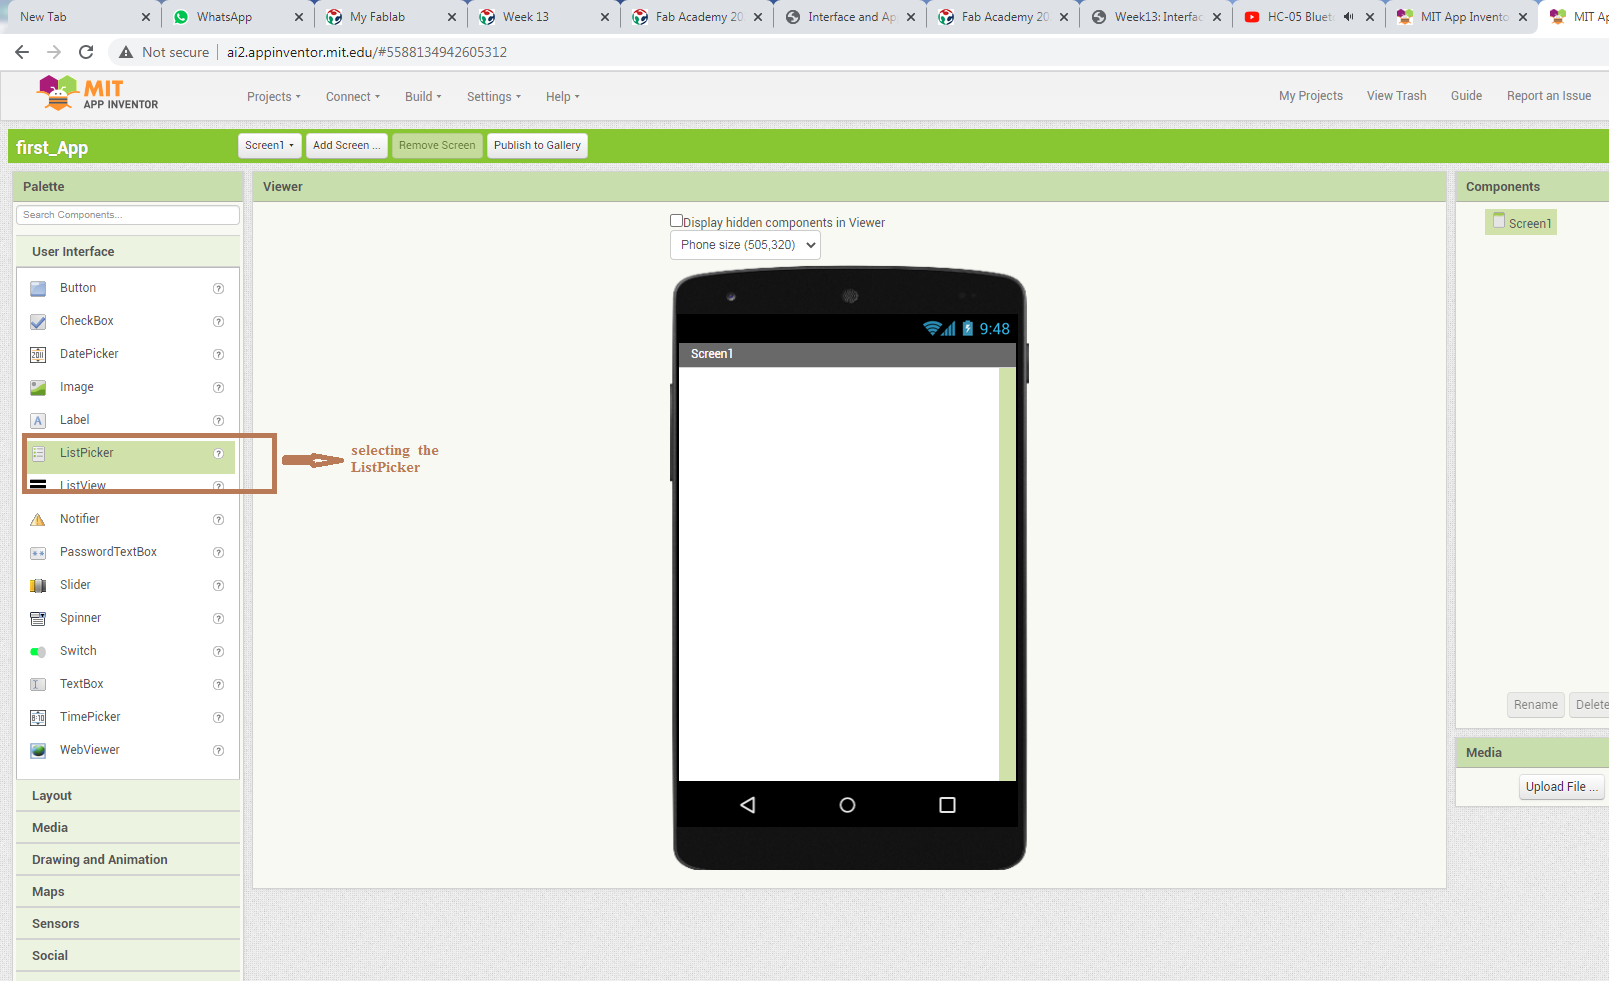
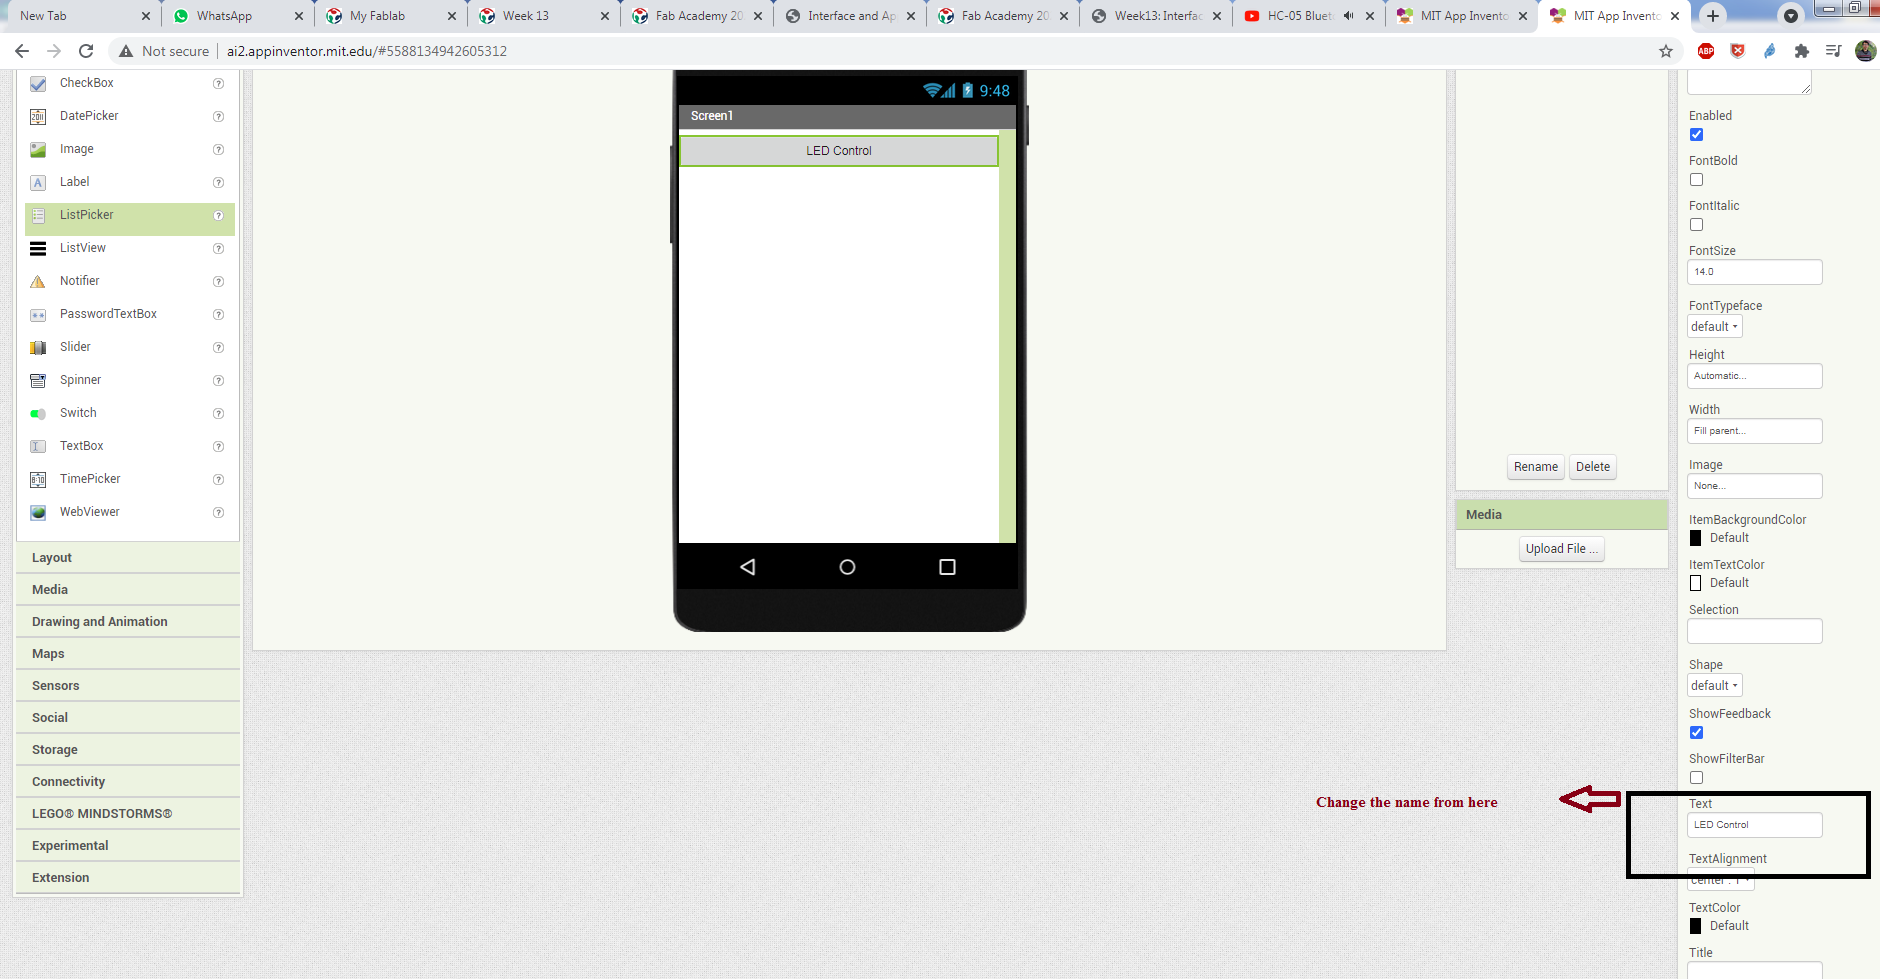
Setting the table arrangment
After that select the ListPicker , fil pattern and change the Name
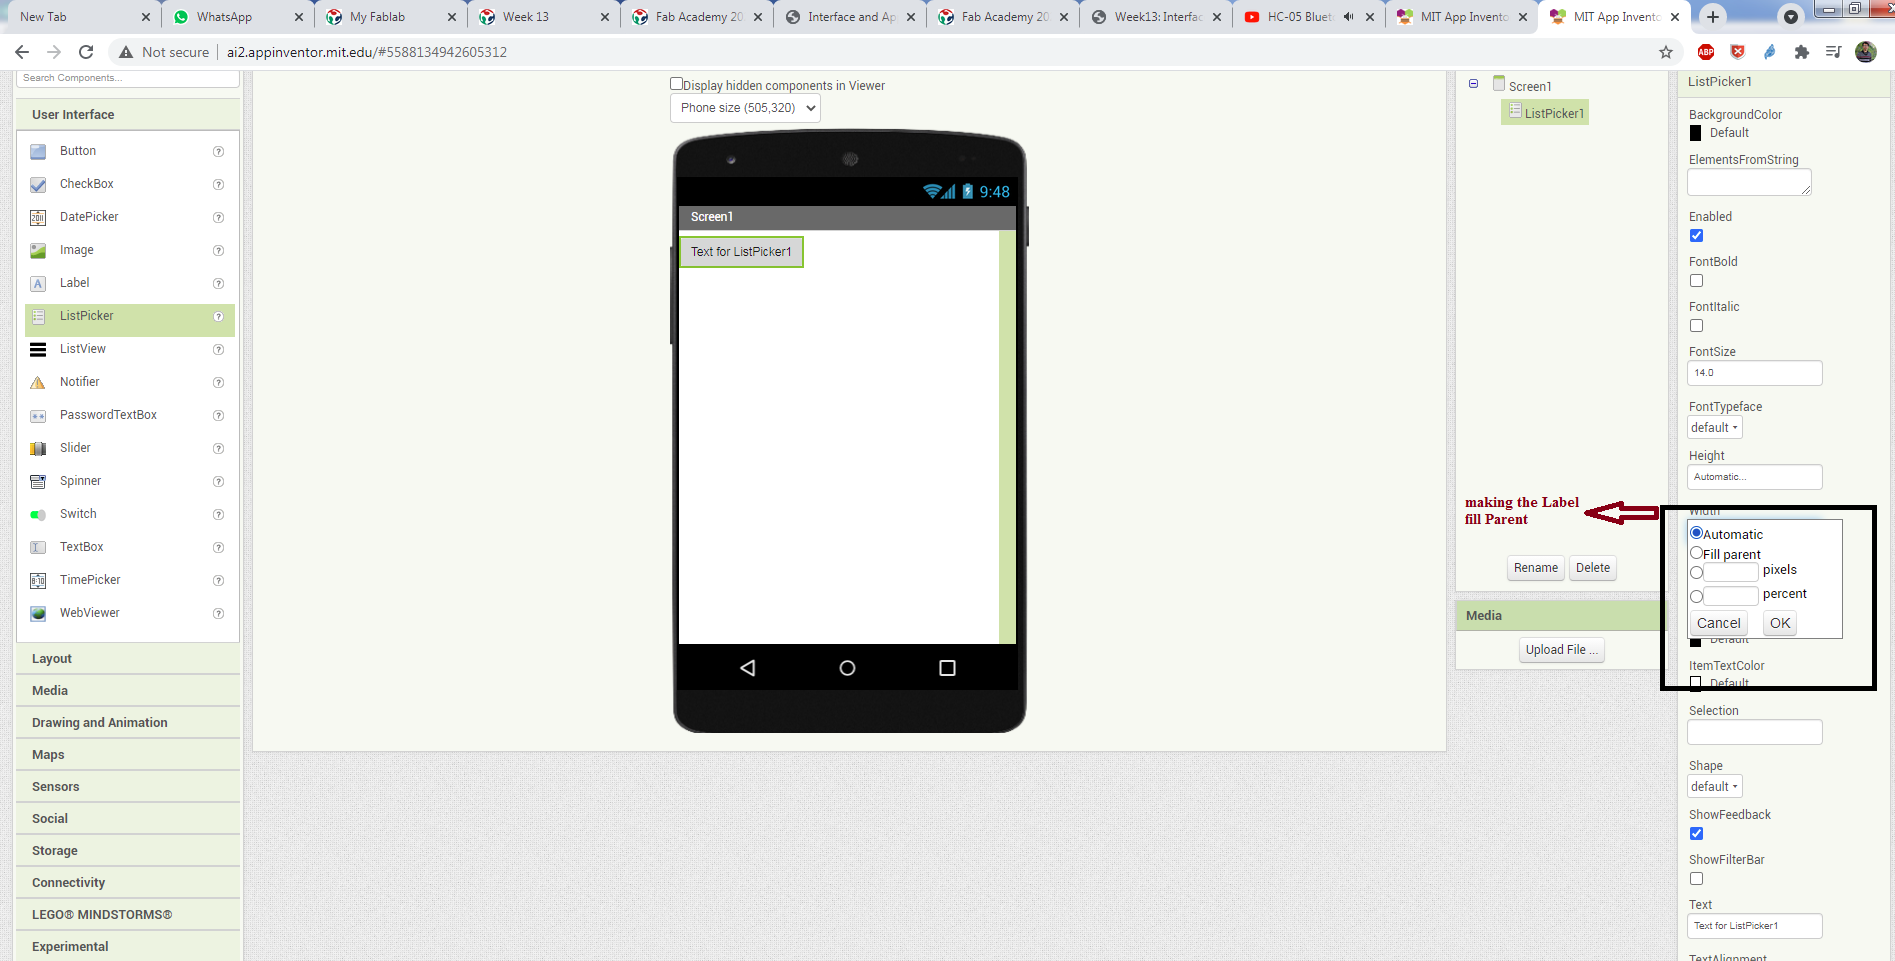
Creating Layout.
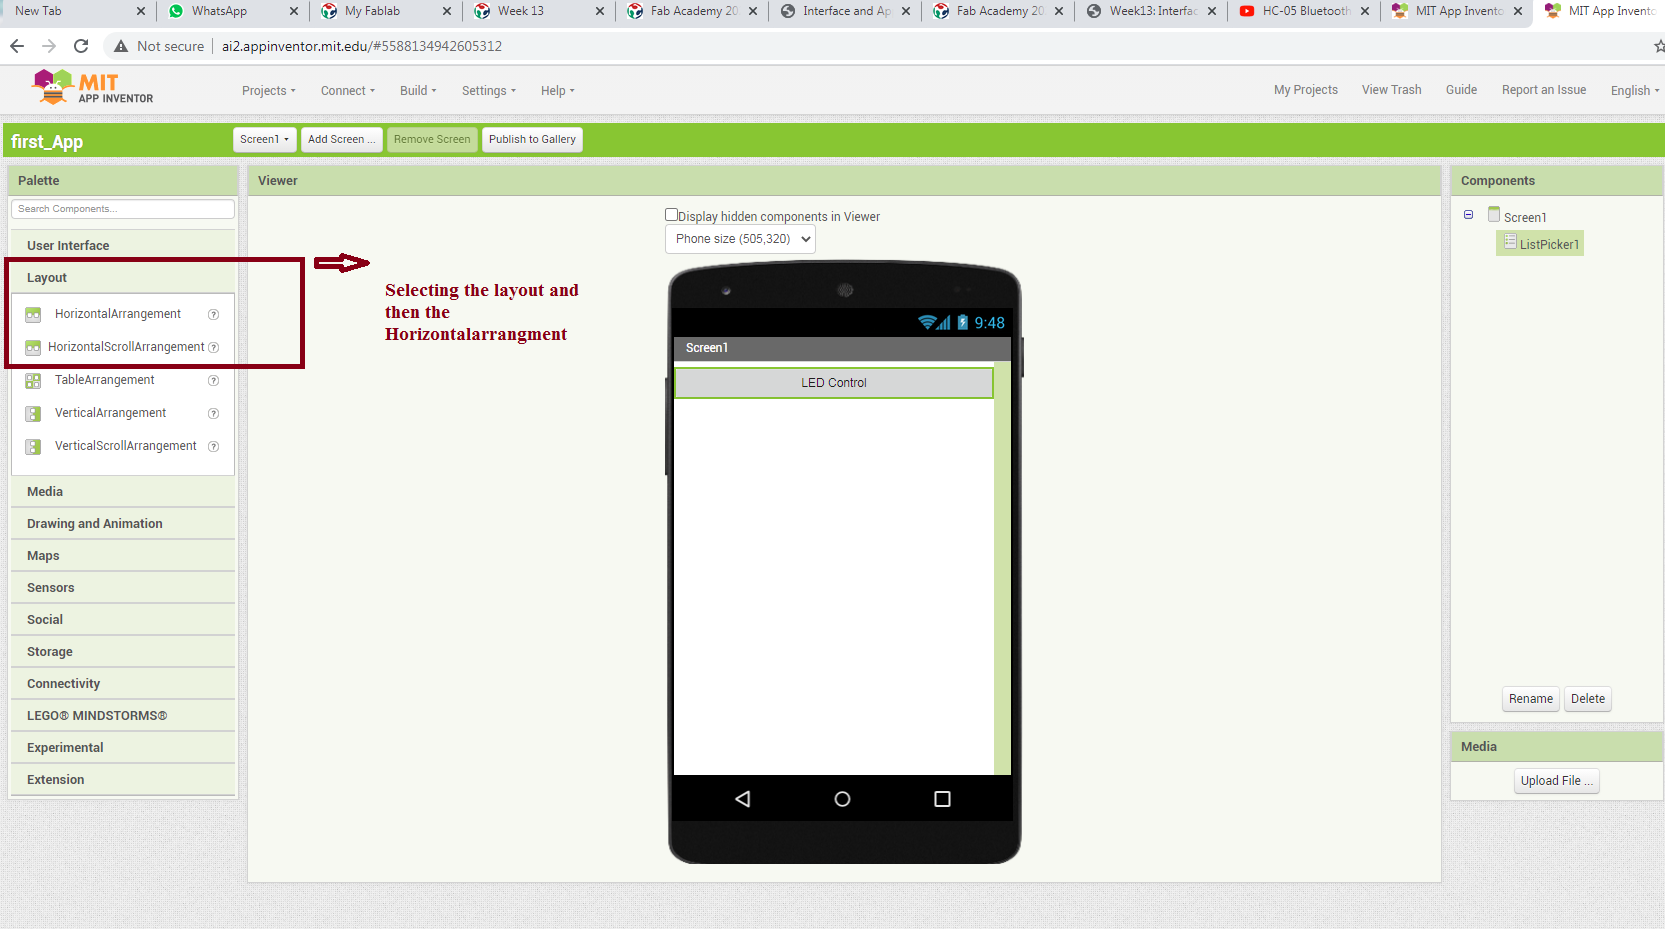
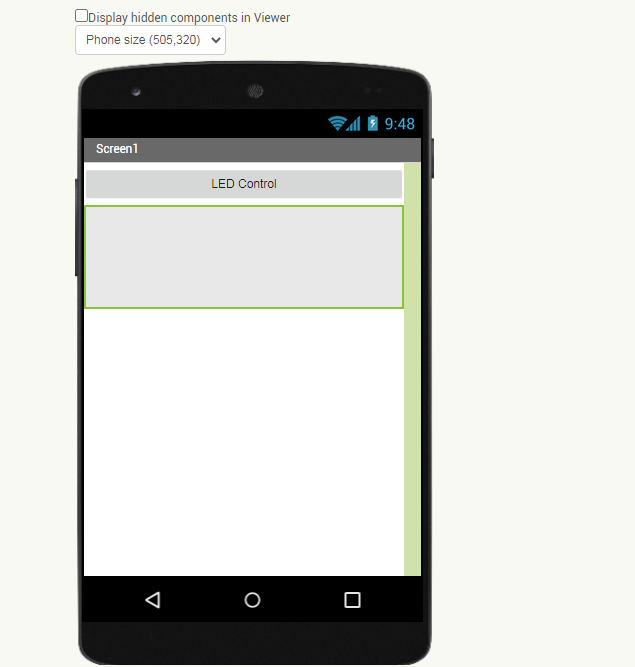
after setting the layout as Fill pattern.
Adding the Buttons.
I use two button one for the On and second for the Off of the Leds.
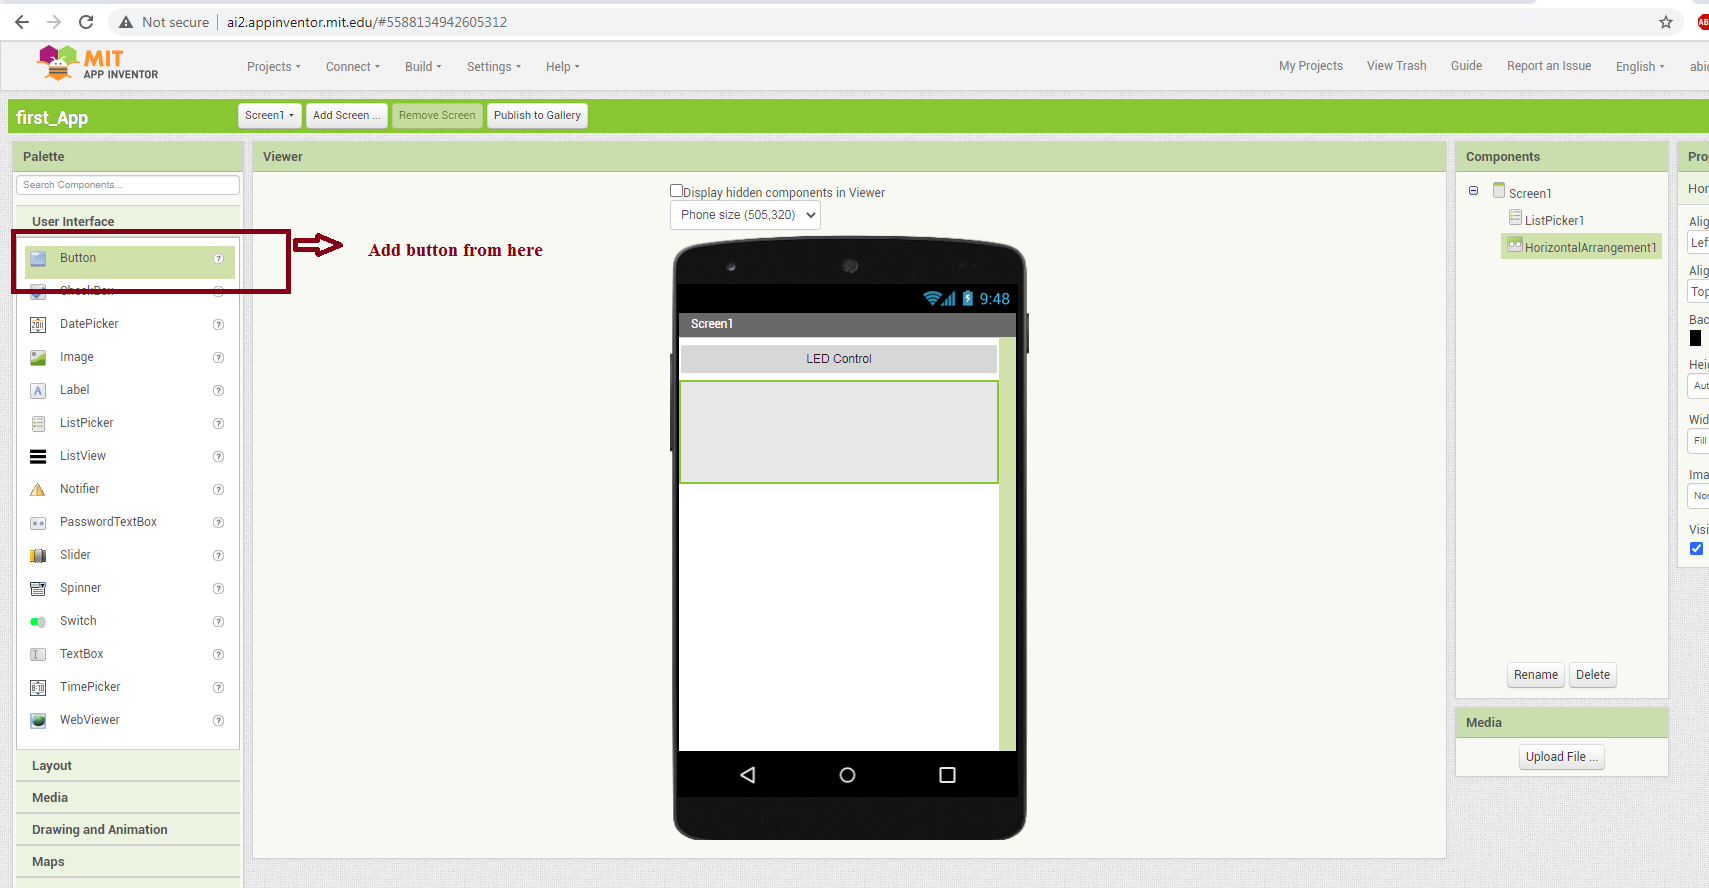
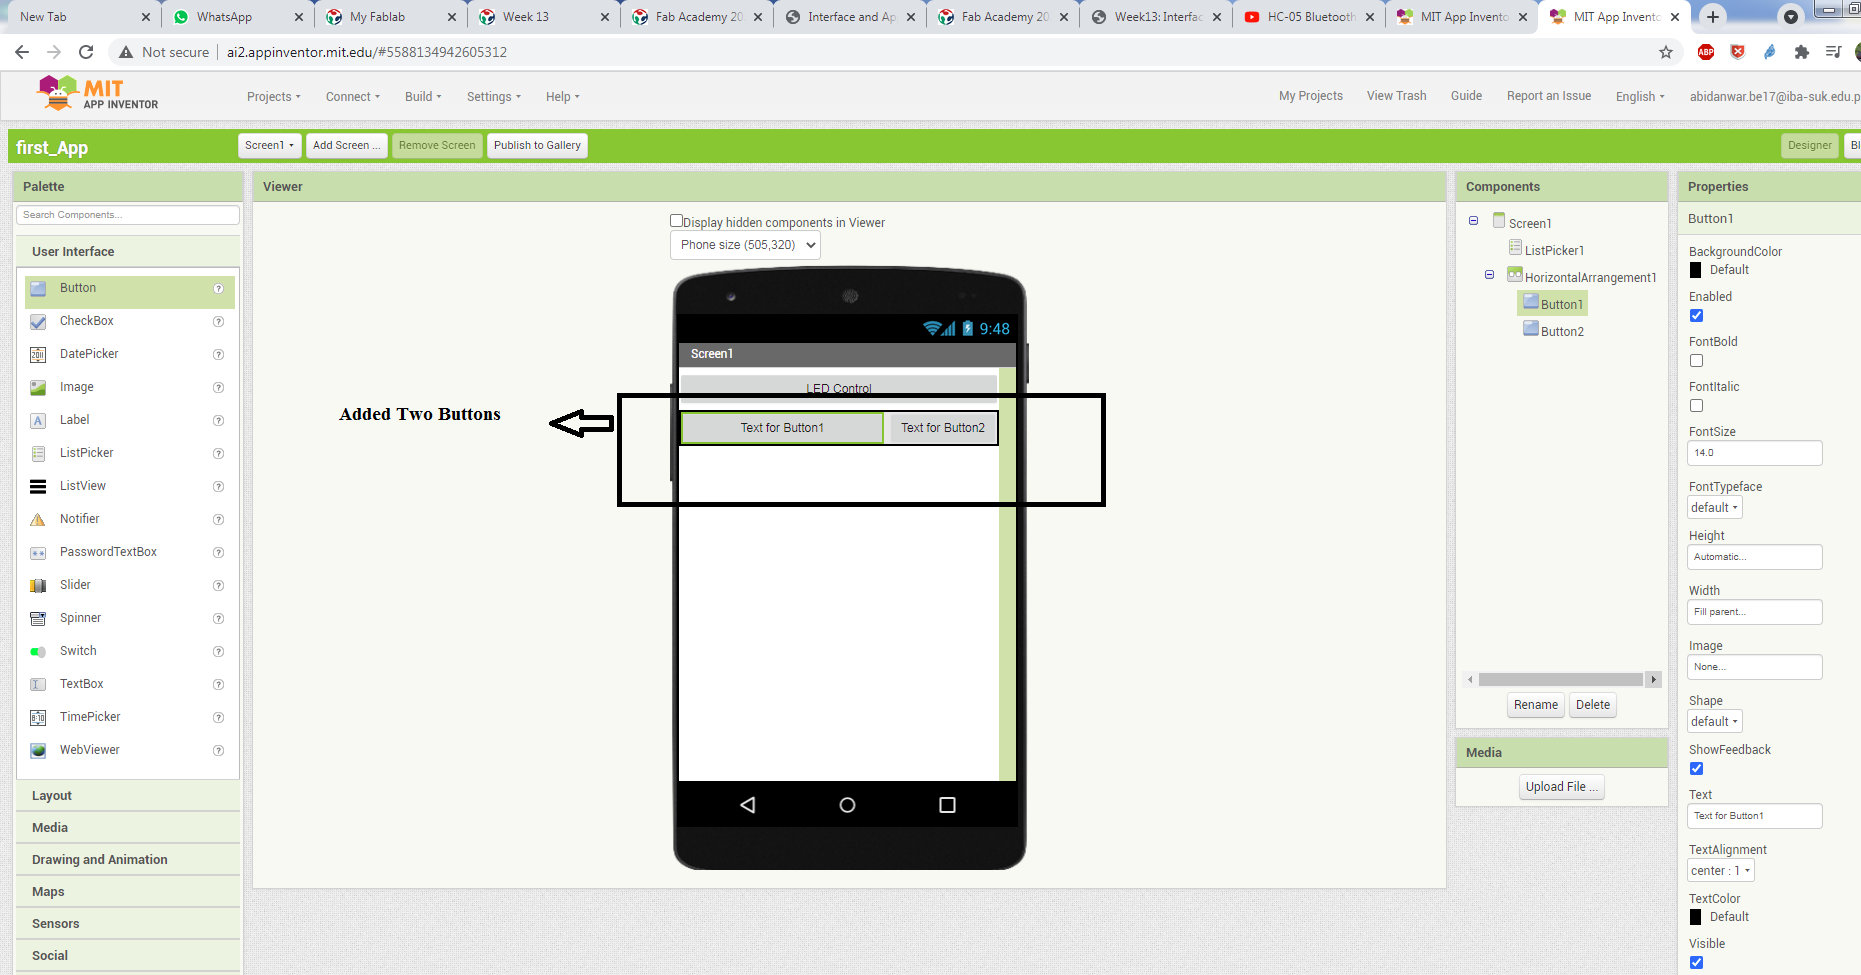
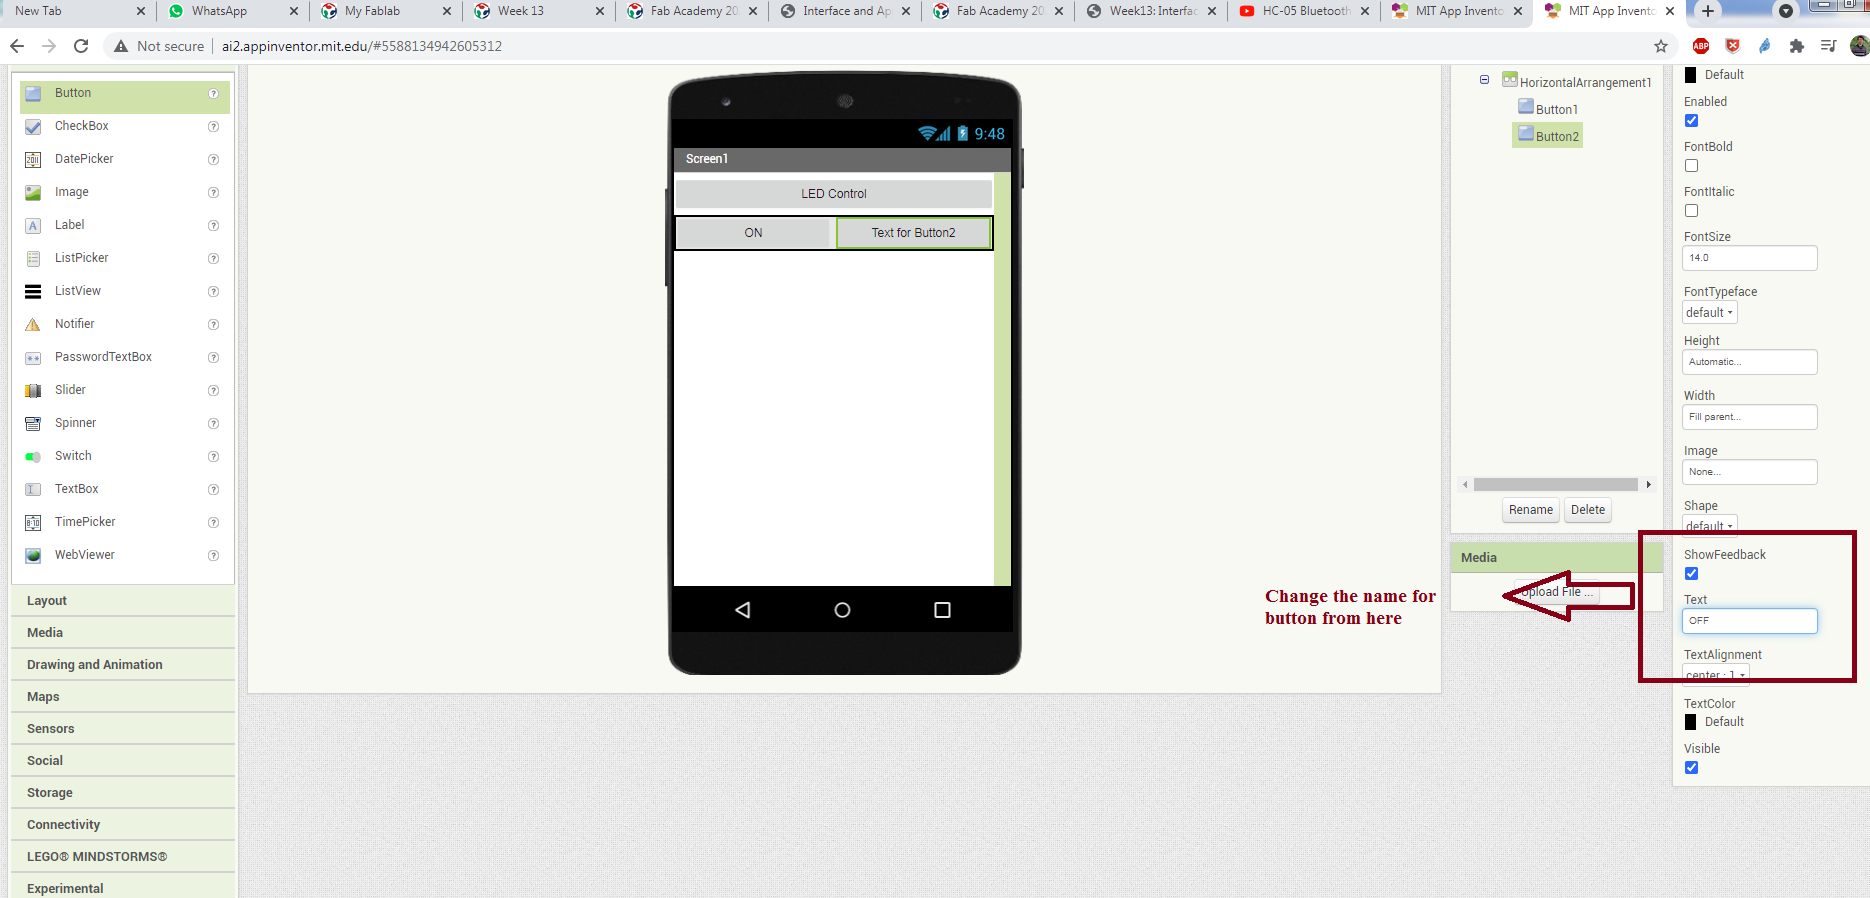
adding the buttons.
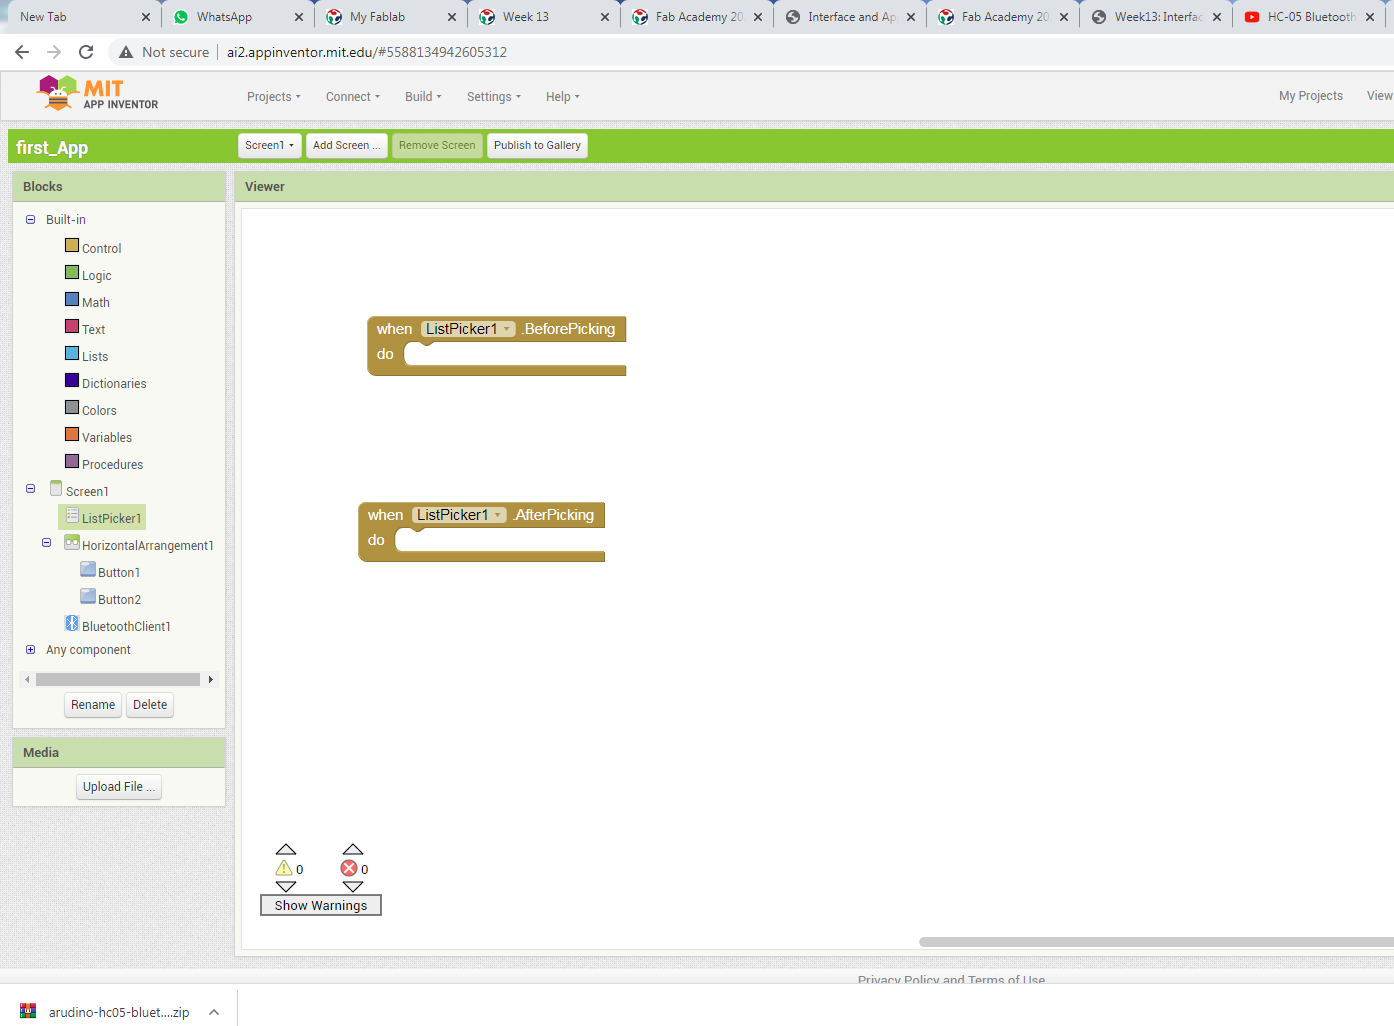
BLOCK PROGRAMMING.
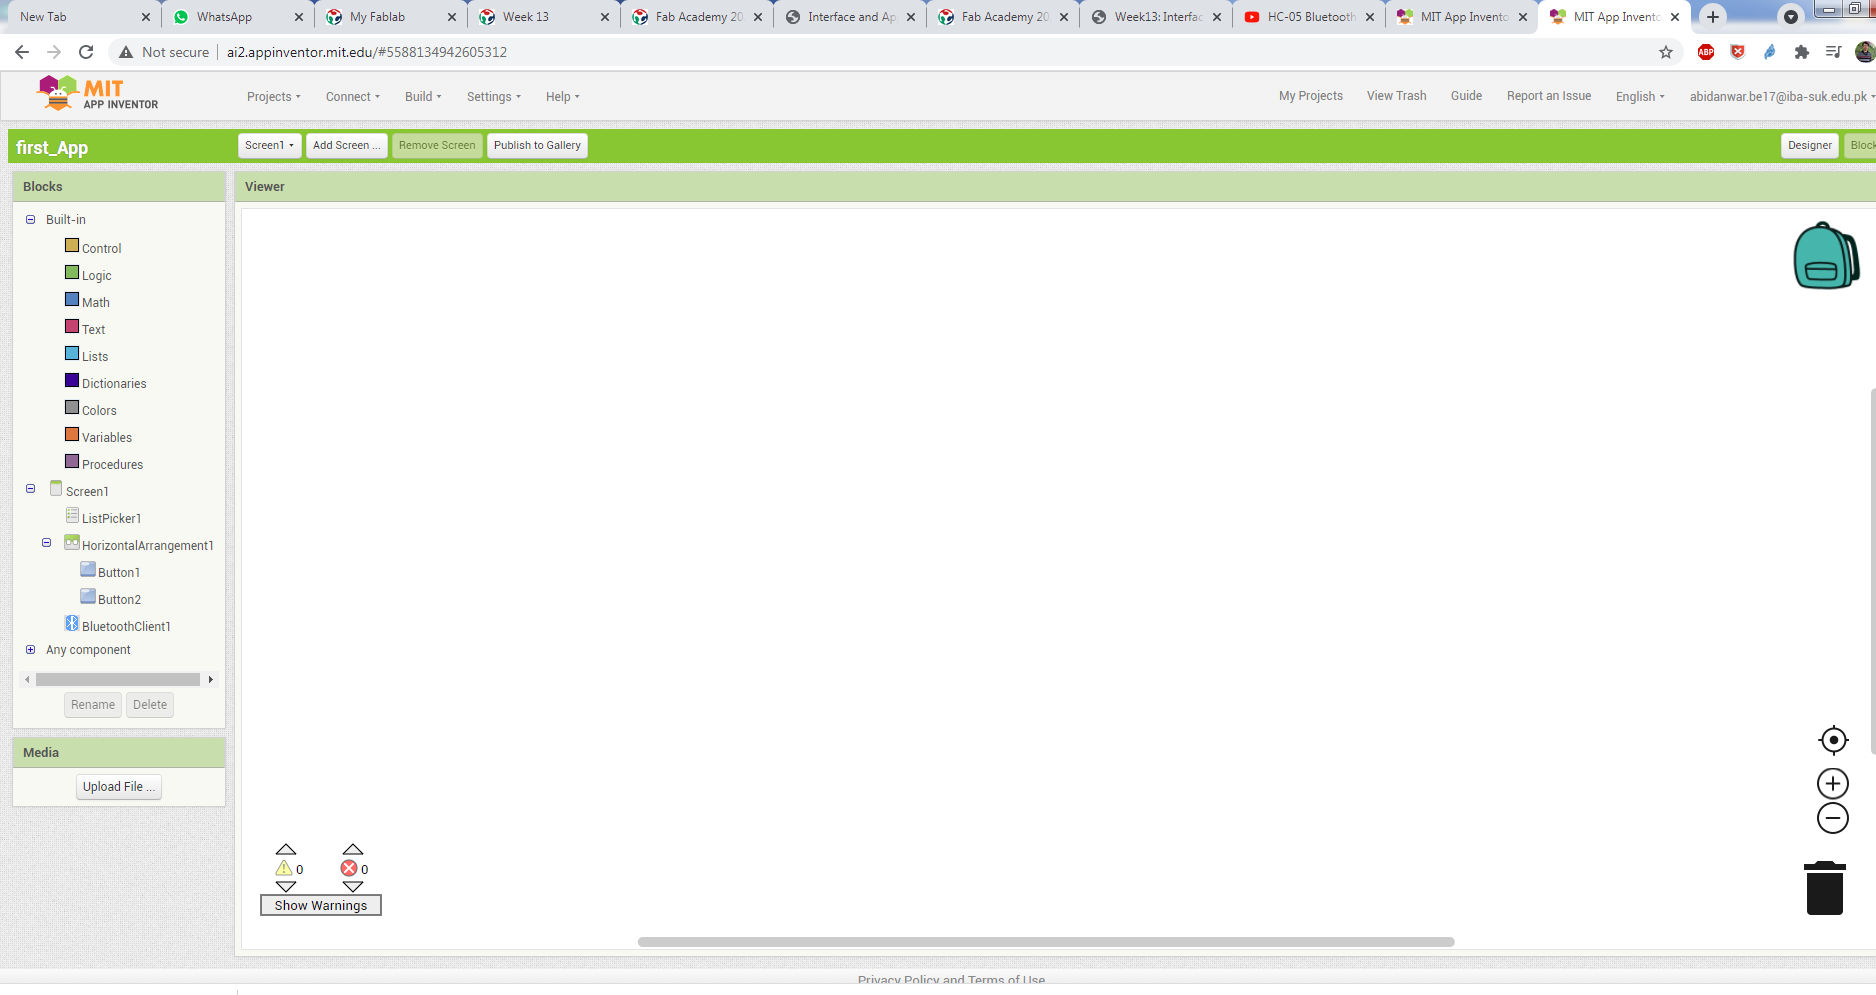
Block View.
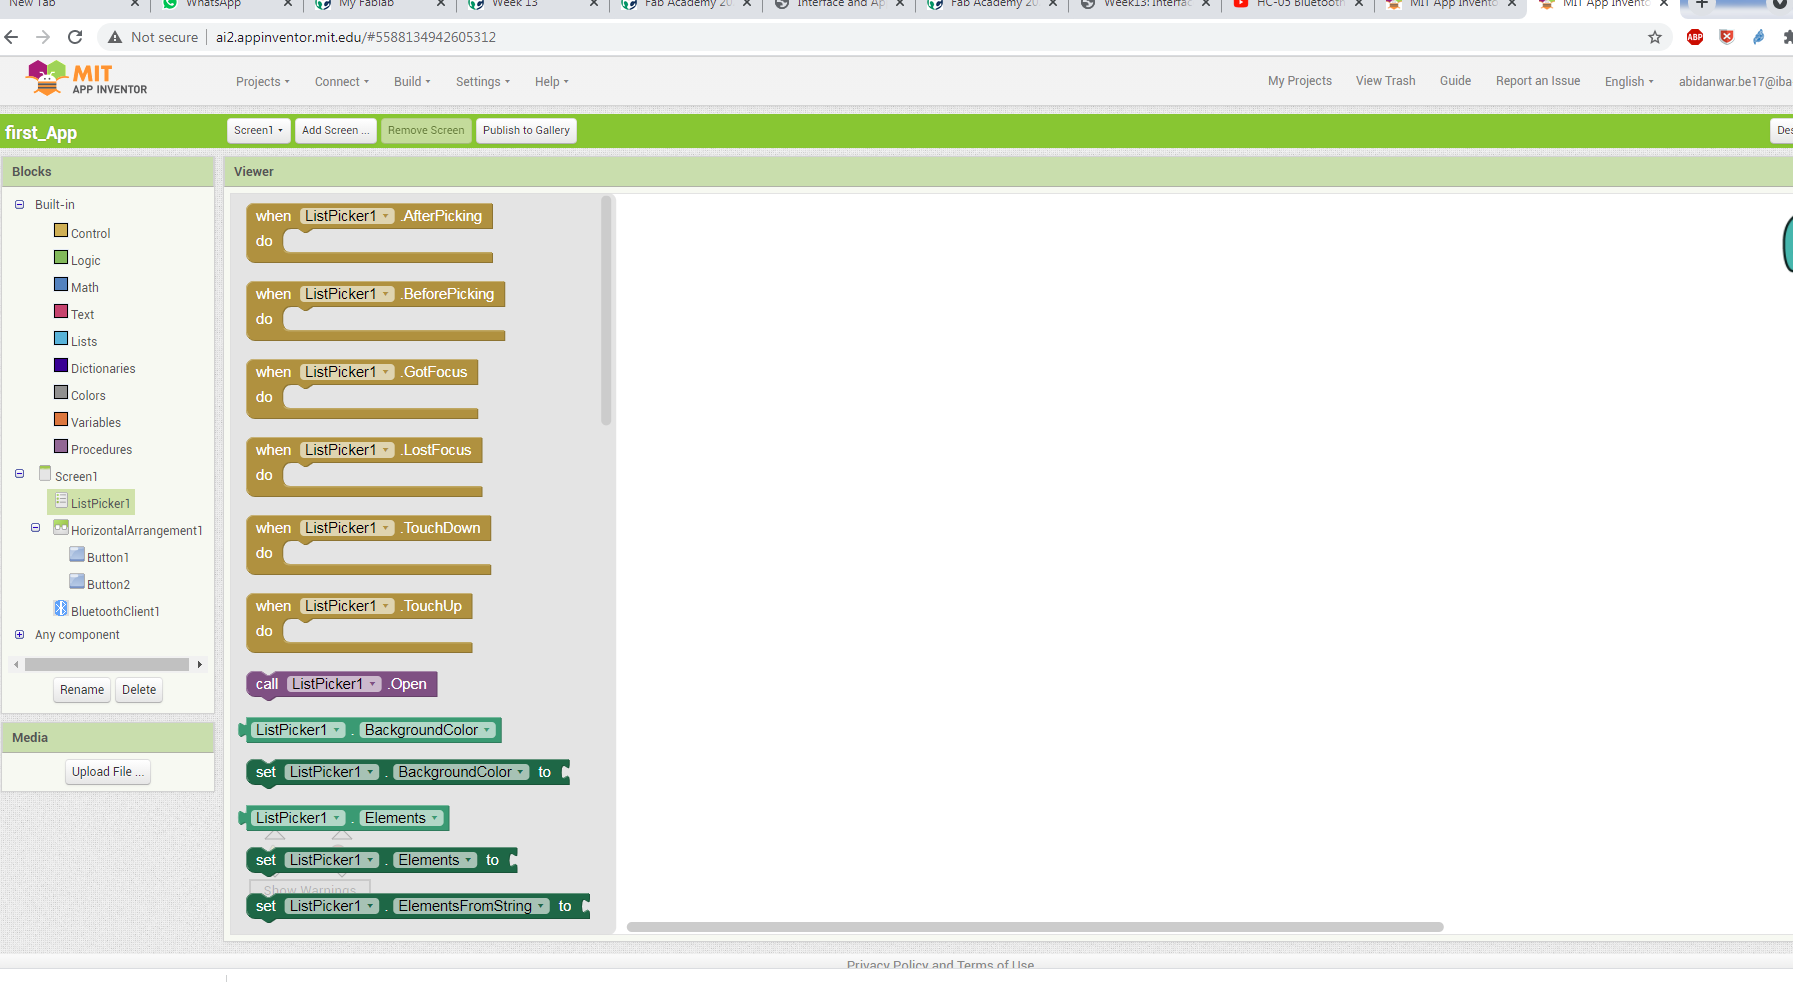
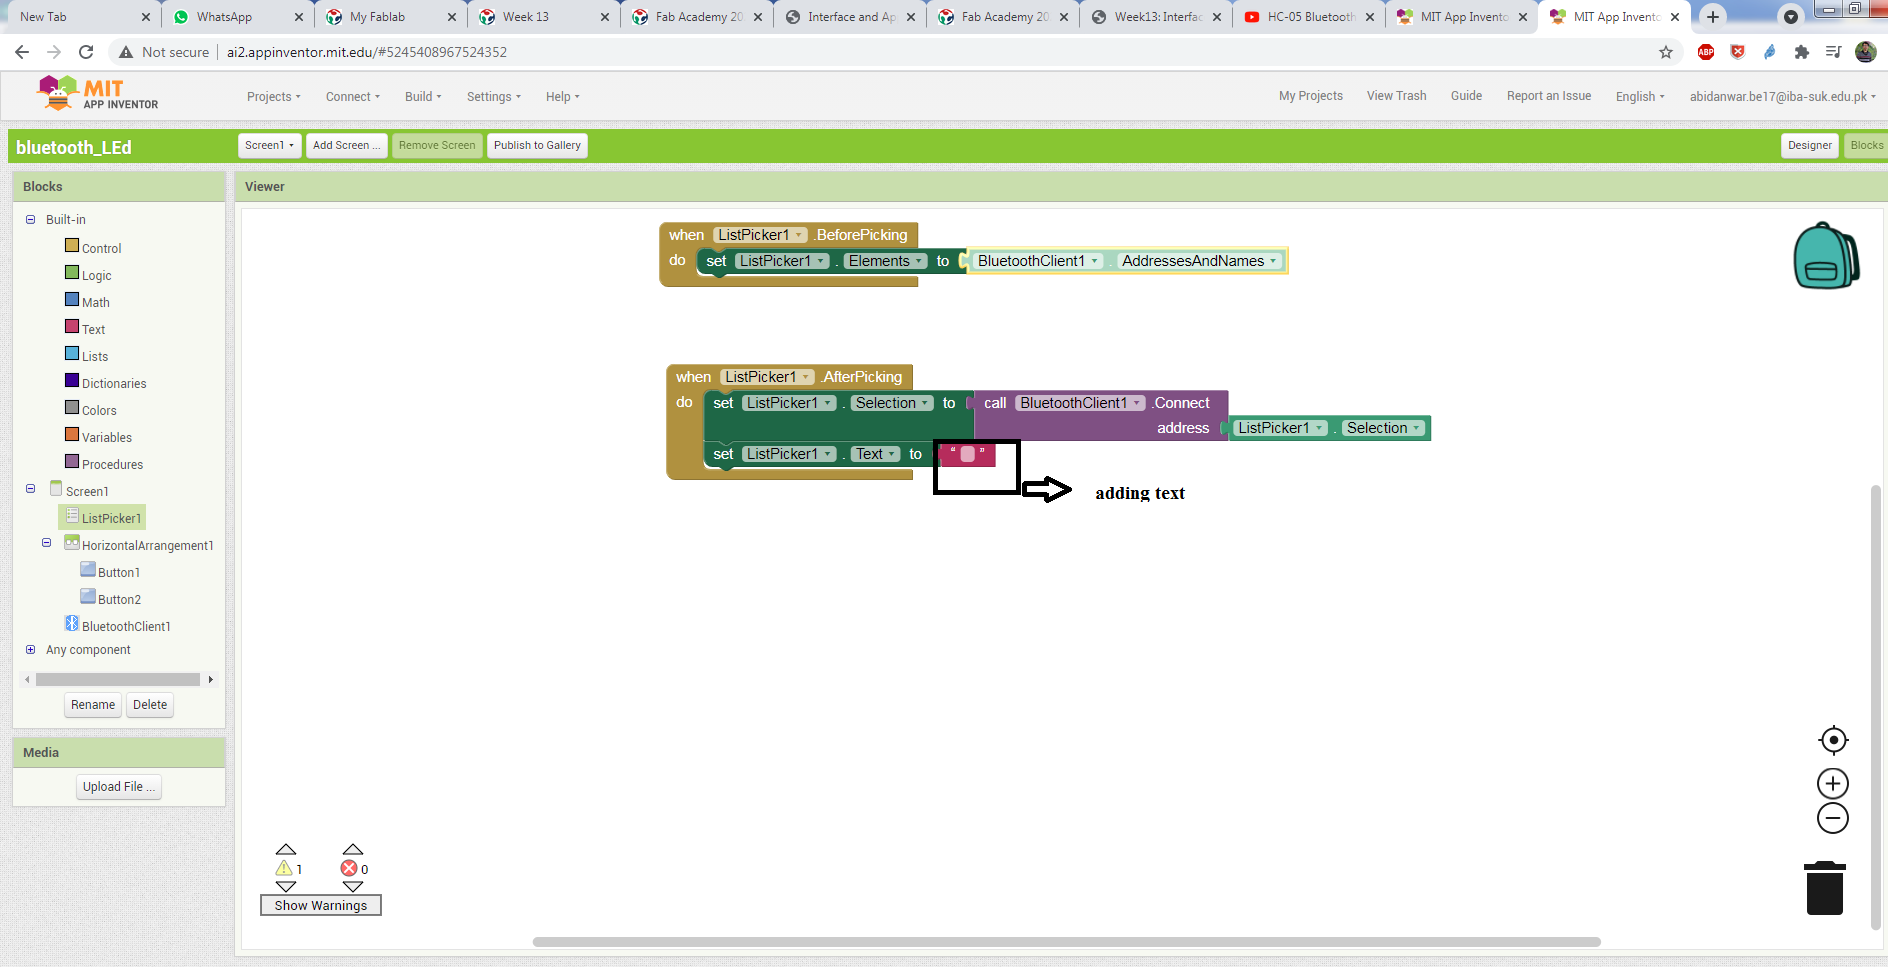
WHEN BLOCK OF LIST PICKER(BEFORE And AFTER PICKING)

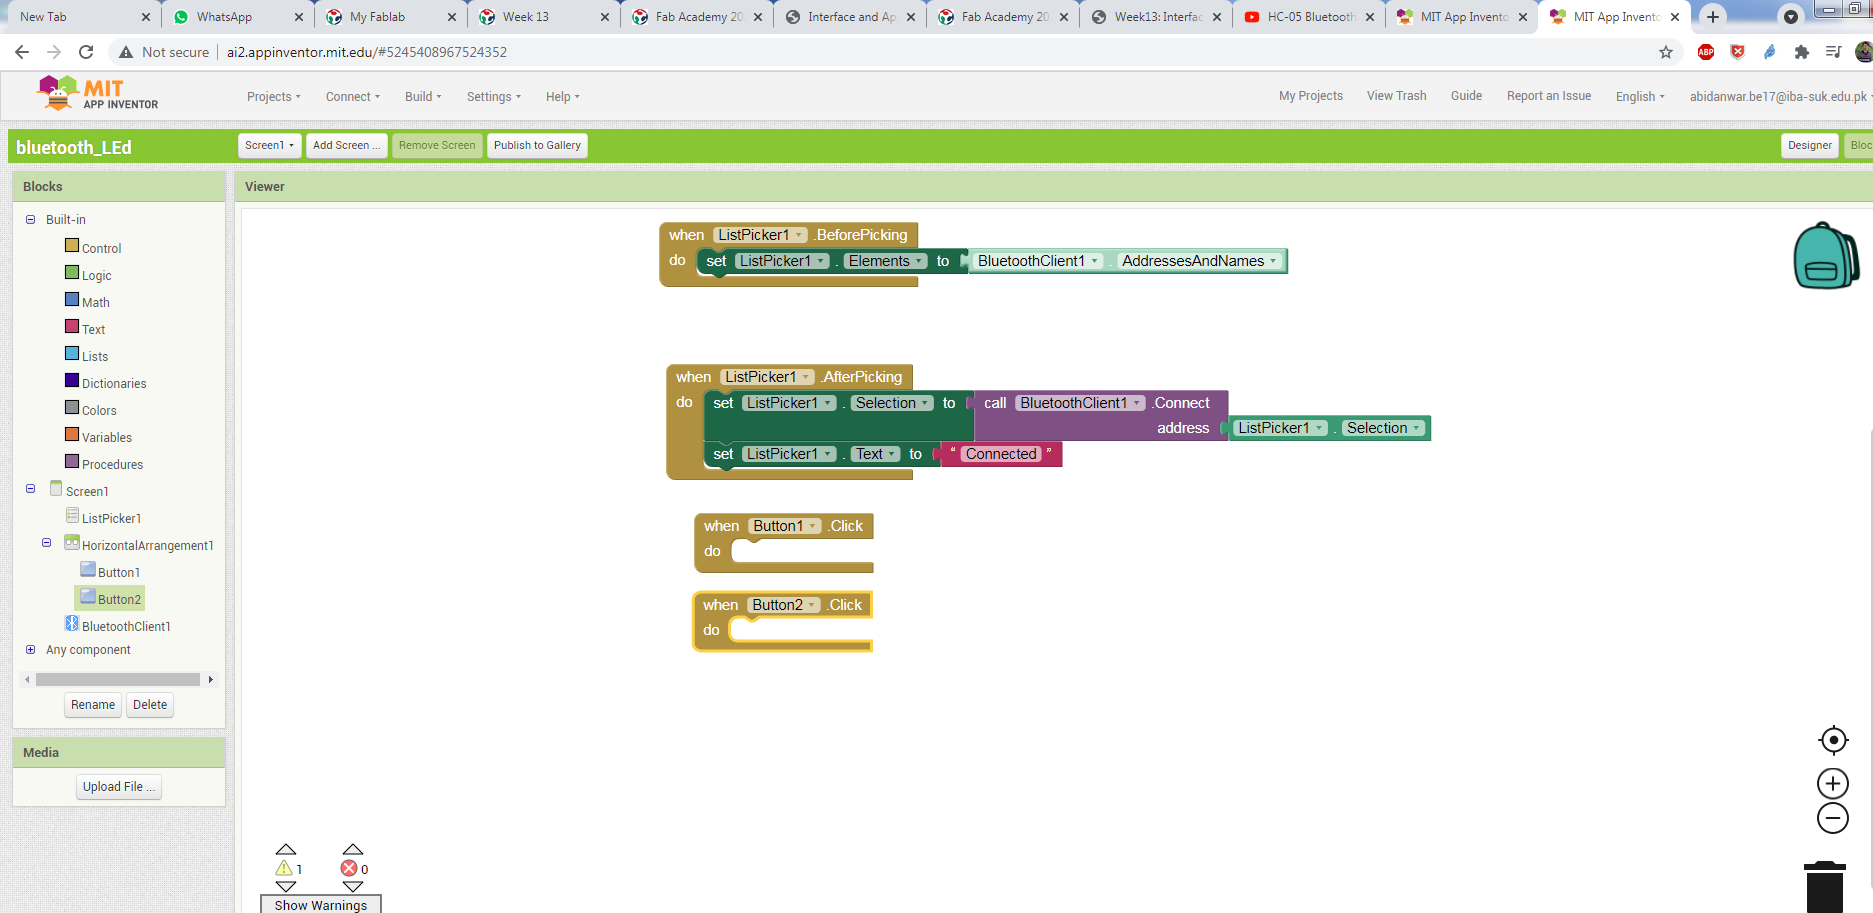
Creating Function for the button.
After Makig the above Step now I define the function for the buttoons that when press the on button and Off Button What will happen.
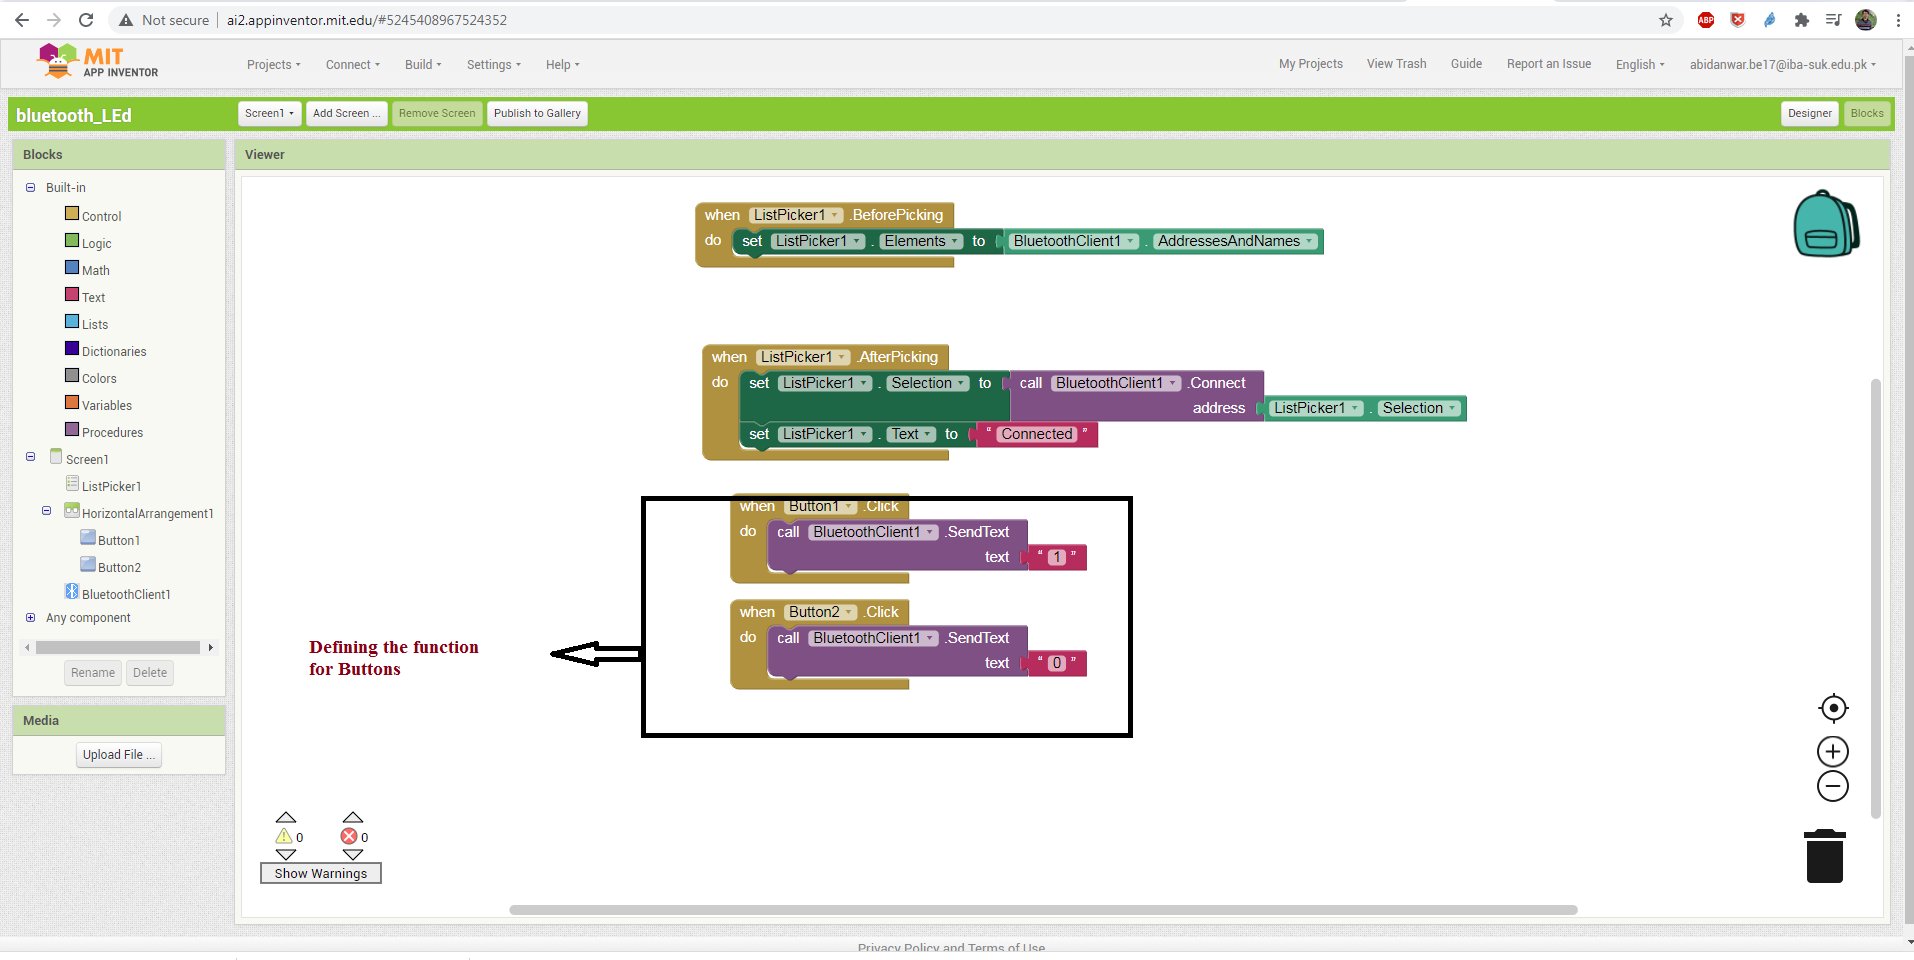
Function for the buttons.
Download MIT A12 companion App .
Now it is time to download the app . I go to Play store and search and down load as:
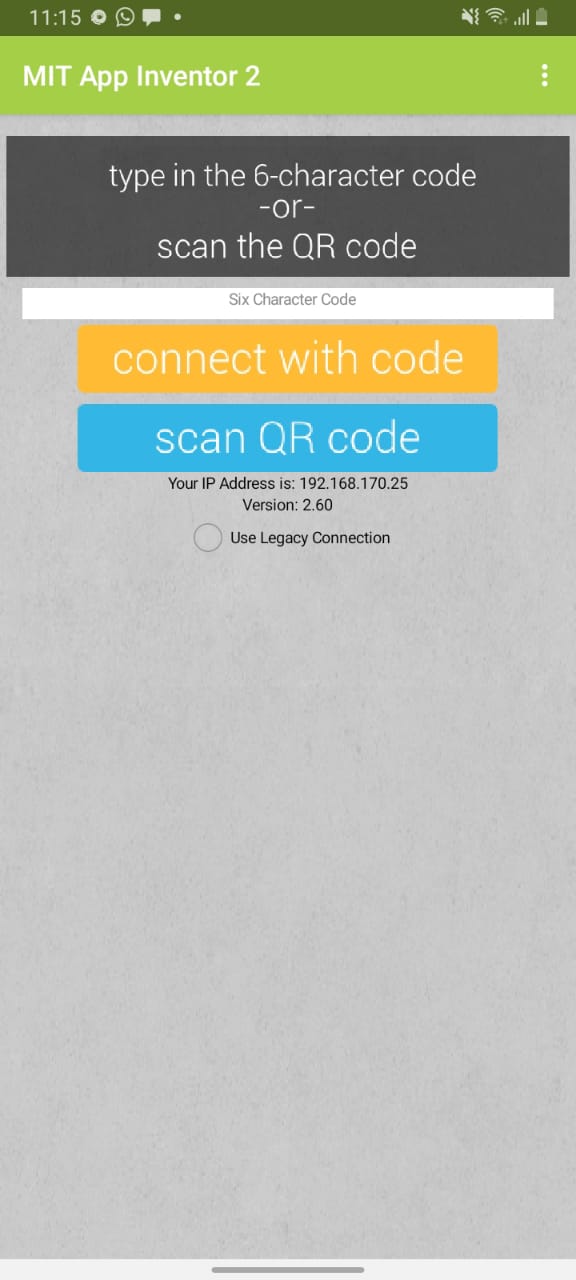
download the App .
Generating QR Code.
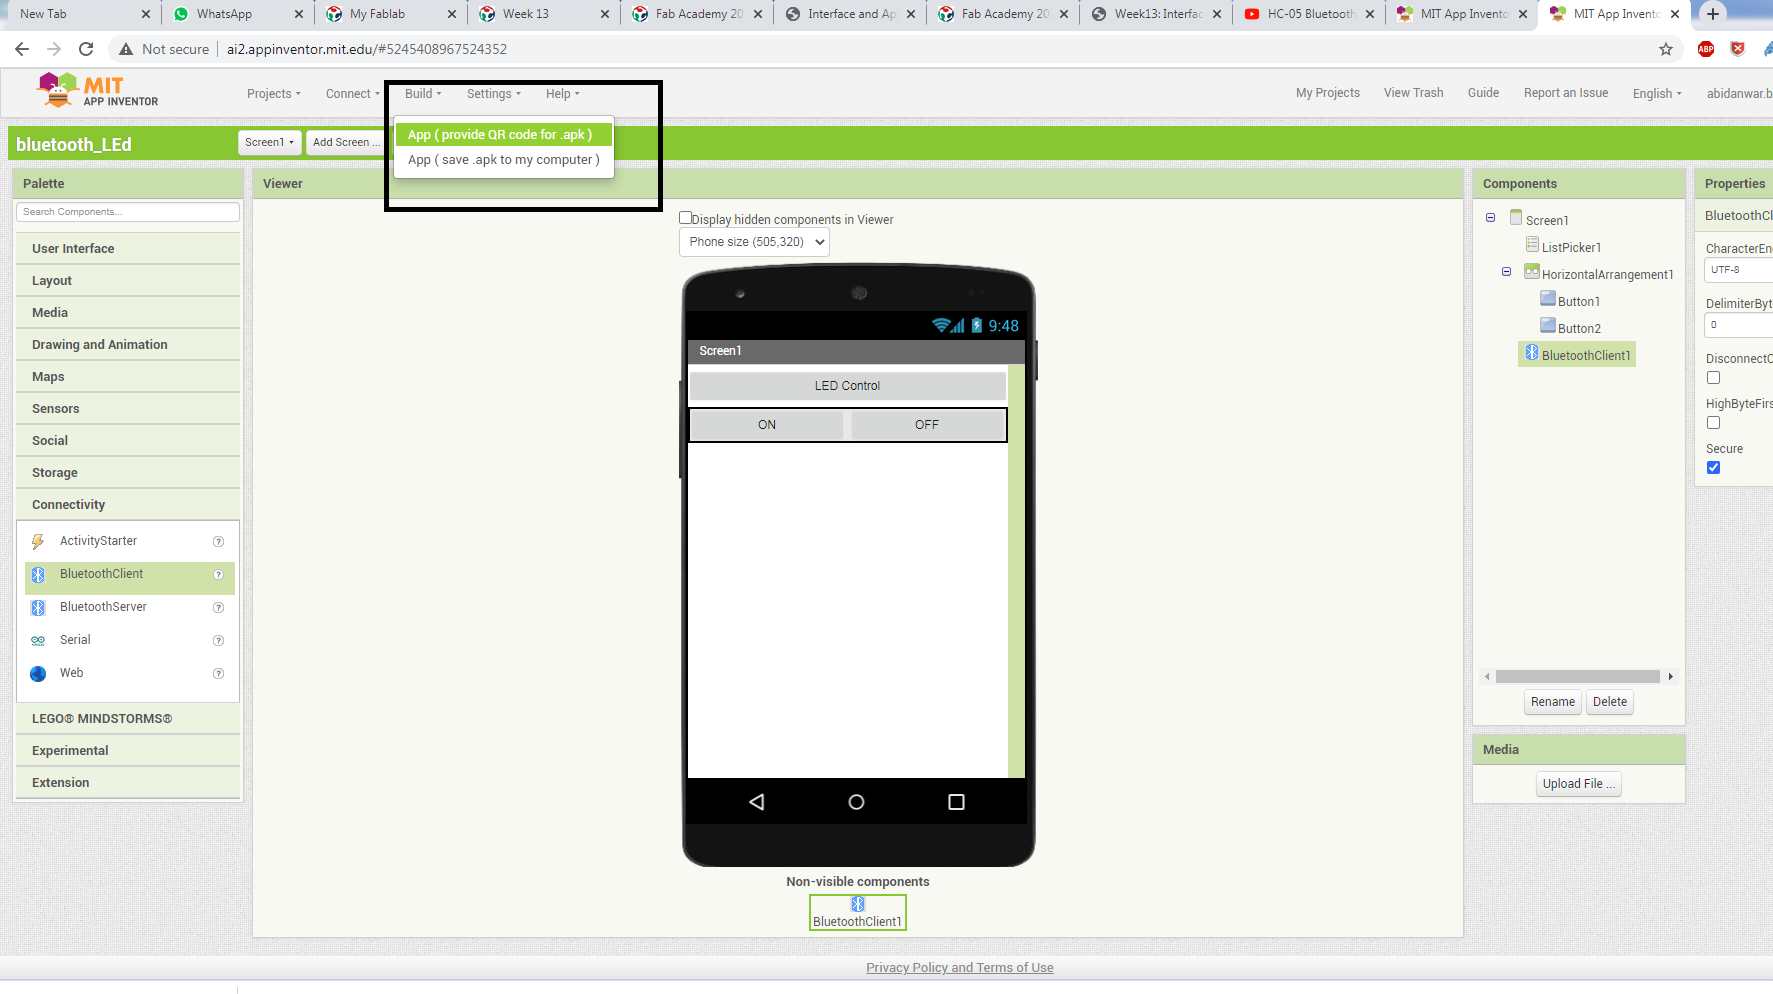
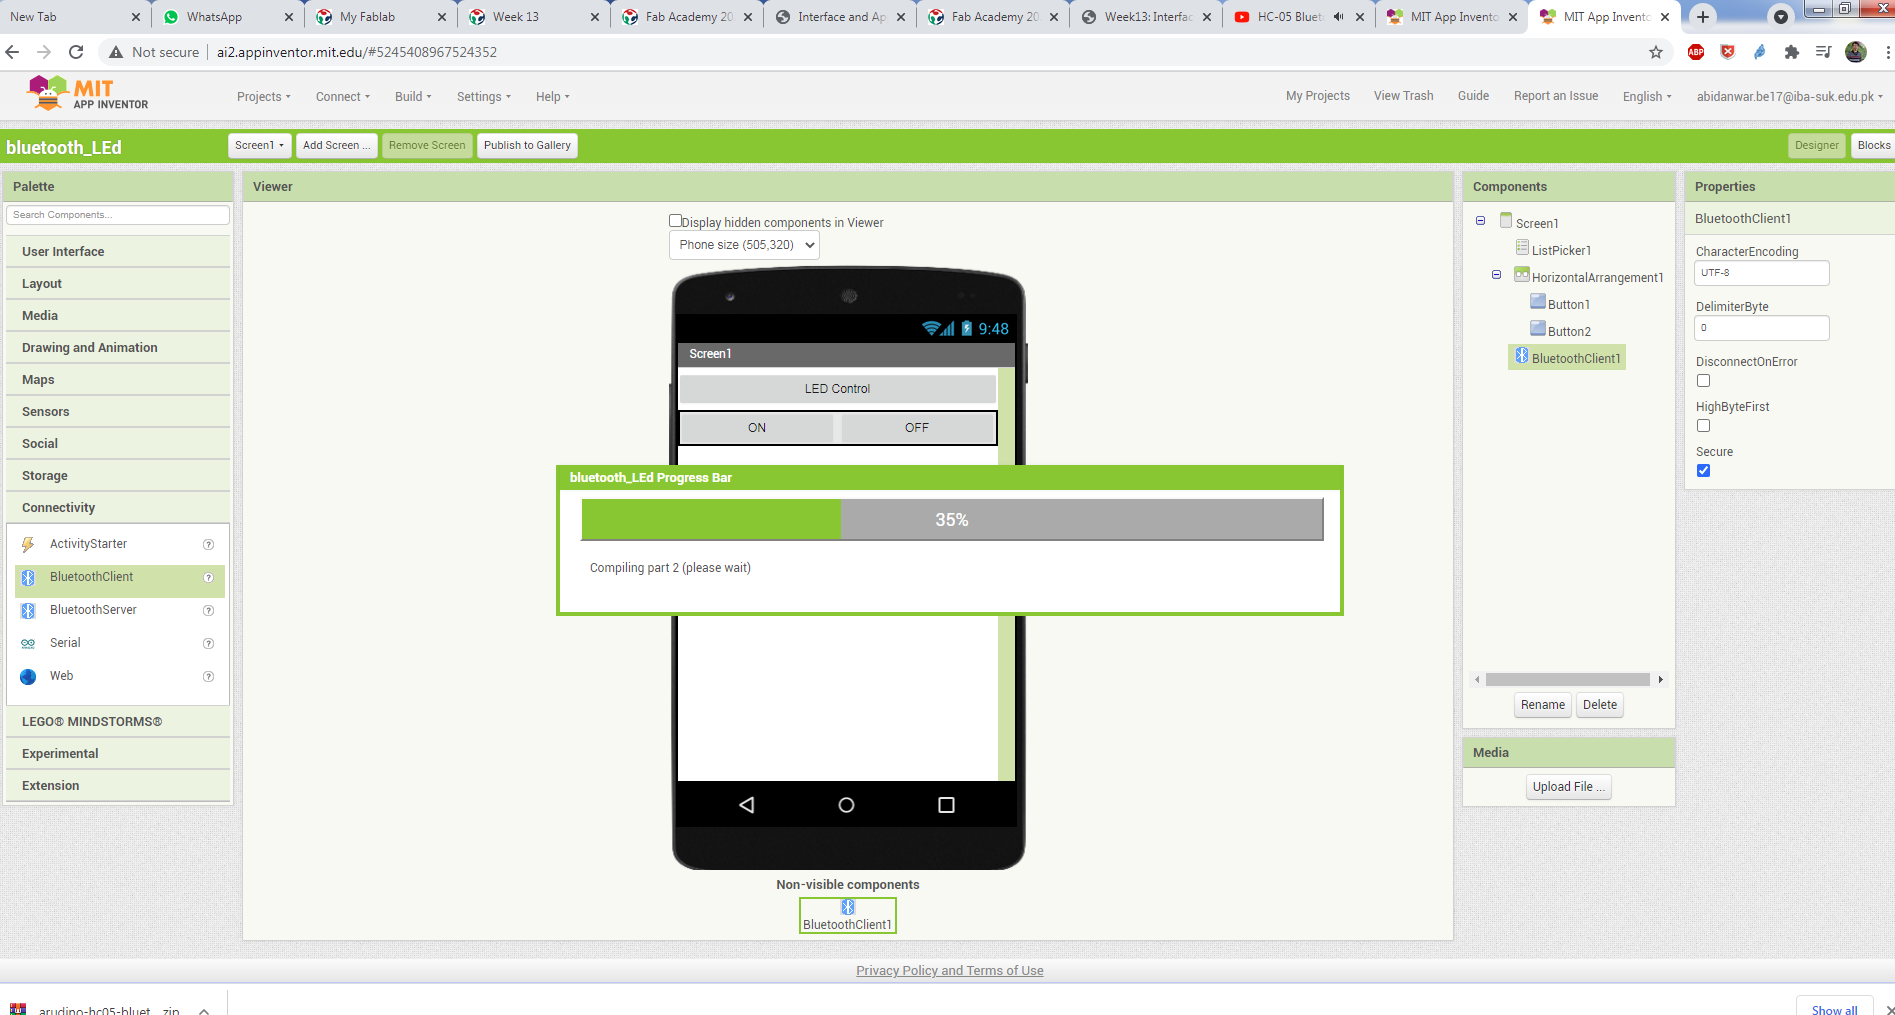
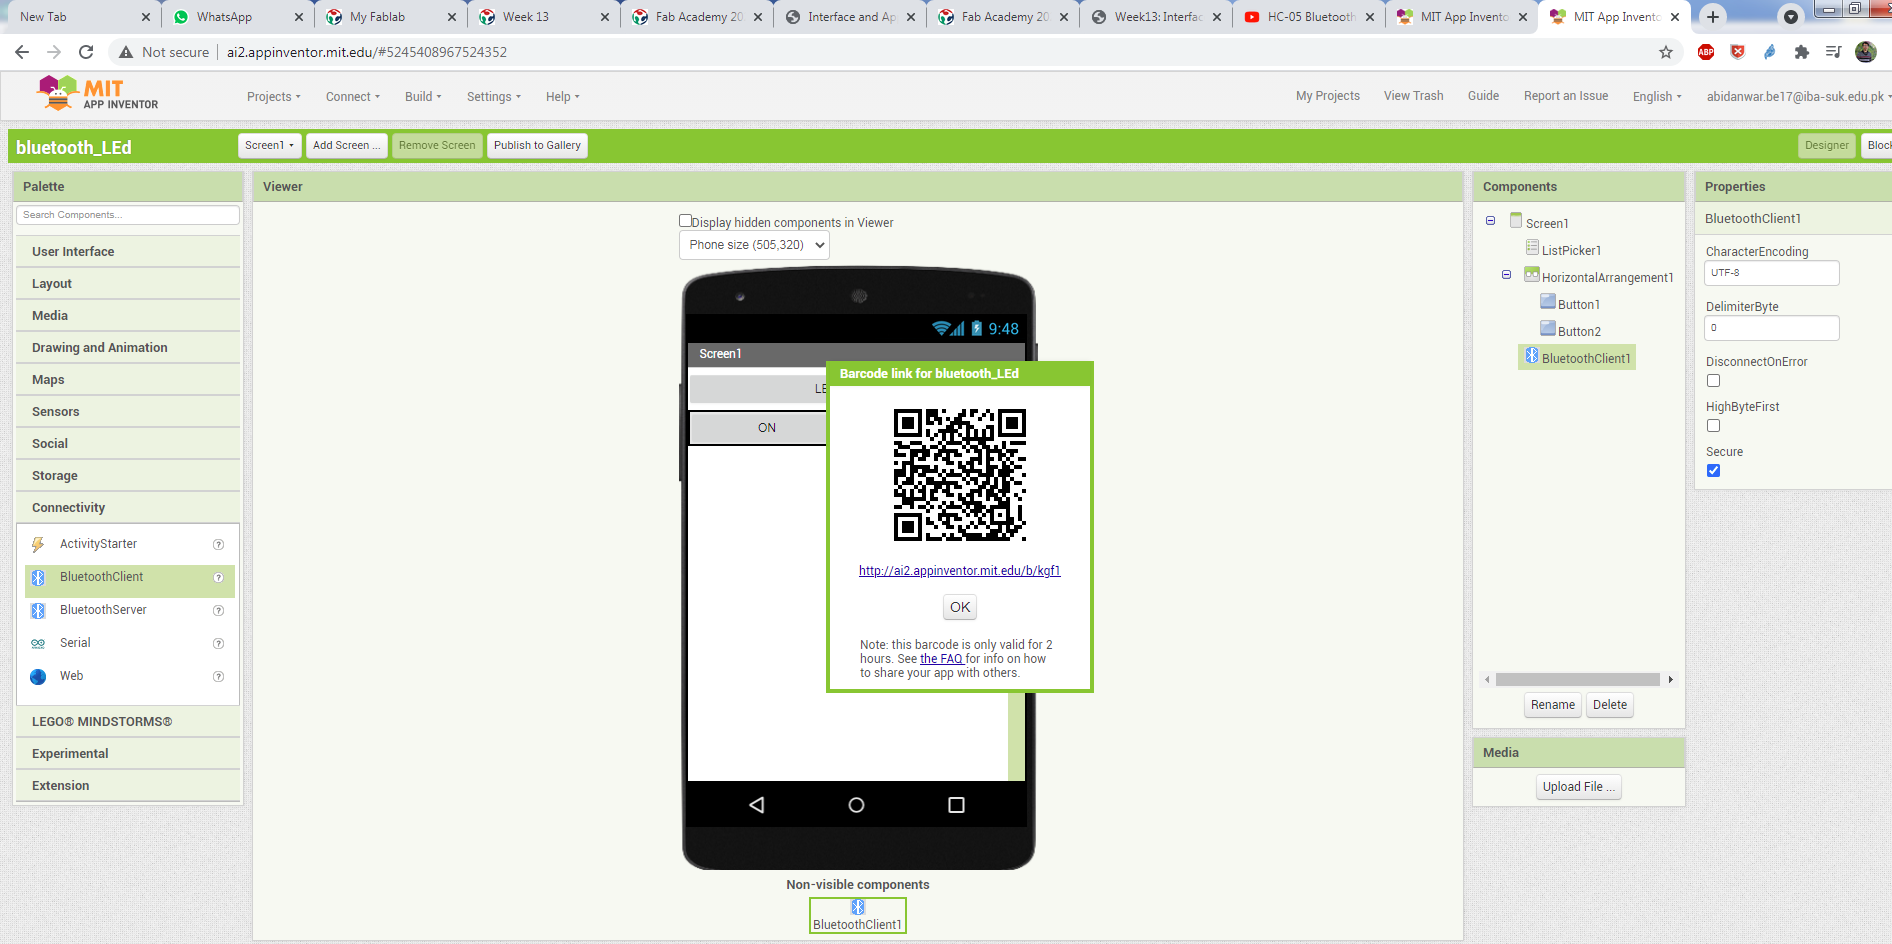
generating QR code
Programming and Connection.
I used the controller I Design it in the Input devices week. You can find more about it at Here
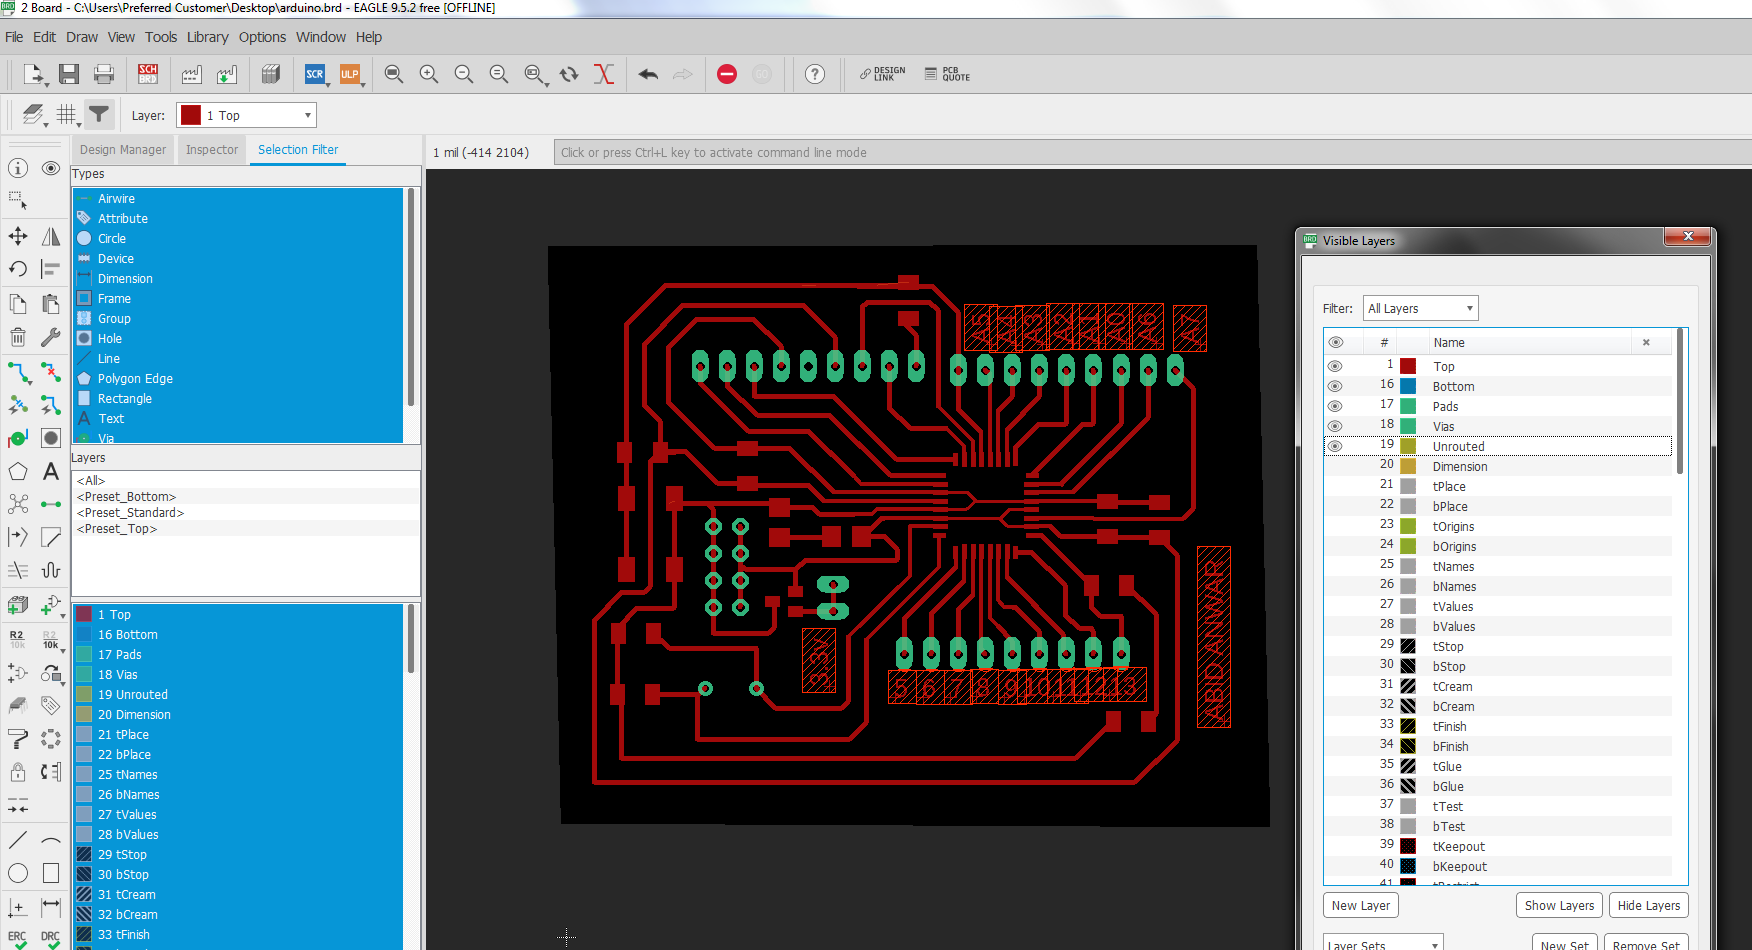
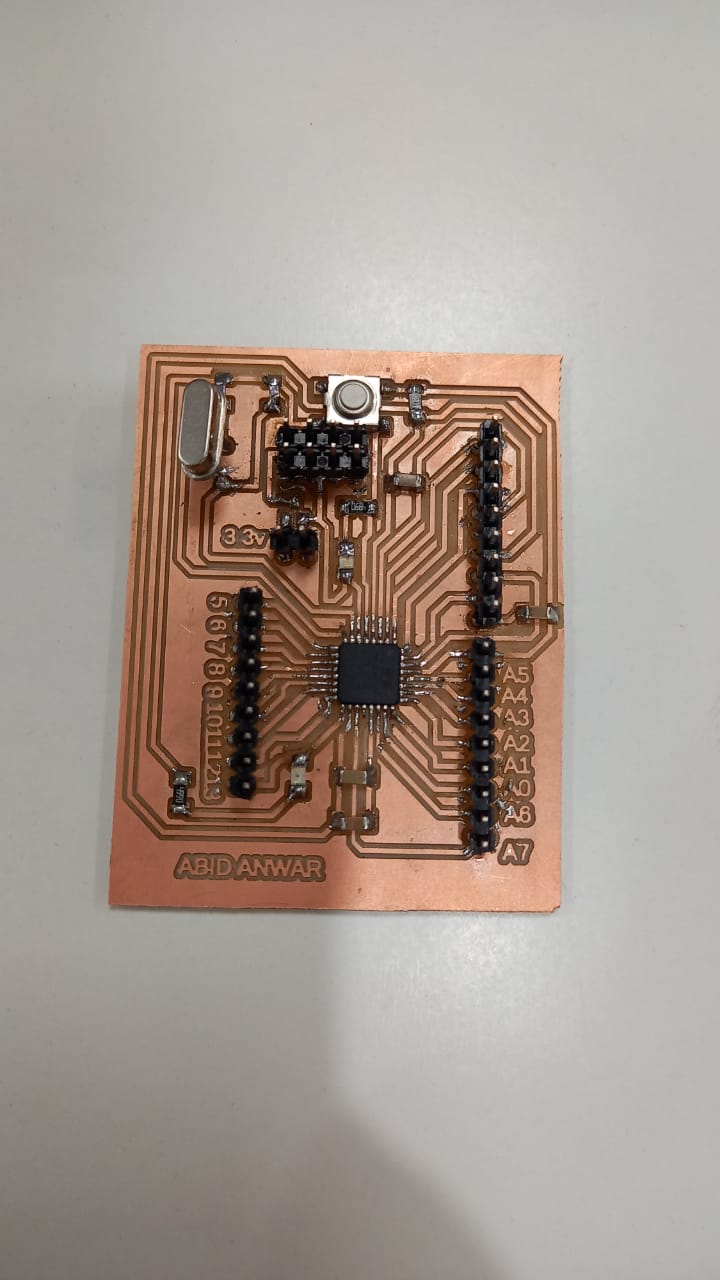
Controller used.
I also use the bluetooth device HC-05 and make the connection as:
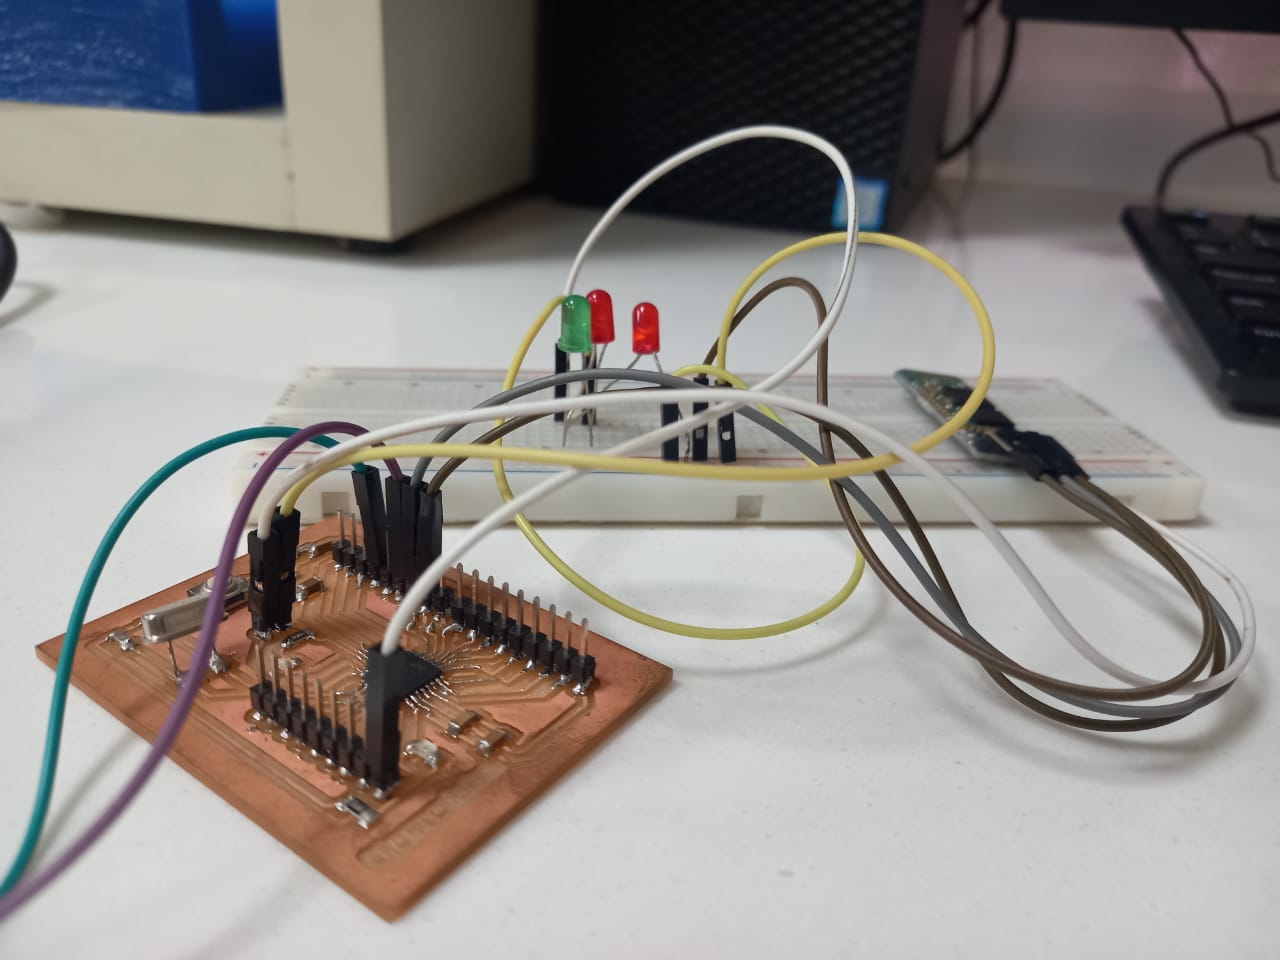
Making the connection
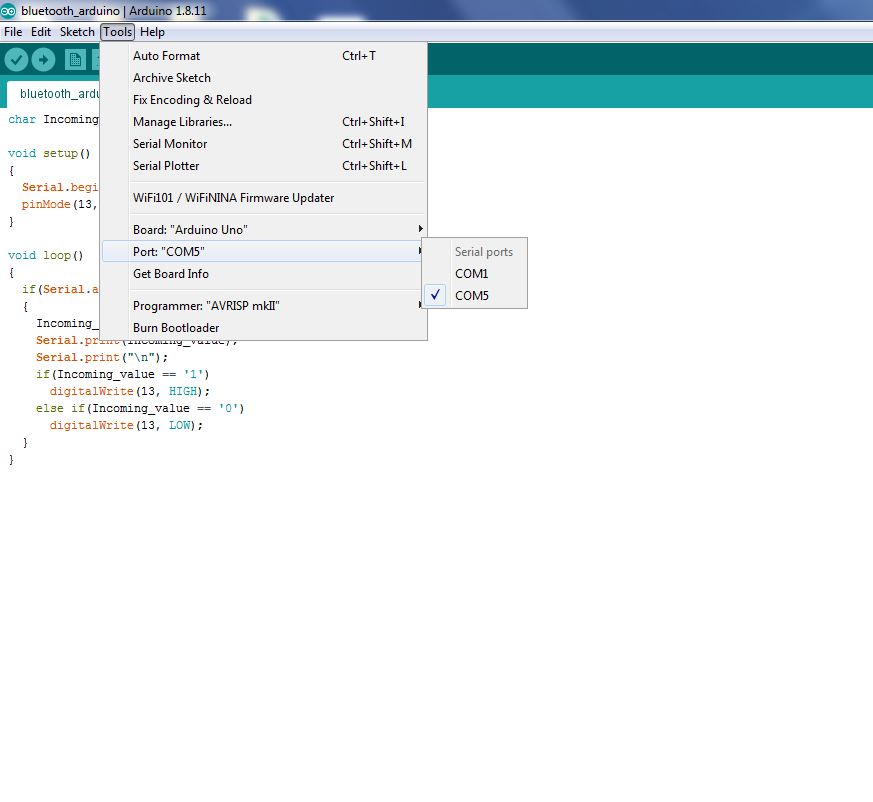
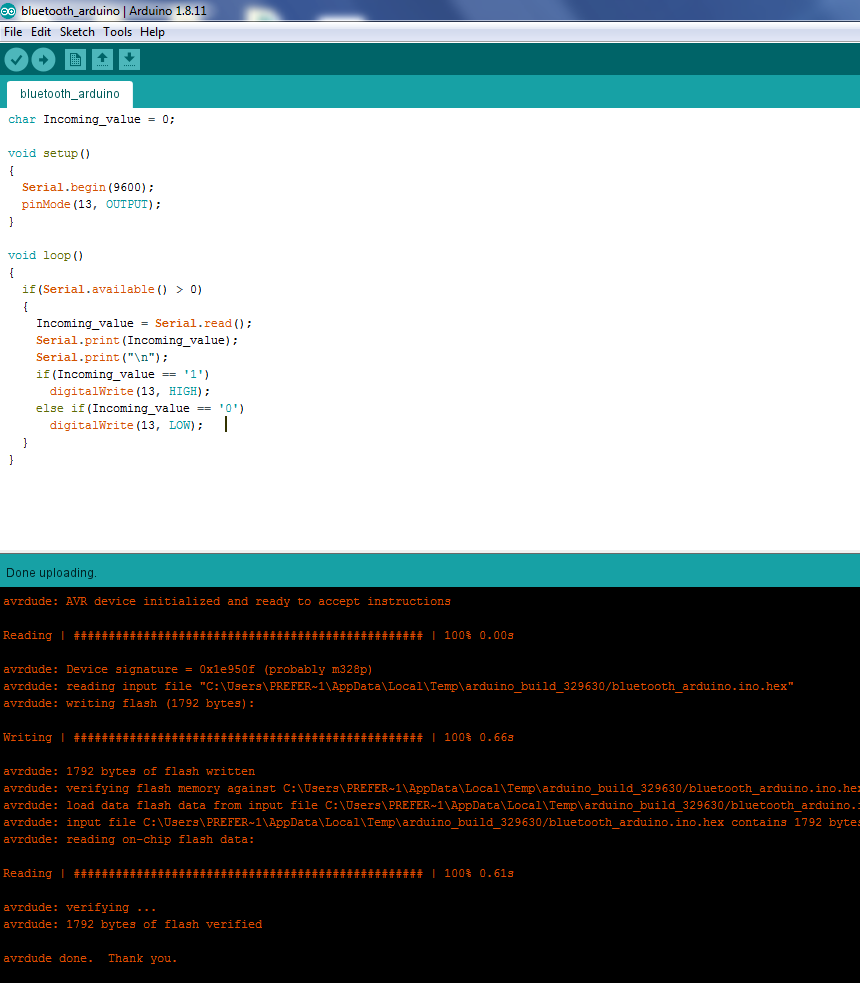
I Program at arduino and upload sucessfully as:
char Incoming_value = 0;
void setup()
{
Serial.begin(9600);
pinMode(13, OUTPUT);
}
void loop()
{
if(Serial.available() > 0)
{
Incoming_value = Serial.read();
Serial.print(Incoming_value);
Serial.print("\n");
if(Incoming_value == '1')
digitalWrite(13, HIGH);
else if(Incoming_value == '0')
digitalWrite(13, LOW);
}
}
Controller used.
The video showing the working of the project: