Final project

final Slide
My Final Project
As project selection and proposal was one of the most important part of the FAB Academy. I take a lot of time in project selection.A t last after reseach and discussion with my instructors I decide to make automatic Hand sanitizer. In which one can sanitize hand without touching any walve or Container of the sanitizer bottle.
Problem Statement:
As due to corona all
people are becoming health conscious and we see there are saniters bottle hanging in public place and offices. But Still some people afraid to use it by saying that
the person before them may be corona infected and have touch the bottle they may cause them to be affected.
Solution:
To solve this problem I am going to make IoT based automatic hand sanitizer in which no one need to touch or contact with the sanitizer bottle. As when the person put his/her hand under the bottle the sensor detect it and apply the sanitizer. Second thing is that in today world most of the equipment and machines even the patients are monitoring remotely. In the same way I inspired to work or monitor things remotely. So in this project I will also added the components which will give me the status of level of sanitizer in the bottle .

In this project I have applied the knowledge which I learned in weekly assignments during my Fab academy.
Below is the short description of the weekly tasks which helped me to build my final project.
* Principle and Practices To Plan and sketch a potential final project.
* Project management To plan and document the progress of the project.
* Computer Aided Design, TO choose best software for designing the 3D model for 3D printing, Laser cutting, and Vinyl cutting.
I choose SolidWorks , INKScape software throughout my final project.
* Computer Controlled Cutting. TO cut the acrylic sheet on Laser cutter machine,
and sticker cutting in vinyl cutter machine for labeling the texts on the acrylic sheet of the project. I laser cut the acrylic sheet of 3.5mm thickness, and vinyl cut the stickers for labeling.
* Electronics Production. To make and mill the PCBs. I designed my PCBs in Eagle CAD software and milled at Srm 20.
* 3D Printing. To Make and print 3d. I designed the Nozzle and on half circle part of my project and print them in Ultimaker ^2 extented+.
* Electronics Design. To choose right software for designing the PCBs, milling and soldering the PCBs and make my own microcontroller board. I designed atmega 328p Satsha Kit .
* Embedded Programming. To investigate the right programming language in my microcontroller. I programmed my designed Atmega328p board, and connect the I/O board to it via jumper wires.
* Input Week . To interface the Input device (sensor) with controller.
* Output Devices . To use LCD for displaying the sanitizer level and pump for the droplet of sanitizer.
* Applications and Implications. To describing my project, what I am doing and leaned during the process of final project.
* Invention, Intellectual property, and Income . To document for license of my projects and tasks.
* Project devolopment . To document of completing my project.
The rough daigram of project is as:
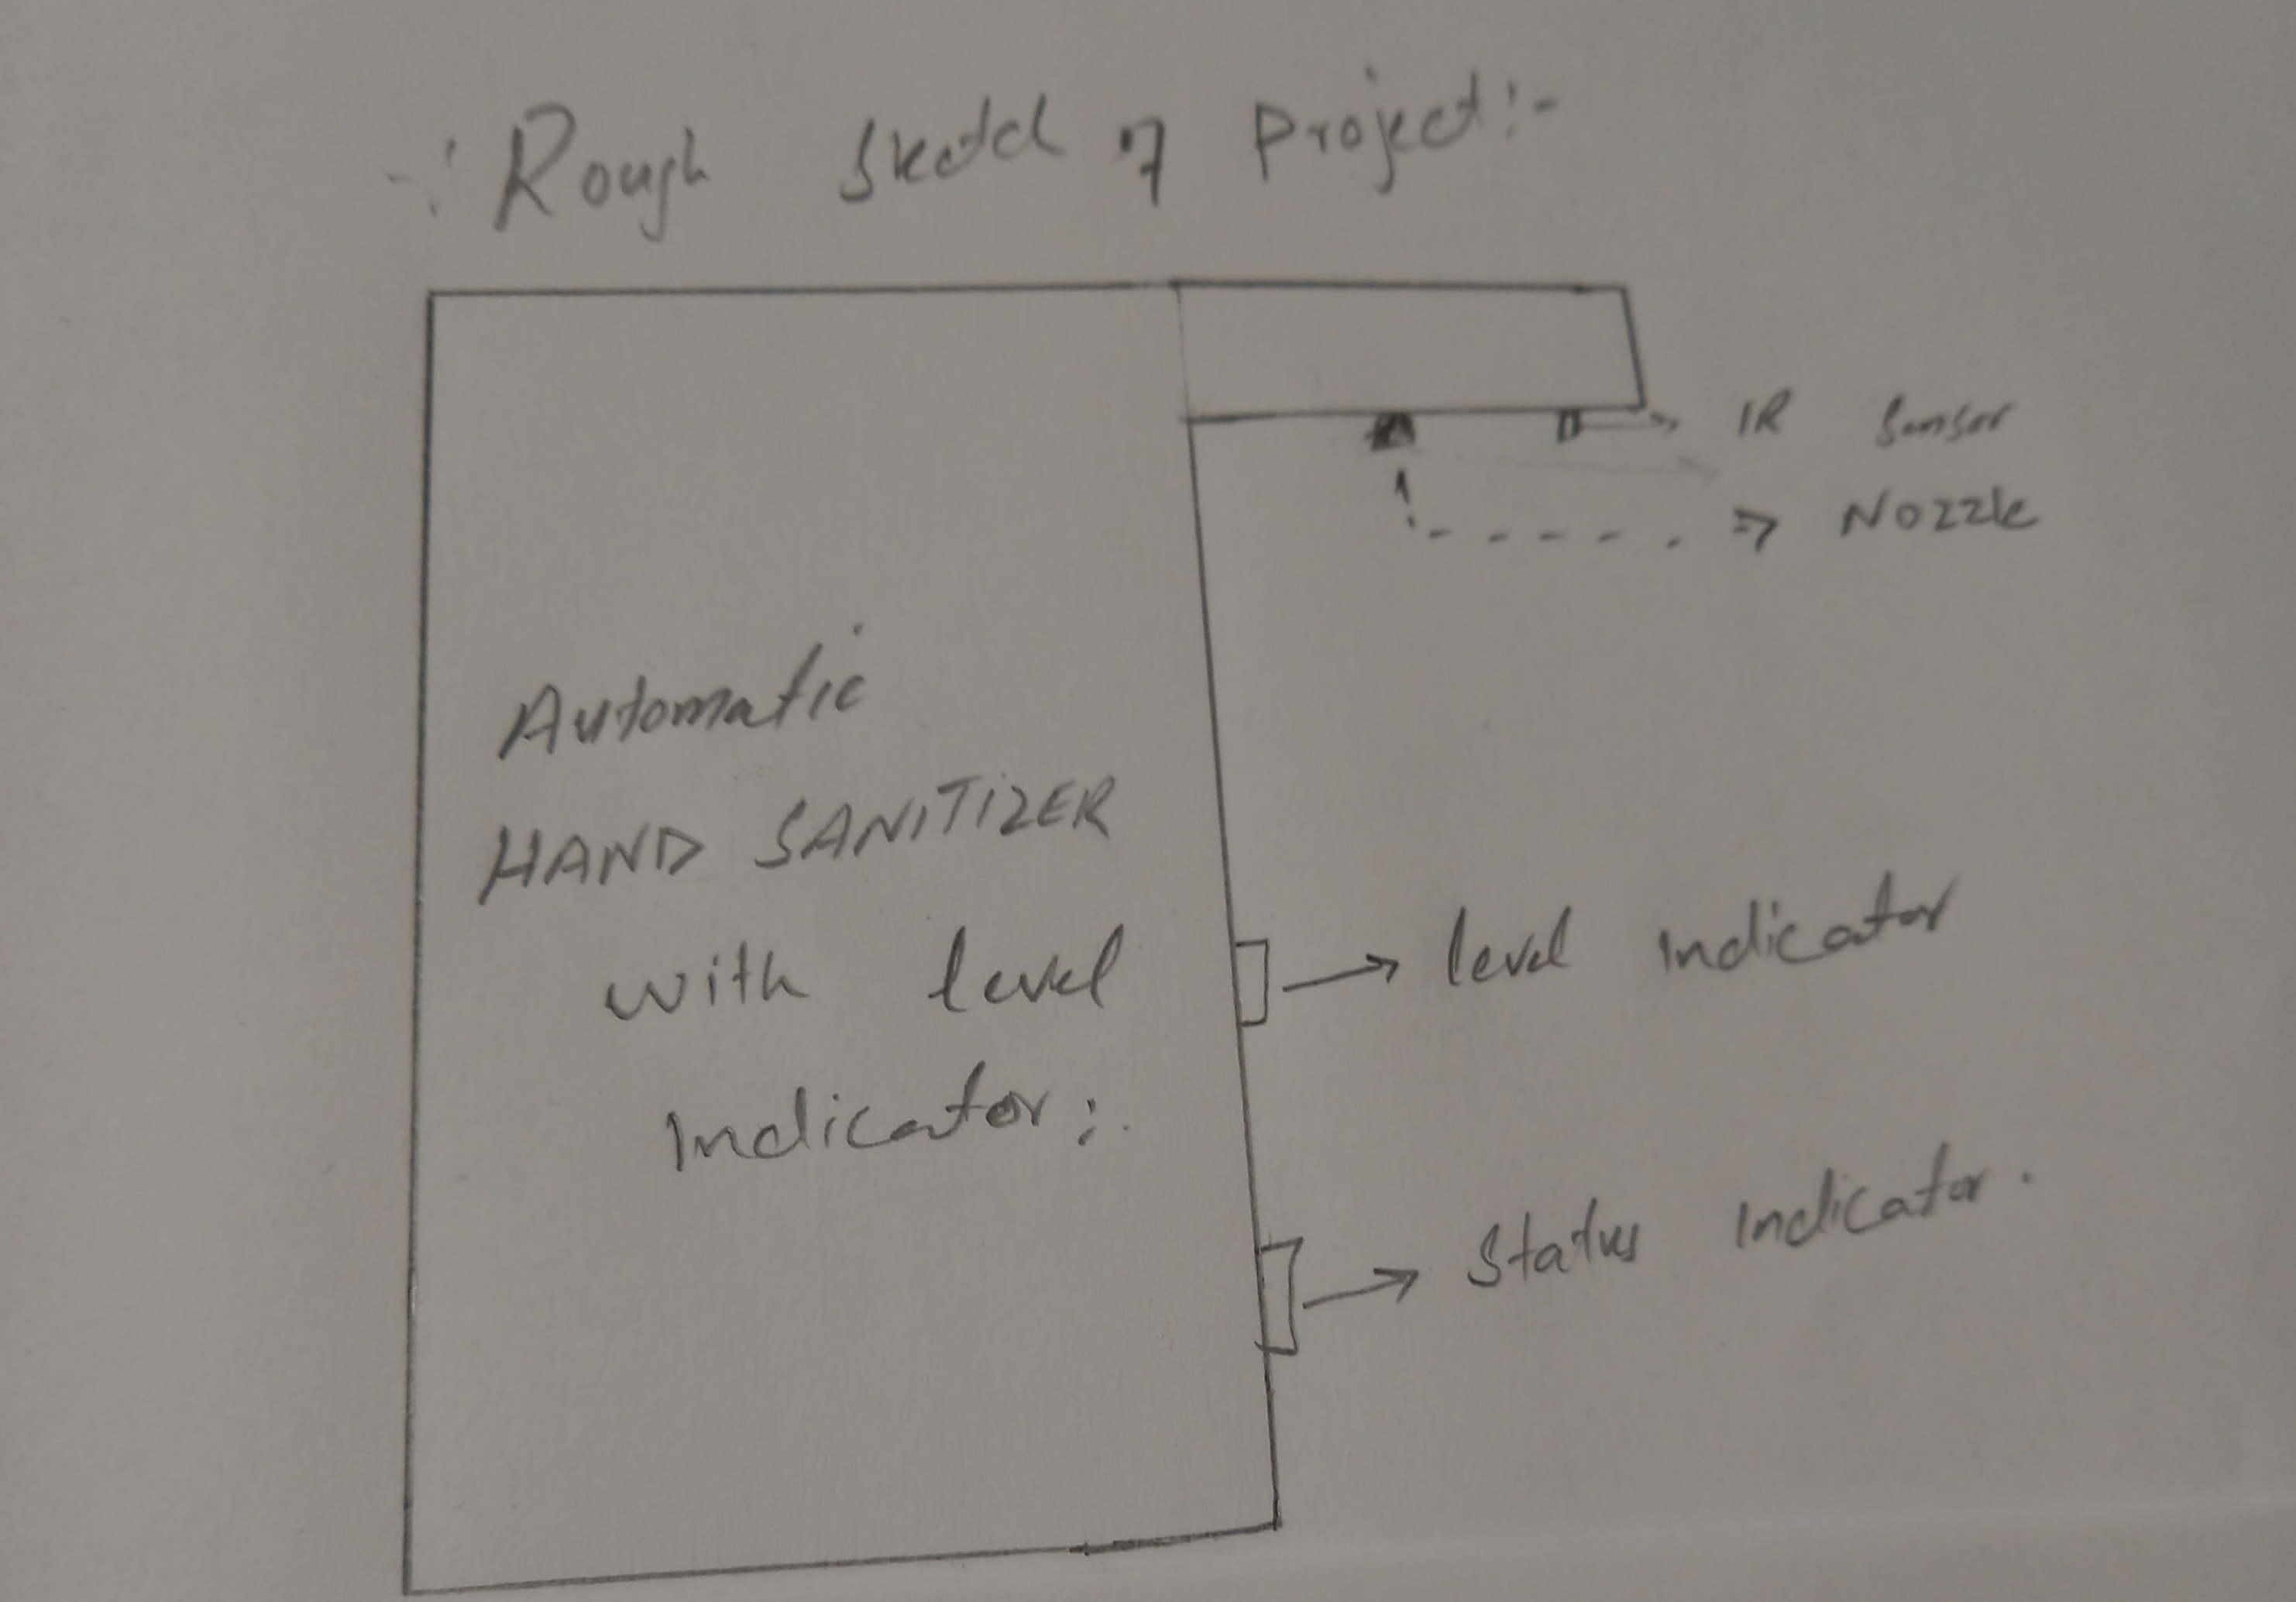
Working Mechanism

fig:working mechanism of projects.
First I design the project by using IR Sensor but NEIL Recommend me to Change the IR Sensor. So I decide to use the Ultrasonic sensor in place of IR Sensor As:

fig:working mechanism of projects.
Block daigram of the flow chart of the project
This block daigram shows the flow chart for the condition of the pump to to turn on or off which further decide wheter to spray the droplet of the sanitizer or not.

Fig:Screen shot of the flow chart for the pump.
Material required:
* 3x1-ft 3.5mm Acrylic Sheet.
* ULtrasonic sensor
* Water level sensor
* 5V Pump
* LCD (16X2
* Elfy glue
* Male/Male Jumper Wire (150mm)
* Female/Female Jumper Wire (150mm)
* ATMega328p along with circuitry
* 5V Relay Module.
* 5V 2Amp Battery.
* PLA for 3D printed of one circular side of box and nozzle
Bill Of Material:

BOM
Process:
1. Electronics part (Printed Circuit Boards):
Atmega328p board is the main microcontroller of this project, which is programmable by user of the device.
I programed all the basic tasks in my designed satshakit. I Designed it at Input week. Where I define step by step process of
making of the controller circuit.


Atmega328p board designed in 'Eagle'


Atmega328p board is milled


soldering the board
2. Computer Aided Design For 3D Print:
I designed one part of the final model of the project's casing on SolidWorks for 3D printing as one this part is curve and cannot be accurate at aser cutter. And also I designed the nozzle in solid work and 3d print it.


3D model of nozzle
3. 3D Printing :

3D model of Nozzle in Cura
Computer Aided design for Circular part.


Design and Print of Circular Part
Download file from Here
4. Laser cut for the external body
For the container of the project I design the body at the solid works and cut through Laser Cutter I use the 3.5 mm Acrylic Sheet and leave the slot for the button and LCD display As:


Design of project's body at solidworks


laser cutting of the sheet
Download the file from Here
5. Vinyl cutting
To decorate the project I Vinyl cut with Fablab Khairpur and Hand sanitizer and past on the project as:


6. Embedded programming
I have program the code for each sensors and for the outputs as accordingly to work coherently . After testing and confirmming that working properly I merged all the program in one coding and upload at thecontroller as:


Programming for the project
7. Assembling and testing
After Having all the Parts I Assemble All Parts and Test the Working of the Project.


Assembling and testing.
Final Product

Acknowledgment
Start With the name of Allah Who is the most Mercifull and Benificial. I am very thankfull to Allah Almighty that Help me to Complete the course.
I am very happy to be able to complete this project and that it works (almost).
I would like to express my warmest gratitude to my supportive supervisor, Dr. Professor, Neil Gershenfeld,, My FAB Instructors Engr. Noor Ahmed Raza , Engr. Rasheed Ahemd Qazi ,
who has provided support and Guidance for This Digital Fabrication Diploma. I am Also very thankfull to all my colleagues .