Helmut Uwe [OOVAE] Terton - Fab Academy |
||
Helmut Uwe [OOVAE] Terton - Fab Academy |
||

Assignment tasks for Week 12:
Group assignment
Contents
For the group assignment I have used the following materials:
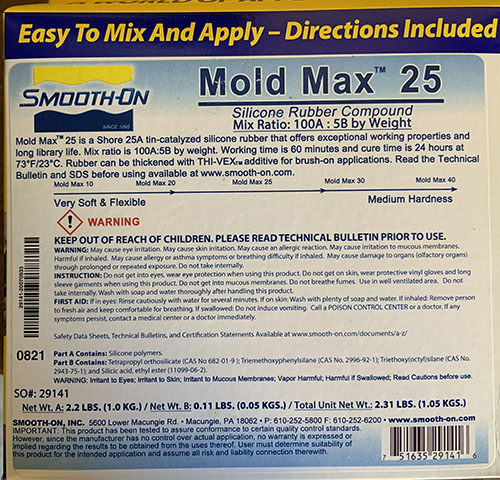
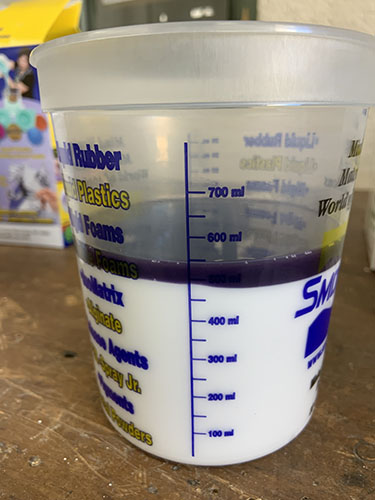
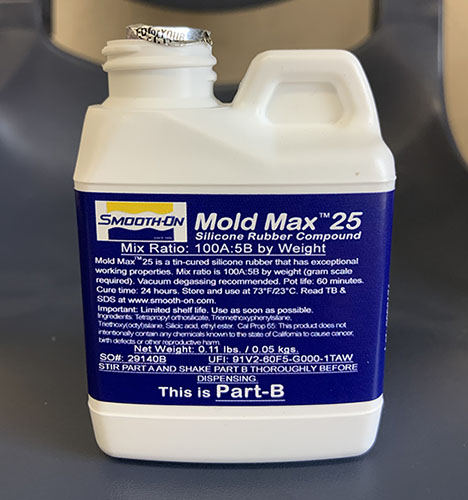
Mold Max™ 25 Silicones are tin-cured silicone rubber compounds that have exceptional working properties and library life. Mold Max™ Silicones feature Smooth-On’s exclusive “Libra™” catalyst for long library life. Mold Max™ silicones can be pigmented with Silc Pig™ silicone colorants. The mix ratio is 100A :5B. Pot life for the Mold Max™ 25 is 60 minutes and cures overnight at room temperature.
To download the data and safety sheet for Mold Max™ 25 please follow the link:
https://www.smooth-on.com/tb/files/Mold_Max_Series_TB.pdf
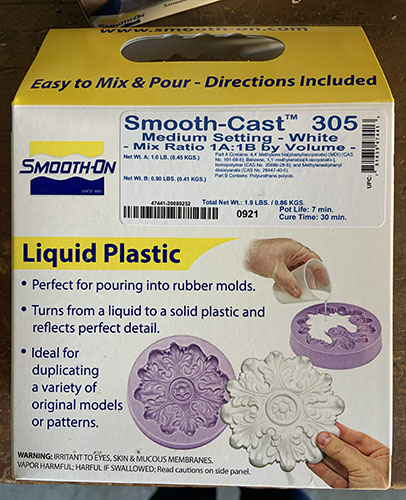
To download the data and safety sheet for Smooth Cast 305 please follow the link:
https://www.smooth-on.com/tb/files/Smooth-Cast_300q,_300,_305___310.pdf
To download the data and safety sheet for Smooth Cast 305 please follow the link:
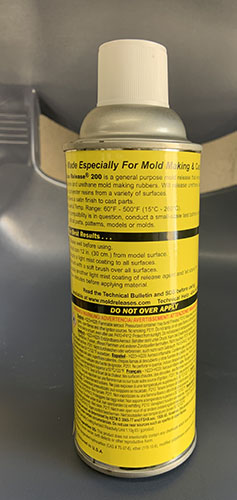
https://www.smooth-on.com/msds/files/ER200.pdf
Dorian Somers' documentation
Lisa Schillin's documentation

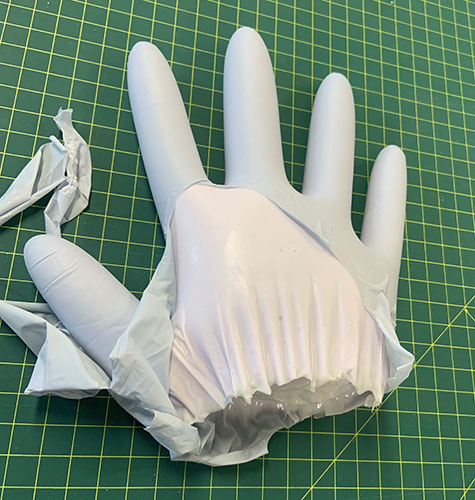
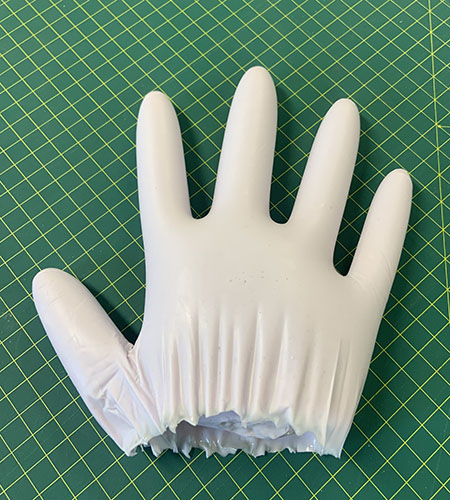
I had some silcone mix left over that I poured into a rubber glove to see how quick it would harden. The next day it was still soft because the room temperature was below 6 degrees Celsius(Australian winter. I took the glove plus filling to my office that was 23 degrees Celsius and within 24 hours the silicone was hardened. This was a good lesson for the donut cast.
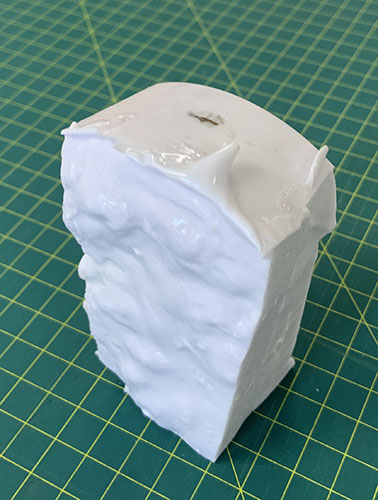
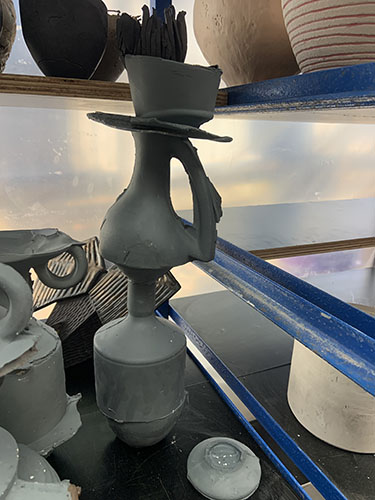
The maker space and workshop space is next to the ceremic studio where we have a large range of ceramic molds that students can use to cast clay modells. I tried out a few molds together to come up with a complex vase as illustrated in the photos below.
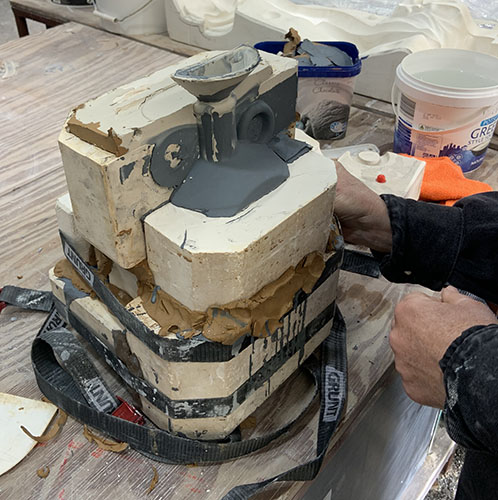
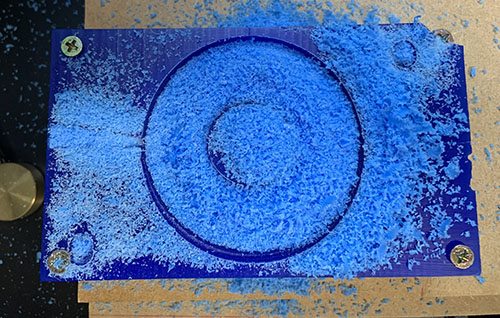
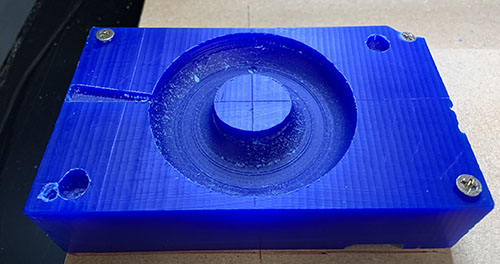
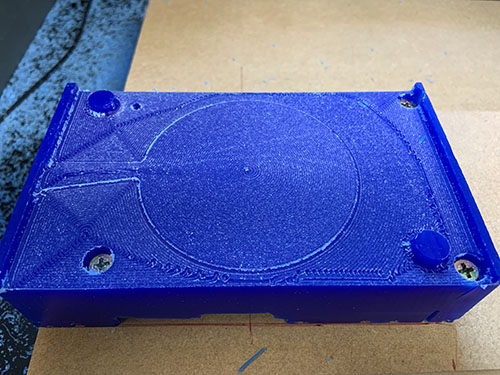
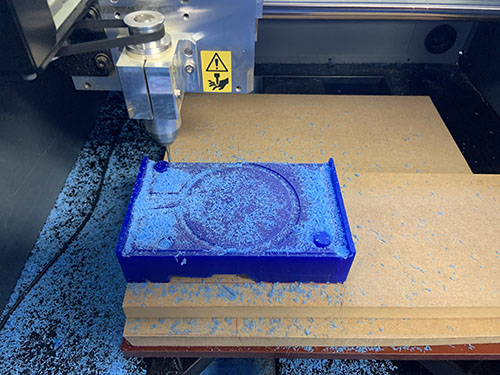
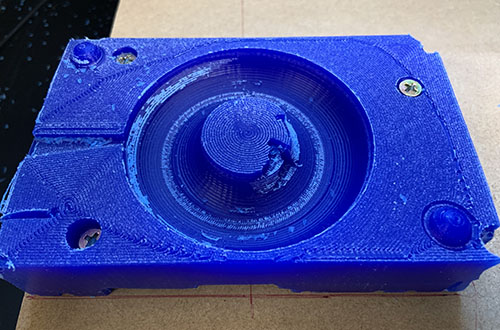
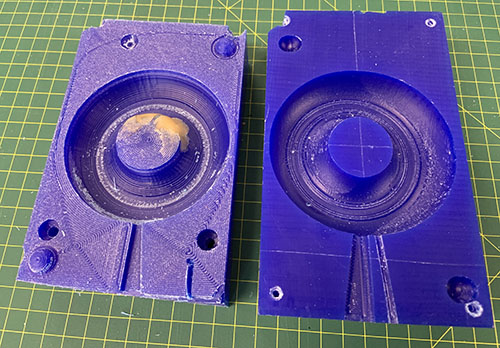
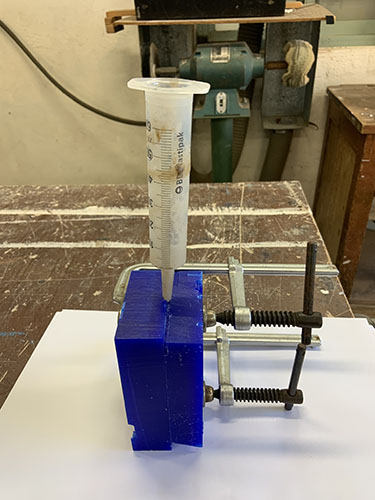
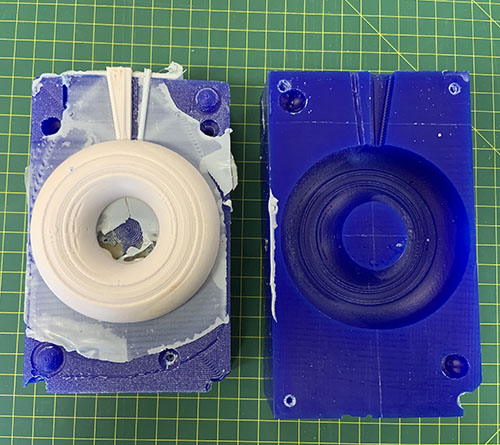
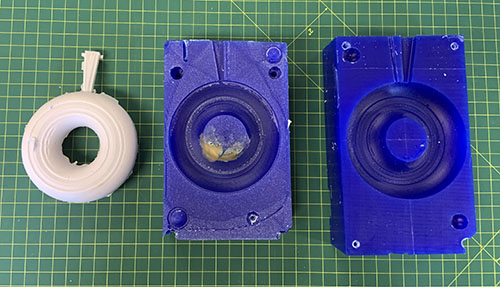
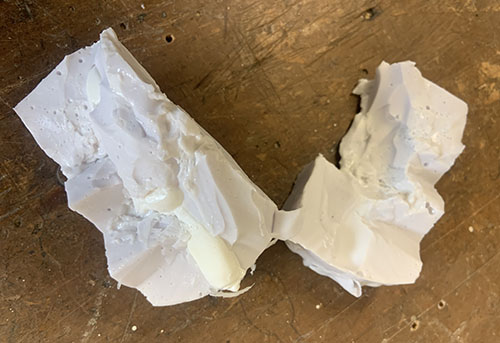
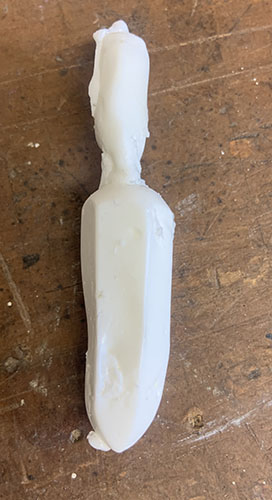
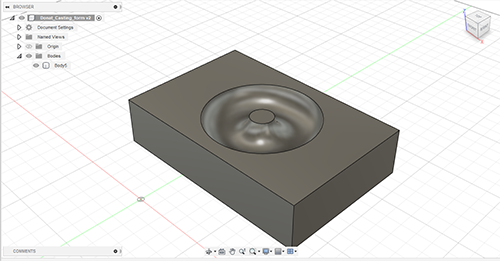
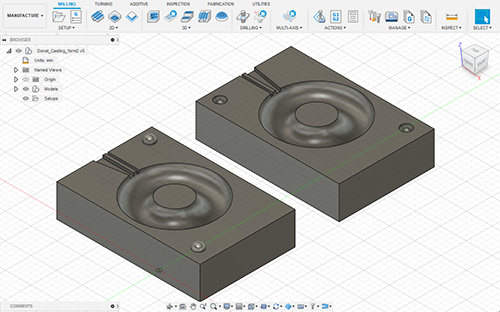
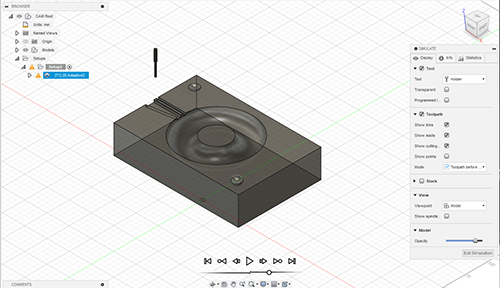
The task was to design a mold around the stock, in this case Ferris Wax and tooling that I did use to cnc route the mold for a donaut shape out of the wax.
The Process
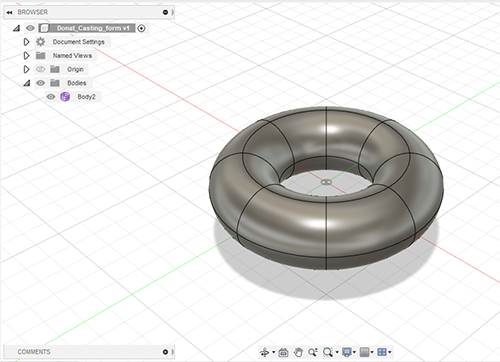
A simple donut shape was created in Fusion 360, this was my first experience with making a mold using a CNC-router and I wanted to keep it as simple as possible.
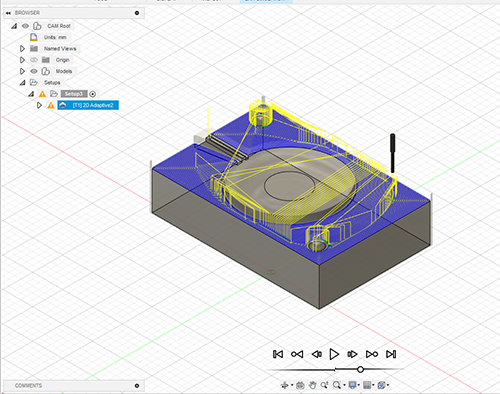
Next step was modelling the bottom part of the mold including an air vent for air release while the liquid silicone is poured in, and a sprue, which is a funnel shaped opening in the mold where the liquid silicone is poured into the mold.
For further explanations and mold and casting related terms please follow the link to Aero Marine Products.
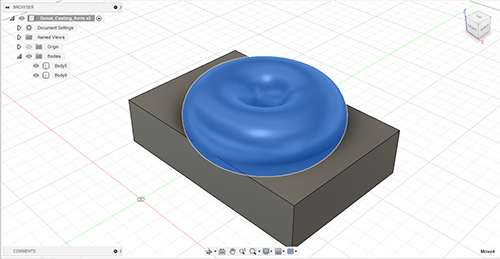
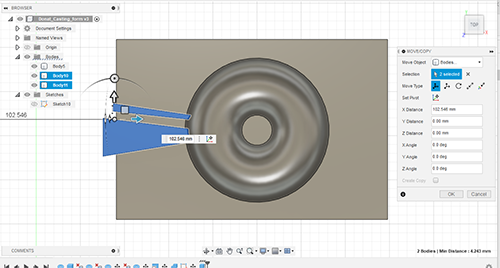
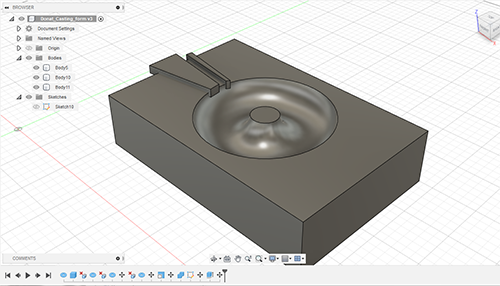
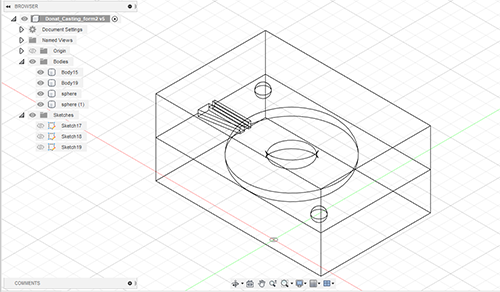
The registration points are missing,the bottom part will have two positive sticking out registration marks. The to create the positive and negative registration marks I coppied the bottom mold and made it the top mold, creted two spheres and booleaned them. The end result is two molds bottom and top that fit perfectly together. The registration marks assure that they won't move and hold together.
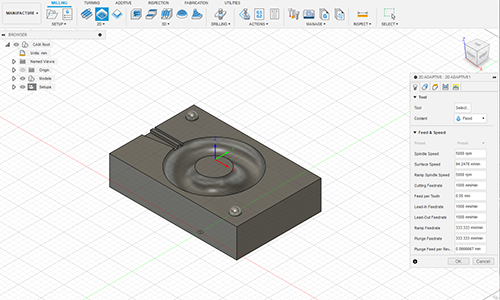
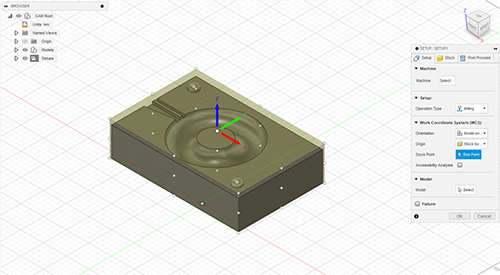
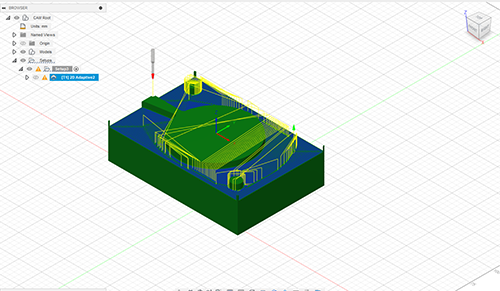
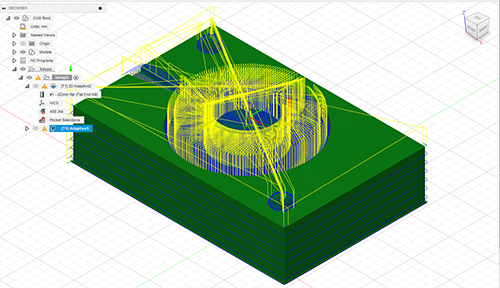
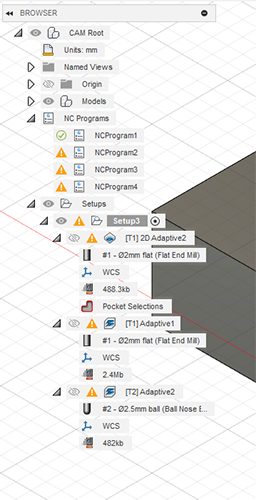
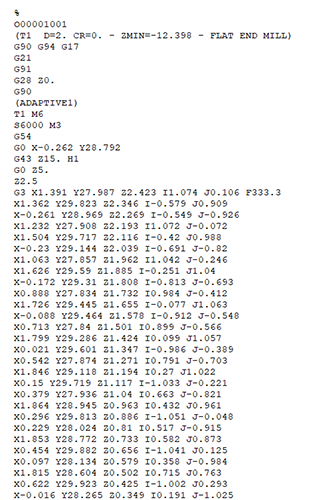
Now that the models are completed I can start with the process of computer-aided manufacturing (CAM). During this process Fusion 360 allows me to set the material to be milled, tools to be used and simulate the milling process before creating the code that goes to the CNC router. Here at the makerspace at Southern Cross University we are using a Roland MDX-40, that means that I have to create NC Gerber code. NC code is the main output from FeatureCAM that is used to drive automated machine tools.
Summary
The modelling of the molds was simple.
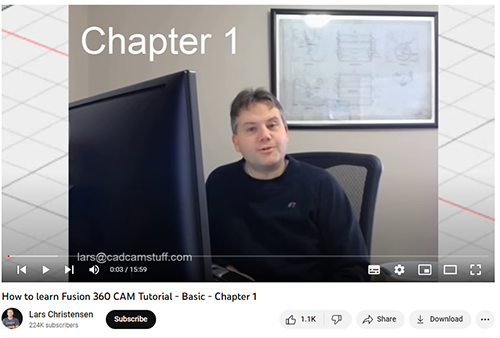
Setting up CAM was more challenging. My tutor explained it all but I needed to do a CAM tutorial by
Lars Christensen on Youtube.
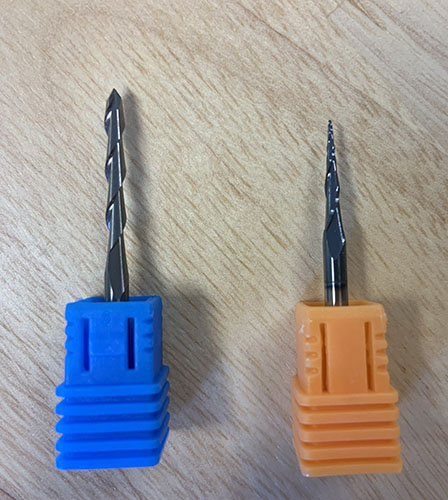
The biggest challenge was to select the correct tools, tools settings for the job and the material used to mill ot the molds.
The notes I took during our tutorial was very helpful in determining the settings and routing tools.
What first looked like a walk in the park project tuned out to be the hardest task so far. The Roland MDX-40 had problems with routing through the hard Ferris wax. It needs a more powerful router. Whenever it became to hard for the router it los it's focus and direction and I had to either use a different thicker tool or restart the routing process overe and over again.
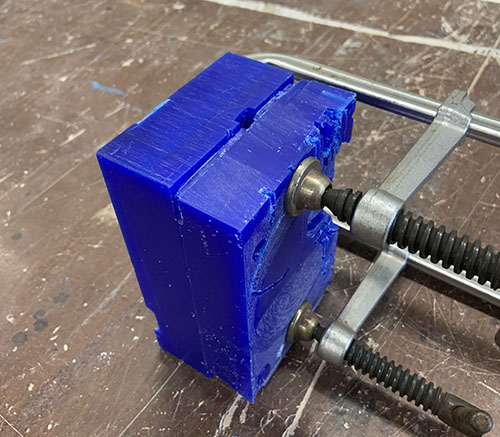
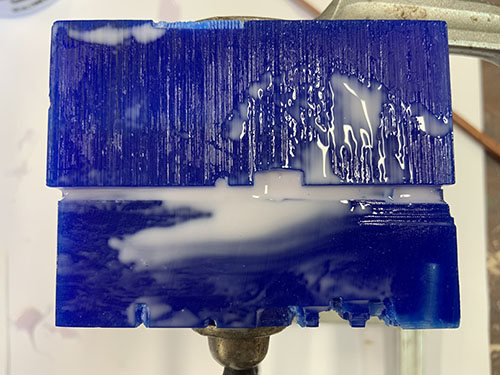
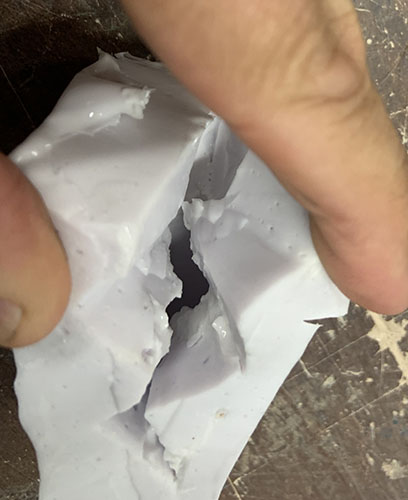
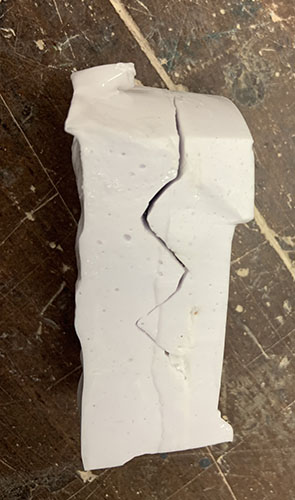
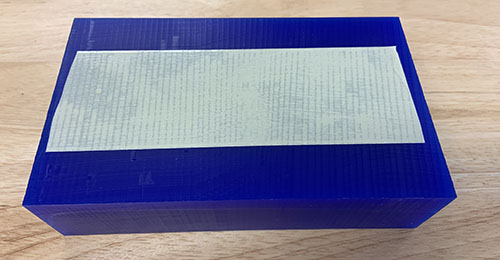
It took me a whole week to finish routing the molds and they had some imperfections that I had to patch up with bees wax before pouring the silicone in it.
Lot's of lessons learned.
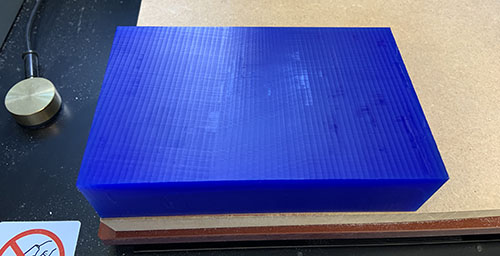
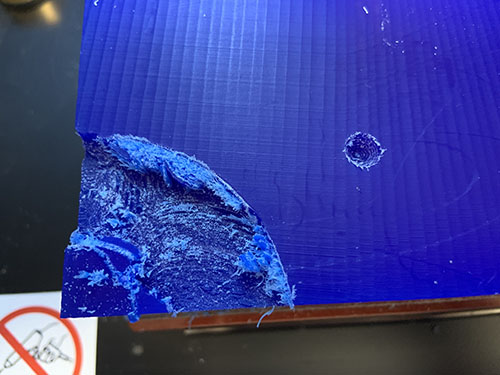
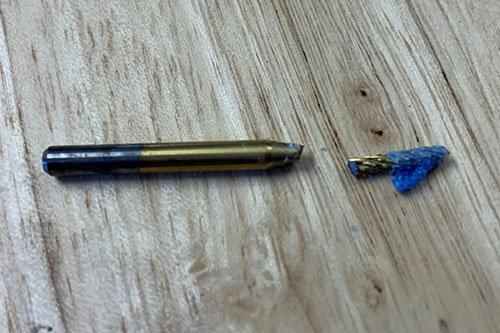
The force of the router is too strong and therefore the double sided sticky tape couldn't hold down the block of wax. I deceided to use timber screws to hold the block of wax down. It worked for a while but tension was too strong at one corner and the wax split off the block.