2. Project management
Introduction
Gitlab will be used to manage Fabacademy projects. Git is a distributed version-control system for tracking changes in source code during software development. It is designed for coordinating work among programmers, but it can be used to track changes in any set of files i took this information from this website. GitLab is a repository manager which lets teams collaborate on code and offers some features for issue tracking and project management.
Gitlab Configuration
For the first step i downlodedGitbash. Then I opened the official site for GitLab and clicked on register and after completing my registration, I clicked on ‘’Sign in’’ to enter my account.

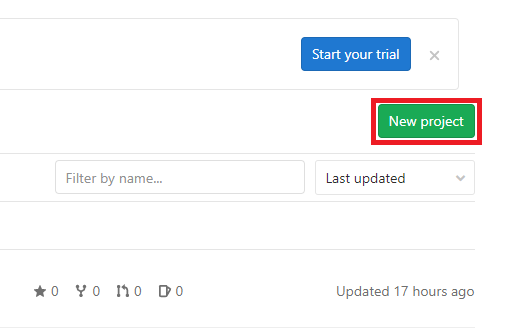
After signing in, I clicked on ‘’New Project’’ to start my website and documentation.
After signing in, I clicked on ‘’New Project’’ to start my website and documentation.
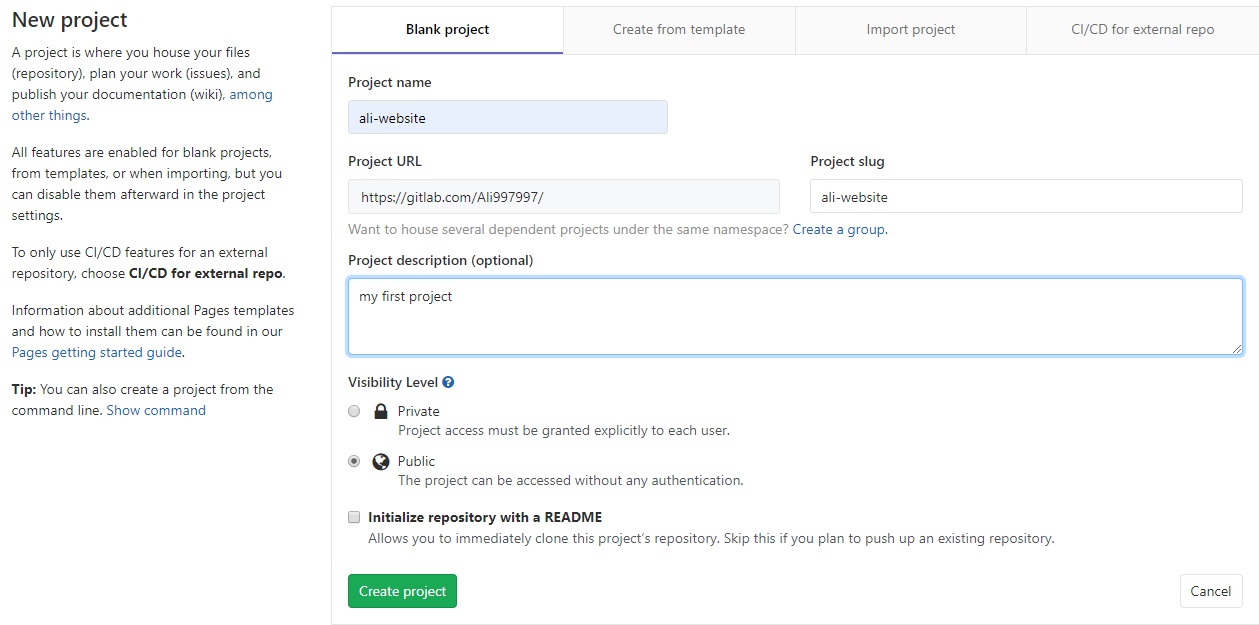
I opened the ‘’New Project’’ page and then I completed the required information about my project in this page:
-
Project name: Ali-website
-
Project description: all my FabLab files will be saved in this file.
-
Visible Level: public.
Then I clicked ‘’Create Project’’.
Then i entered the following commands to link my account to my computer:
git config --global user.name "Ali Salem Ali"
git config --global user.email "petandpets45@gmail.com"
Next i must generate SSH Key, so i can connect to Gitlab in secure way without the need to use the username and password each time i enter. In Desktop, i clicked on Git Bash and typed the following:
ssh-keygen -t rsa -b 4096 -C "petandpets45@gmail.com"
I chose the folder where i want to save it. Then:
-
I went to the .ssh folder> id_rsa.pub
-
Open it with notepad ++
-
Select everything and copy it
-
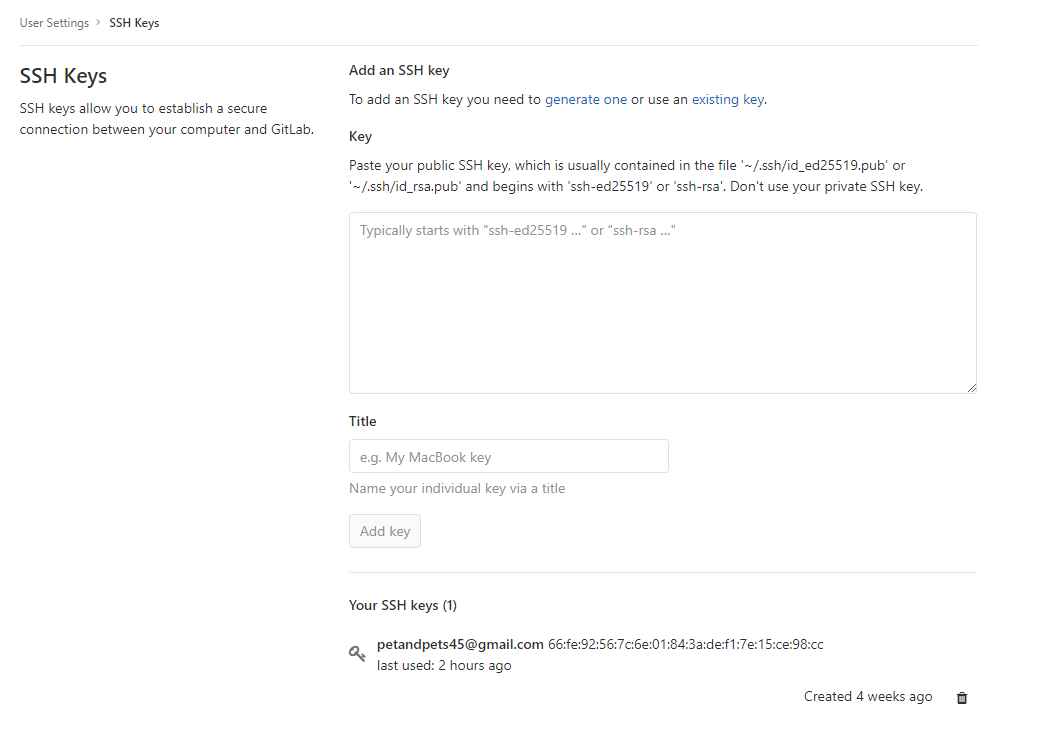
Went to Gitlab>settings> SSH Keys
-
Paste my key there and clicked on add key.
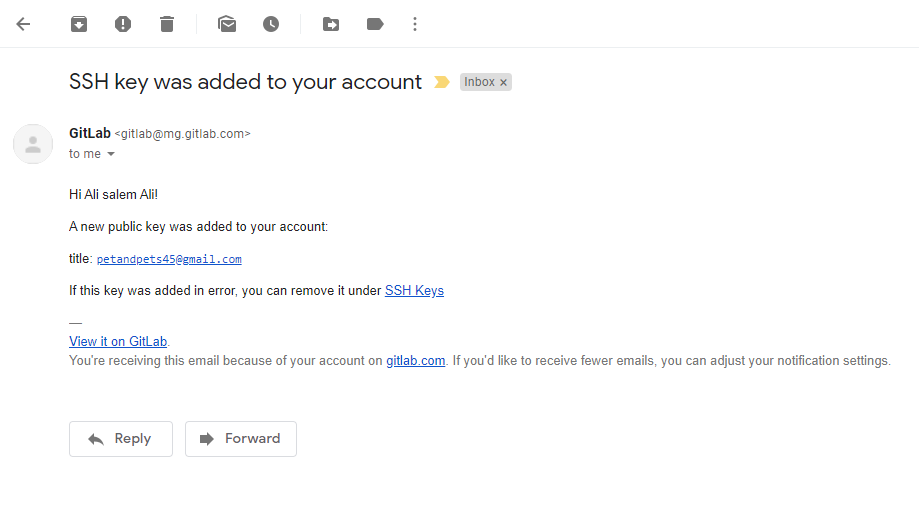
I received an email from GitLab that my SSH key has been added to my account.
I received an email from GitLab that my SSH key has been added to my account.
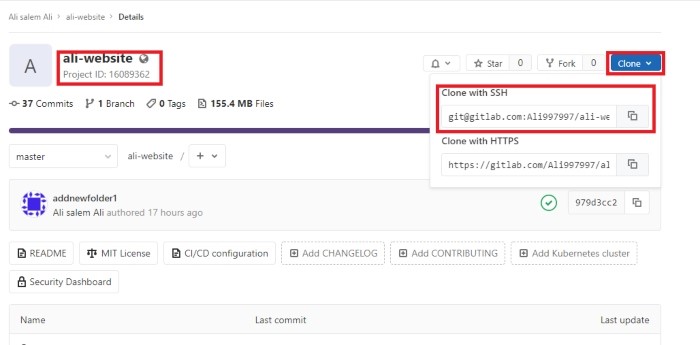
I clicked on it on my ‘’Projects’’ then went to “Ali-website”. Then I click on the ‘’Clone’’ button, and copied the link under Clone with ssh
I clicked on it on my ‘’Projects’’ then went to “Ali-website”. Then I click on the ‘’Clone’’ button, and copied the link under Clone with ssh
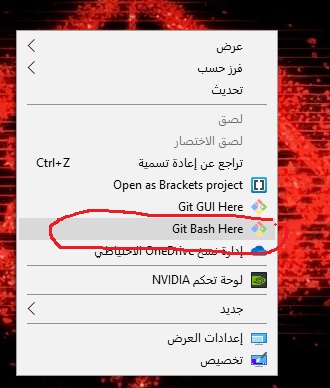
Then i chose the desktop for my website folder location because it is easy to find. I Right clicked on the desktop then chose “Git Bash Here”.
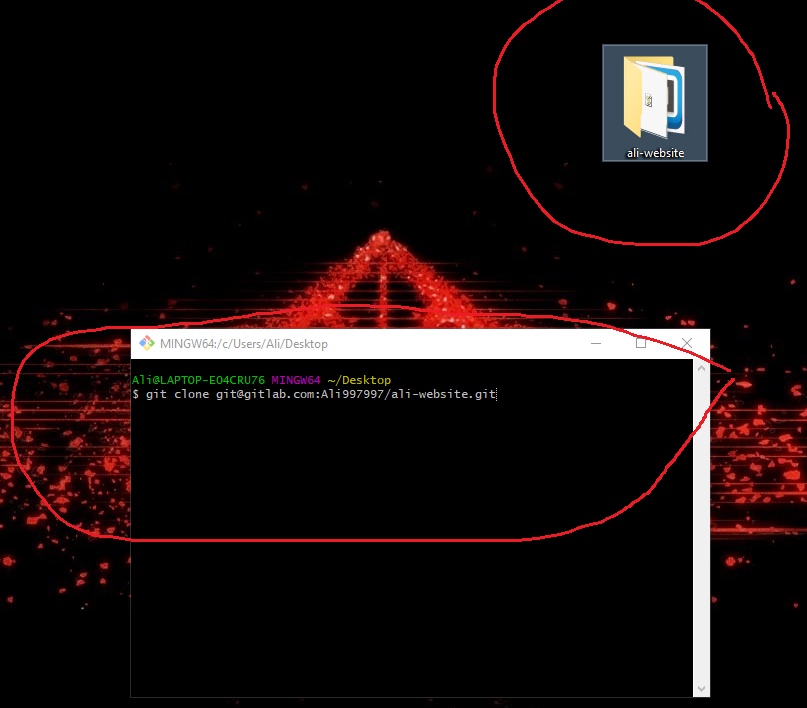
Git Bash window will open. Then i wrote the command git clone then I paste the link i copied for cloning with SSH and i pressed enter.Then Ali-website Folder will appear on the desktop.
To start pushing the files to the Gitlab:
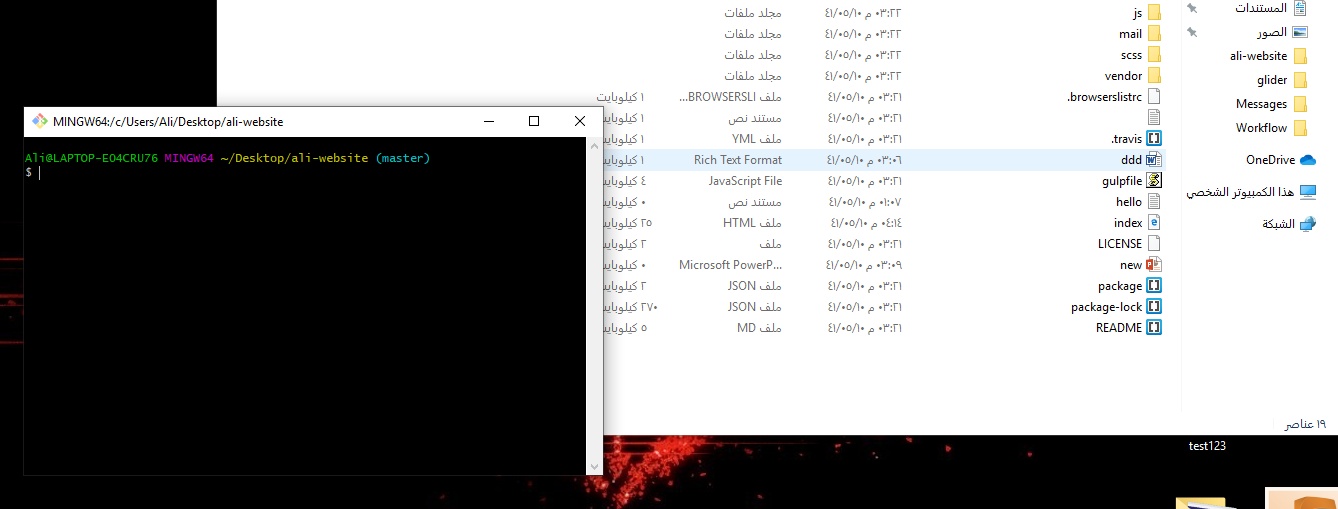
1. Open Ali-website Folder
2. Right click and chosse gitbash here. The window will open.
To start pushing the files to the Gitlab:
1. Open Ali-website Folder
2. Right click and chosse gitbash here. The window will open.
 Then enter the following commands:
git add .
git commit -m ‘’My comment here on each push‘’
git push
1) git add: adds a change in the working directory to the staging area. It must be done every time we make changes to the file.
2) Git commit: To record the changes. Git add with git commit are used to track project versions.
3) Git Push: Push the changes in our local repository to the remote one which is Gitlab in our case.
To link to Fab Academy 2020 Archive. I received an email from Fab Academy that includes instructions for our gitlab account:

I opened the link in the first step. Git lab project page and I click on “Academy / Fab Academy / 2020 / Fab Academy 2020 Labs / UAE / UAE students / ali.binghulaita”
I opened the link in the first step. Git lab project page and I click on “Academy / Fab Academy / 2020 / Fab Academy 2020 Labs / UAE / UAE students / ali.binghulaita”

I copied the clone from my website.
I copied the clone from my website.

After I copied the clone I opened git bash on the desktop or the place where I want to save the file. I wrote the command in gitbash and I pressed enter and the files were downloaded to the desktop.
After I copied the clone I opened git bash on the desktop or the place where I want to save the file. I wrote the command in gitbash and I pressed enter and the files were downloaded to the desktop.


I followed the steps for the email and changed my password.
Then I used the same email I used for registering to Fab Academy when I filled the form.
I followed the steps for the email and changed my password.
Then I used the same email I used for registering to Fab Academy when I filled the form.
Making my website
HyperText Markup Language (HTML) is the standard markup language for creating web pages and web applications. I will be using Markdown, which is a markup language that can be used to format plain text. The formatted text can then be converted then to HTML.
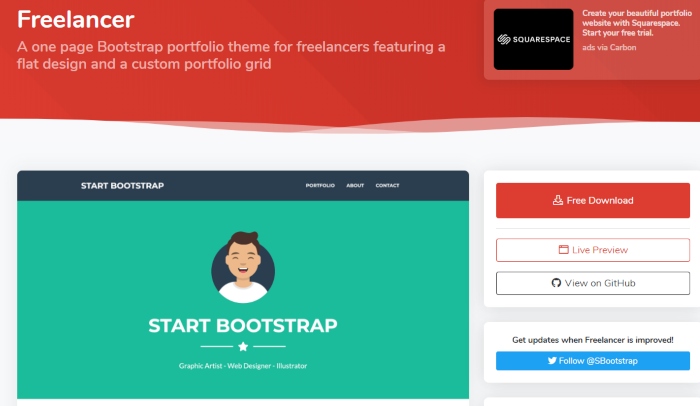
To make my website I first chose this theme from bootstrap
Atoms
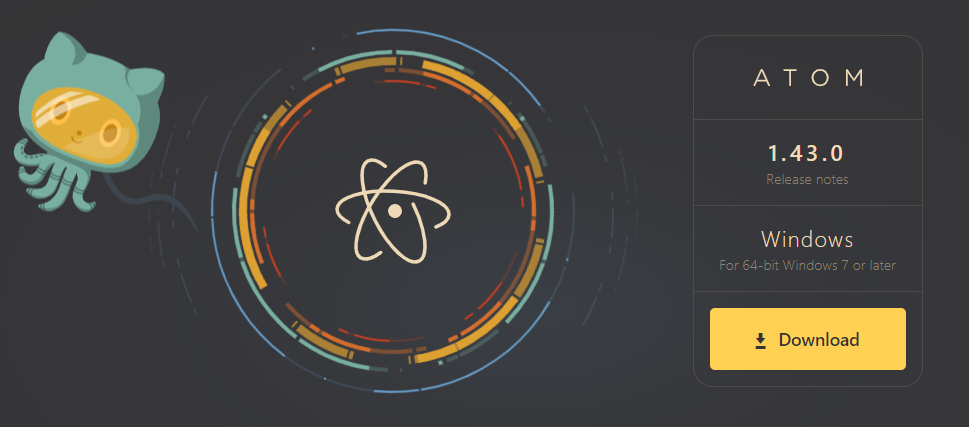
I downloaded Atom which is a markdown editor from its official site to start adding my documentation.
To learn about markdown on Atom I used this website with some tutorials that I took from it in order to use it on my website.
To learn about markdown on Atom I used this website with some tutorials that I took from it in order to use it on my website.
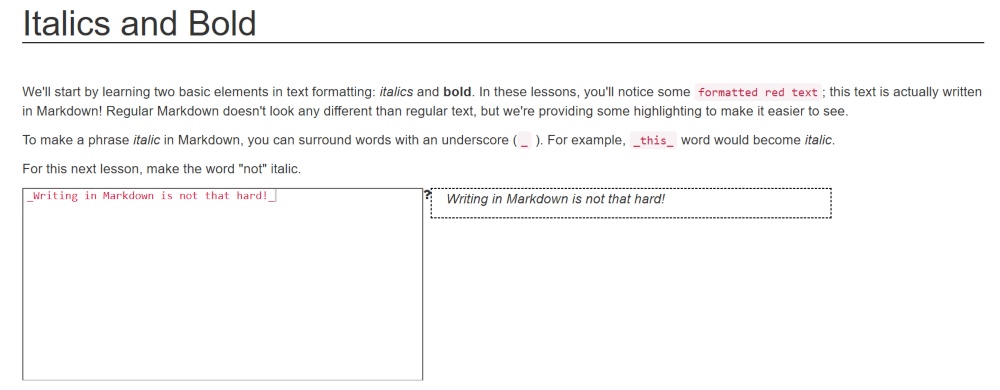
Here I learned how to make the text on the website Italic and to do that I have to type ( _ ) at the beginning and end of the text.
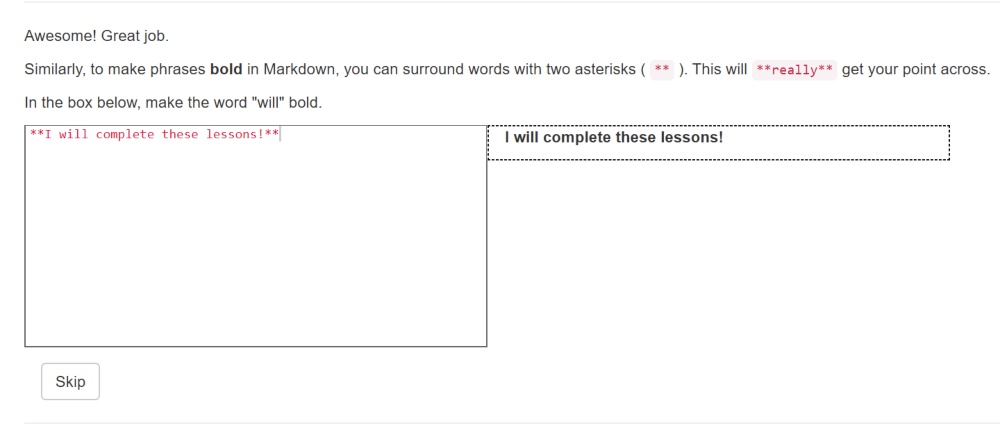
To make the text bold you need to type ( * ) as shown above.
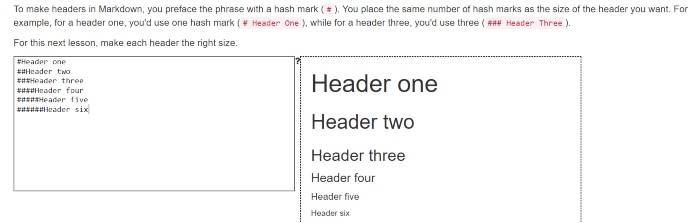
As for the headers, you need to use the (#) symbol. For this one each time you insert a (#) the header gets smaller as shown above.

To insert hyperlinks into the website you need to type the link in between parenthesis () and the link will turn blue for you to click and guide you to the site.
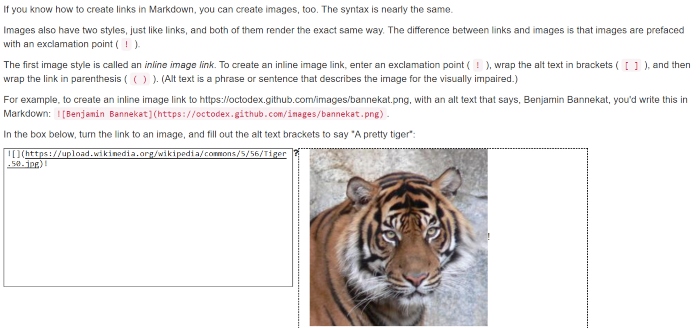
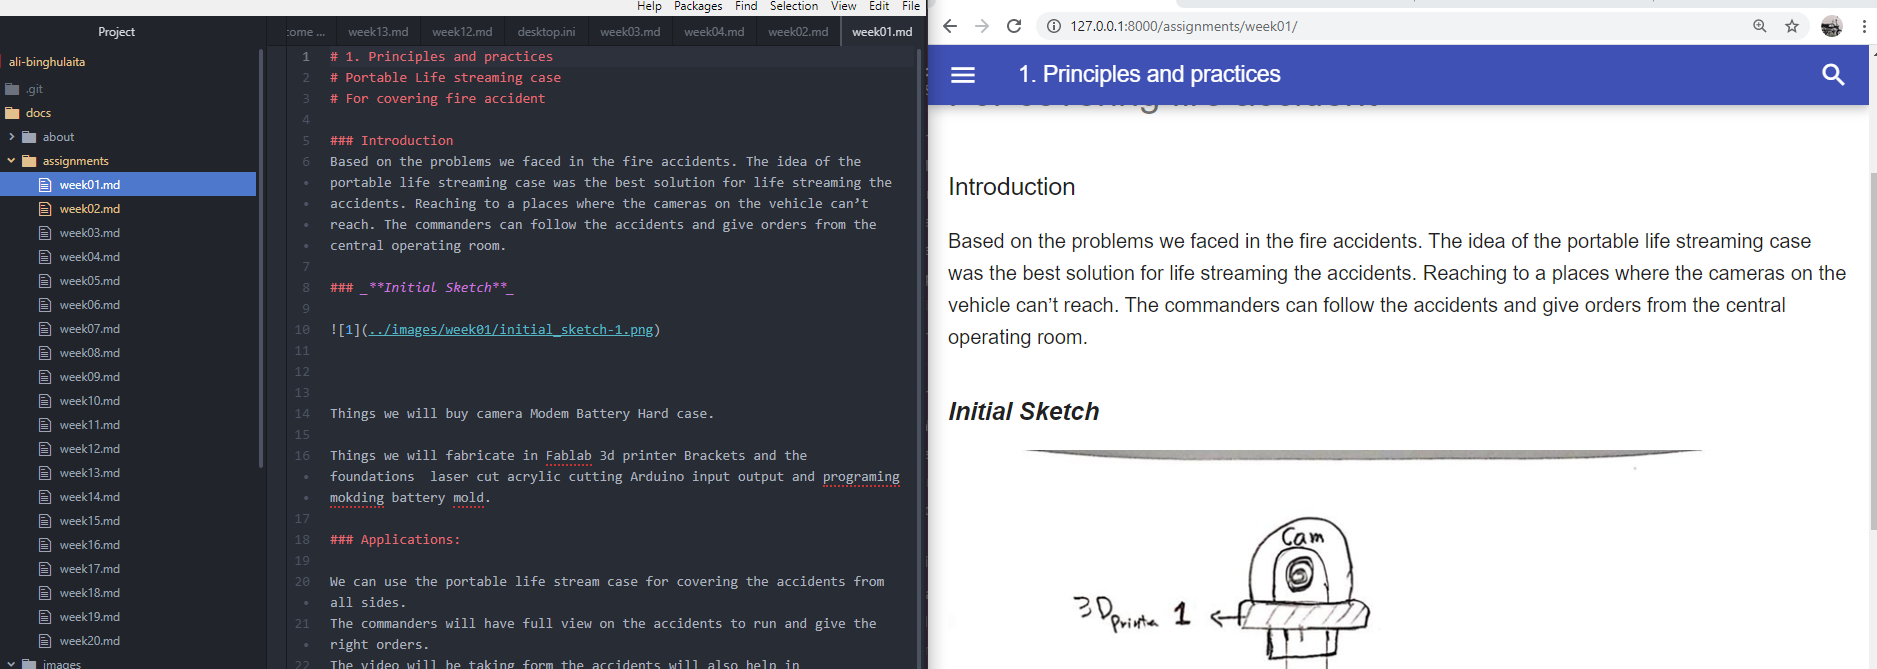
As for images, you can insert a link of an image then add an exclamation mark (!) to make the image show in the website.
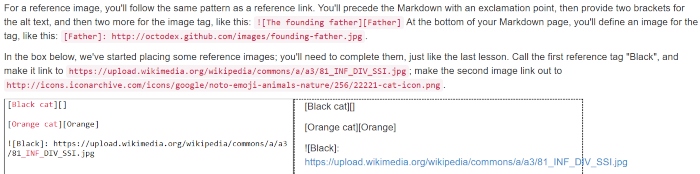
To create a link for an image you can add an exclamation mark in front of the text with the link given in blue.
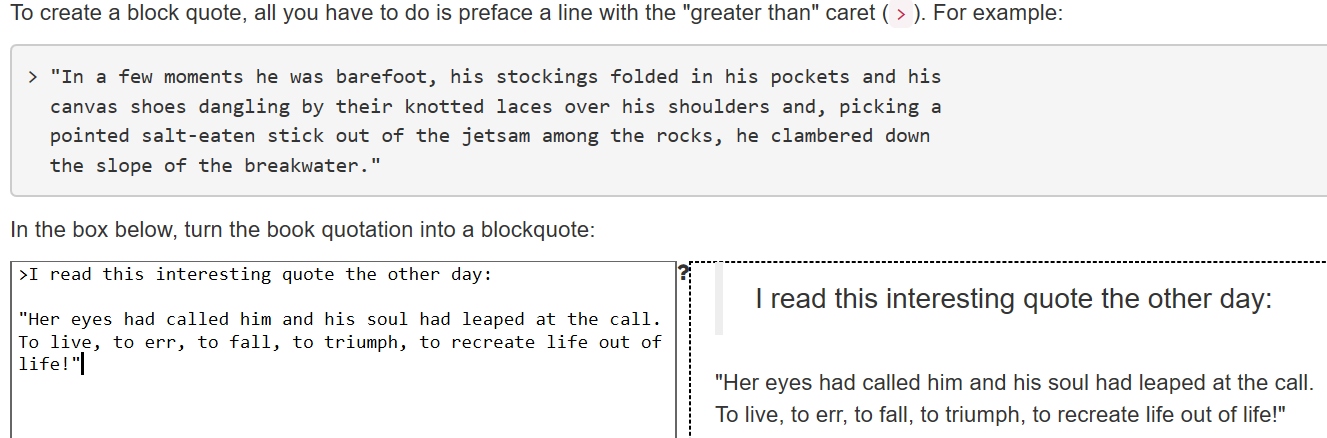
To create a block quote you can insert this symbol (>) in front of the text to make this effect.
Mkdocs
I followed the instruction on the website and I have downloaded the required software:
-
Installing Python
-
Installing pip
-
Installing MkDocs


I opened Gitbash and typed ‘’python –version’’ and it showed me the version that I installed on my computer which is ‘’Python 3.7.1”.
I opened Gitbash and typed ‘’python –version’’ and it showed me the version that I installed on my computer which is ‘’Python 3.7.1”.

I typed in this code ‘’-m pip install –upgrade pip’’ and it showed an error and they gave me the solution in the same message which is ‘’python –m pip install –upgrade pip’’.
I typed in this code ‘’-m pip install –upgrade pip’’ and it showed an error and they gave me the solution in the same message which is ‘’python –m pip install –upgrade pip’’.
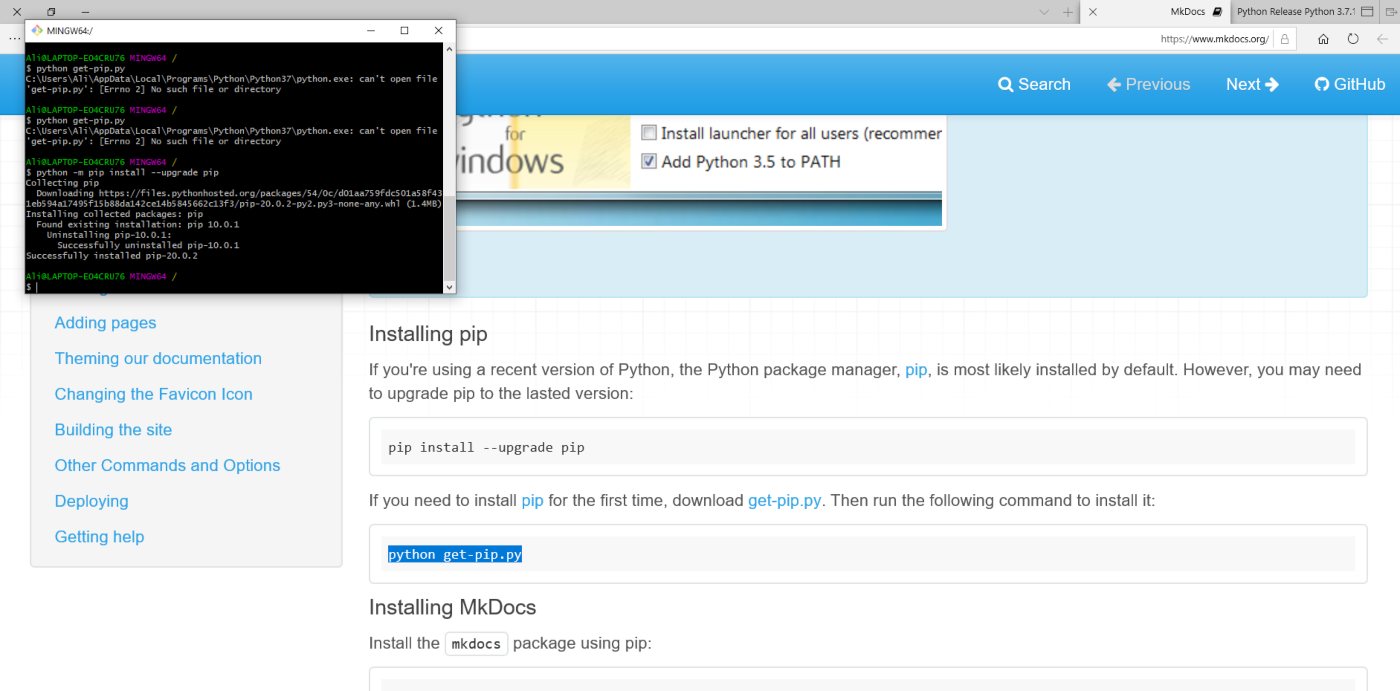
The command shows that I have successfully installed pip in my computer.
The command shows that I have successfully installed pip in my computer.
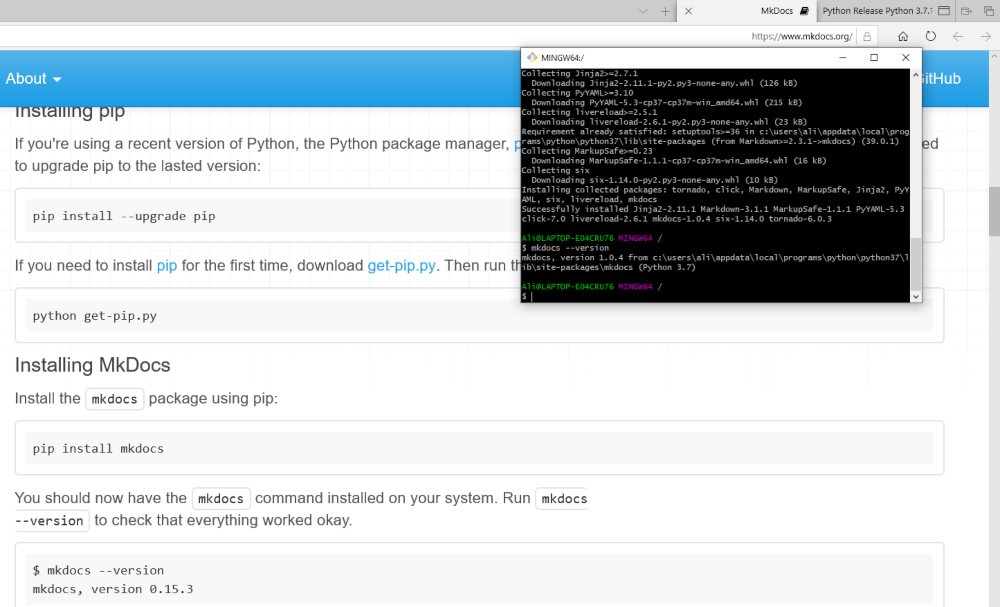
I have installed mkdocs on my computer.
I have installed mkdocs on my computer.


I inputted the code ‘’mkdocs serve’’ and it showed me the hyperlink to my website on Fabacademy.
I inputted the code ‘’mkdocs serve’’ and it showed me the hyperlink to my website on Fabacademy.
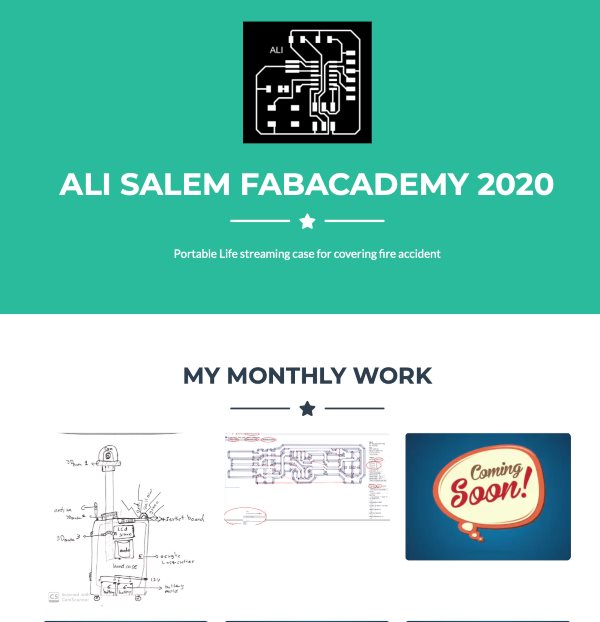
The theme i used for my website is from Mkdocs as shown below


This work is licensed under a Creative Commons Attribution 4.0 International License.