
Week 3 (Computer-Controlled Cutting)
Week 3
Week 3
Week 3
The pandemic is still affecting my Peruvian classmates with their “hands on” time with the machine and I have to wait for the arrival of my diode laser cutter arrival to Honduras. Despite this inconvenience, we can still design everything and be ready when the time to make comes. My classmates are going to use the in-house laser cutter (Trotec Speedy 400) in Fab Lab ESAN. The overall specs of the Speedy 400 can be found in the data sheet located in the Trotec official website or the user manual.
In general, the materials that your laser cutter can handle is determined by the official manufacture. After you learn the capabilities of your machine then comes a subject that’s not that to explain. How to determine the optimal laser parameters for your machine and material. The fact is that these parameters are correlated with: how old is your machine, source of the laser (CO2, diode, etc.), preventive maintenance and calibrations to the machine, the life spam of the CO2 tube (if needed), and the list goes on… Testing different parameter values on different materials is the way to go. By doing this you’ll be able to determine what the machine is capable of doing on that point in time.
Week 3
I started looking around the vinyl cutter and talked about it's potential with my classmates. The cutter can a lot of thing and it’s definitely underrated in the majority of circumstances. I’m working with a CAMEO 3 from Silhouette. This little cutter has an incredible amount of functionality. I can use this to cut paper, vinyl, leather, copper tape, etc.. The cutting tool can be replaced with a marker too and draw on a desired surface. I was wondering if I could also use this to cut fondant and create paramedical design for sweets too. Preparing the CAMEO 3 to start cutting is pretty straight forward. The user needs to make sure that they save their document in DXF format. This format vectorizes the geometry of what you want to cut. The vinyl of your choice needs to be placed on top of a sticky sheet, centered and then the cutting begins.
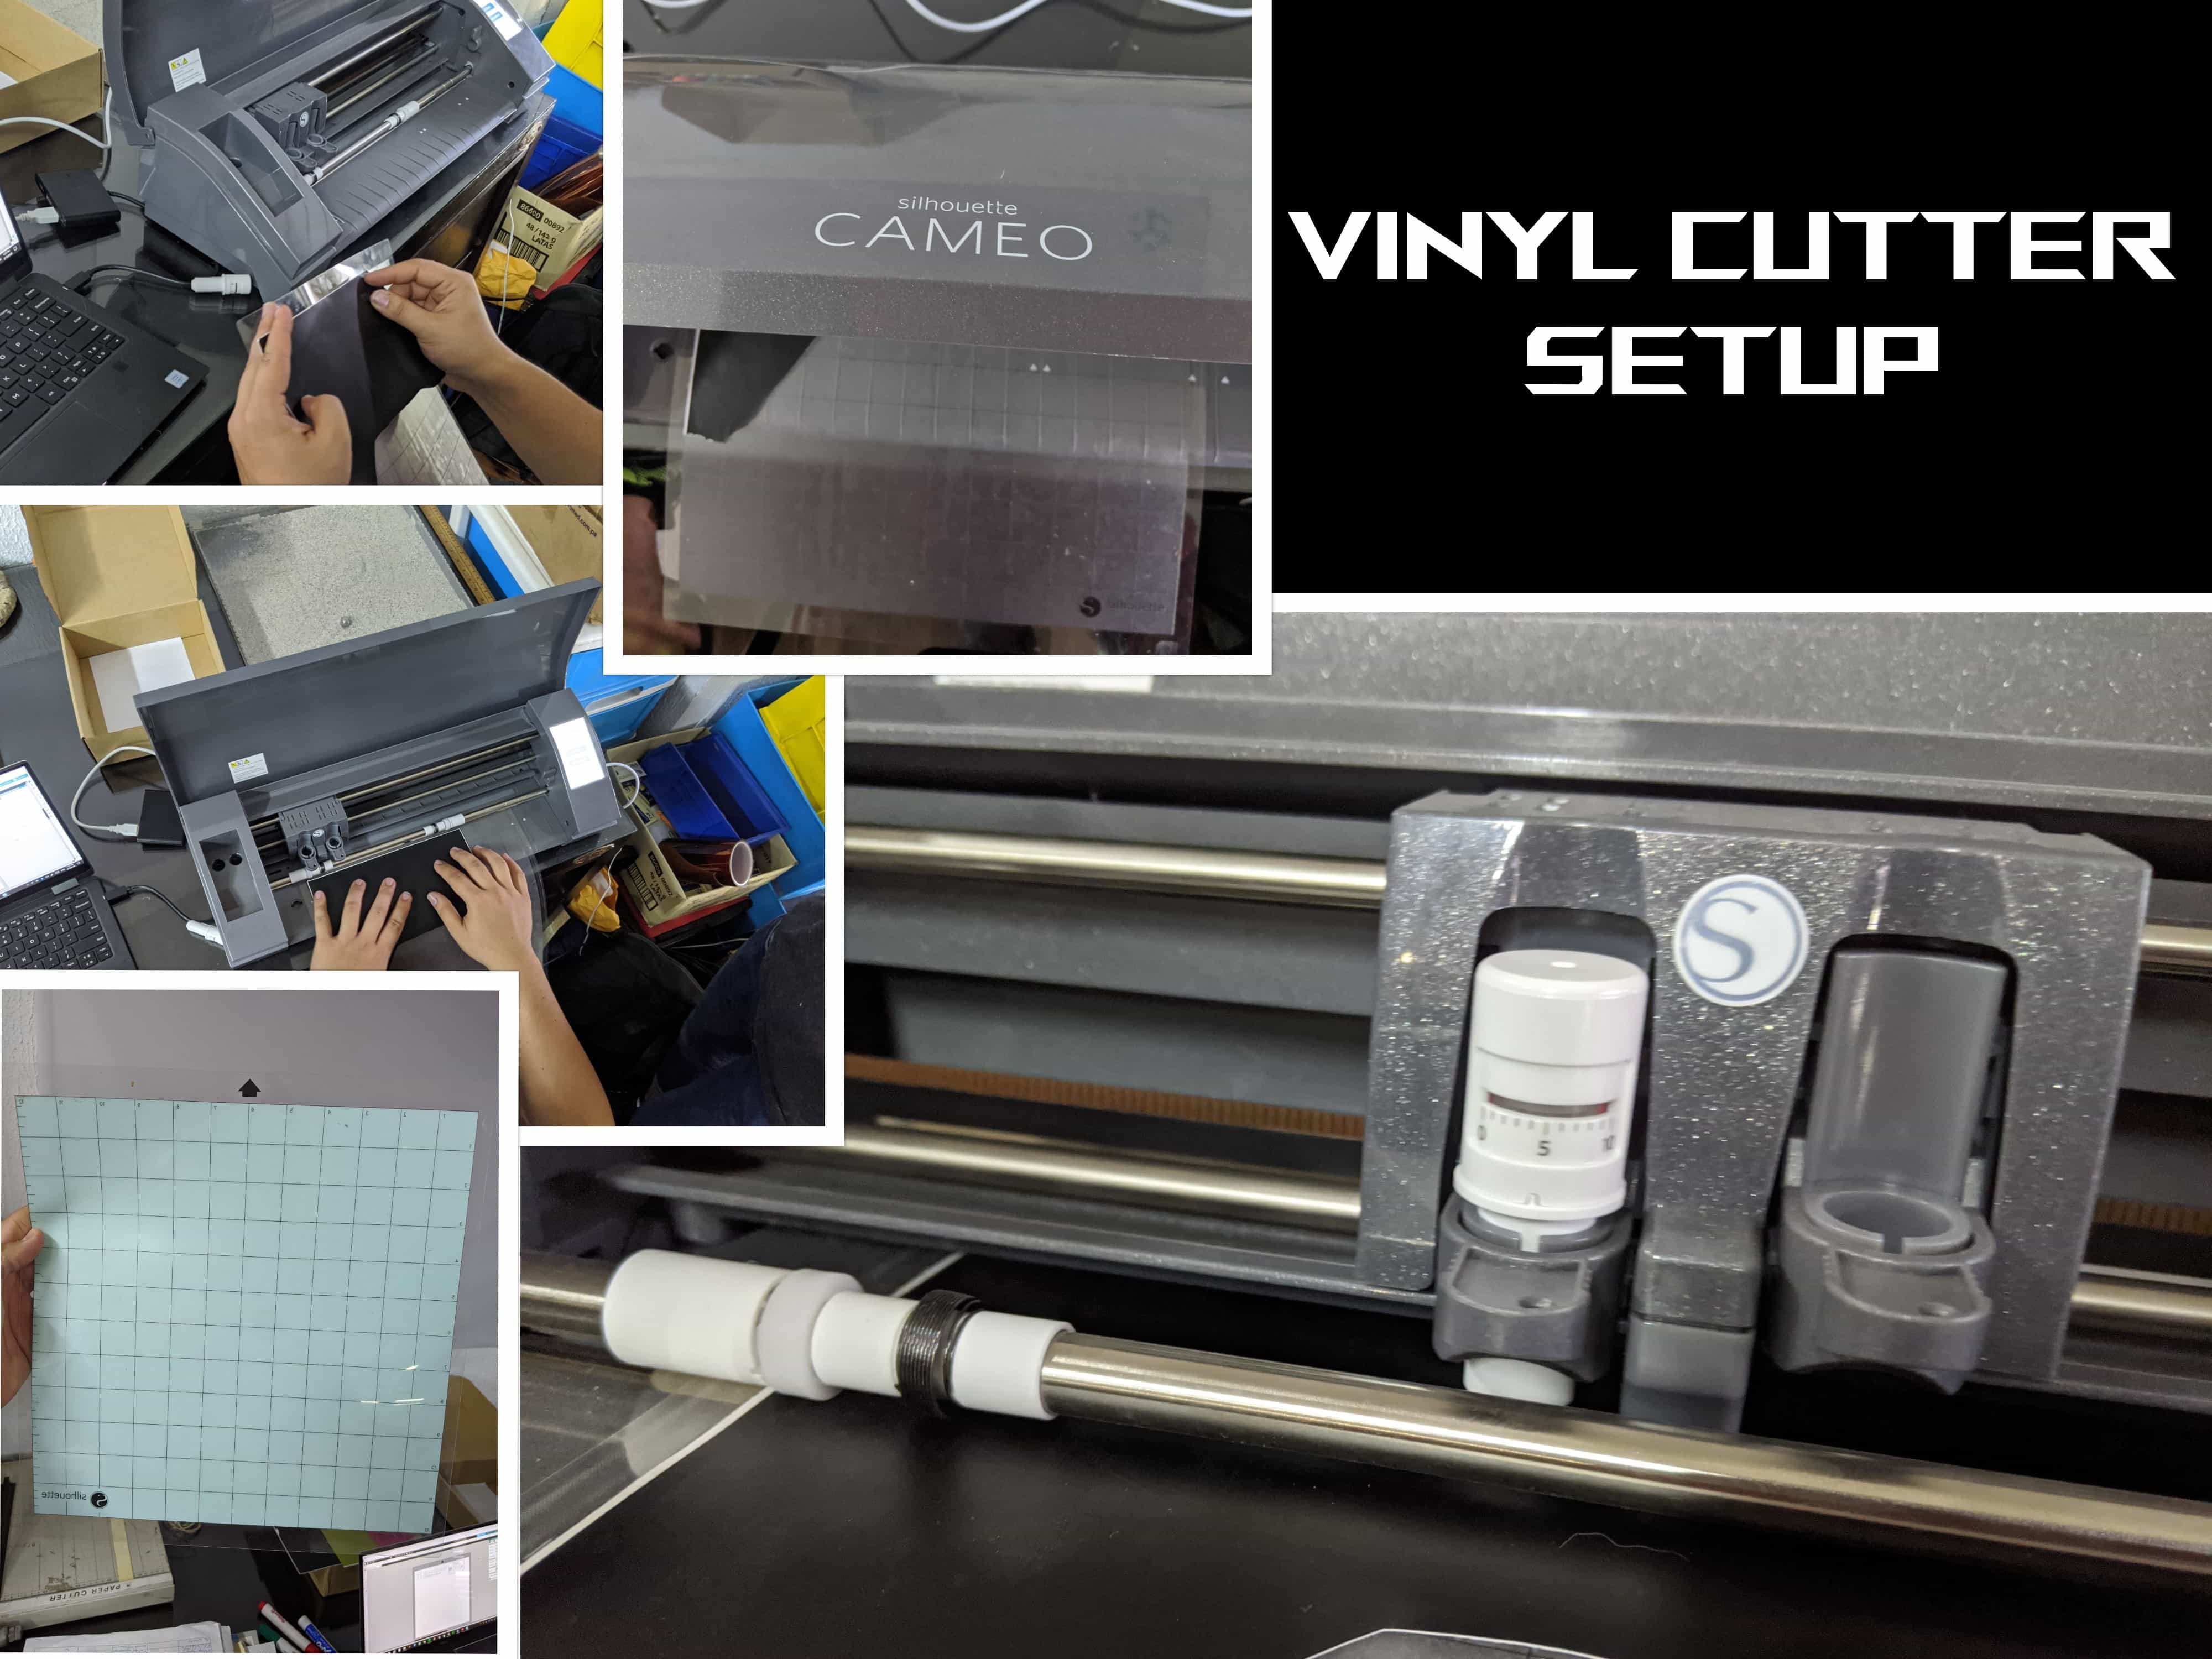
I decided to design a sticker with my last name (Lenigan) for my laptop’s briefcase. I wanted to play around with the font used to make the Coca-Cola logo. I conveniently found a generator in the internet to have a template to work on. After adjusting the size in SolidWorks, I proceeded to start creating vectors on top of the template. SolidWorks is really friendly in this king of procedure. After fishing the DXF file you are now good to go. The software interface provided to control the CAMIO 3 was really friendly and straight forward. The user needs to be really carful adjusting how deep the blade is going to cut.

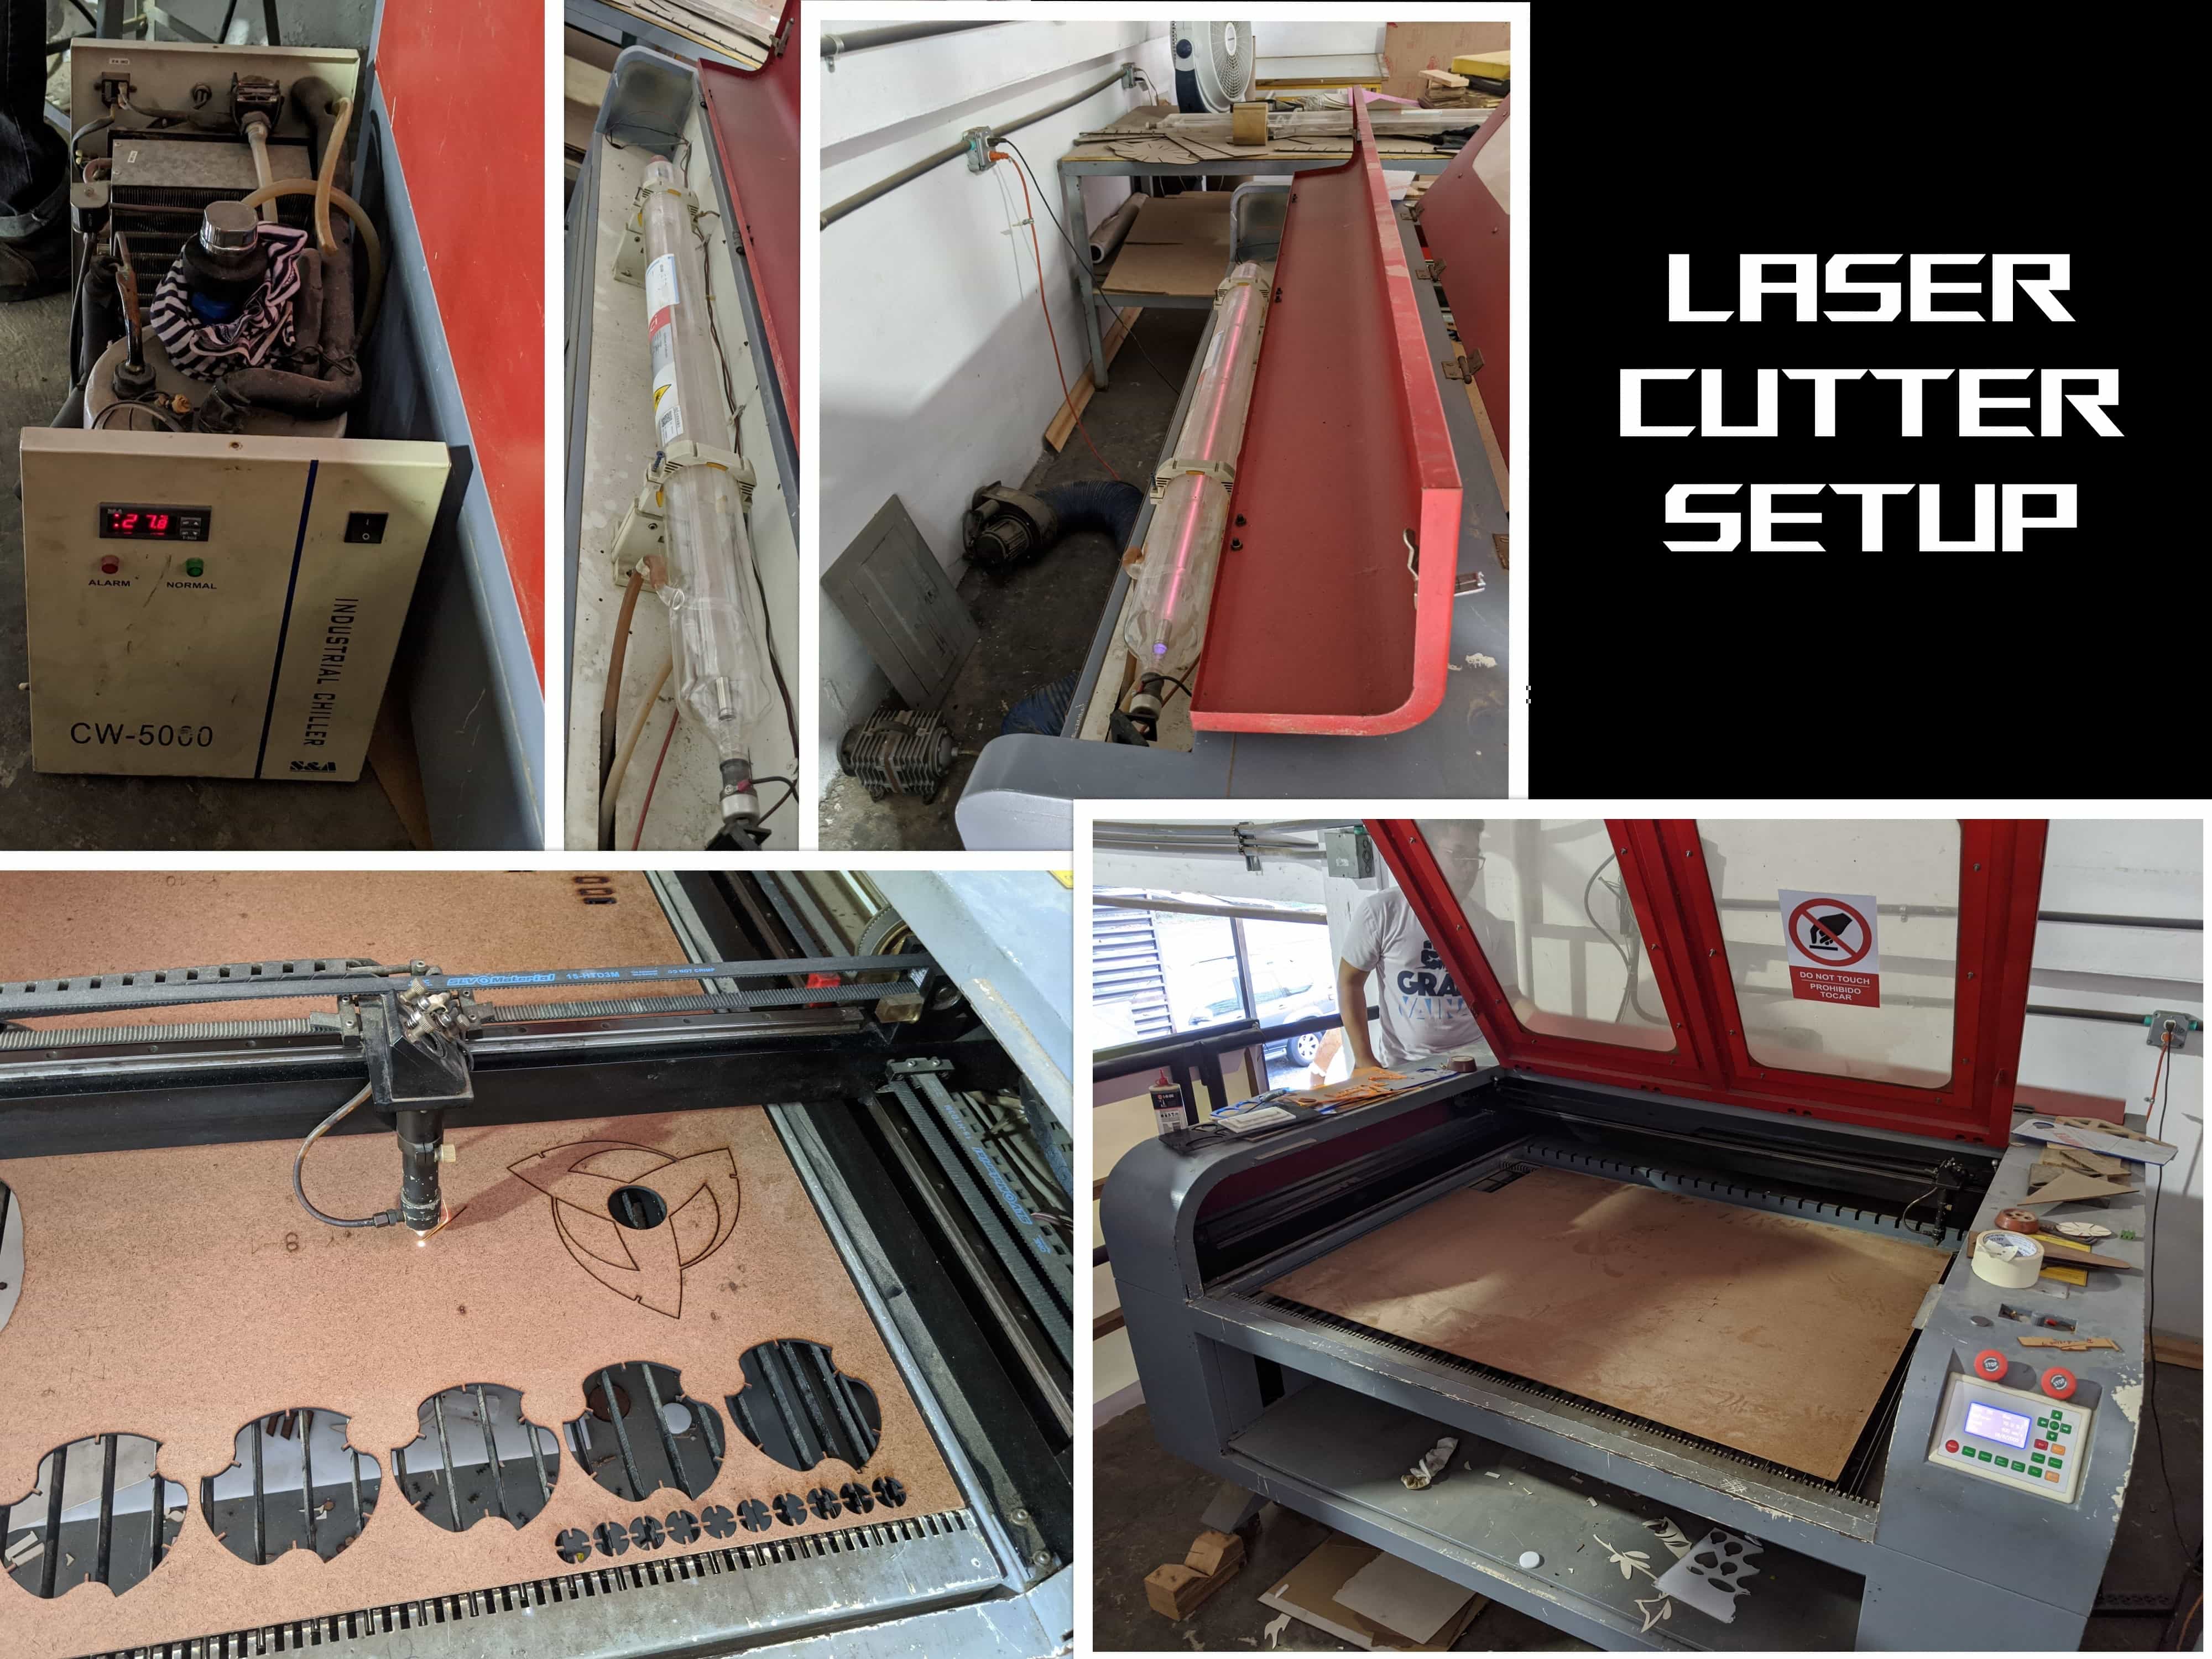
Both cutters have the same operating principle. The only differences that could think of are the cutting tool (laser and blade) and the materials they can handle. The laser cutter in Eco Studio is al little old, but works smoothly. The user needs to make sure to turn on the cooling system while in use. The laser source is behind and it’s moved around with mirror places in strategic locations around the cutting area. After learning the basics of the laser cutter, we started to cut kerf examples and see how they behave. Worth mentioning that the software of the laser cutter only works with millimeters. The software doesn’t scale, it only grabs the measurements thinks the number is in millimeters.
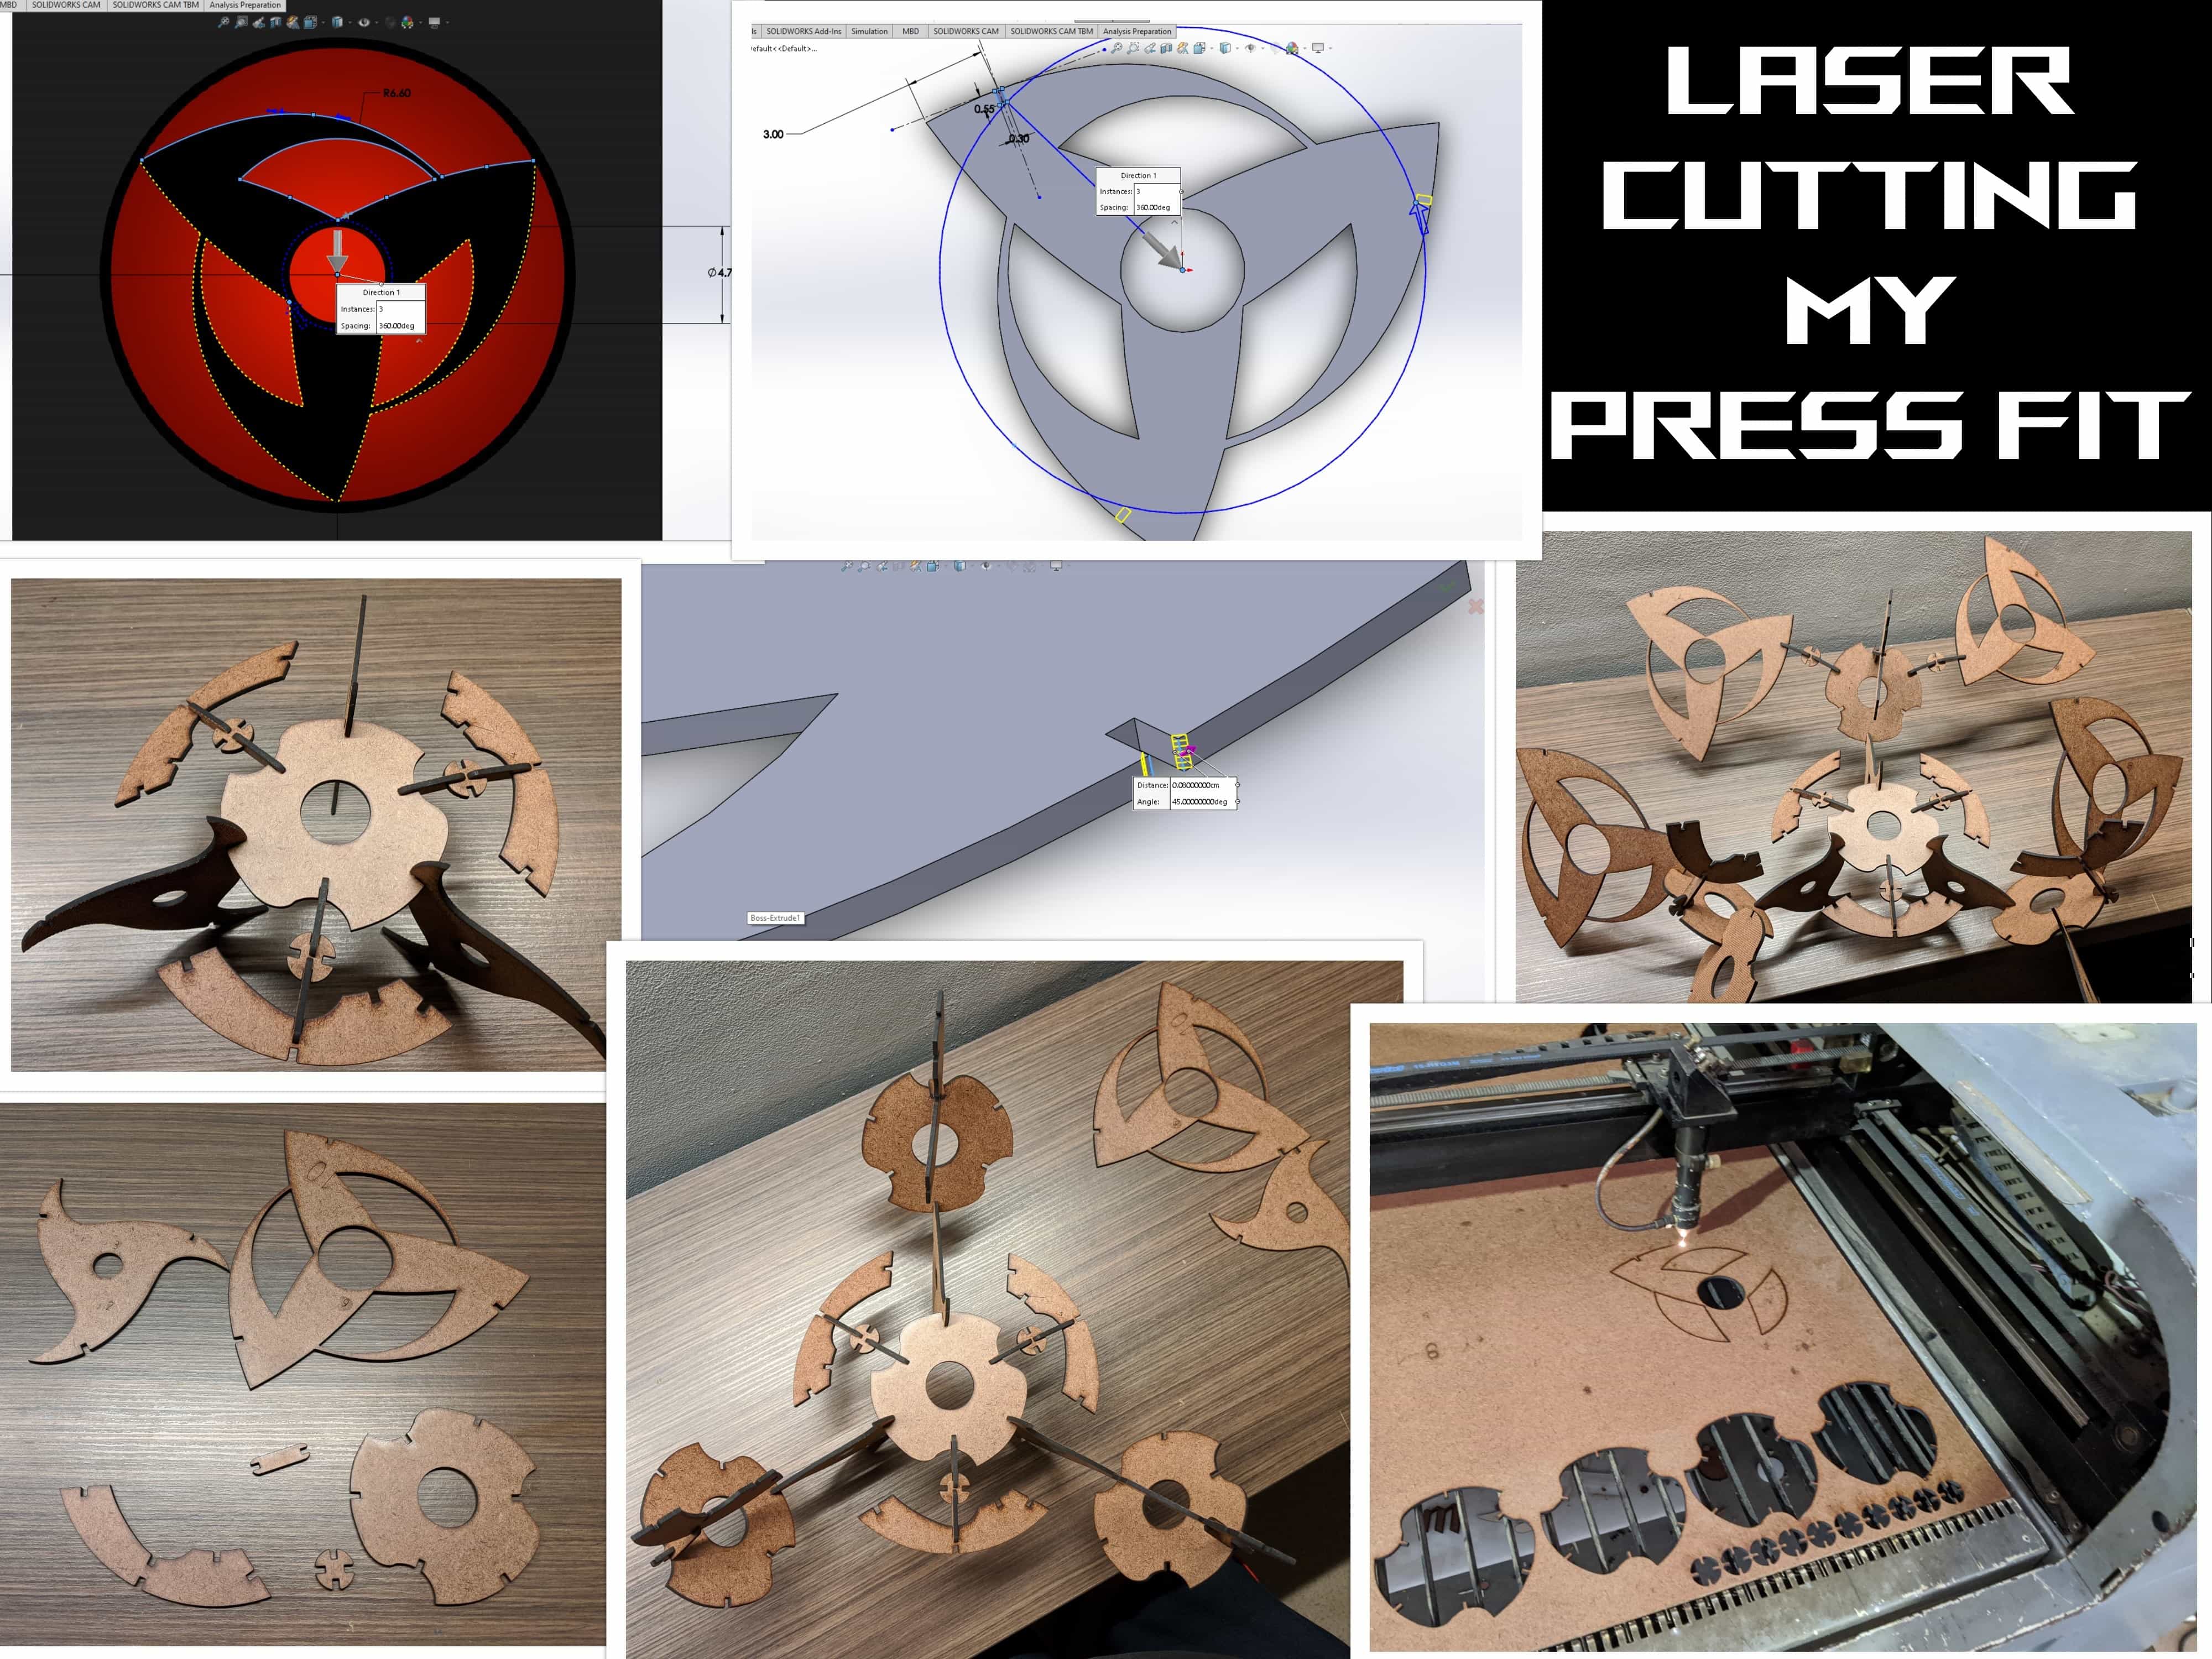
I was having a hard time trying to create a really interesting press fit. I also started to play around with FlatFab, but it was really hard to understand. Tutorials elaborate by the creators in YouTube didn’t help either. I came back to Solidworks to design my press fit. I'm creating two designs: one in inspired by the design of the eyes of the characters of my favorite anime (Naruto) and the other is a shovel (with a Kruft). The first press fit doesn’t have a defined shape. The user can make the pattern them want and try to balance them too. I used the chamfer to make the joints. I thought this because my little brother used to make incredible builds with random Lego bricks. I used the chamfer to make the joints.
Make (Almost) Anything