Week 12: interface and application programming
individuaL aissignemts
write an application that interfaces a user with an input &/or output device that you made
group assignment
compare as many tool options as possible
group assignment
follow the group assignment hereindividual asignment
for this week assignment i choose to develop an app for android phones where i can easely control a microcontroller and in order to trying to keep it simple enough i use MIT's app inventor 2 plattform wich is a brower based/ opensource platform where you can develop applications using javascript httpy blocky visual language to drag and drop blocks of code into a canvas and joining them to create simple applications
here i made an application for my android phone which is called hello servo and i will show how i did it.
hello_servo Tutorial
i will split this tutorial in 3 parts
app inventor enviroment
first you have to google "app inventor 2" and go to the page or you can click here
 MIT app inventor 2 home page
then you have to click on the create app button on the left right next to the page icon
this will get you to a google window where you can choose your google account
 choose your google account
after some notification messages you'll be directed to the "my proyects" page here i already have some examples but i will be showing a new example.
in the right side of the page you can change the language of your preference
 my projects page
now, click on the "start new project" button and choose a name without capital letters and spaces like so
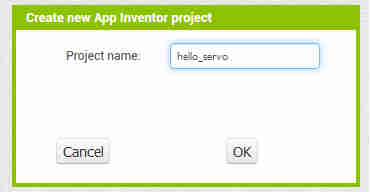 new project name
you will be redirected to the full app inventor enviroment page
in here you can see 5 tabs (project manager, palette, viewer, components, properties from left to right)
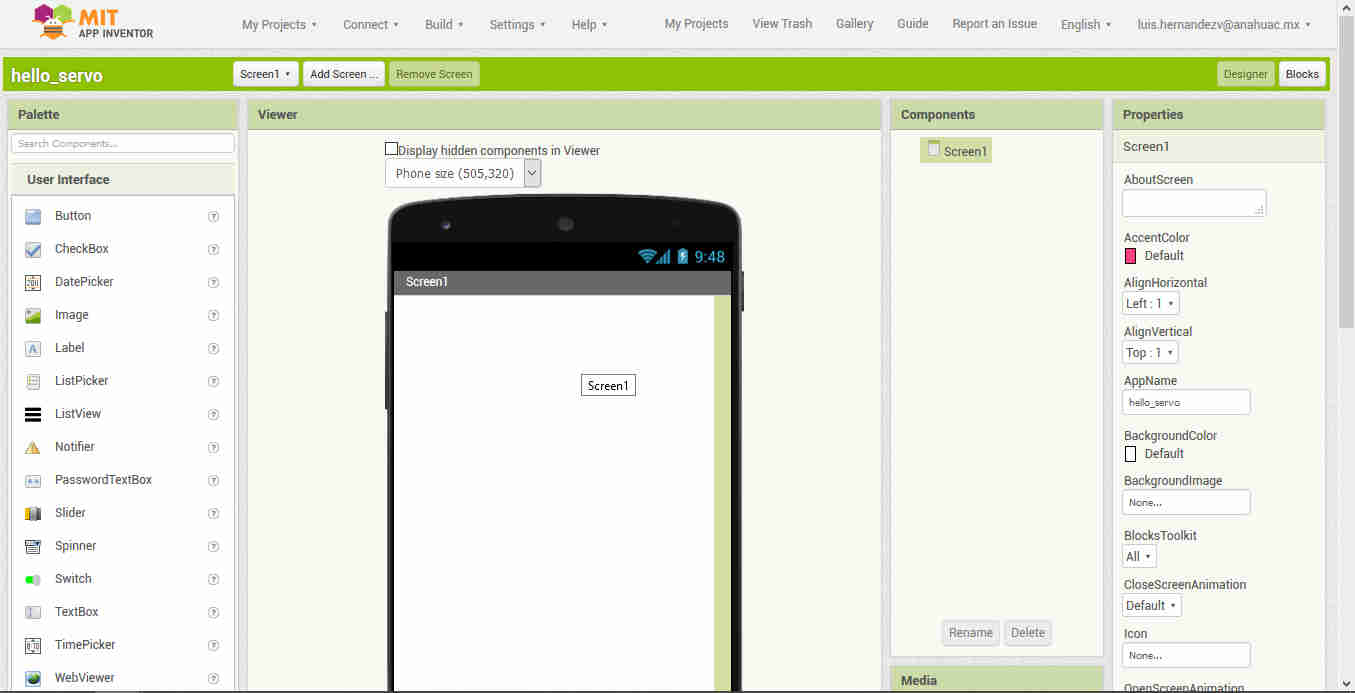 app inventor enviroment
from the palette you can drag a component to the viewer and it will be displayed in real time in the viewer and in the components tab like in the figure below
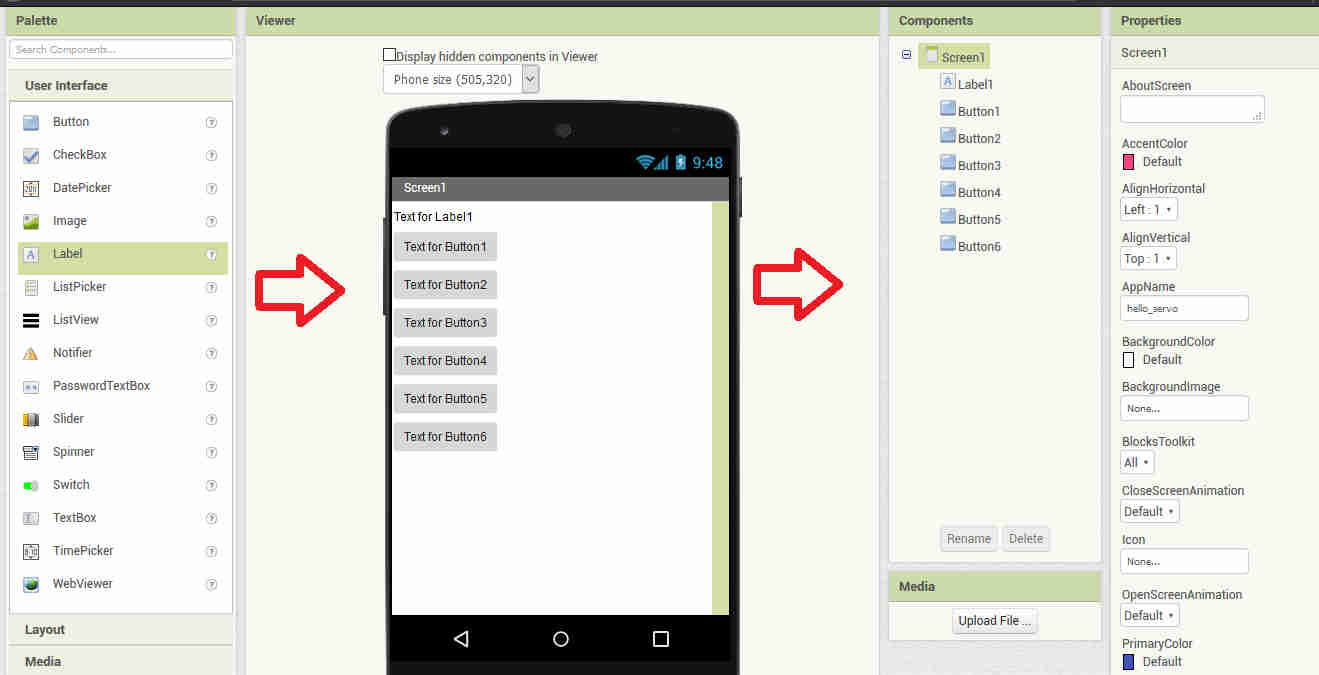 placing compoonents
now, let's change it a little.
from the project manager tab (upper center) you can see all the screens you have active in the application choose the screen1 and clic on the "screen1" component on the "components" tab.
now, in the propierties tab you can see all about the screen1 component lets make it centered aligned and hide the name of the screen and change the app name to another more user friendly (this will be shown in the menu icon on the phone).
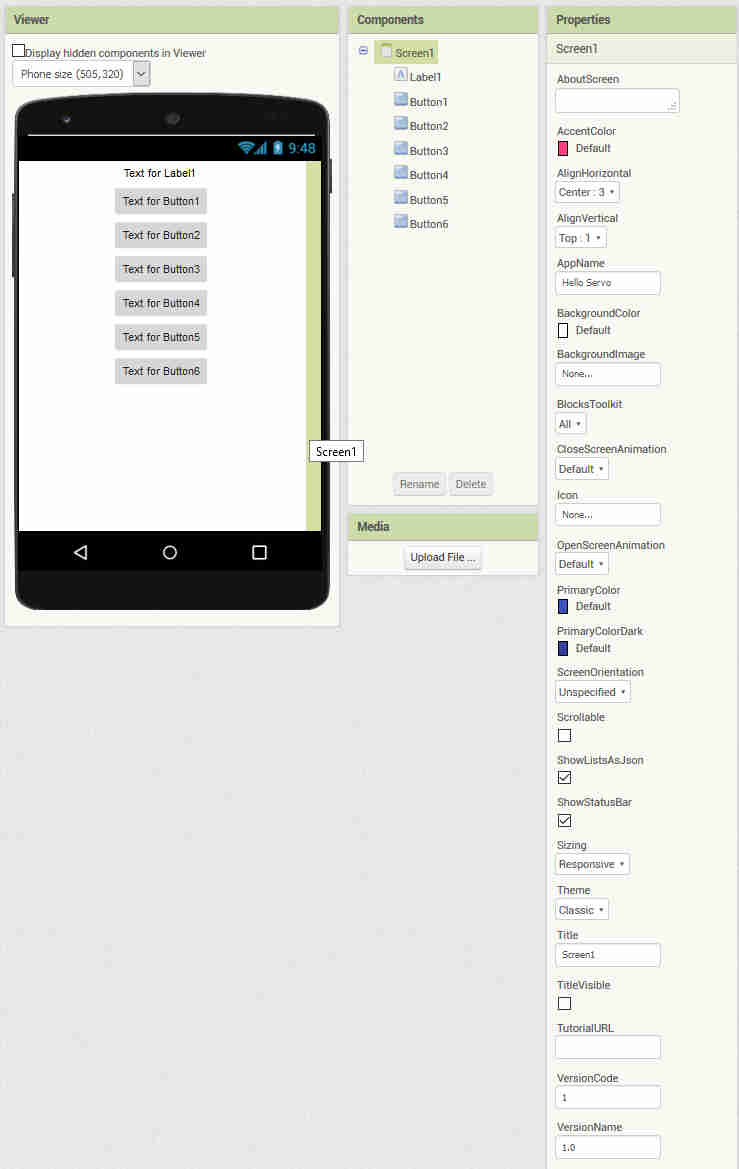 changes on screen 1
now it's all nice and centered.
let's make some changes on the buttons usually in a phon application we will want our interactive components to be bigger beacuse we will be using our fingers rather than a mouse pointer or a stylus pen which are smaller.
we need to click either on the component tab or directly on the button icon on the viewer to show it's propierties
now let's make them more stylish lokking.
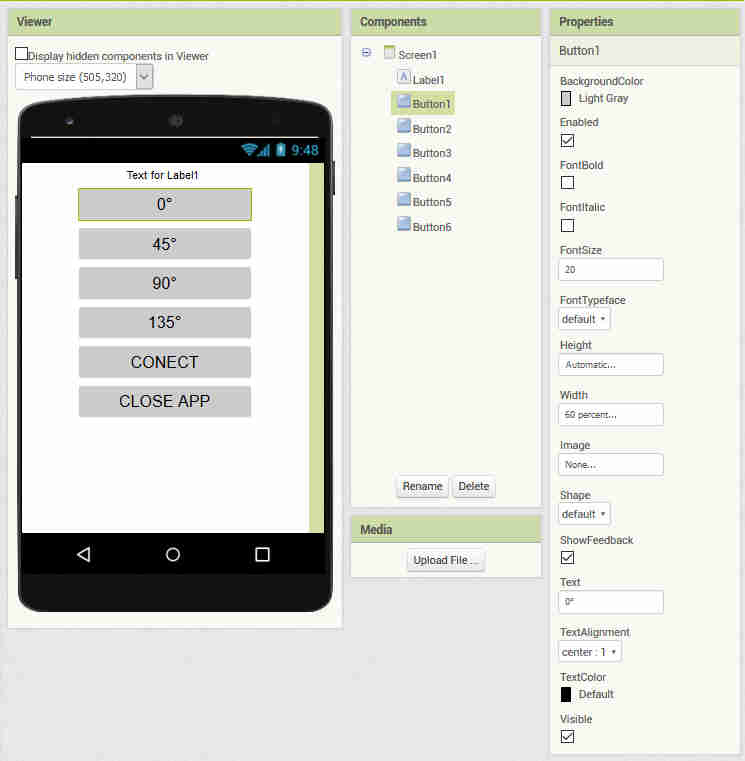 changes on buttons 1-6
i used the same configuration for all the buttons app inventor it's really simple but if you are clever you can do really nice looking apps by importing low size images and place them instead of the default button icon for example
the same can be done for the texts because app inventor only support a few fonts but you can make your on texts on inskscape or adobe illustrator
BUUUUUUT here the catch.
each image will be added to the final apk on the phone and it will increment dramatically the size of your app and in smaller phones it will take to much to render all the images.
that's why i try to keep it simple enough.
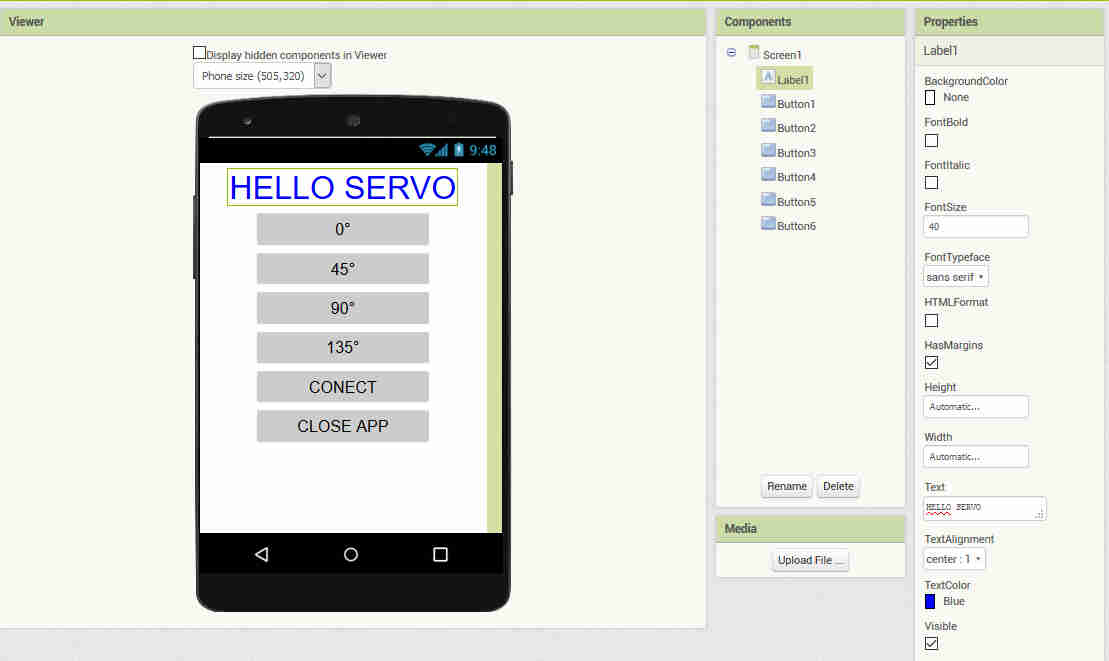 changes on label
anyway let's place a title for the app and compile it to see it on the phone so we can check that's what we want our app to look like.
to see our design we can go diferent ways
i chose using the QR code on my android phone in order to do this you have to download and install the MIT AI2 companion from "goole play store" on the phone
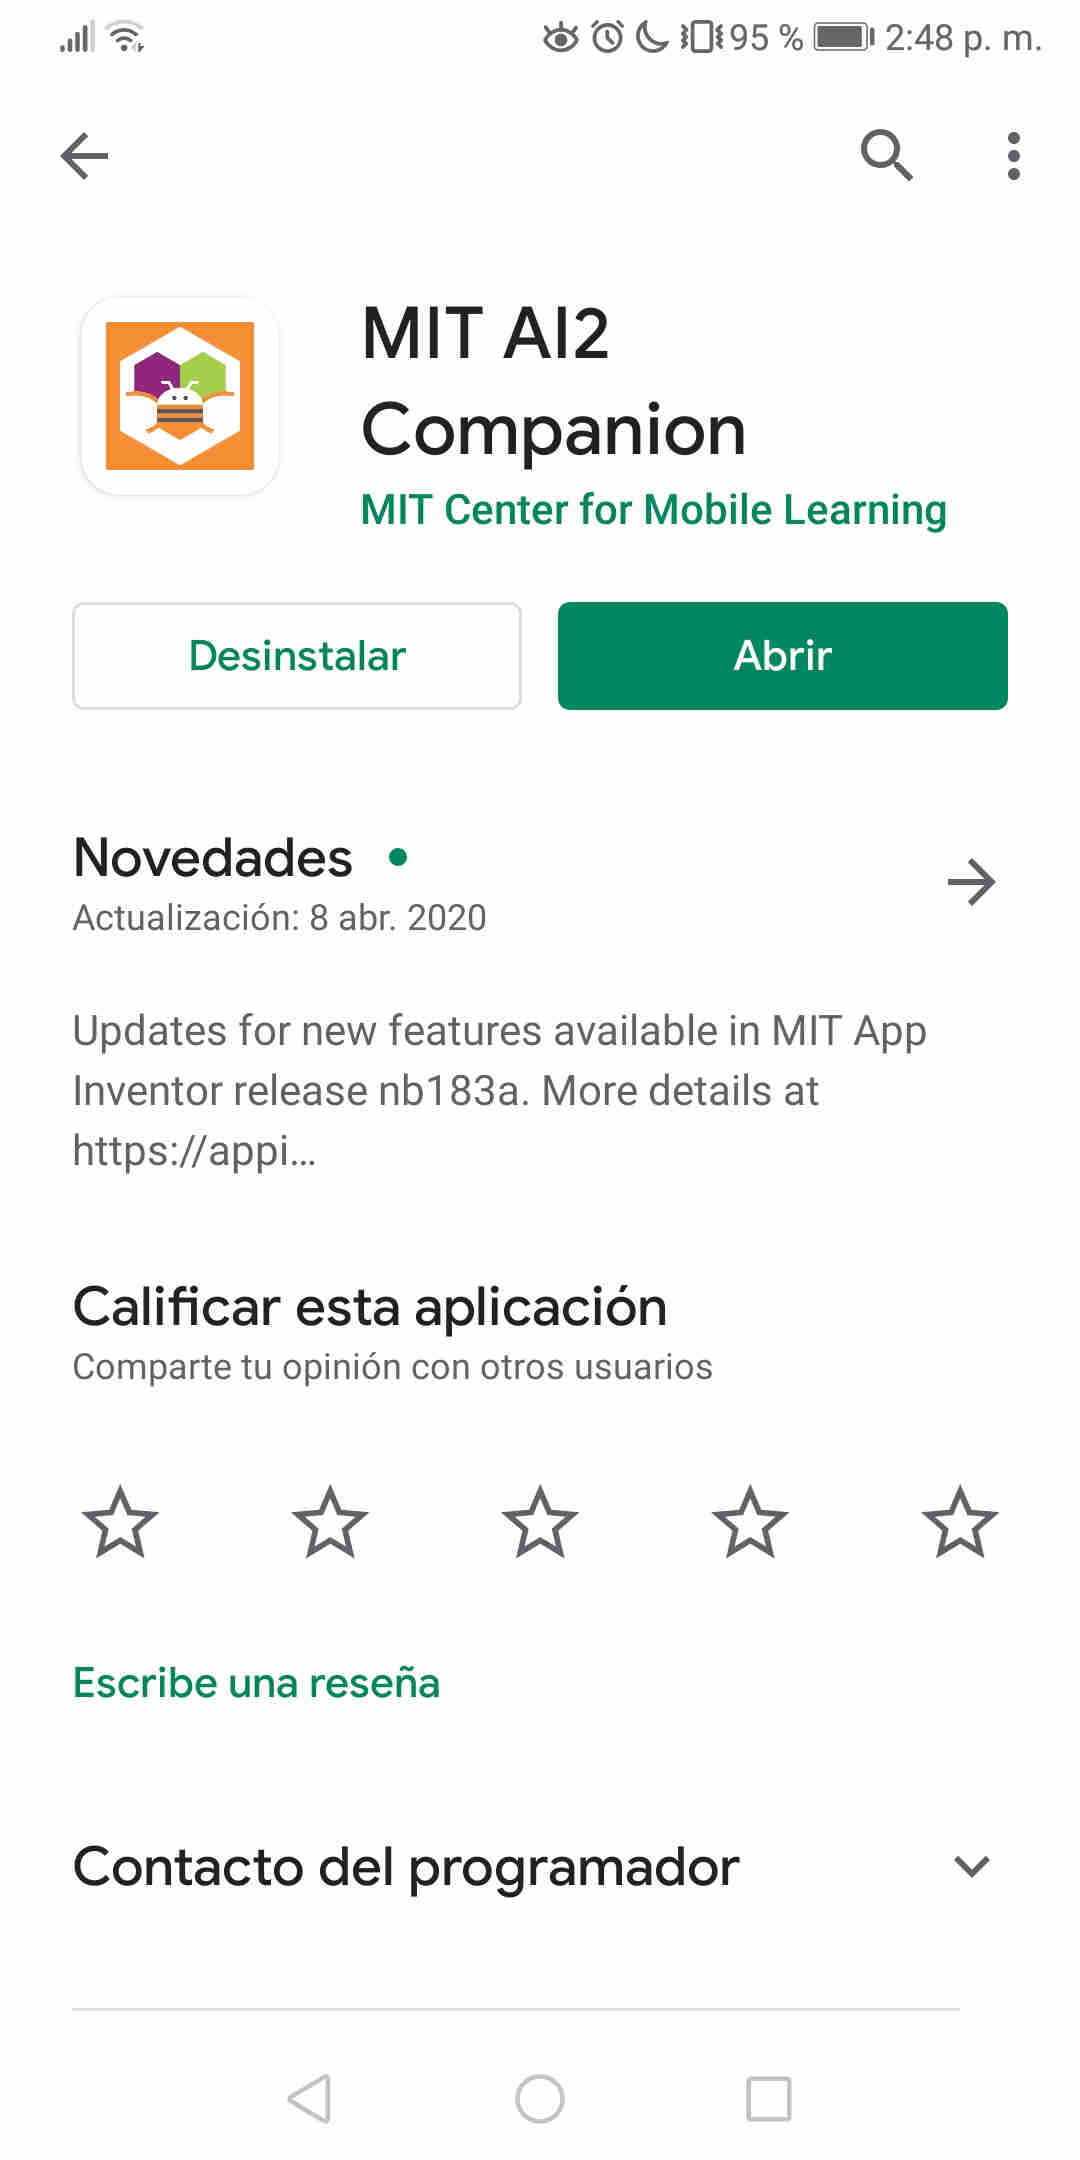 MIY AI2 companion on play store
once that's done open it and you can choose "scan QR code" button
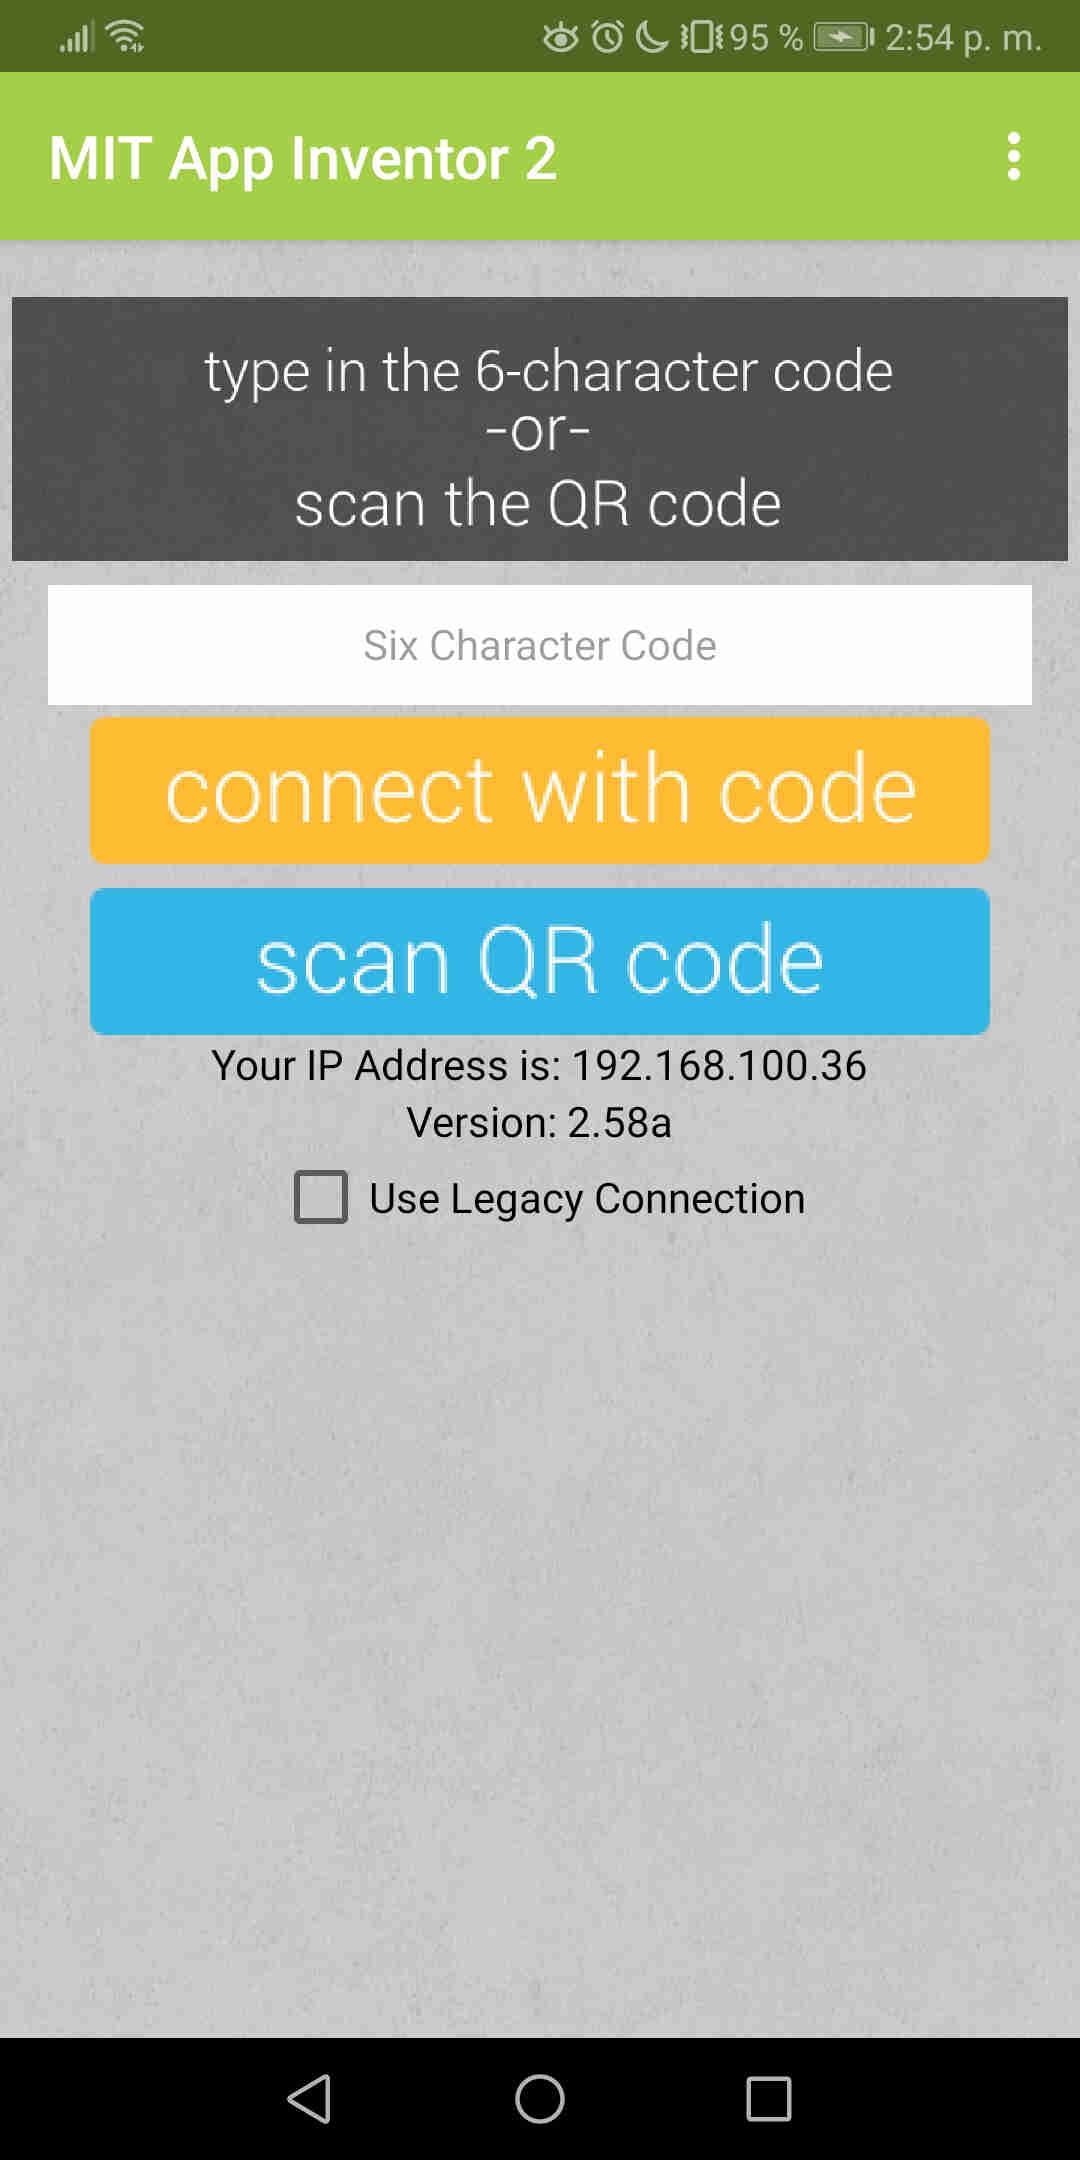 MIY AI2 companion app
now, go to the app inventor 2 enviroment and clic on ai companion under conect button
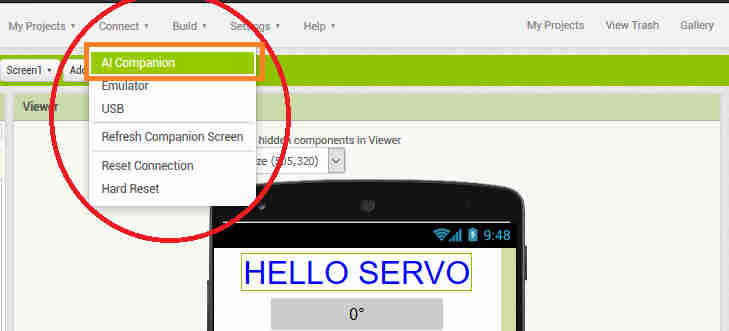 select the AI companion option
wait until you have a QR code to scan with your phone
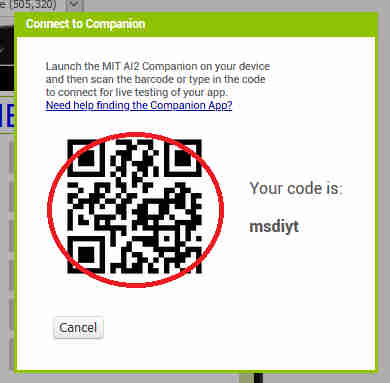 scan the code with your phone
then it will load the screen you actually are on the PC enviroment and if you make changes you can see them in real time as long as your phone screen is turned on and the AI2 companion app is on screen or you have not changed anything in a while and it will atomatically disconect your phone from de app inventor enviroment
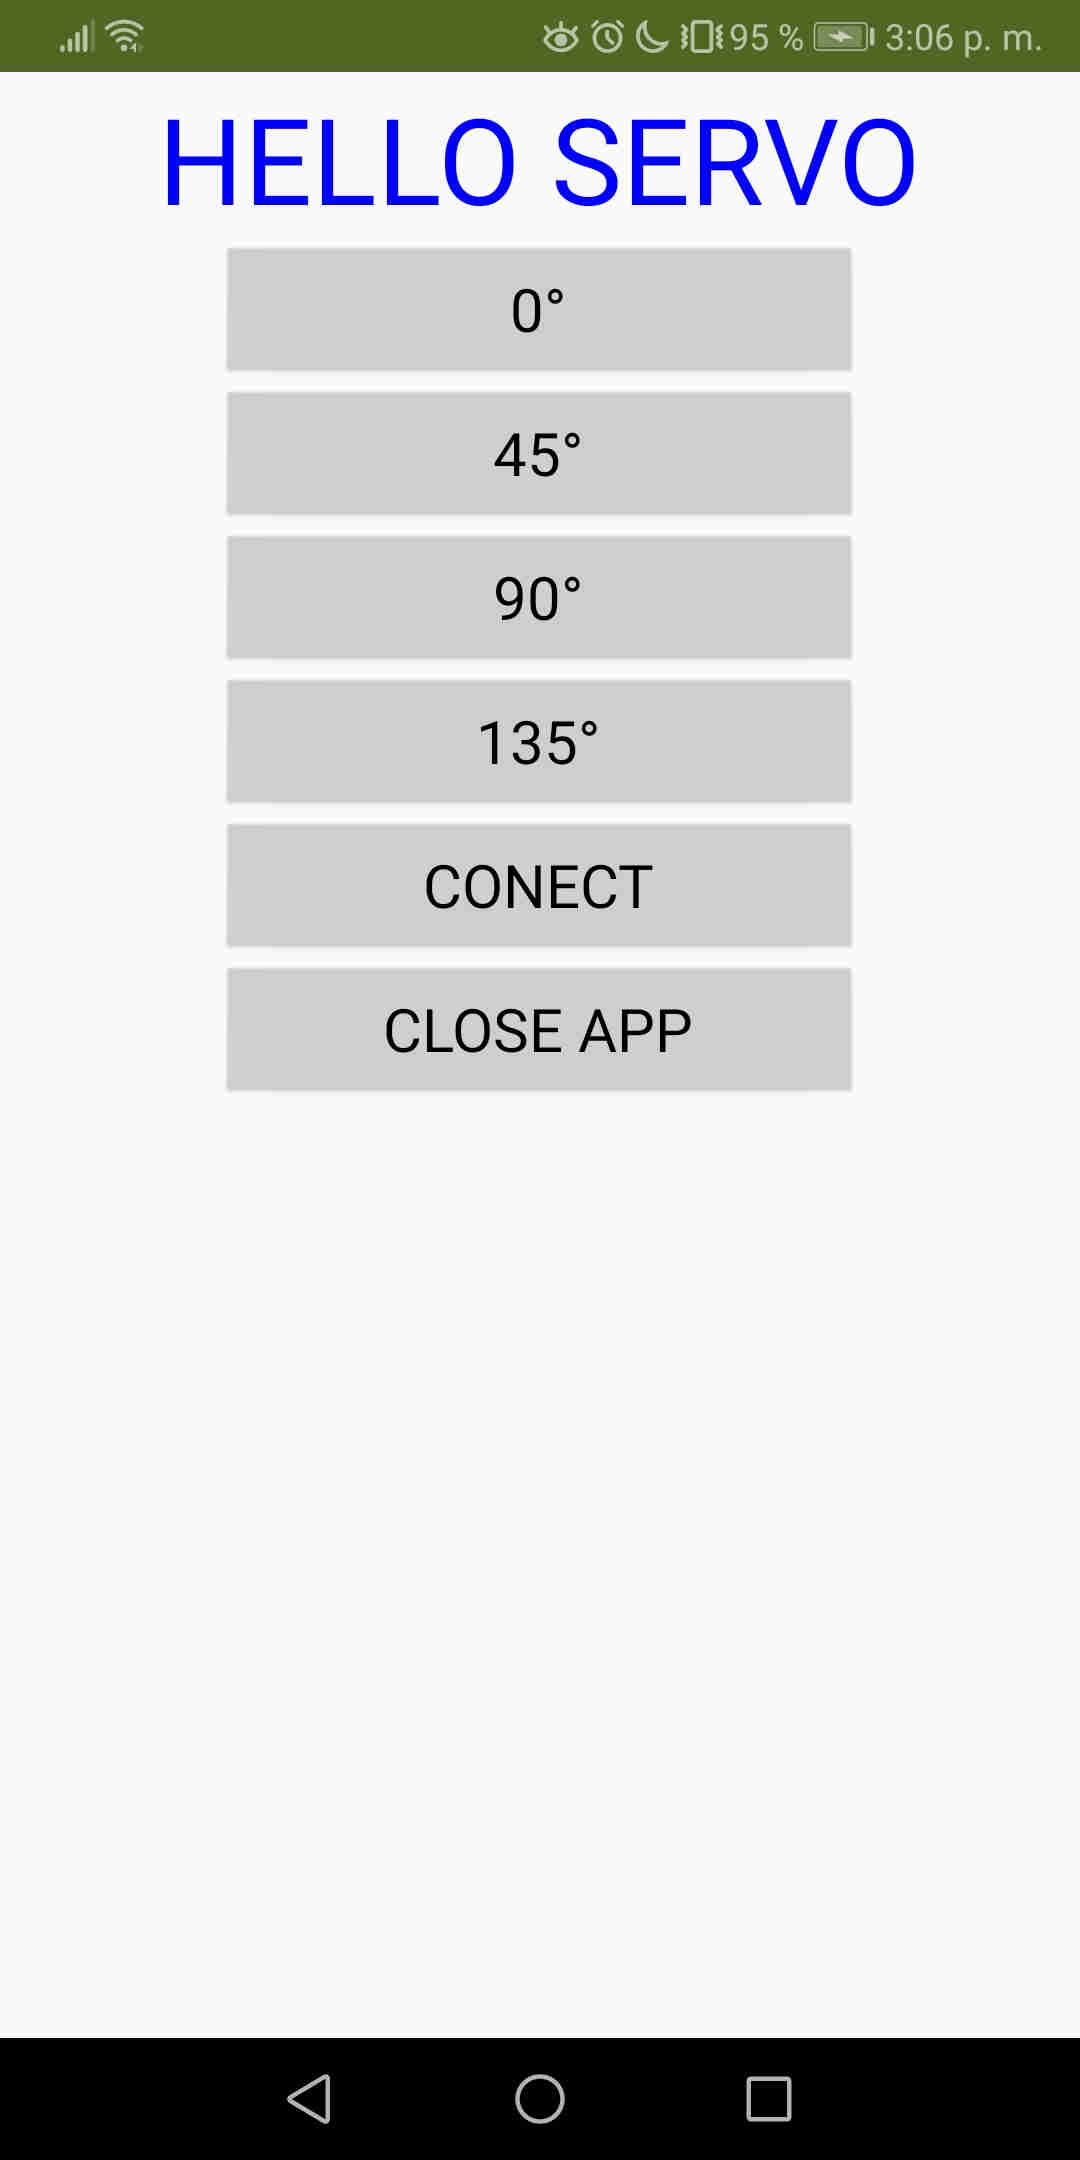 hello servo app in real time on my phone
now if you try to press any button it will not do anything because we have only programed the look of the app.
now it's time to actually put some code on it and see if we can make it conecto to the serial comunication with and arduino, change the position on a servo and close the app
On the app inventor 2 enviroment you can go to the "block" button on the right side of the project manager tab
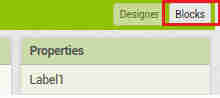 block button
aparently we are inside a diferent program but what actually happened we only change to see whats actually hapening in the backgroung of the app
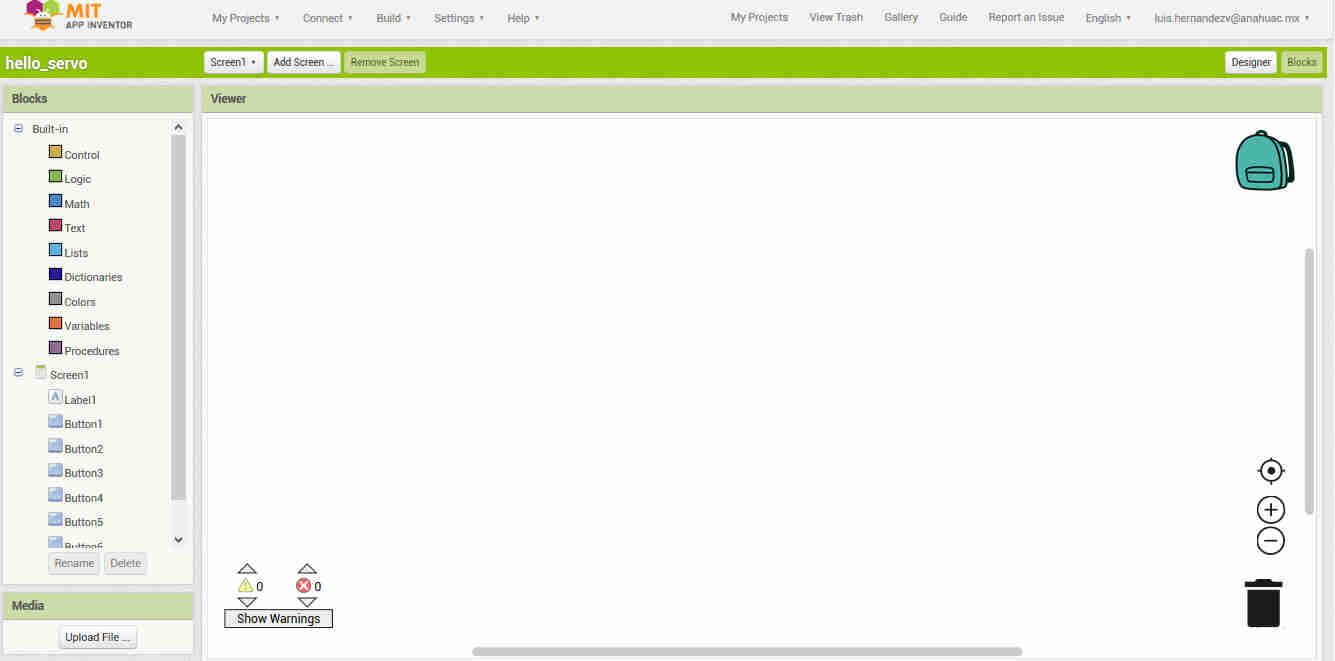 block interface
we still have the project manager on the center upper side of the brower.
now we have two more tabs (blocks and viewer).
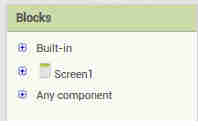
in the block section we have three basic kinds of blocks (built in, screen1, any component)
the built-in section includes basic programming operators like (control,mathematics,variables,texts,etc.). The screen1 section includes pre-configured programming operators for each component on the design enviroment (if states,call states,set states) and the any component section groups pre-configured programming operators for all the same type of components in a screen (if components,call states, whiles,etc.).
This last one meaning that if you have six buttons (like in this example) they all do the same thing.
 block interface
now lets make the buttons do something.
first we need to call all the buttons when clicked do something lets grab them from de screen1 section under each button and drop them in the viewer
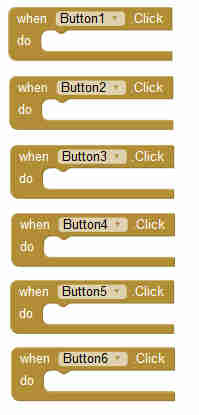 place all the button IF statements
now lets make "button 1" send data through serial comunication.
due to the covid-19 contingency i didn't have a self made board to test yet but i will use an arduino uno and a servo for the purpose of this assignment
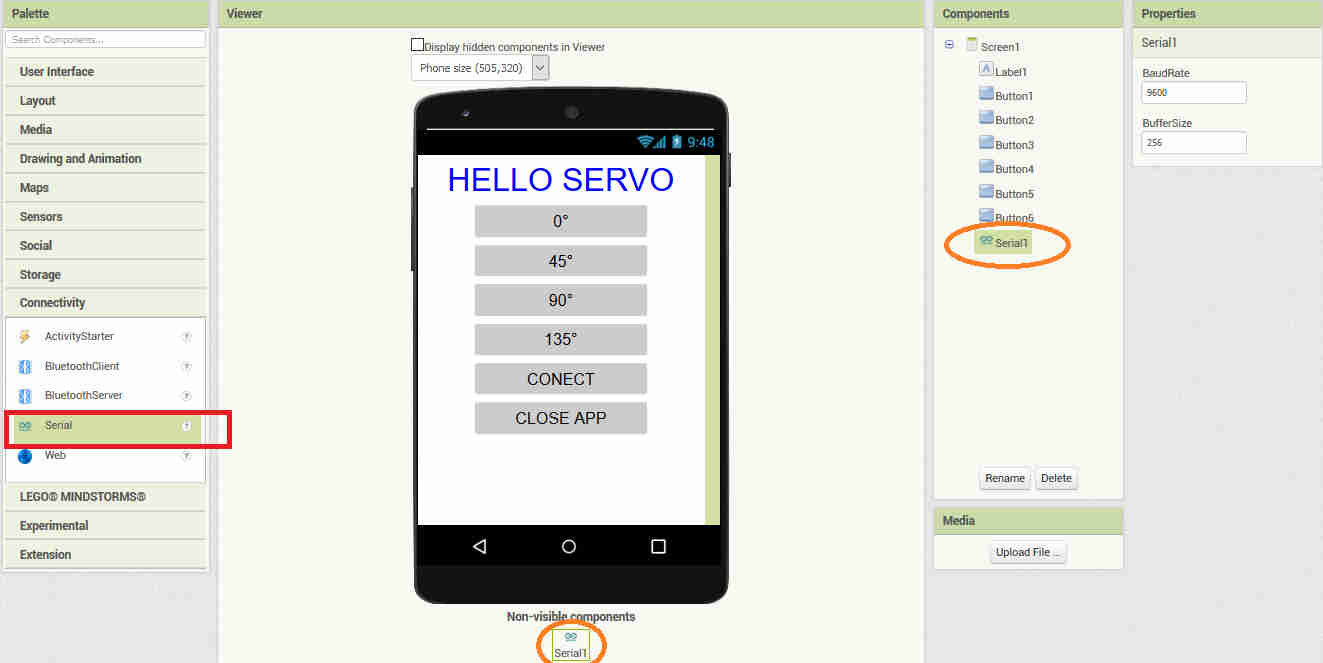
so. Lets go back to the design enviroment and frome the palete tab select "serial" under conectivity category
 place a serial comunication component
well. Now go back to the block enviroment and you shall see the serial component under the block tab.
place a block like this anywhere on the viewer.
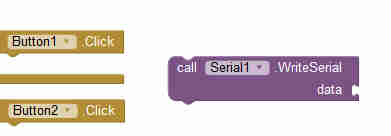 call serial1 write serial data
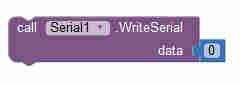
lets drag another component from the mathematical category under built-in section and drop it any where on the viewer also.
 built in/mathematical/number
now we have all three block that we need for it to work but it does not do enything yet because they're not conected between them so the enviroment won't do anything.
for conecting them you only have to drag them close enough and when the corner change in color you release the click and a magnet will put them together in place.
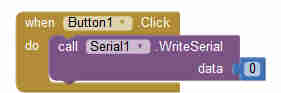 conected block
now it will send a "zero" when clicked. lets do the same through buttons 1 to 4 but instead of drag and drop each block lets duplicate the call function with the numeric digit
right click on the "call" function that acts like a parent for the numeric digit
 call function with a block glued to it
now lets do this 2 more times and conect them with buttons 1 through 4.
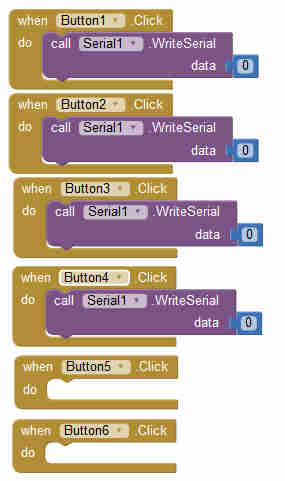 all of the buttons are programmed
now let program the "CONECT" on the design enviroment which corresponds to button 5 on the block enviroment.
first call the serial to initialize on the block tab under screen1 section under serial category you'll find this block
 call serial1 initialized
Then if serial1 port is open lets set the baud rate to 9600 bps that's the standard for the arduino uno board
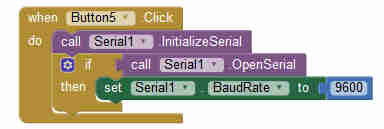 if statement in the built-in section under control category
now lets use the button 6 to close the app.
 when clicked button 6 will close the app.
finally in order to get this assignment i have done the arduino code so i will change the values on the digits to correspond to the code on the arduino.
 digits correspond to the ones on the arduino code
electric wiring
bill of materials
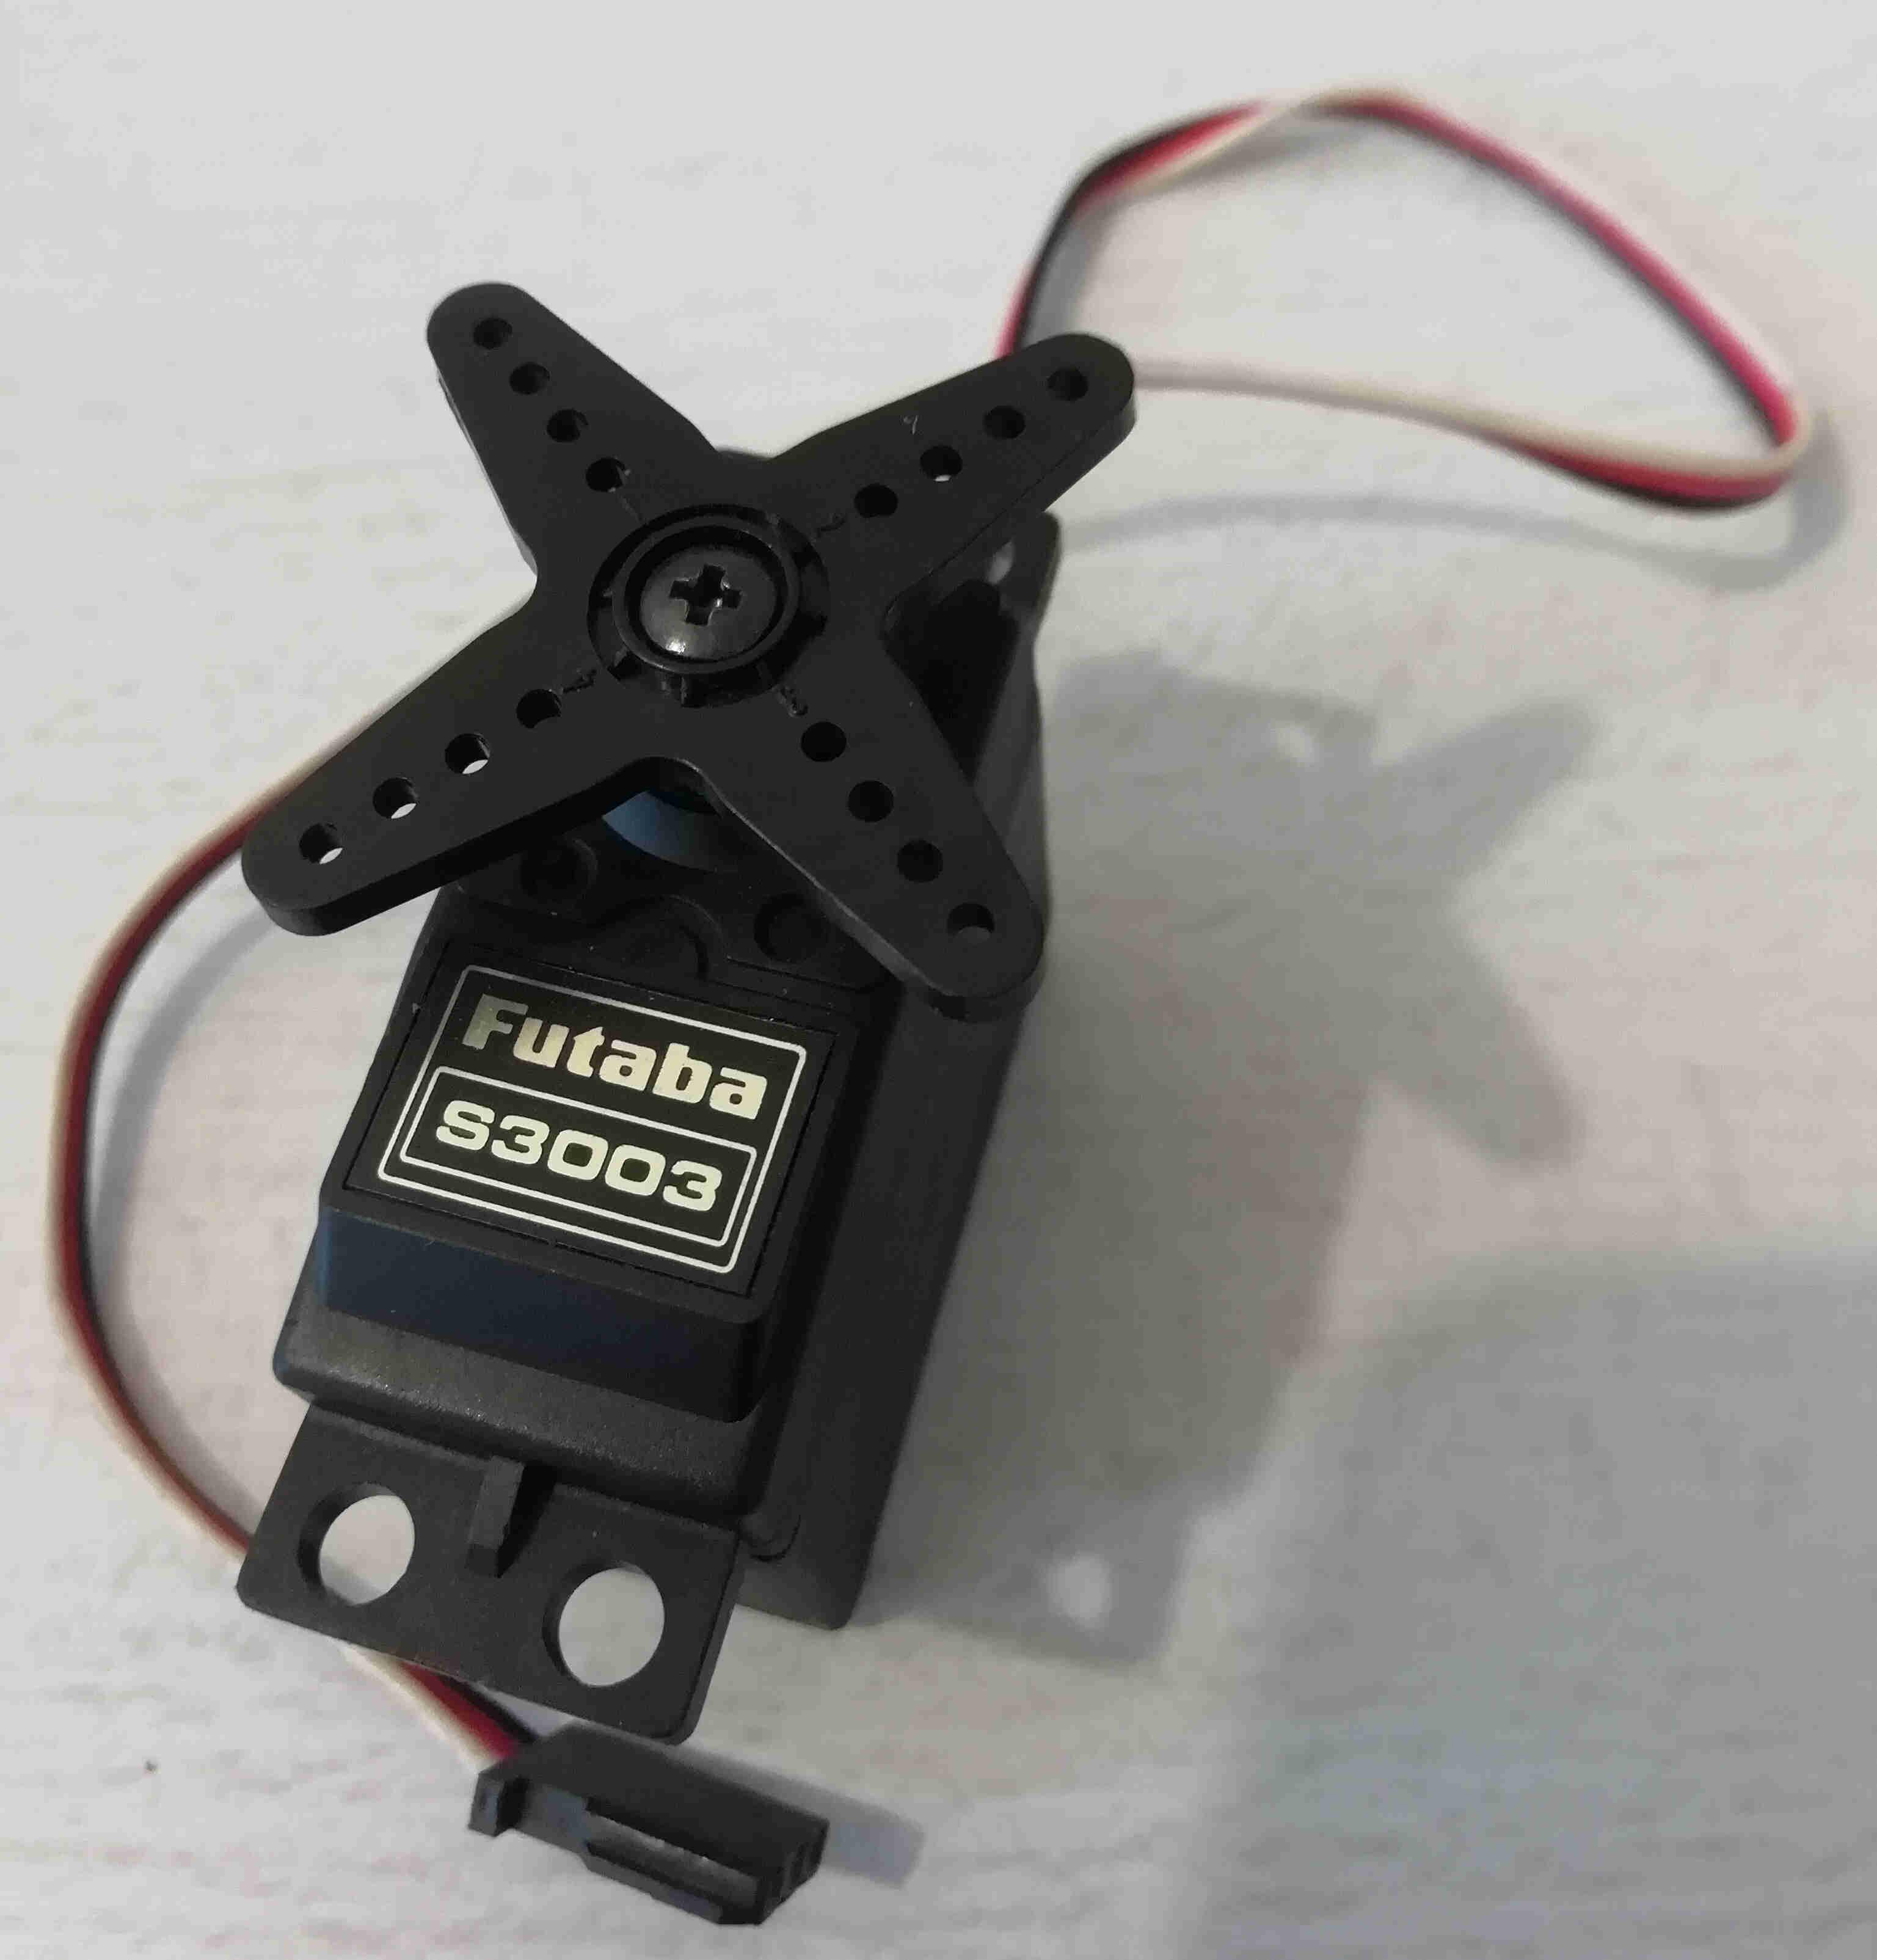 Futaba servo S3003
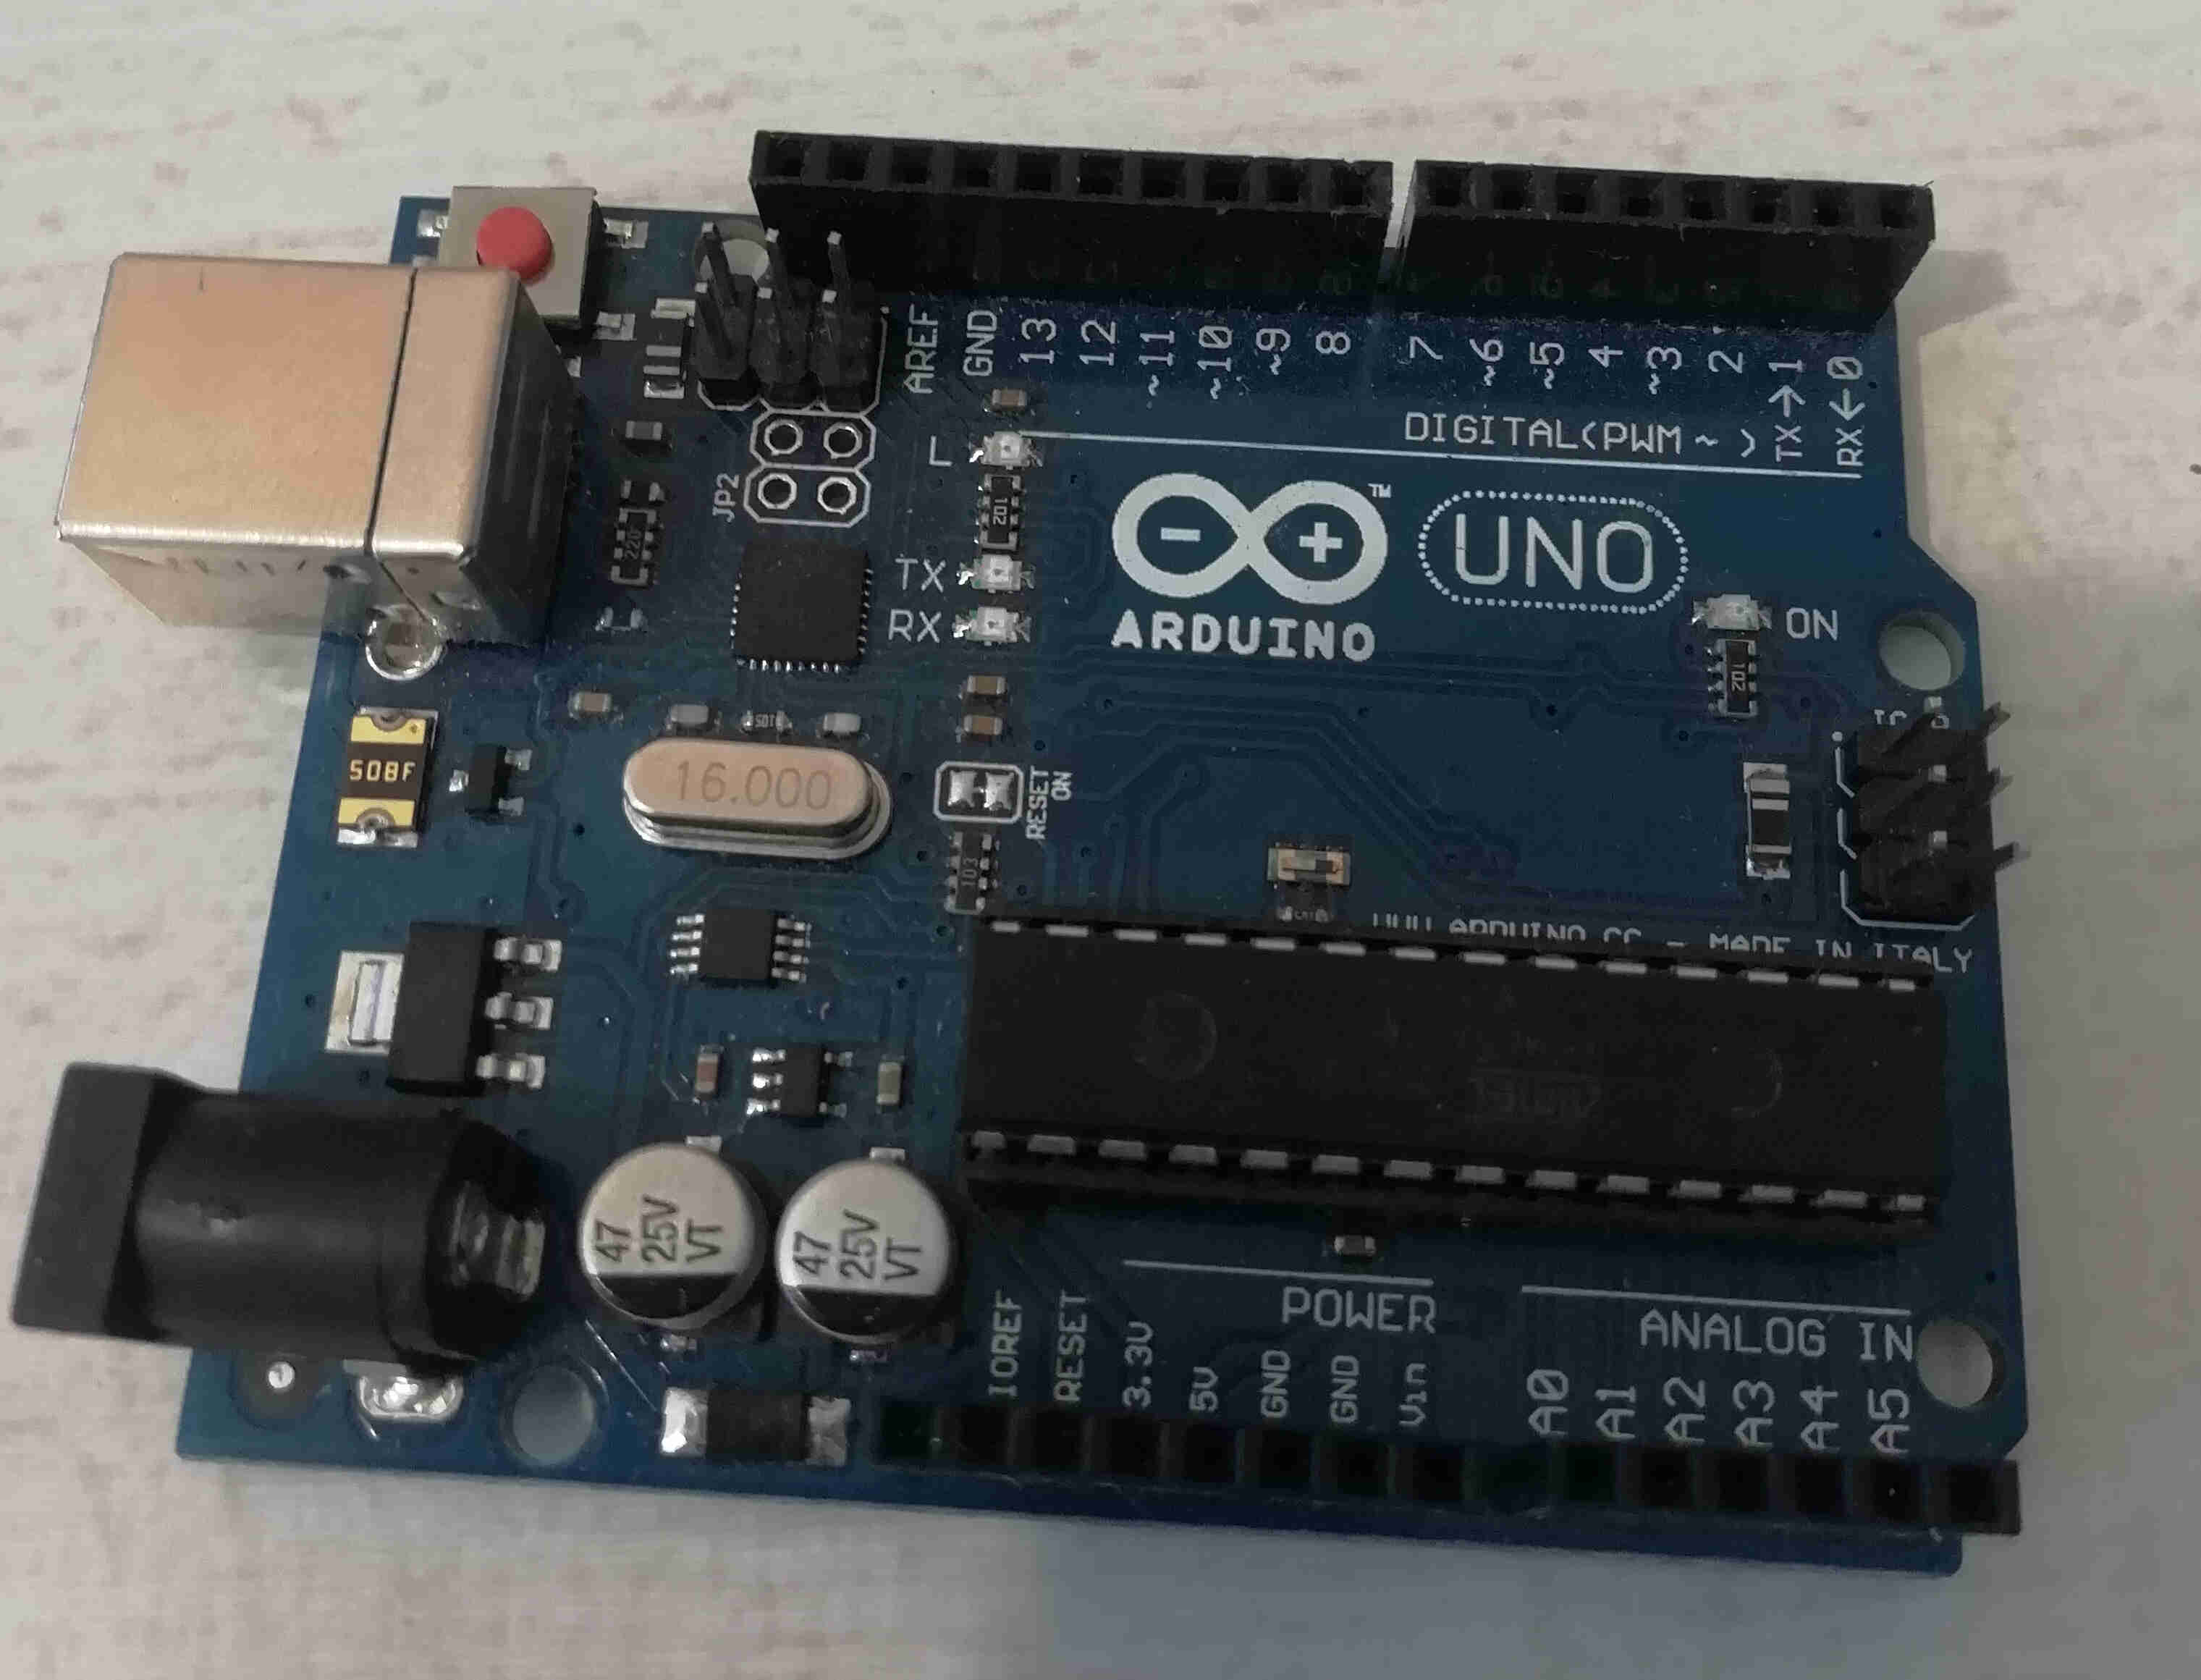 Arduino uno board
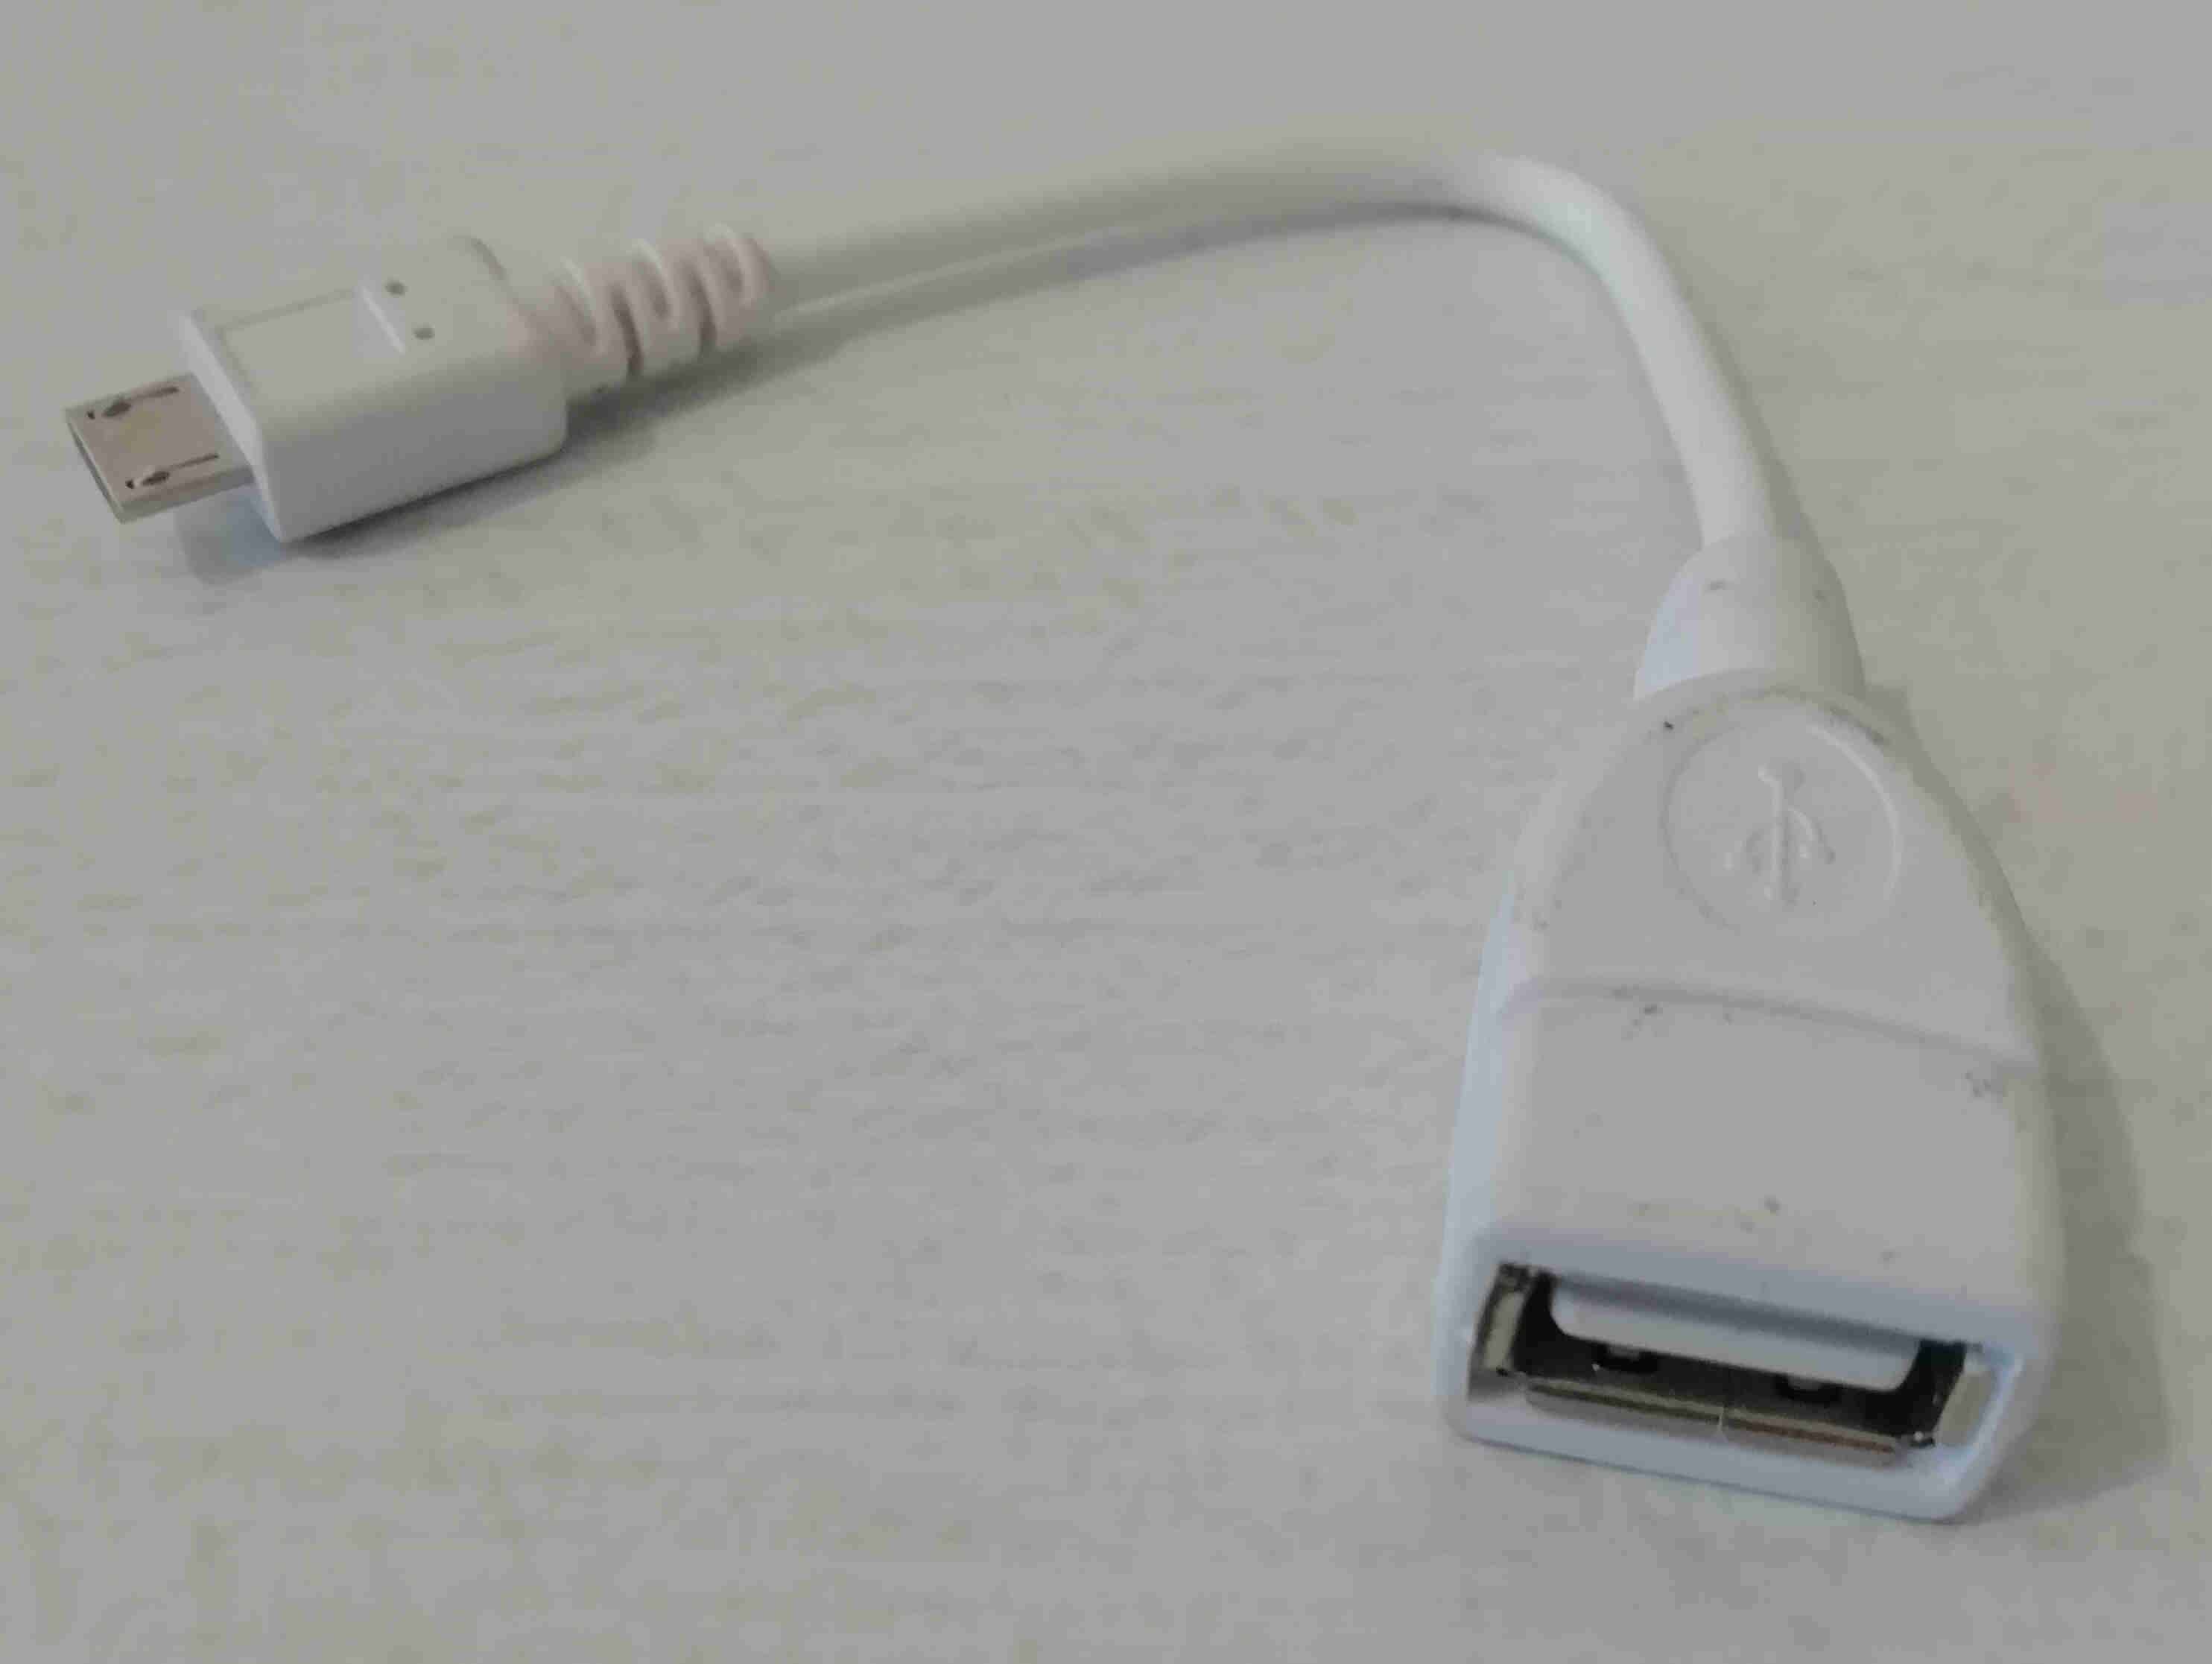 male micro usb to female usb cable
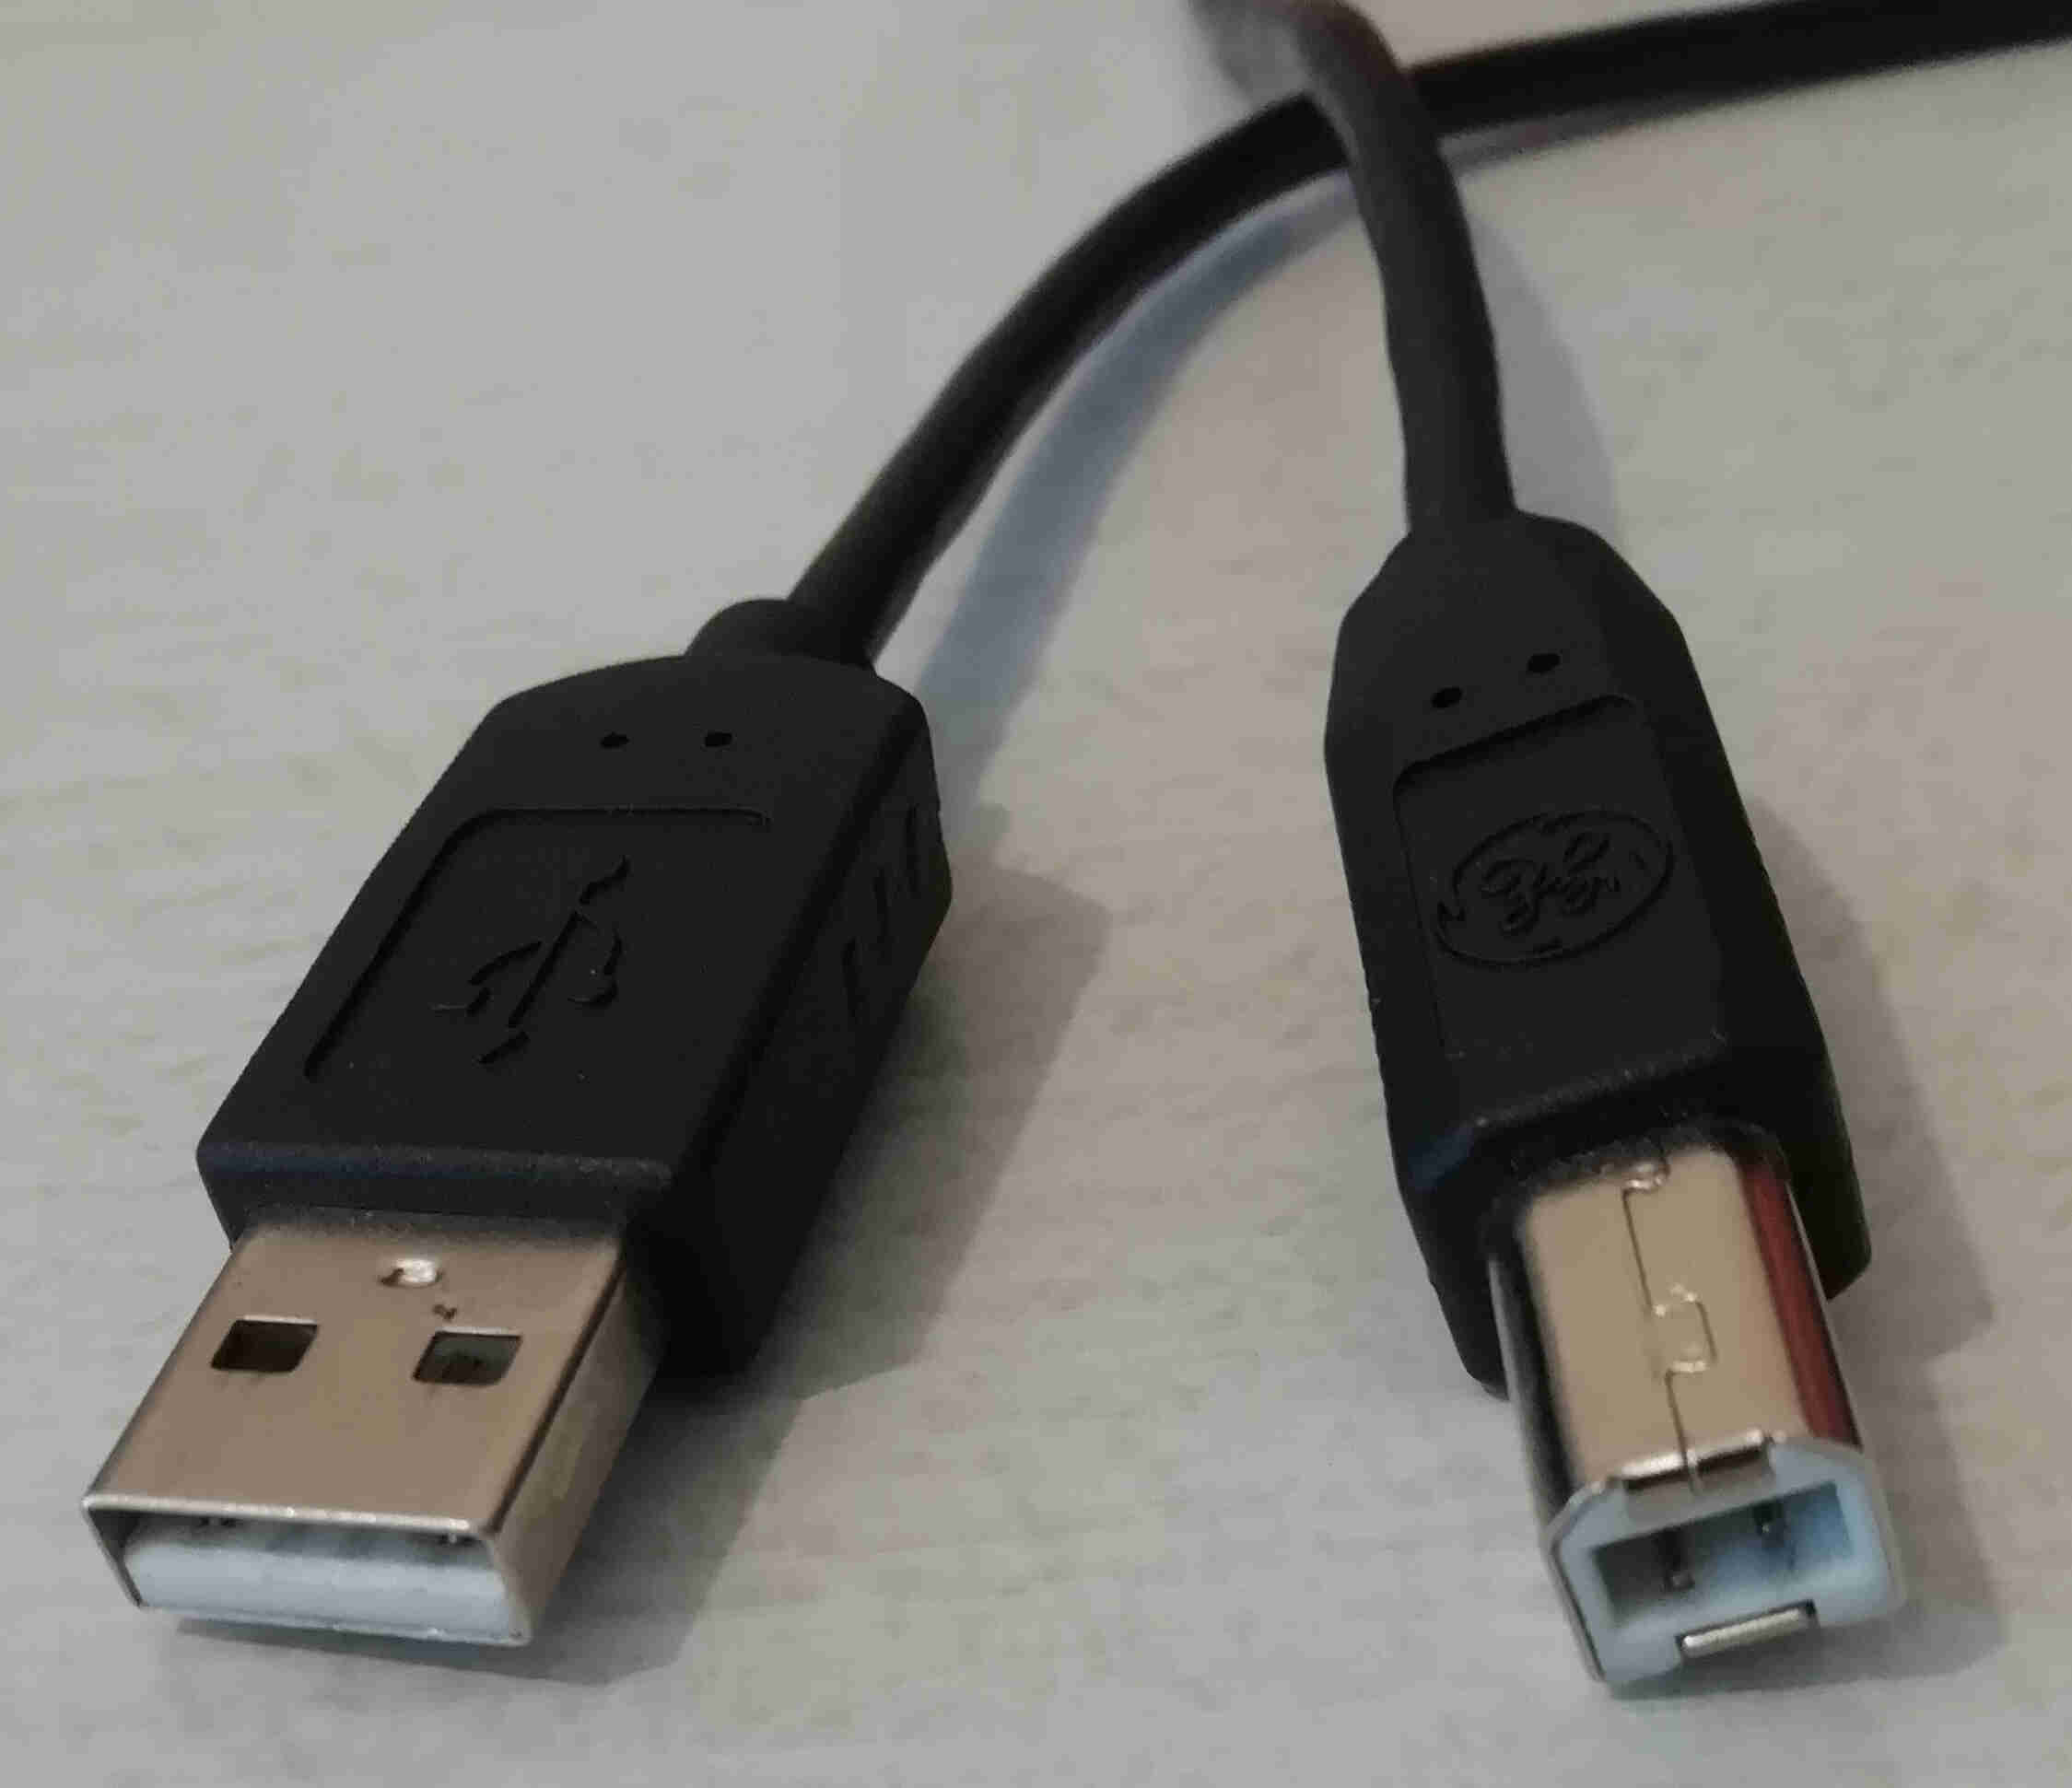 male usb to standard device usb cable
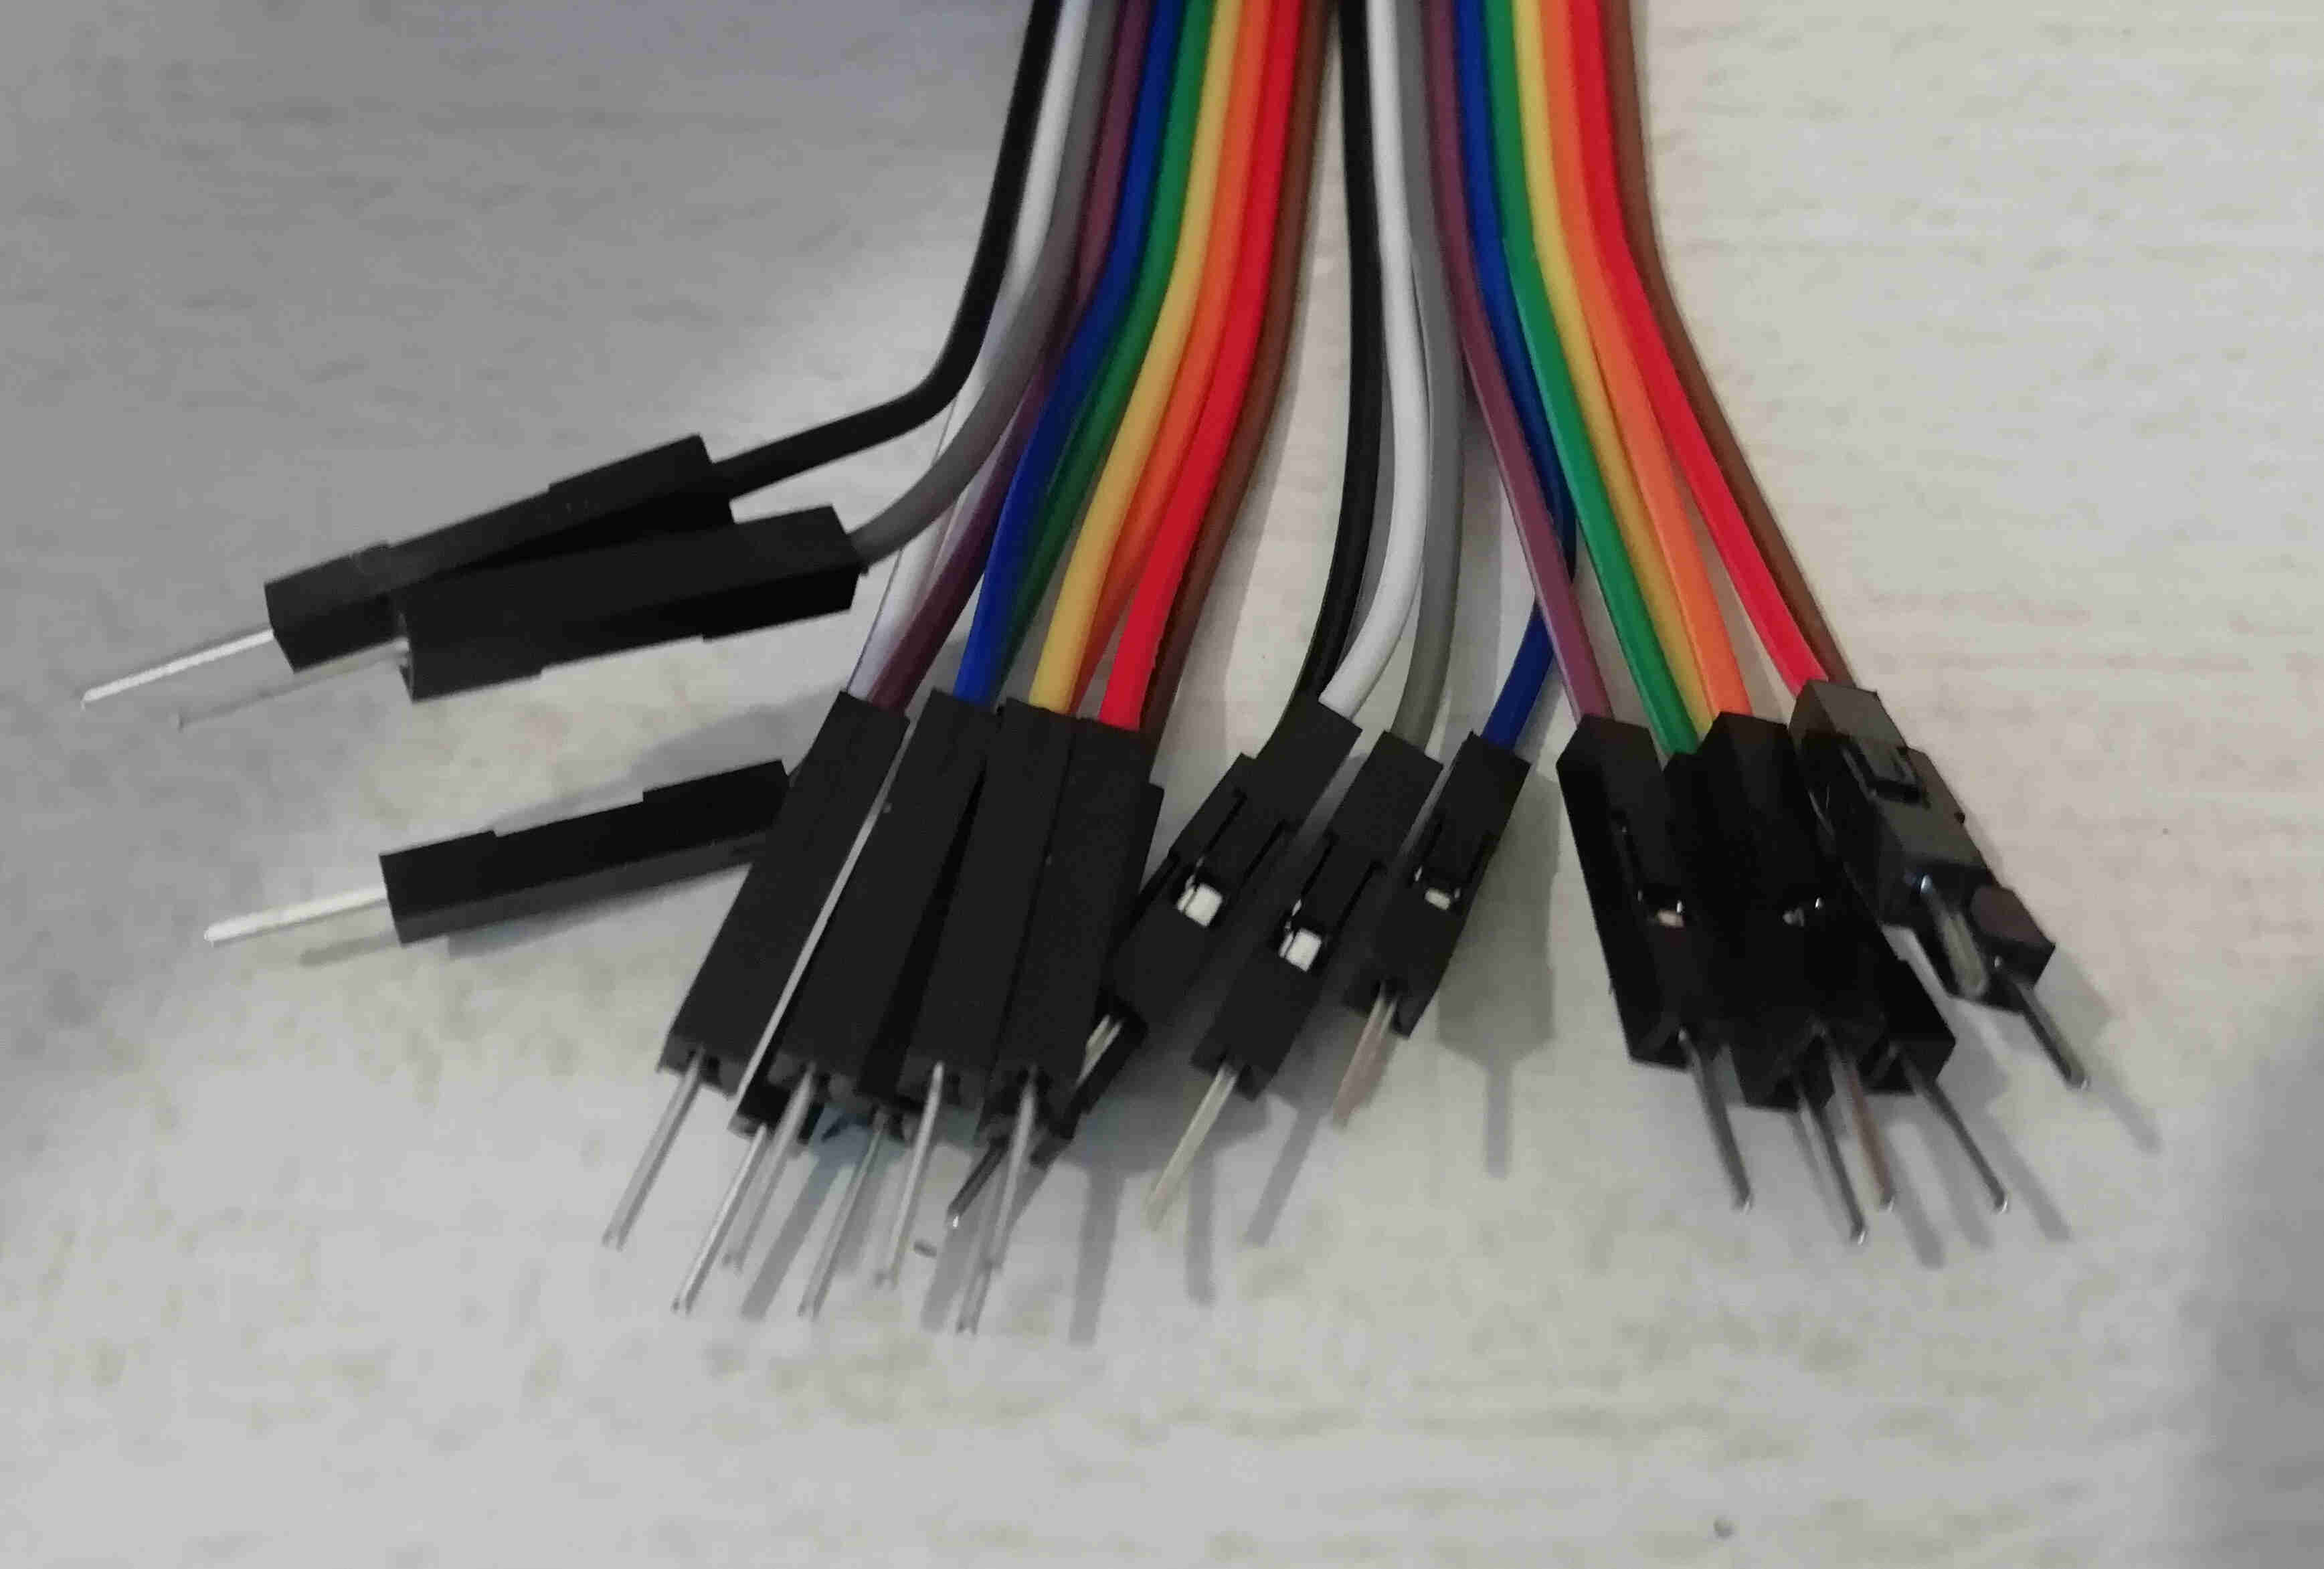 male to male jumper wires
so. just have to hook up the usb cables from the phone to the arduino and the wires of the servo to the arduino
servo motors only have three wires (VCC, GND and signal)
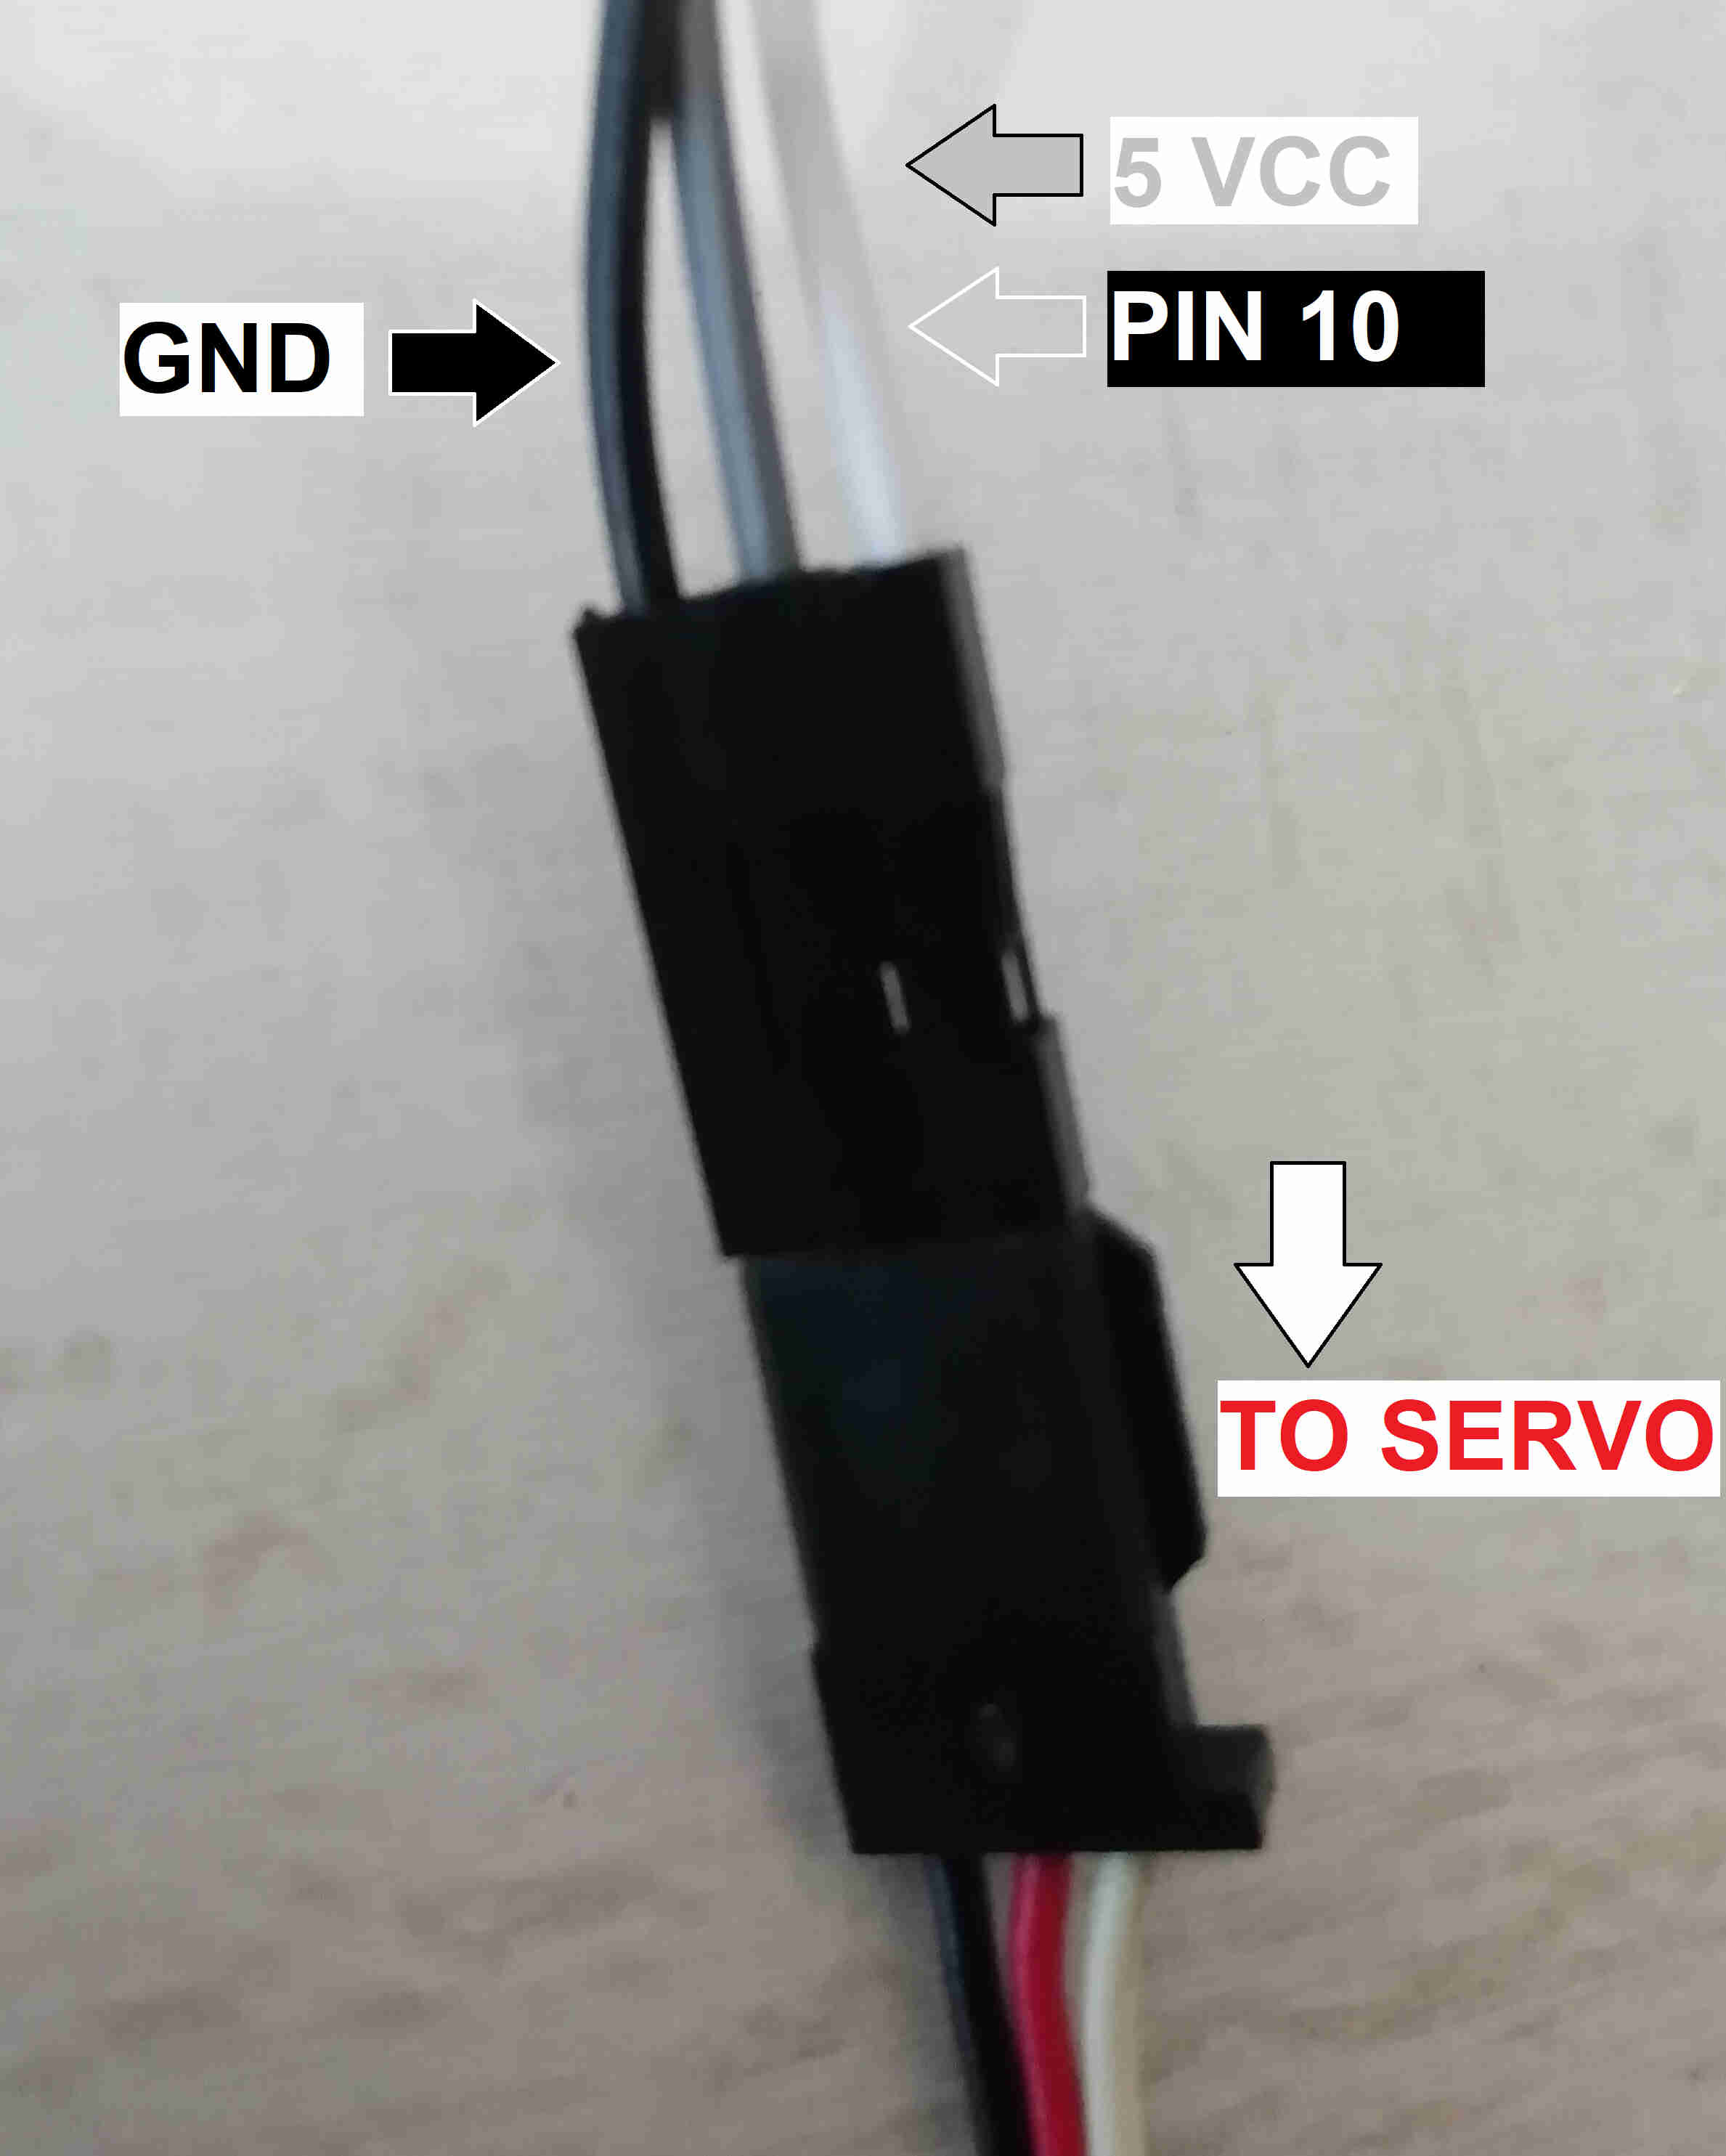 wiring to the servo
now the layout should look like this
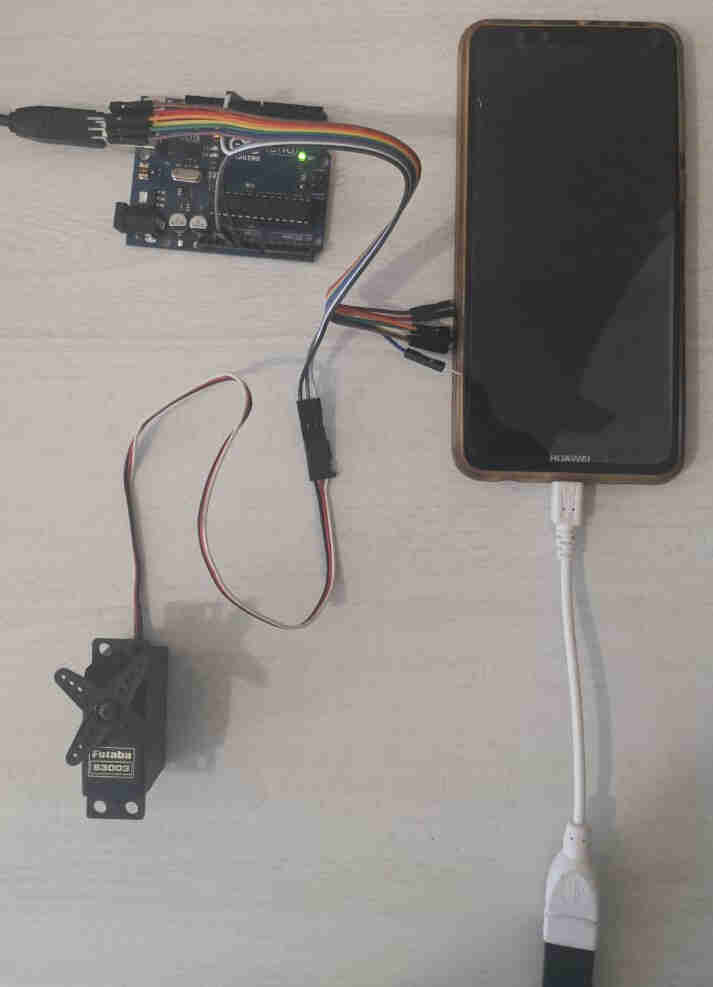 wiring layout
now it's time to write some code on the arduino IDE and send it to te computer
arduino code
open the arduino IDE on your desktop machine and hookup the arduino uno board to PC in order to upload the code
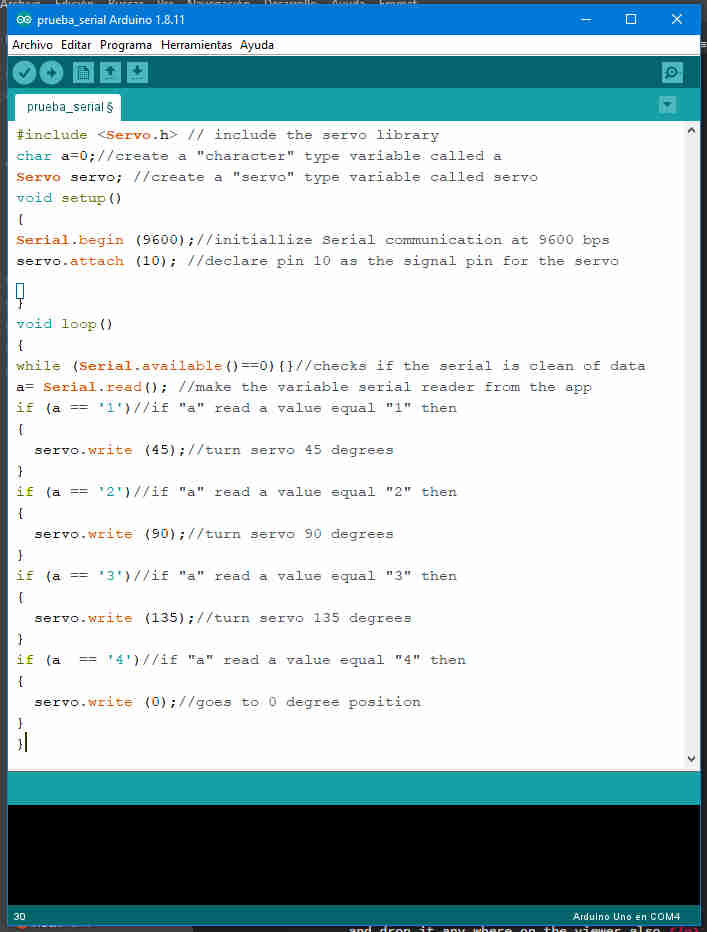 arduino code
after compiling it and uploading it to the arduino board you should get a message like "uploades" from the IDE
uploaded message on IDE
From here you can download the code i just described above
e posse e mobi
now we are ready to test if the app works.
go back to the app inventor page.
make click on the AI companion option under conect again
AI companion
open the app on the phone, scan de QR code and conect de arduino to the phone.
lets see what happen.
here i tested the appnow we can sell it
just kidding but now we want to make a stand alone version that doesnt require the conection to the app inventor page and can launch on our phones as a standalone app
you can take to paths to do this.
generate a QR code on the app inventor platform to launch de .apk (equivalent to .exe on pc) and install it on your phone
Or generate the .apk file on the hardrive of your pc and manually install it on your phone
i chose to generate the .apk file on my pc so i can share it here
once this file is generated in the hard drive drop it into the the phone micro sd card and launch it (you will have permission to launch third party developers applications this may vary on each phone)
lets test the final result
here i tested from a standalone appreferences
here is a video on using app inventor that helped me a lot
here is a video on using serial comm on arduino that helped me a lot
here is the video testing from app inventor on my youtube site
here is the video testing the standalone app on my youtube site
Update 06/07/21
Group assignment
Here you can check the group assigment on this week.