Electronics Design
Topics
- Redraw the echo hello-world board
- Traces image and outline image prpearation using GIMP
- Board fabrication using milling machine
- Board programming using Arduino IDE
Redraw the echo hello-world board
Procedure
To Redraw the echo hello-world board I used Eagle software.
Note: the library is downloaded to add the proper parts for the board.

Now we are ready to build our board
To add the components Click add parts and look for the downloaded library
After adding the components we need to connect all the components to make the circuit

Instead of wiring and make the board sketch complicated We use the labeling to connect the termination. We need to look for the data sheet of the Attiny 44 to find the pinout to connect all terminatin in a proper way

We have to modify the value of each component for example I modified the resistor value of the led to be 499ohm.
after circuit building is done, we can switch to board layouty.

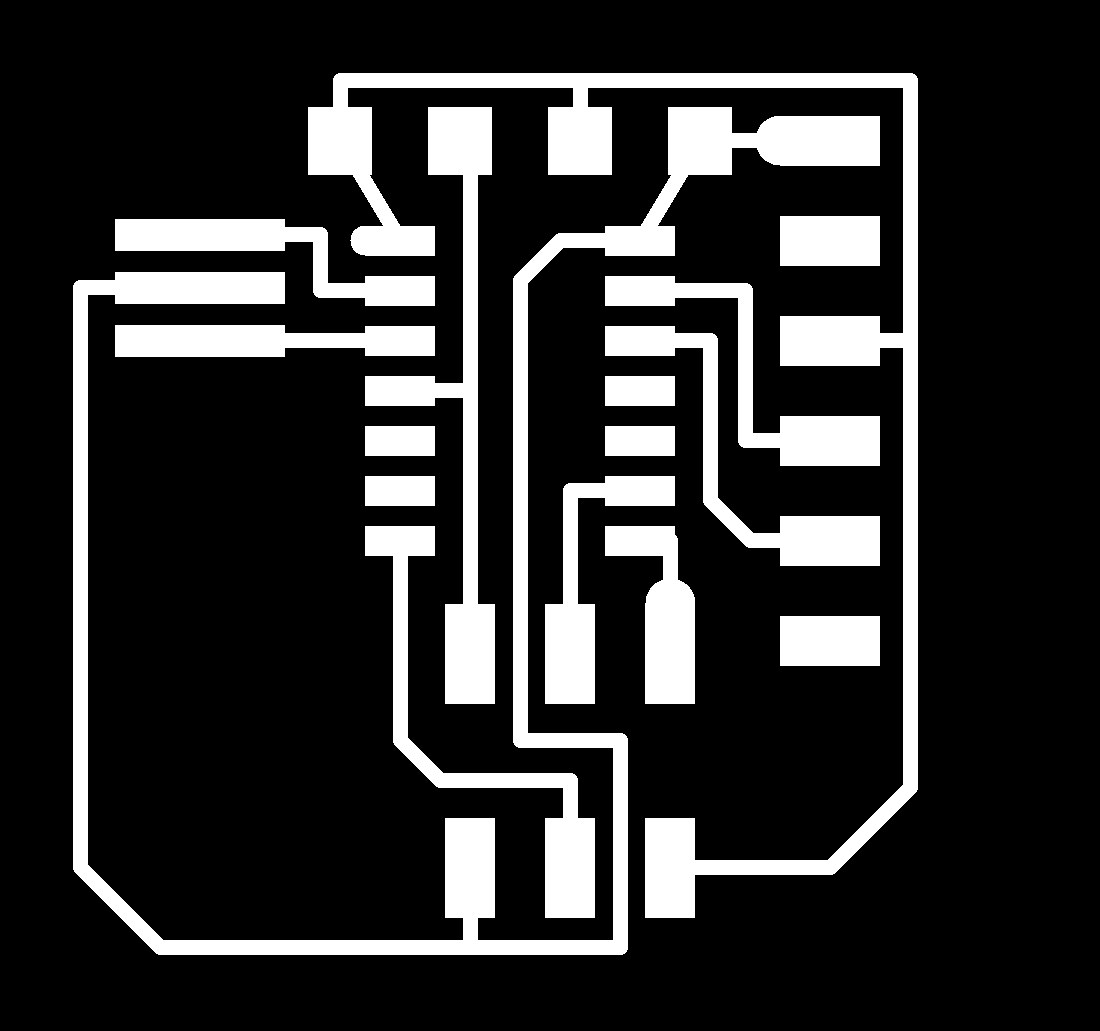
Next we need to choose best location for each component on the PCB. and use routing tool for the traces arrangement

Now we need to export the Electronic design as a PNG file. In GIMP software we need to opent the file and export two images, the traces image and the inverse of it to be the outline image.


we can start milling now using the same settings for the electronic production week board


let's go to collect the component and solder it


Ouch !! I did a mistake but it can be resolved. Now we are ready to program the board using my usbtiny
We need to check the connection of the board components using the multimeter and confirm that there is no short circuit


