
Week 2: Project Management
Assignments
Brainstorm
Language
1. HTML - HyperText Markup Language
2. HTML5 - Latest evolution
3. CSS - Cascading Style Sheet
4. W3C - World Wide Web Consortium
Text Editors
 TextEdit - It's on my mac very simple, free
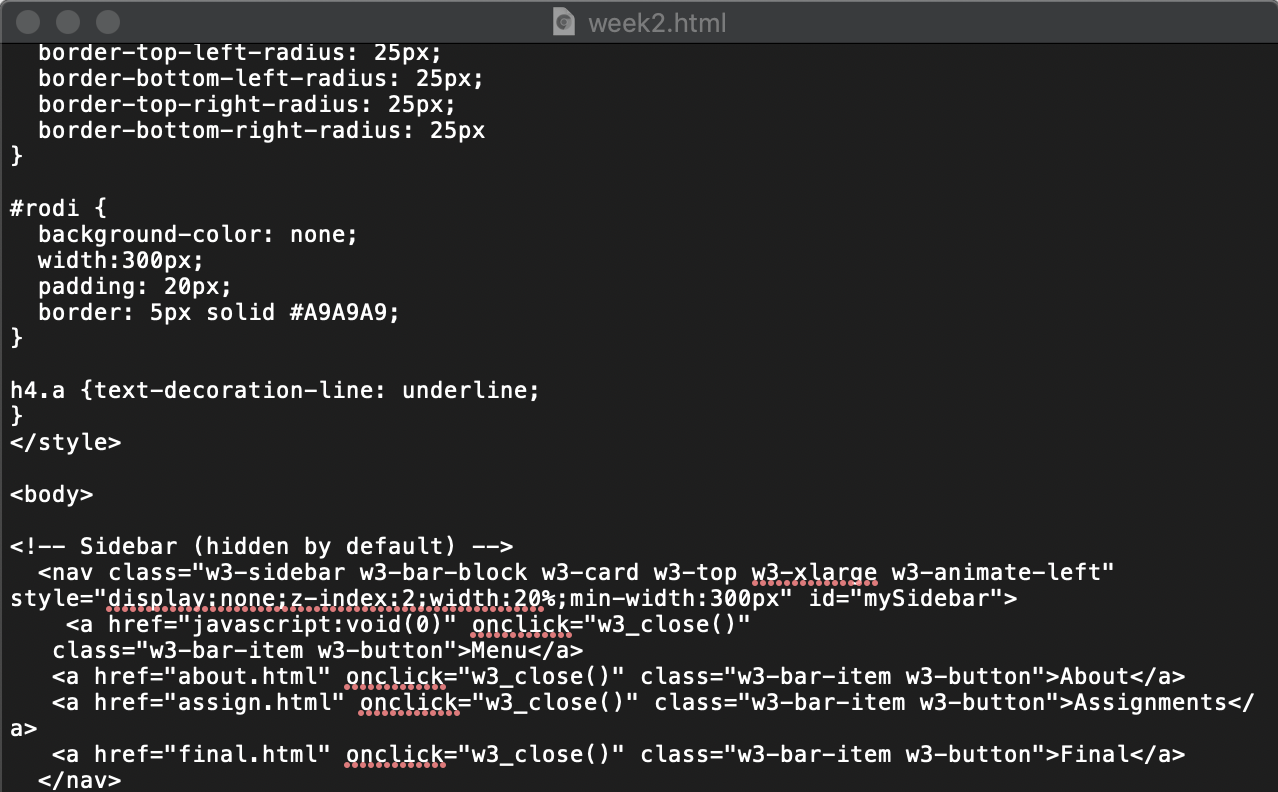
 Sublime Text - Colorful, easy customizing
 Atom - Open source editor developed by the founder of GitHub
 Dreamweaver - Adobe software, coding and designing
Research: try using each to find out best fit
1. TextEdit
I started out with using TextEdit on my macbook. Initially, it was fine, until the website was built up that it was becoming too confusing because it is just one color and it is hard to figure our which command is connected to which.
2. Sublime Text
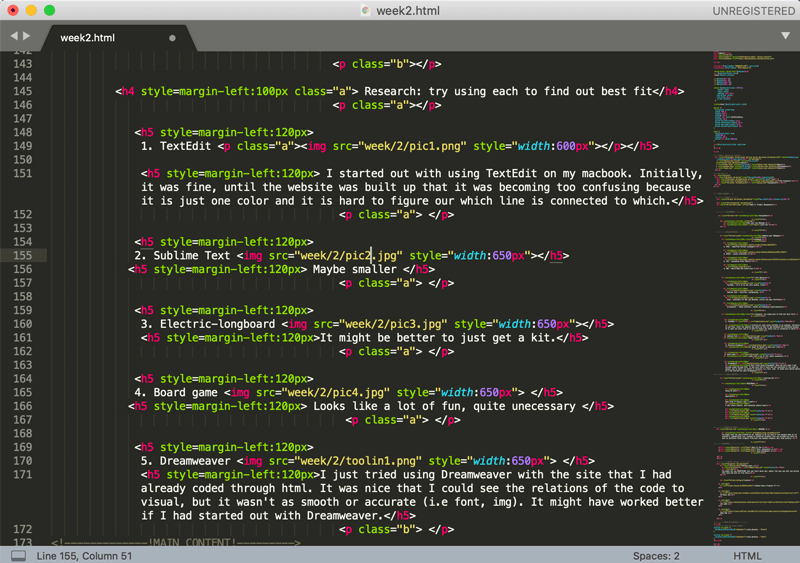
It is colorful, easy to navigate, with functions like split editing, command palette and command find function. My favorite thing about Sublime Text is auto finish command. The paid version has much more functions but I am happy with the free download.
3. Atom

I found this after I had established most of my website on Sublime. it is quite visually easy like Sublime and has similar good functions like it, and more. The project folder interface, as well as connection to Git, GitHub should be useful in the future. I haven't explored this software thoroughly, but some of the things that I need to find is the auto comman finish, and text wrap
4. Dreamweaver
I just tried using Dreamweaver with the site that I had already coded through html. It was nice that I could see the relations of the code to visual, but it wasn't as smooth or accurate (i.e font, img). It might have worked better if I had started out with Dreamweaver.
Making your Website
I started out using TextEdit because that was all I knew... then I quickly moved on to Sublime.
I had built a website using HTML before, but I needed a refresher, so I went on the Web to learn more. From my Instructor's Fab Academy website, I found that he had learned from W3school. So I checked it out and found... EVERYTHIING!
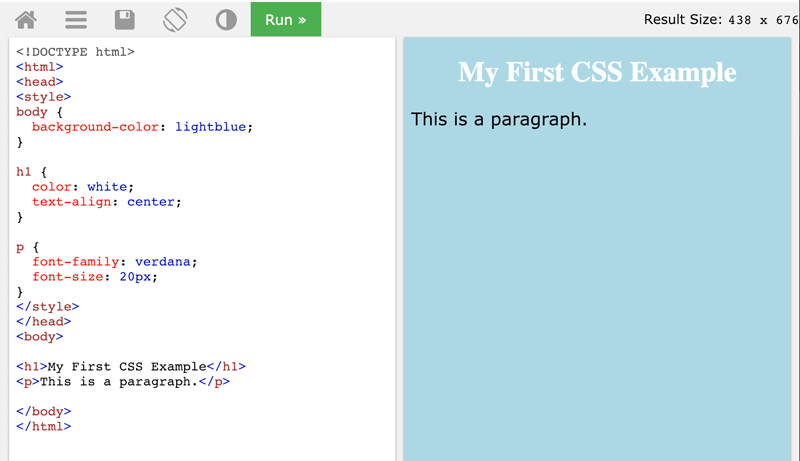
One great thing about W3schools is that in each Section, you get an example of commands that you can actually try yourself, copy and apply.
Tips
@ I found a template, copied some of the commands that I found useful from that and built on from there. Consequently, my webpage is a hybrid.
@ Make sure your folders and files are organized
@ Building a good "style" section is extremely useful in making your command strings simple, especially if you are making a webpage that require many pages that has similar contents
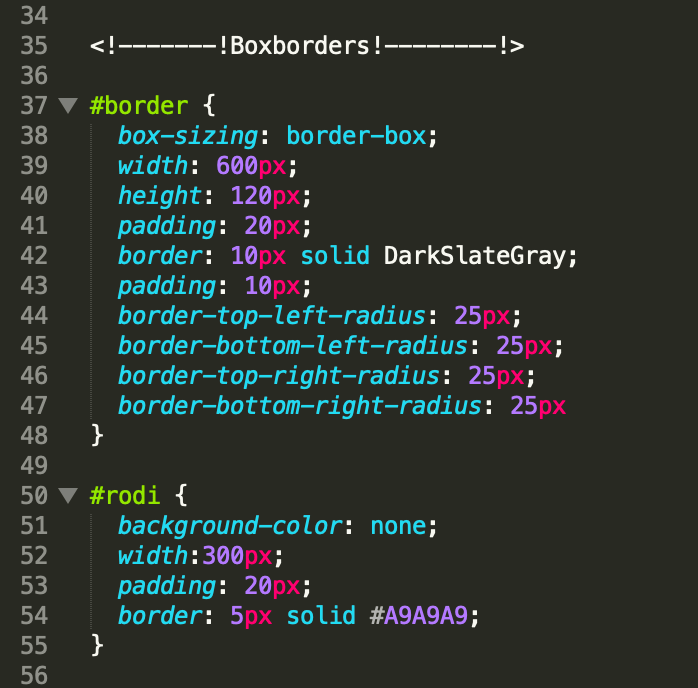

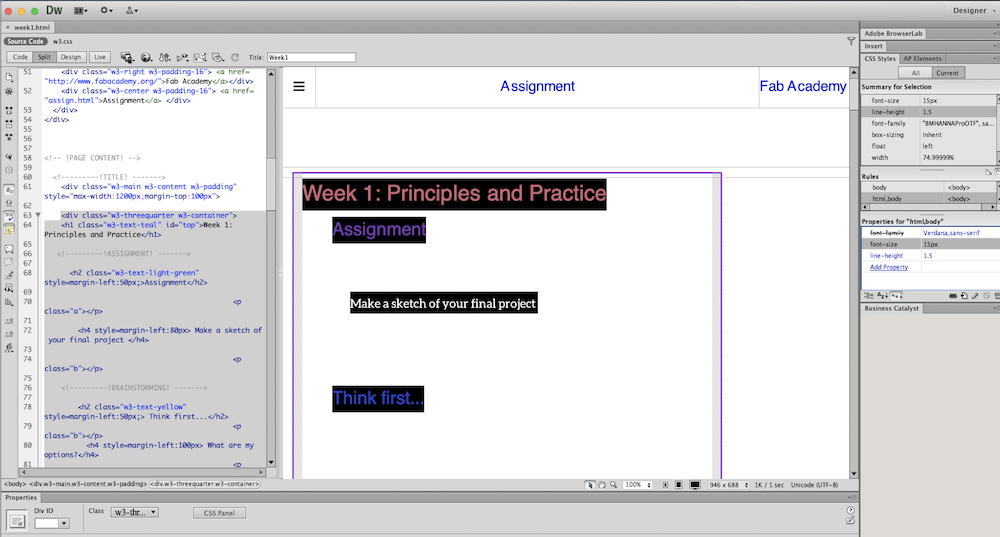
You can see that using the "style" preset command in the red box is much shorter than writing out the entire "W3" command like the teal boxes. (for some I used W3 for some of the layouts)
Using Git
Git is a distributed version control system for tracking changes in source code during software development.
I watched many classes about version control. It was helpful about understanding how it came to. But I had to try it out to get the hang of the commands and gitlab.
The first step to using Git for me was to get Git on my Computer.
 I have a macbook, so I opened terminal, and type in 'git'. If you don't have it a it will prompt you to install it. (or you can download it online.)
The next step is to make an SSH Key . I had problems with this which I will talk about a bit later.
Go to Git Lab, Settings, and click SSH keys. You can either pick to "use an existing key" or to "generate one"
I clicked "generate one" and it took me to the gitlab readme site on SSH key generating.
I went to my terminal and typed in:
ssh-keygen -t rsa -C "your.email@example.com" -b 4096
and this is where it went wrong, and for a long time I couldn't figure out why. I looked up online for different reasons and found out after trying bazillion suggestions, that my log in on my computer did not have the Privilege to write, I only had the Read only rights. so I changed that and I was able to generate my SSH key. I follow the rest of the instruction, and now I had all the right to push and pull my website.
I have a macbook, so I opened terminal, and type in 'git'. If you don't have it a it will prompt you to install it. (or you can download it online.)
The next step is to make an SSH Key . I had problems with this which I will talk about a bit later.
Go to Git Lab, Settings, and click SSH keys. You can either pick to "use an existing key" or to "generate one"
I clicked "generate one" and it took me to the gitlab readme site on SSH key generating.
I went to my terminal and typed in:
ssh-keygen -t rsa -C "your.email@example.com" -b 4096
and this is where it went wrong, and for a long time I couldn't figure out why. I looked up online for different reasons and found out after trying bazillion suggestions, that my log in on my computer did not have the Privilege to write, I only had the Read only rights. so I changed that and I was able to generate my SSH key. I follow the rest of the instruction, and now I had all the right to push and pull my website.
Here are some Git commands that you and I will use a lot.
| Command | Git task |
|---|---|
| git init | Create a new local repository |
| git clone/path/to/repository | Create a working copy of a local repository |
| git clone username@host:/path/to/repository | Clone for remote server |
| git status | list the files you've changed and those you still need to add or commit. |
| git add . | add files to staging(index) |
| git commit -m "commit message" | Commit changes to head (but not yet to the remote repository) |
| git pull | Get files from the master branch of your remote repository |
| git push | Send changes to the master branch of your remote repository |
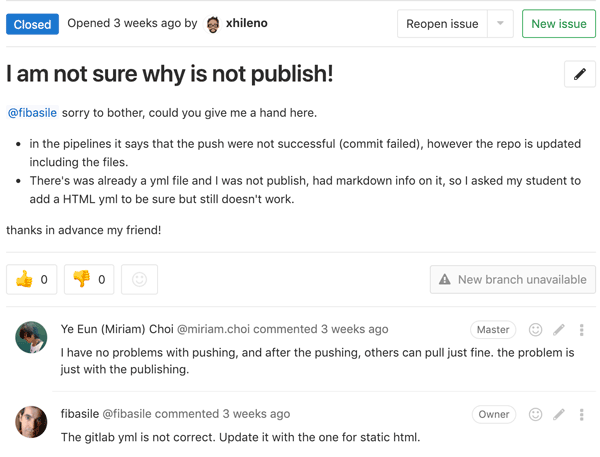 The problem with the yml file was that it was for the template website. So I just overwrote on that yml file, and everything worked perfectly!!!