
Week 3: Computer-Aided Design
Assignment
Brainstorm
2D
 Photoshop - Adobe paid tool, great for photo editing.
 Illustrator - Adobe paid tool. Excellent vector tool.
 Fusion360 - from AutoDesk, 2D and 3D, Free for Students
3D
 Blender - Free, Easy if you learn the key shortcuts. Tutorial recommended.
 Unity3D - Free game designing program.
Fusion360 - from AutoDesk, 2D and 3D, Free for Students
Photoshop
I'm a designer, so I have used photoshop for many years. It is hard to become an expert at once, but here are some things that might be useful for you while doing Fab Academy.
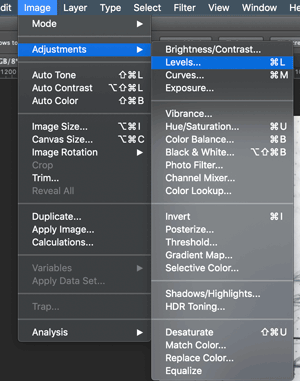
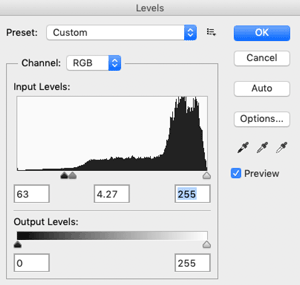
There are many ways to make adjustments to a photo with photoshop. One of the easier to change the tone of a photo is 'Level'. Just change the three sliders to adjust the darkness, brightness, and midtone. This is useful if you want to work with a drawing you made and the sketch seems too light or too dark.
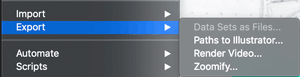
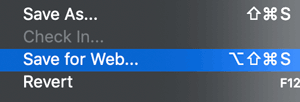
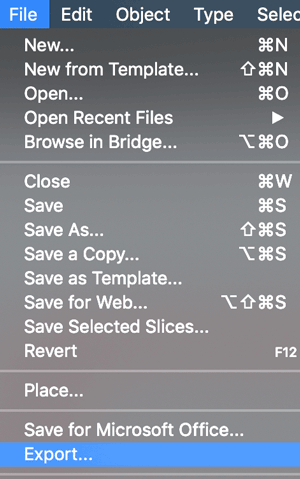
There are different ways to save your photo. You can just ctrl+s and save as psd, jpg, and others. another way is through export. You can make a gif with photoshop, and save it as a video, or export your paths to illustrator. The latter is nice to have, but I would much rather make the paths in illustrator to begin with. For fab students who are struggling with photo sizes, use 'Save for Web'.
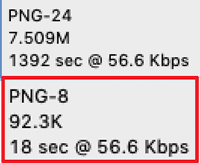
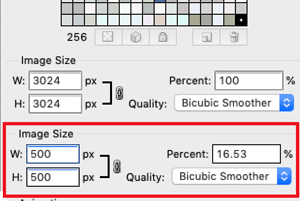
For your webpage, I suggest saving as png. Your photos will be quite large. if you know how large your photos should be in the webpage (if you are using the template, you should know), change the image size on the right, and save. You should be able to check the file size on the left.
Illustrator
Illustrator is my go to program as I do a lot of vector work such as logos and branding, interface design and digital artwork. I used Illustrator for the thumbnails for each week for my website.
For this week, we can use it for making sketch or photo into vector, and exporting it to a file that can be used for 3D design.First, open or import your sketch.
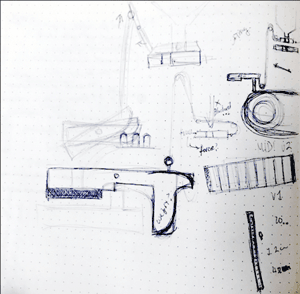
It is best if the lines and shades are clear and clean. (my example picture is not).
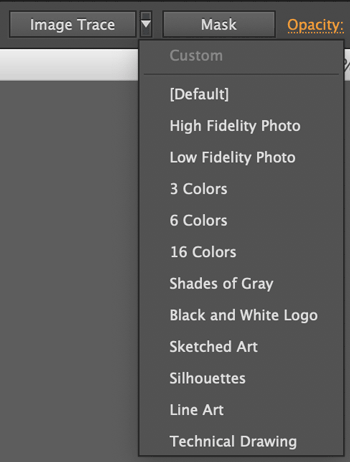
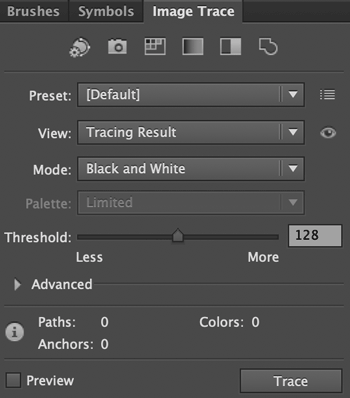
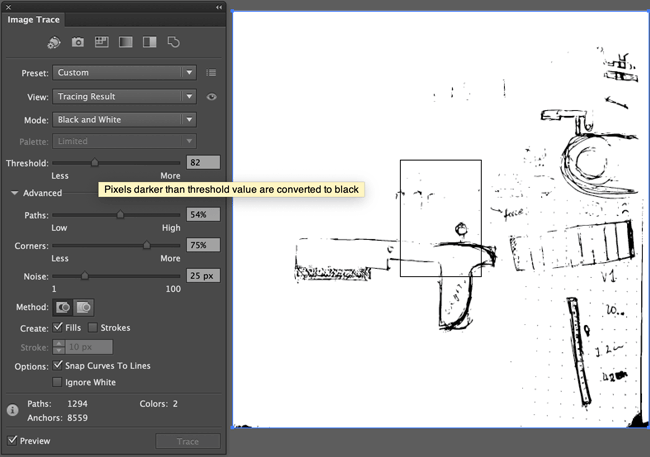
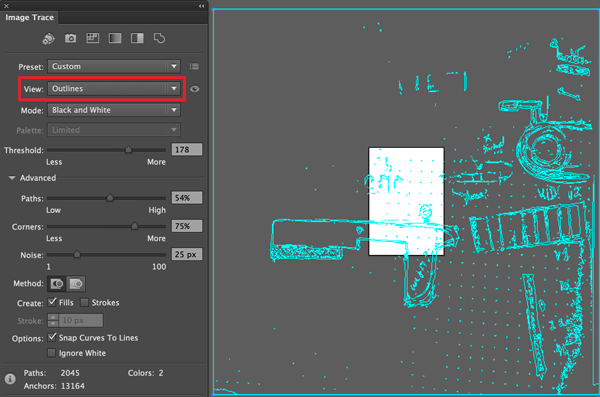
With your picture selected, on top you will get options. if you press 'Mask' It will instantly do stuff and make your photo black and white. You can also find Image trace menu on your interface or open the Image trace menu from the windows menu.


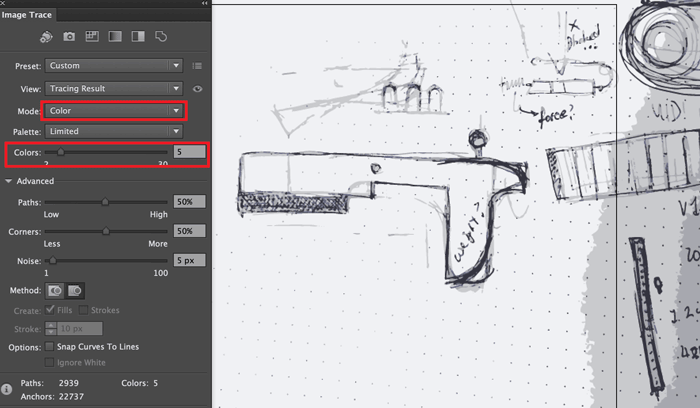
There are different ways to make use of this. One of the best way to make use of this is to draw your sketch on a clean white paper with thick dark ink with clean lines. Another way is to find vector pictures online and import them in to make changes.
HERE ARE SOME USEFUL TOOLS TO KNOW FOR VECTOR WORK.
 Pen tool- (P) Essential tool for making paths for vectoring.
 Line Segment tool- (\) For drawing straight lines.
 Rectangle tool - (M) can make different geometric shapes.
 Pencil tool - (N) For drawing free form paths. Easier if you have a tablet.
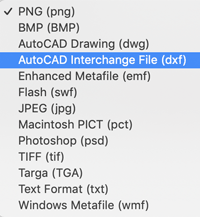
Once you've made paths to your liking, you can save or export it to many different files. The one we are going to save it as for 3D is dxf file. (Niel did mention that we should use other extensions, but out of the recommended, illustrator CS6 only supports dxf).
You can check out my projects using illustrator on my Instagram @milliam
Blender
I remember blender being on the mac in a classroom back in highschool. All we knew how to do was make a ball and put texture on it with a background. It still has the same features, but I have learned to use it a bit more.

I started out with a sketch of a character that I had made for work. Blender has pretty good functions for 3D modeling. I won't go into detail for blender, and just show you what I had used it for.
You start with a plane and build from it. There are 3D geometric shapes that you can create and use, but for something as free form as my character, it is better to start with a plane. It has nice features such as video, various lightings, and game designing.(haven't tried it yet)
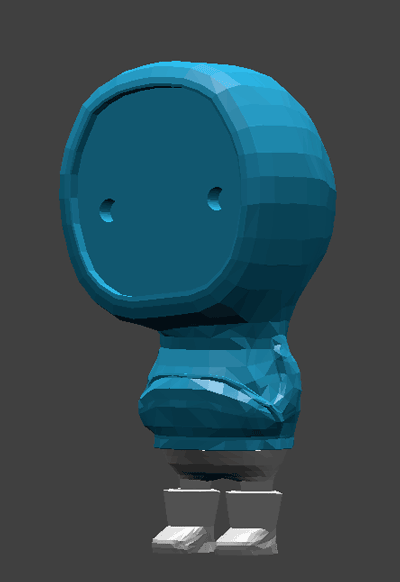
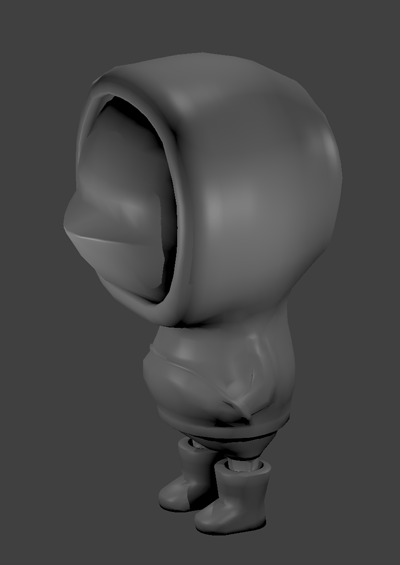
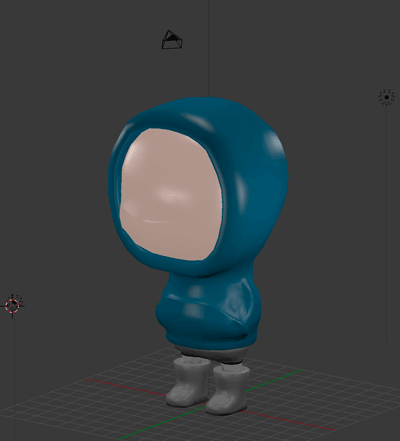 character with smooth rendering, color and proper lighting.
Rendering your Final Project and Fusion360
It took me some time to get used to using a new software with different interface and shortcut keys. I had to watch a few tutorials and online help, but in the end, just getting in there and making a few mistakes got me going.
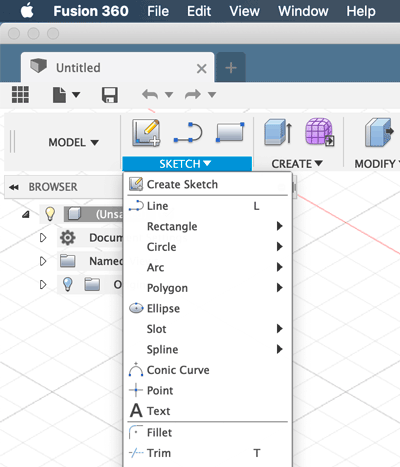
I used Fusion360 because it was good for 2D and 3D, was recommended by my instructor, and it is free for students. It has quite a clean interface with good connections with online resources.First open or import your file (I tried importing the 2D vector file I made with illustrator).
I liked that I could see the dimensions (D) and use it to make adjustments. It was difficult at first because of the auto locking of angles, lines and points. 3D can be made easily with extrude (E) which can be used to make a new body, extrude and join to another body, or cut away from existing body.
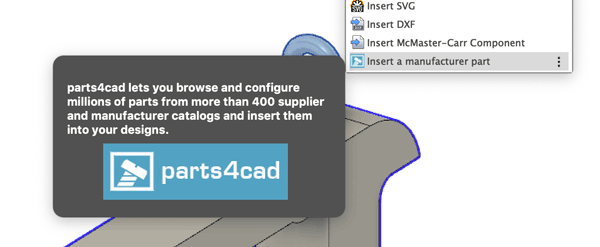
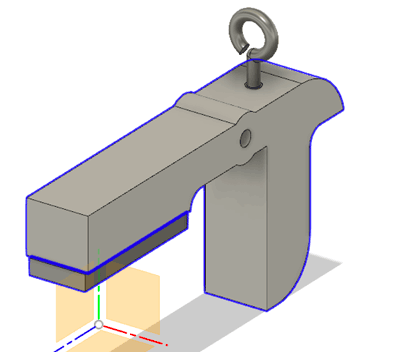
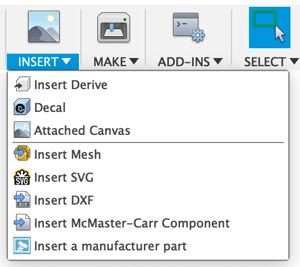
I needed an eyelet screw for my initial design and instead of making a whole new one, inserted an existing manufacturer part.
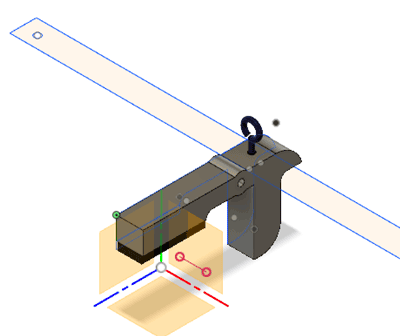
I had made this from my sketch, but I realized that I needed more research on the mechanism. I looked around and found a few diagrams and blueprints and decided to apply some of it. So picked one and used attached canvas to have the picture in the background.
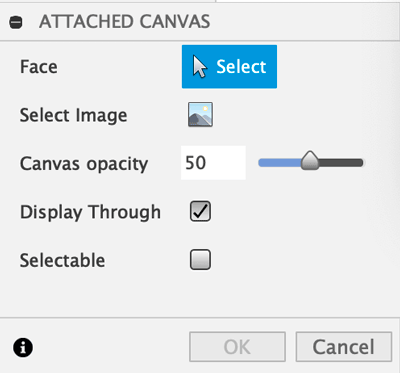
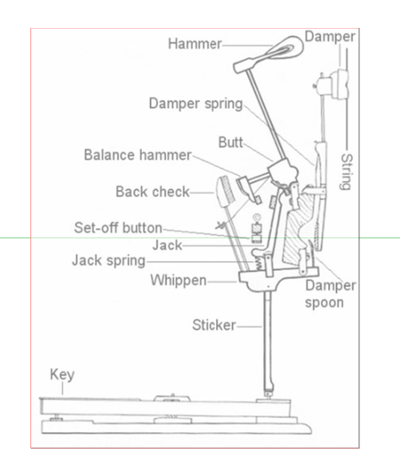
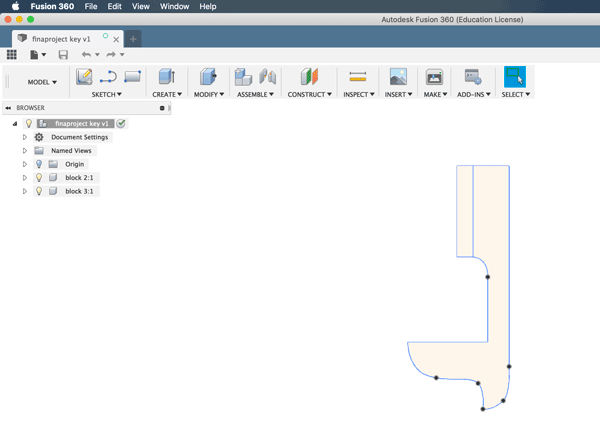
With the picture inserted, I started sketching.
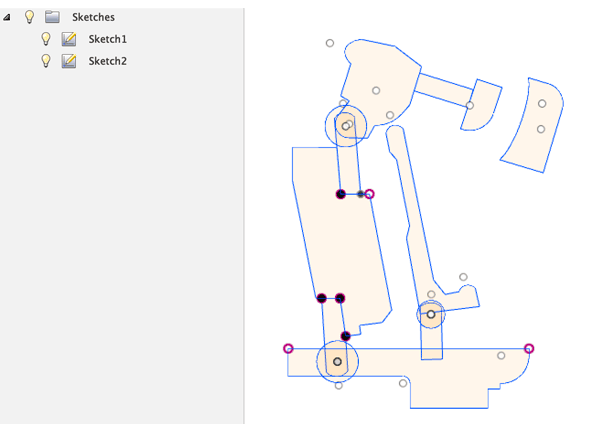
You can see that I have 2 sketches. Fusion360 kindly slices all overlapping lines... which is annoying for me. (I probably haven't figured out an easier way.) So I made separate skeches for the attachment parts.
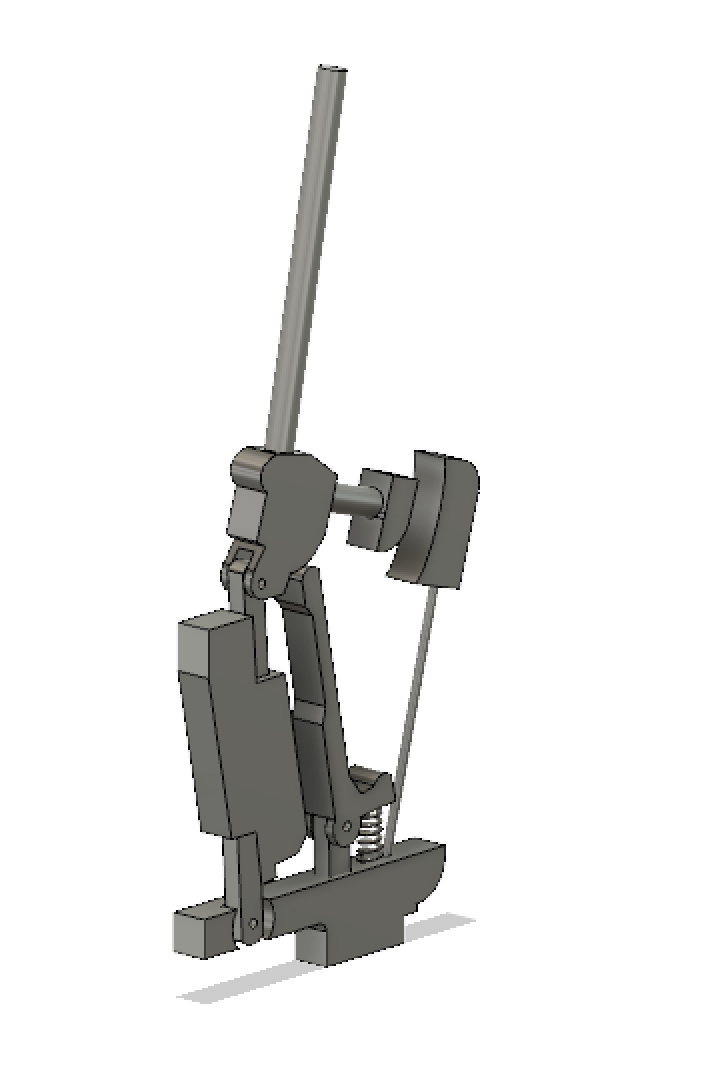
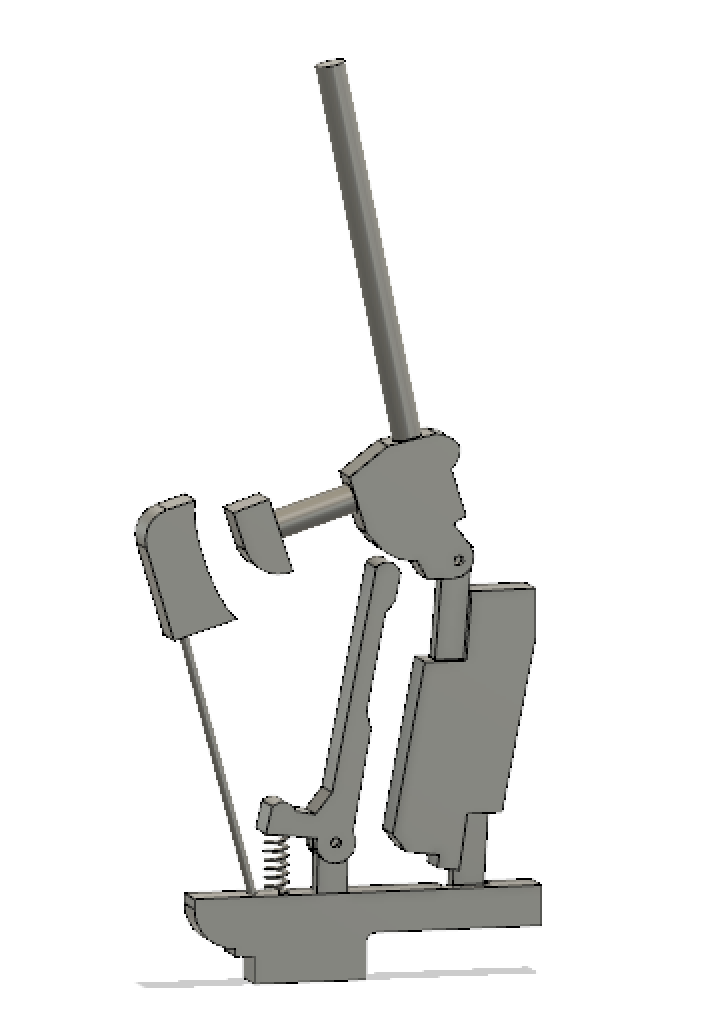
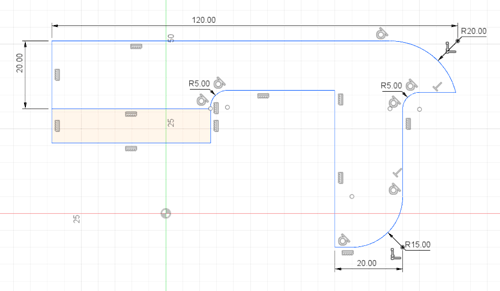
I wasn't sure about how to attach everything together, so I made a separate file to work on a different piece.
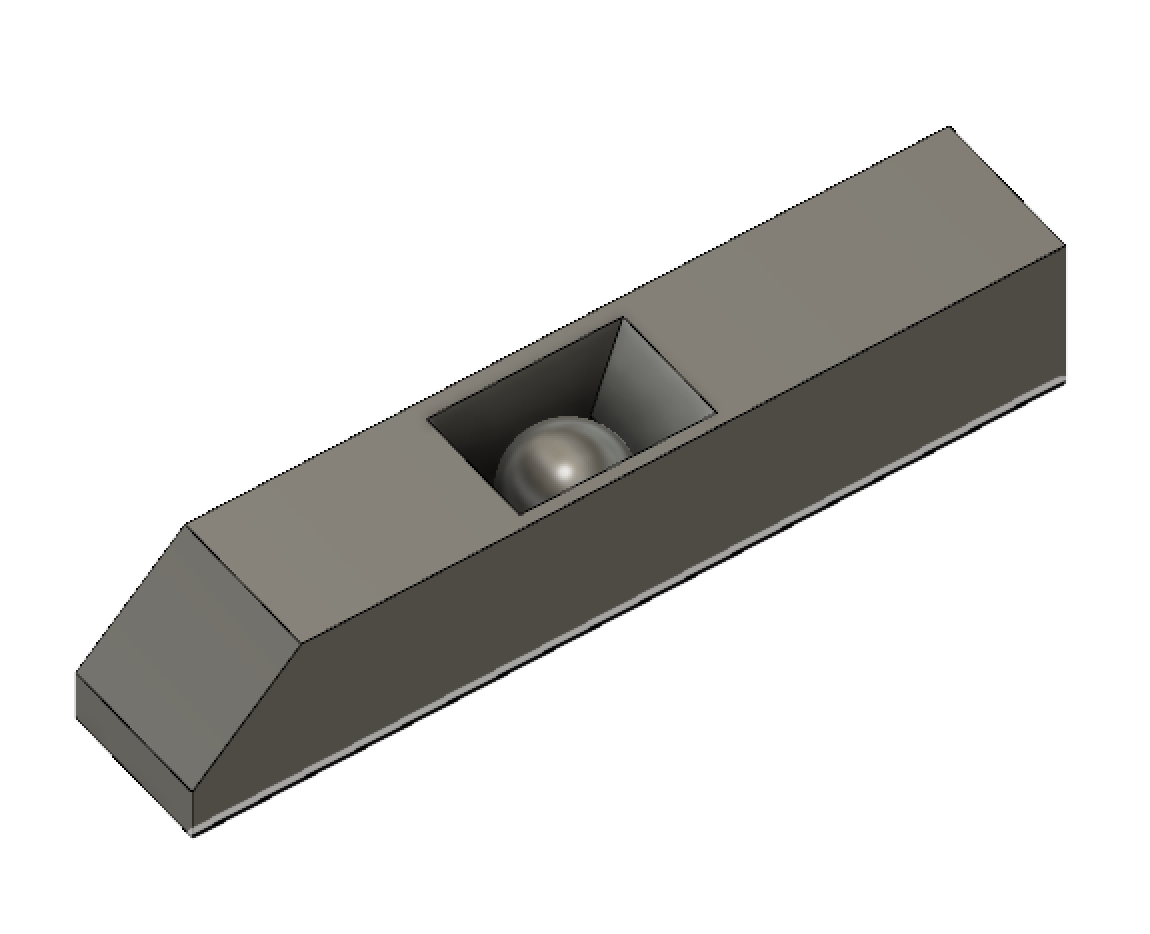
This piece is to be connected with the (supposed) hammers to deploy marble balls when the slots connect.