Week ten: Moulding and casting
Individual assignment
For this week, we had to design a 3D model, machine it using CNC and a block of wax, make a mould of this and do the casting.
Design
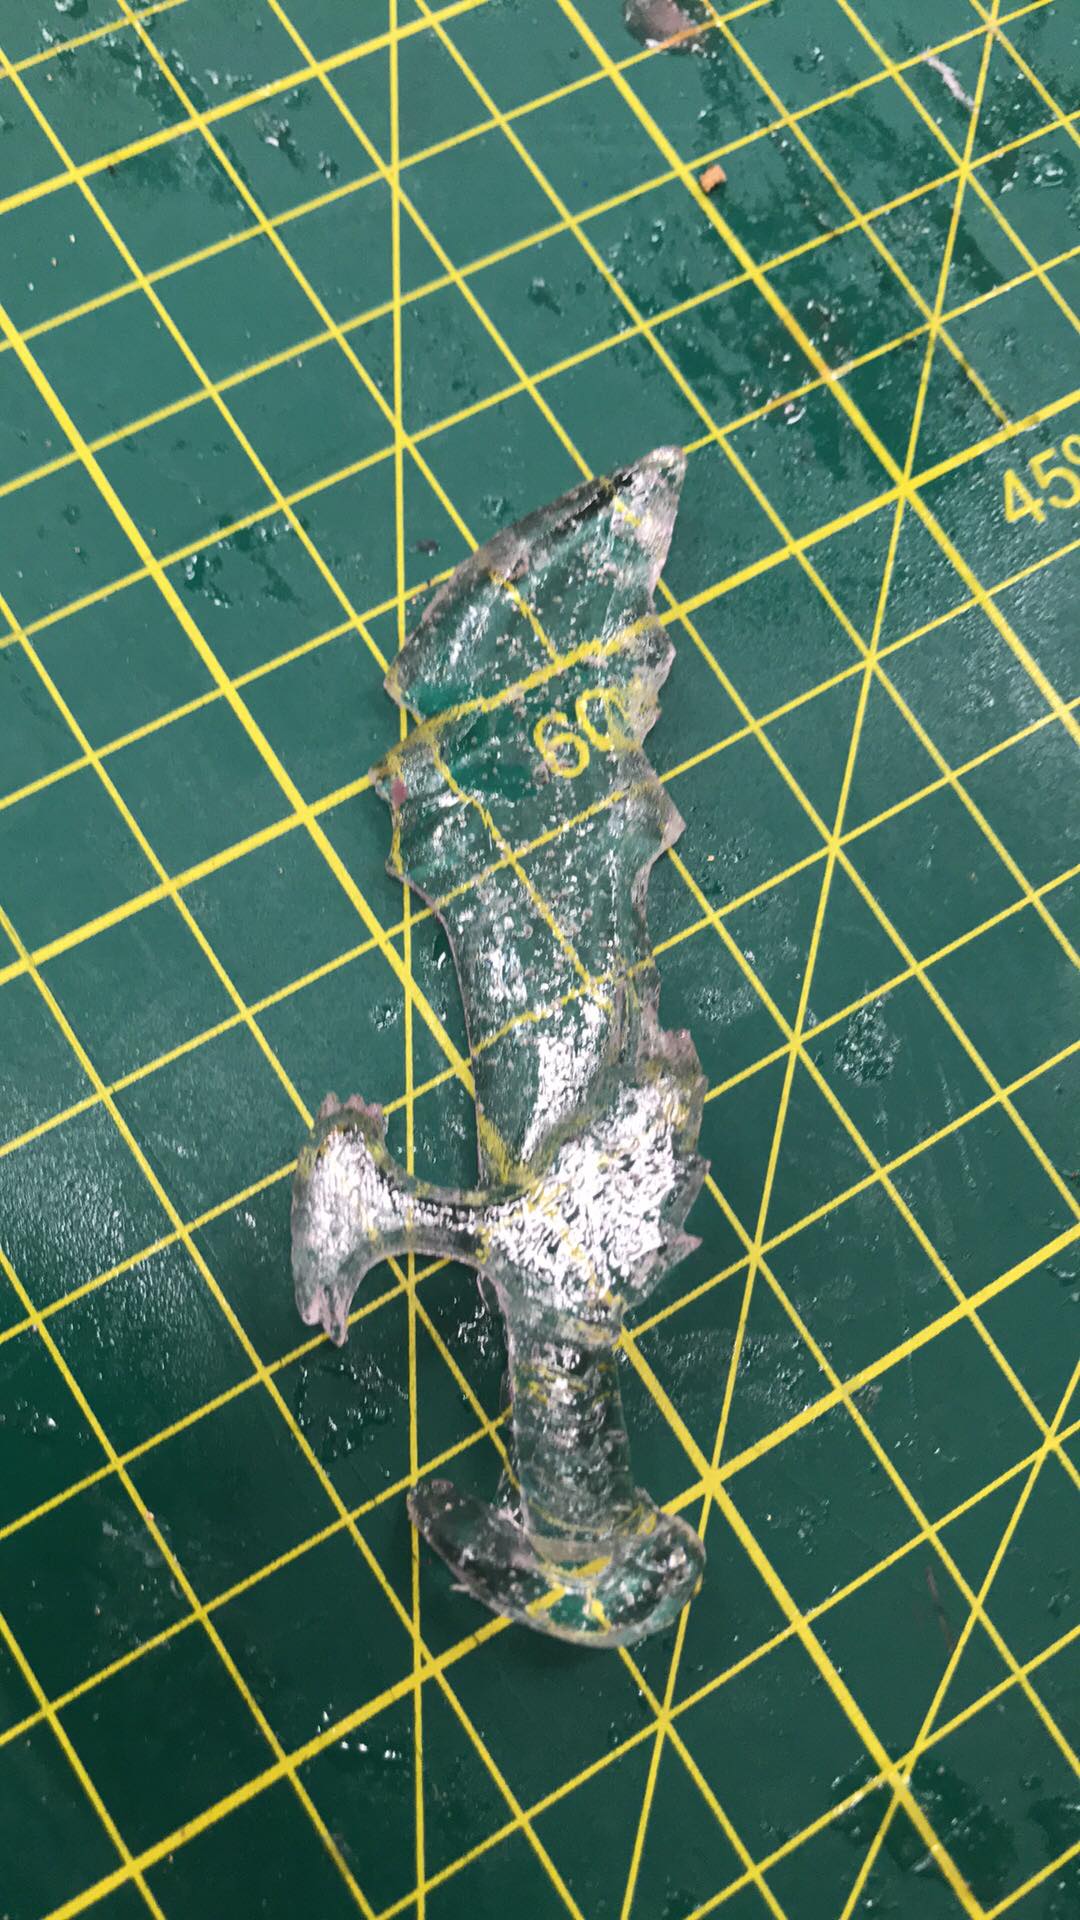
I based my design on the weapons of the main character of the video game "God of War"
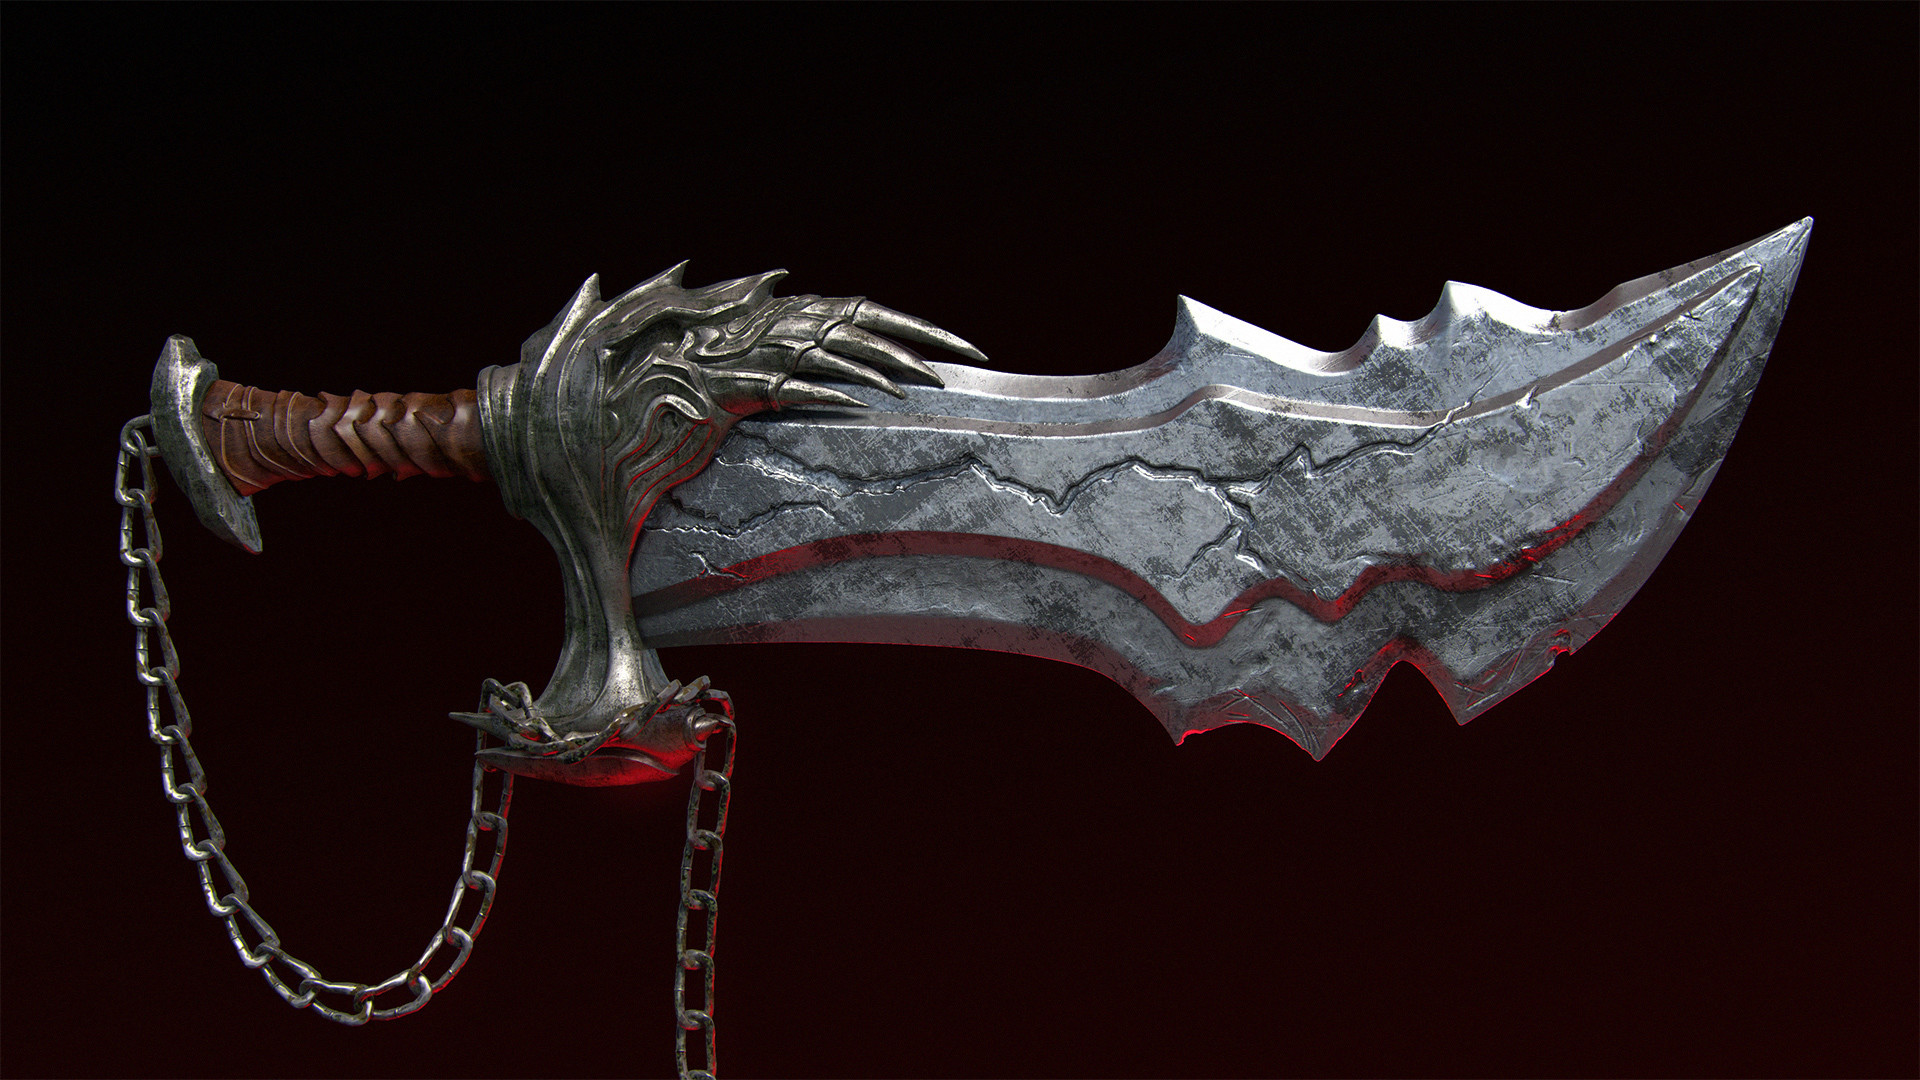
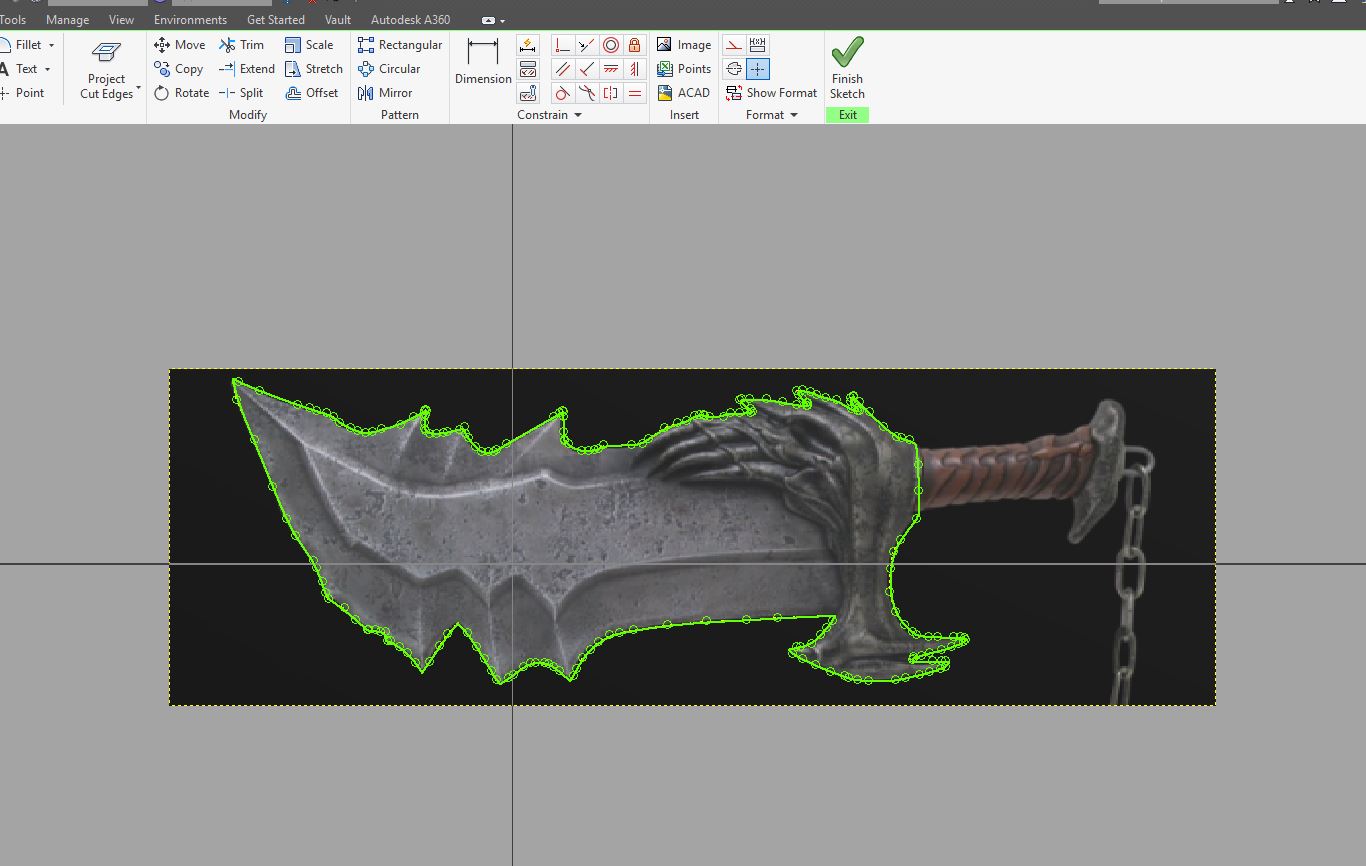
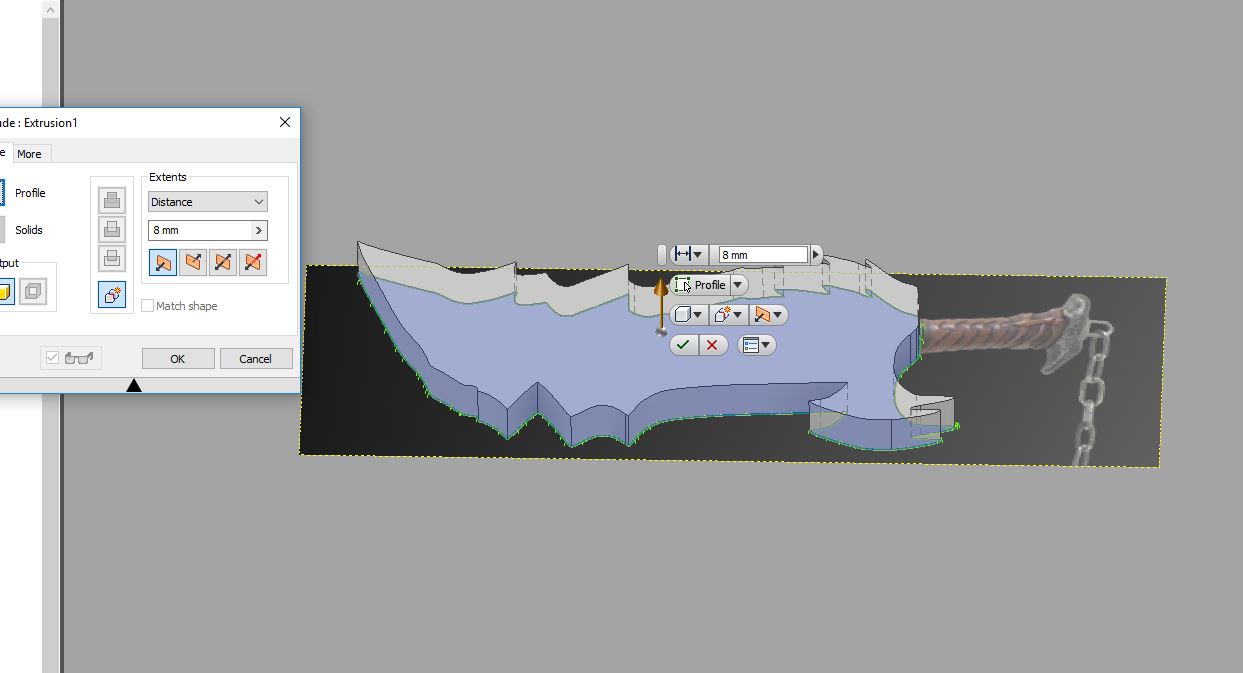
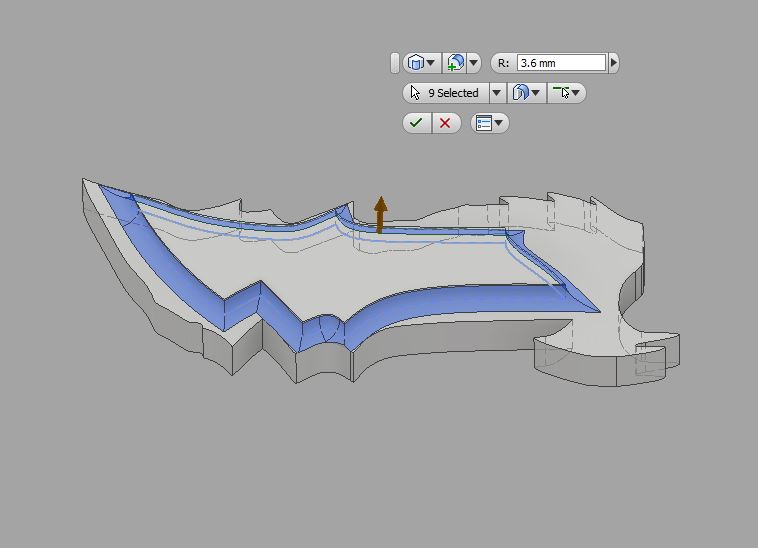
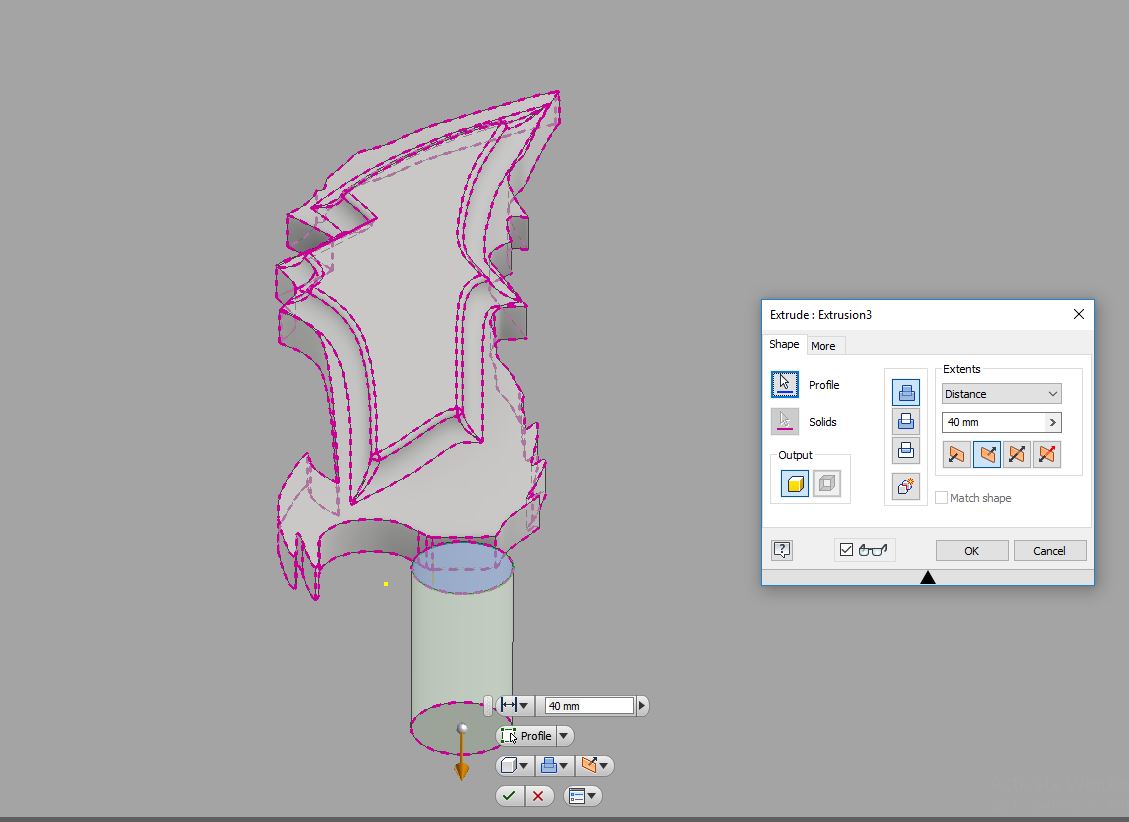
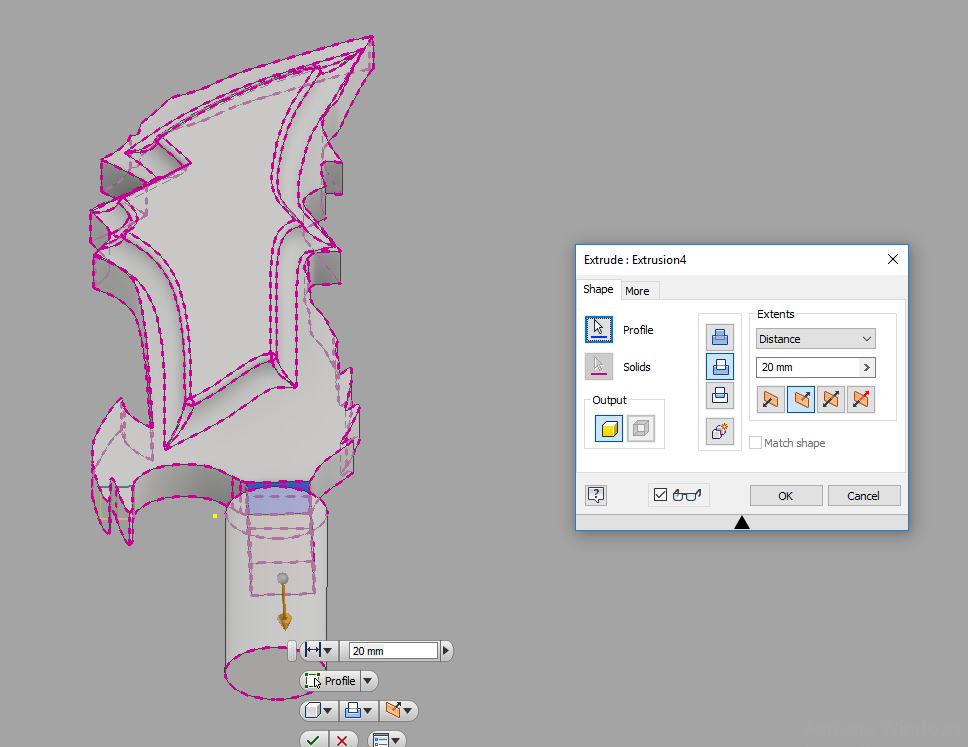
First, i designed my 3D model in Autodesk Inventor, taking some pictures of internet as reference
Sketch
Extrude
Fillet
Inventor version
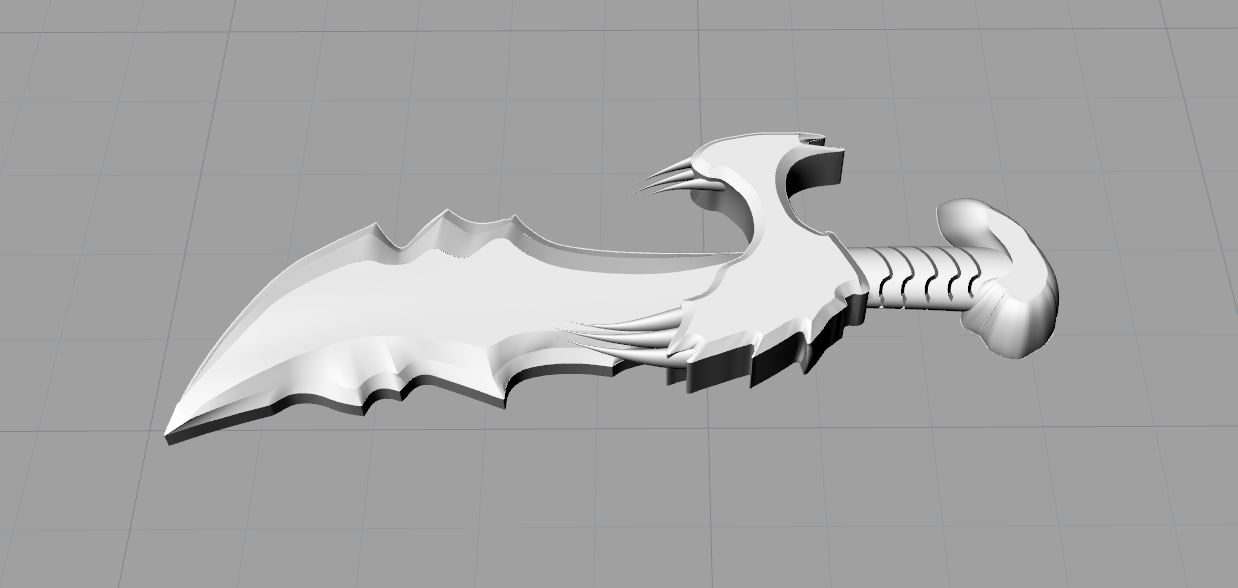
Then, i make a second model using Rhinoceros 5.0, in this software i did better surfaces and details
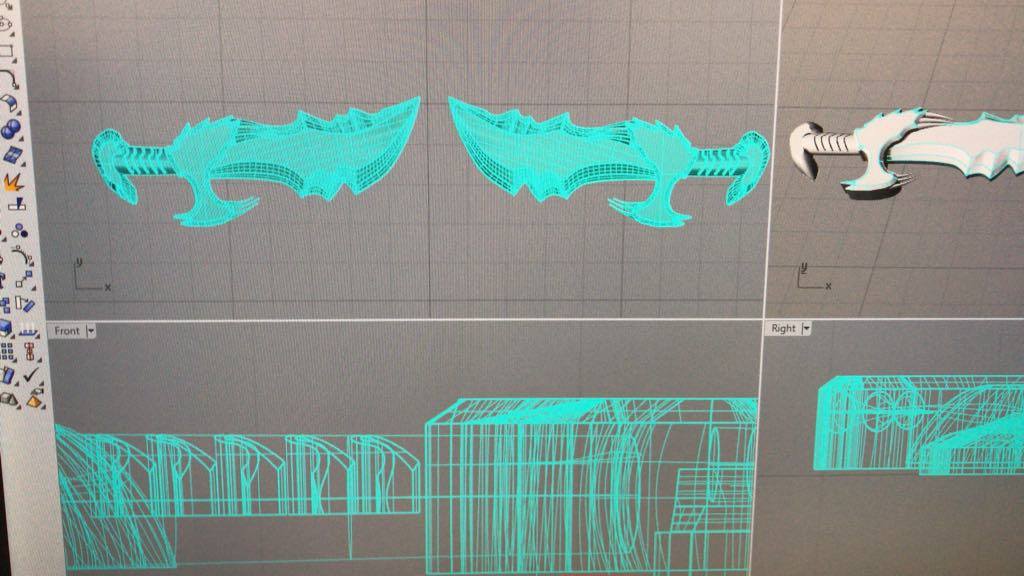
Final look of Rhinoceros version
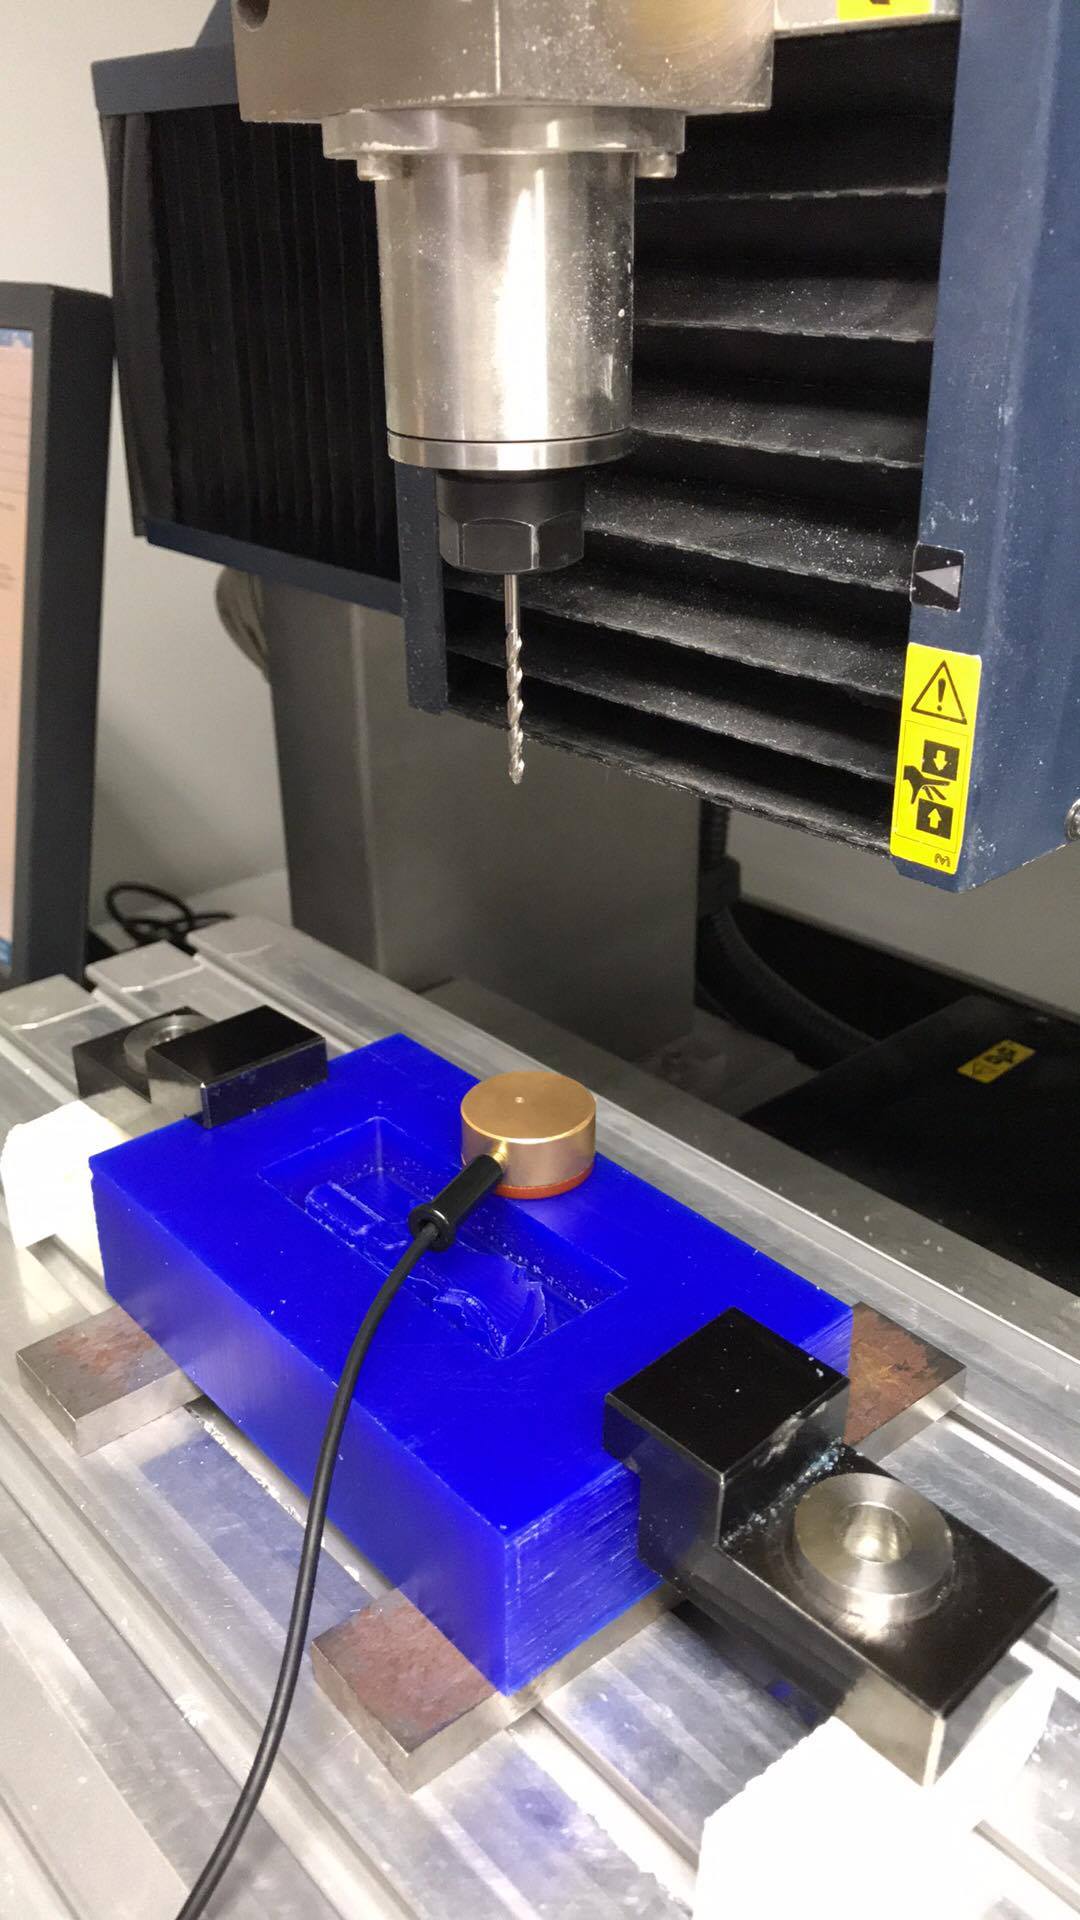
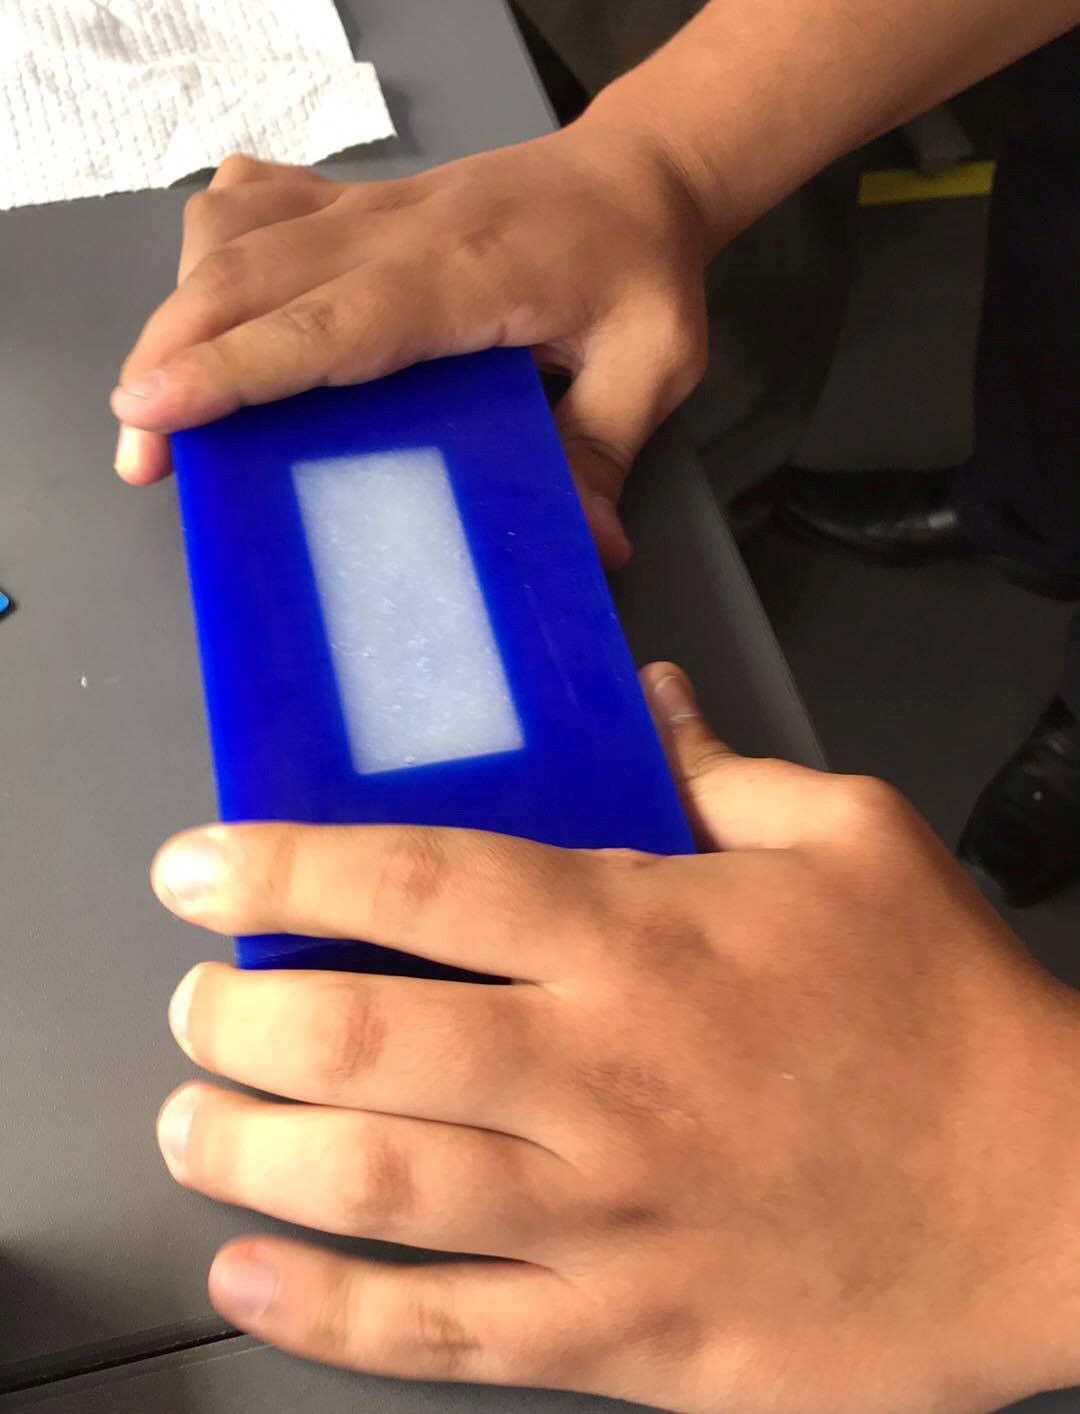
I decided to machine de first model and print the second to see the difference. For the machining i used a block of machinable wax as stock and Roland MDX-540 as CNC. For this step i had to make the CAM using SRP player software.
What the Roland MDX-540 will do is to machine the block of wax in two types of work, the first will be roughing, with a flat milling cutter of 4mm in diameter, in this work the shape of the stl model will be machined, in addition to giving it the depth and other dimensions needed to pour the platinum silicone, while the second job will be the finishing one which is in charge of perfecting the piece, with a ball mill of 3mm diameter, since they are more past this work will take longer
Model size
.PNG)
Select type of milling
.PNG)
Create tool path
.PNG)
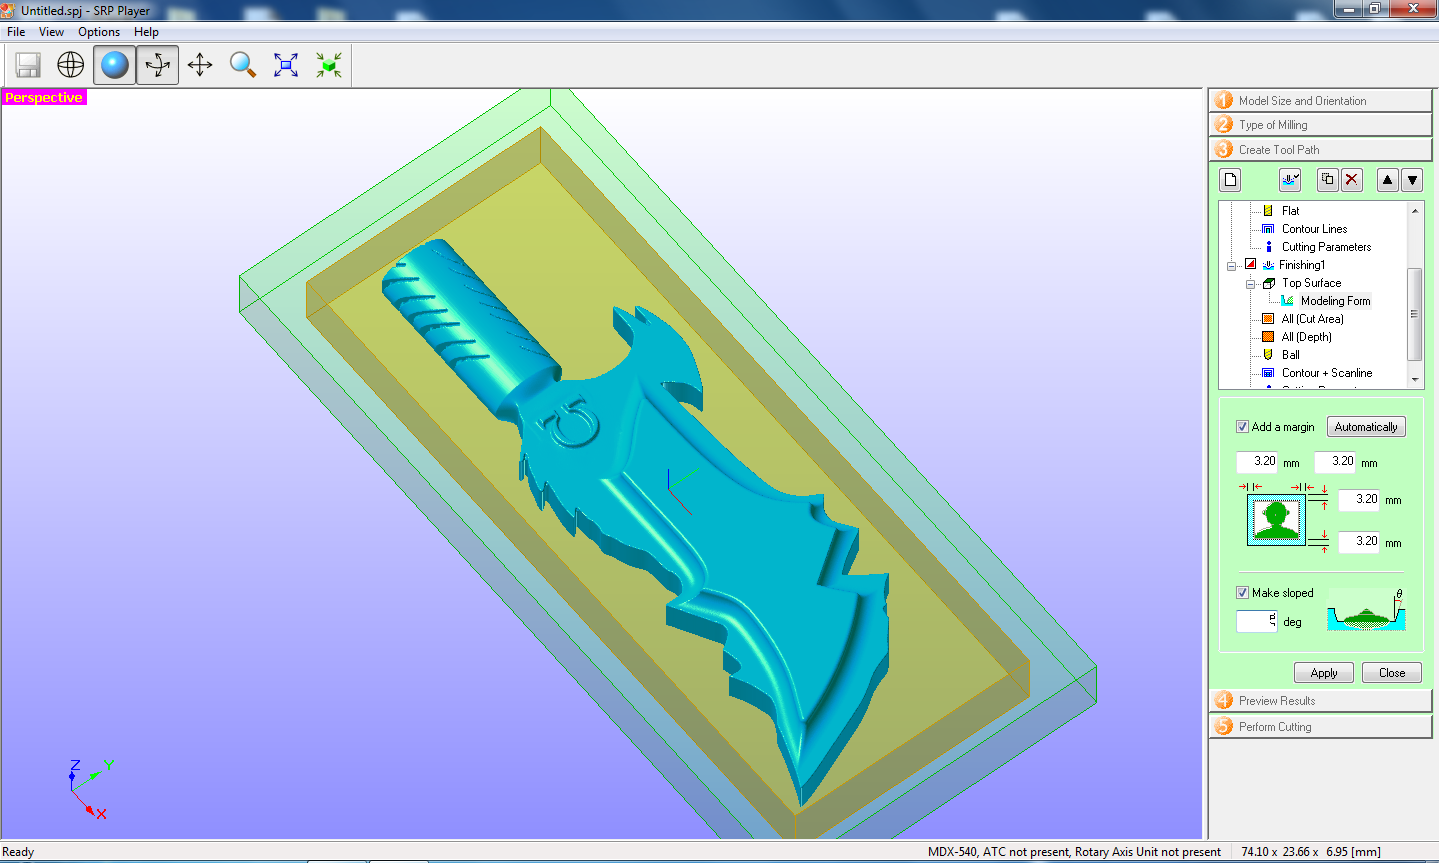
Add margin
.PNG)
Select the flat mill of 4mm diameter for roughing
.PNG)
Setting parameters for roughing
Feed rate: 1000 mm/min
Spindle: 9000 rpm
Cutting in amount: 0.27mm
Path intervale: 1.5 mm
Finish Margin; 0.20 mm
.PNG)
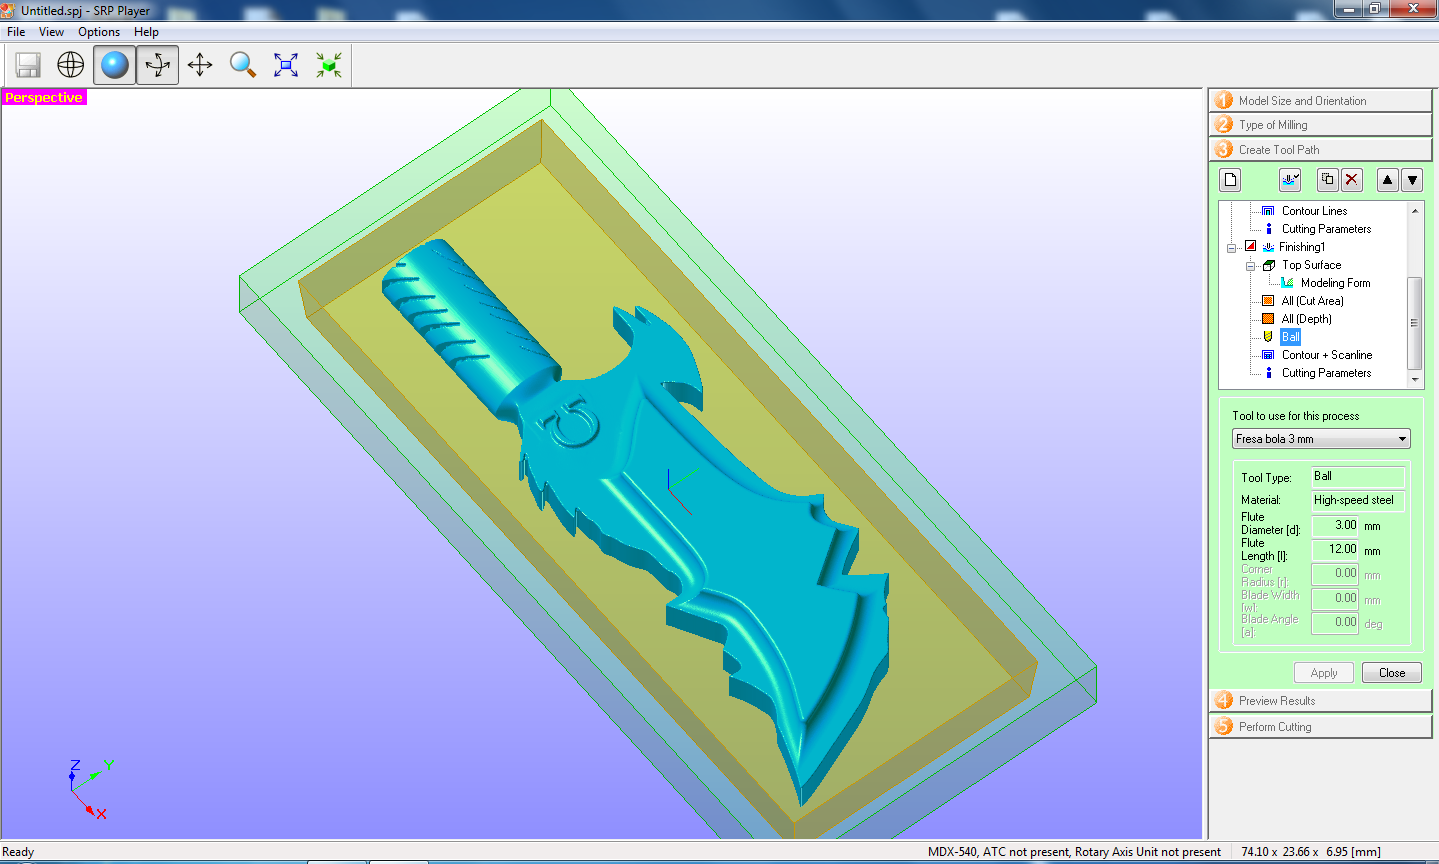
Select the tool for the finishing, mill ball of 3 mm of diammeter
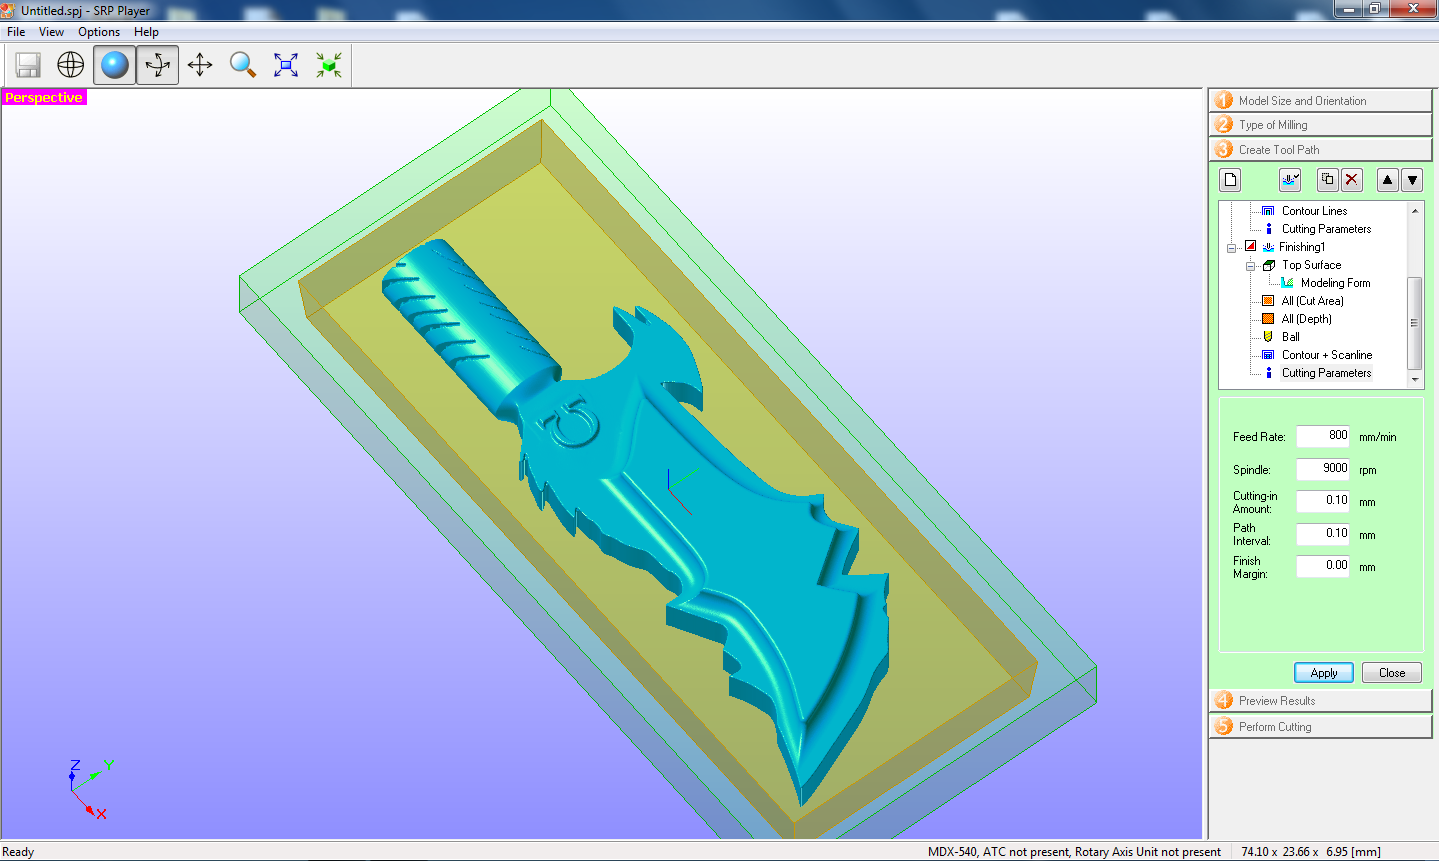
Set finishing parameters
Feed rate: 800 mm/min
Spindle: 9000 rpm
Cutting in amount: 0.1mm
Path interval: 0.1 mm
Finish Margin; 0.0 mm
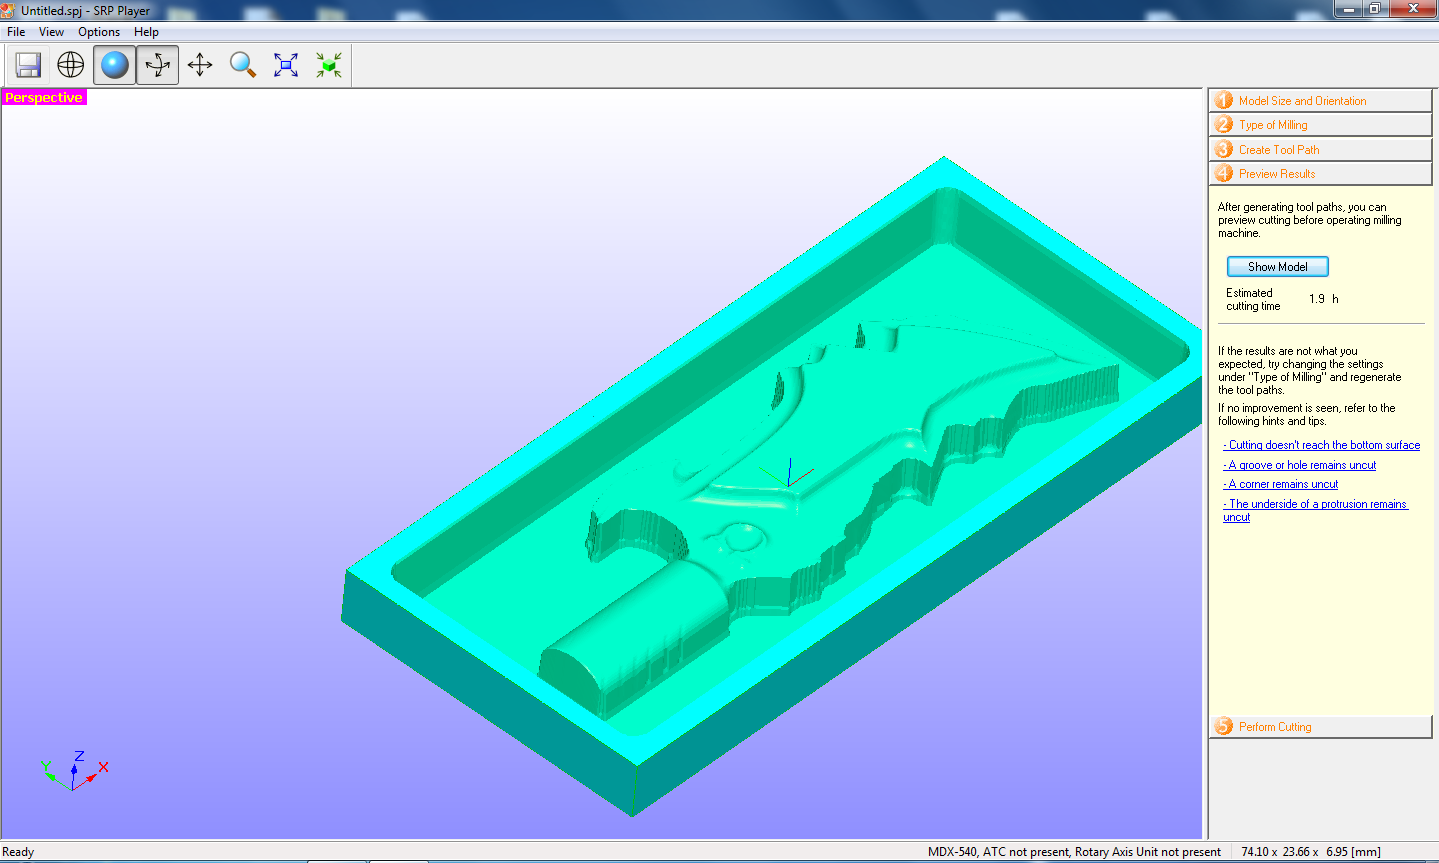
Show model and time estimated, almost 2 hours for roughing and 4 for finishing.
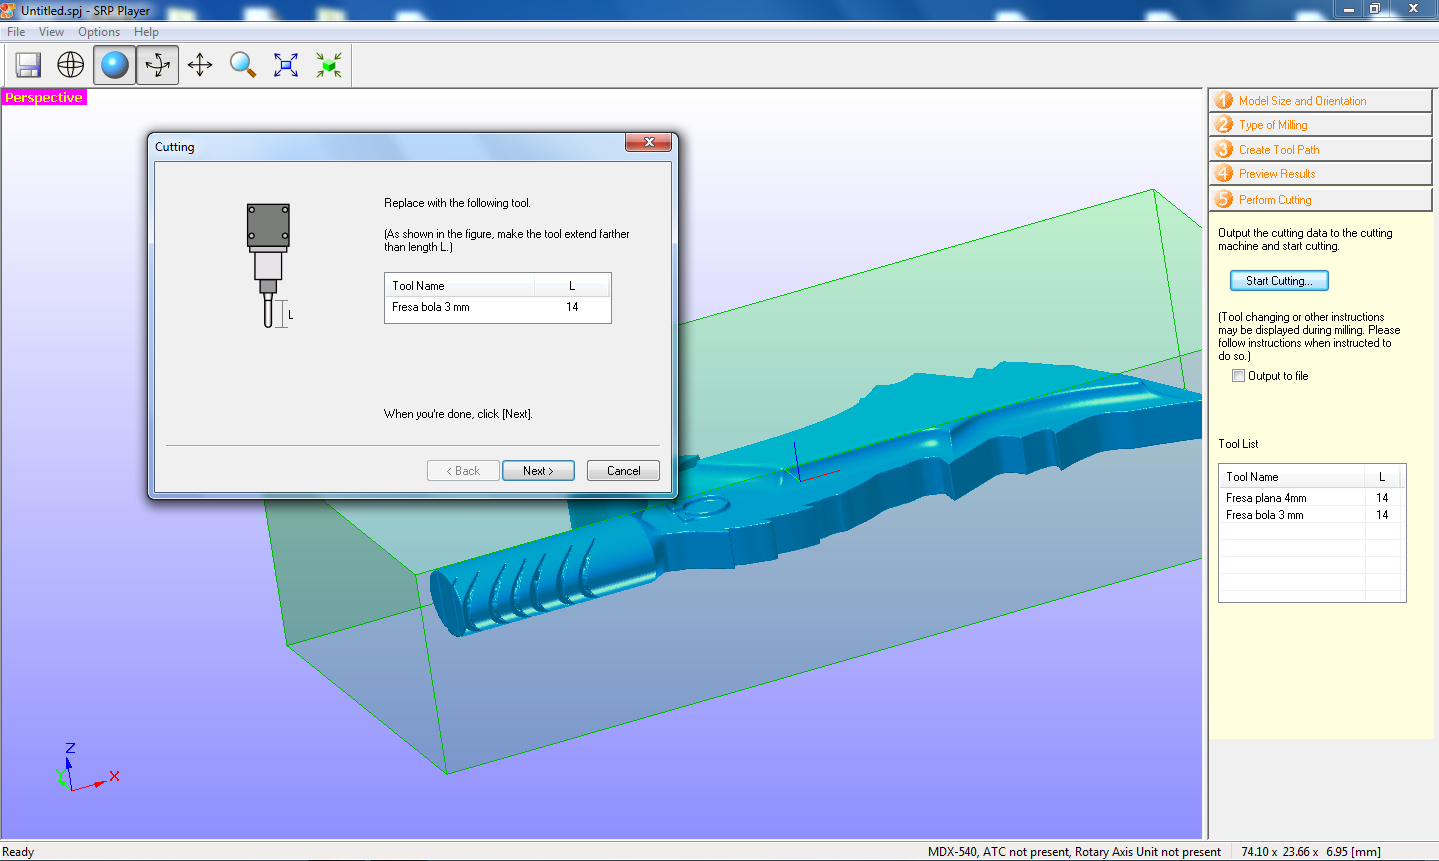
Select tool
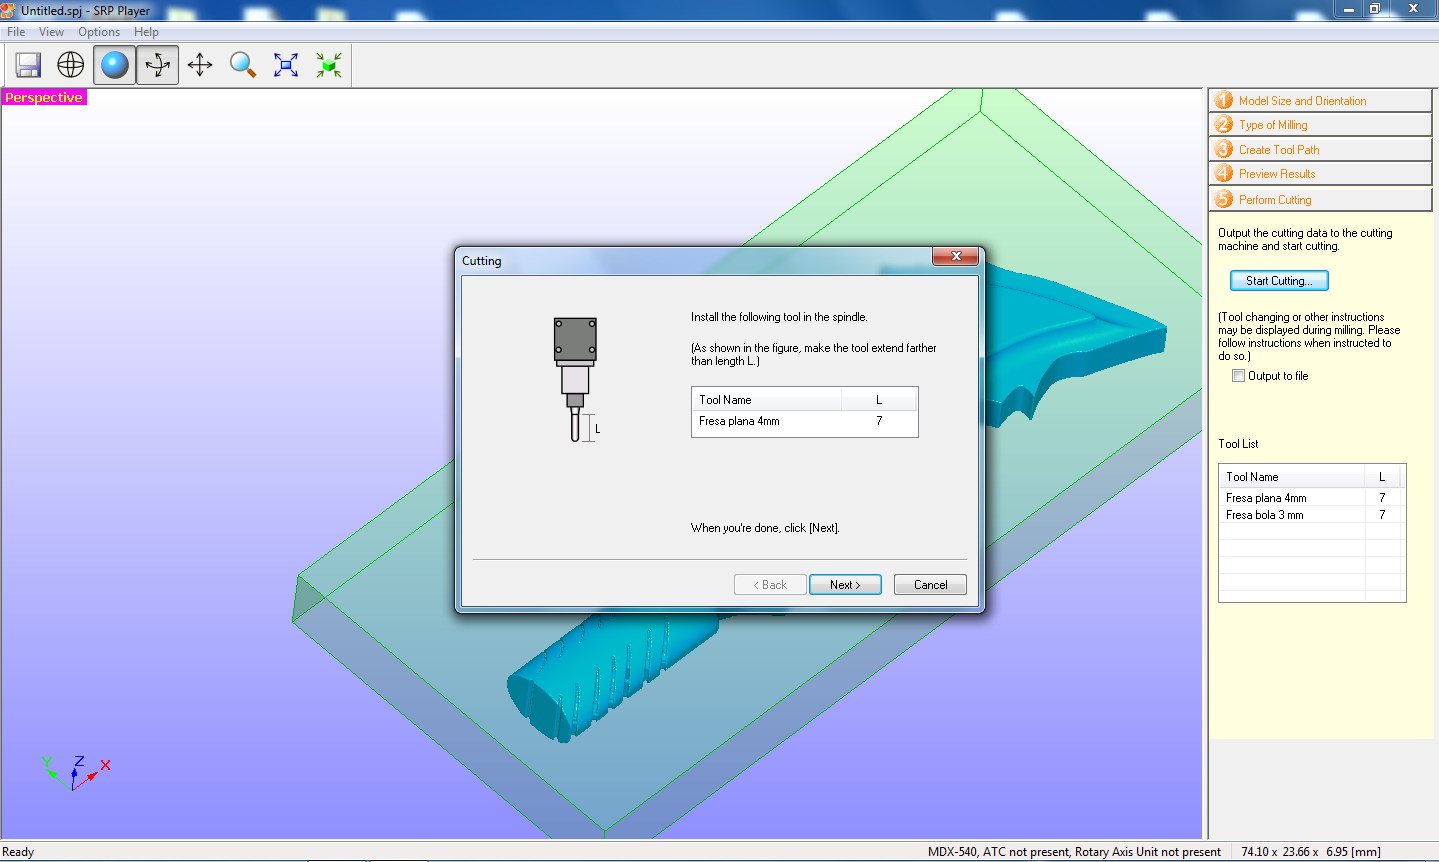
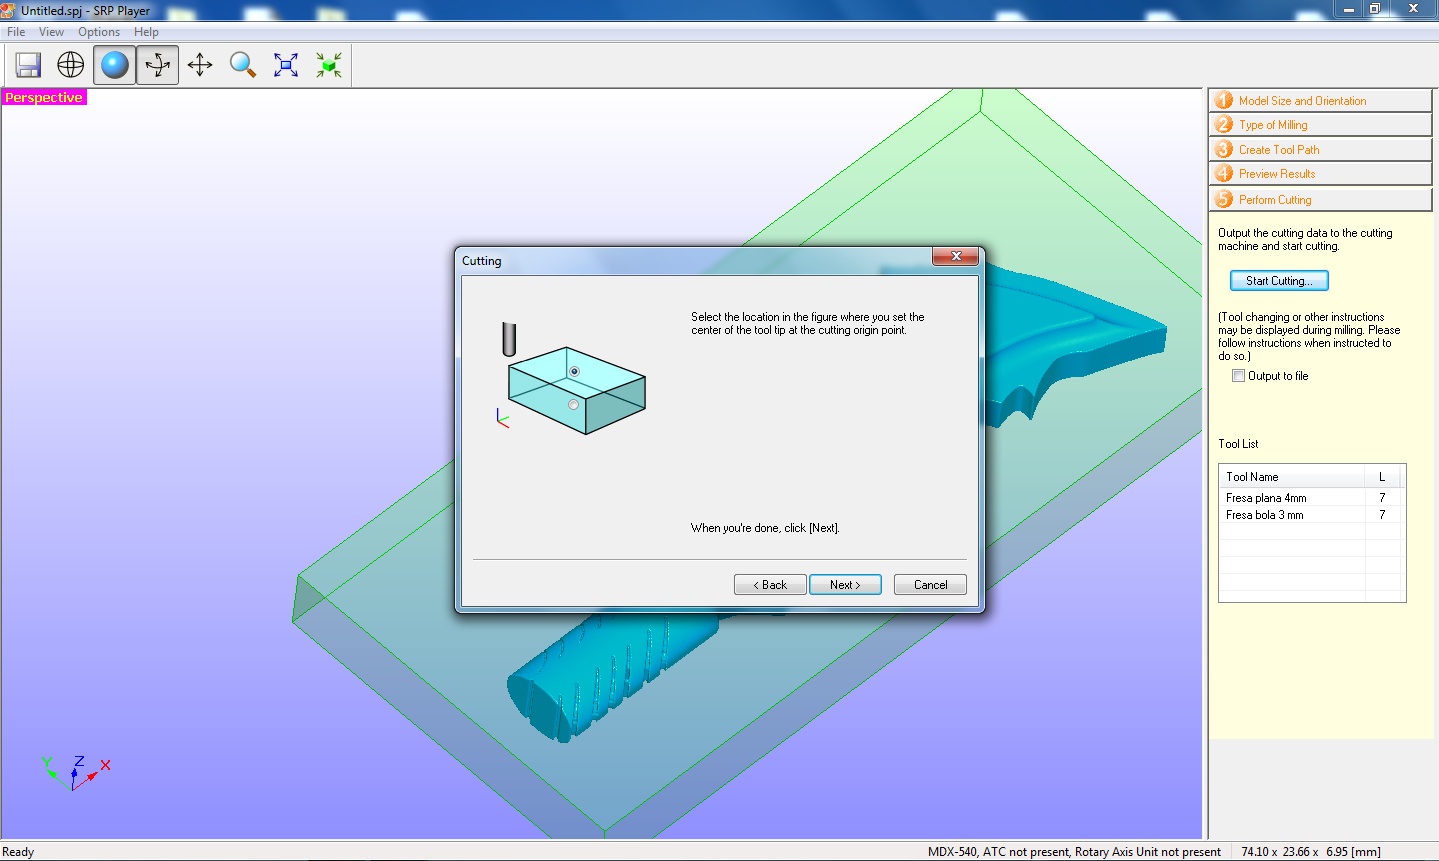
Start calibration
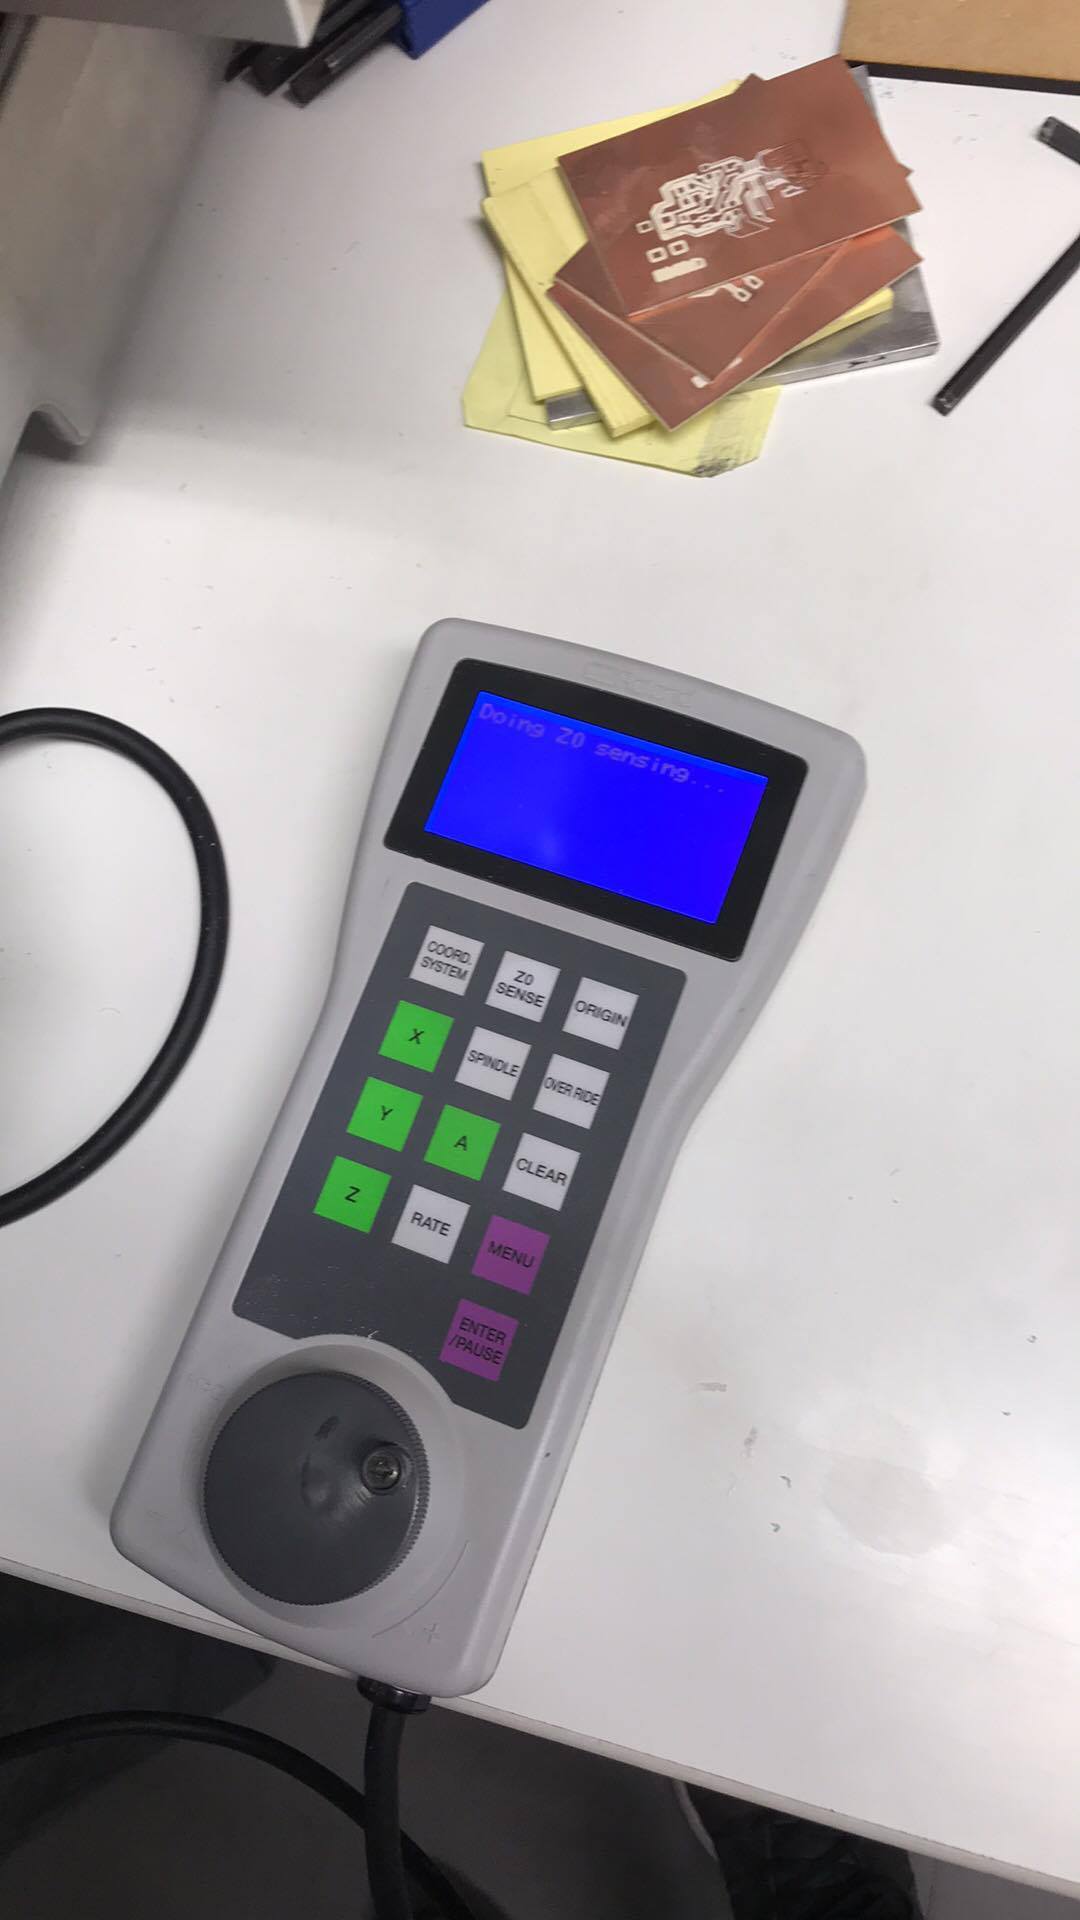
Machining
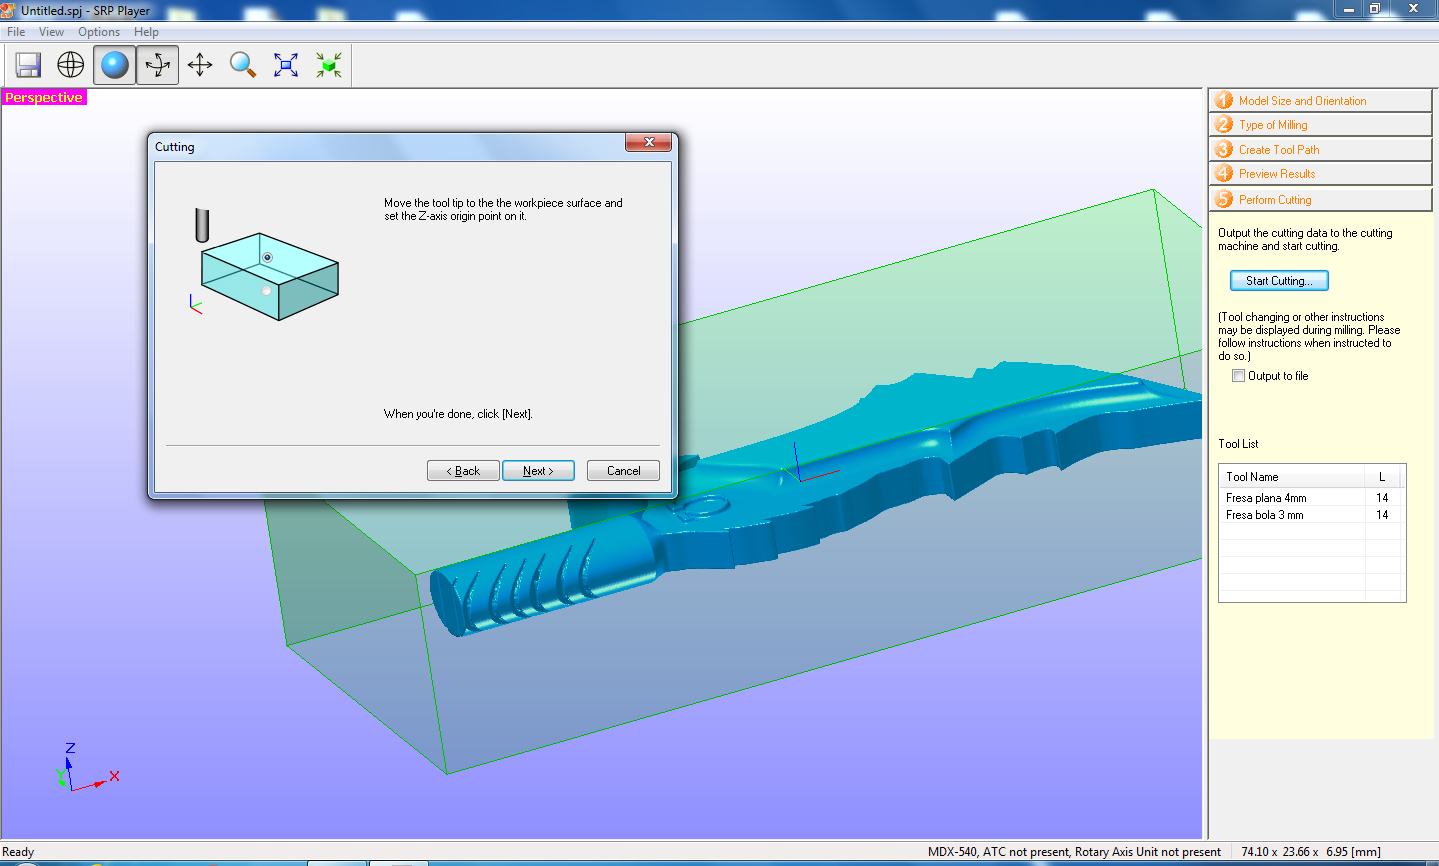
Calibrate Z axis again for the finishing
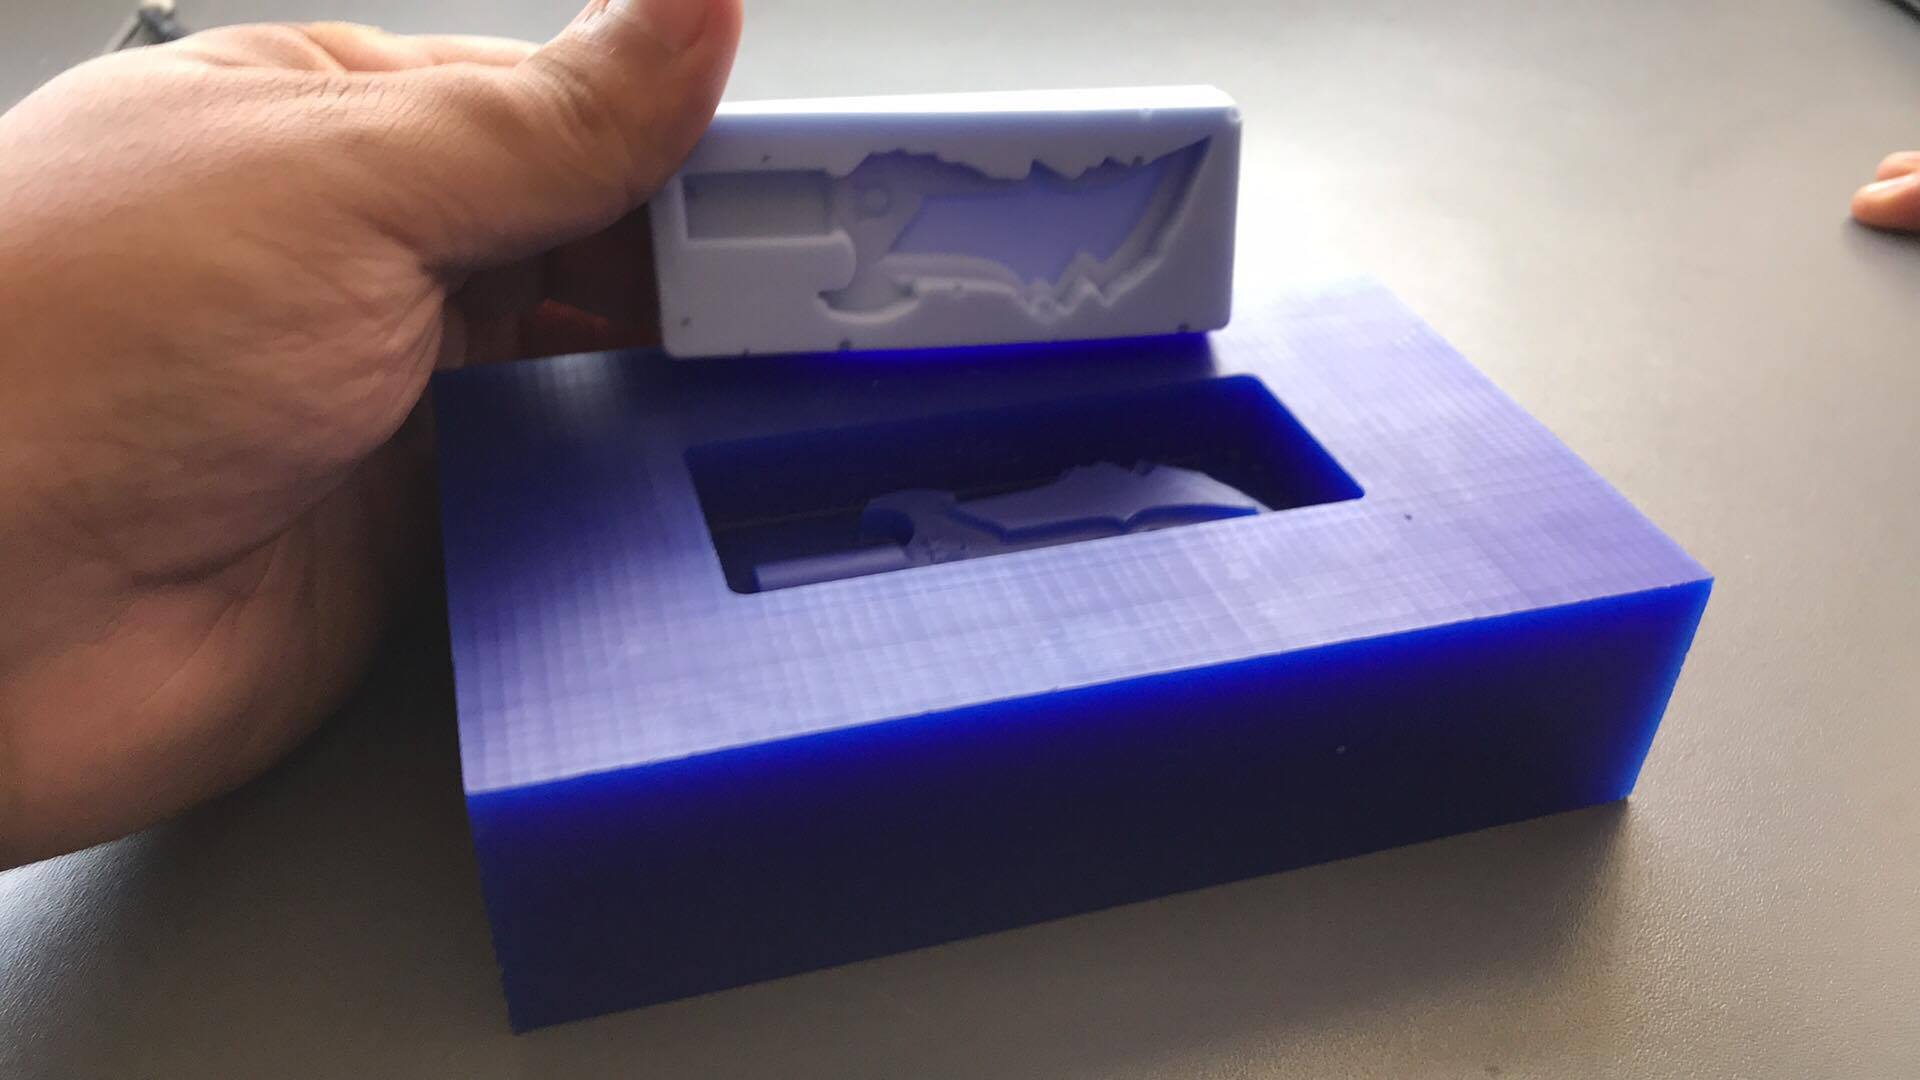
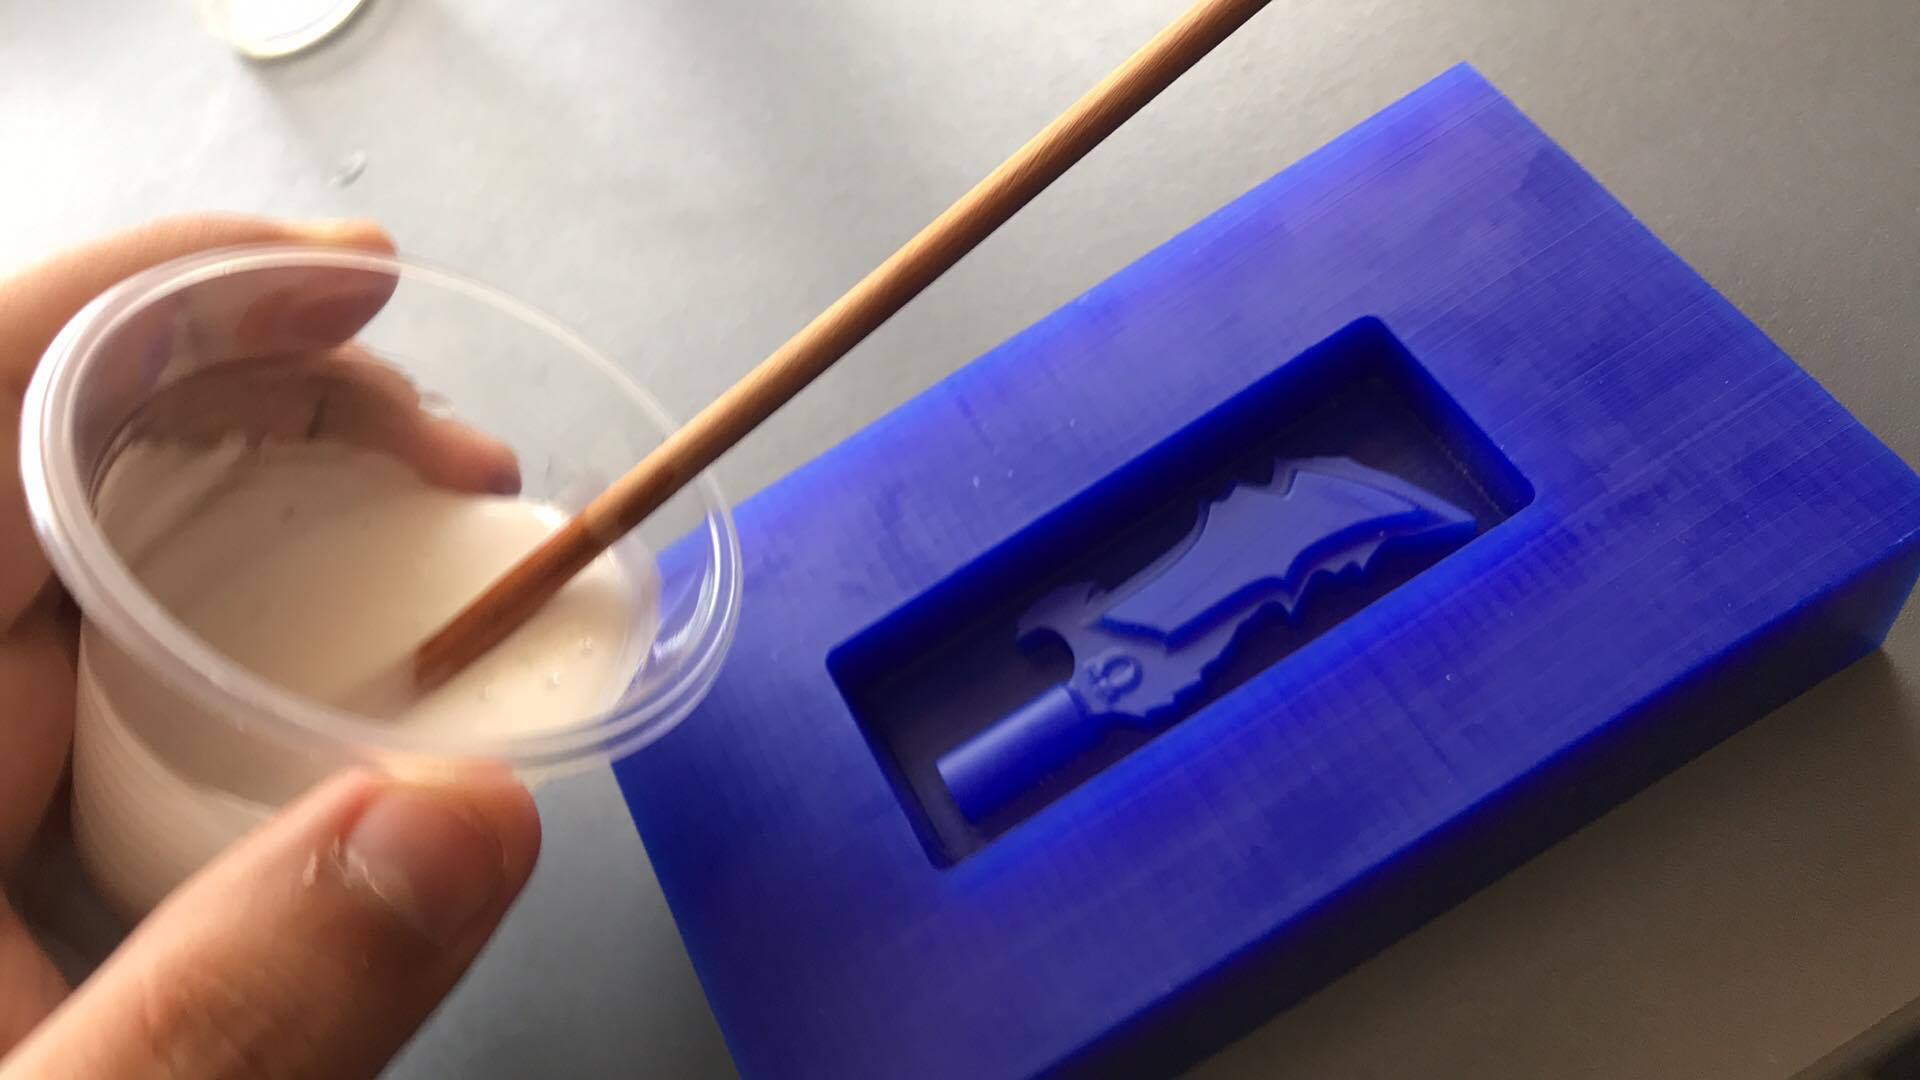
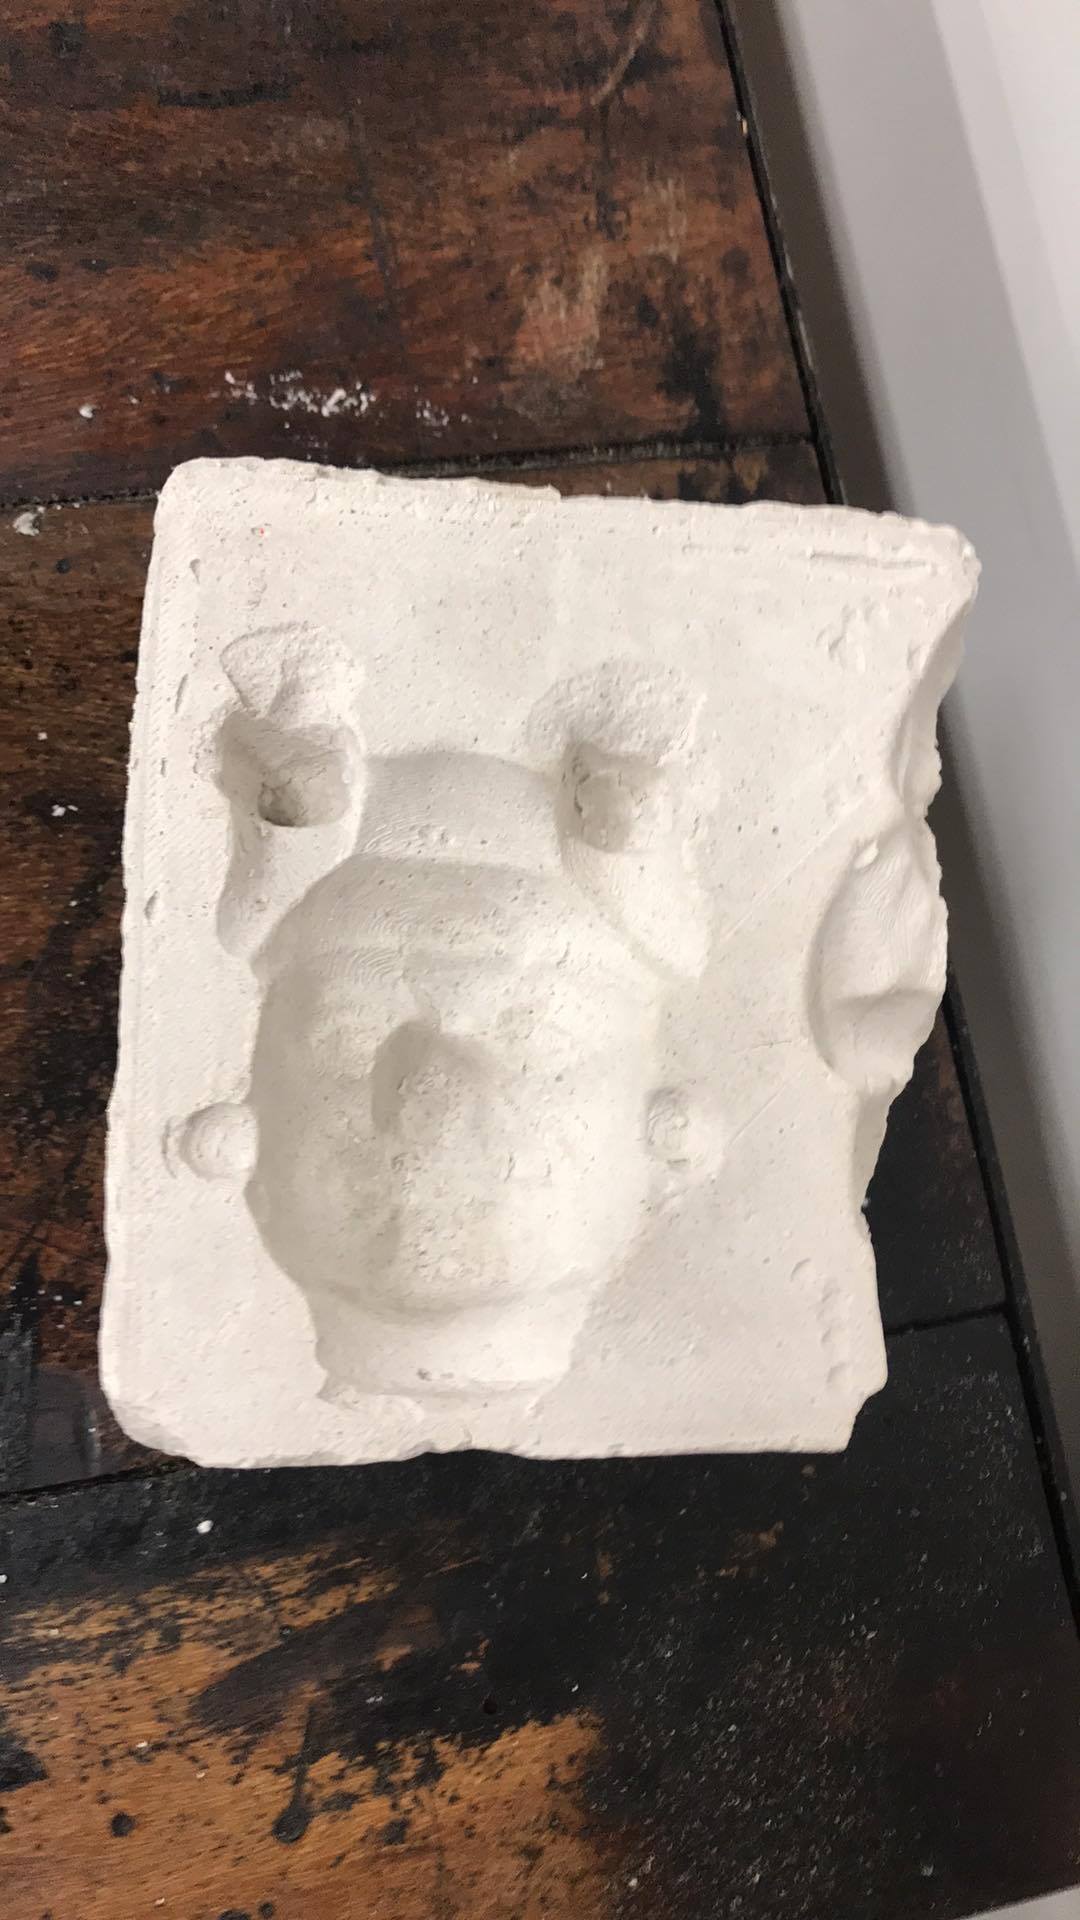
Moulding
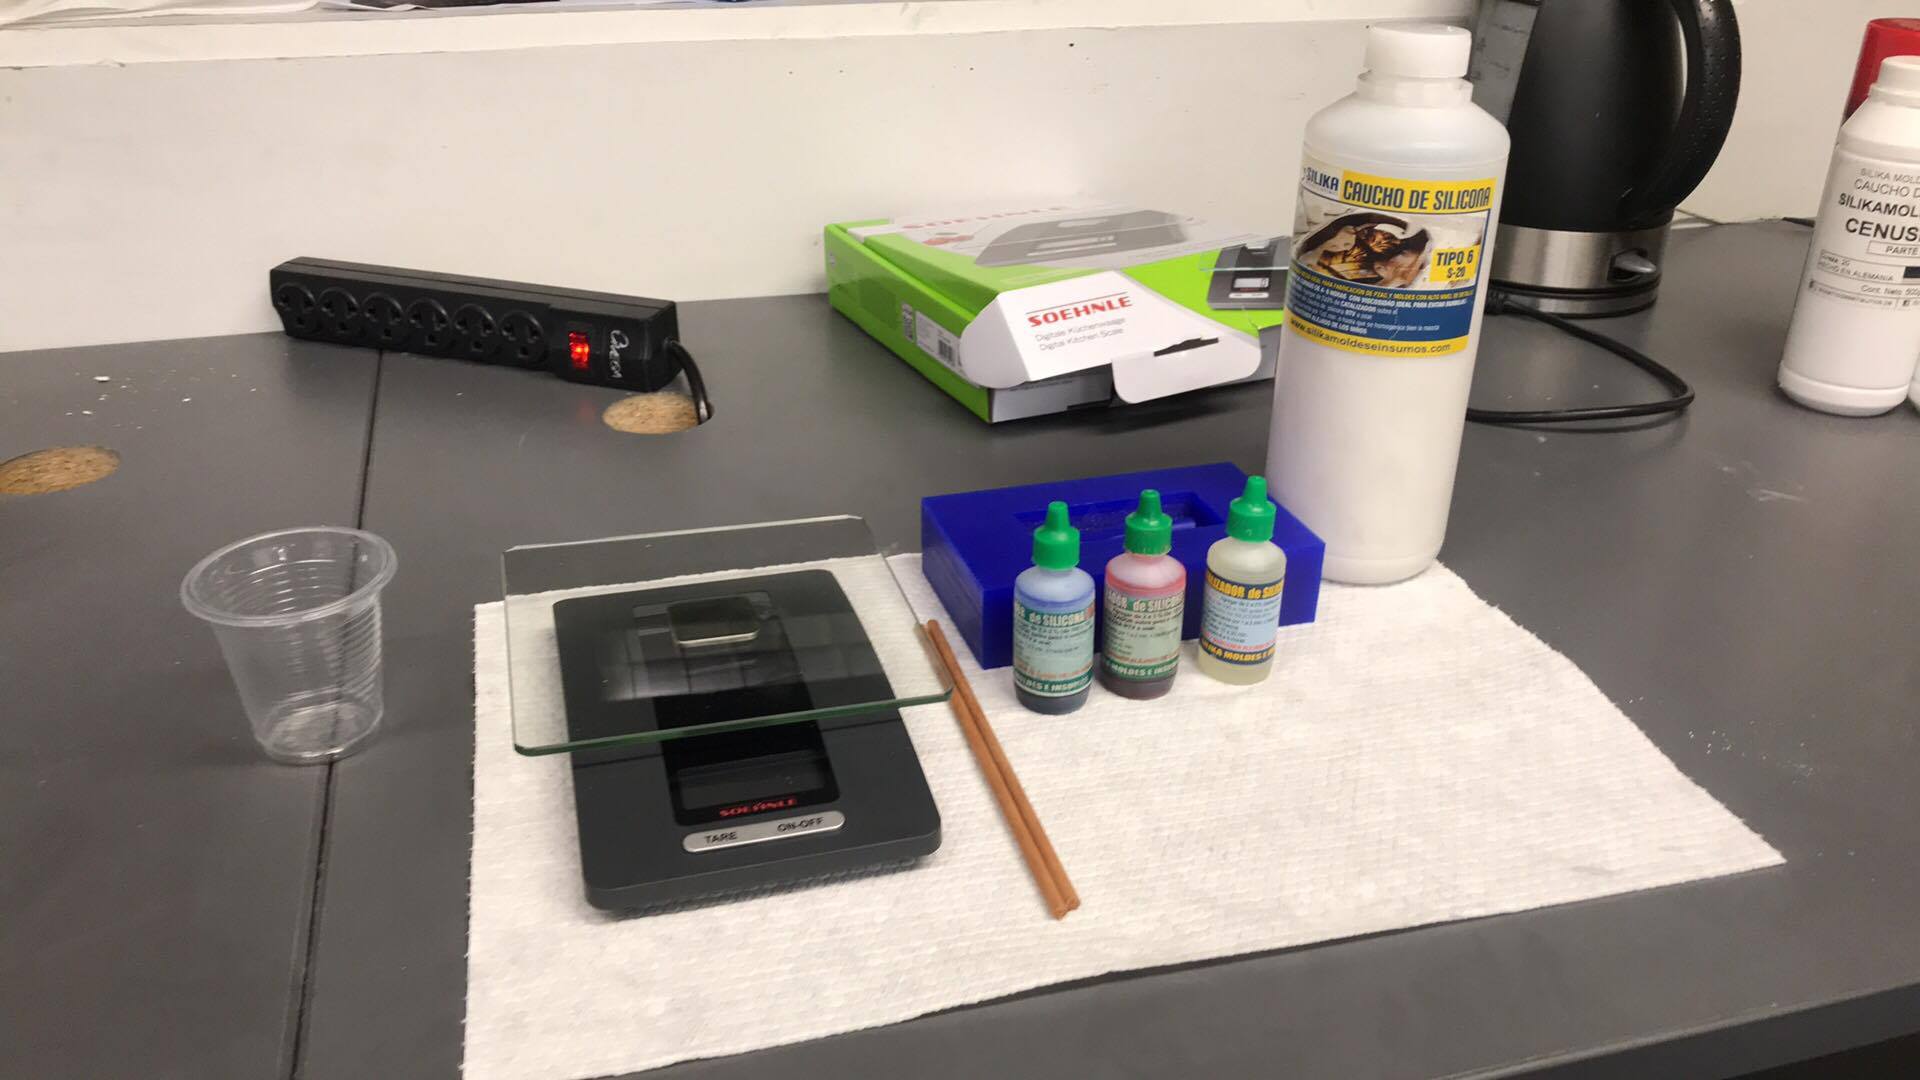
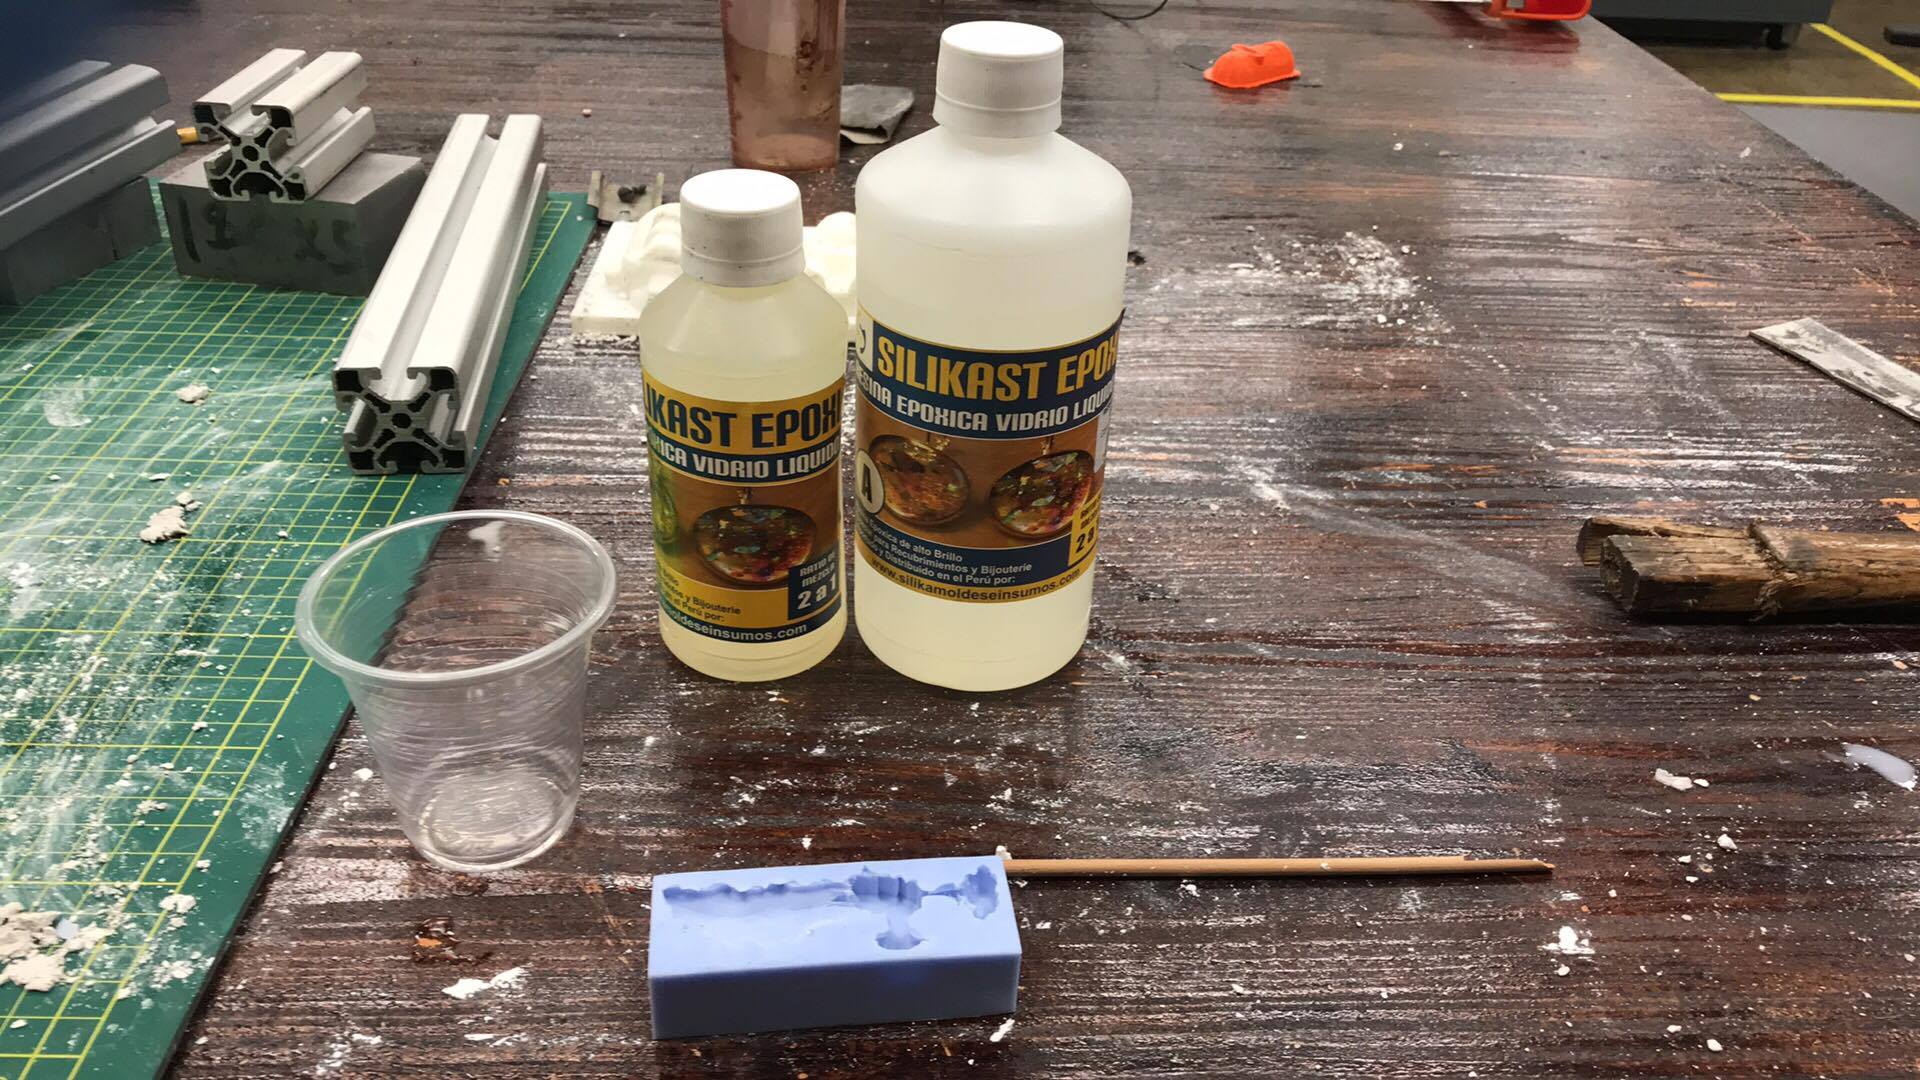
In this part we had to make moulds of our block of wax using the material we have in the laboratory, two of them are foodfriendly. I used silicone rubber mainly, you can read the data sheet in this link.
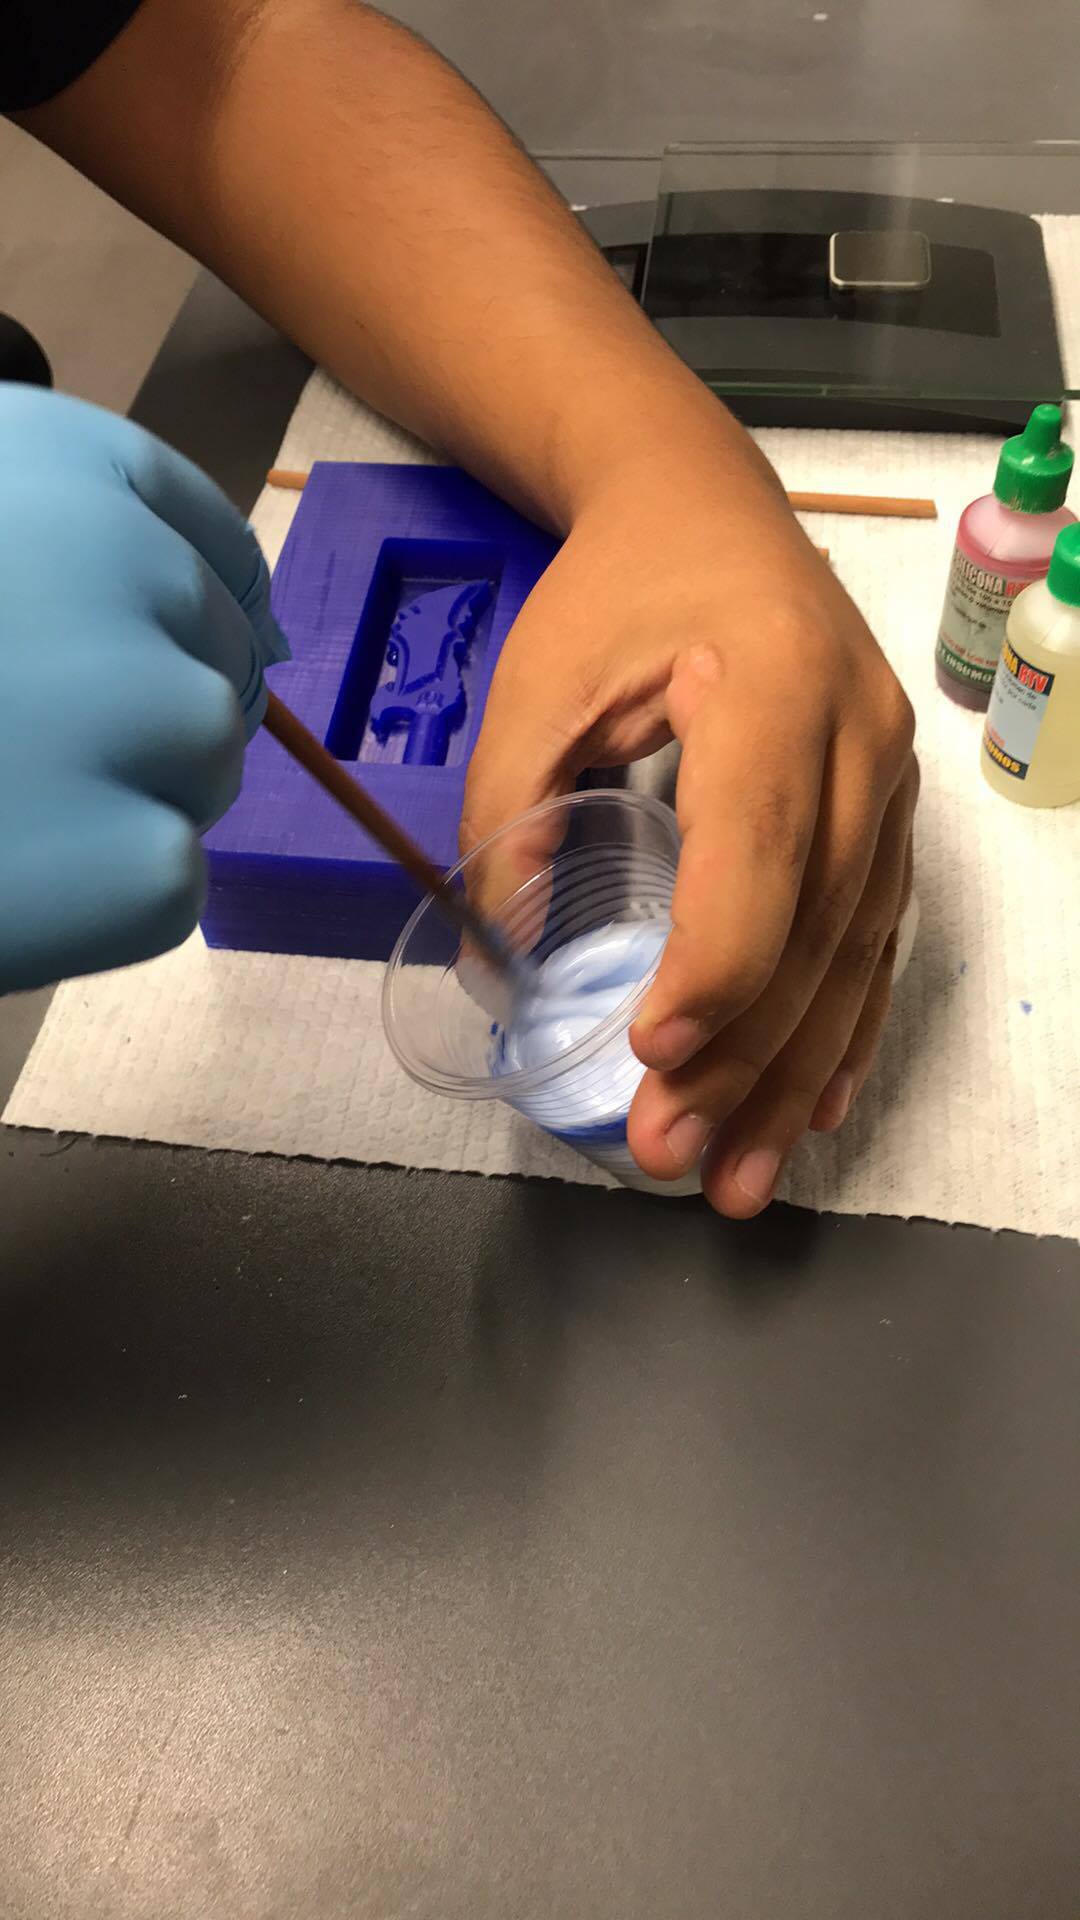
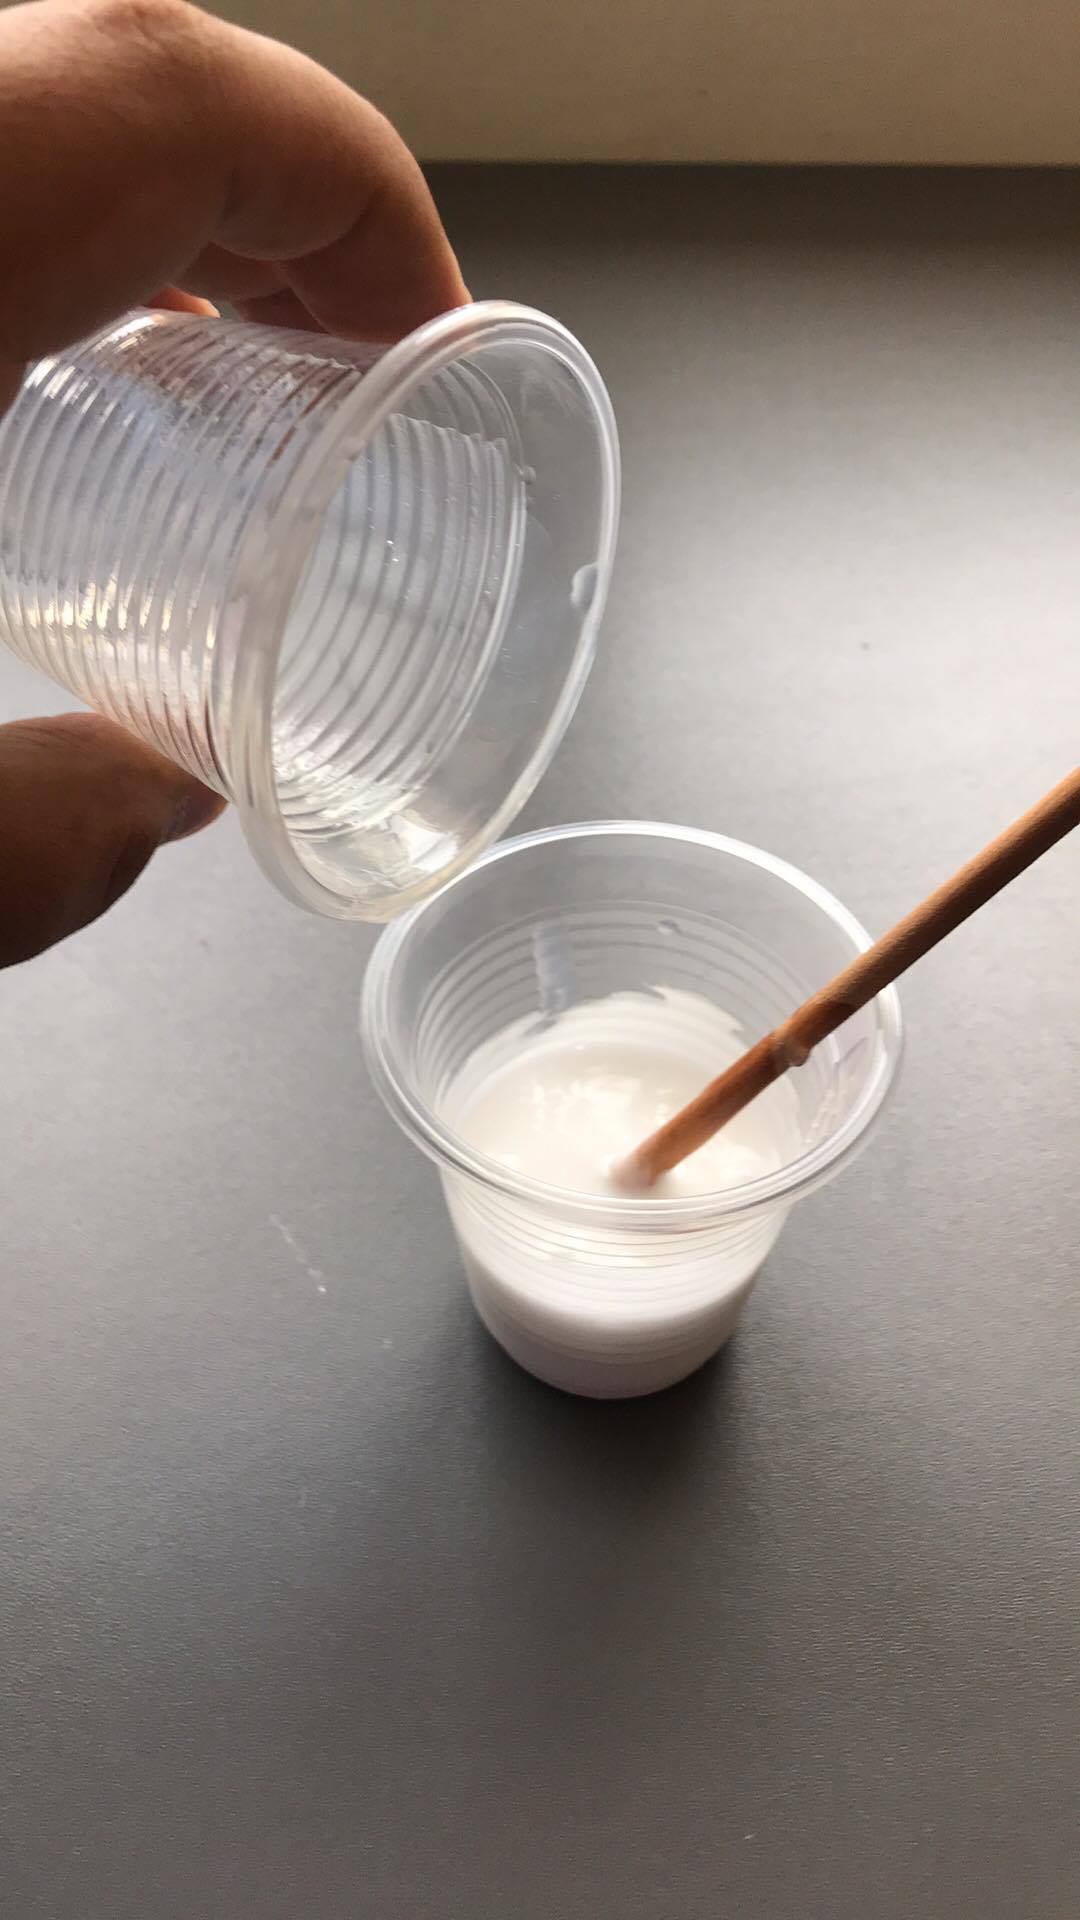
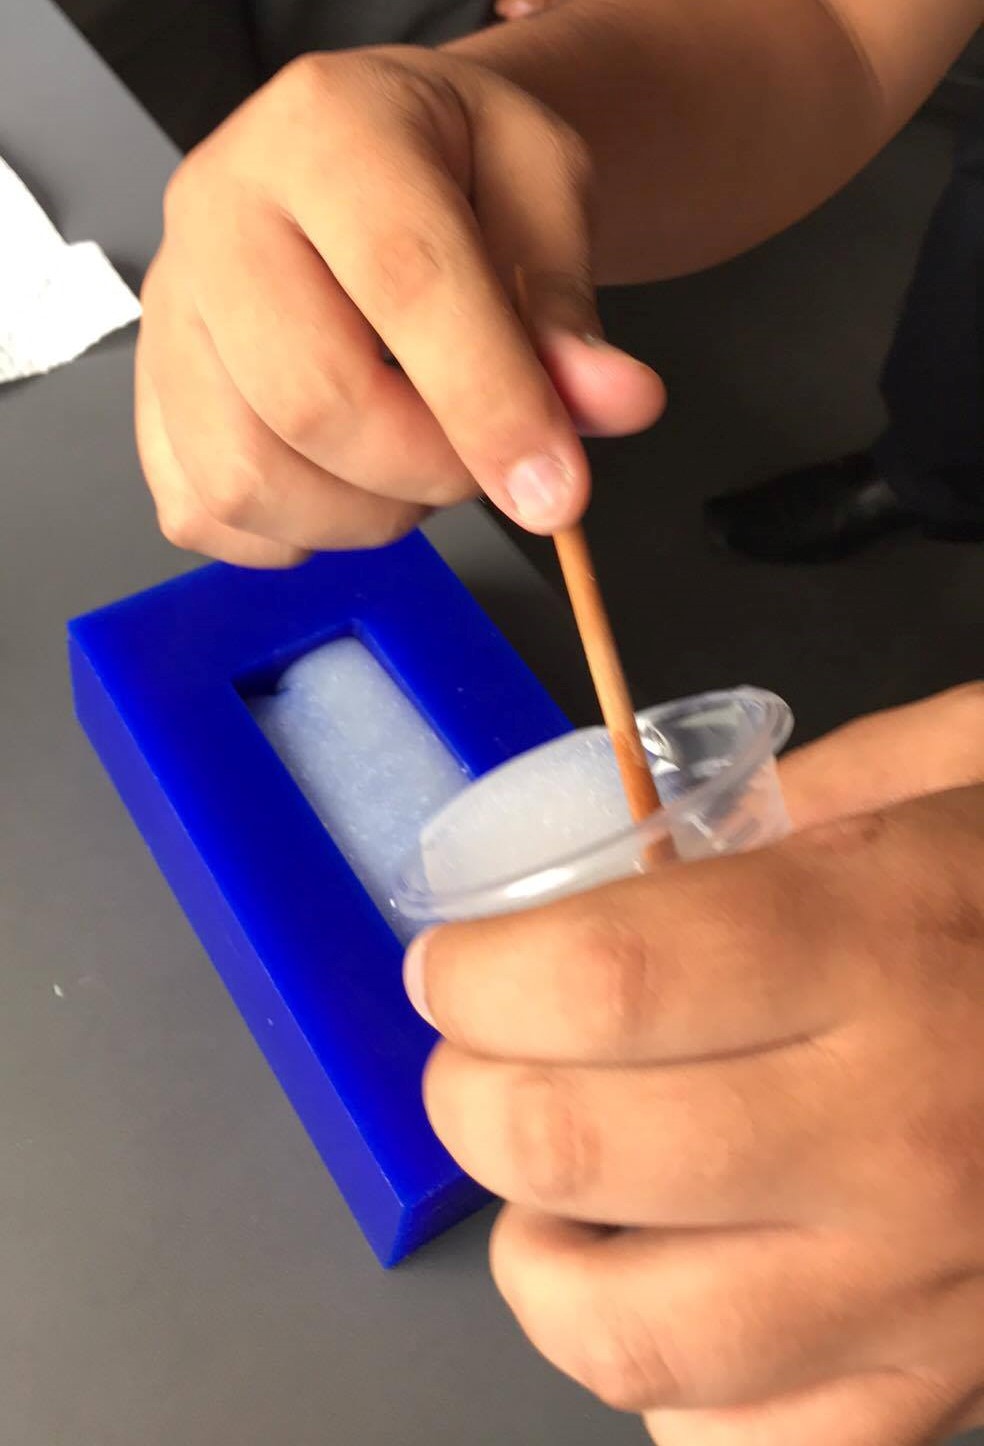
Before making any mix, I filled water in my block of wax and then returned it in a disposable cup to see the volume of silicone I should use to not waste material or missing
The first material i used was silicone rubber, this material need a catalyst for the chemical reaction that we want
I put the silicone in a plastic cup, then add the catalyst in proportion
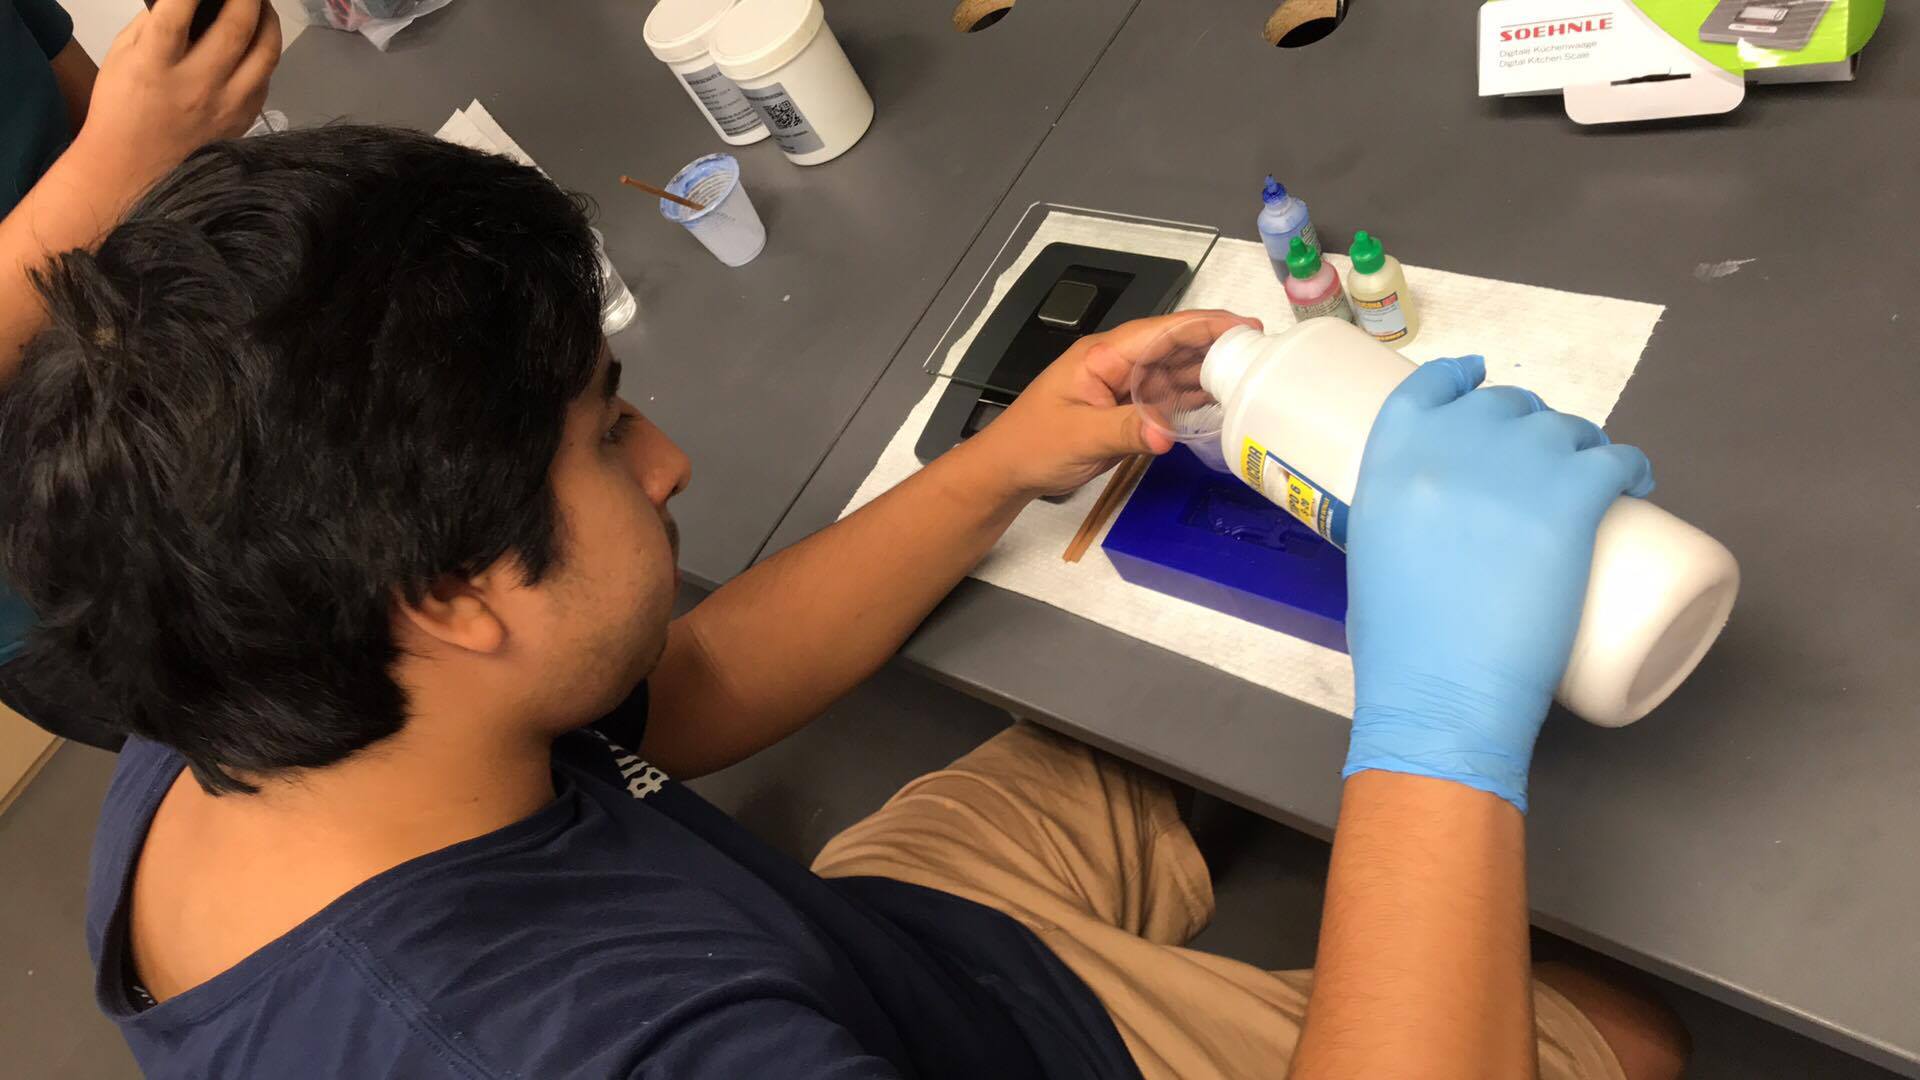
And mixed
I removed the bubbles and waited
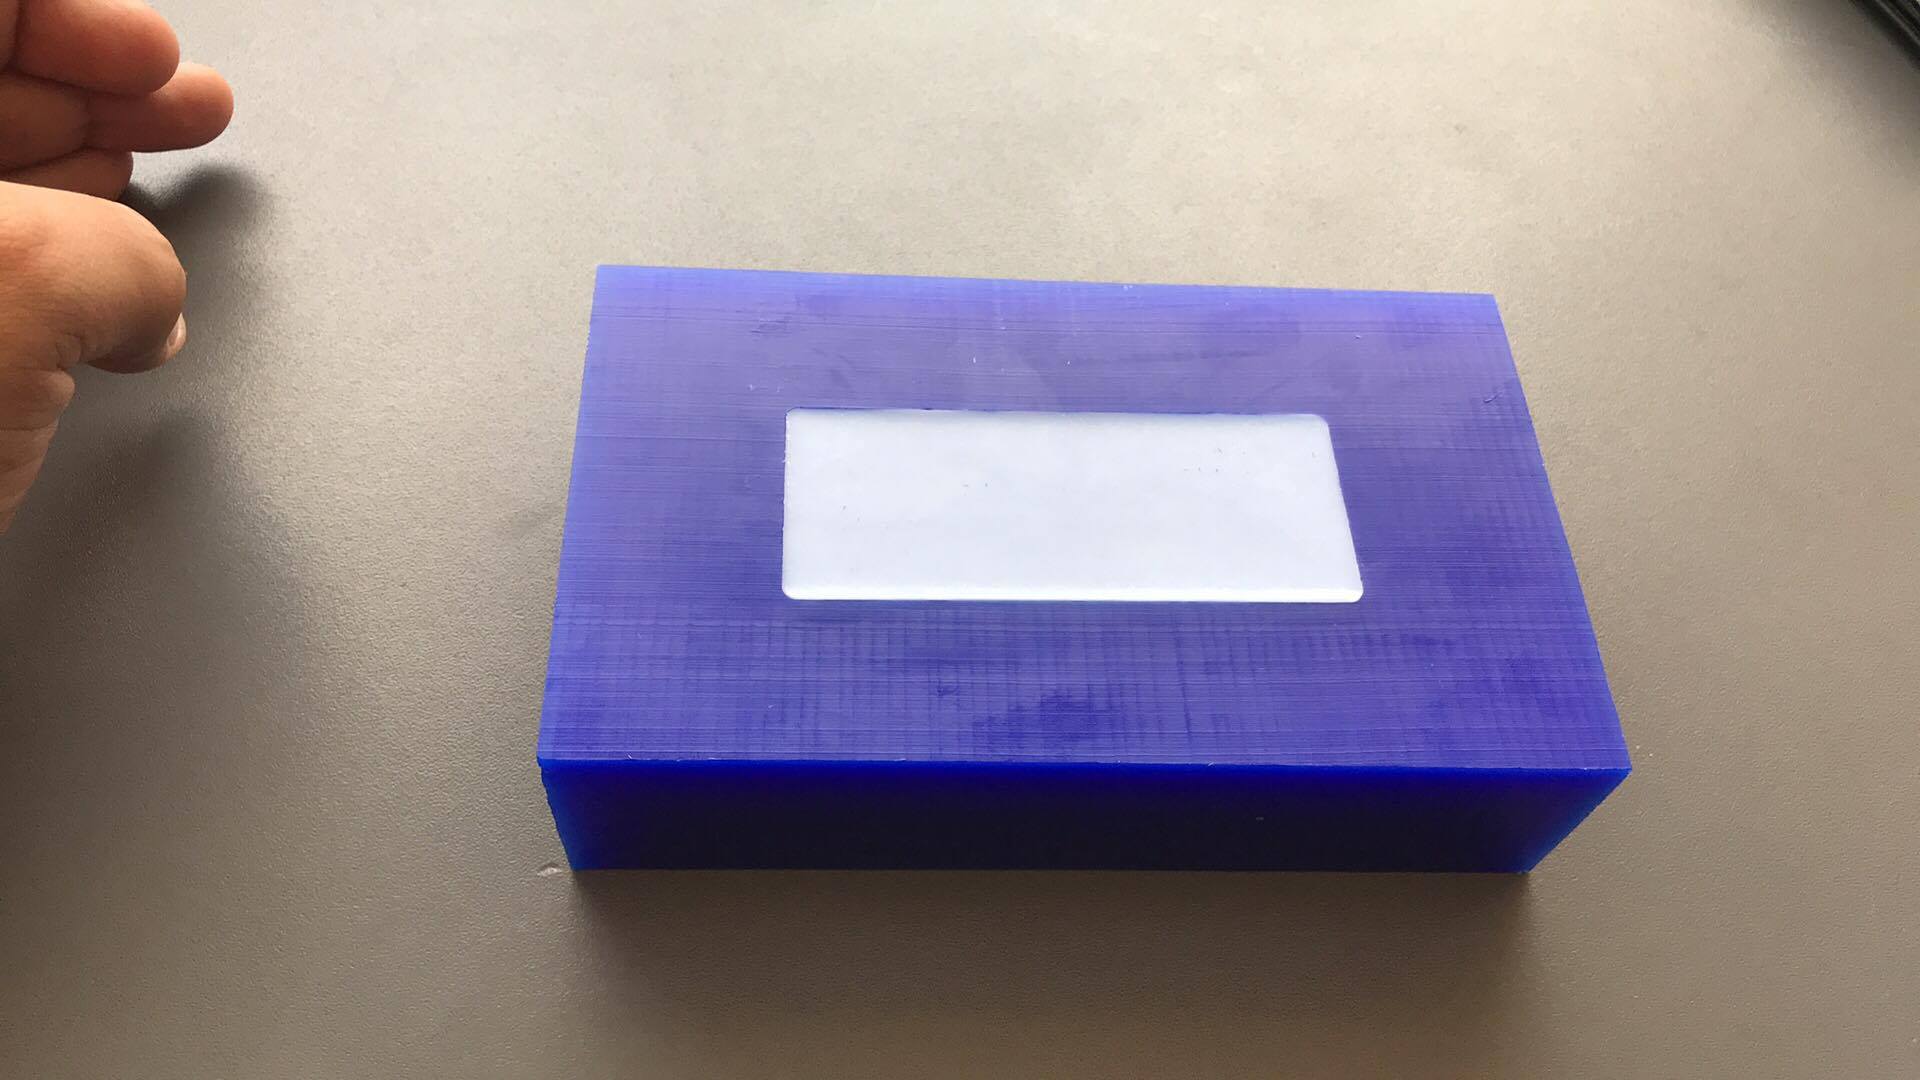
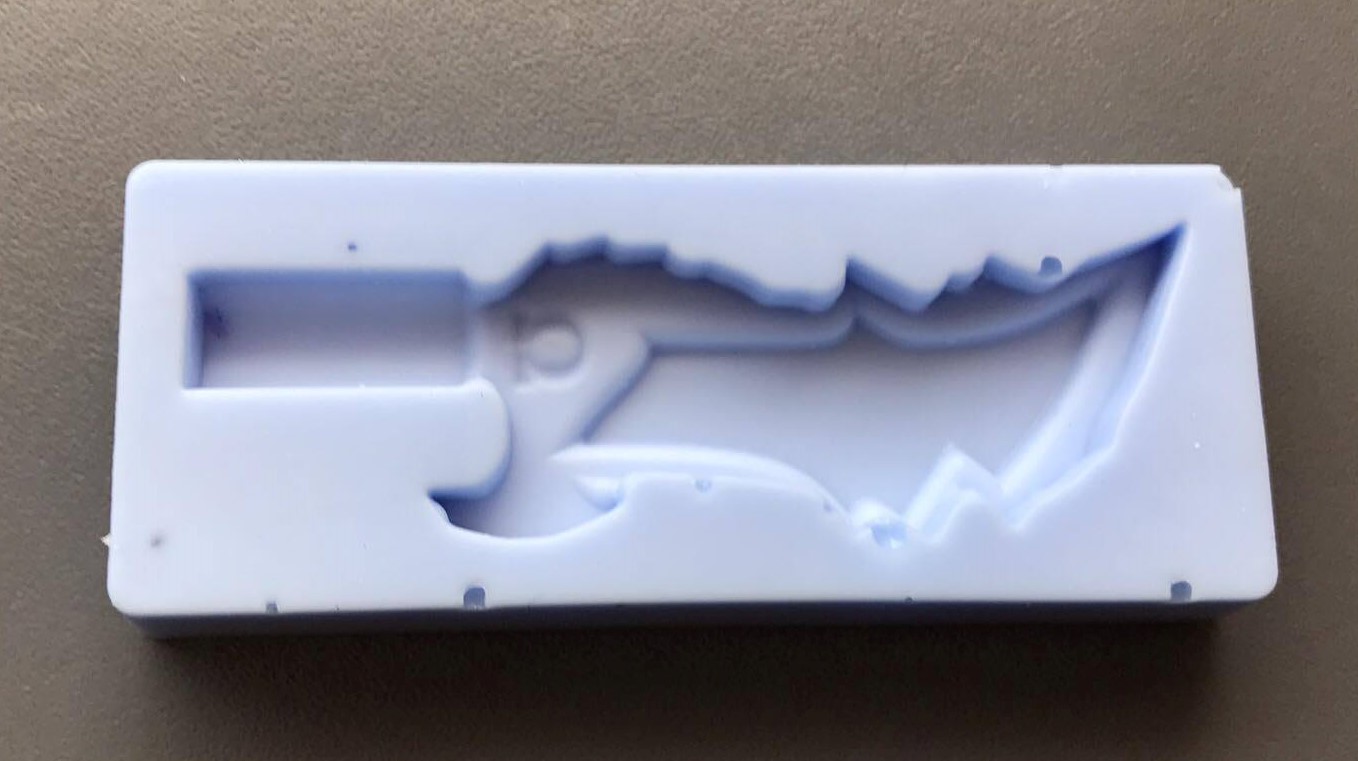
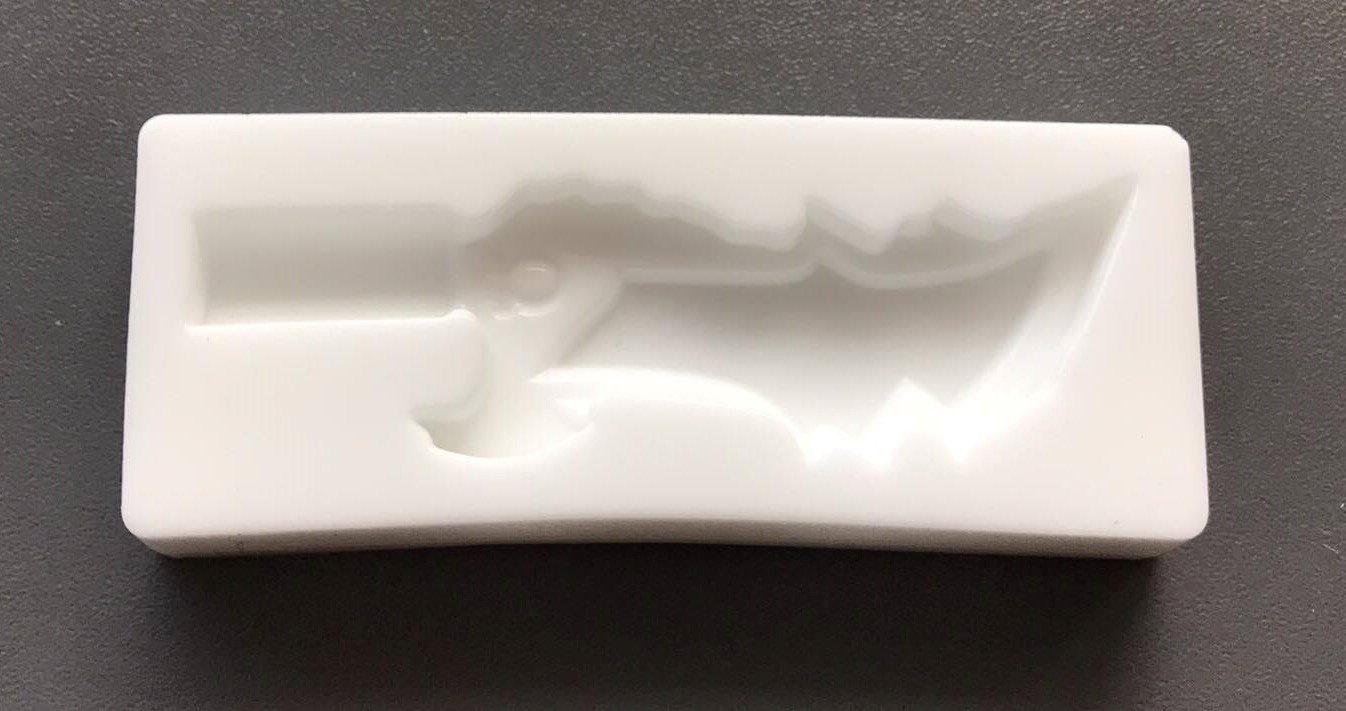
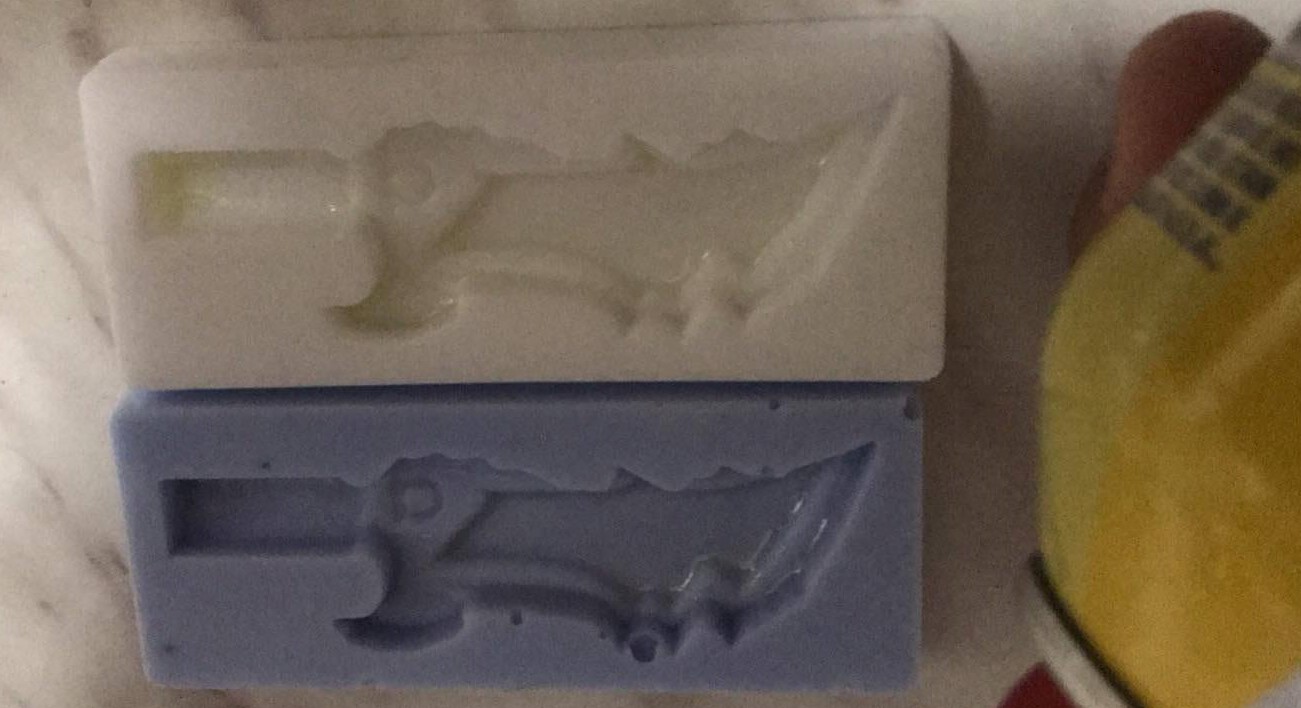
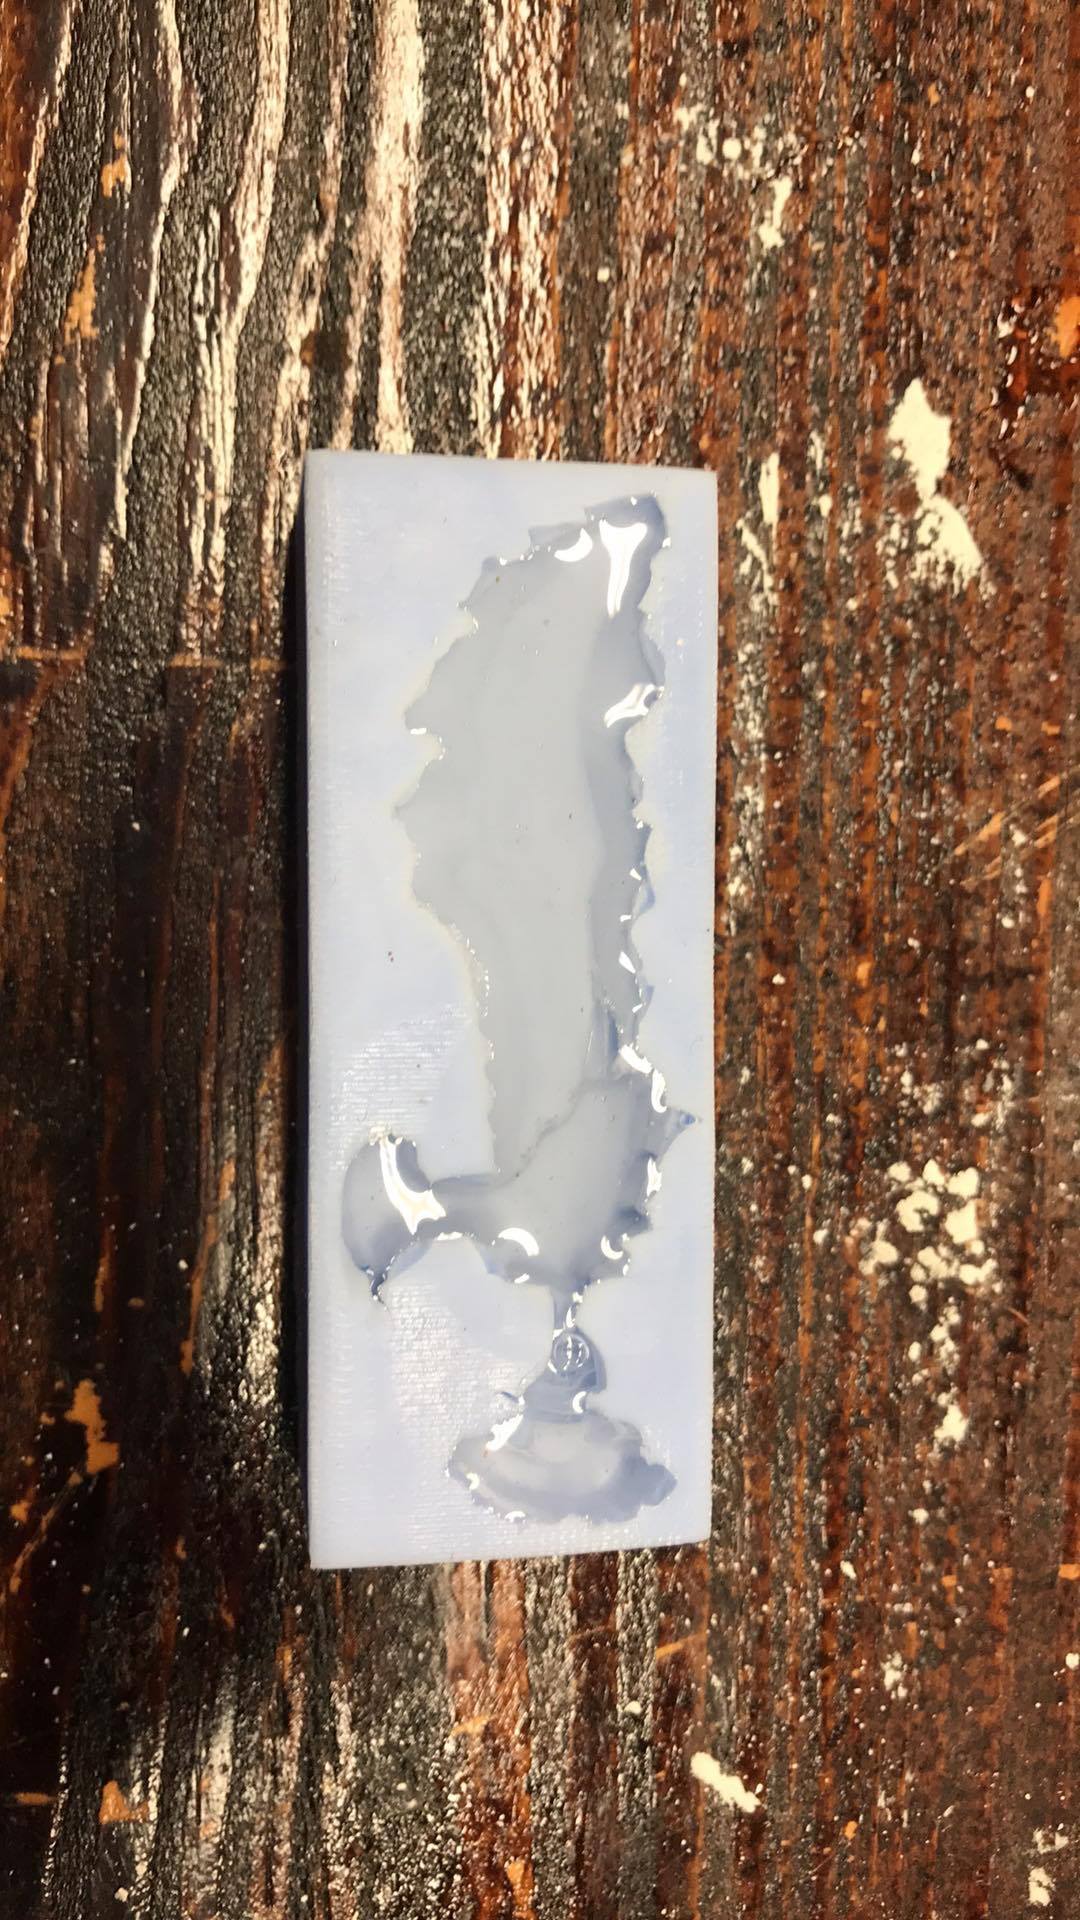
The mould is ready
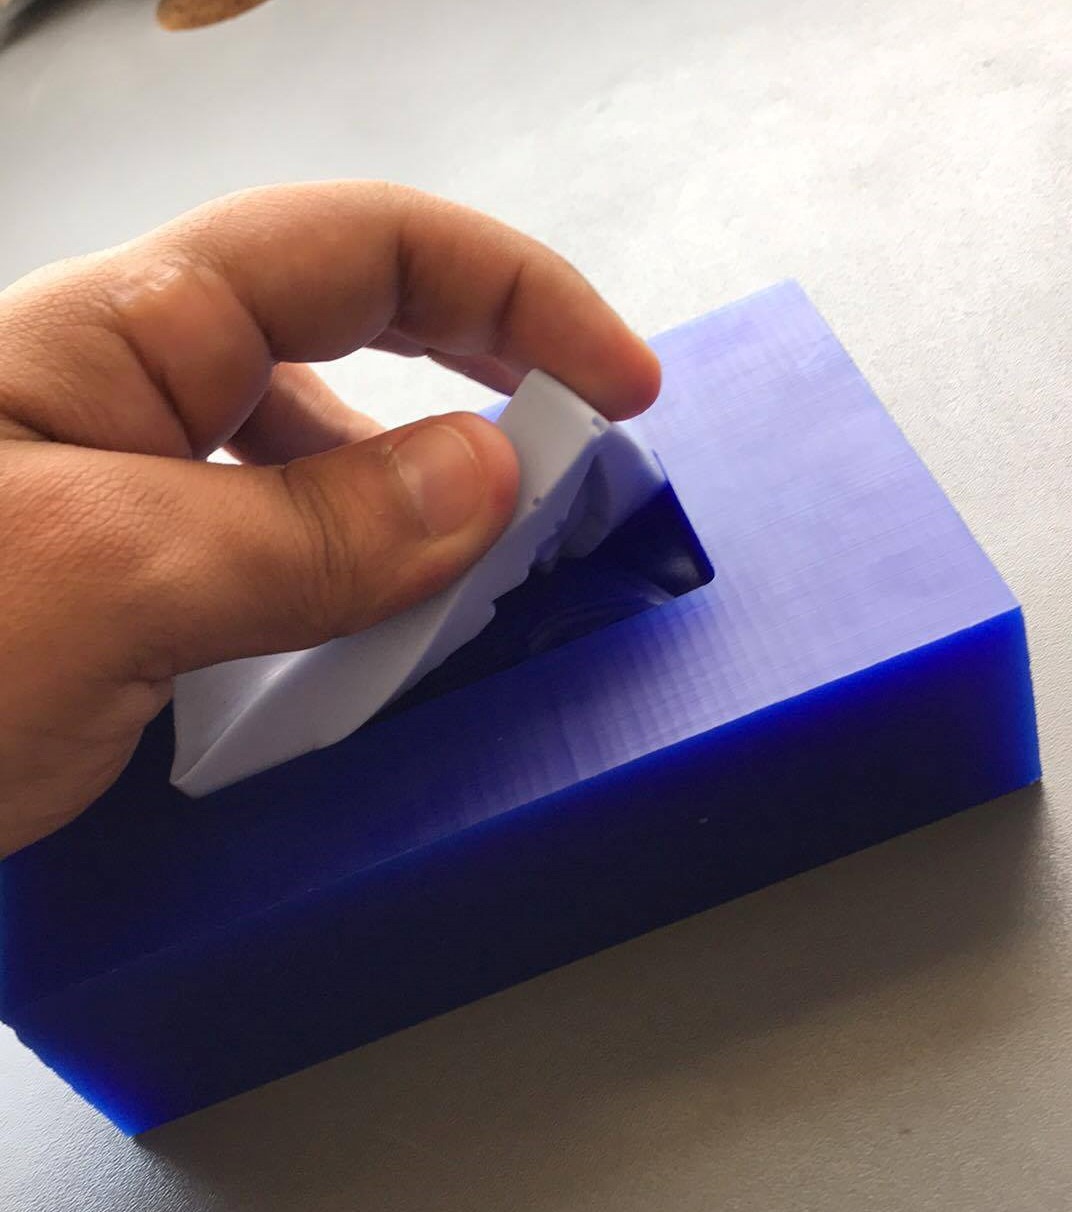
Remove carefully
Mould finished
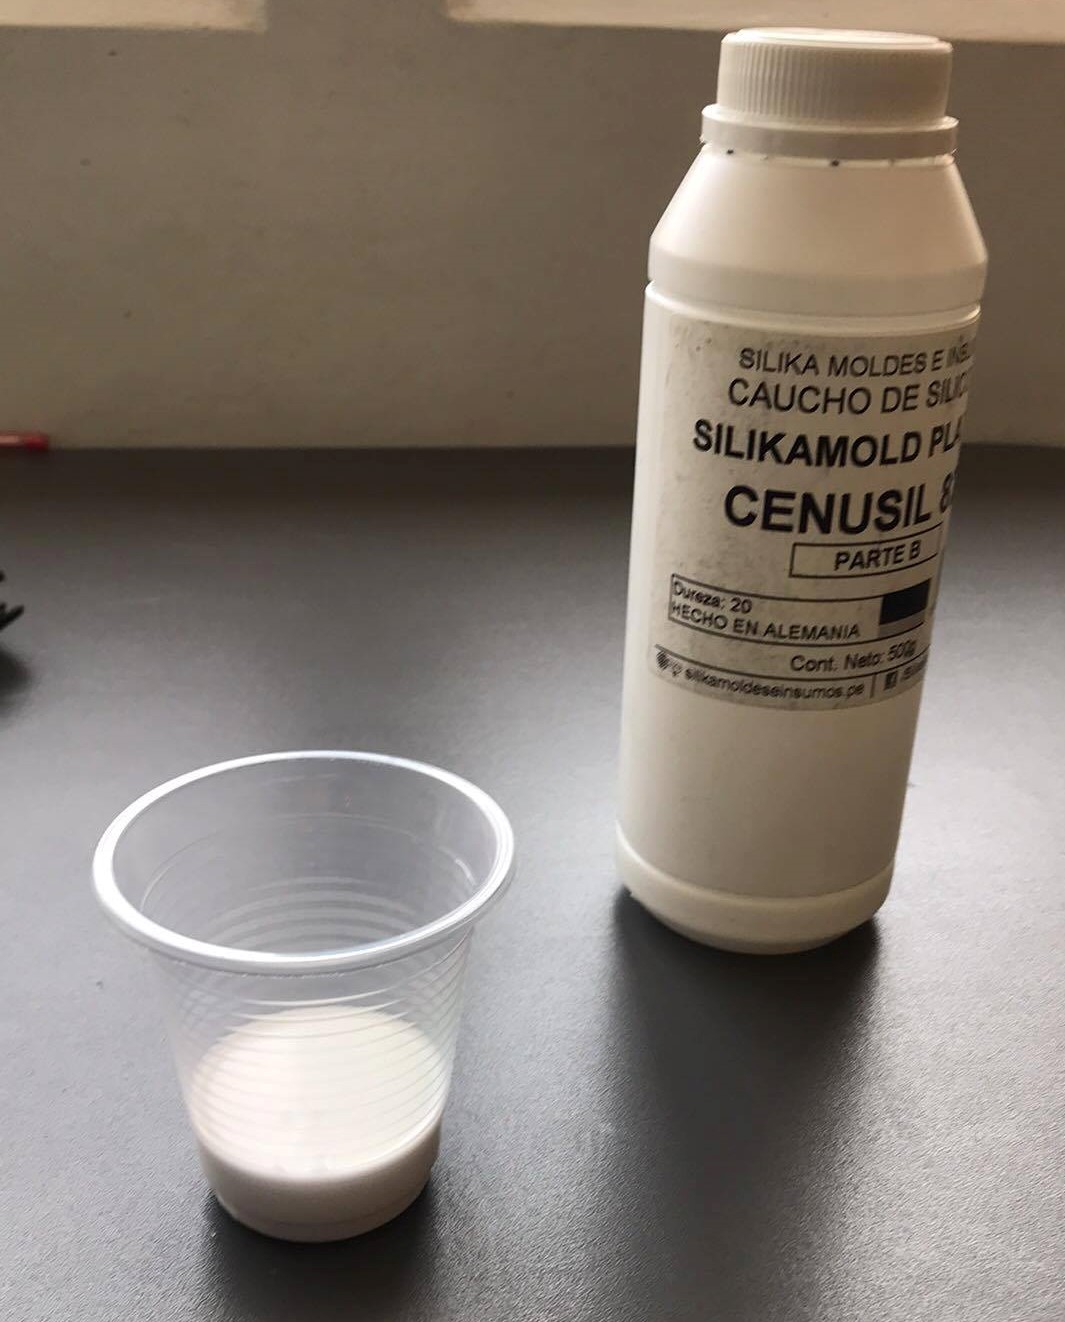
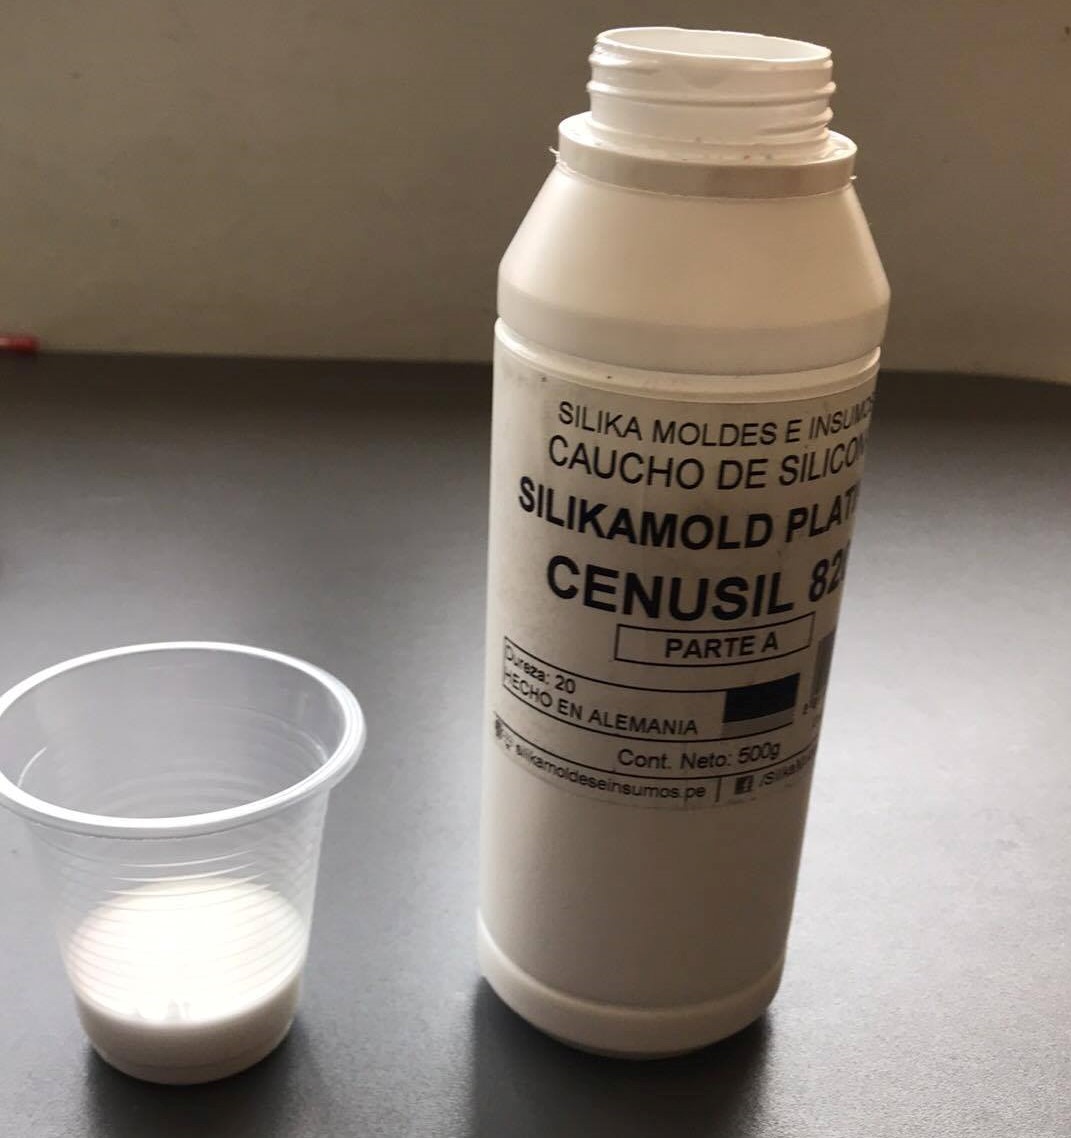
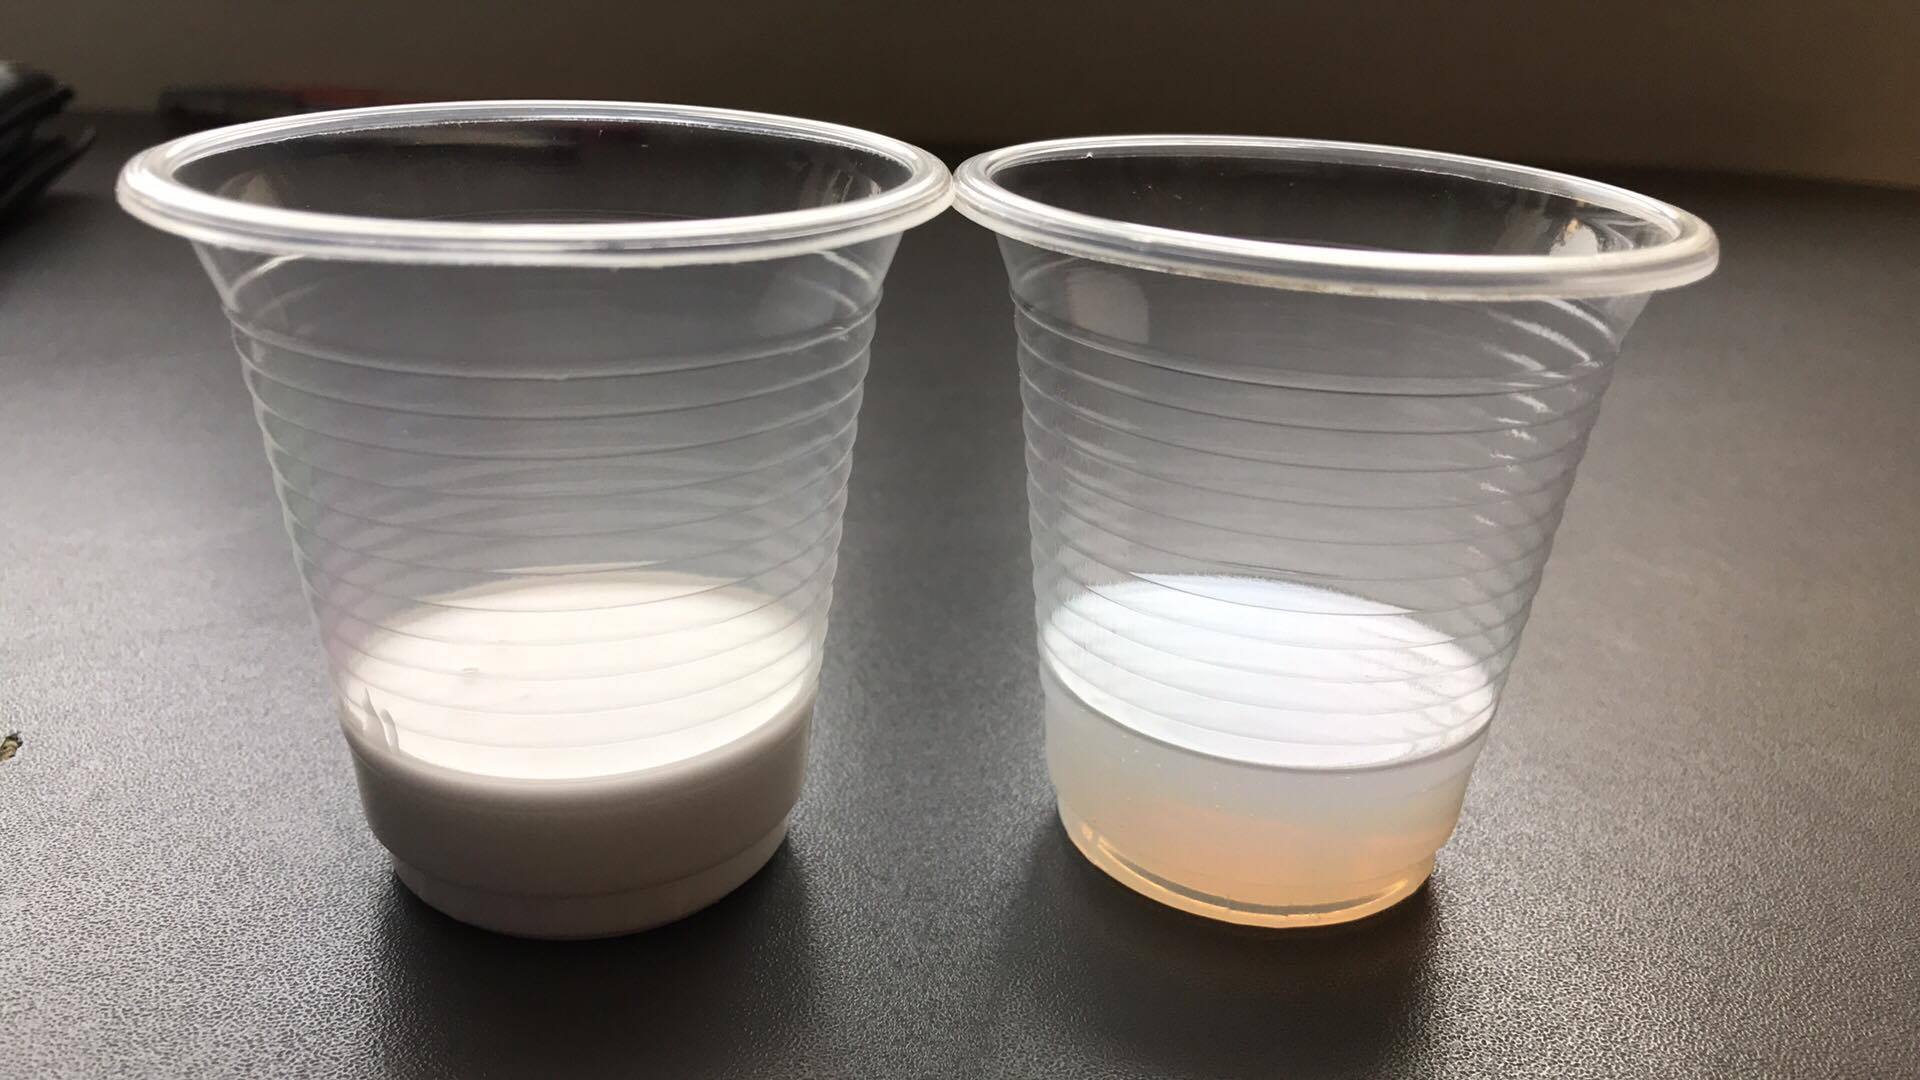
For the next mould, i had to mix part A with part B in the same proportion, 50-50
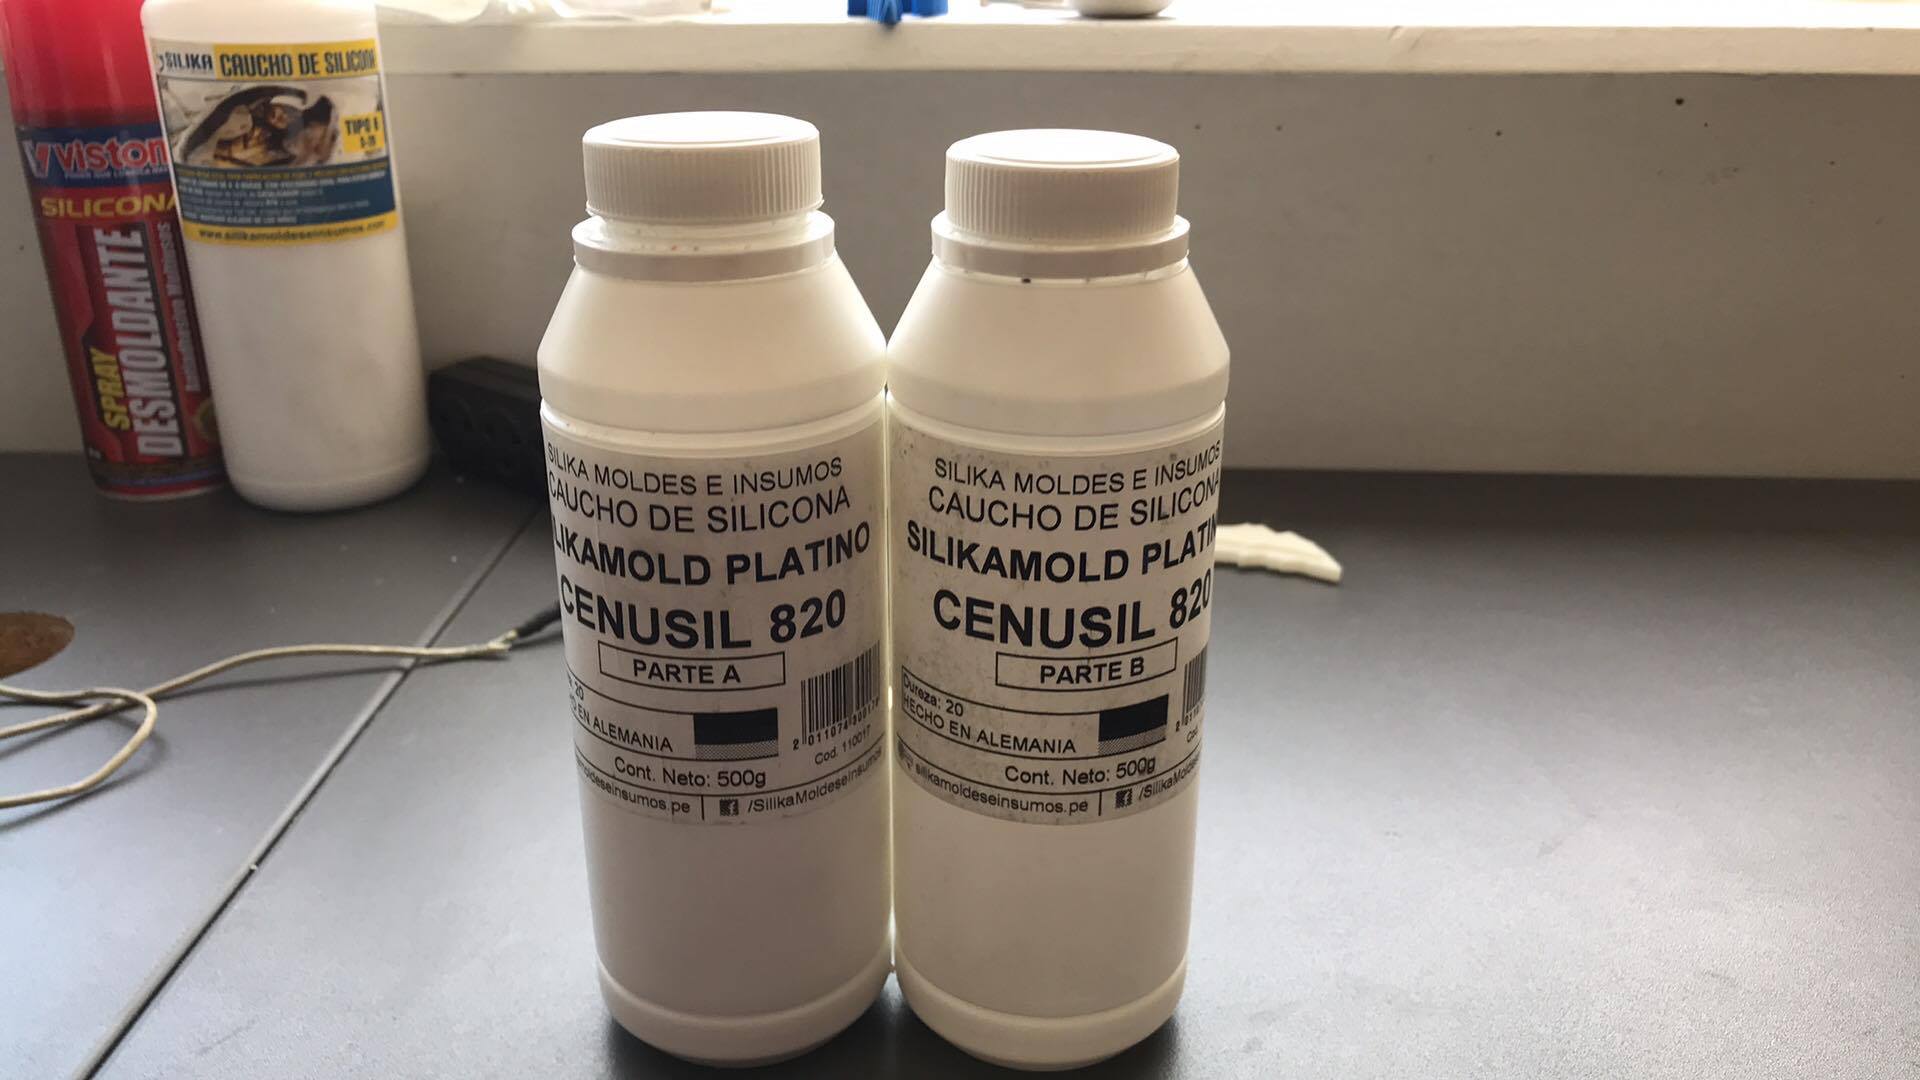
Part A
Part B
Mix!
Second mould finished
The third material required the previous process
.jpg)
50-50 Proportion
Mix
I had to wait more using this material
Casting
The two first molds are foodfriendly, and i saw in the repository of my local instructor, Alejandro Otazú how he made chocolates for the casting, based on this idea, i decided to make candies.
PAM made with canola oil
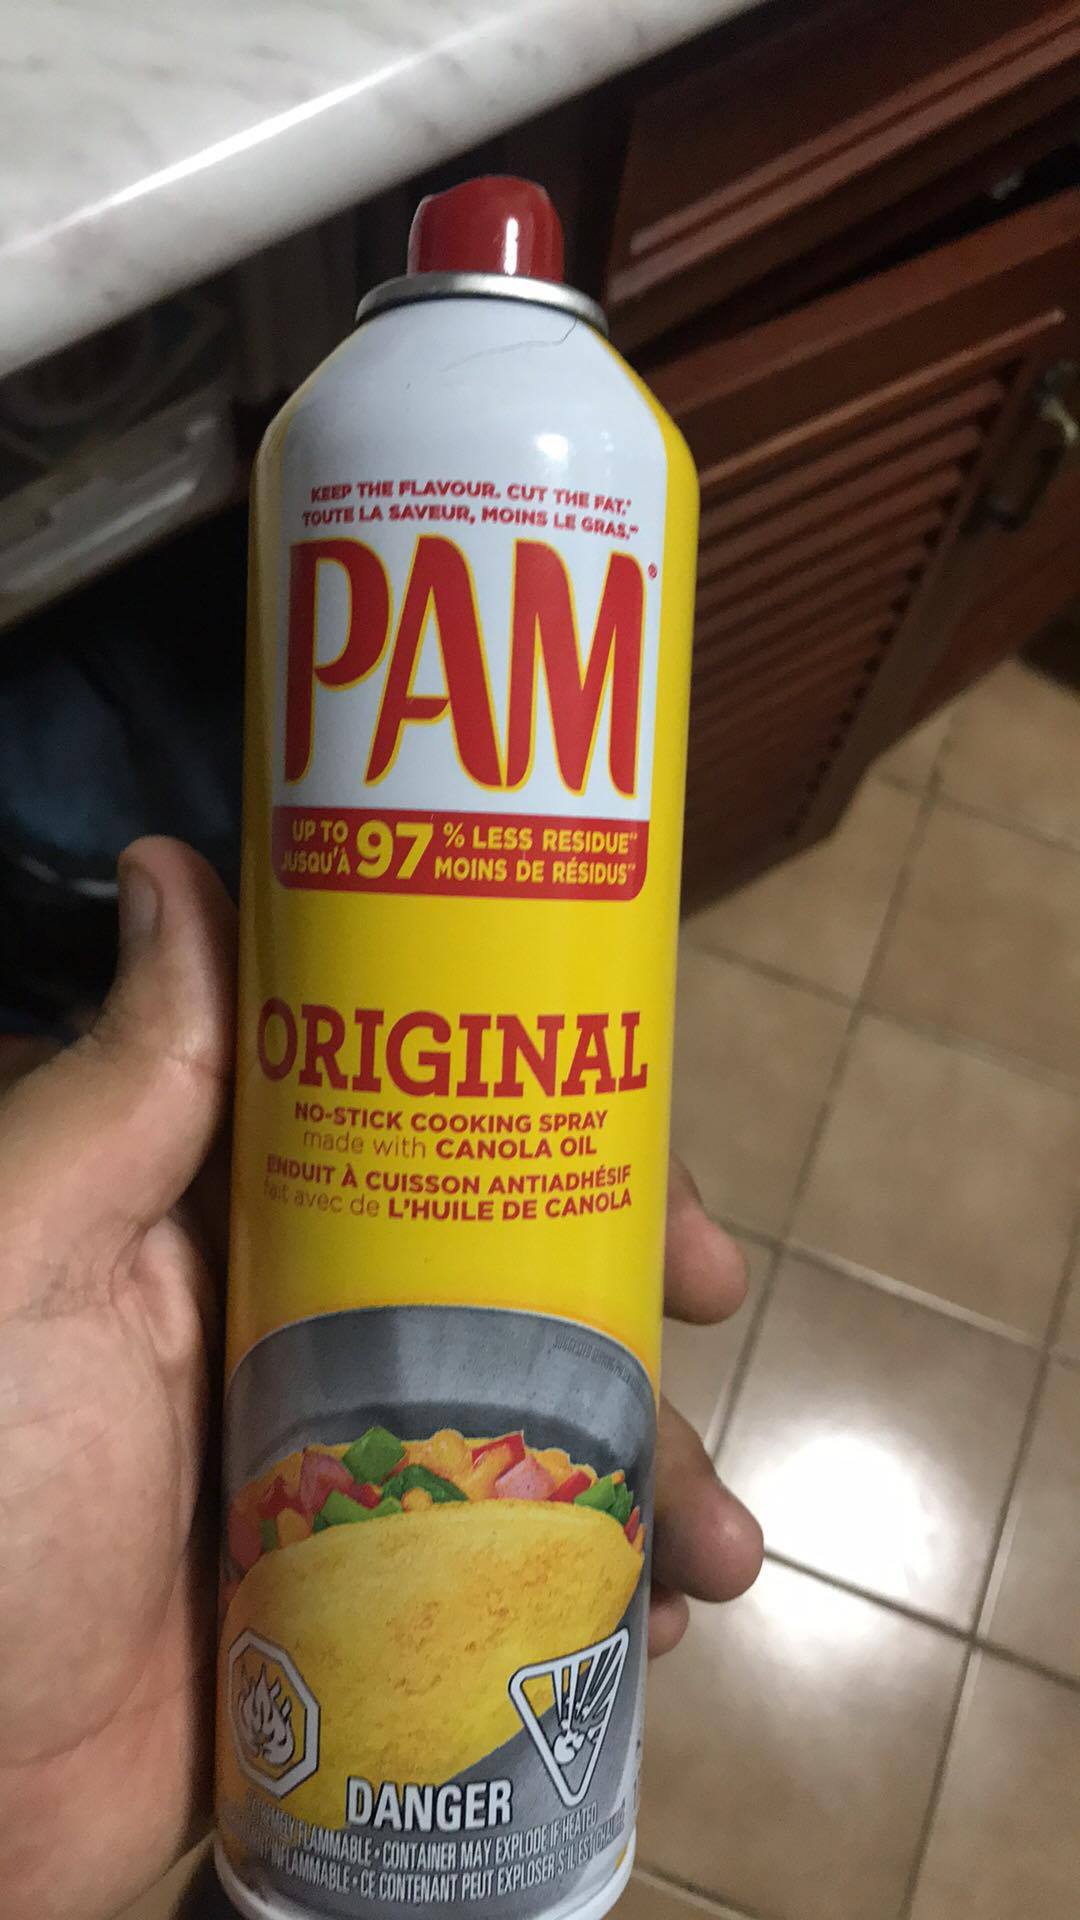
Applying

Candies
I made several molds, thanks to this I had experience with each type of material, my favorite was the silicone rubber that required a catalyst, because I discovered that the more catalyst was made the faster the chemical reaction, in one of the experiments it took so much that it was about to harden while stirring it.
Of the 3 materials this is the one that allows you to get results faster.
From the second material, the German silicone that had to be mixed in the same proportion I learned that although it takes more time than the rest, it does not leave any bubbles, allowing a good finish.
As for the third material, RTV silicone, it takes less time than the previous one but there are still some bubbles trapped.
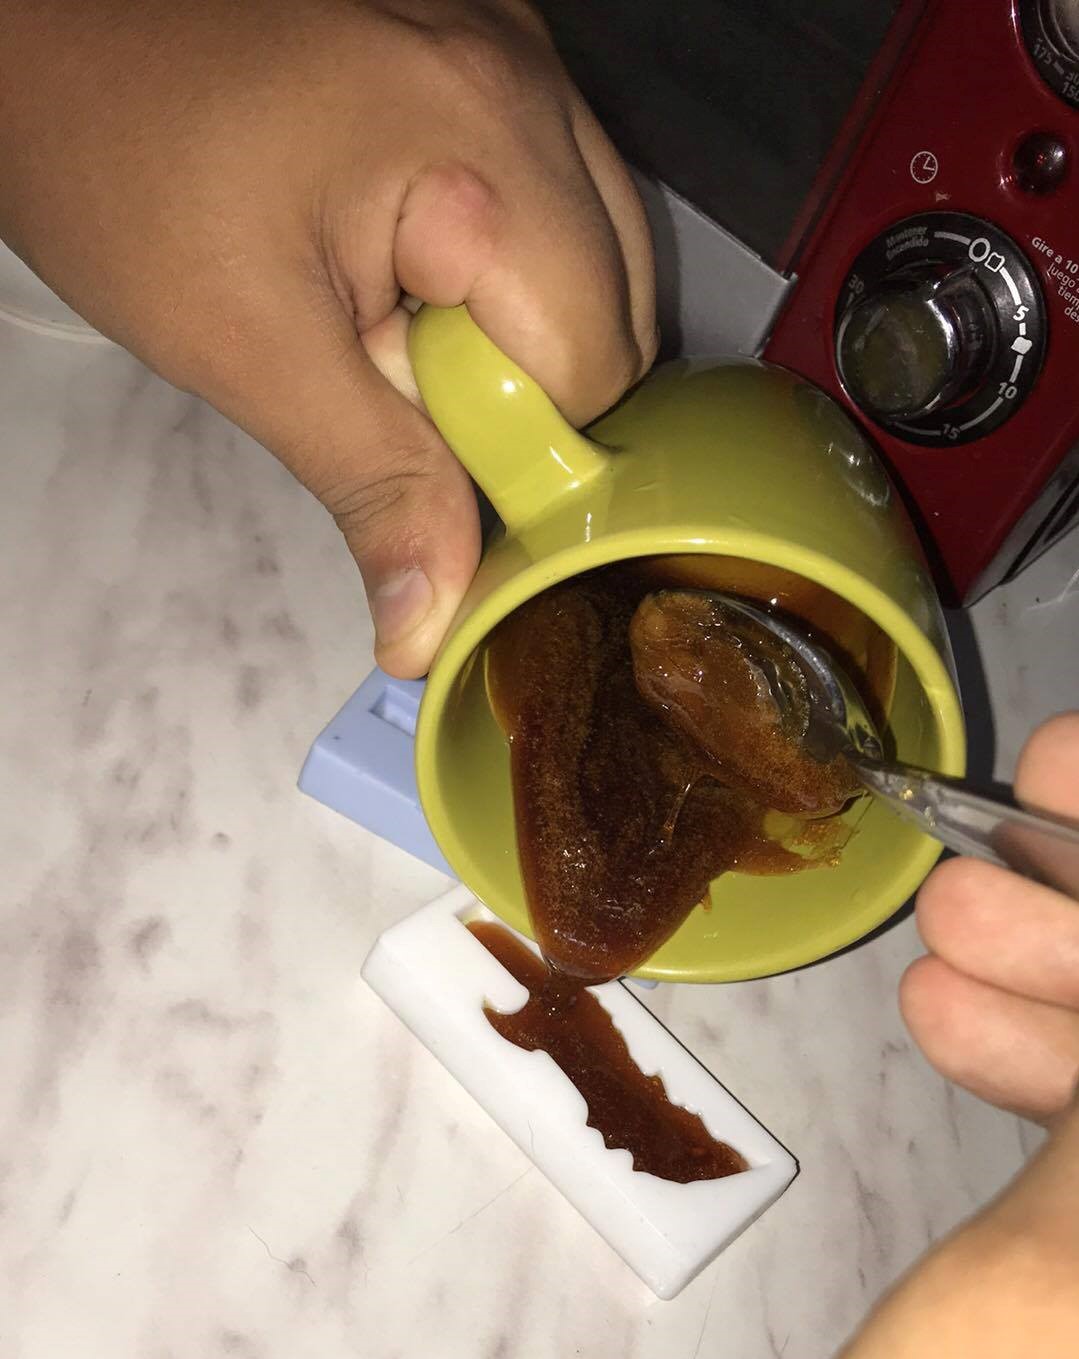
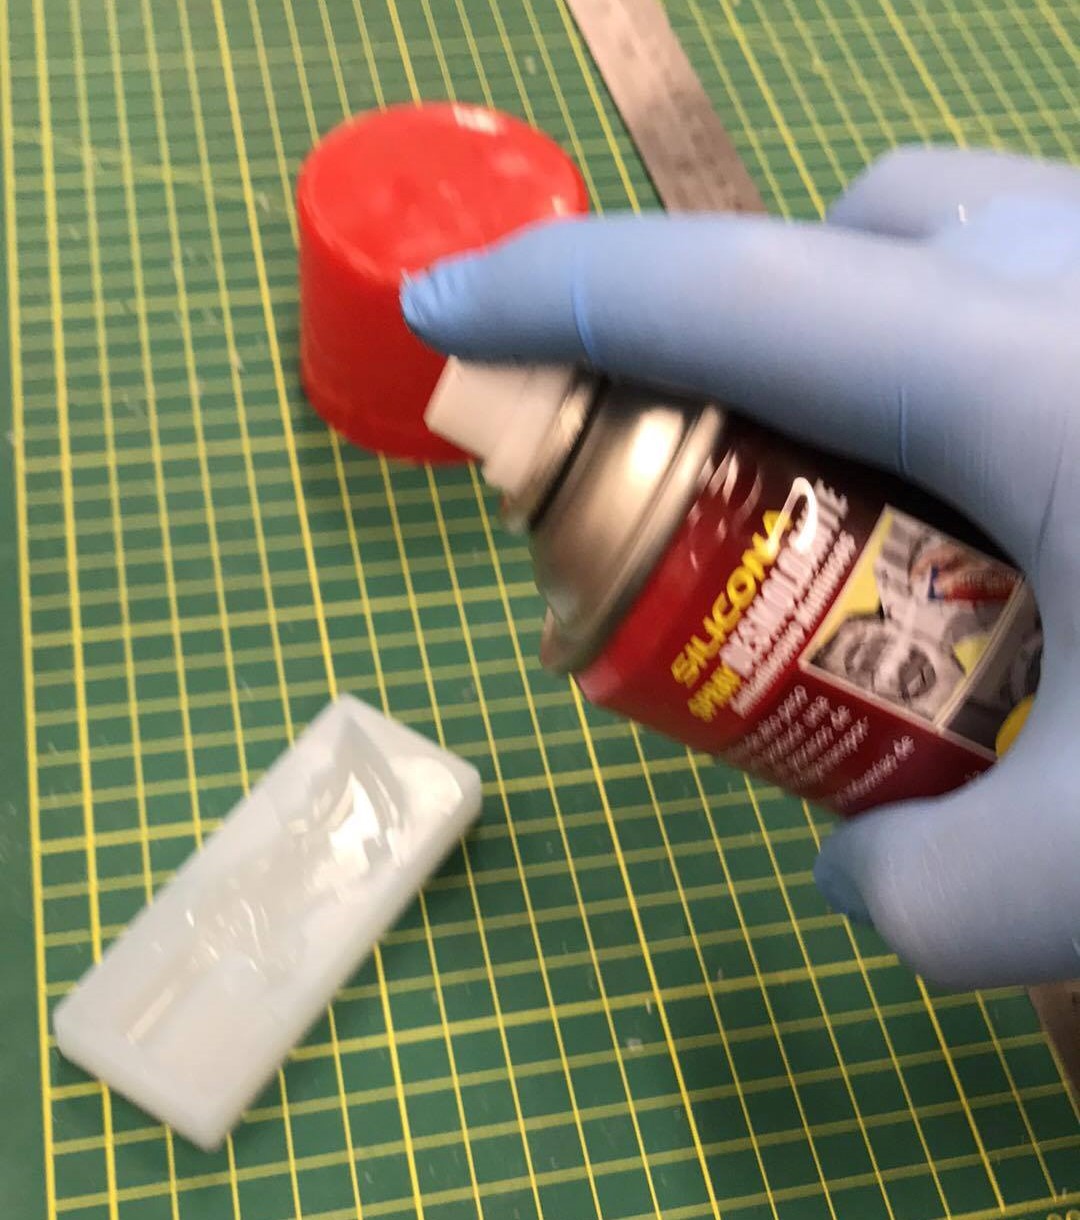
The material used for the third casting was polyester resine crystal, this material needs a catalyst and spray for the mold
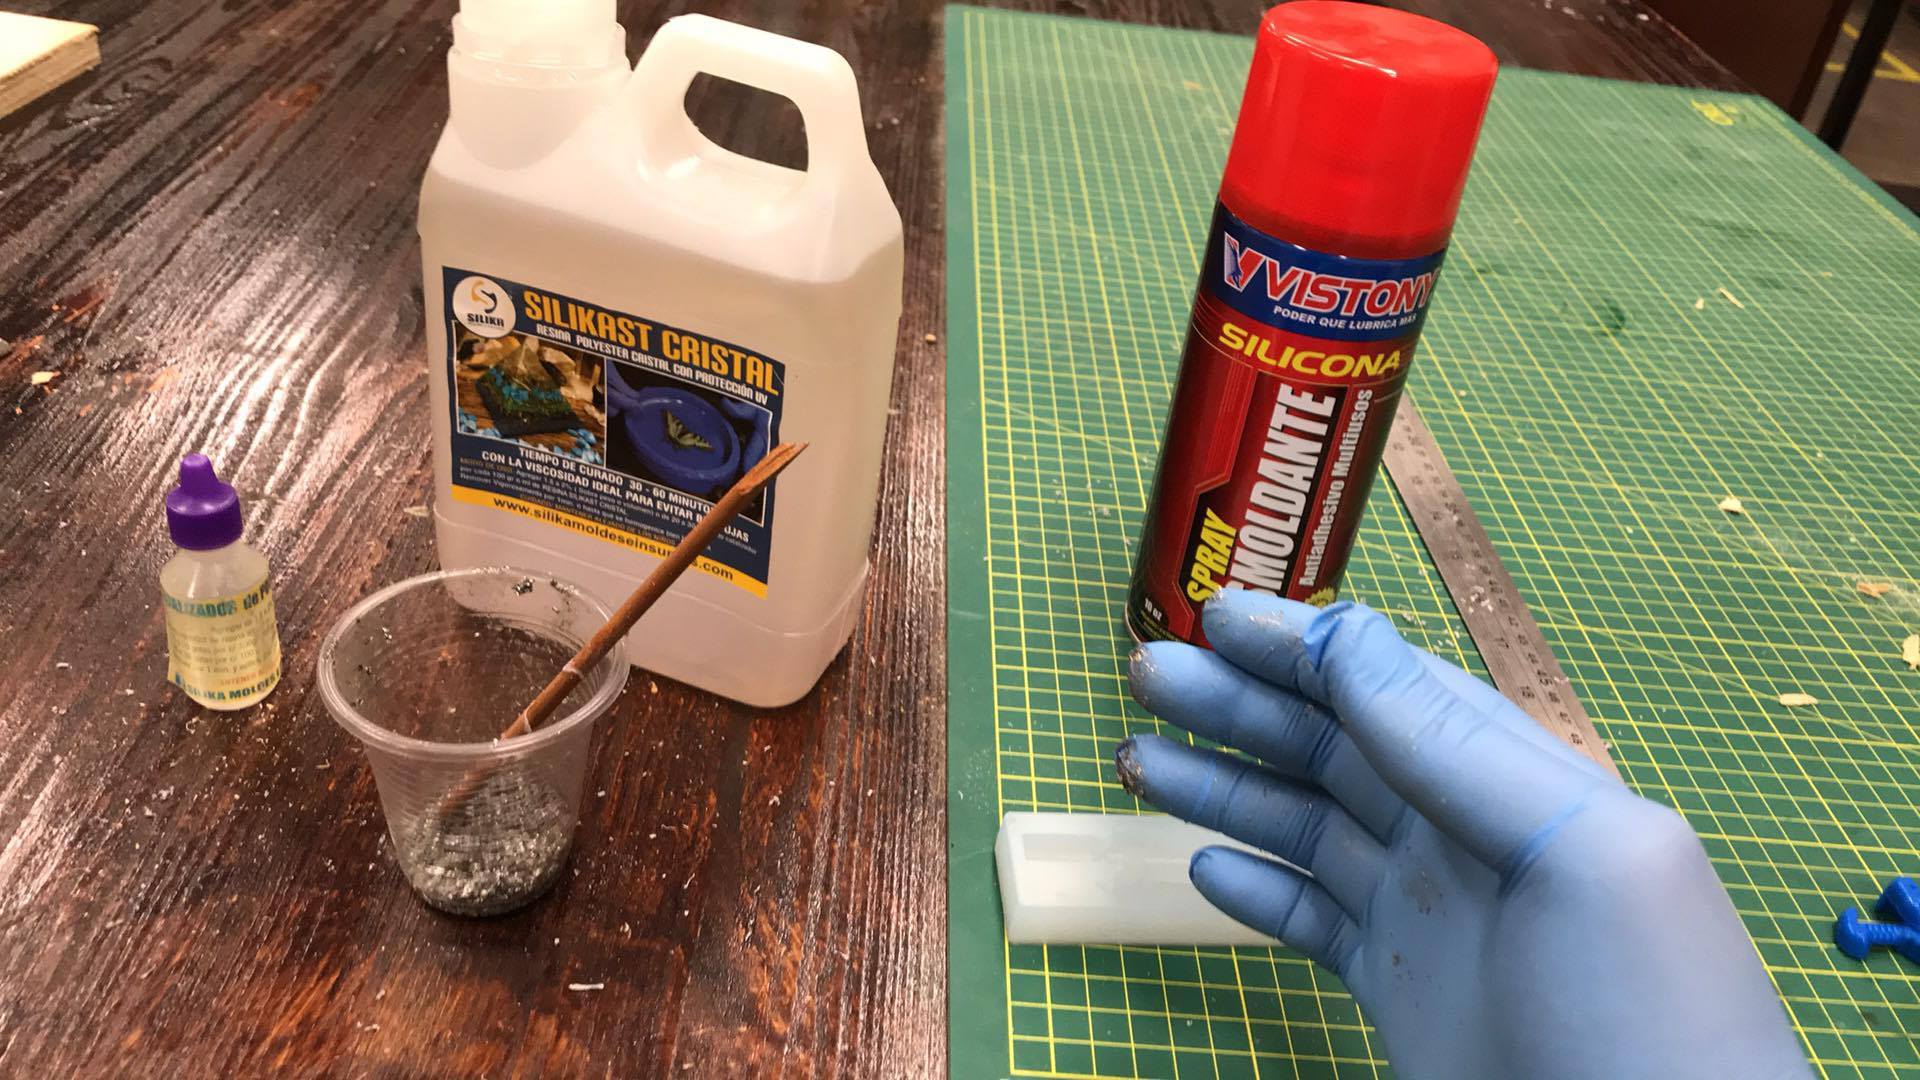
Applying spray
I mixed the material with aluminum trash i found in the lathes
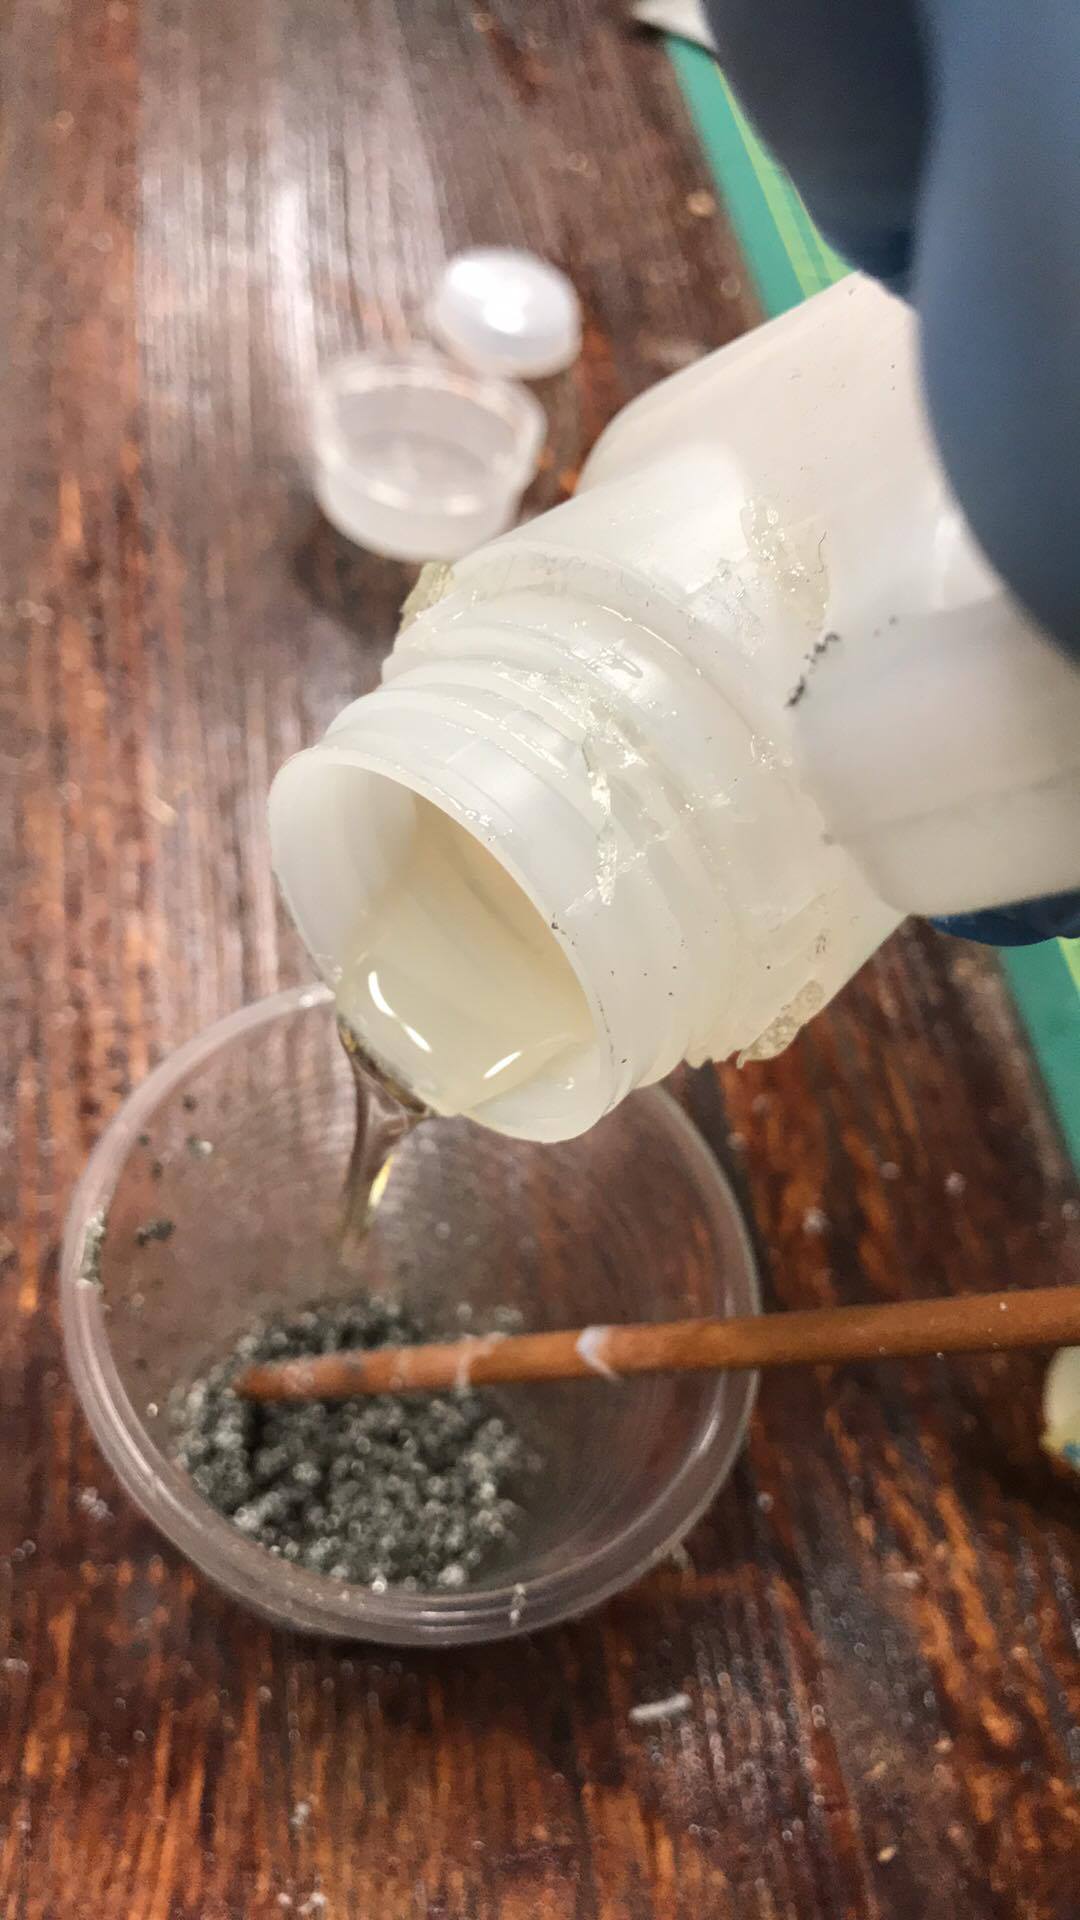
Add catalyst in proportion to 20 drops per 100 grams, I subsequently experienced that if more catalyst is released the reaction happens faster
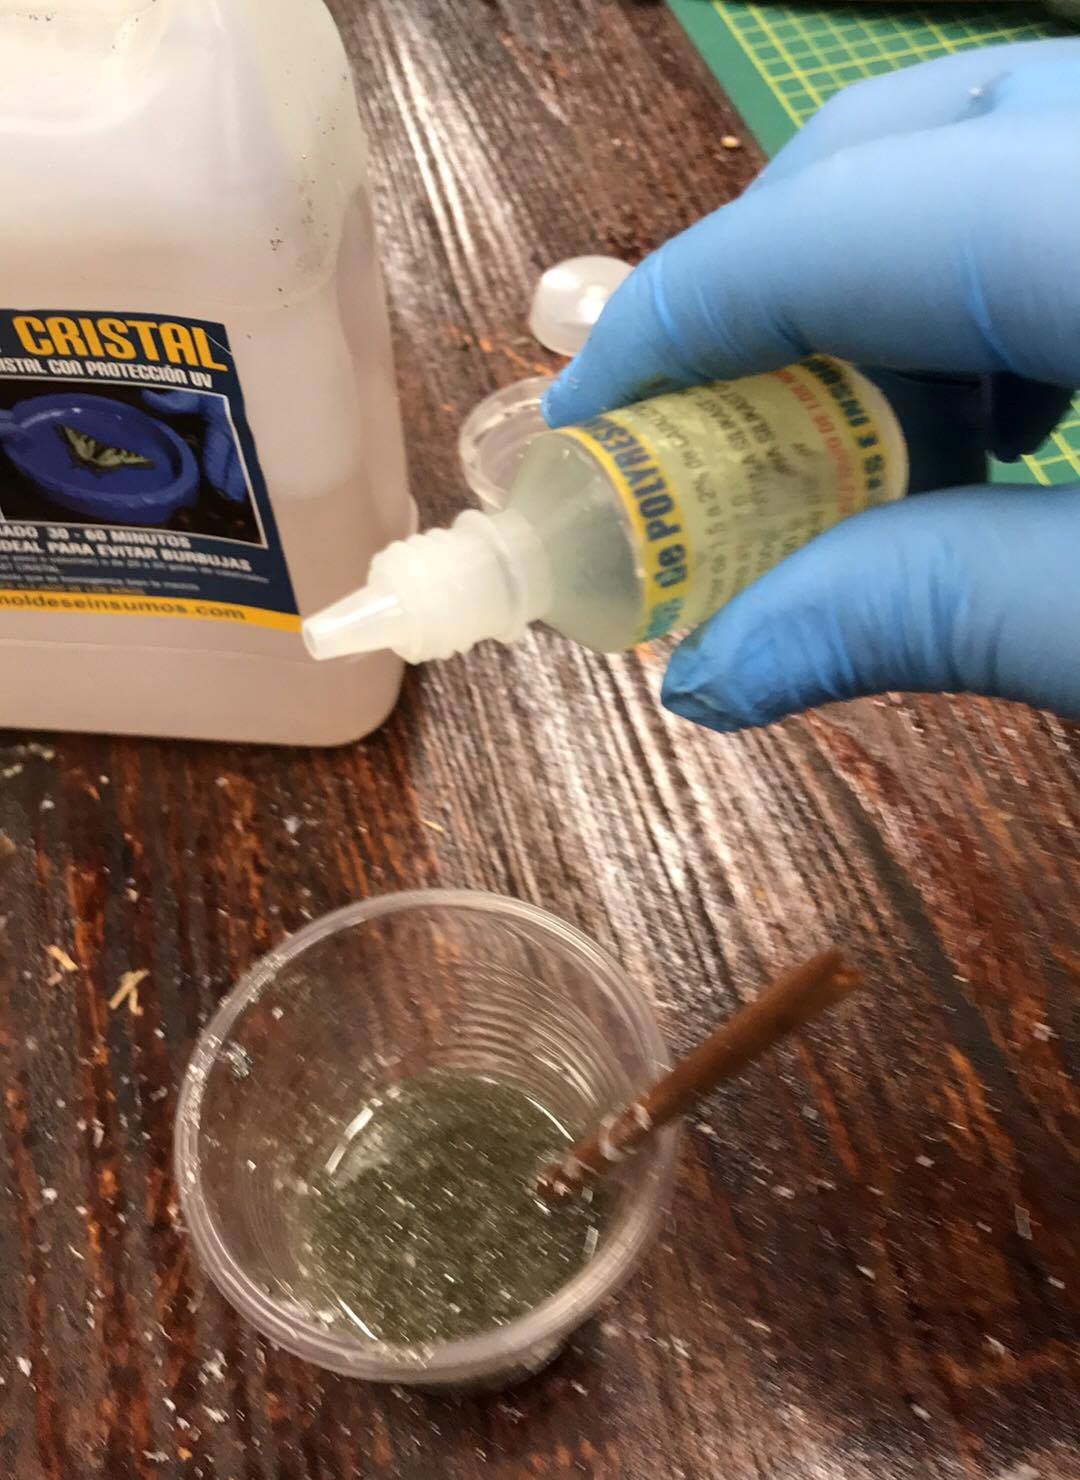
Mixing
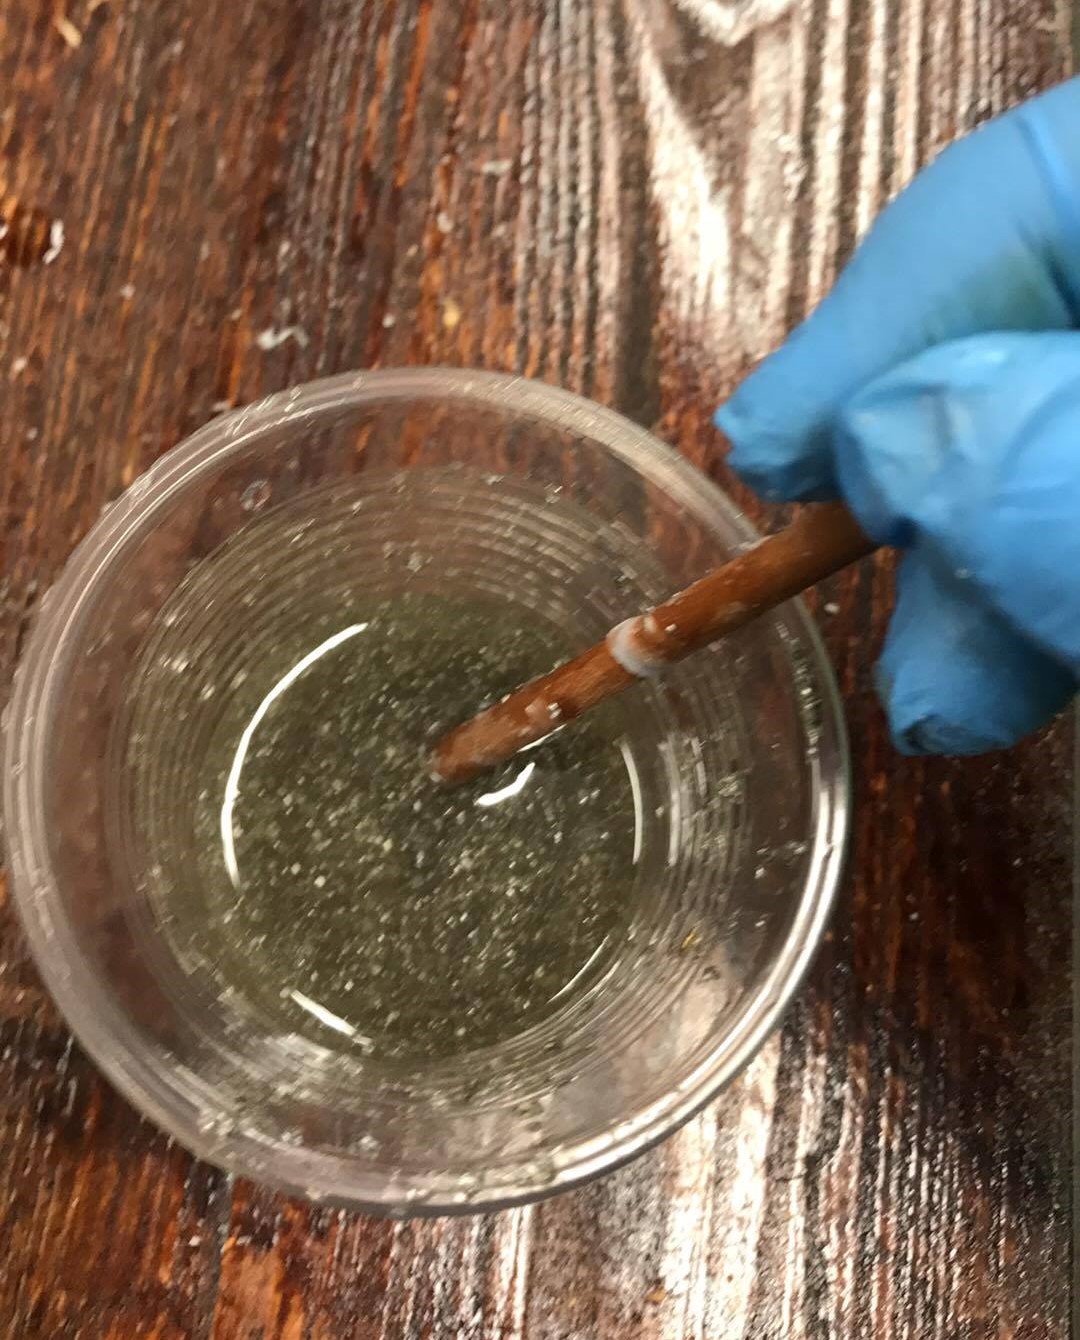
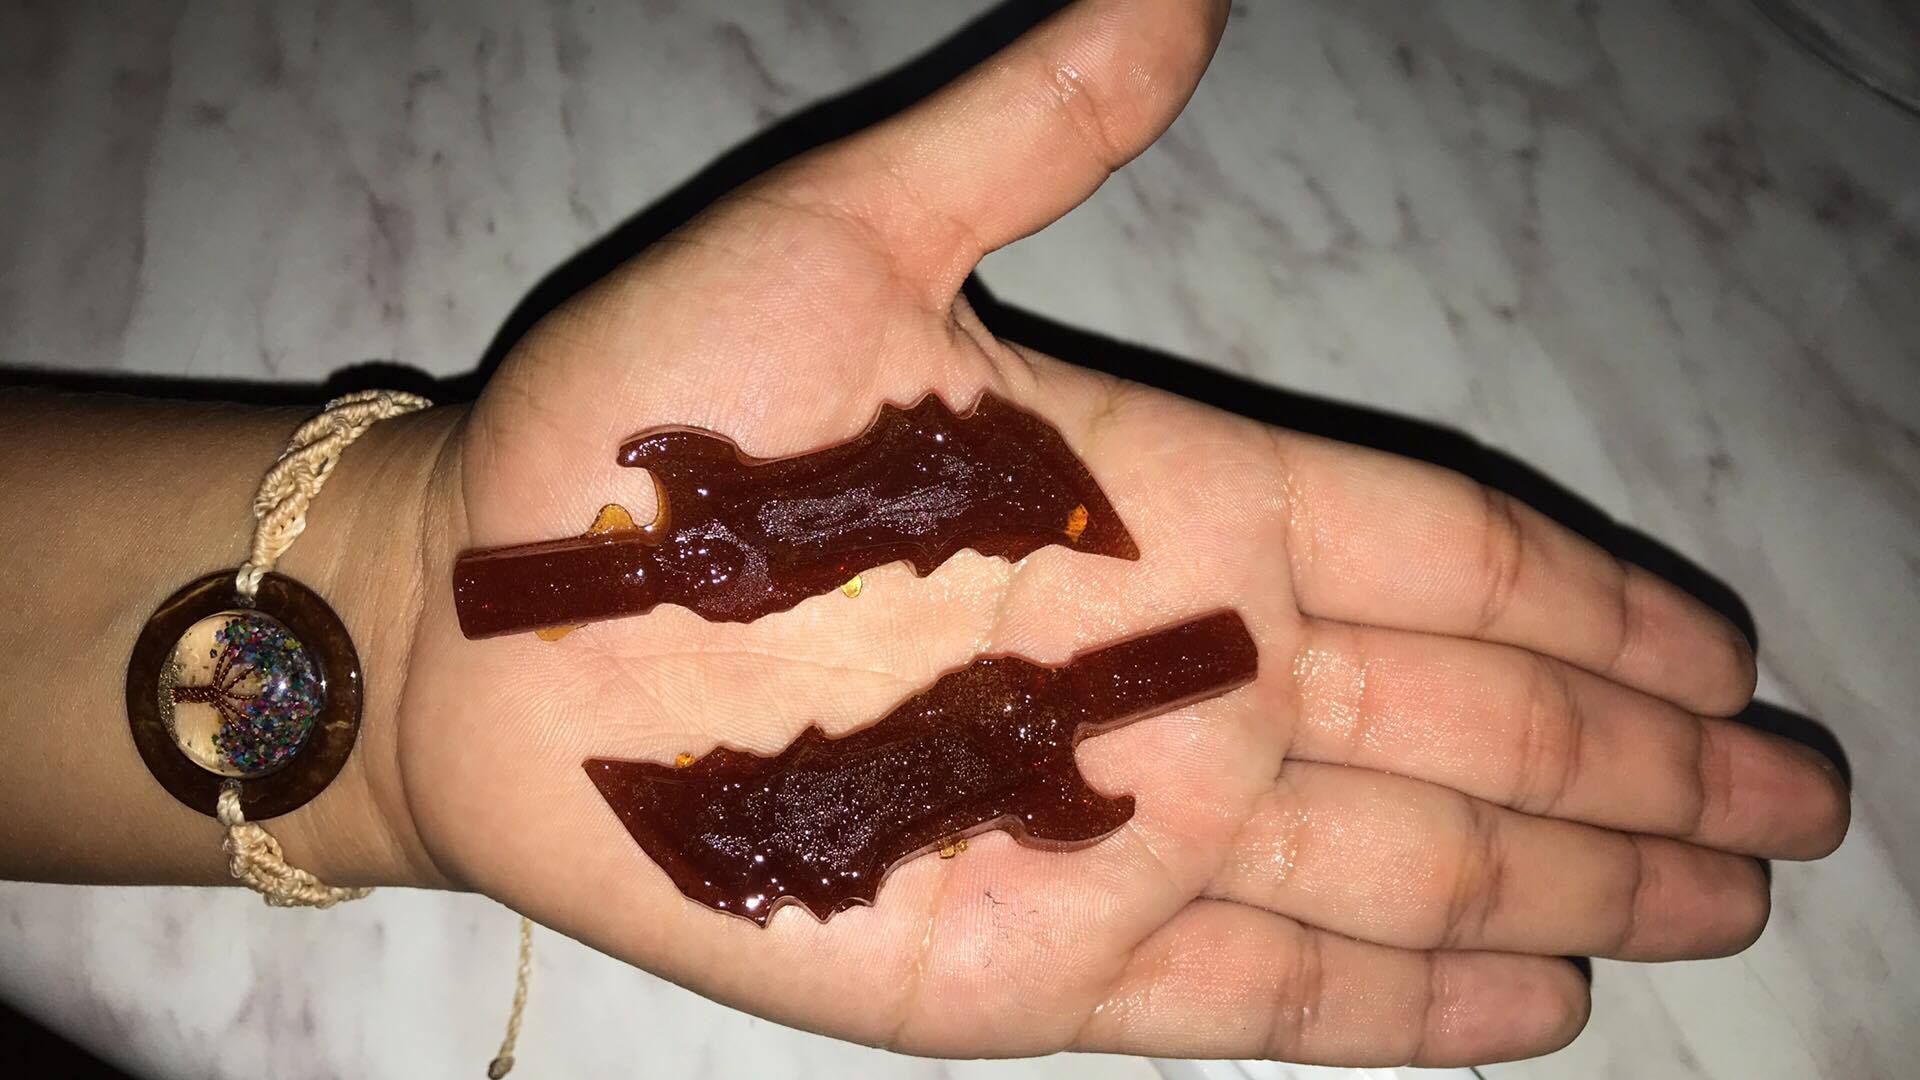
Result
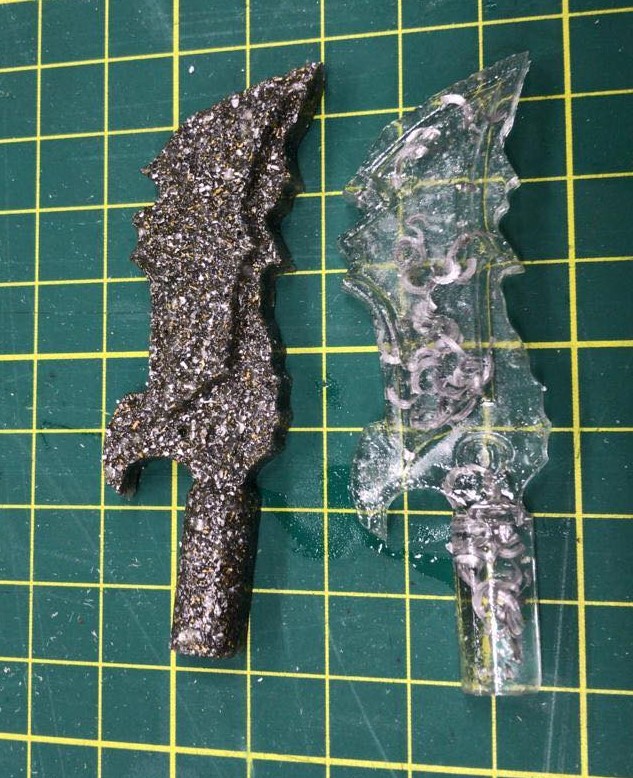
All my castings
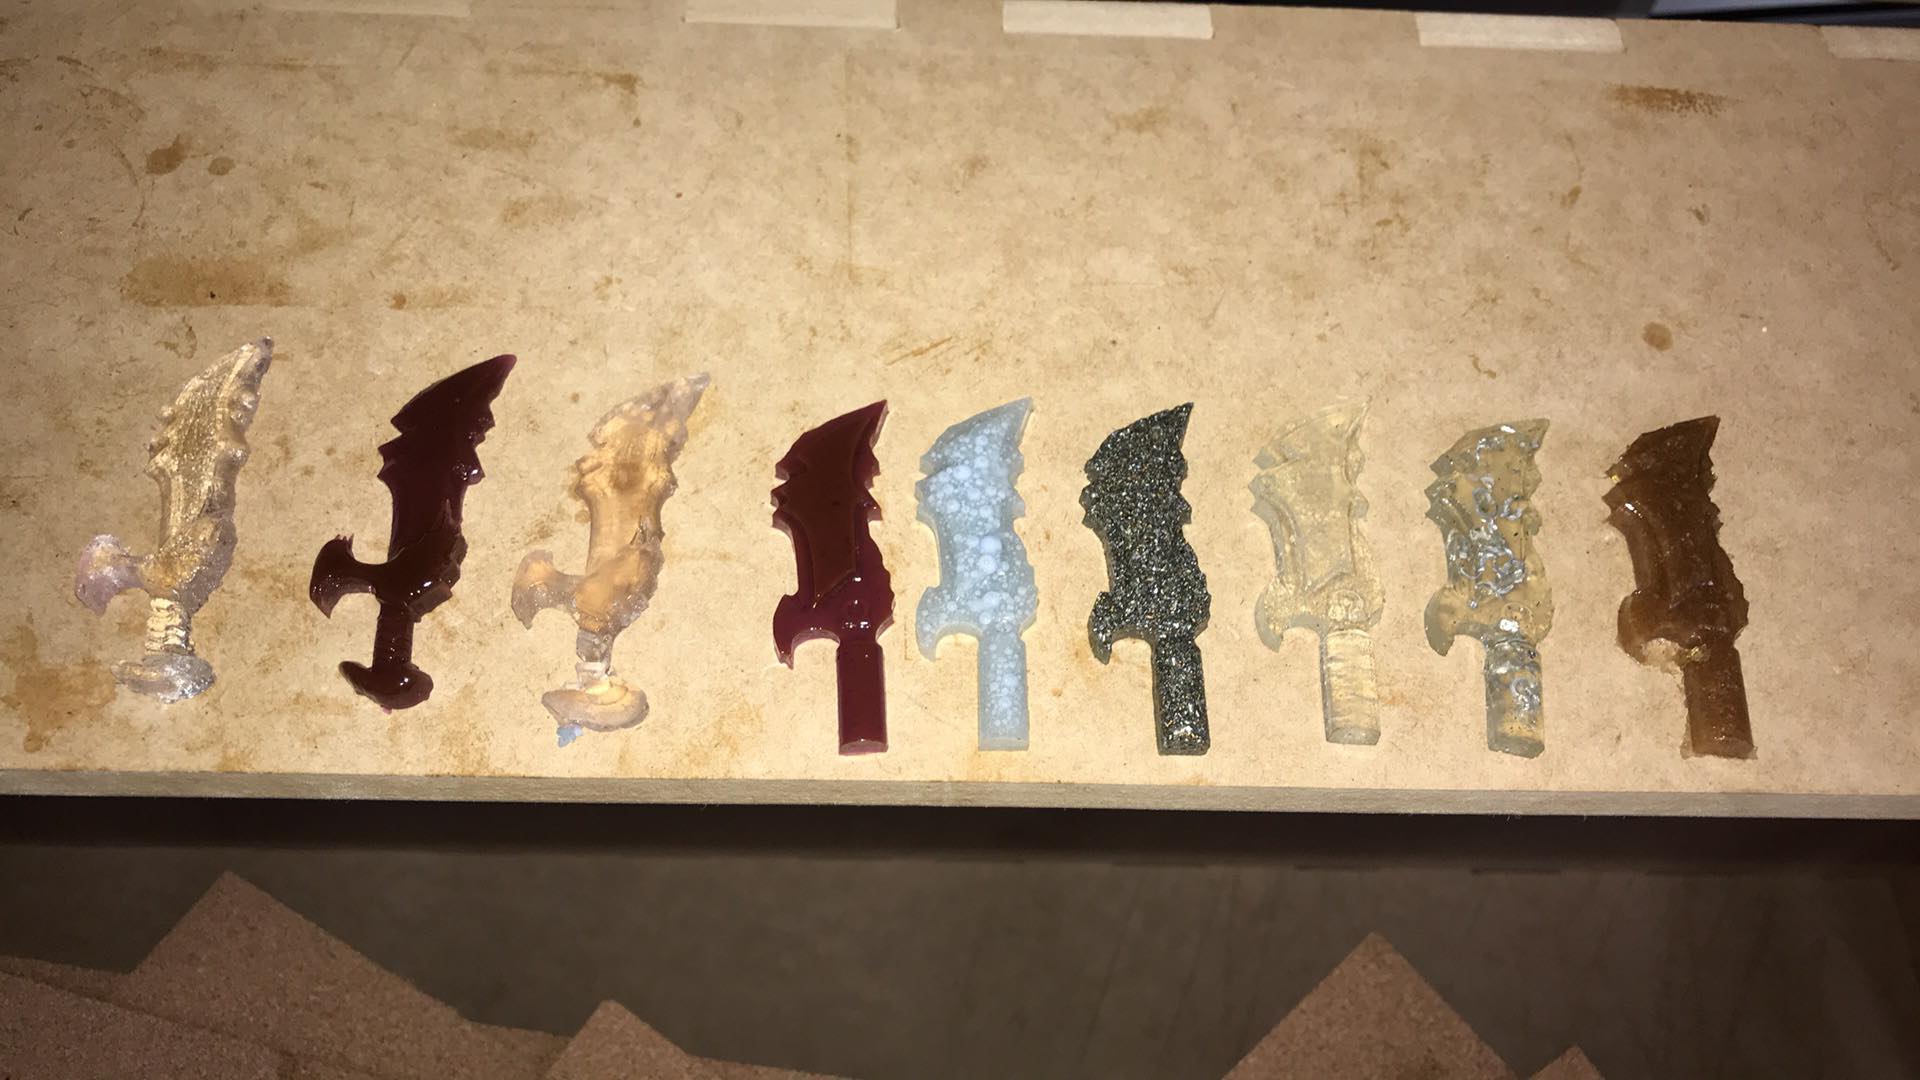
After experimenting with different types of resin I concluded that the polyester resin is the one that gives the fastest results, due to the catalyst that is used, the more quickly the exothermic chemical reaction takes place, but we must be very careful because can be hardened immediately if a lot is thrown, also releases heat so you have to keep the mold away while the reaction happens.
I could work with various binder materials such as aluminum chip, brass, inks, mdf powder.
Highlight the materials with what is combined but in itself the color is opaque.
On the other hand, the epoxy resin has a much longer curing time, between 8-12 hours, but it has great transparency and few bubbles, making it ideal for the week of composites.
Besides being the least sticky.
Group assignment
My personal contribution for the group assignment was design a 3D model and print it to make mould and castings.
Second 3D model printed
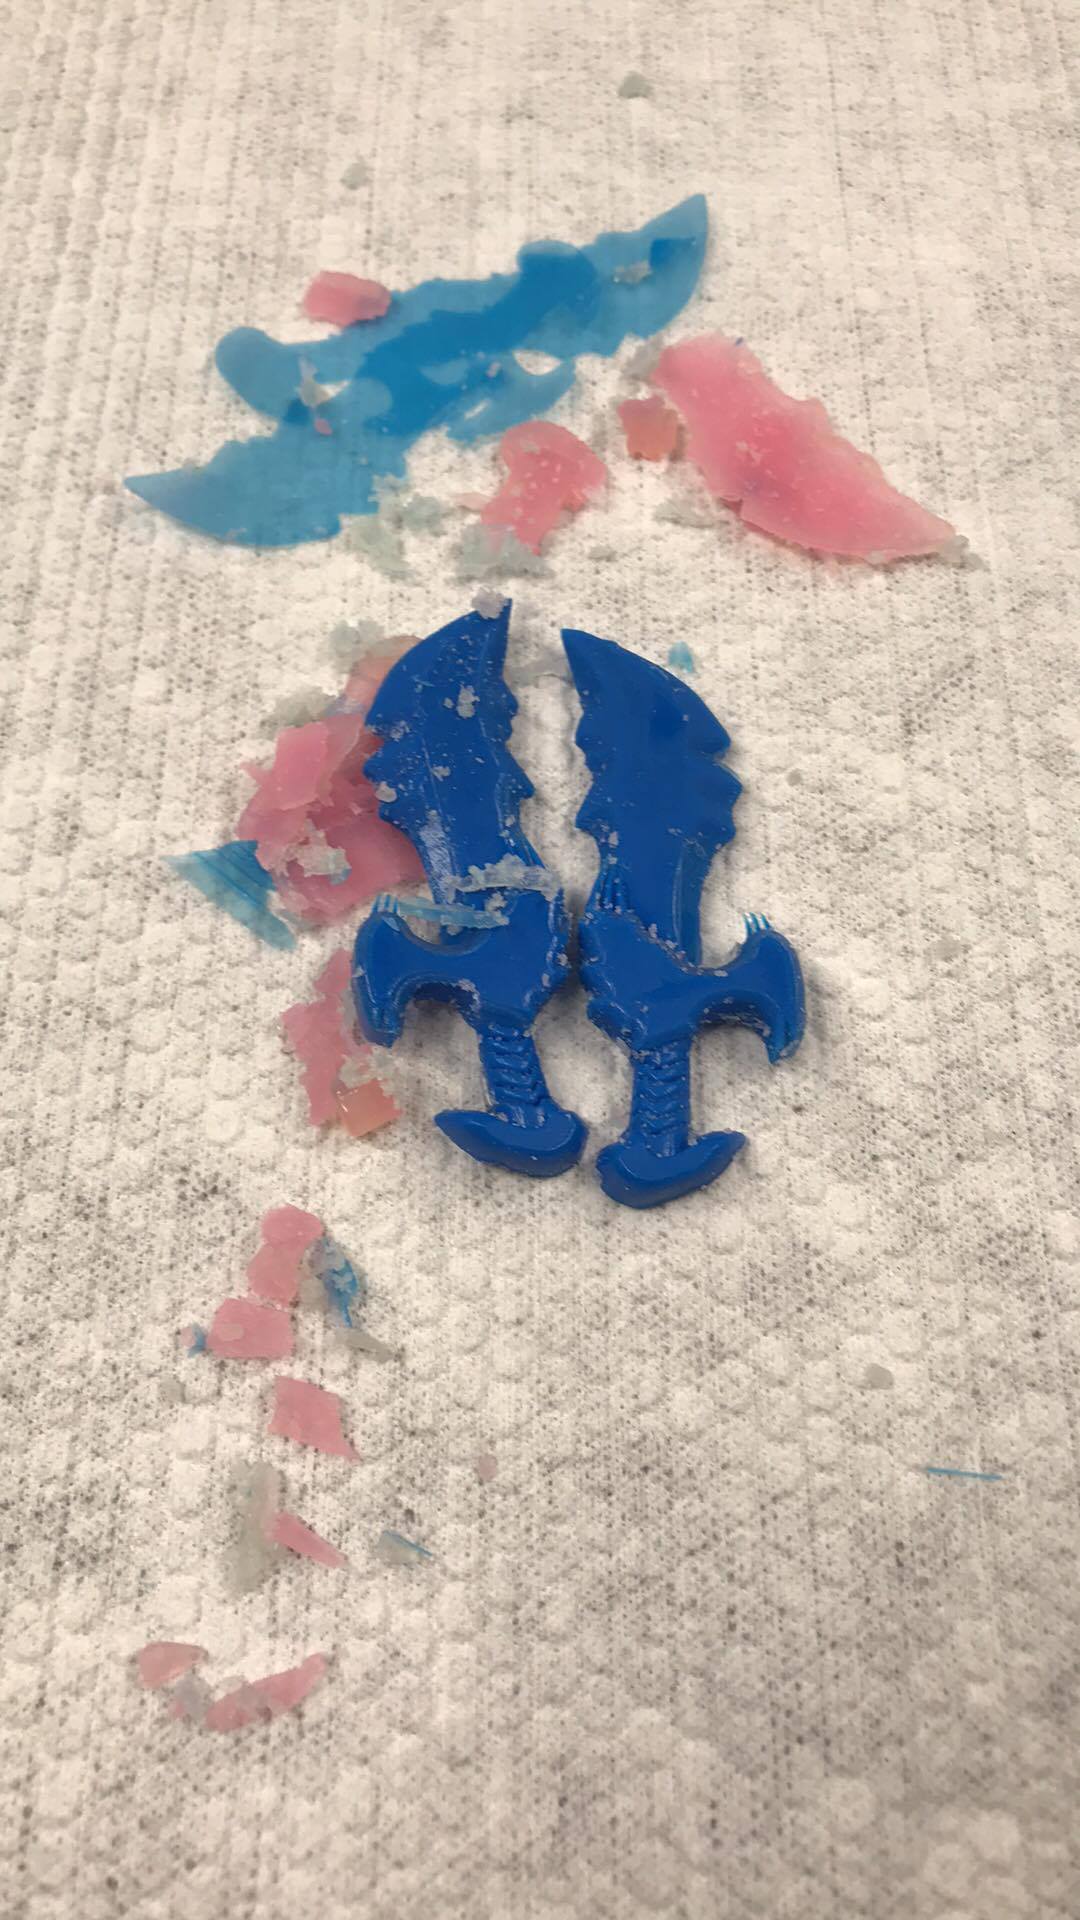
I had to print 2 small boxes for the moulding, this time i used silicone rubber

Casting new materials
Almost finished
You can seee the difference of the level detail
Also, we made a mould of cast becuase we wanted to do a metal casting
Downloads
Blades of chaos InventorBlades of chaos Rhinoceros
Blades of chaos Rhinoceros STL
Blades of chaos Inventor STL
To see the complete development of the group assignment visit the following link that corresponds to the CIT page