17. Wildcard Week
• Individual assignment: Design and produce something with a digital fabrication process (incorporating computer-aided design and manufacturing) not covered in another assignment, documenting the requirements that your assignment meets, and including everything necessary to reproduce it. Possibilities include (but are not limited to) composites, textiles, biotechnology, robotics, and cooking.
Classes
In this week we had some classes about 3D printing with clay, MIG welding and composites with wood bending.
I attended to the welding and to the composites classes.

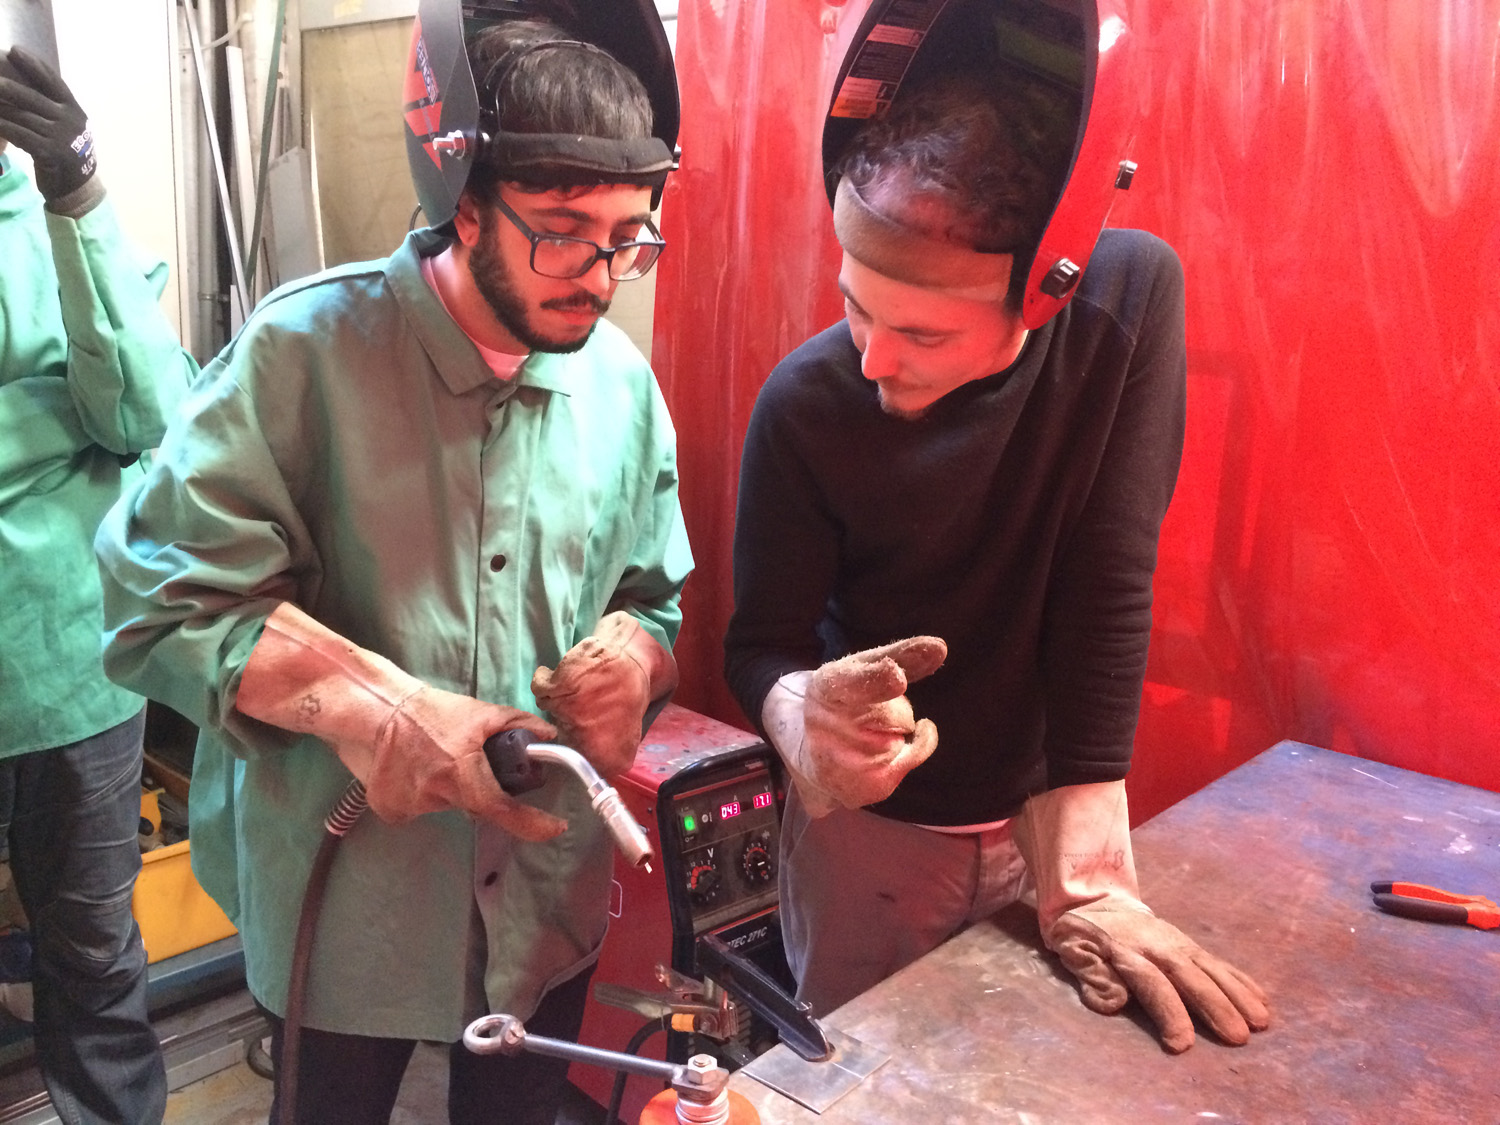
MIG Welding
Mikel, the lab manager, was our instructor on this class. He showed us some important safety precautions and procedures, besides the settings of the machine for each thickness of steel and how to proper weld and finish our pieces of steel.
The technique is a mix of patience and hand steadiness. You start with 1cm of the material out of the end and pull the trigger doing some back and forth movements to have a good weld. After this you have to grind until you polish the joint.
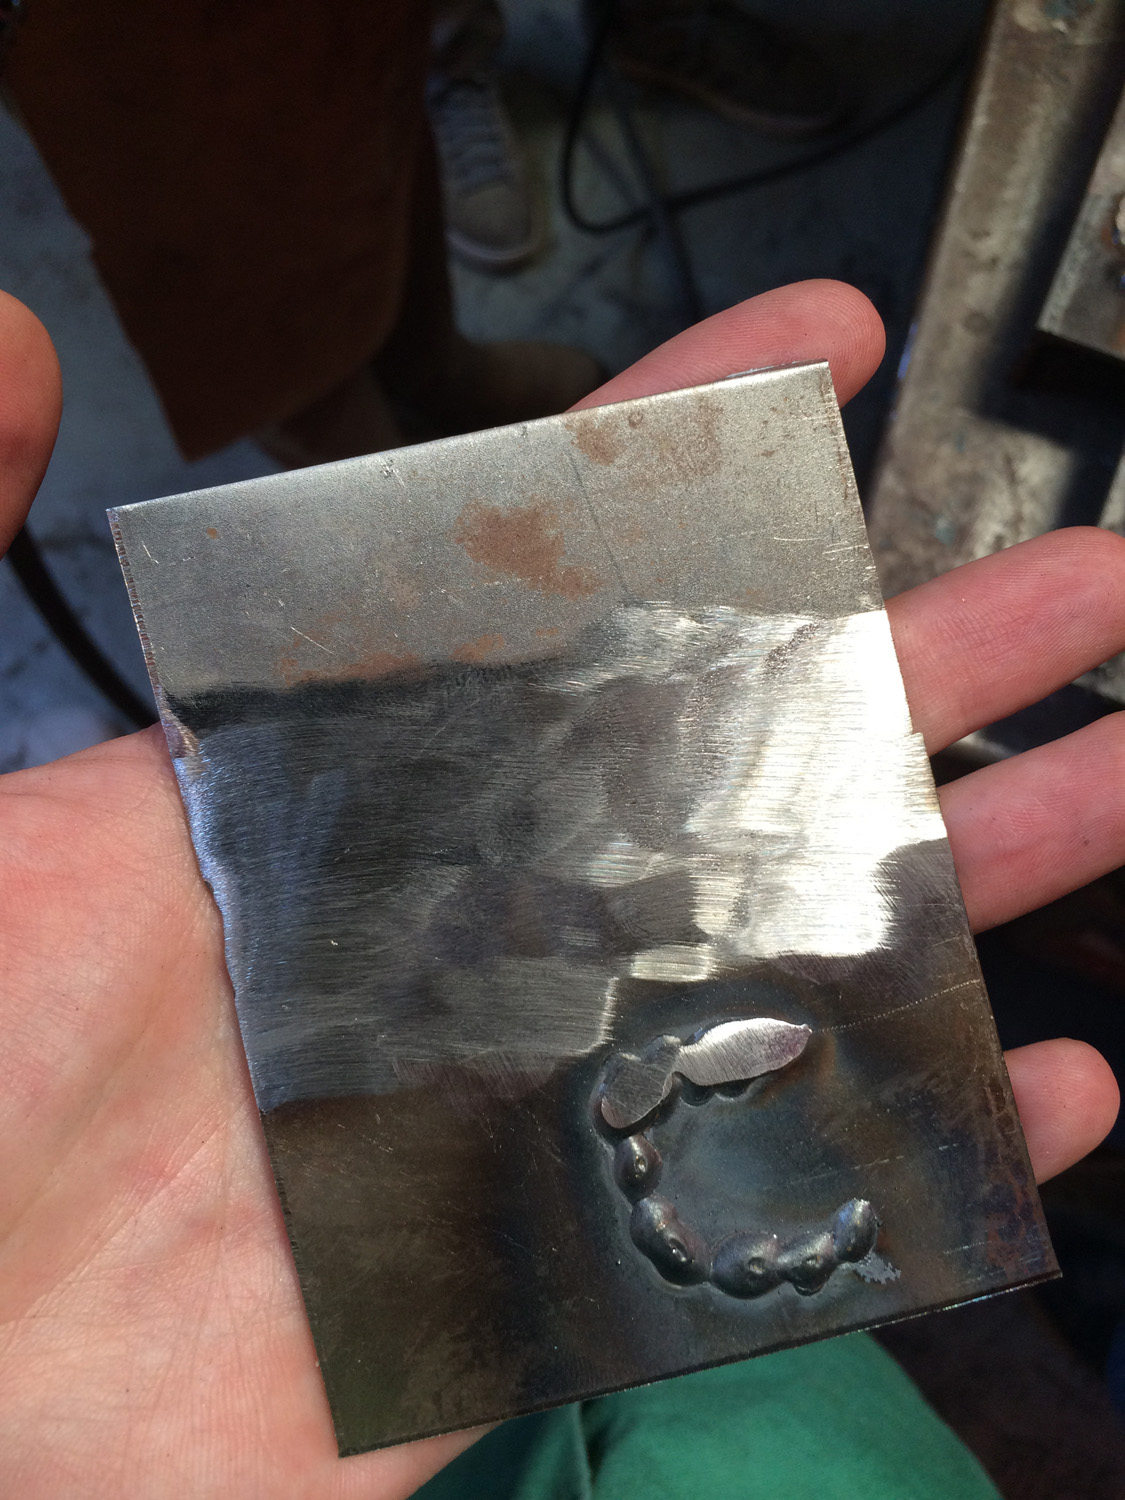
Here on the image below you can see the welded joint after grind and below some welding tests without grind.
Composites with wood bending
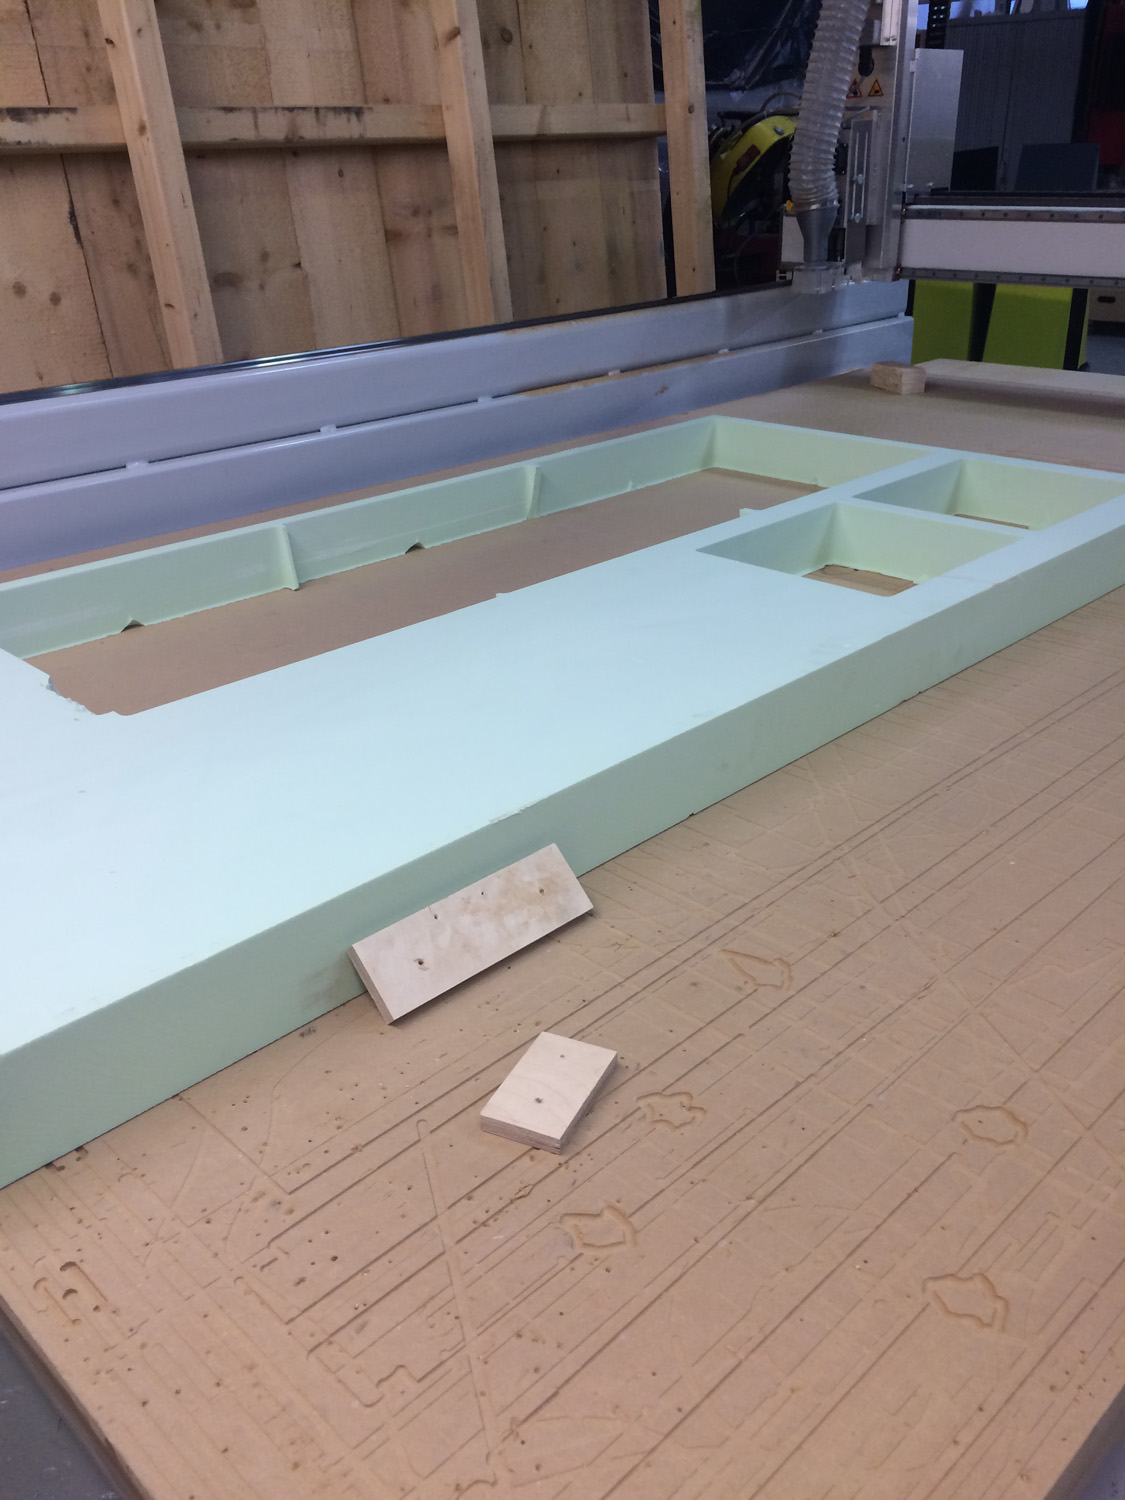
Edu showed us the process of making a long board deck with the proper curves and concaves. First he gave some quick tips on how to design it on Rhino and then we made a model to cut the mold in foam.
We used a 3D machining strategy on RhinoCAM and took the file to the ShopBot.
To secure the piece of foam we used double sided tape and some wood blocks.
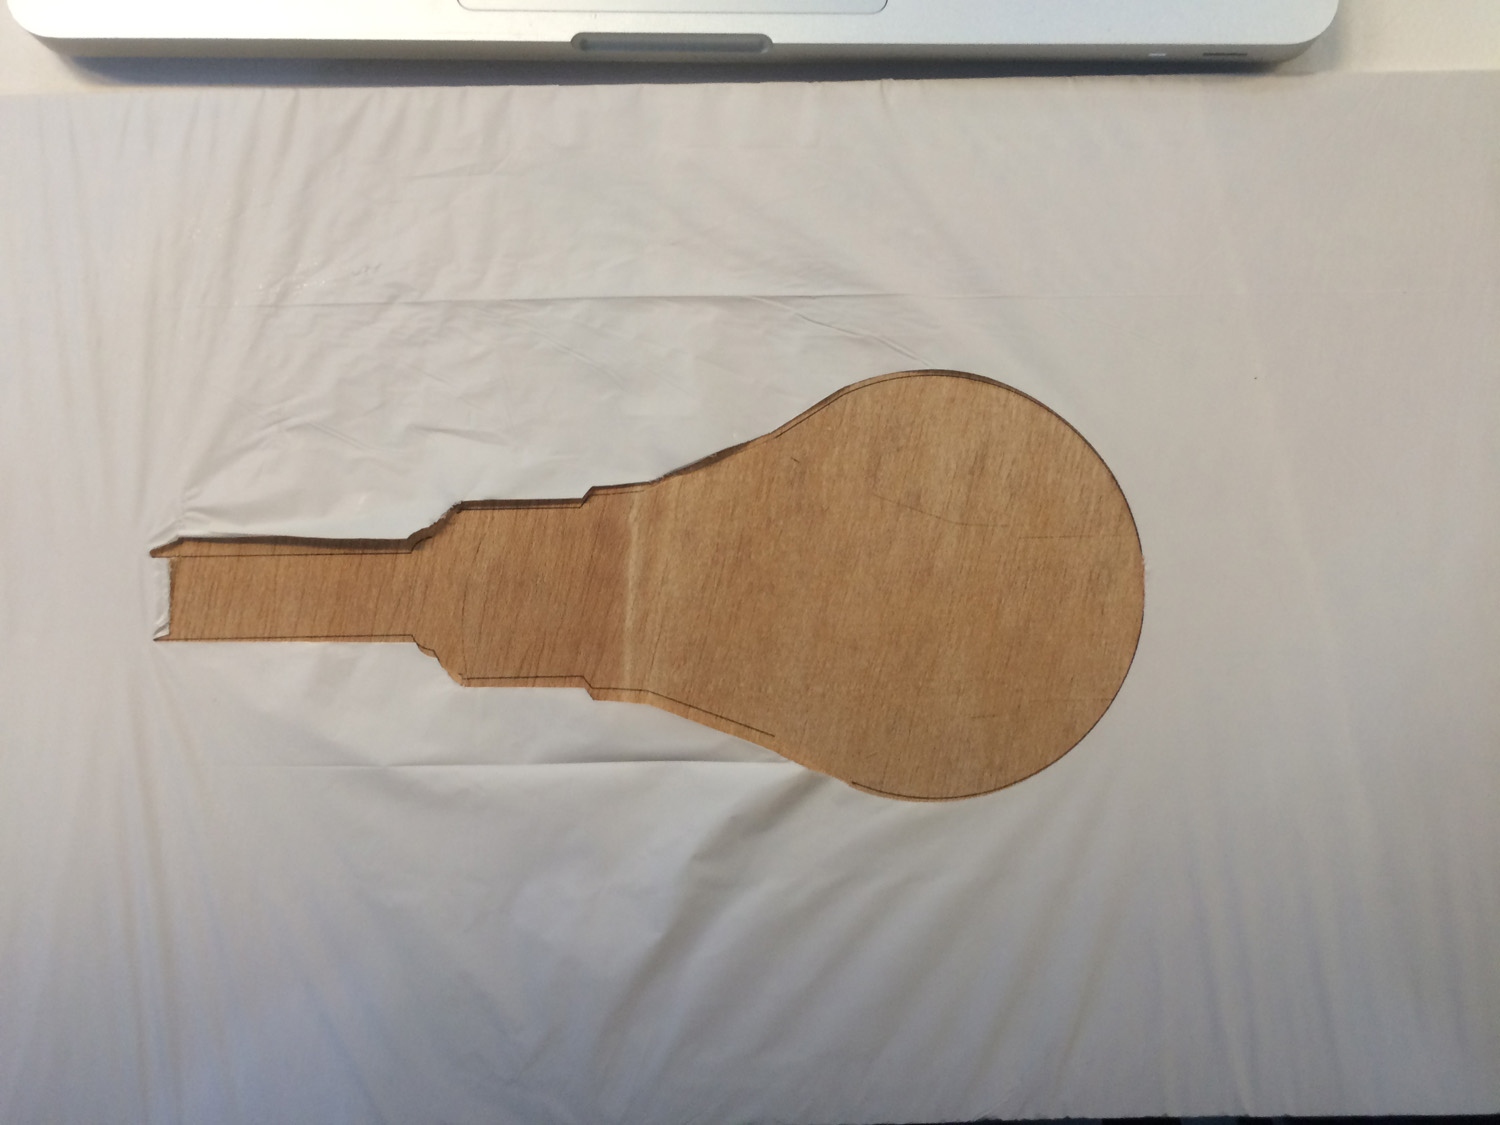
Meanwhile we laser cut the flexible plywood with the deck’s shape. It was my first time using the big laser machine (400w!) so Mikel and Santi showed us how to use it and how to test the parameters in our material.
We cut 4 pieces for our composite:
- 4mm Flexible Plywood x2;
- 2mm Plywood (we rotated this board 90 degrees to make the grains perpendicular to each other);
- Gunny fabric (a.k.a. potato bag’s fabric);

With all the pieces and the mold we started the process of gluing all the parts. We used a epoxy mix really similar to the one we used on the Molding and Casting week but for surf boards, even easier because the parts mix on a proportion of 2:1 by volume.
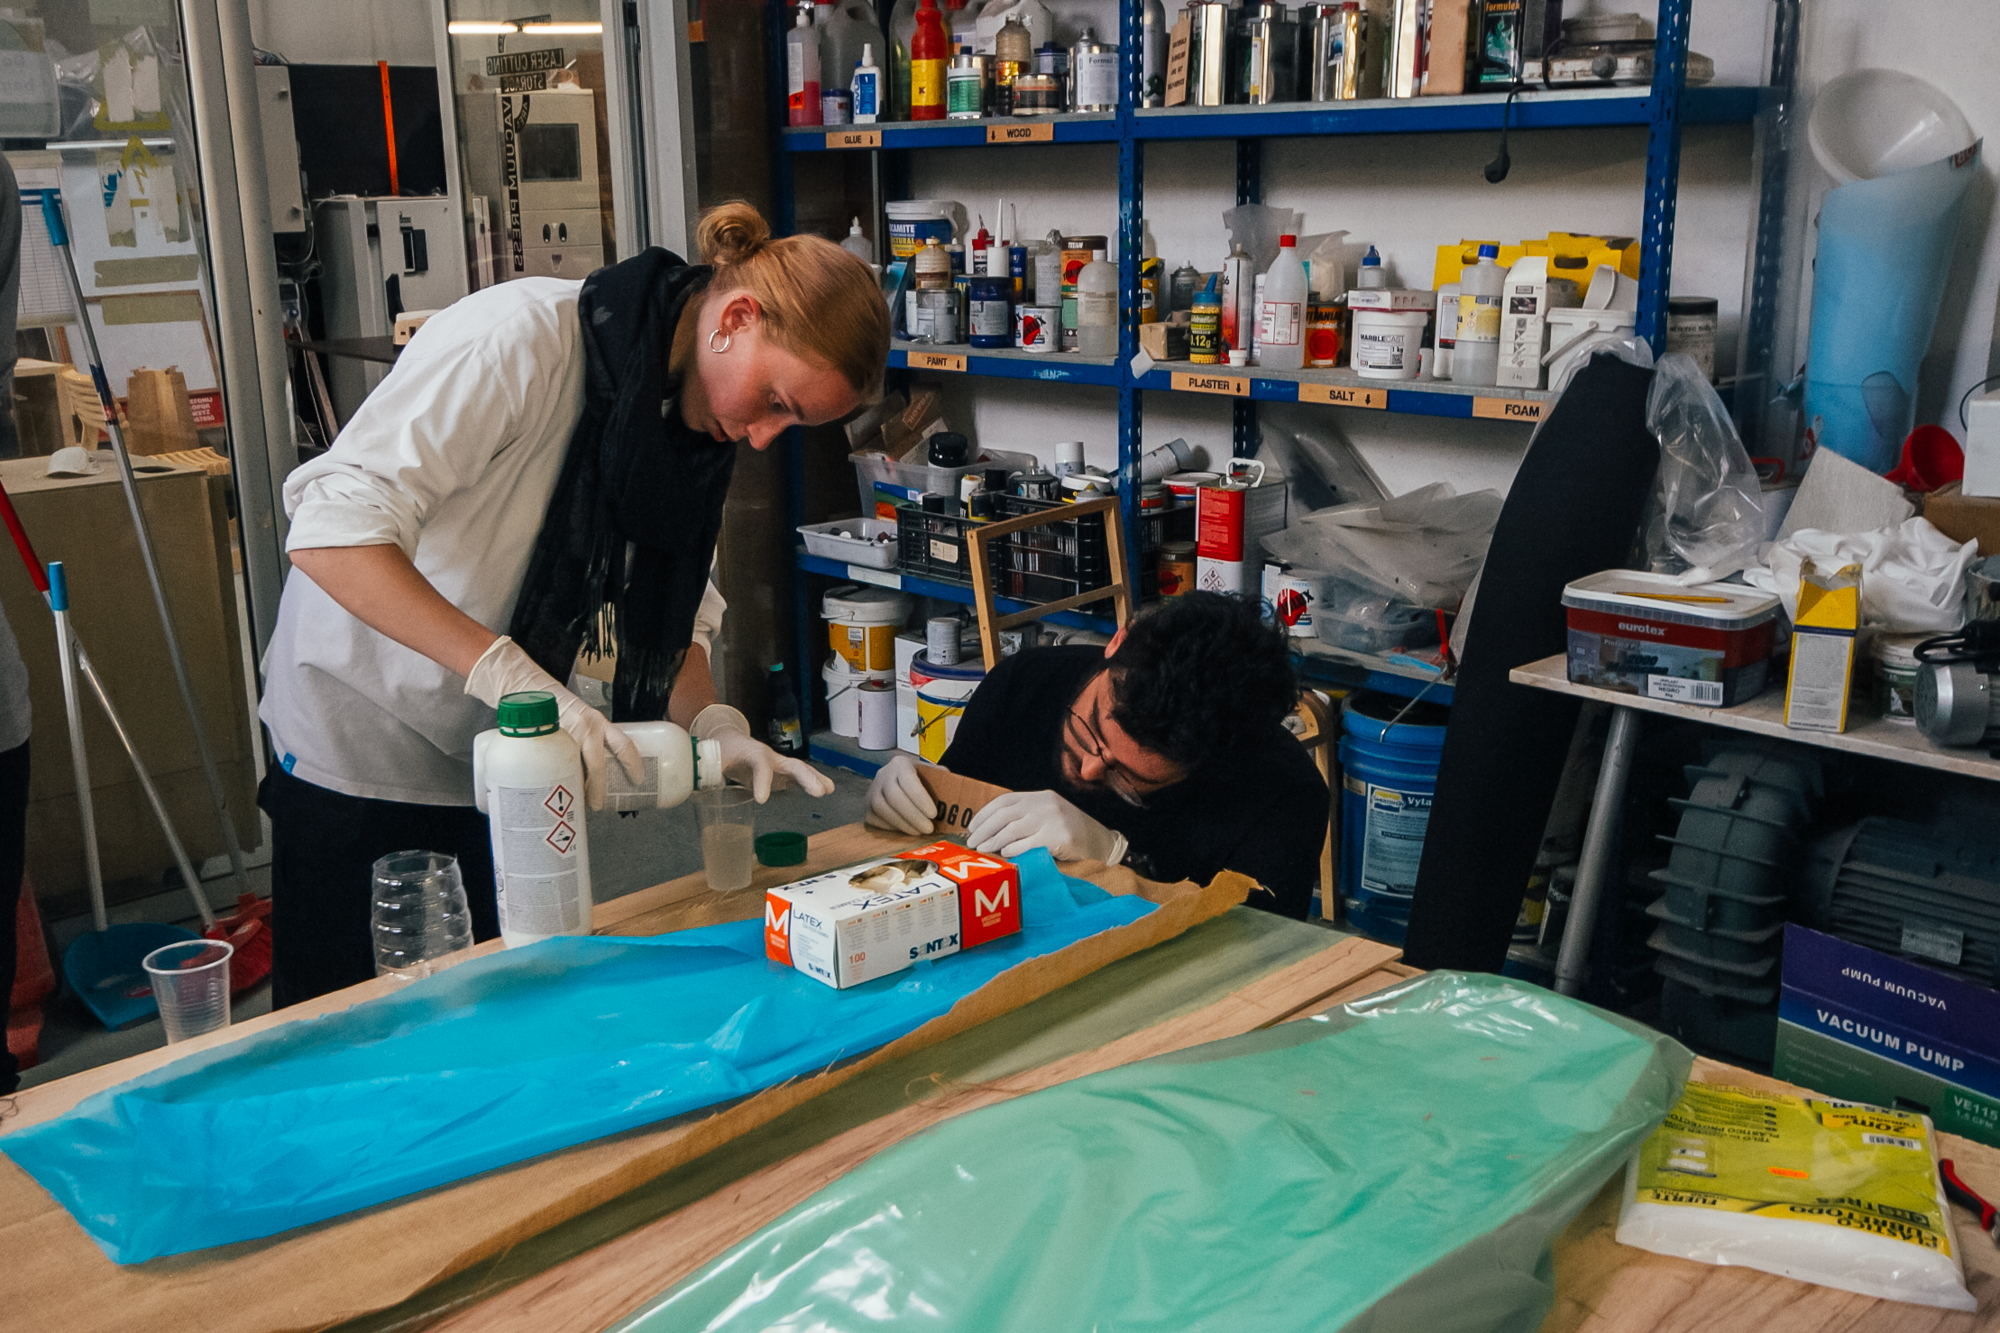
Again, the best practice here is to gather everything you will need and do a test run before mixing the epoxy parts. The pot life on this one is usually bigger but assembling takes time.
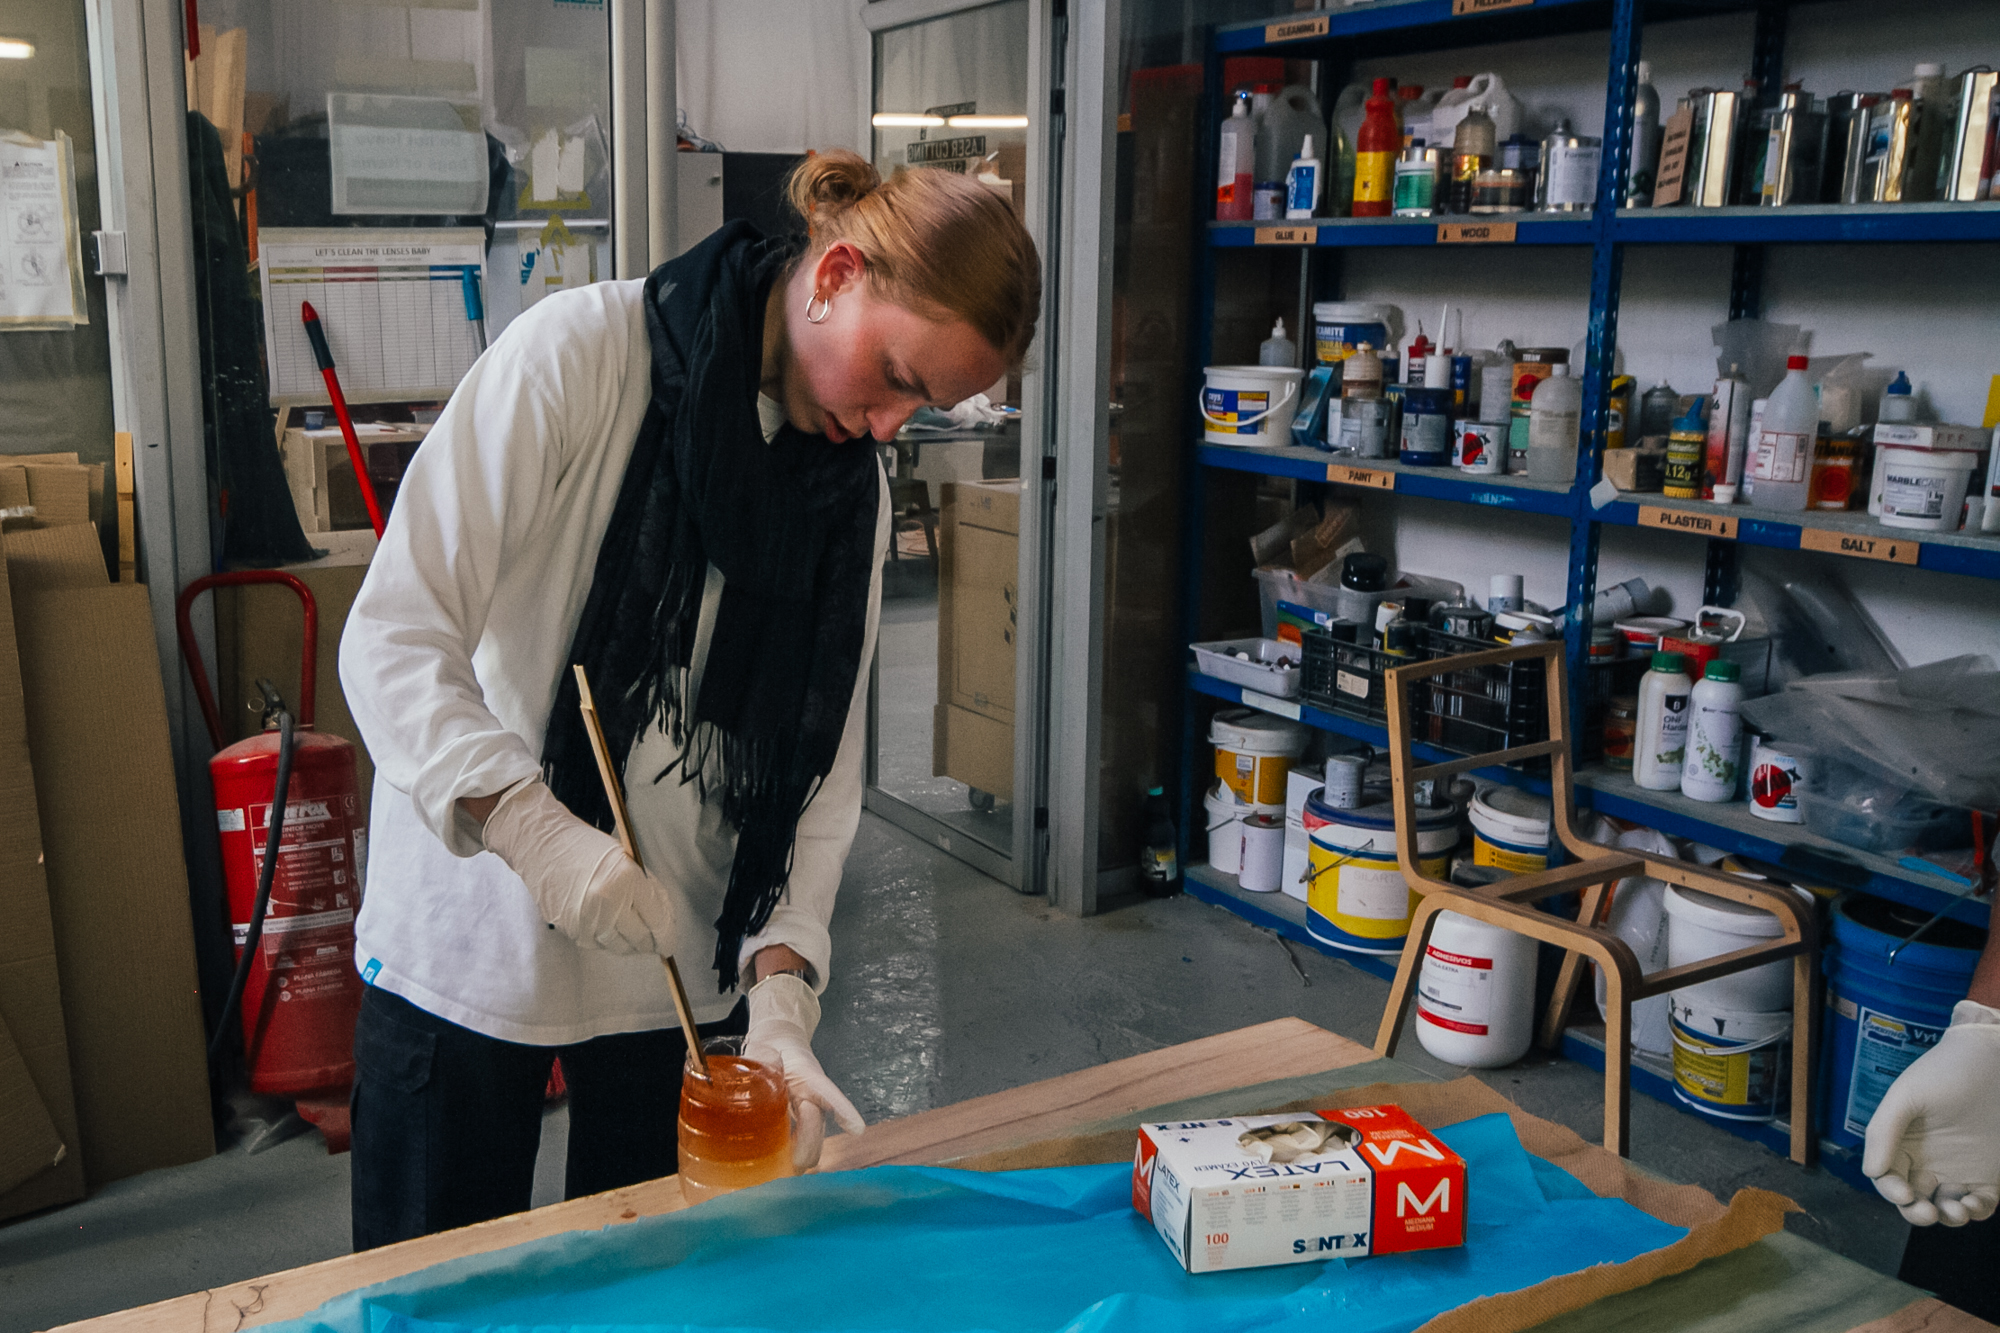
We used a special plastic sheet that has silicone to protect the foam mold then we place the first layer. Now is a matter of brushing the epoxy between the layers of plywood.
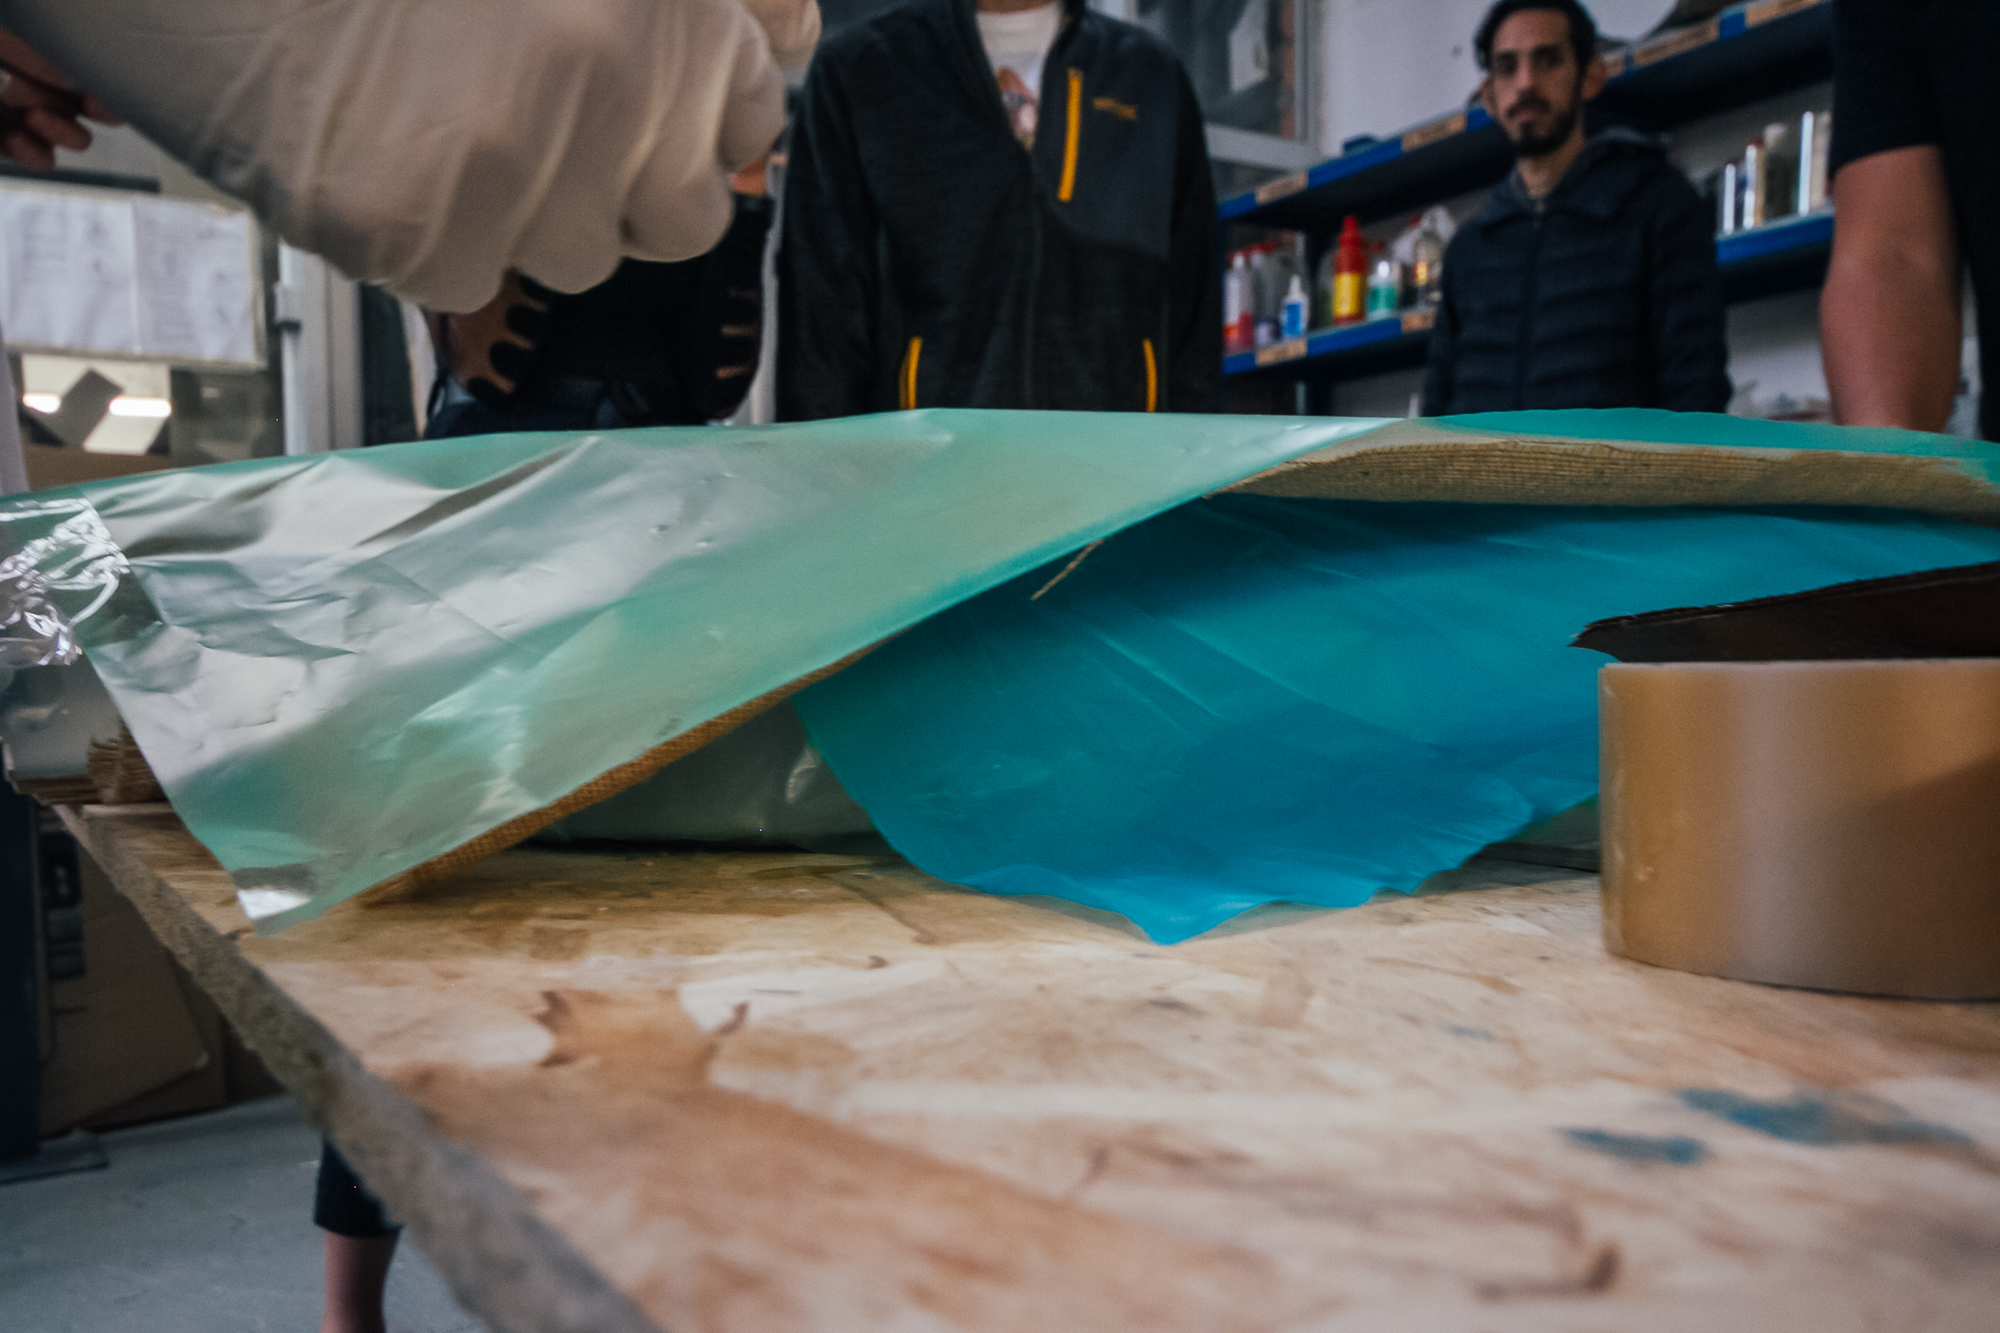
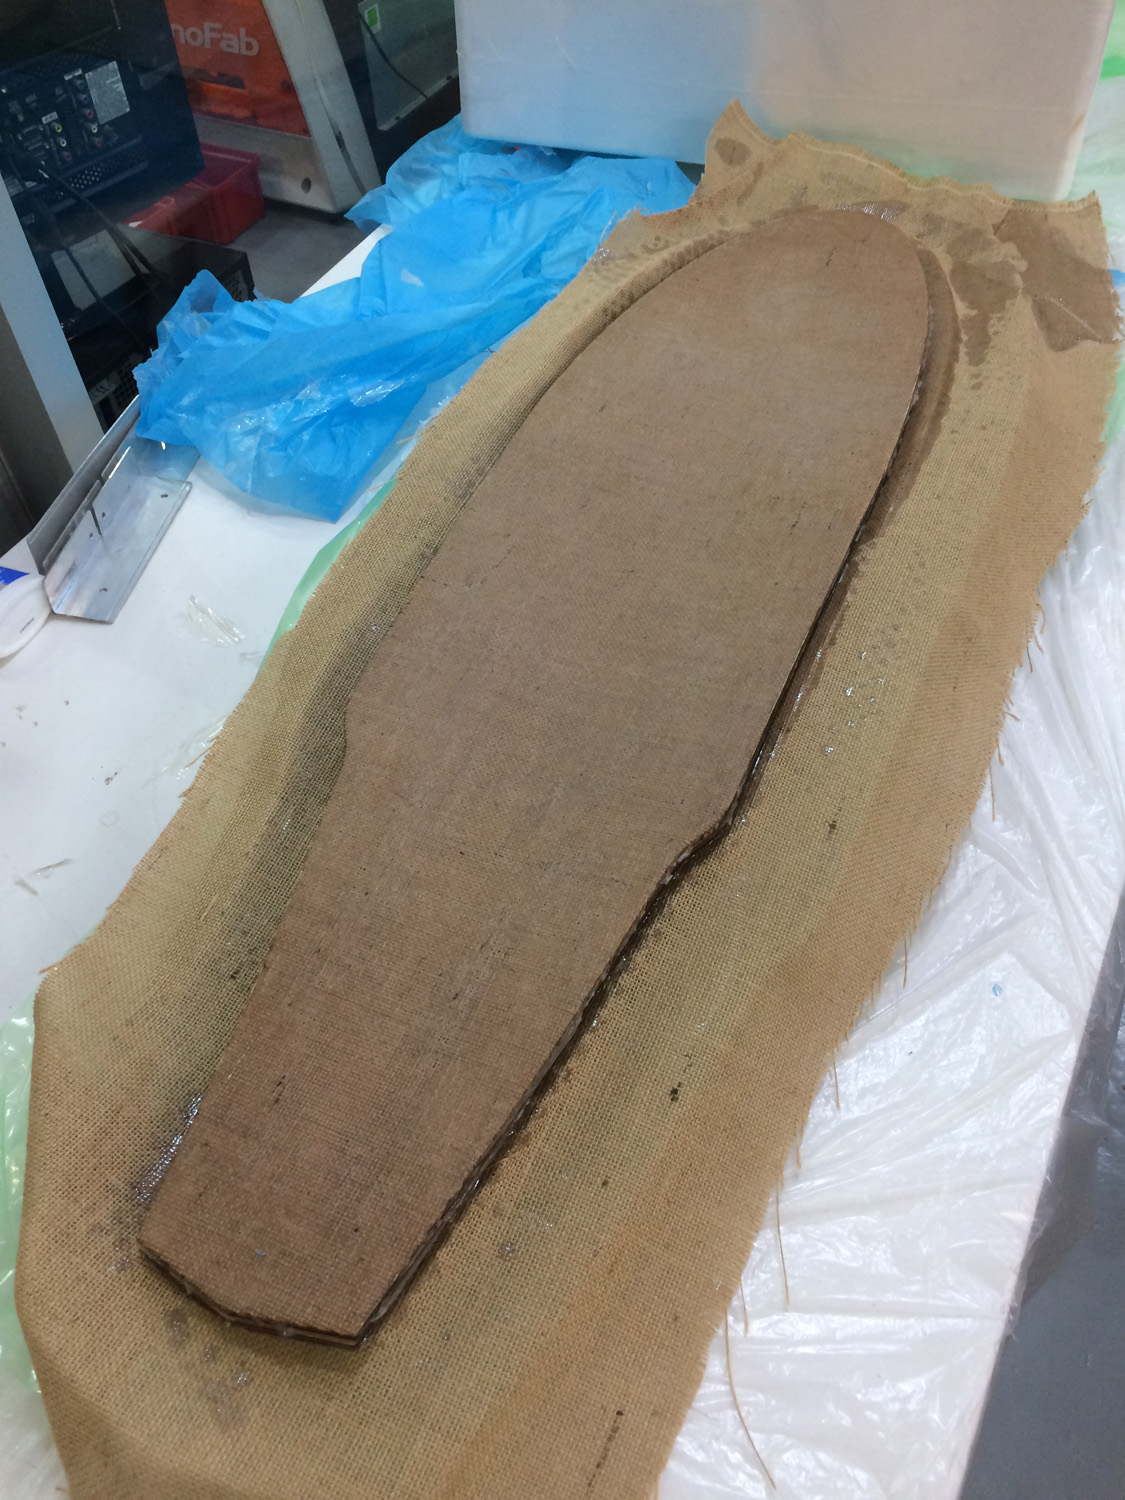
The last wood layer of the board is the gunny fabric that we are using as the grip, after this one we use other special perforated plastic sheet, other gunny fabric layer and the plastic with silicone again to protect the machine.
This last two layers before the protection will work as a sponge to get all the excess of epoxy that will come out after the vacuum forming machine.
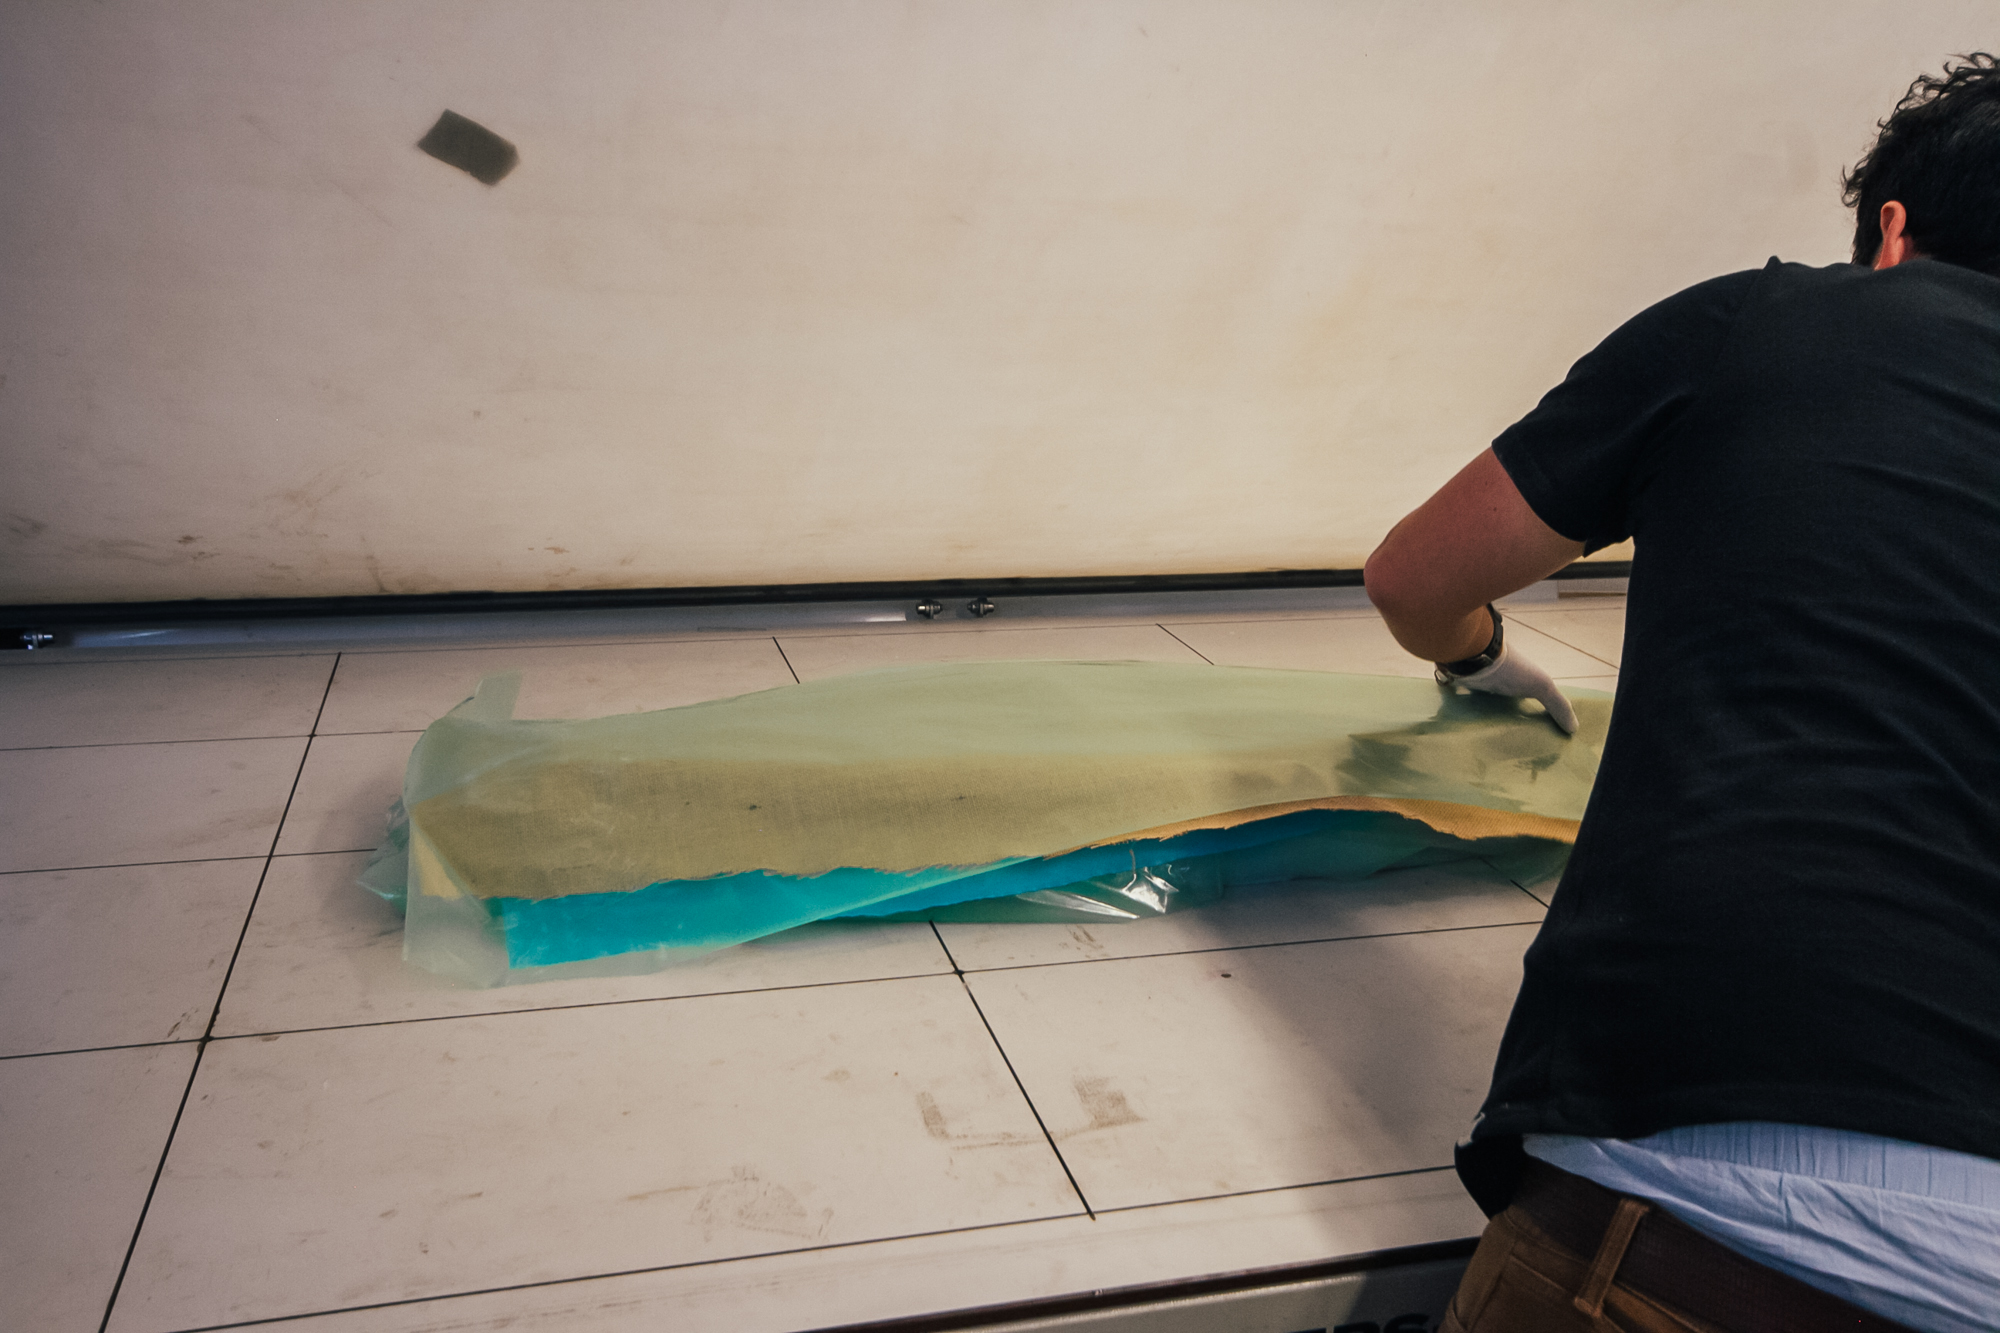
After this process we took it to the vacuum forming machine, double checked if our piece was centered on the mold and left there for the whole weekend (but in 24h would be ok to take it off).
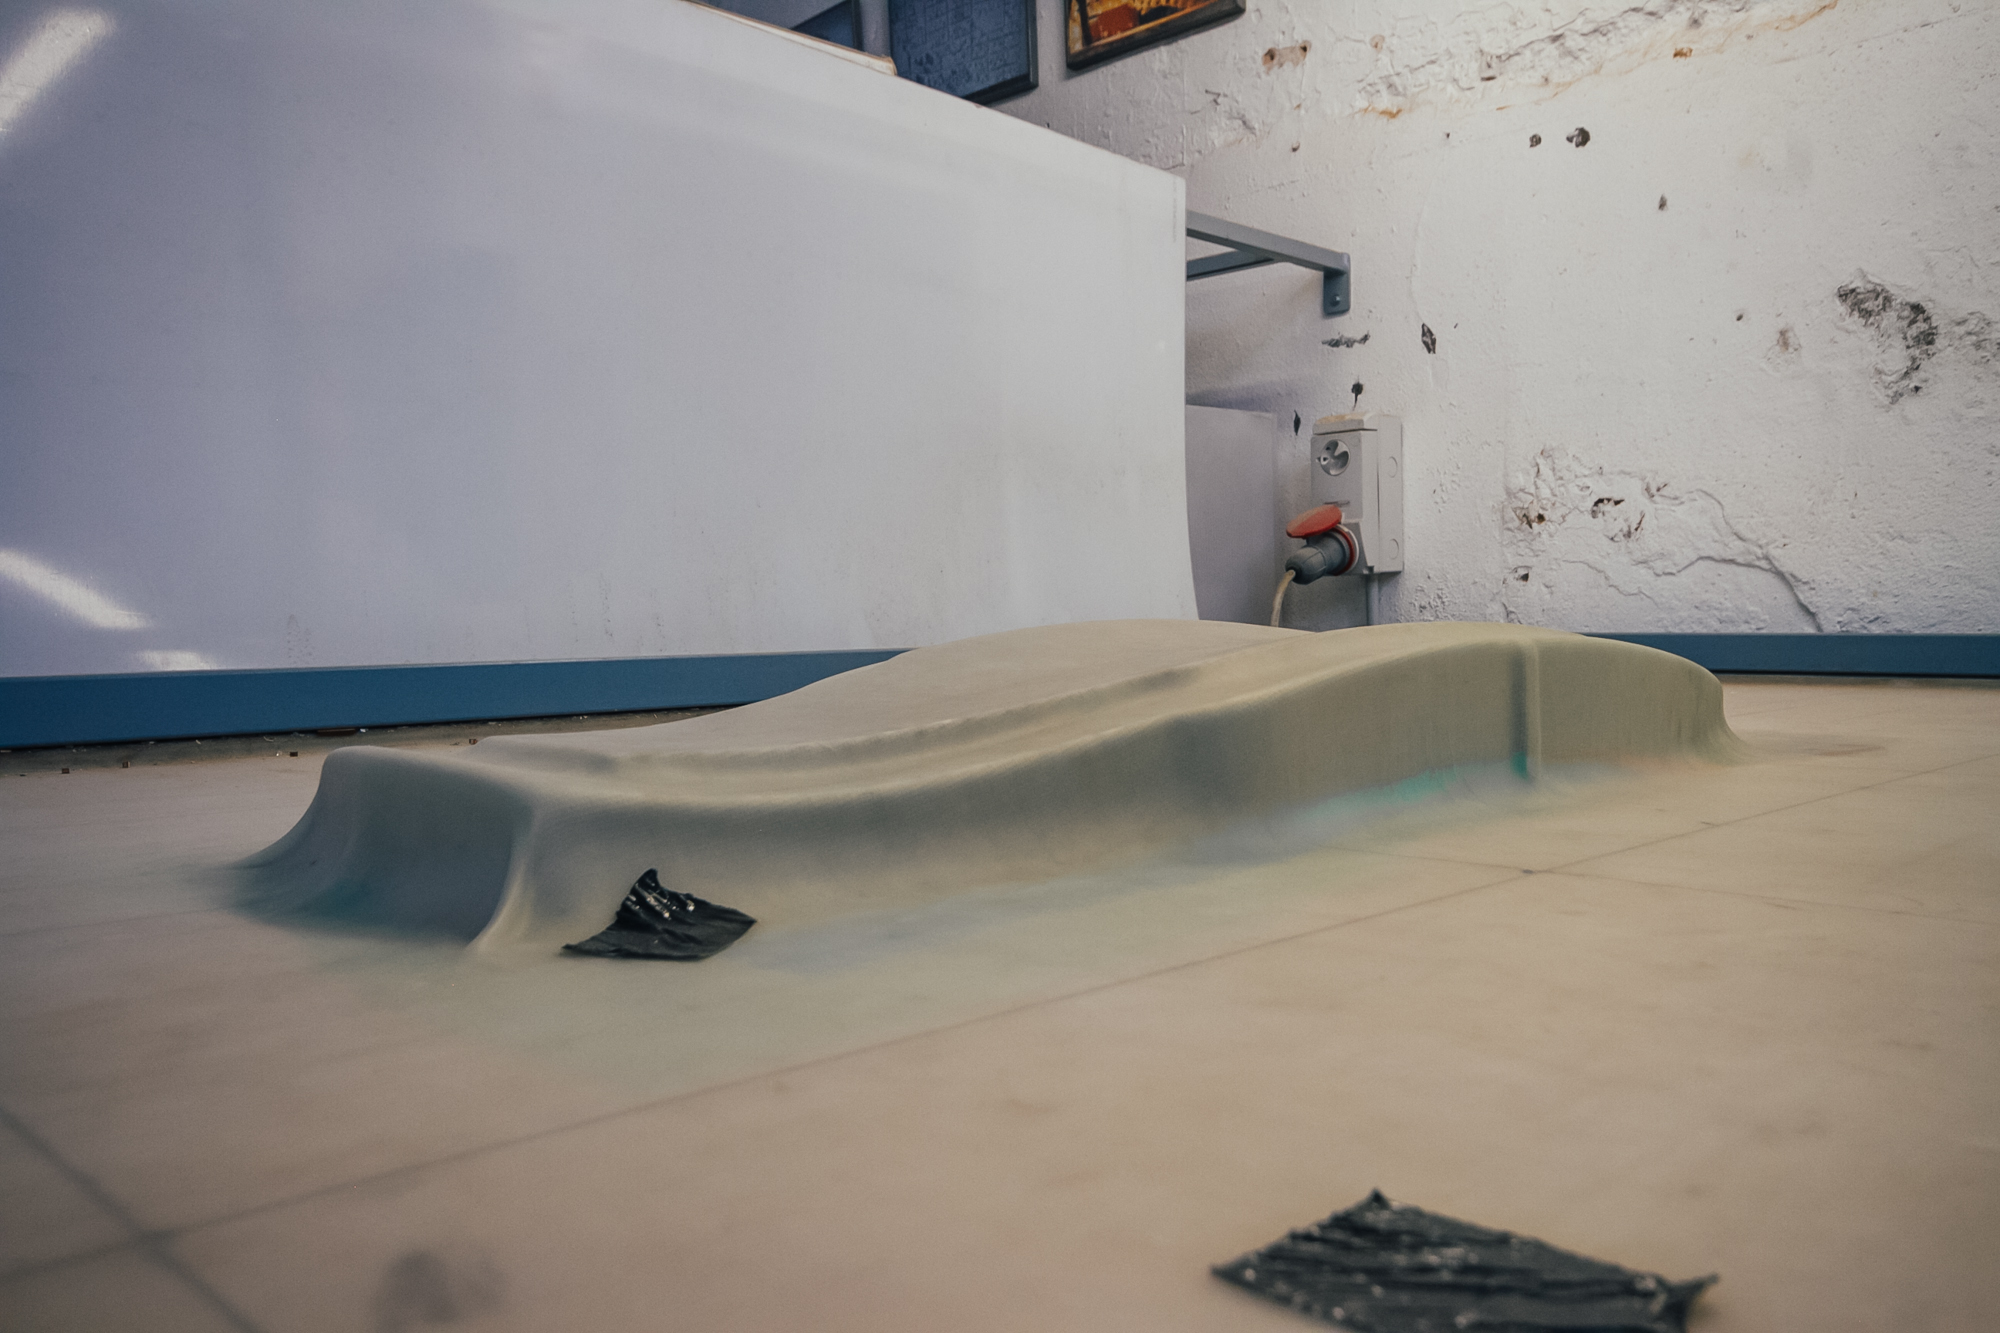
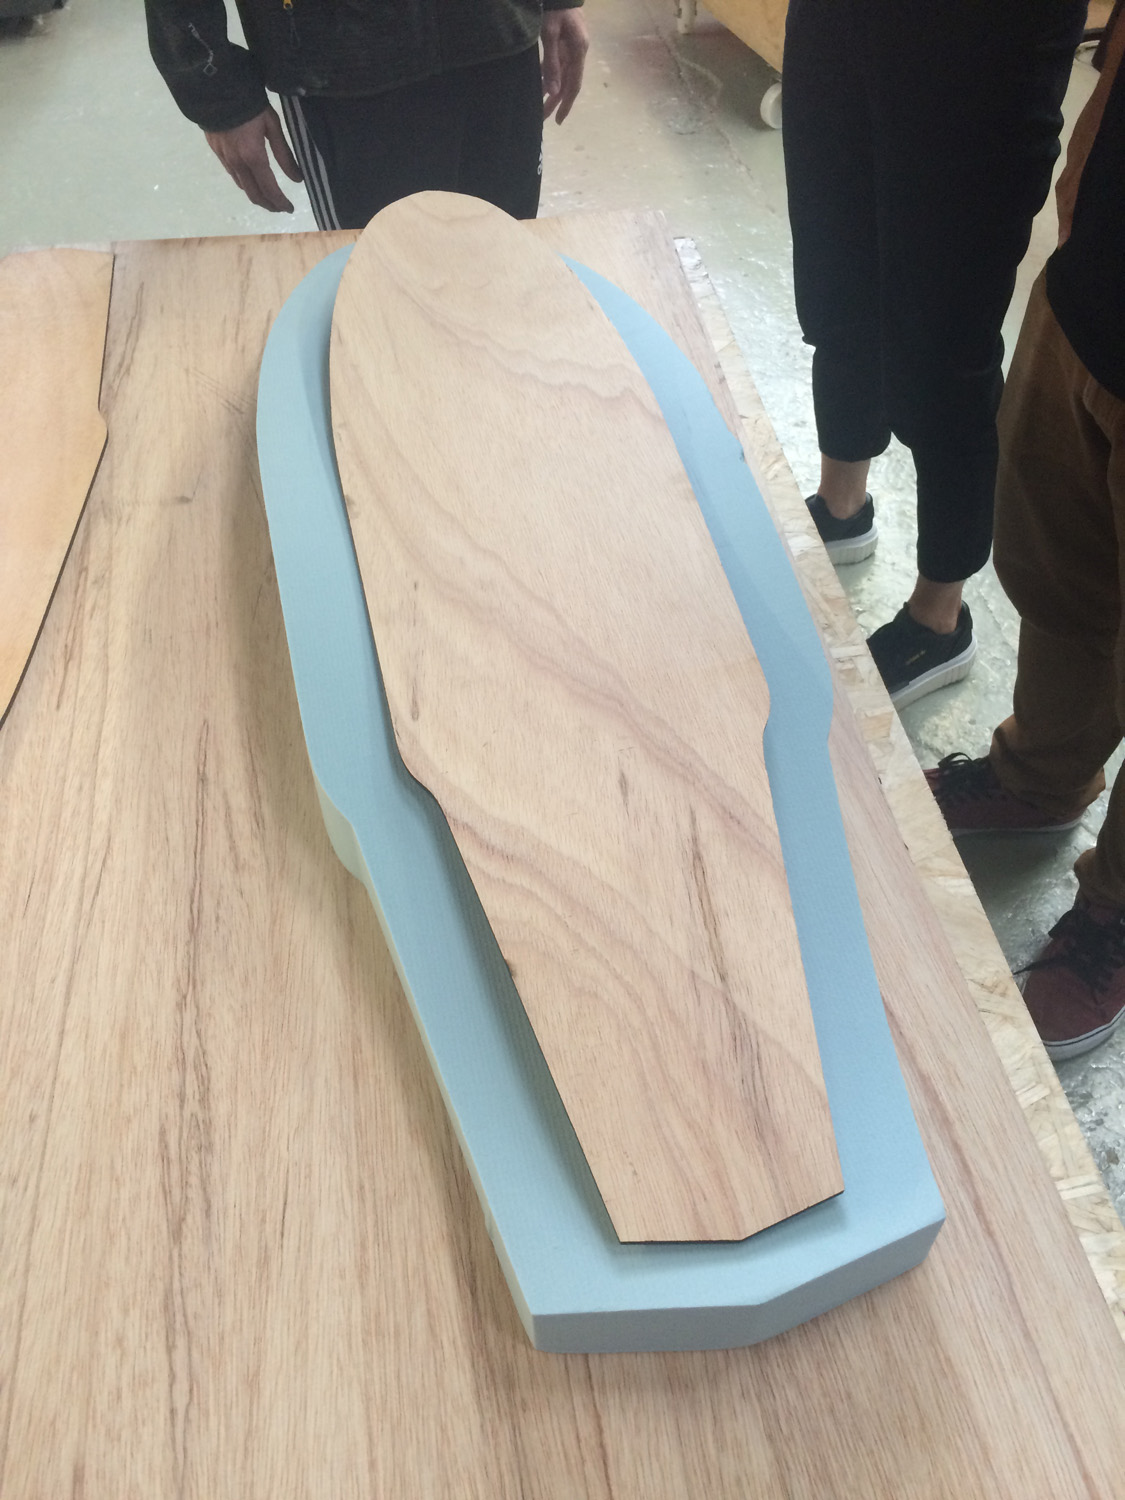
On monday we unmolded the board and made a quick strength test.
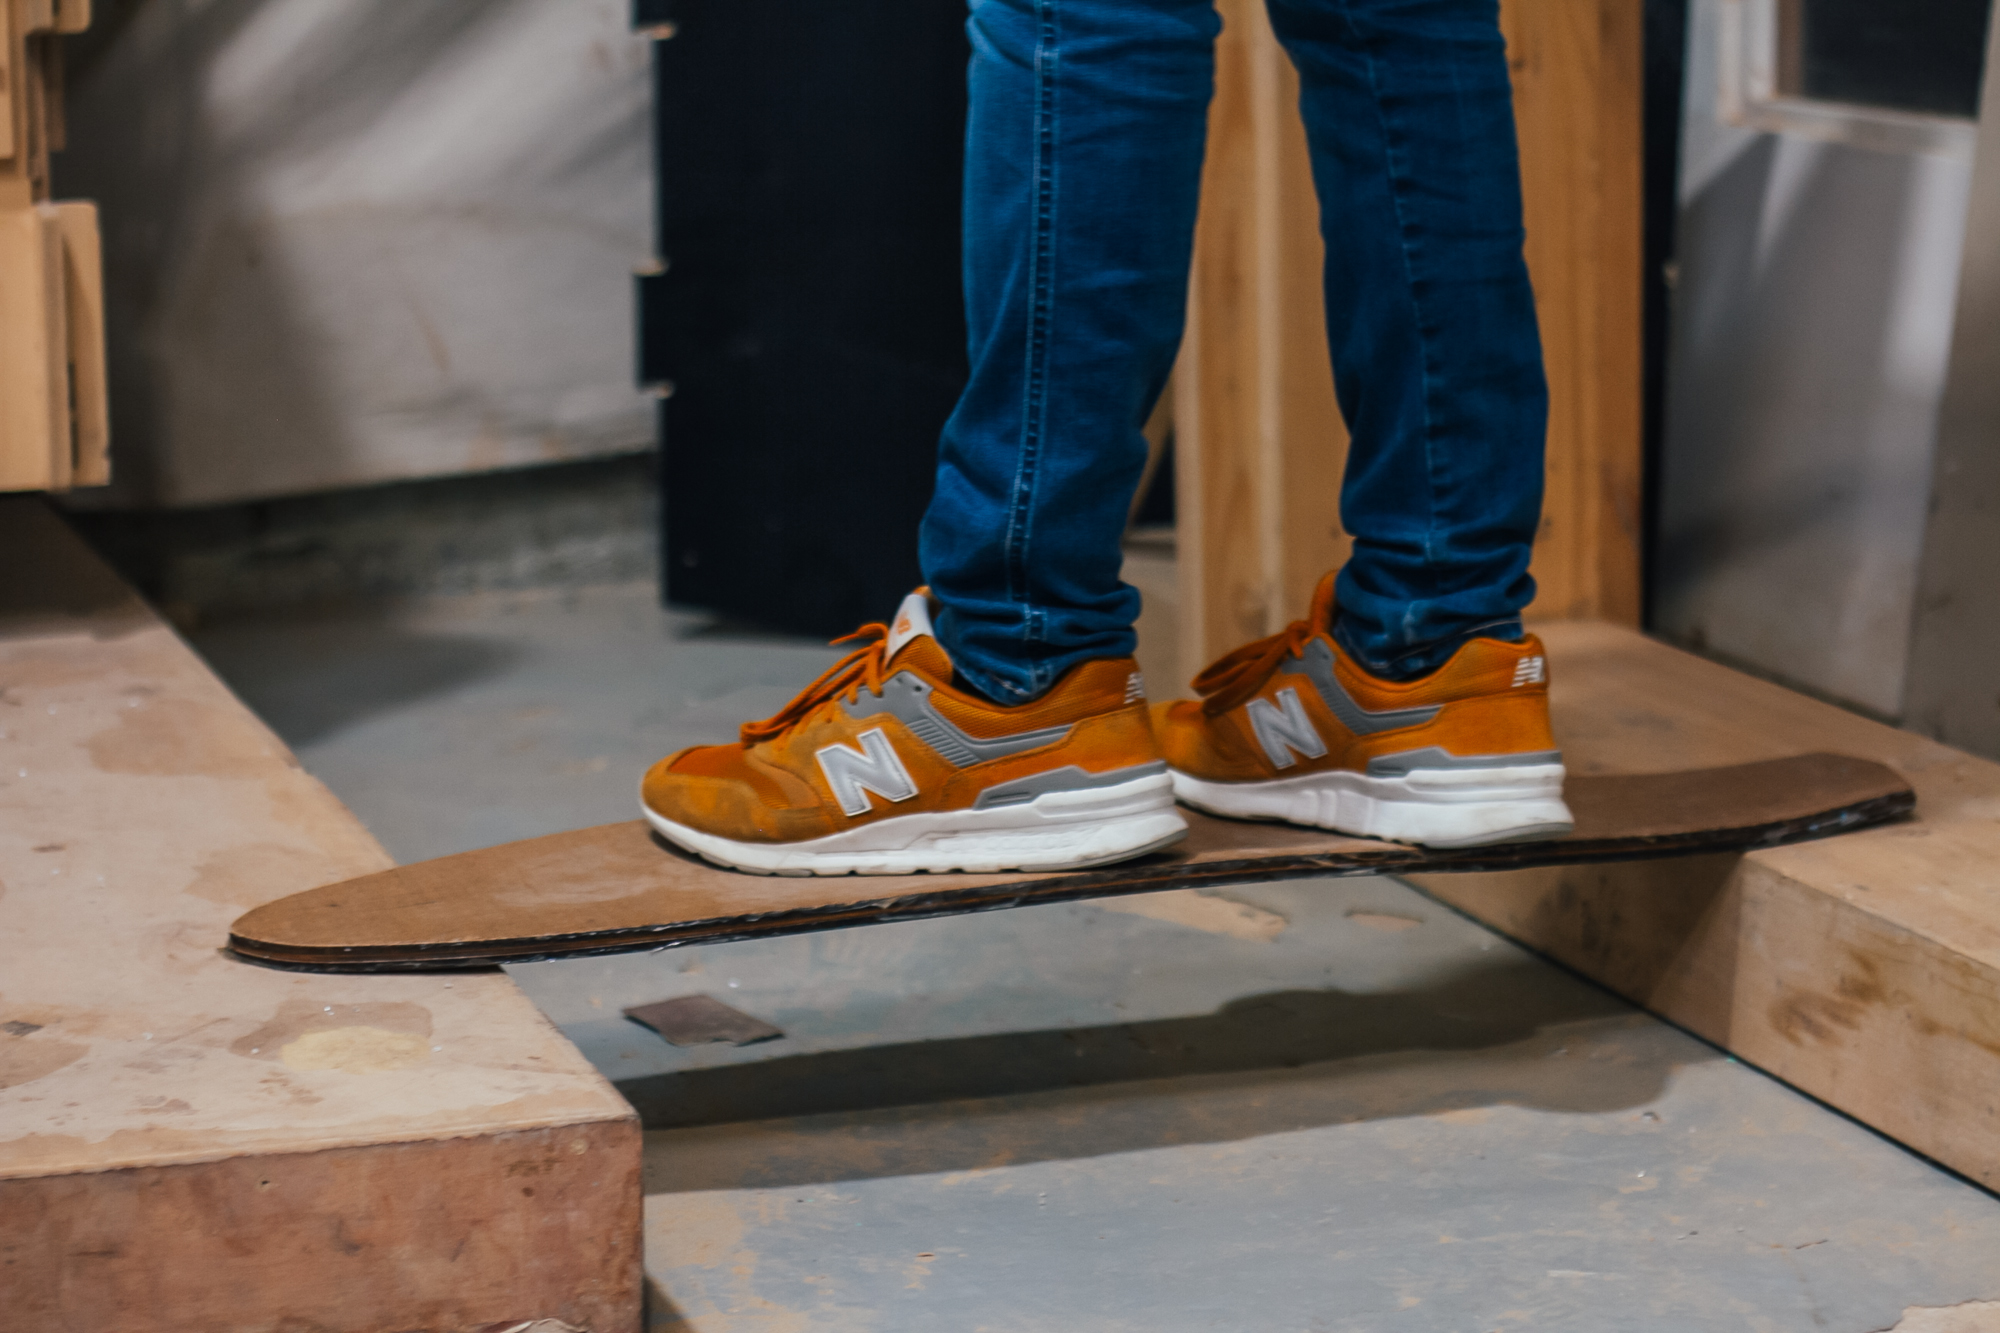
It worked very well!
Individual assignment
After all this classes I chose to do something that I saw in my first week at the Fab Lab: Laser welding. We had a workshop about it with Javier Alboguijarro, a Fab Academy Alumni. An example from his page is the “little flying man”:

You can also check the tutorial that he did on his page. Actually the whole story behind on how he discovered how to weld plastic is really cool, it took a lot of tests, not only for the machine settings but also for the materials.
The technique consists in “cutting” a garbage bag in the laser machine with enough power to just melt the two layers of the bag together. To make the laser beam wider Javier found out that he could use the Z-offset from the laser machine, a feature that moves the base plate in the Z axis.
Design
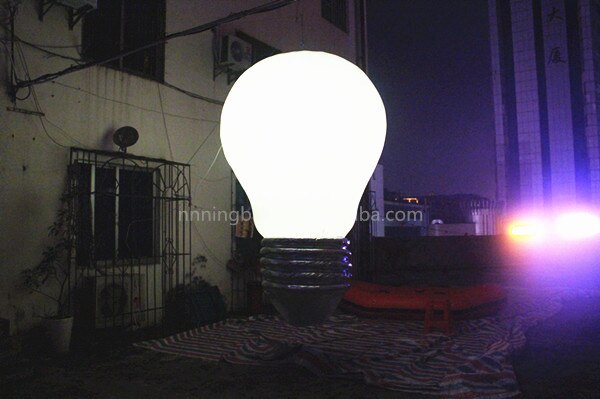
After checking the material I thought that would be very cool to do a inflatable lamp, just like a light bulb. I made a quick research to see what people have done before and I found this:
So I tried to recreate it but in a smaller scale:
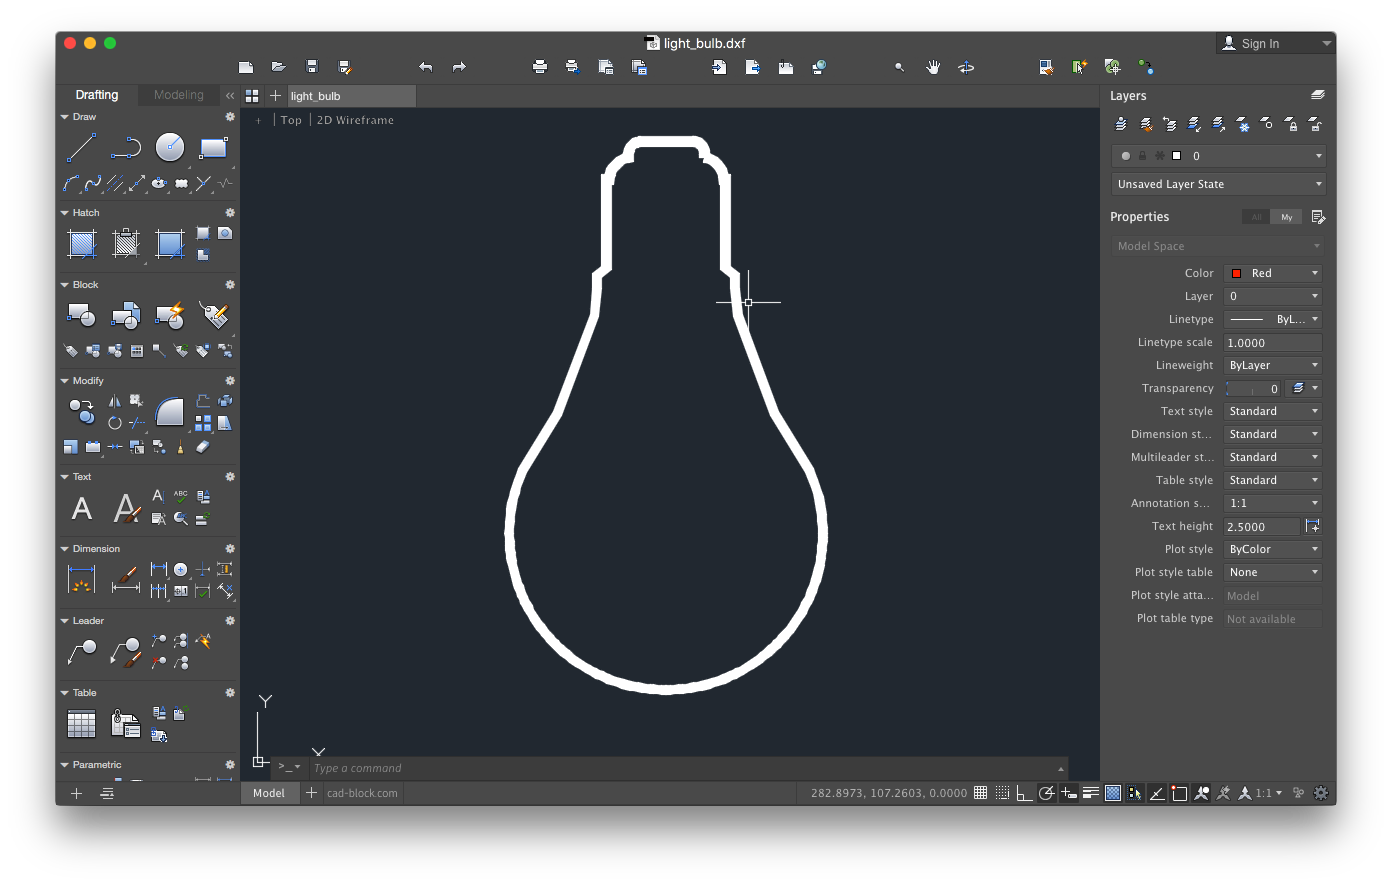
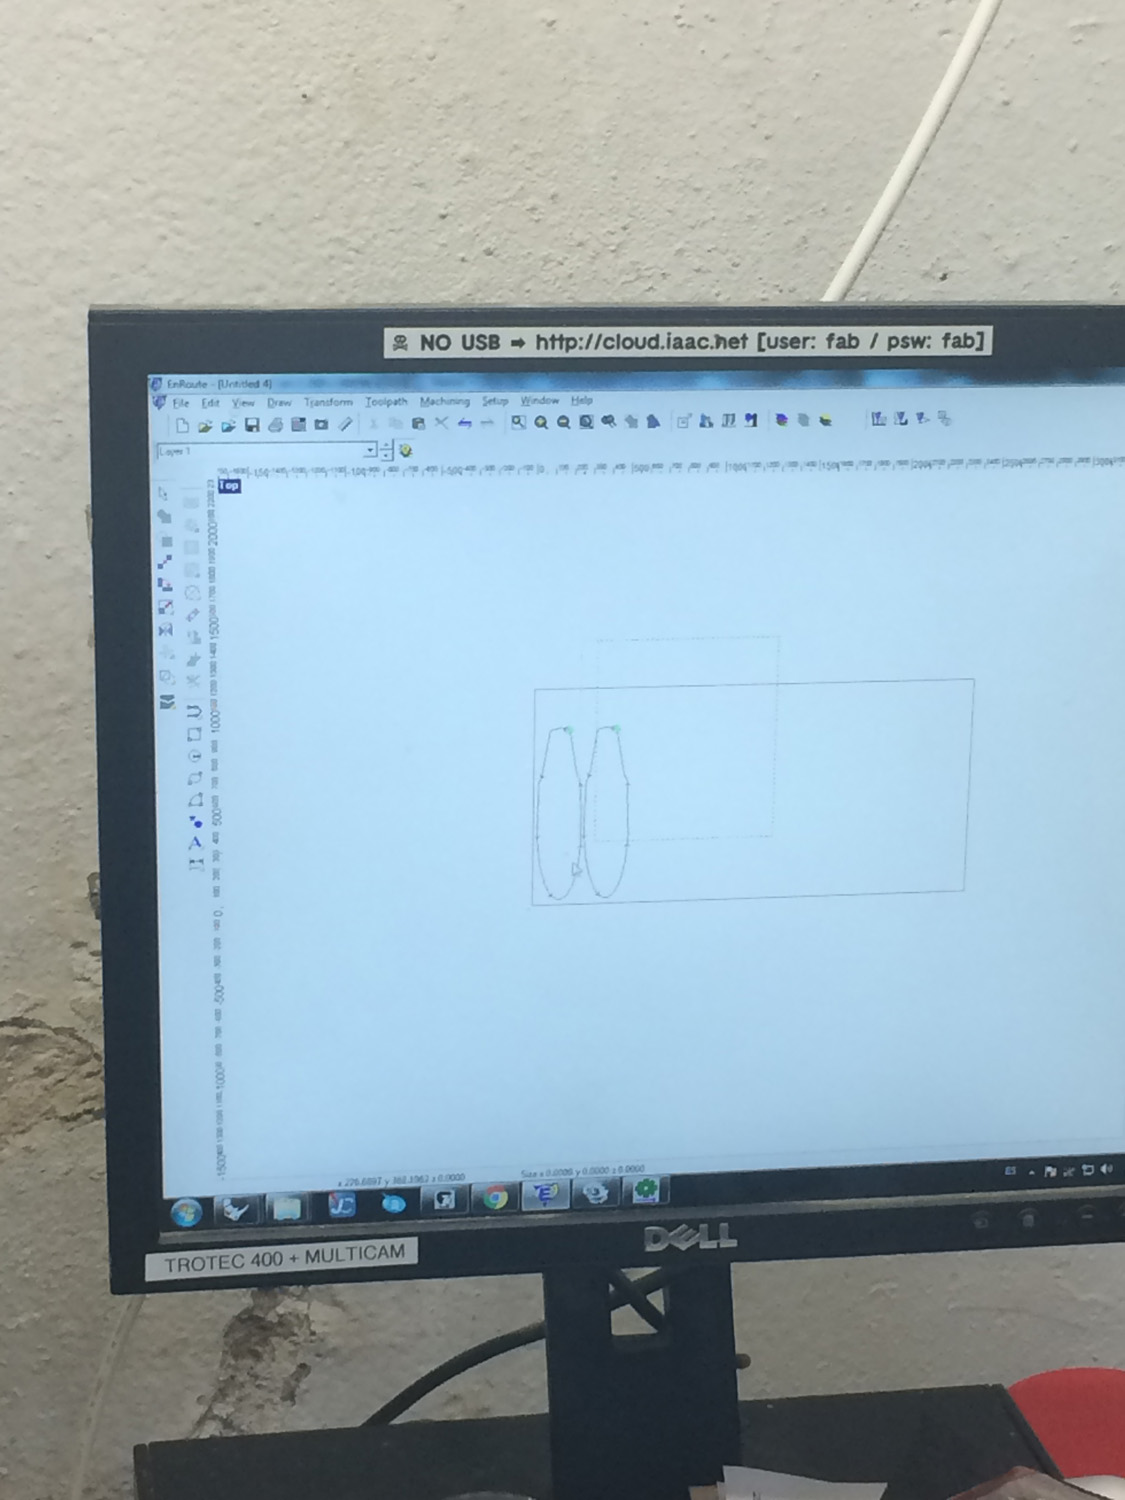
Then I took it to Rhino to finish the drawing for cutting.
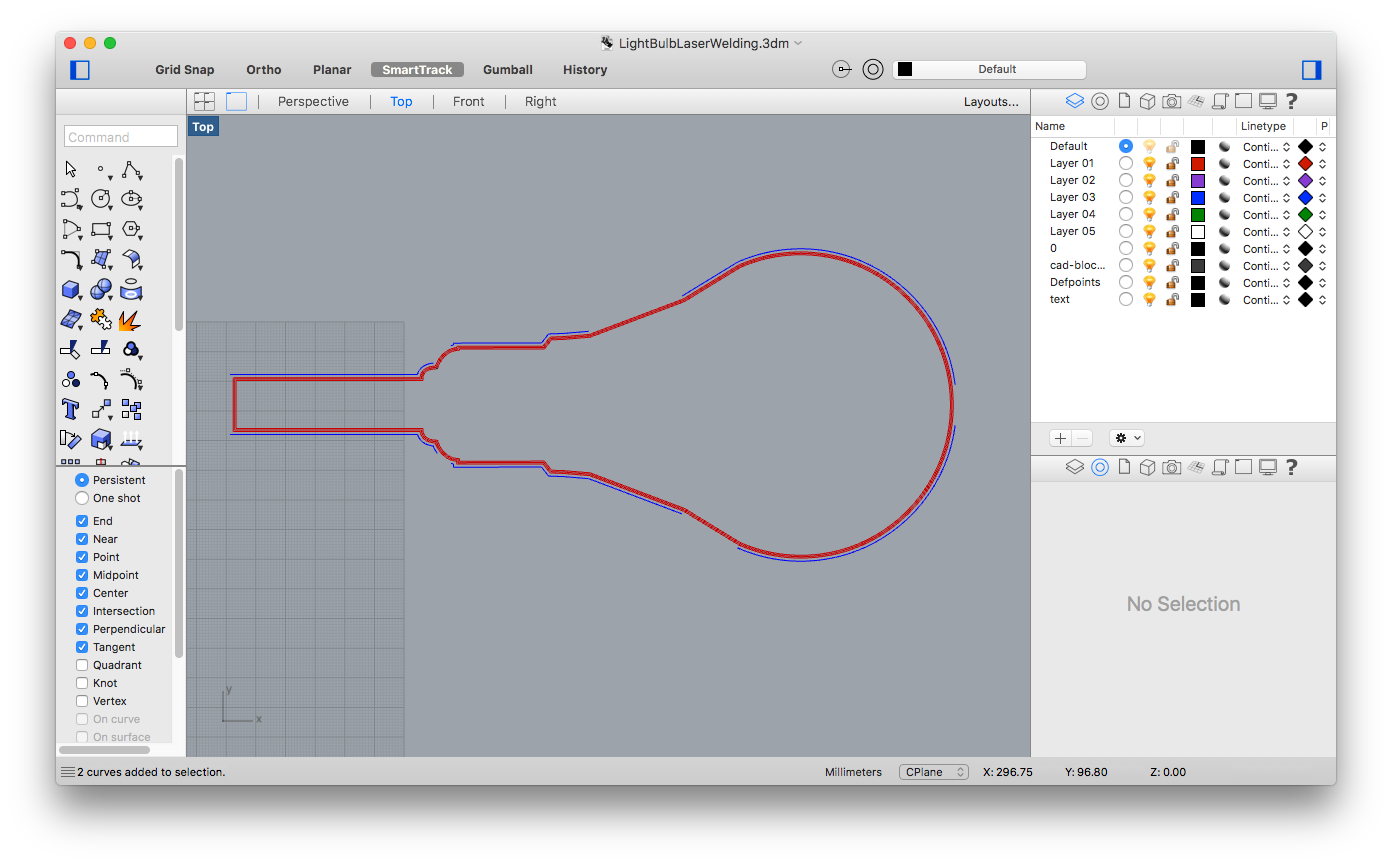
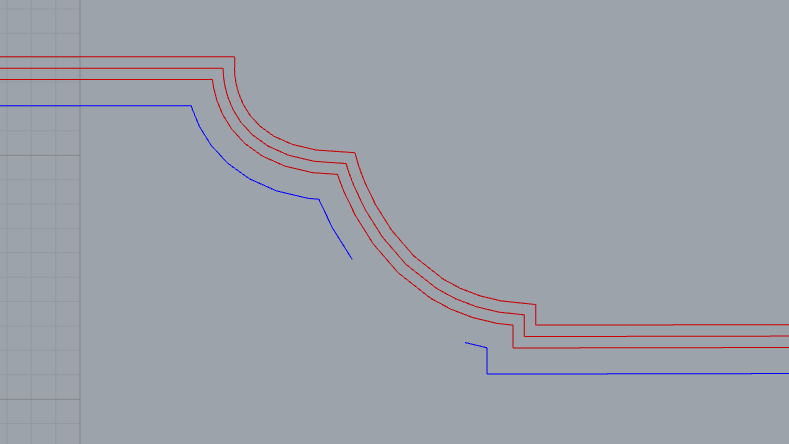
Following Javier’s technique I made 3 offsets from the original drawing: 2 for extra sealing and one for cutting. The sealing offsets should be 0.4mm apart, for the cutting offset I used 0.6mm because on my first try the laser beam cut the sealing part. I also made some “bridges” in the cut offset to avoid moving the piece while cutting.
Cutting
To set it up you have to pin the plastic bag into a flat surface, the less wrinkles the better.
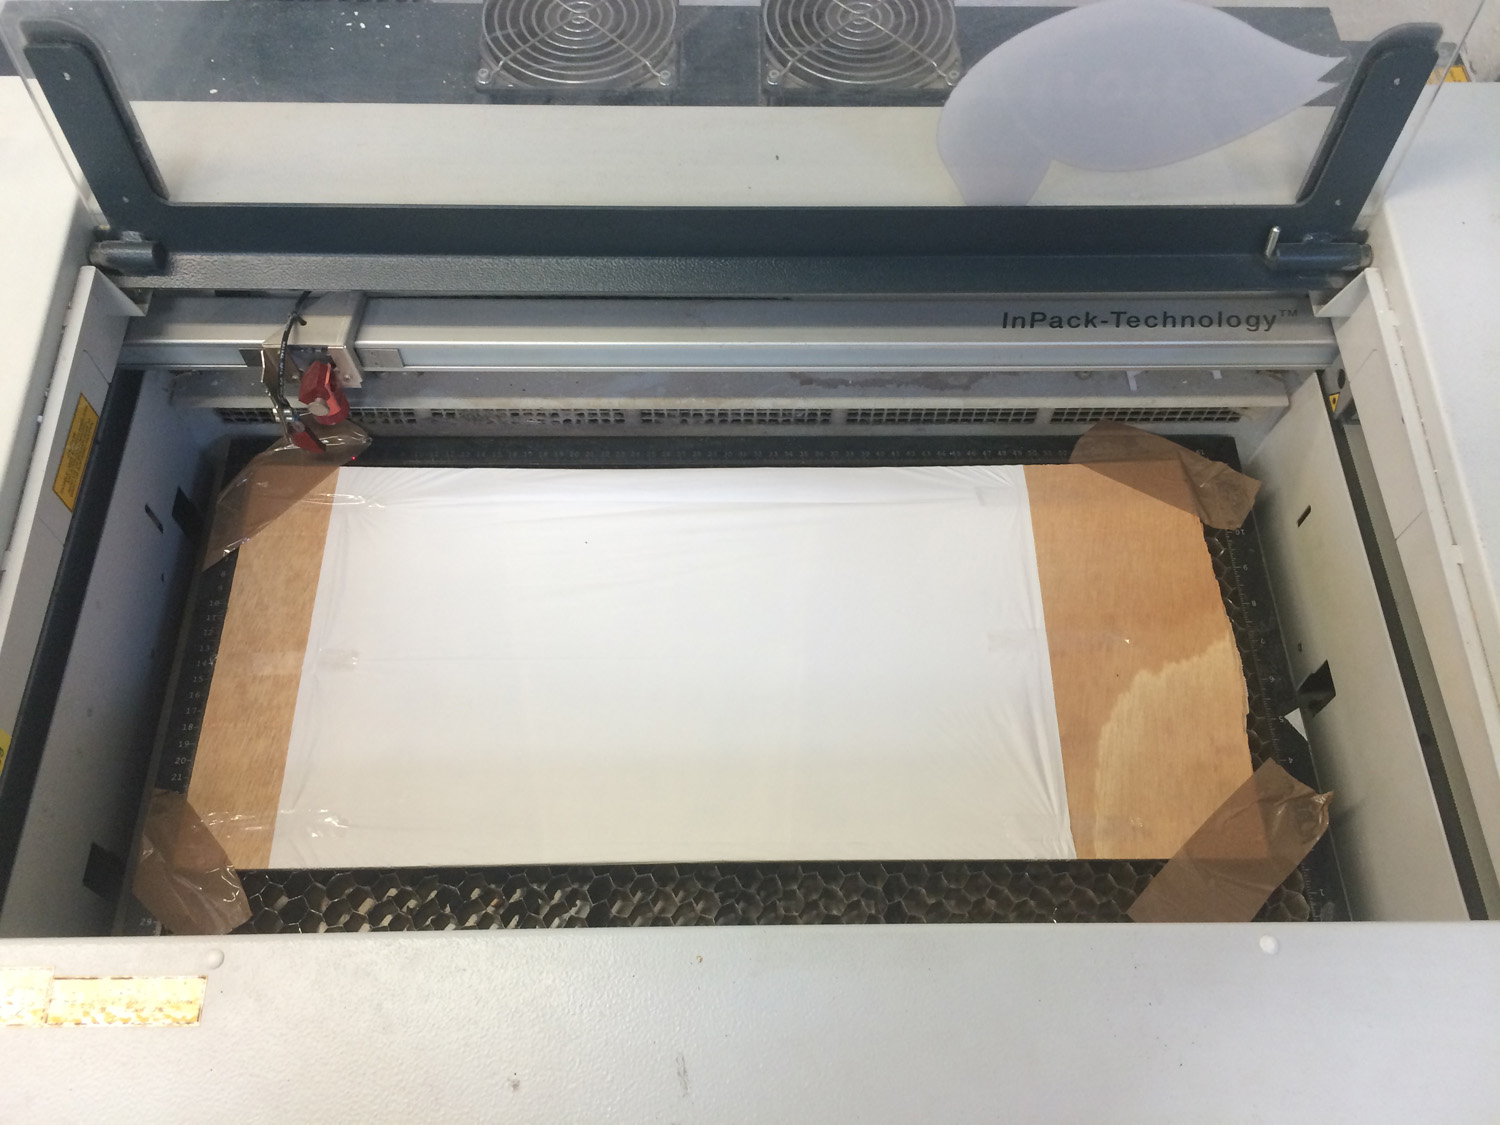
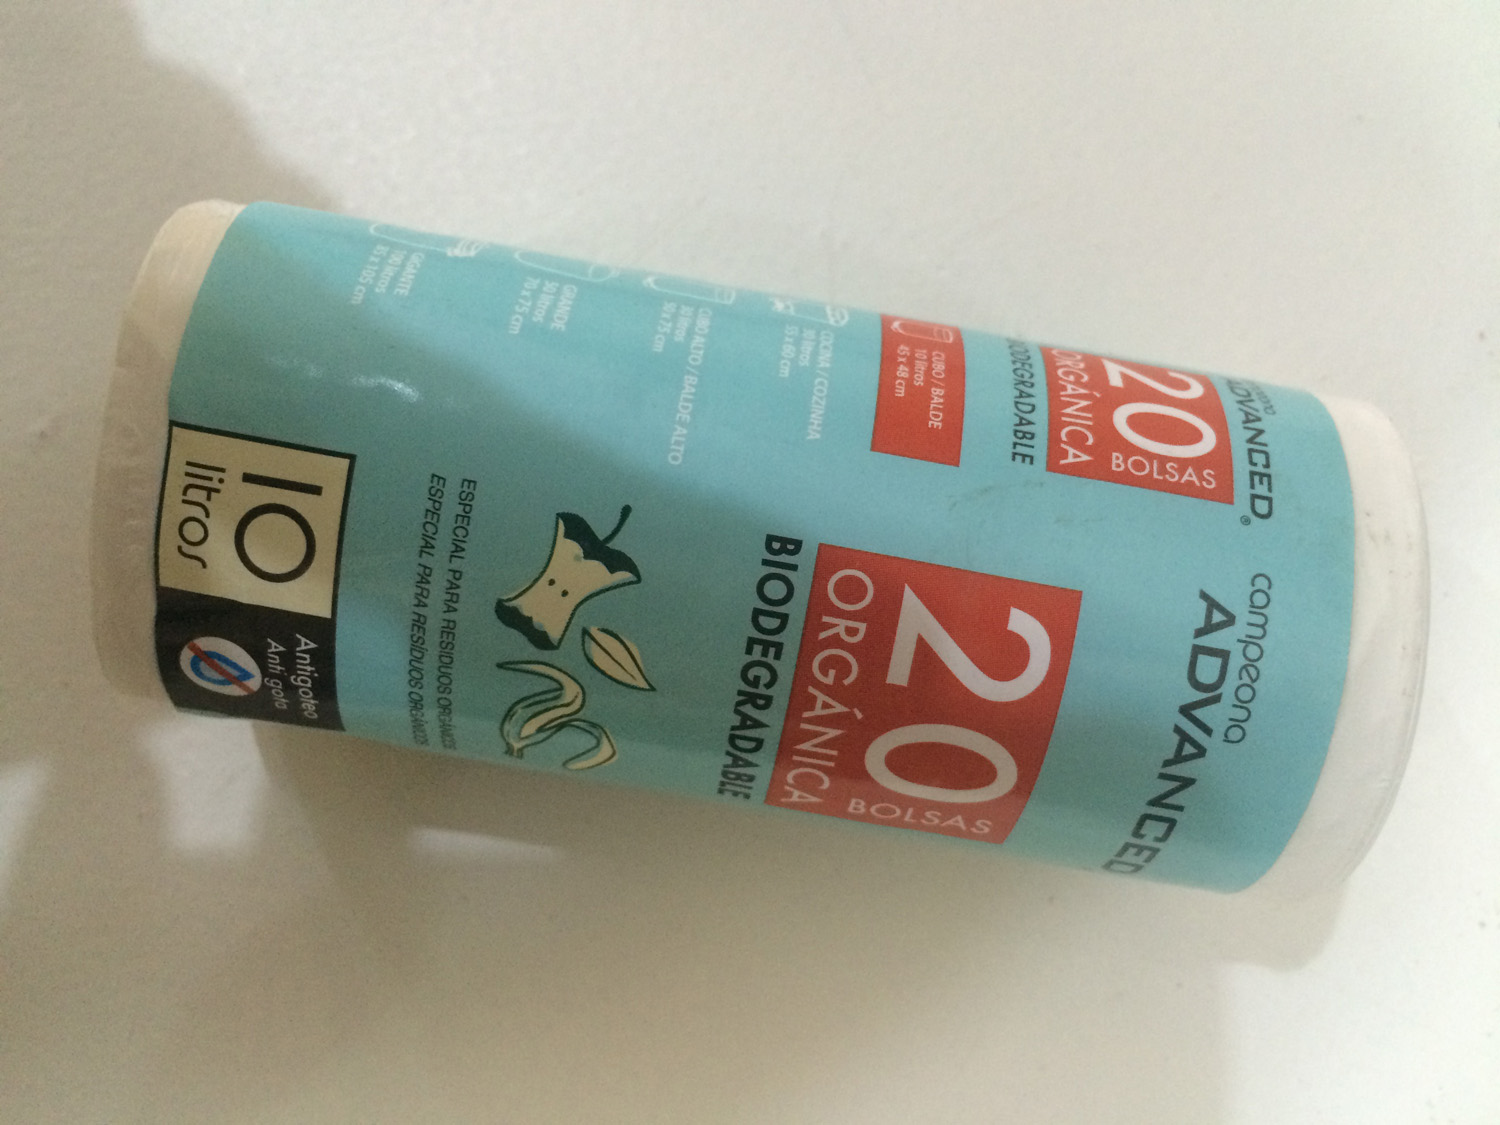
I used the same plastic bag from Javier. This one is good because is made from polyethylene (PE) and there is no air between layers:
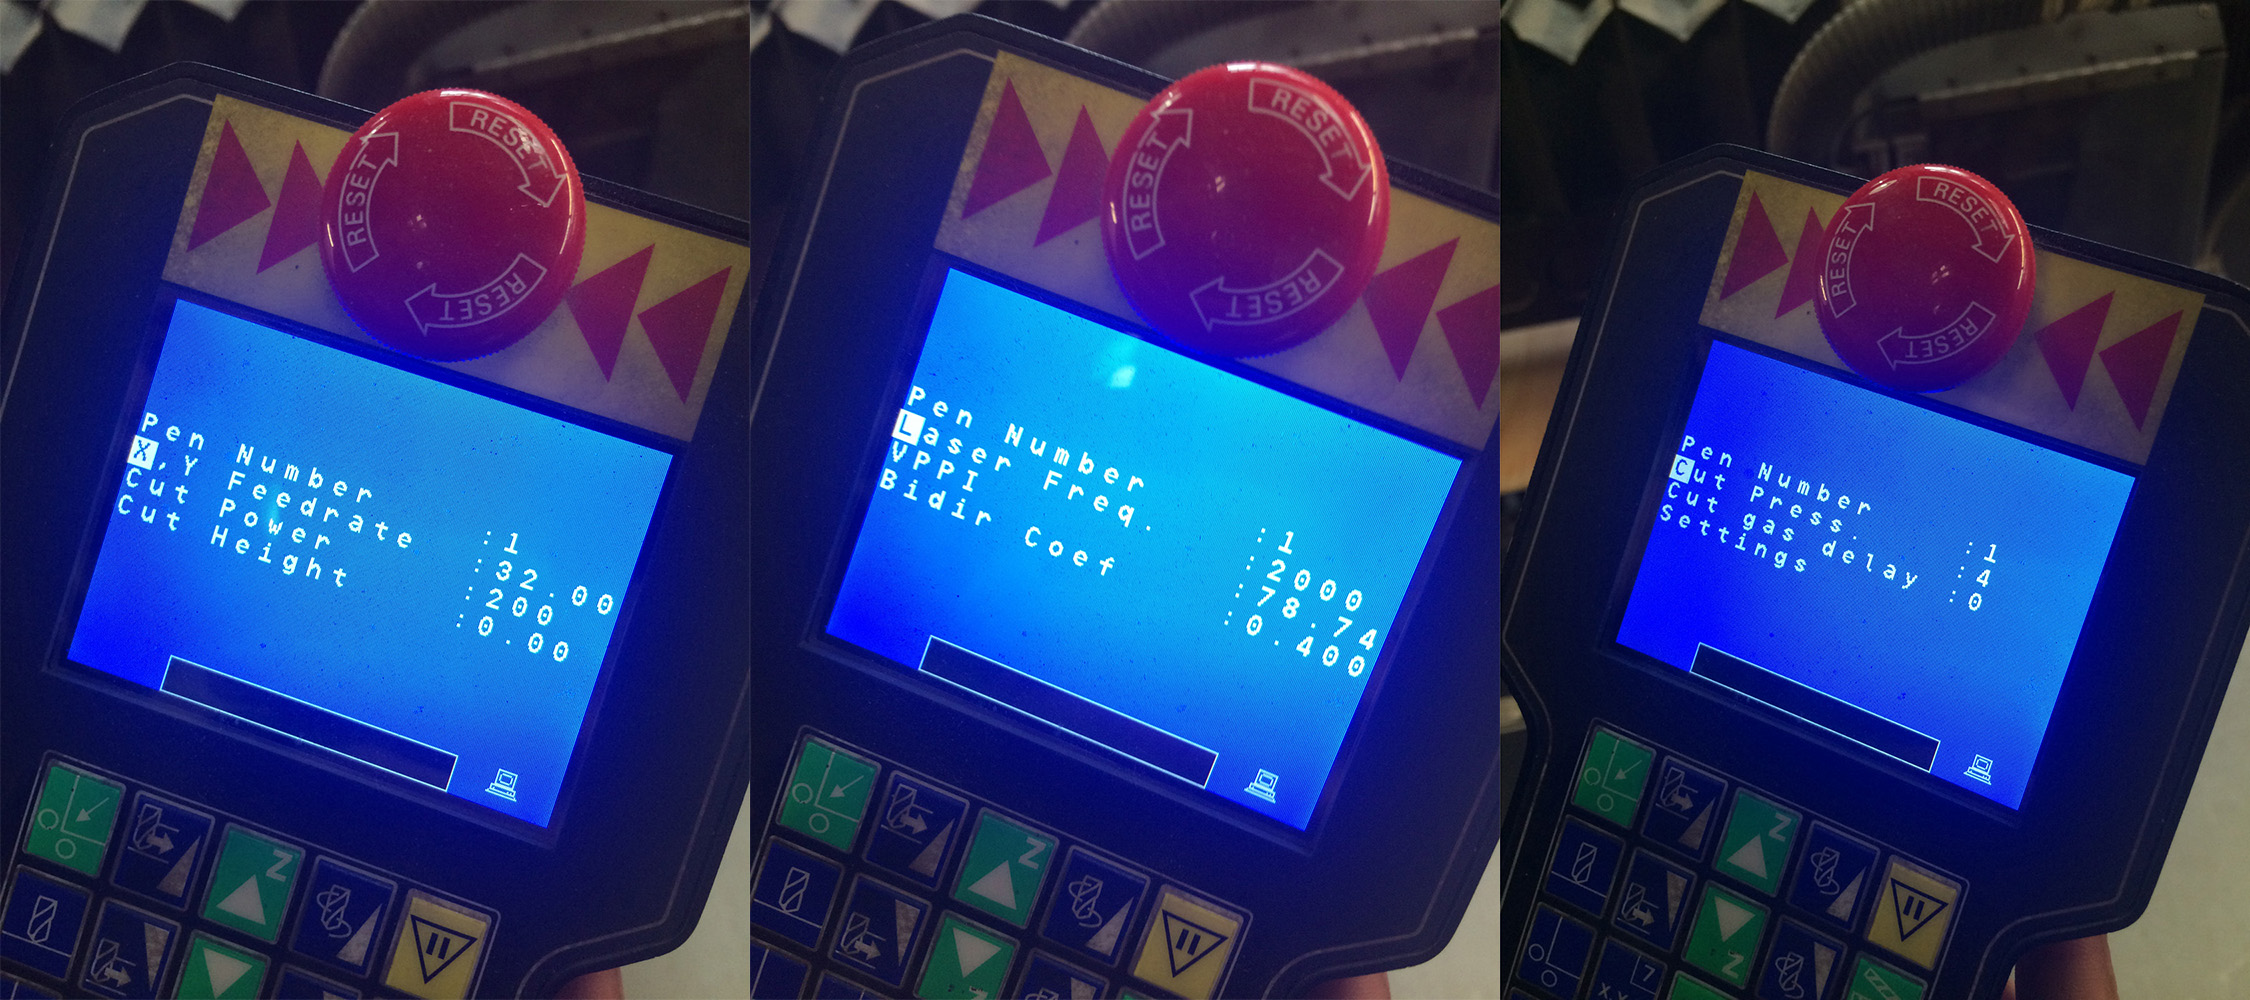
I also the same settings from Javier (actually I changed the Z-Offset of the cut process after a test to make it thinner):
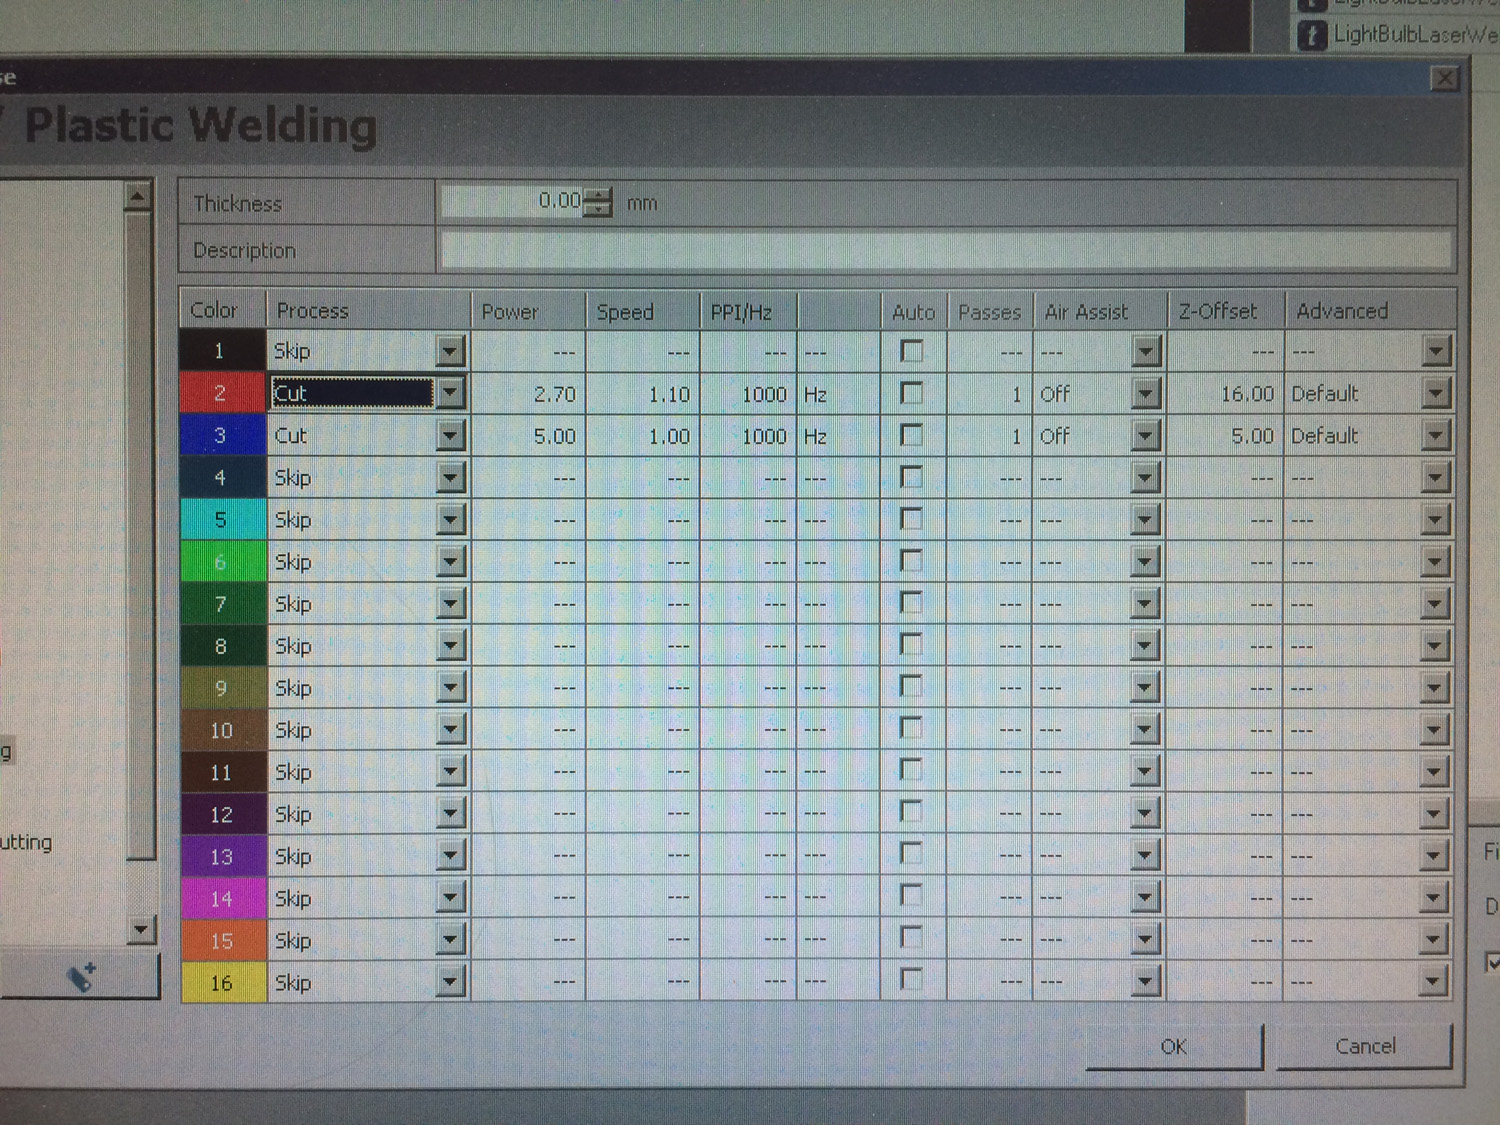
Weld:
P:2.70 // S: 1.10 // Hz: 1000 // Z-Offset: 16.00

Cut:
P:5.00 // S: 1.00 // Hz: 1000 // Z-Offset: 5.00
It worked perfectly! I’m not happy with the design itself but as a test is really good:
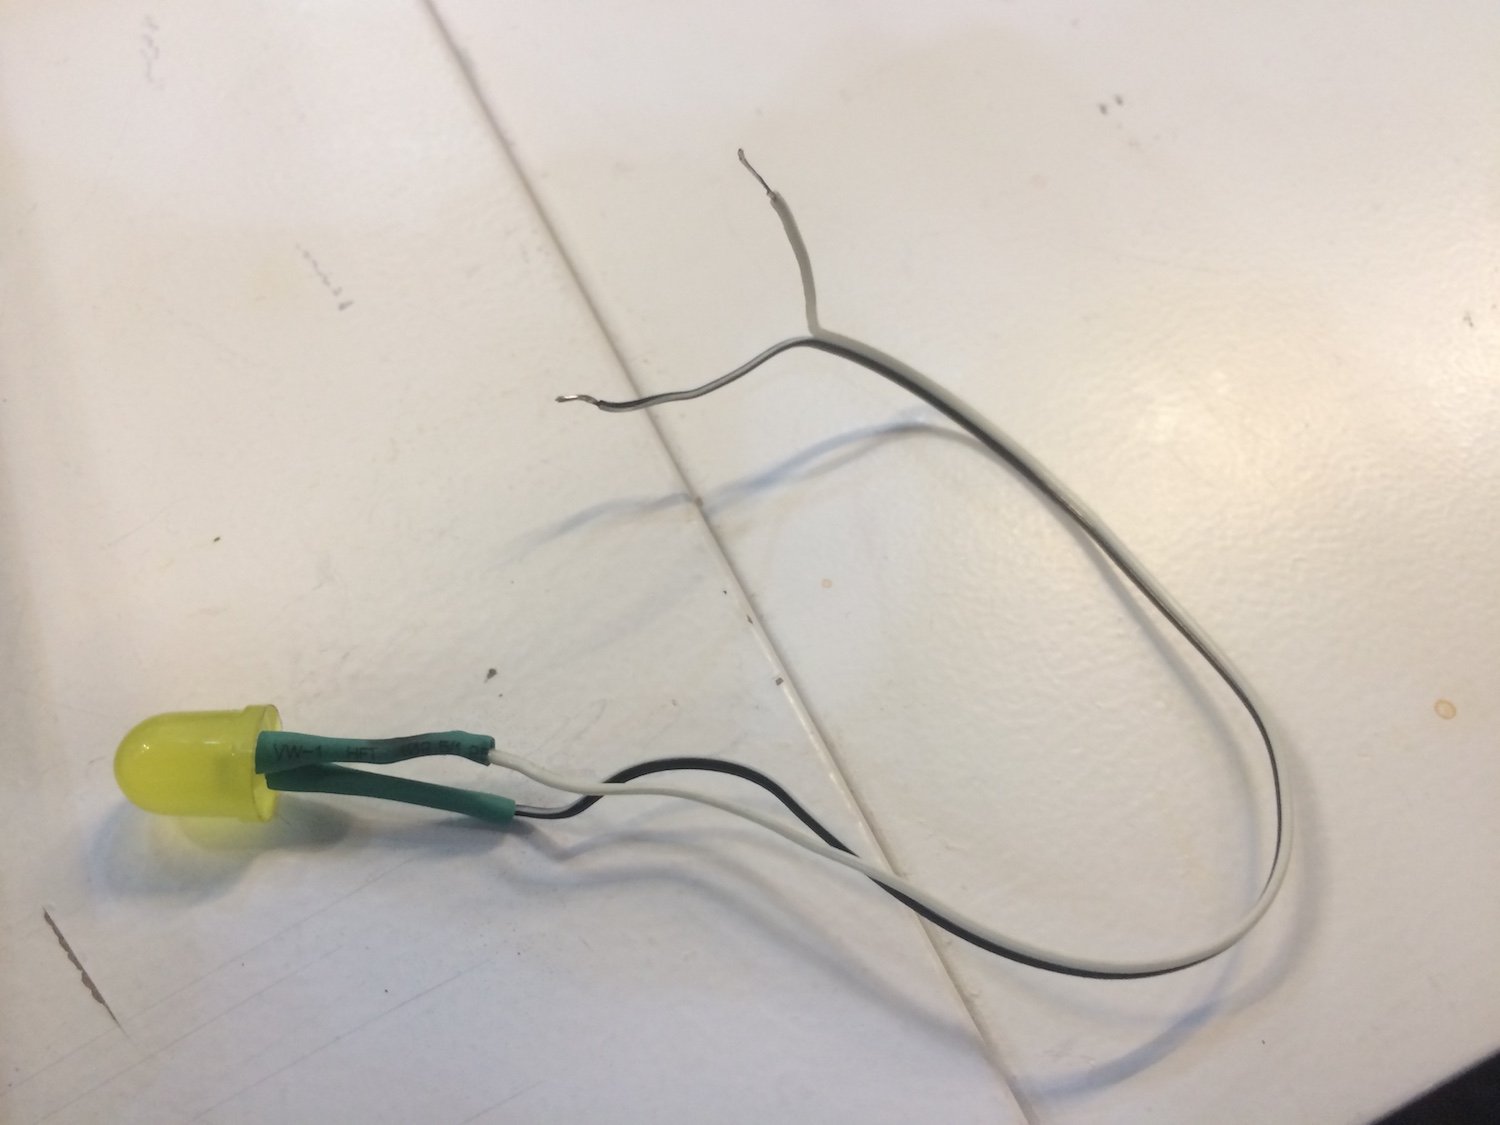
I quickly made a extension for a LED so I could put it inside the balloon:
After this I could inflate and test my lamp:
It cannot hold the air for a long time but if you have a lot of time to tweak the drawing and the settings of the machine you can achieve perfect results.
You have to be careful because right after I took this pictures I manage to blow the balloon with the pump.