3. Computer-controlled cutting
For the CAD week I could only talk with the other students and see how they were finishing the group assignment because I have just arrived in Barcelona. Anyway I learned a lot about the laser cutter we have here and how it interacts with different materials at different speeds and power settings. I also did some tests with the vinyl cutter which I’ll describe bellow.
• Group assignment: Characterize your lasercutter, making lasercutter test part(s), making test part(s) that vary cutting settings and dimensions(group project).
• Individual assignment: Cut something on the vinylcutter - Design, make, and document a parametric press-fit construction kit, accounting for the lasercutter kerf, which can be assembled in multiple ways.
Group assignment
Participants
Josep Marti, Felipe Santos, Alberto Lopez, Diar Amin, Gustavo Abreu
Machine description
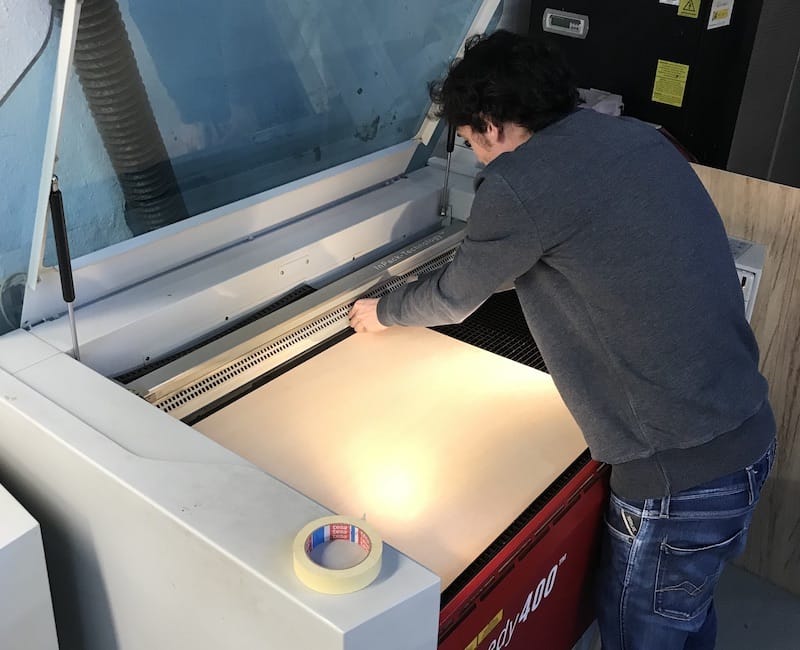
Out of the 3 machines Fab Lab Barcelona have, we choose to use the Trotec Speedy400. It is a 1000x610mm 100W machine.
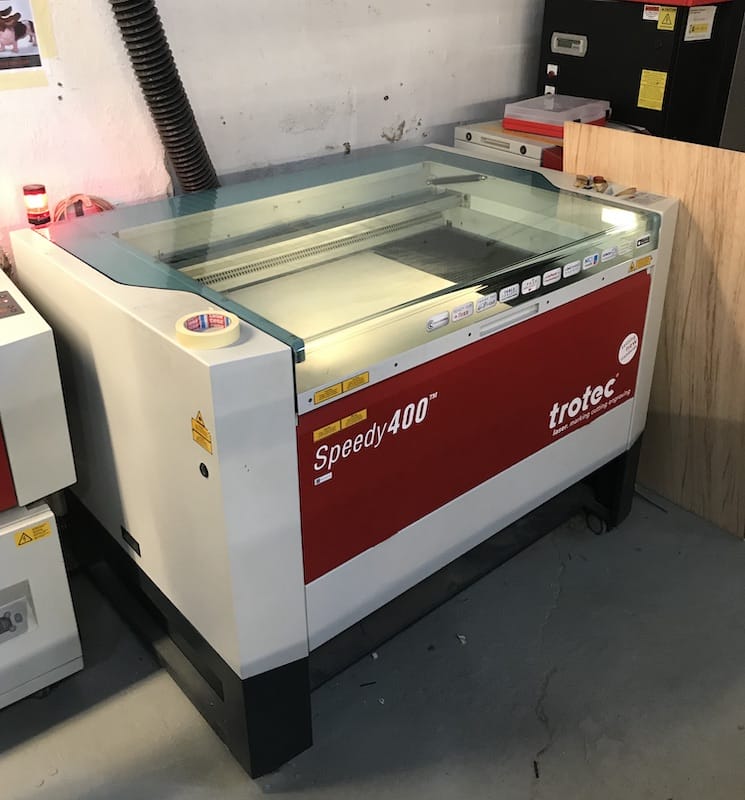
The jobs are run from a computer next to it, through Rhinoceros, print driver and controller.
The software is basically used for importing files and assigning colors and layers. This step is important specially if you are going to work with more than one work operation.
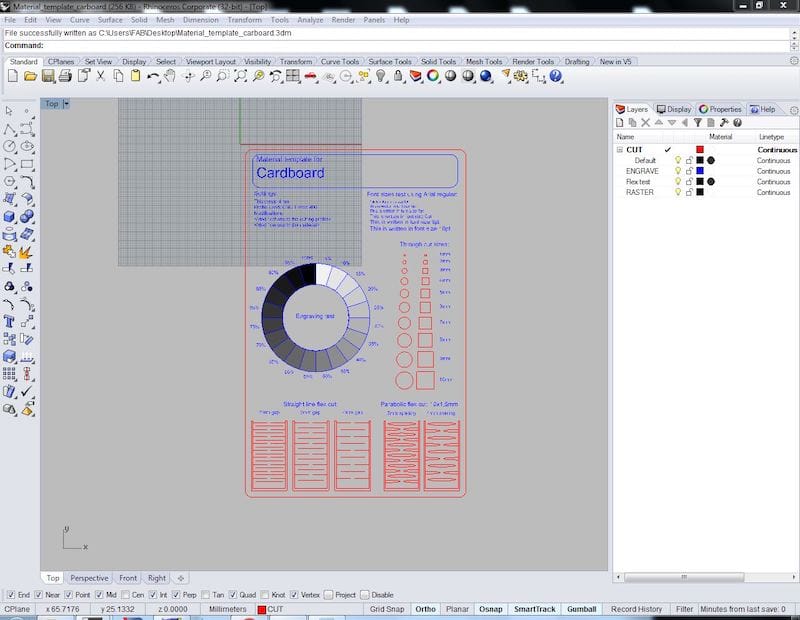
After setting the layers and sending the print command, the job goes to the controller.
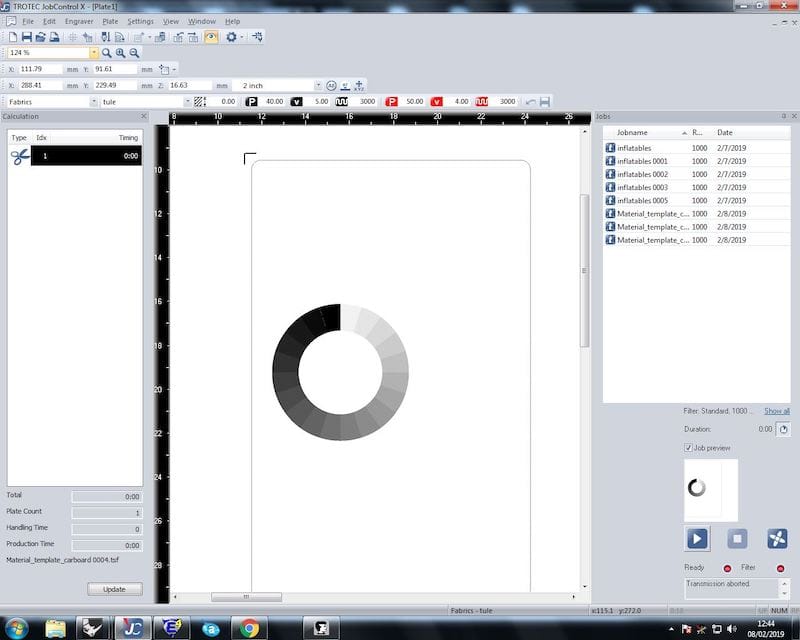
Add the material
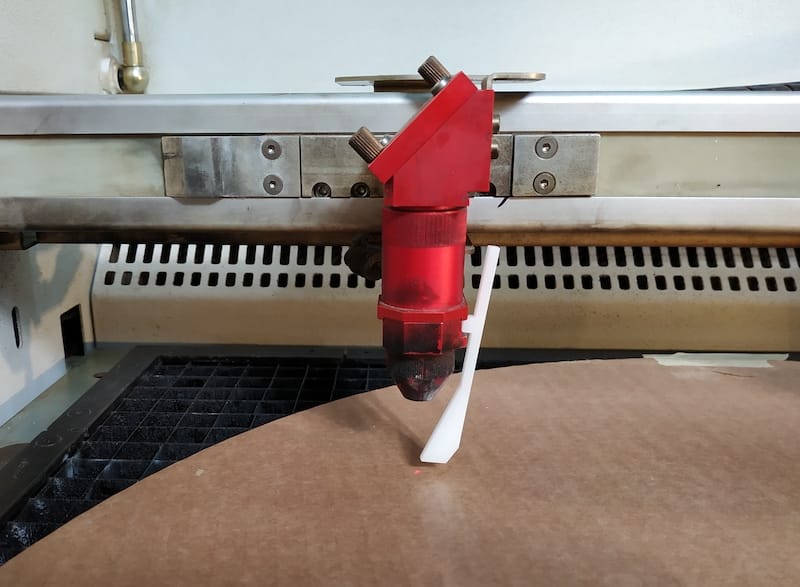
Focus the machine
Then we’re done
Tests
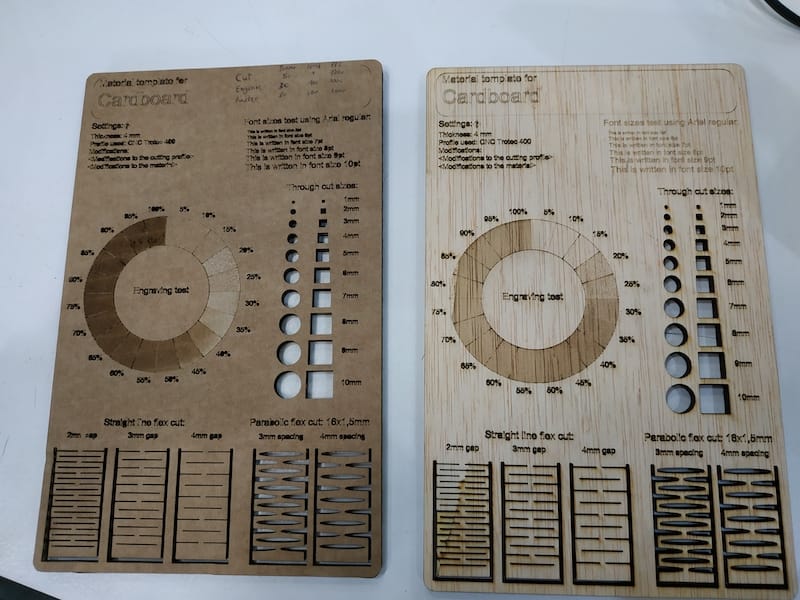
We used cardboard and plywood for our tests.
Settings used:
Cut:
4mm Cardboard: 50 Power, 1 Speed, 1000 PPI
4mm Plywood: 75 Power, 0,8 Speed, 1000 PPI
Engrave:
4mm Cardboard: 30 Power, 100 Speed, 1000 PPI
4mm Plywood: 60 Power, 100 Speed, 1000 PPI
Raster:
4mm Cardboard: 80 Power, 100 Speed, 1000 PPI
4mm Plywood: 60 Power, 100 Speed, 1000 PPI
After getting the right settings for the materials, we went to test the press kits
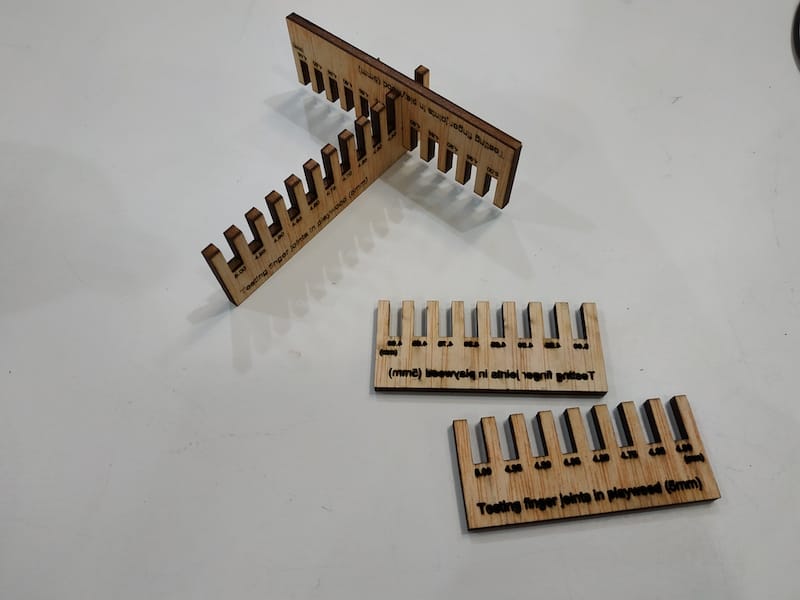
The best results were 3.85mm and 3.35mm gaps for plywood and cardboard respectively. This big difference between the two comes from two reasons:
- The cardboard had a bigger kerf. Maybe just because the material burn more easily. But we believe it may come from laser being over powered
- Cardboard squeezes way more than plywood. Fitting in tighter gaps.
Individual assignment
Vinyl cutter
Here in Fab Lab BCN we have two vinyl cutters, I tried the Silhouette Cameo first:
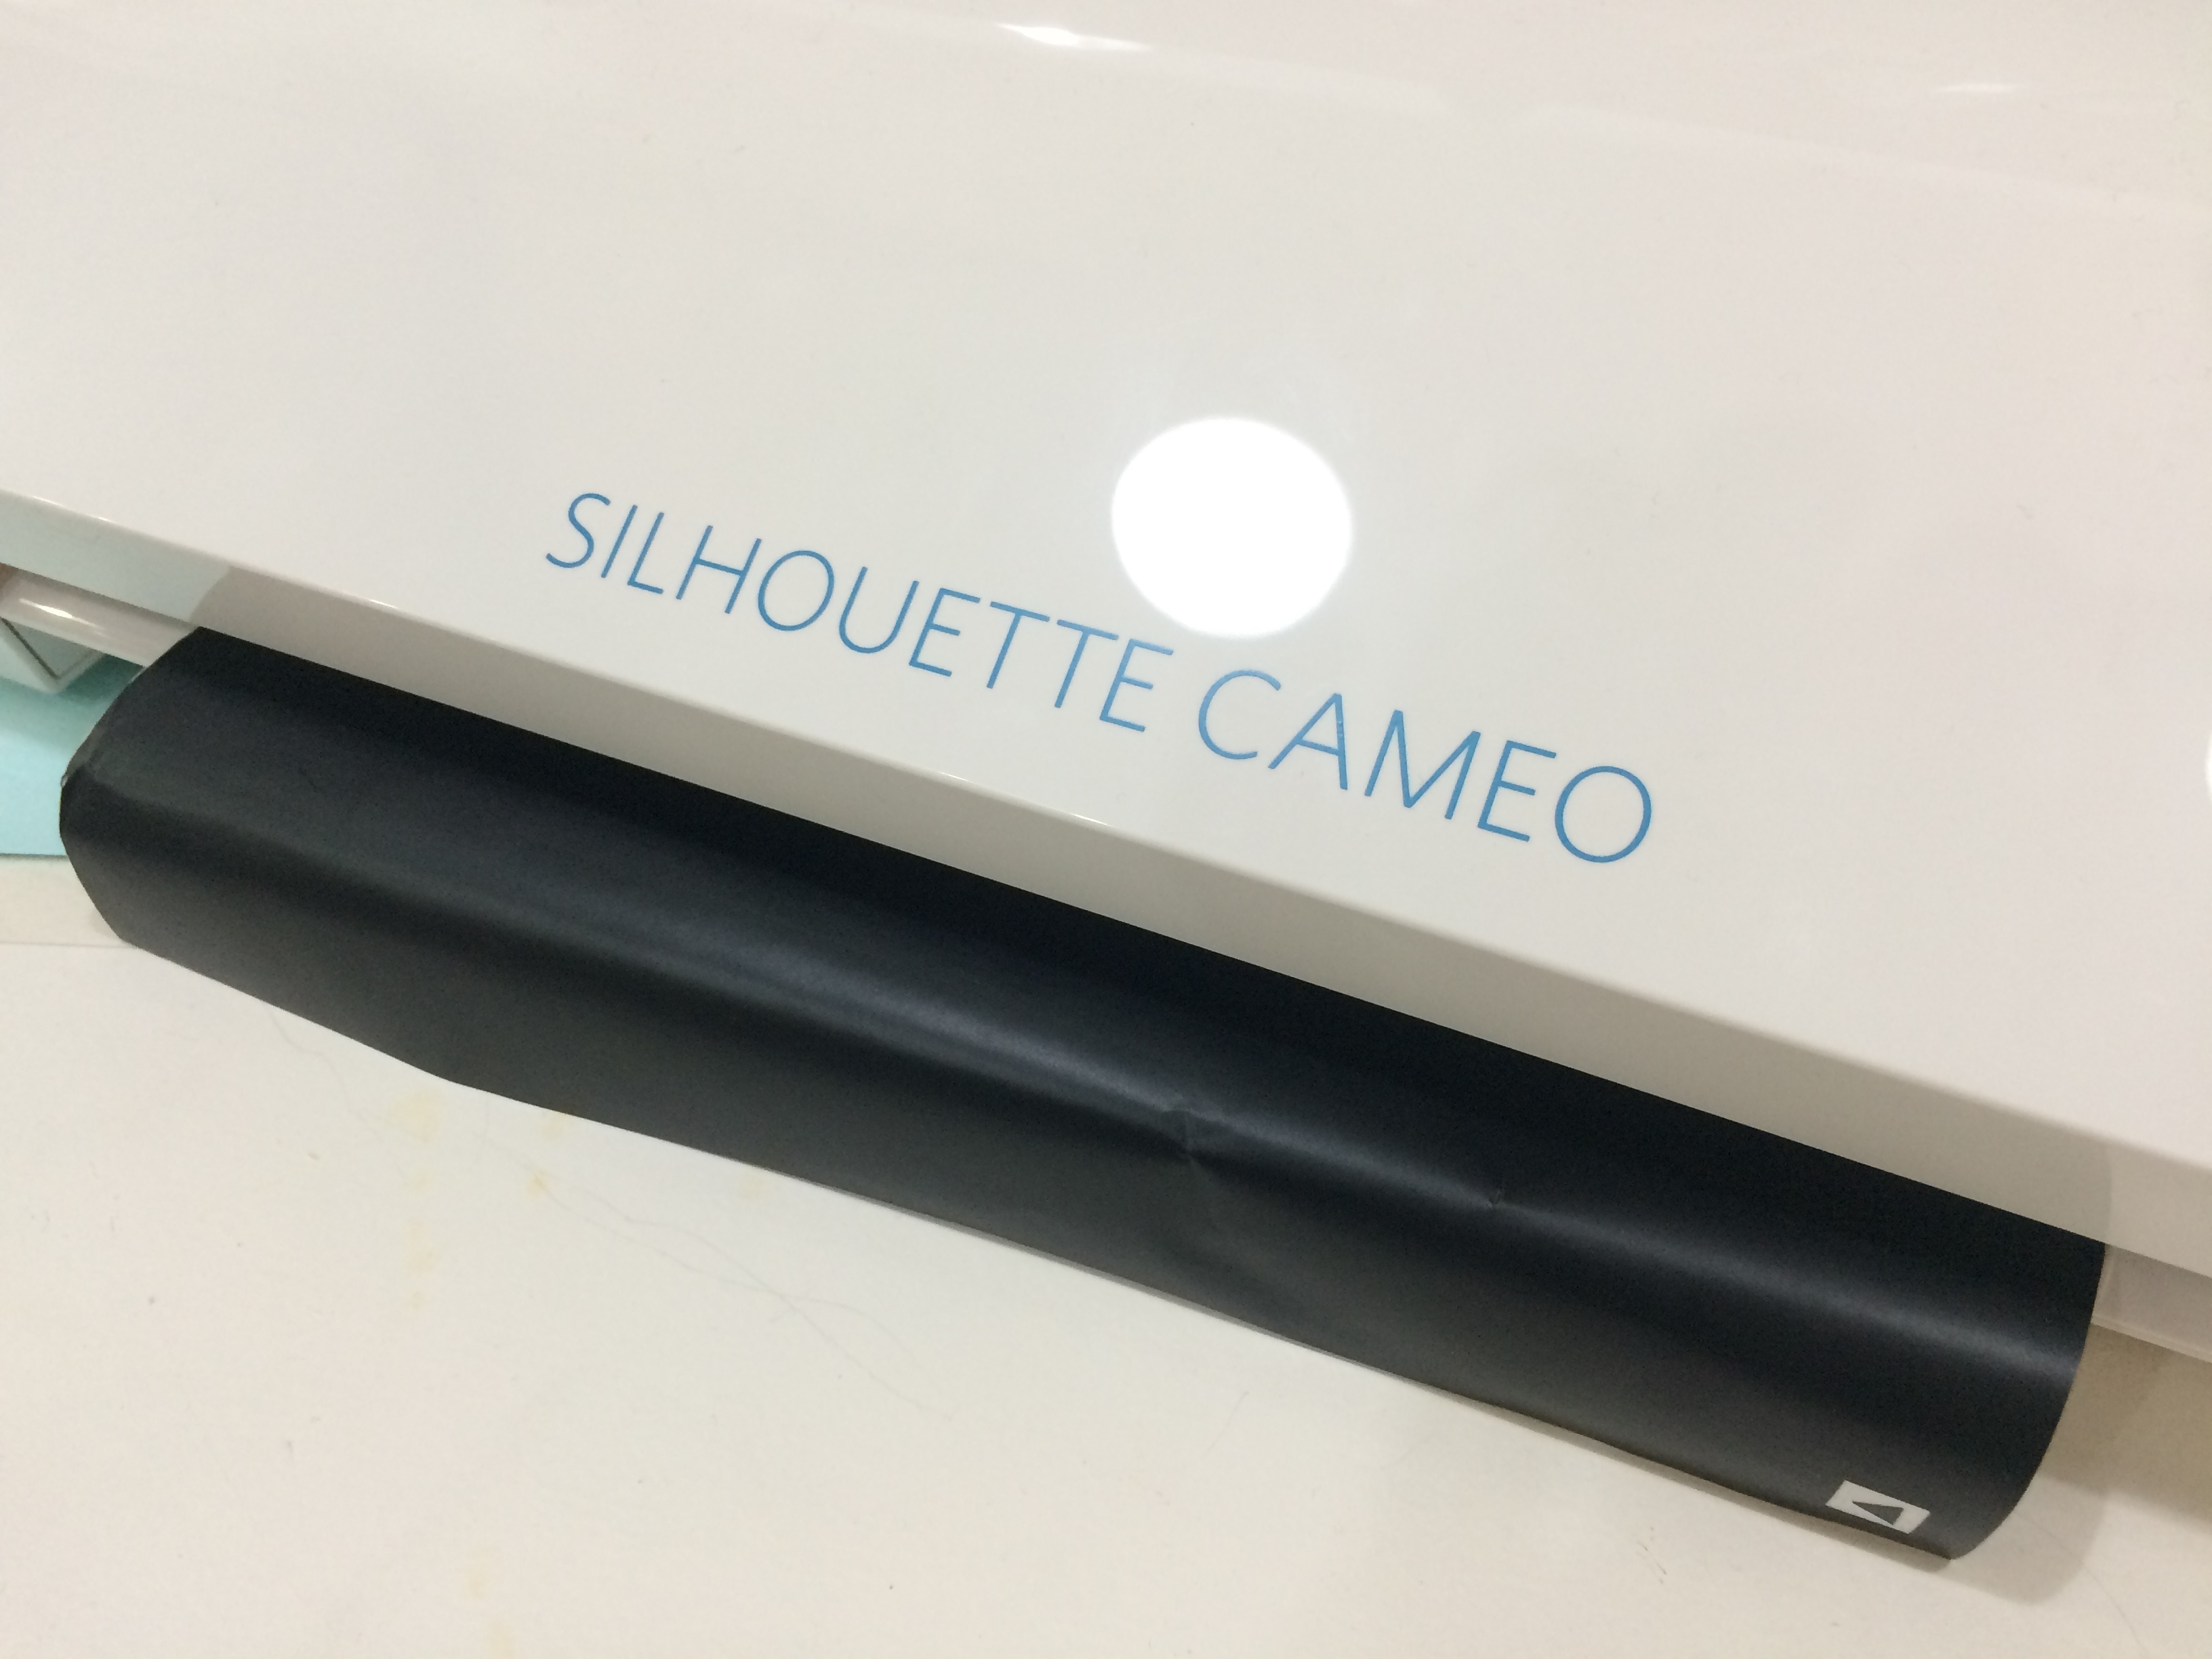
This machine can cut materials up to 2mm, 30cm wide and 3m long (usually in a roll). It has two blades, variable speed and pressure of the blade. I searched for the perfect settings for the material I was working and I found this reference sheet:
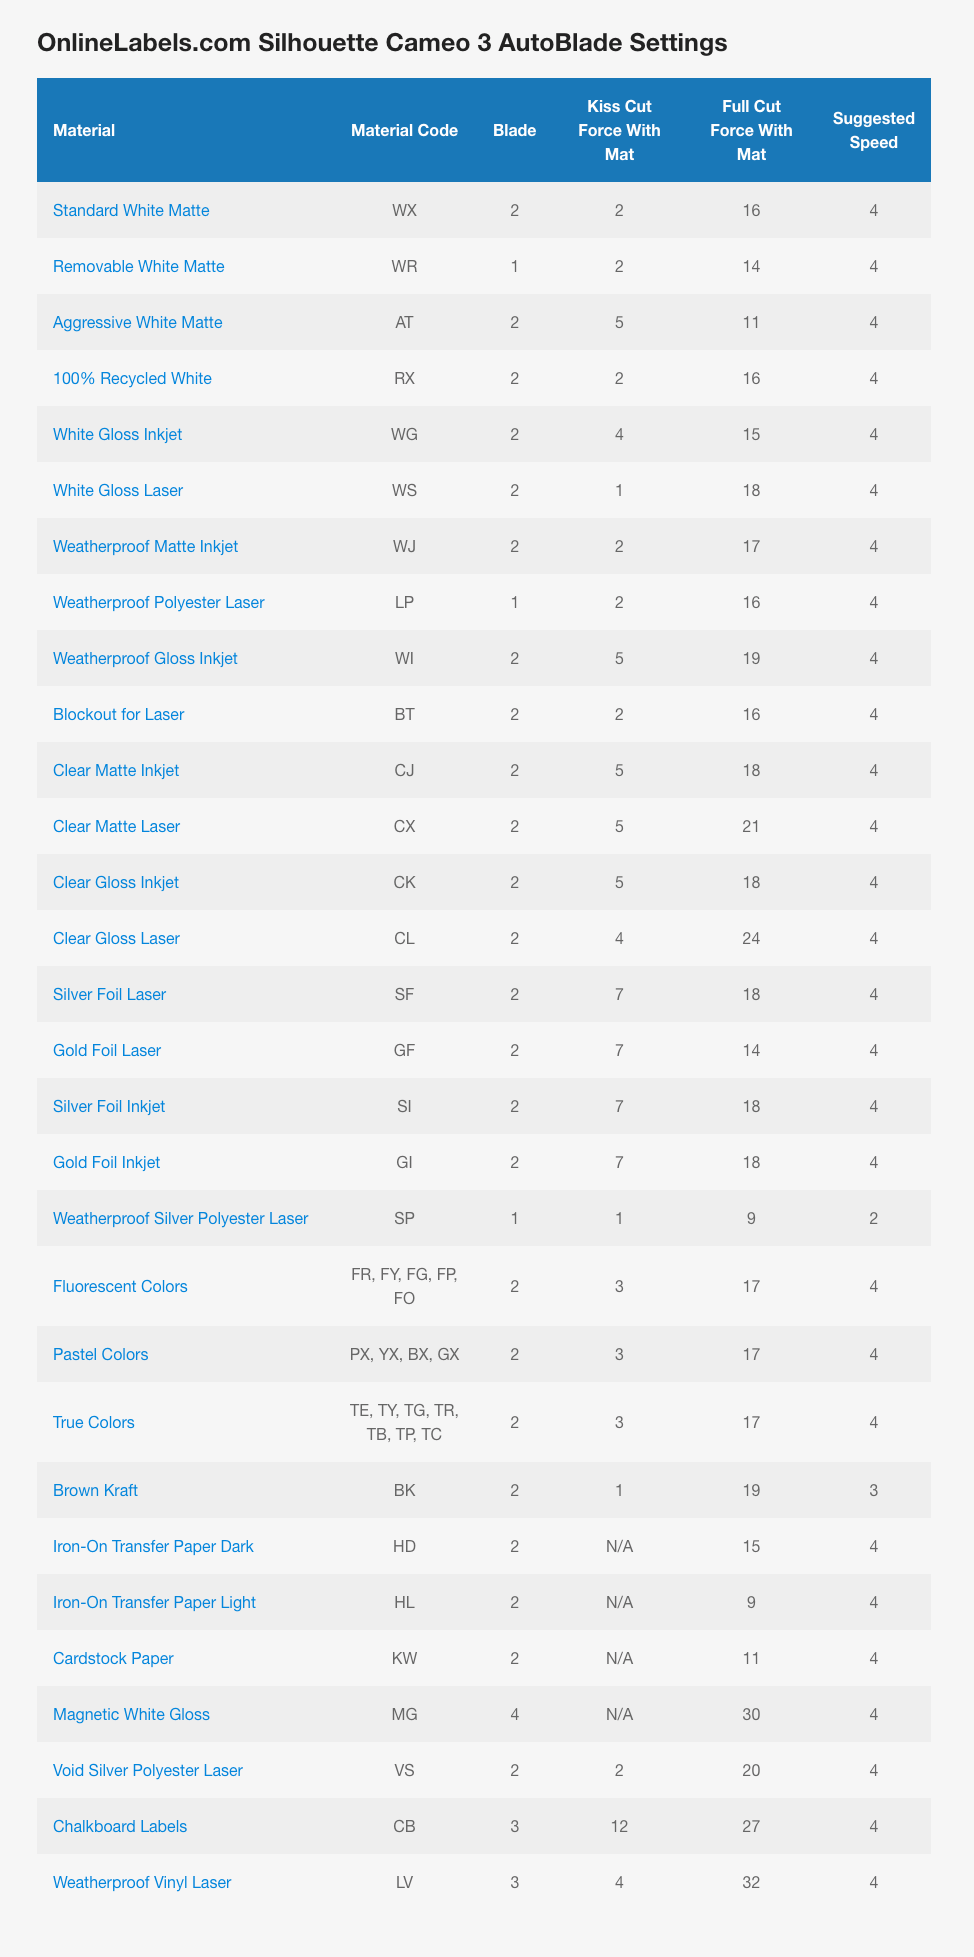
I took a logo from internet, vectorized in Illustrator and exported in .dxf to use in the vinyl cutter software. After you choose the vinyl preset (Blade 2, Speed 8 and Thickness 9) there are not many settings to play with, it’s almost just a matter of hitting play.
Had some problems using a vinyl that was a little wrinkled but once I changed to a new one it cut really well.
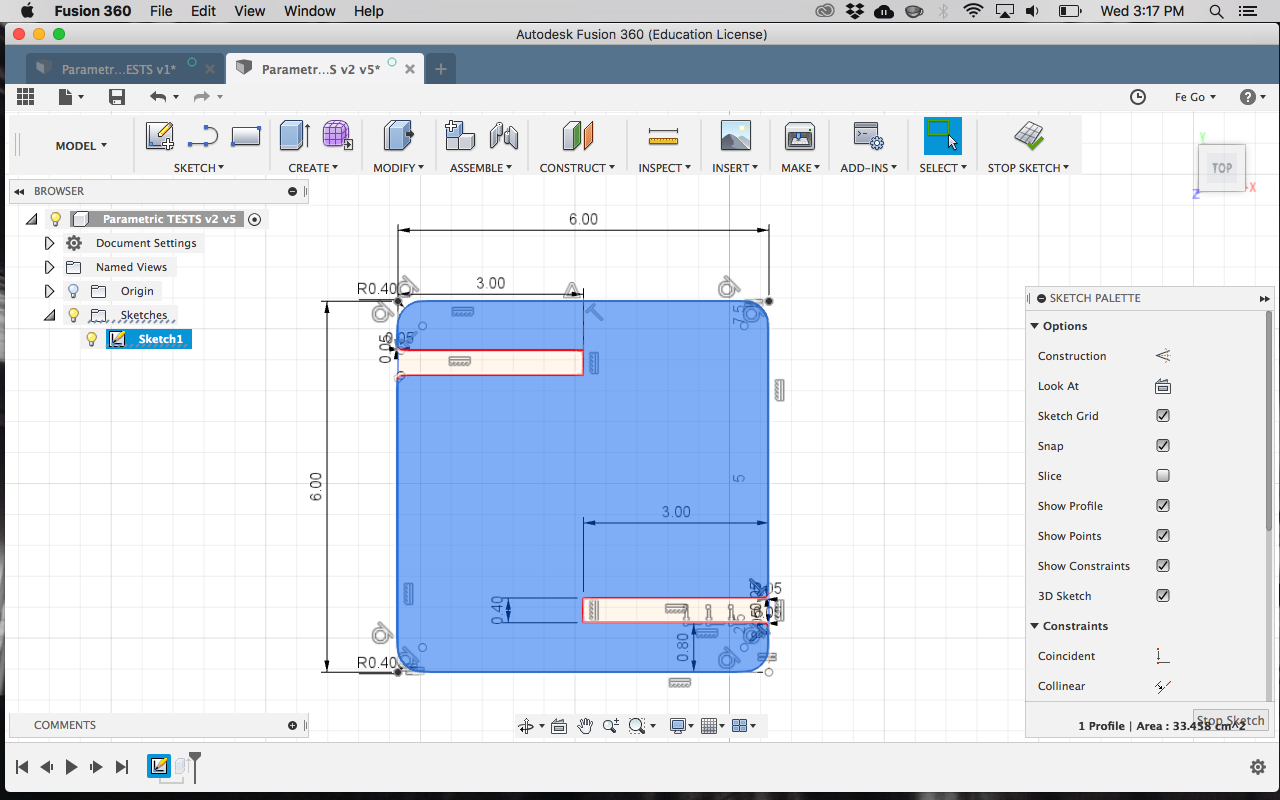
Parametric design and Press Fit Kit
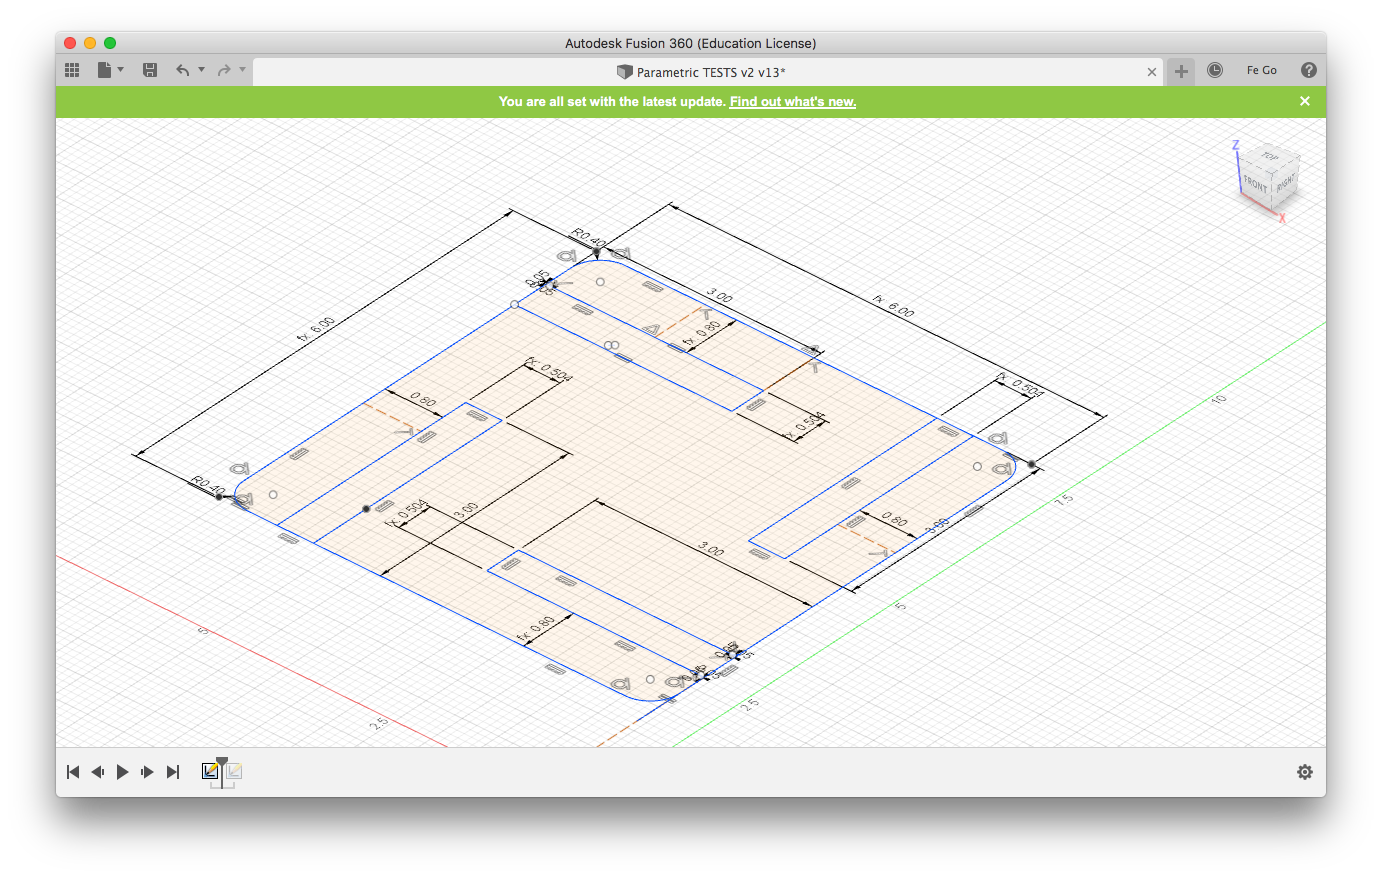
I advanced in using Fusion and it’s parametric features. It’s really difficult to start if you don’t know nothing about the software so I recommend watching some video tutorials like this one.
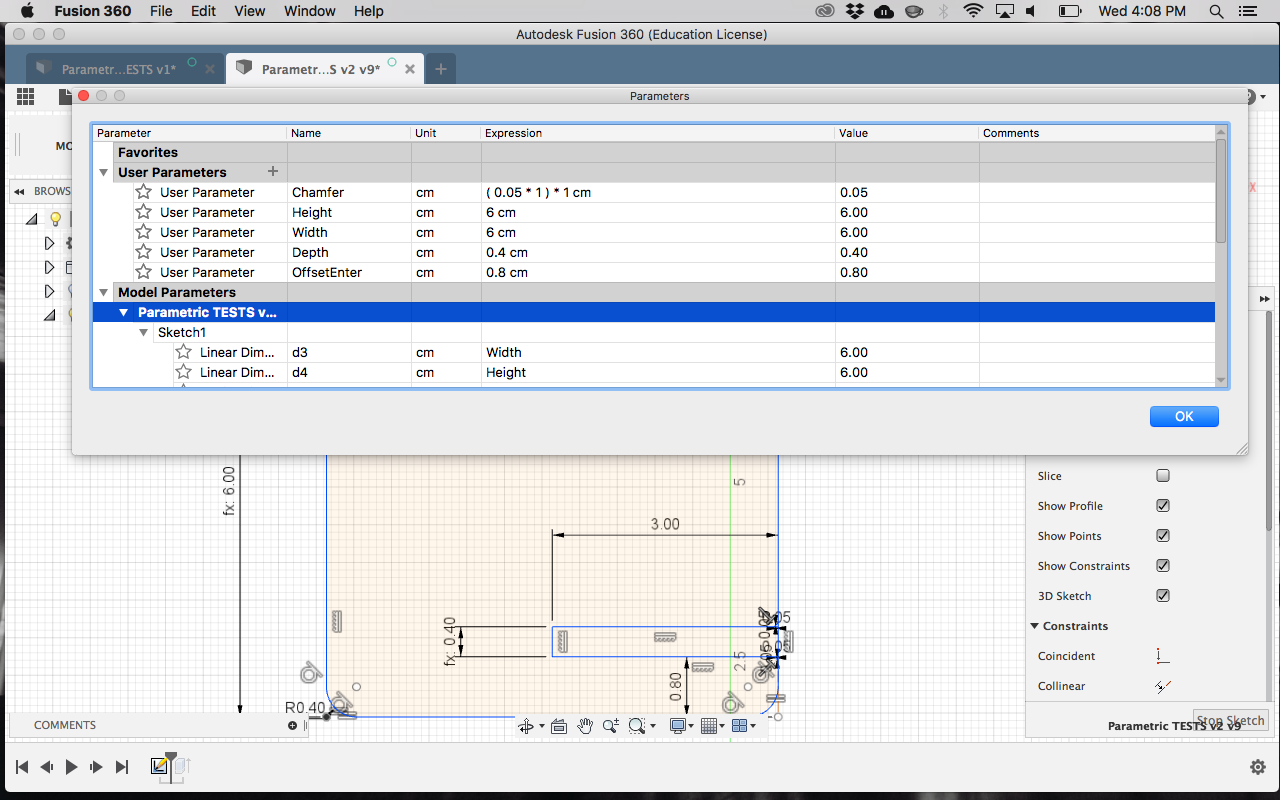
In a nutshell: anything that you want to parametrize has to have a Measure (I) so you can reference on the Change parameters sheet. This dialog box is really cool because you can work with expressions and change everything on the go.

First I tried in 4mm cardboard:
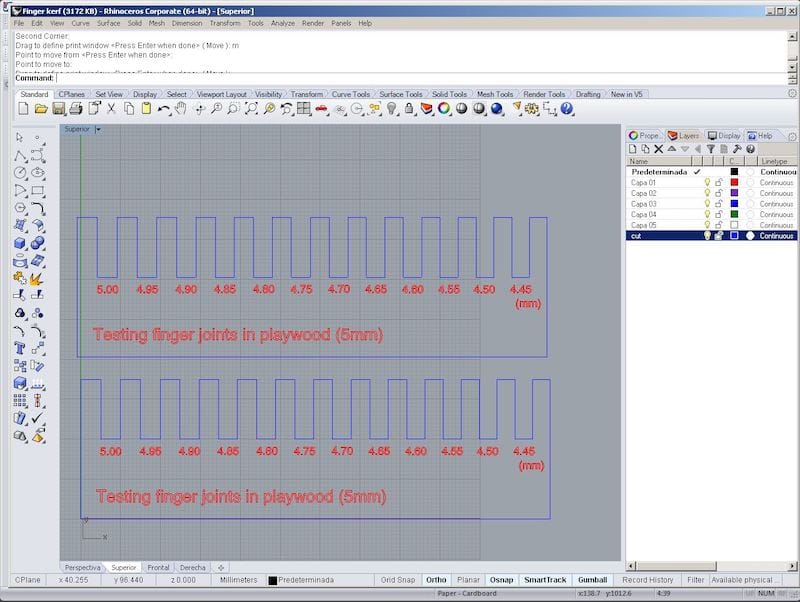
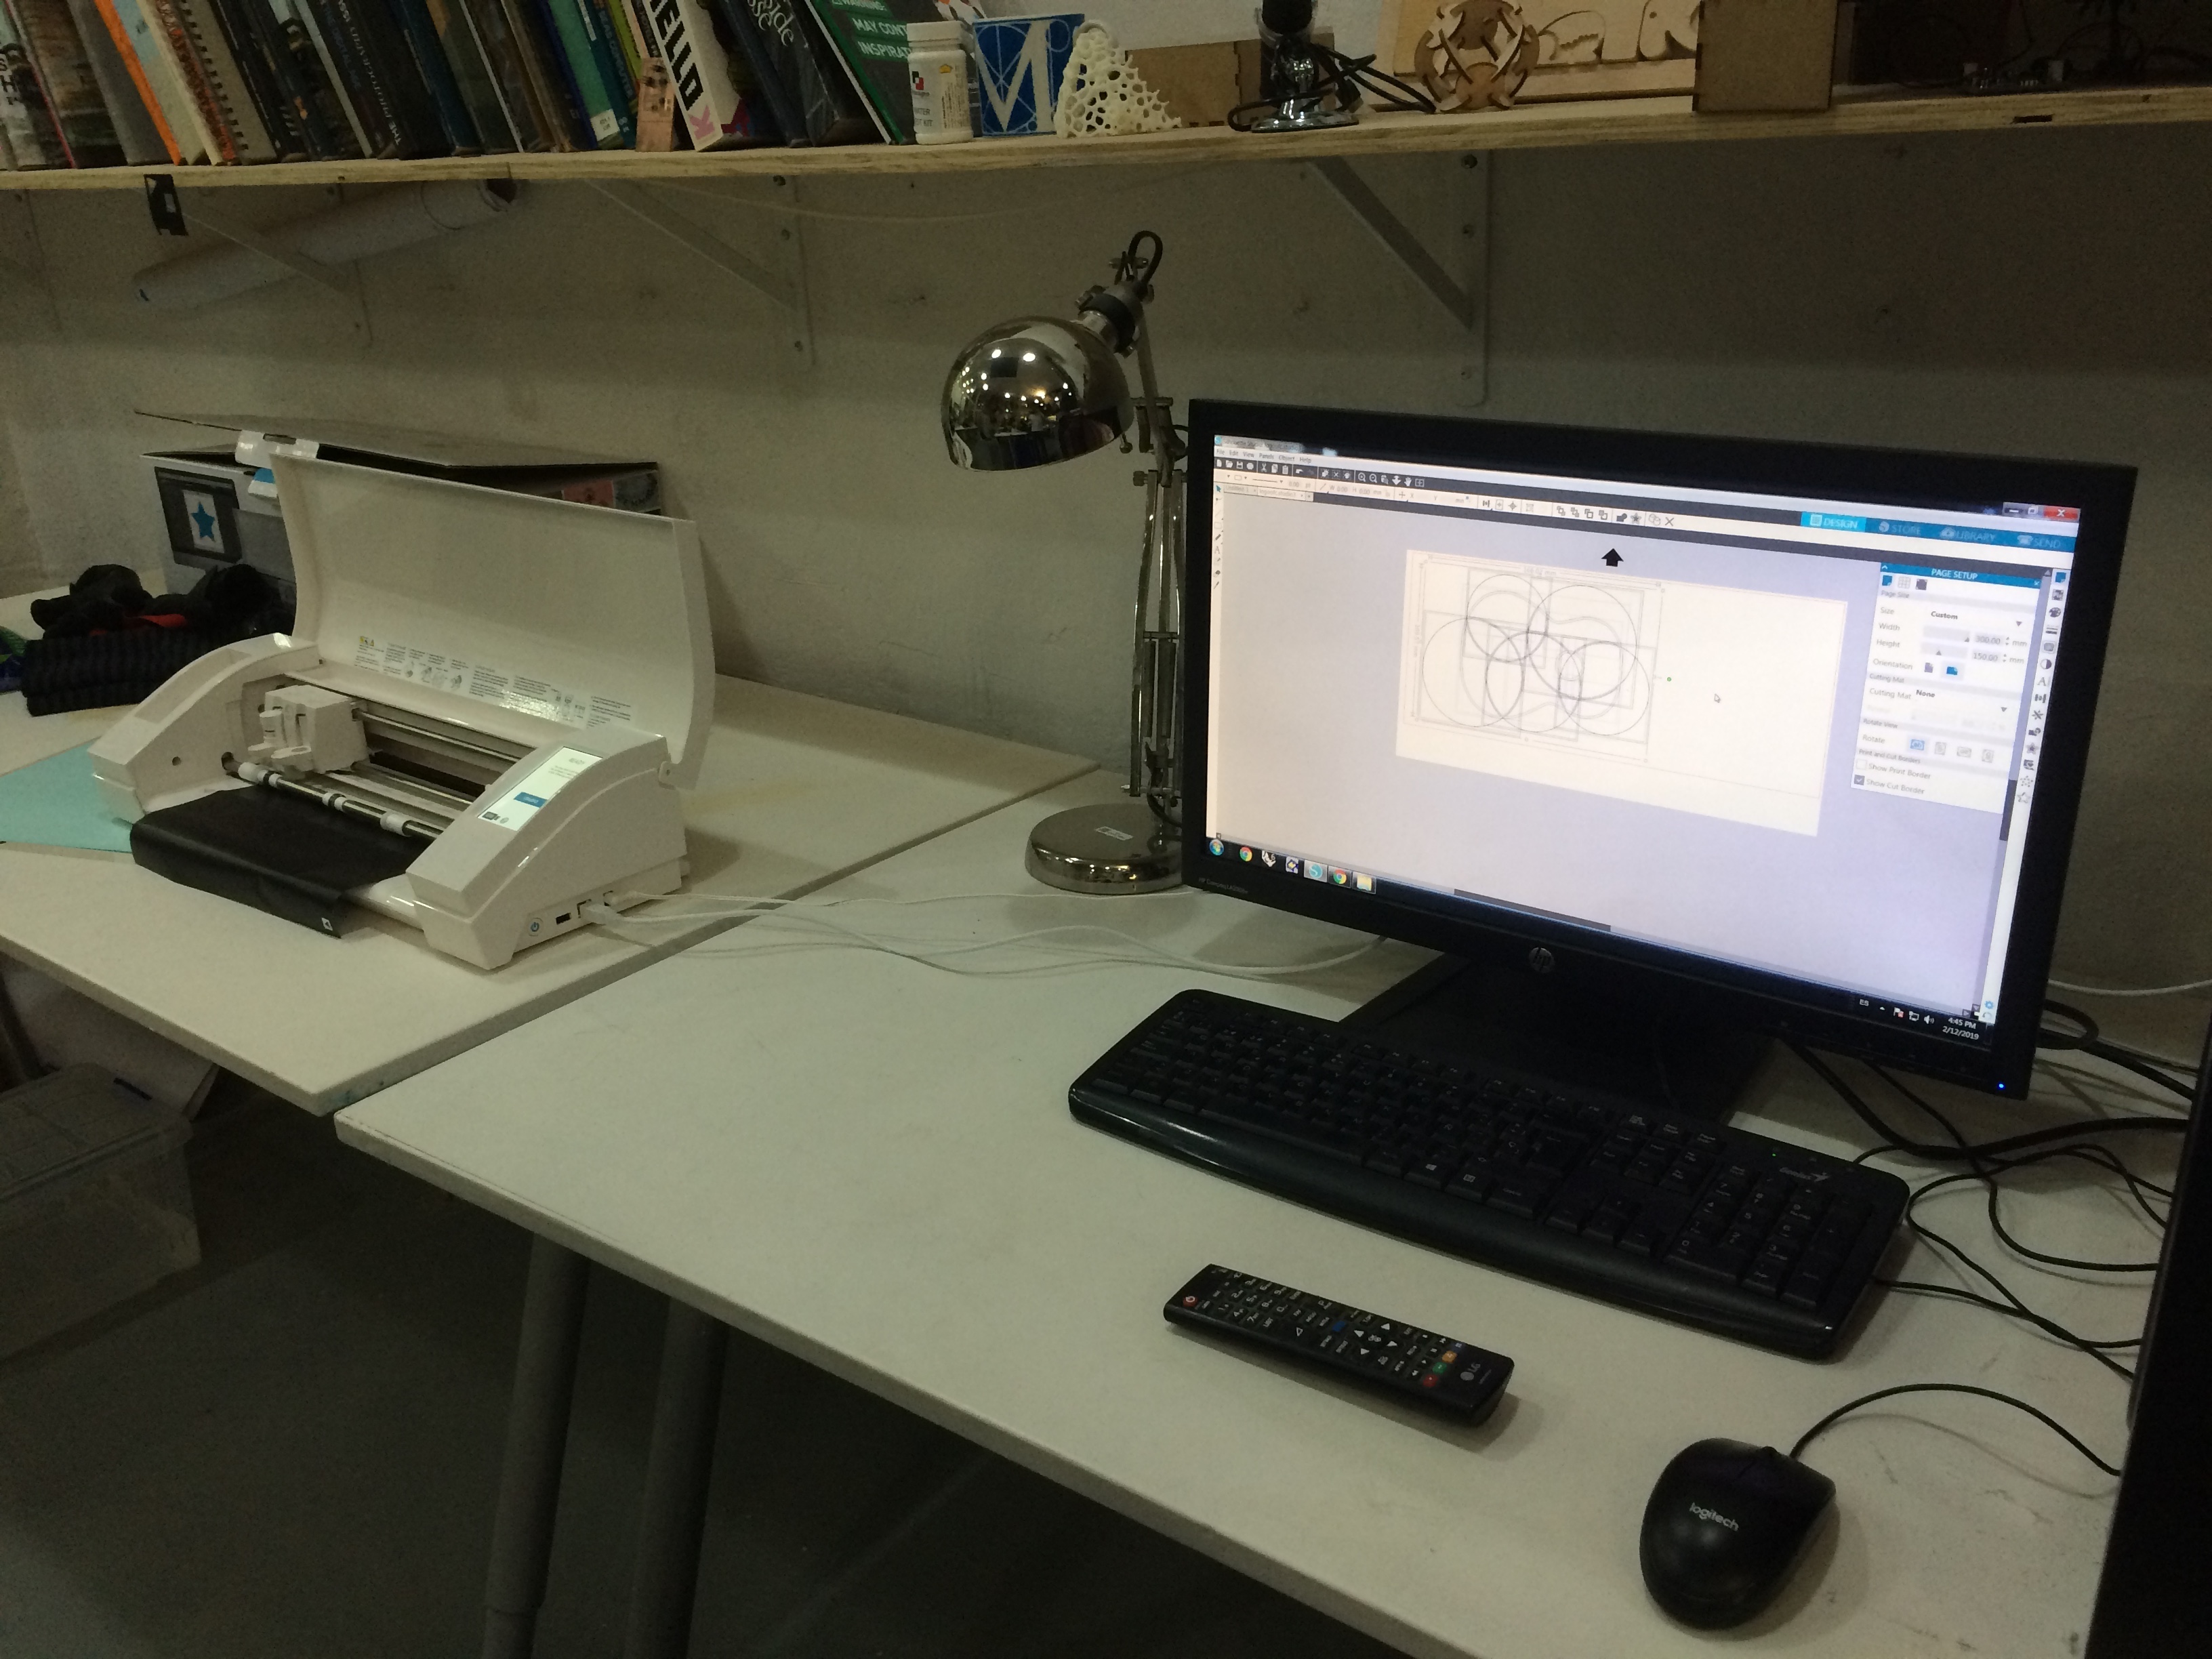
Then I exported in .dxf and loaded in Rhino to send to the laser cutter. In Rhino I had to select the drawing and send to the red layer as it is set to be the cut layer.
We have some presets stored in the laser cutter computer and some sample plates to se how much power, speed and rate should we use for each material. We also have some physical references in material:
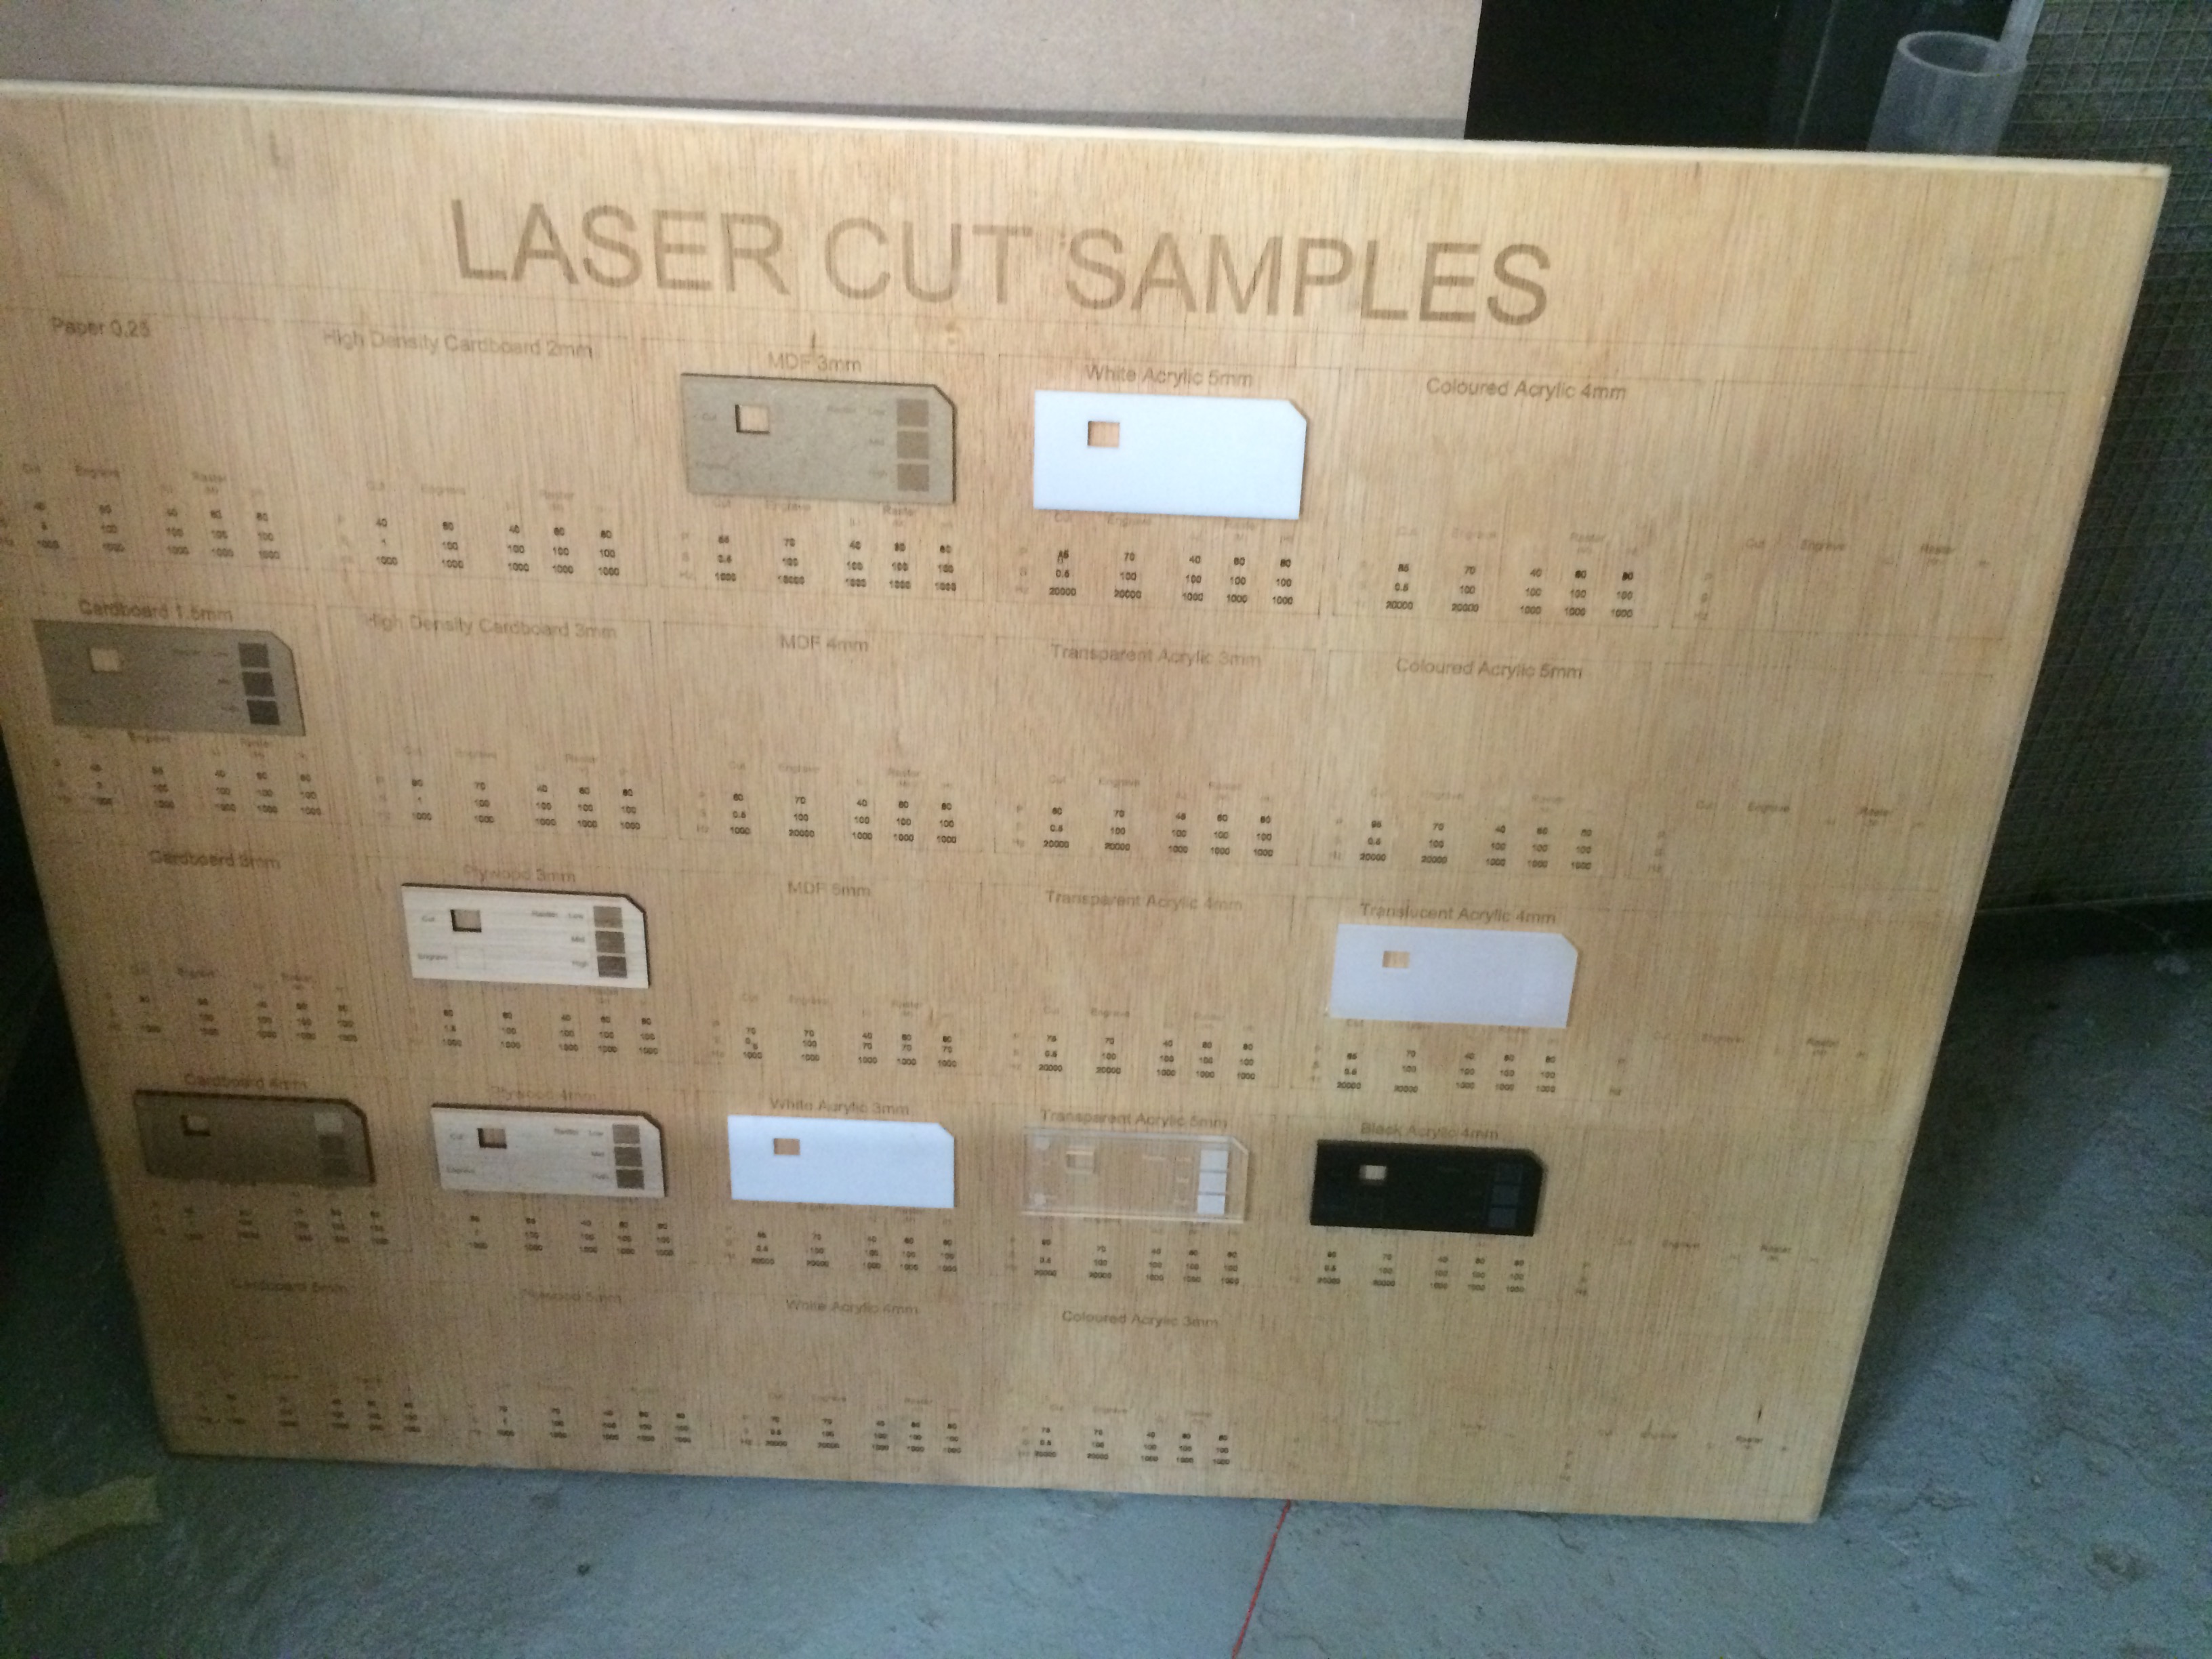
But this are all references, it’s better to make some tests in a small area before cutting for real.
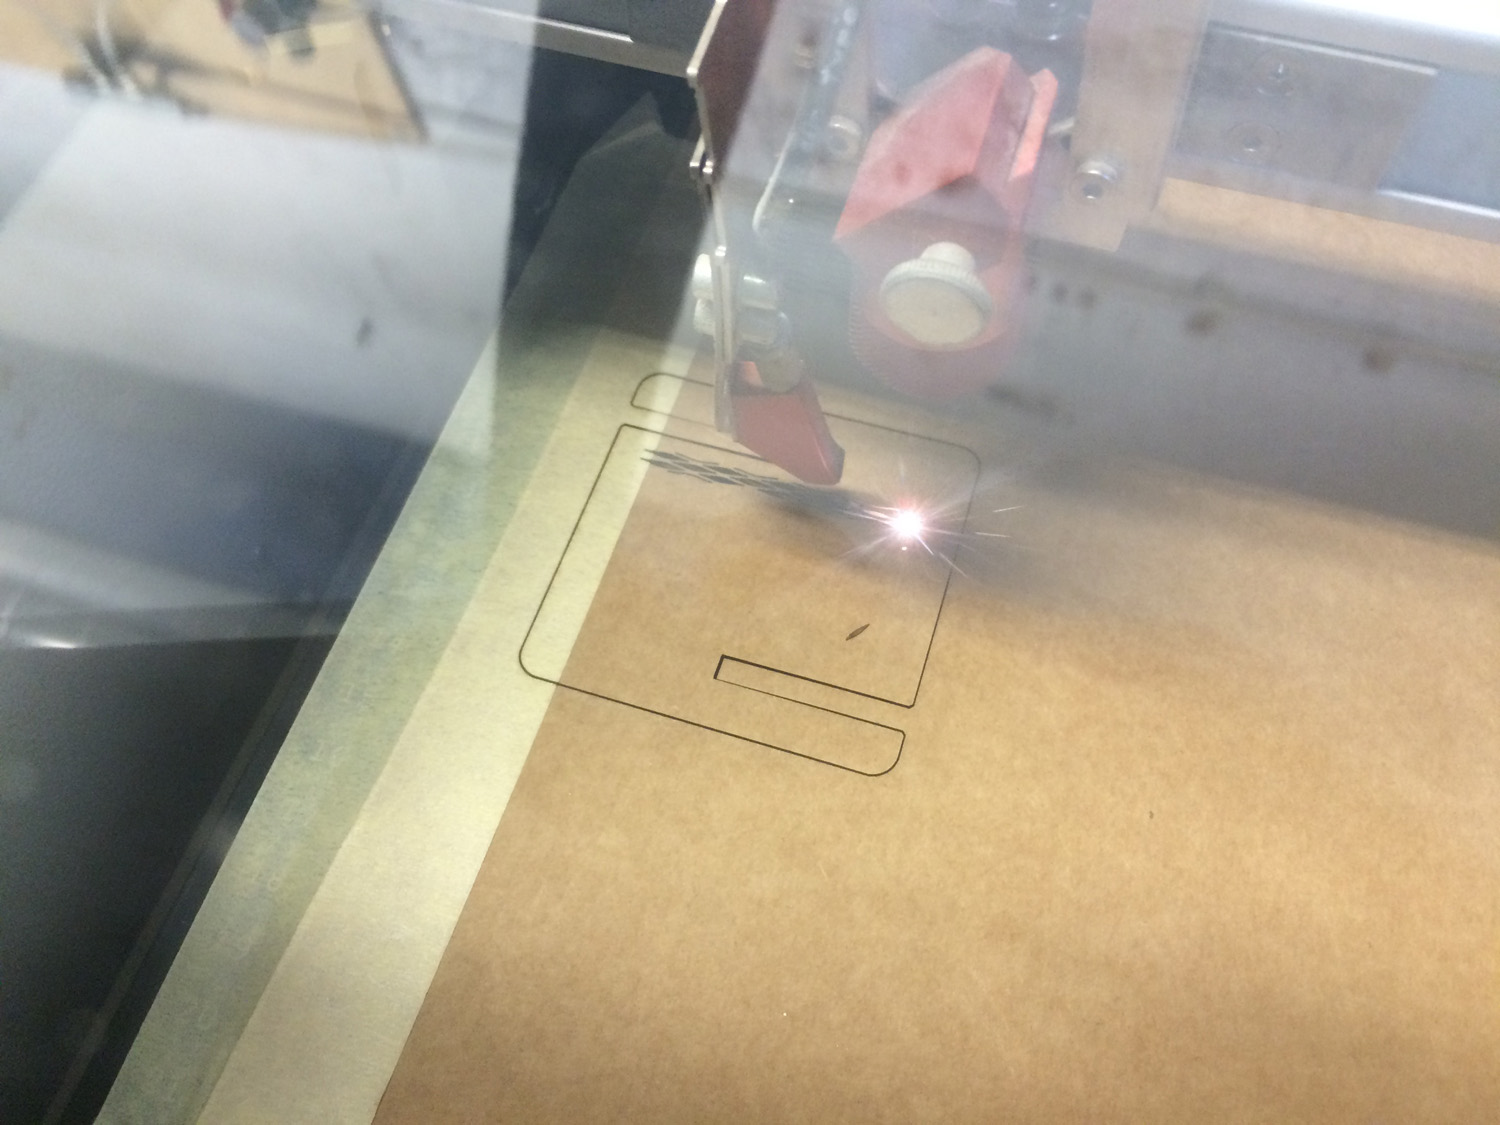
As you may see in the corner of the picture I used too much power in my first attempt.
In the end I used:
- Power: 40 / Speed: 100 / Hz: 1000
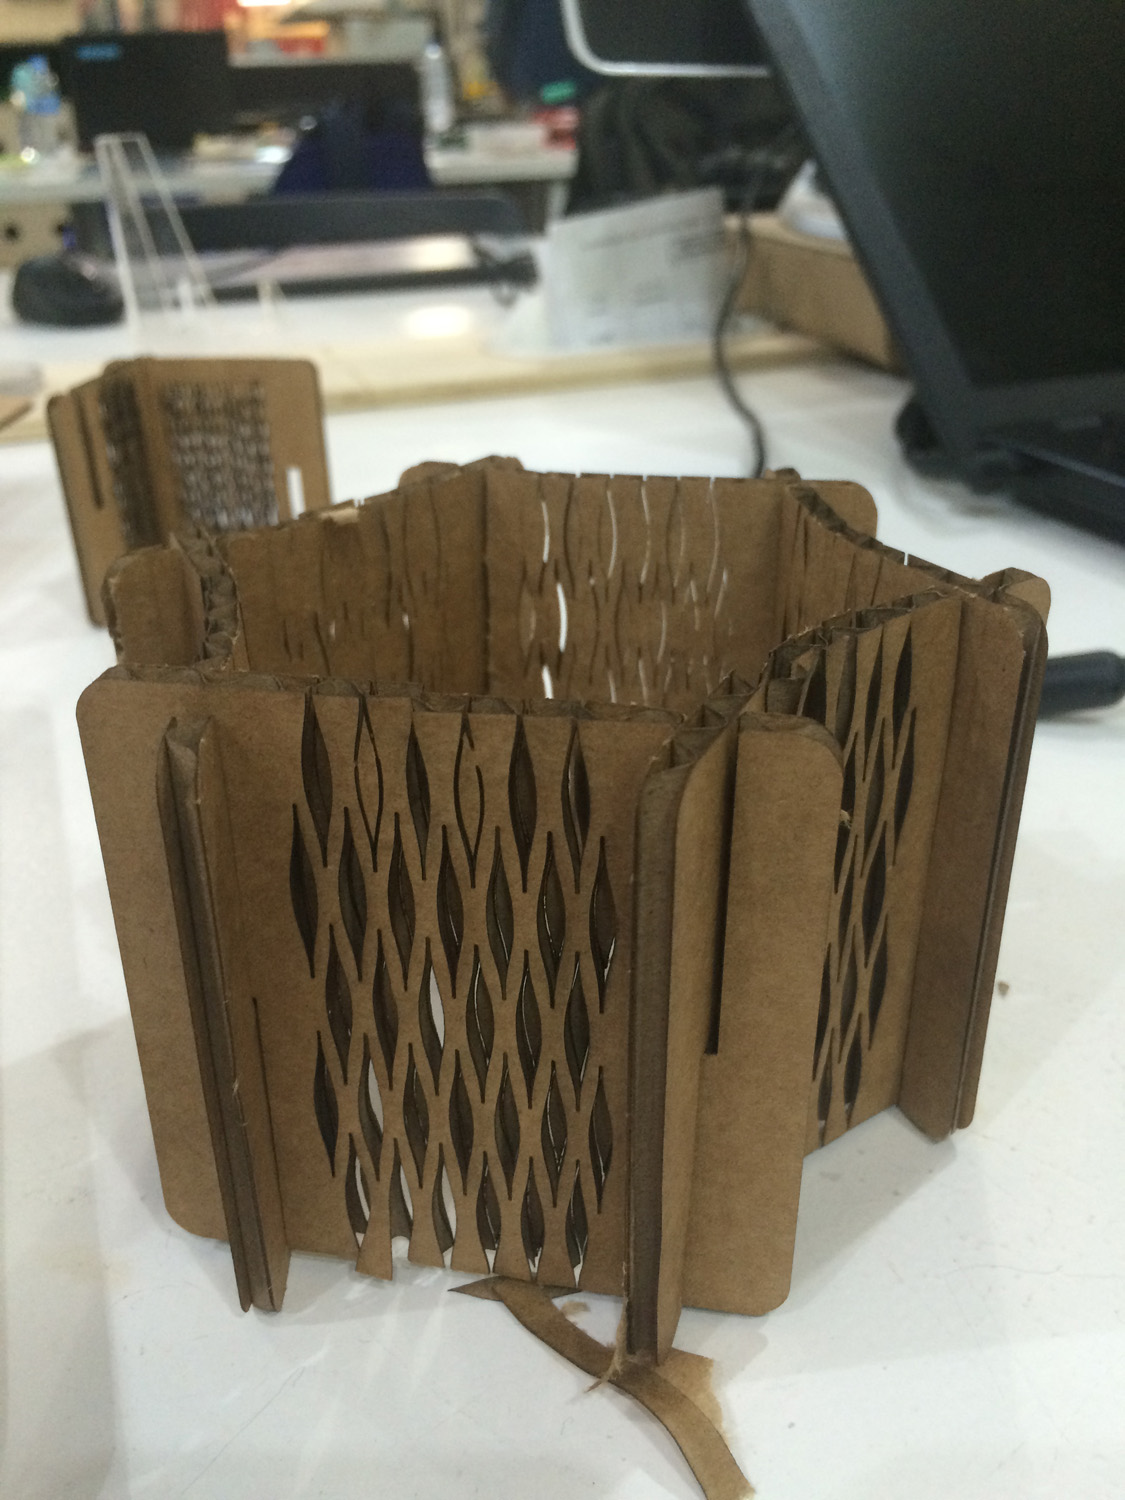
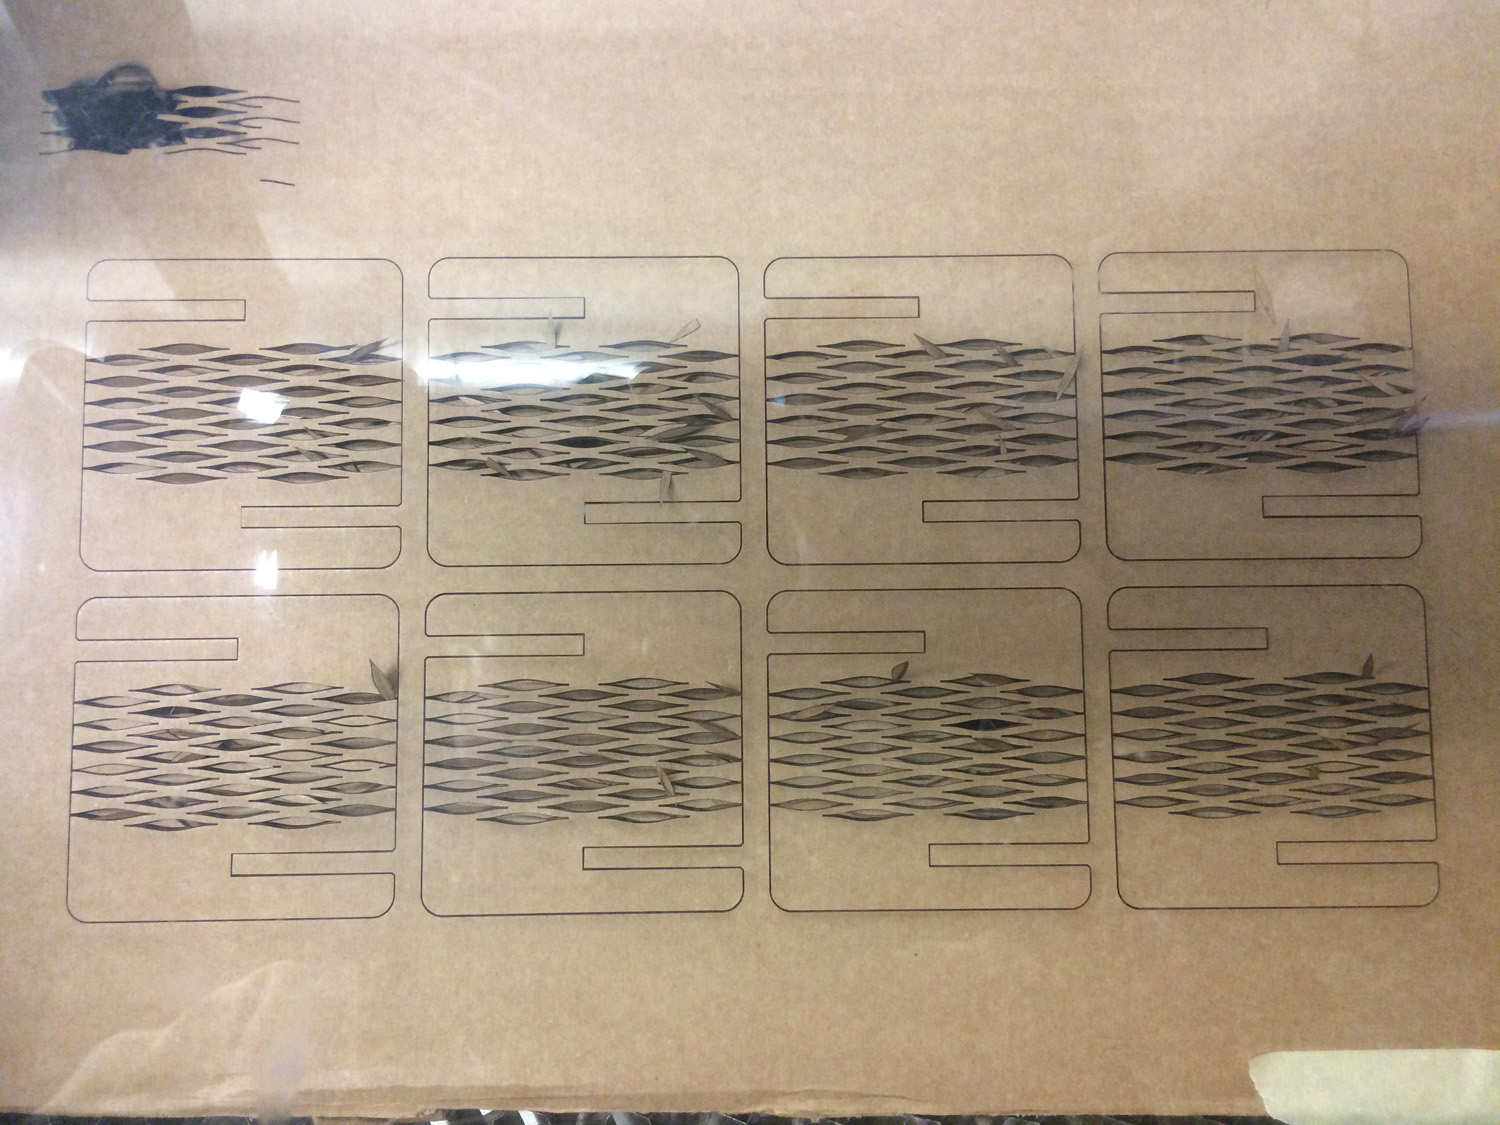
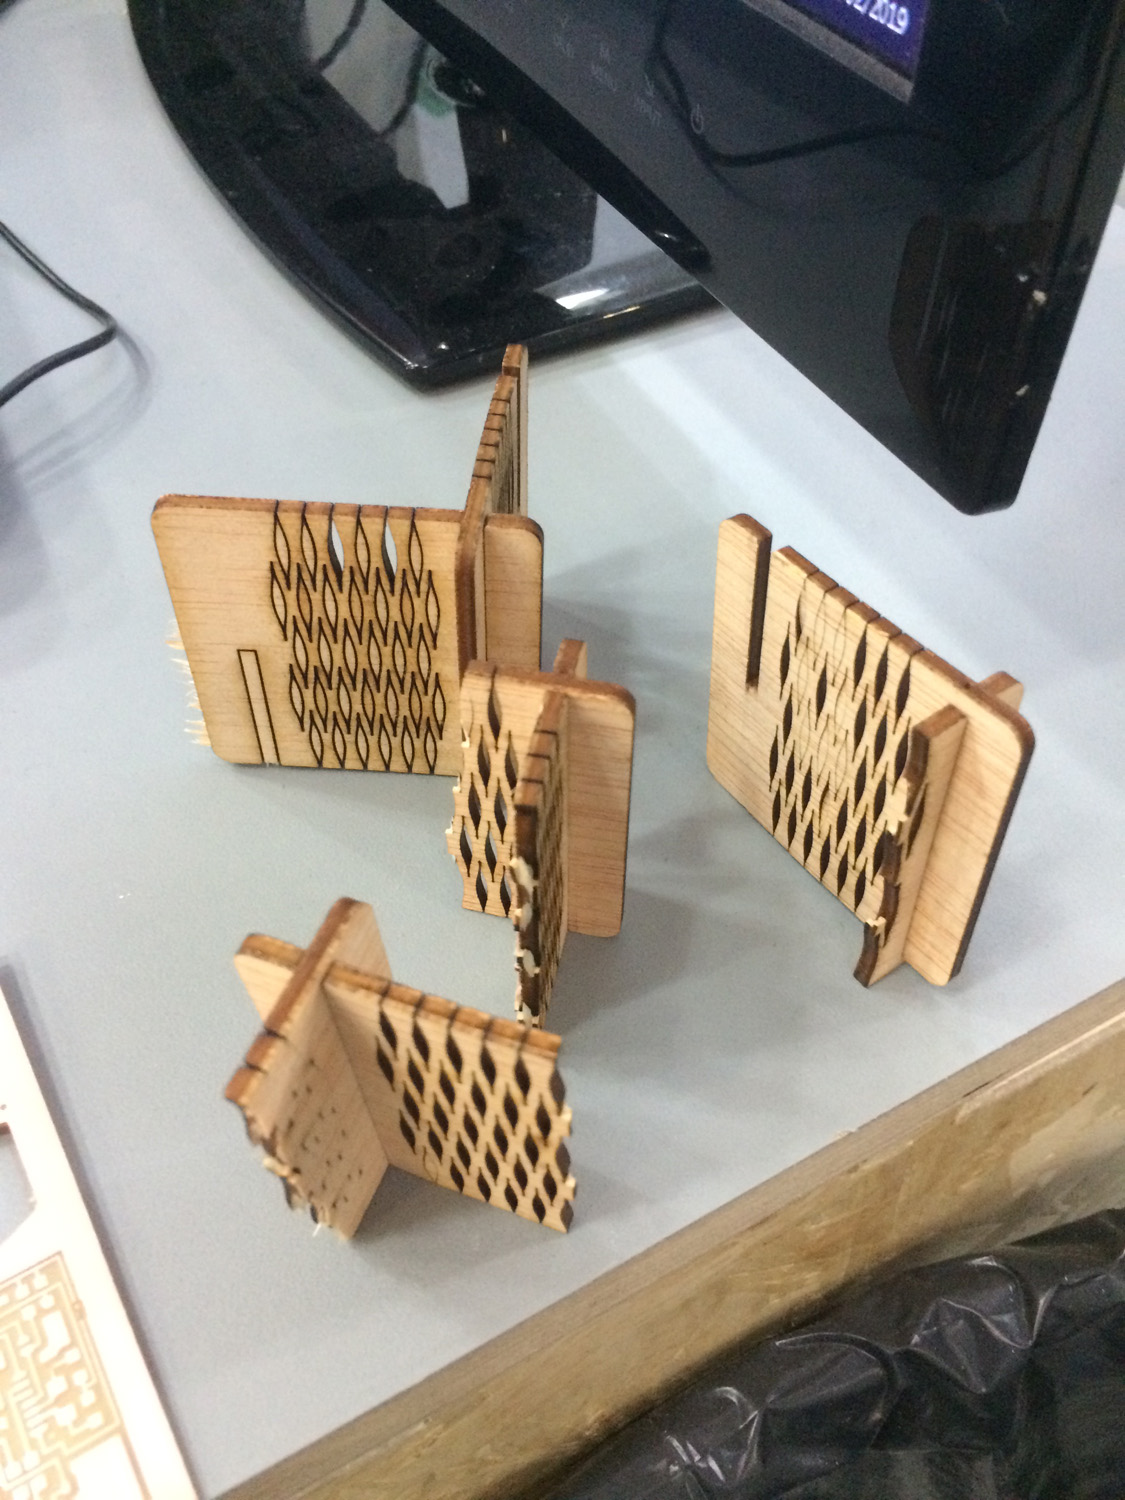
I tried some flex patterns and some fittings that I did my first try in compensating for the kerf (0.2mm) of the laser cutter.
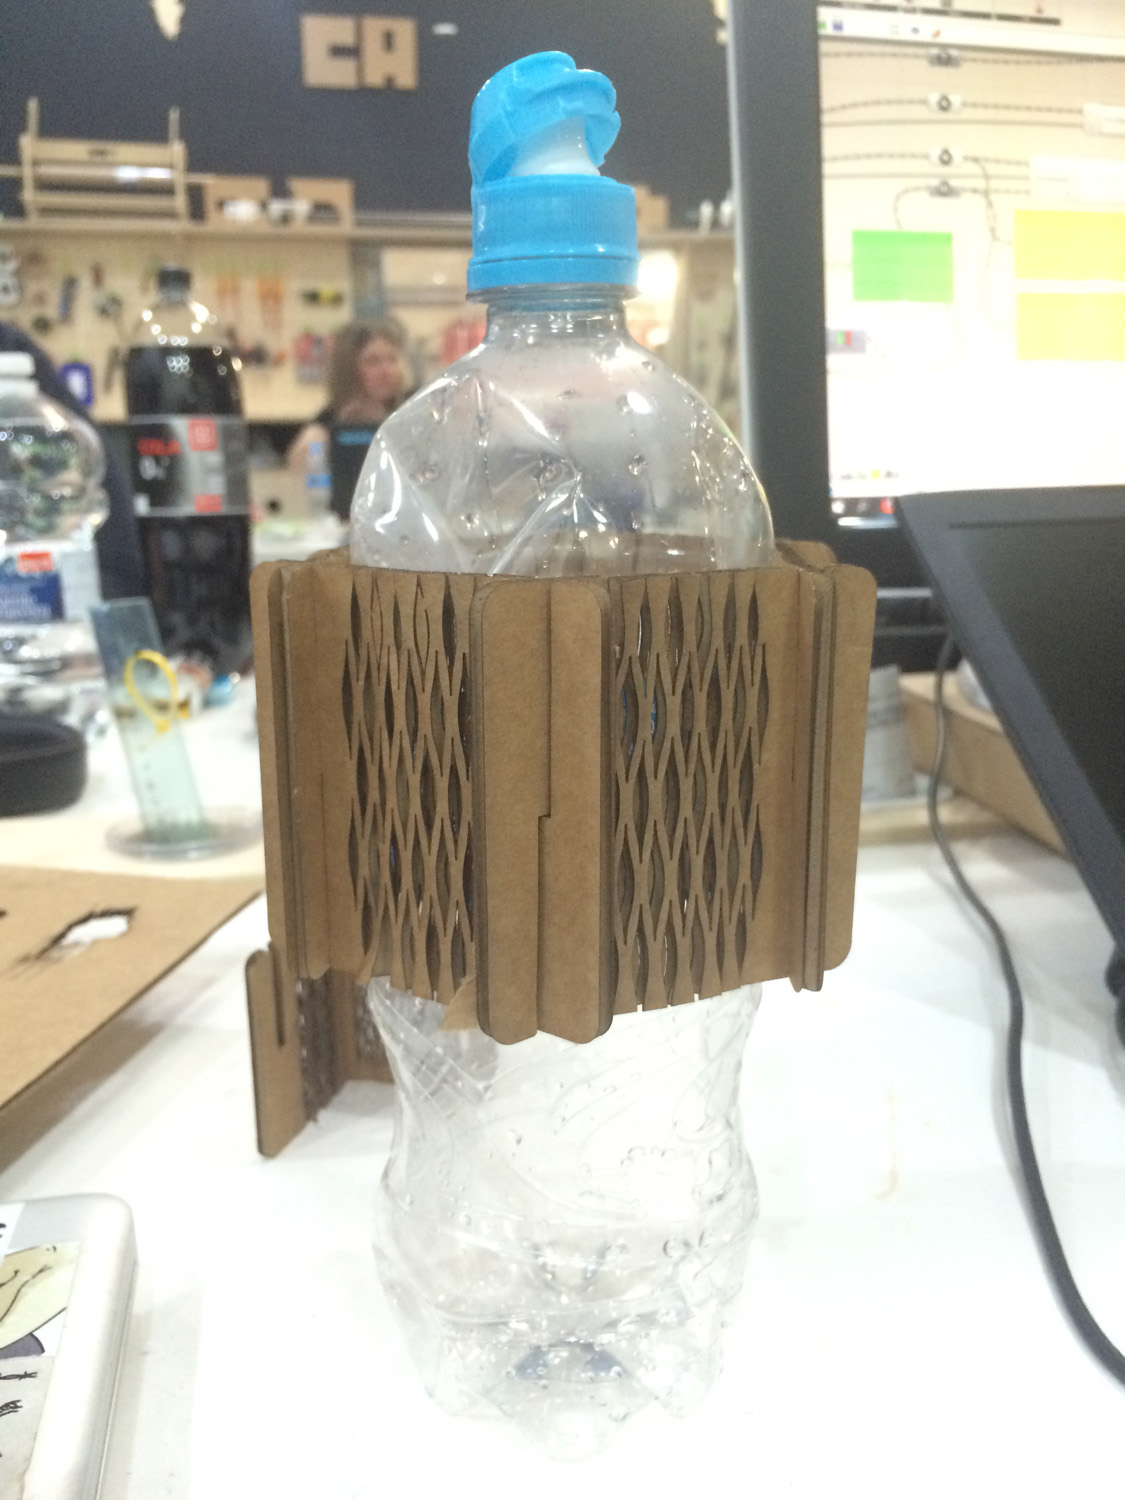
The fit was just perfect!
Then I modified it’s parameters to cut in 3mm plywood. The fitting was ok but I forgot to order the cut so the outlines were cut before the inside patterns, which caused a little defocus and did not cut through. The result was a very fragile piece that broke as soon as I tried to bend it.
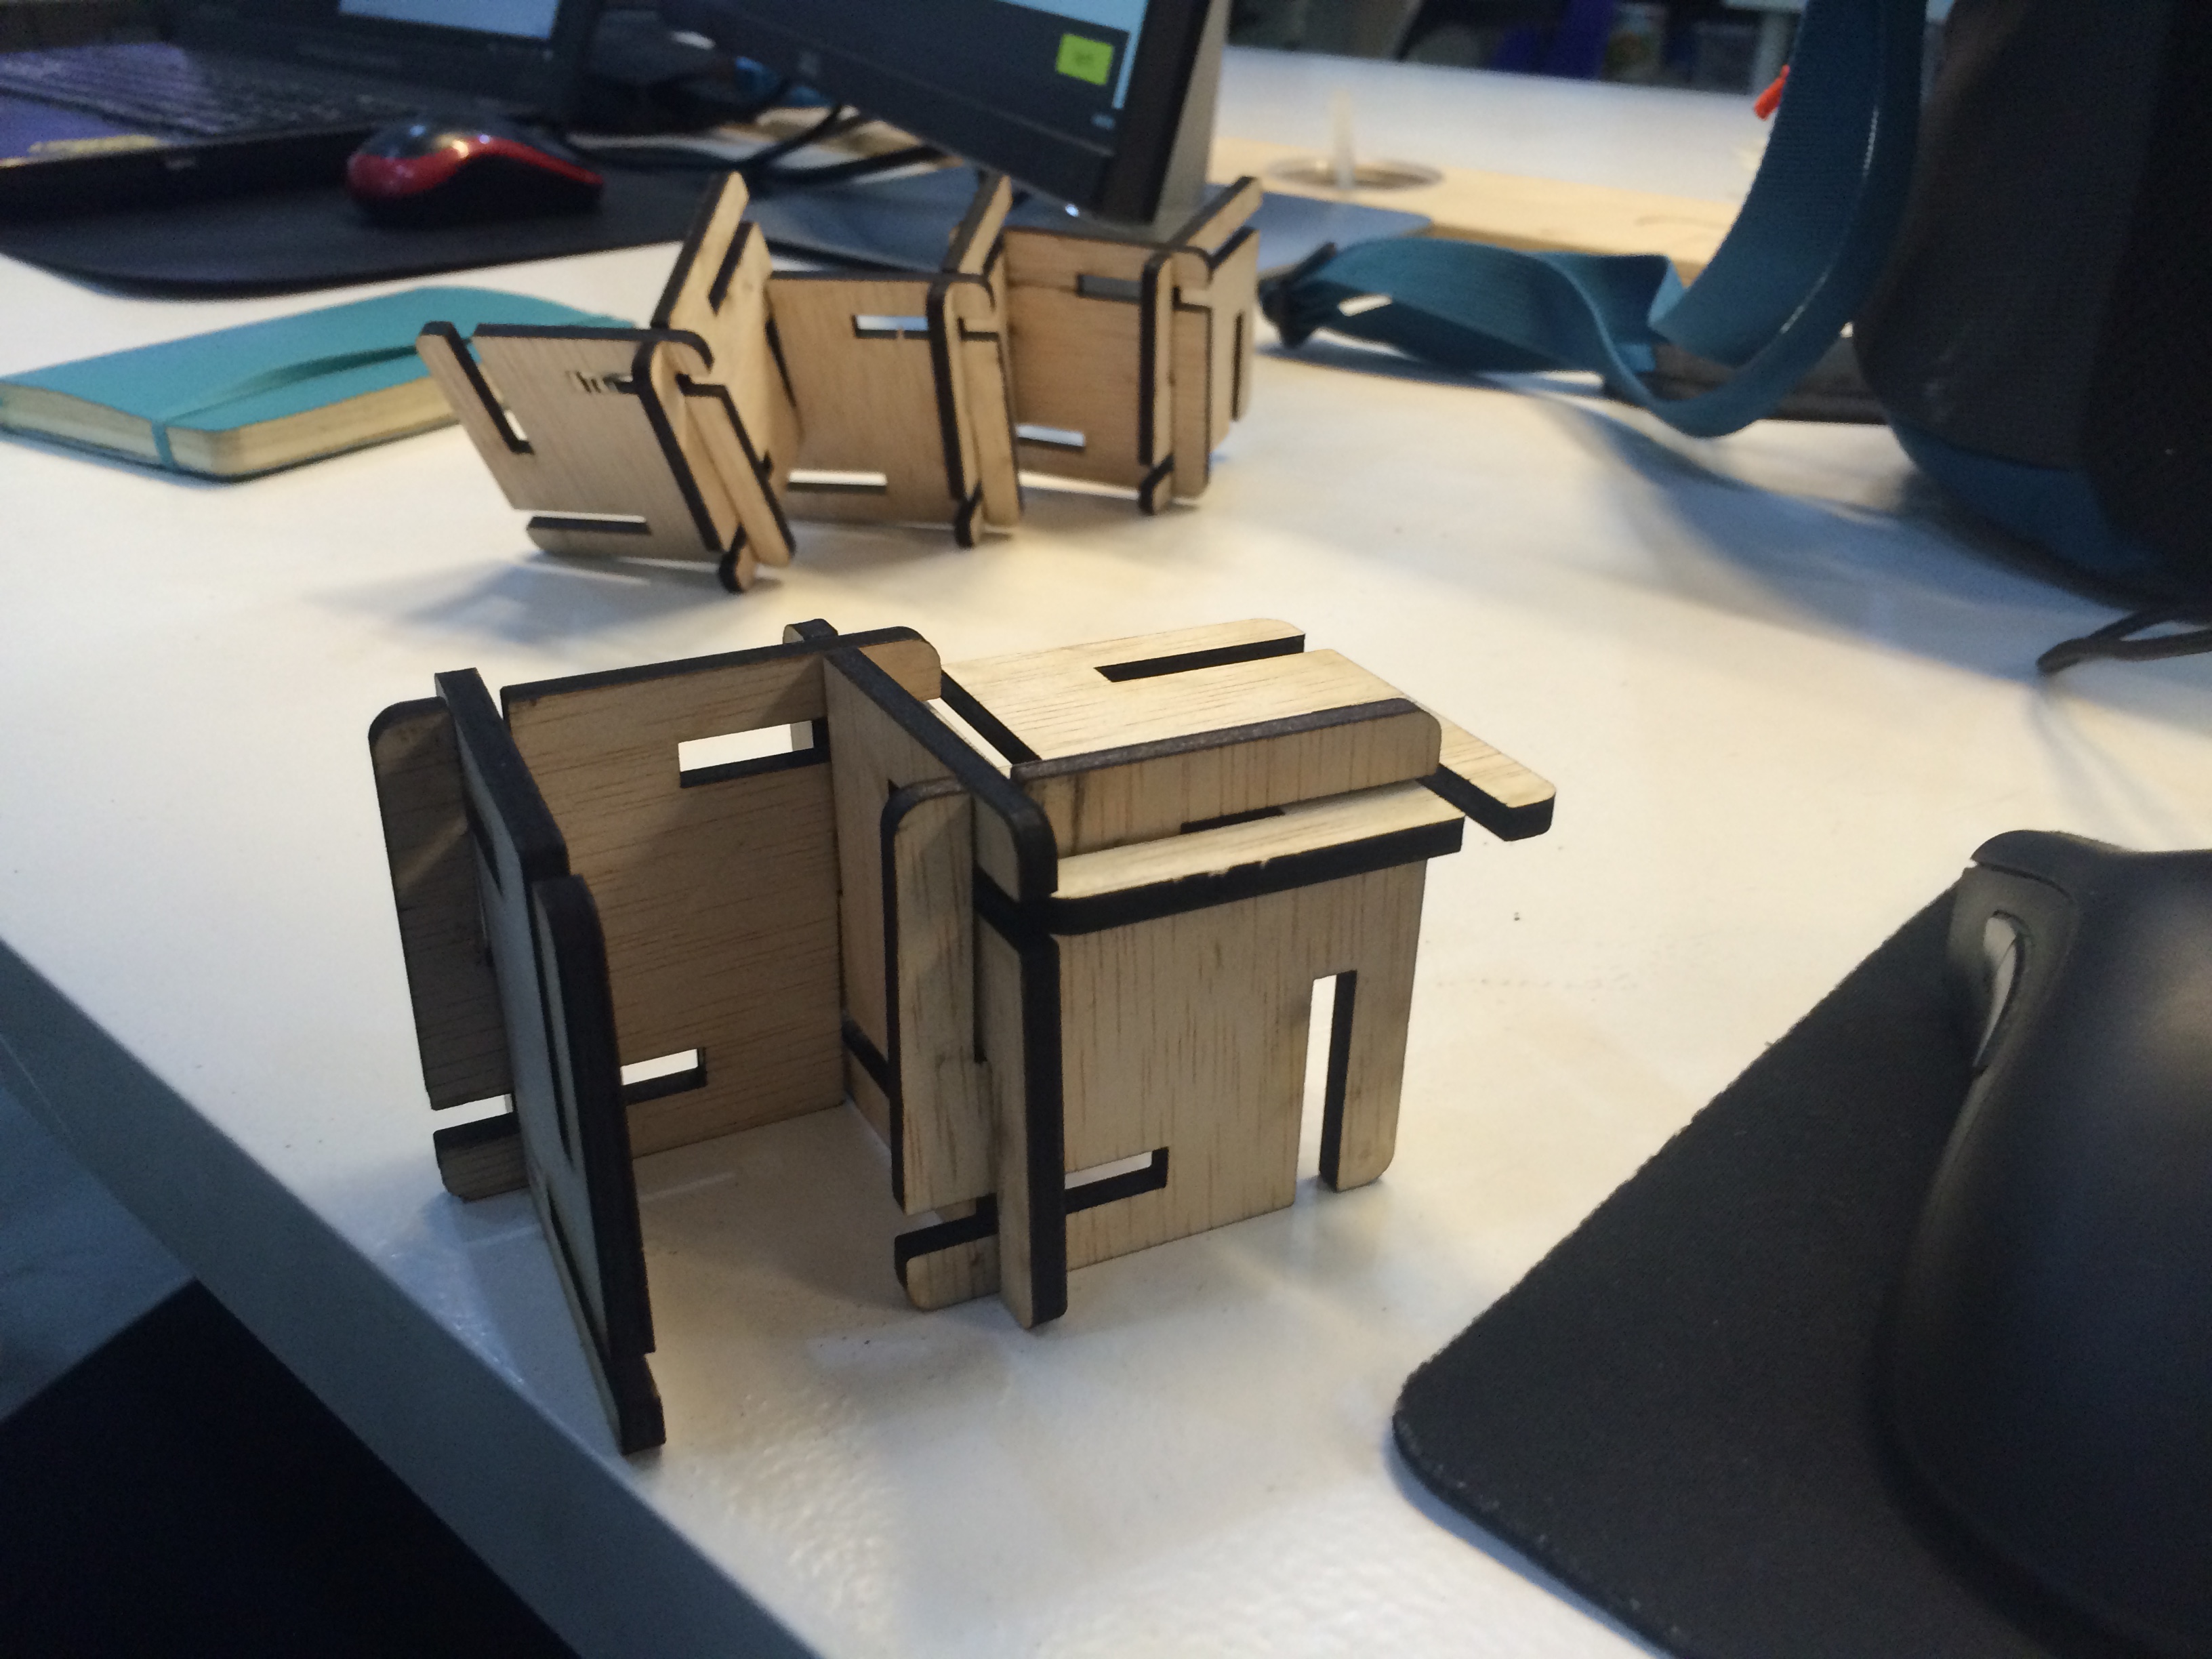
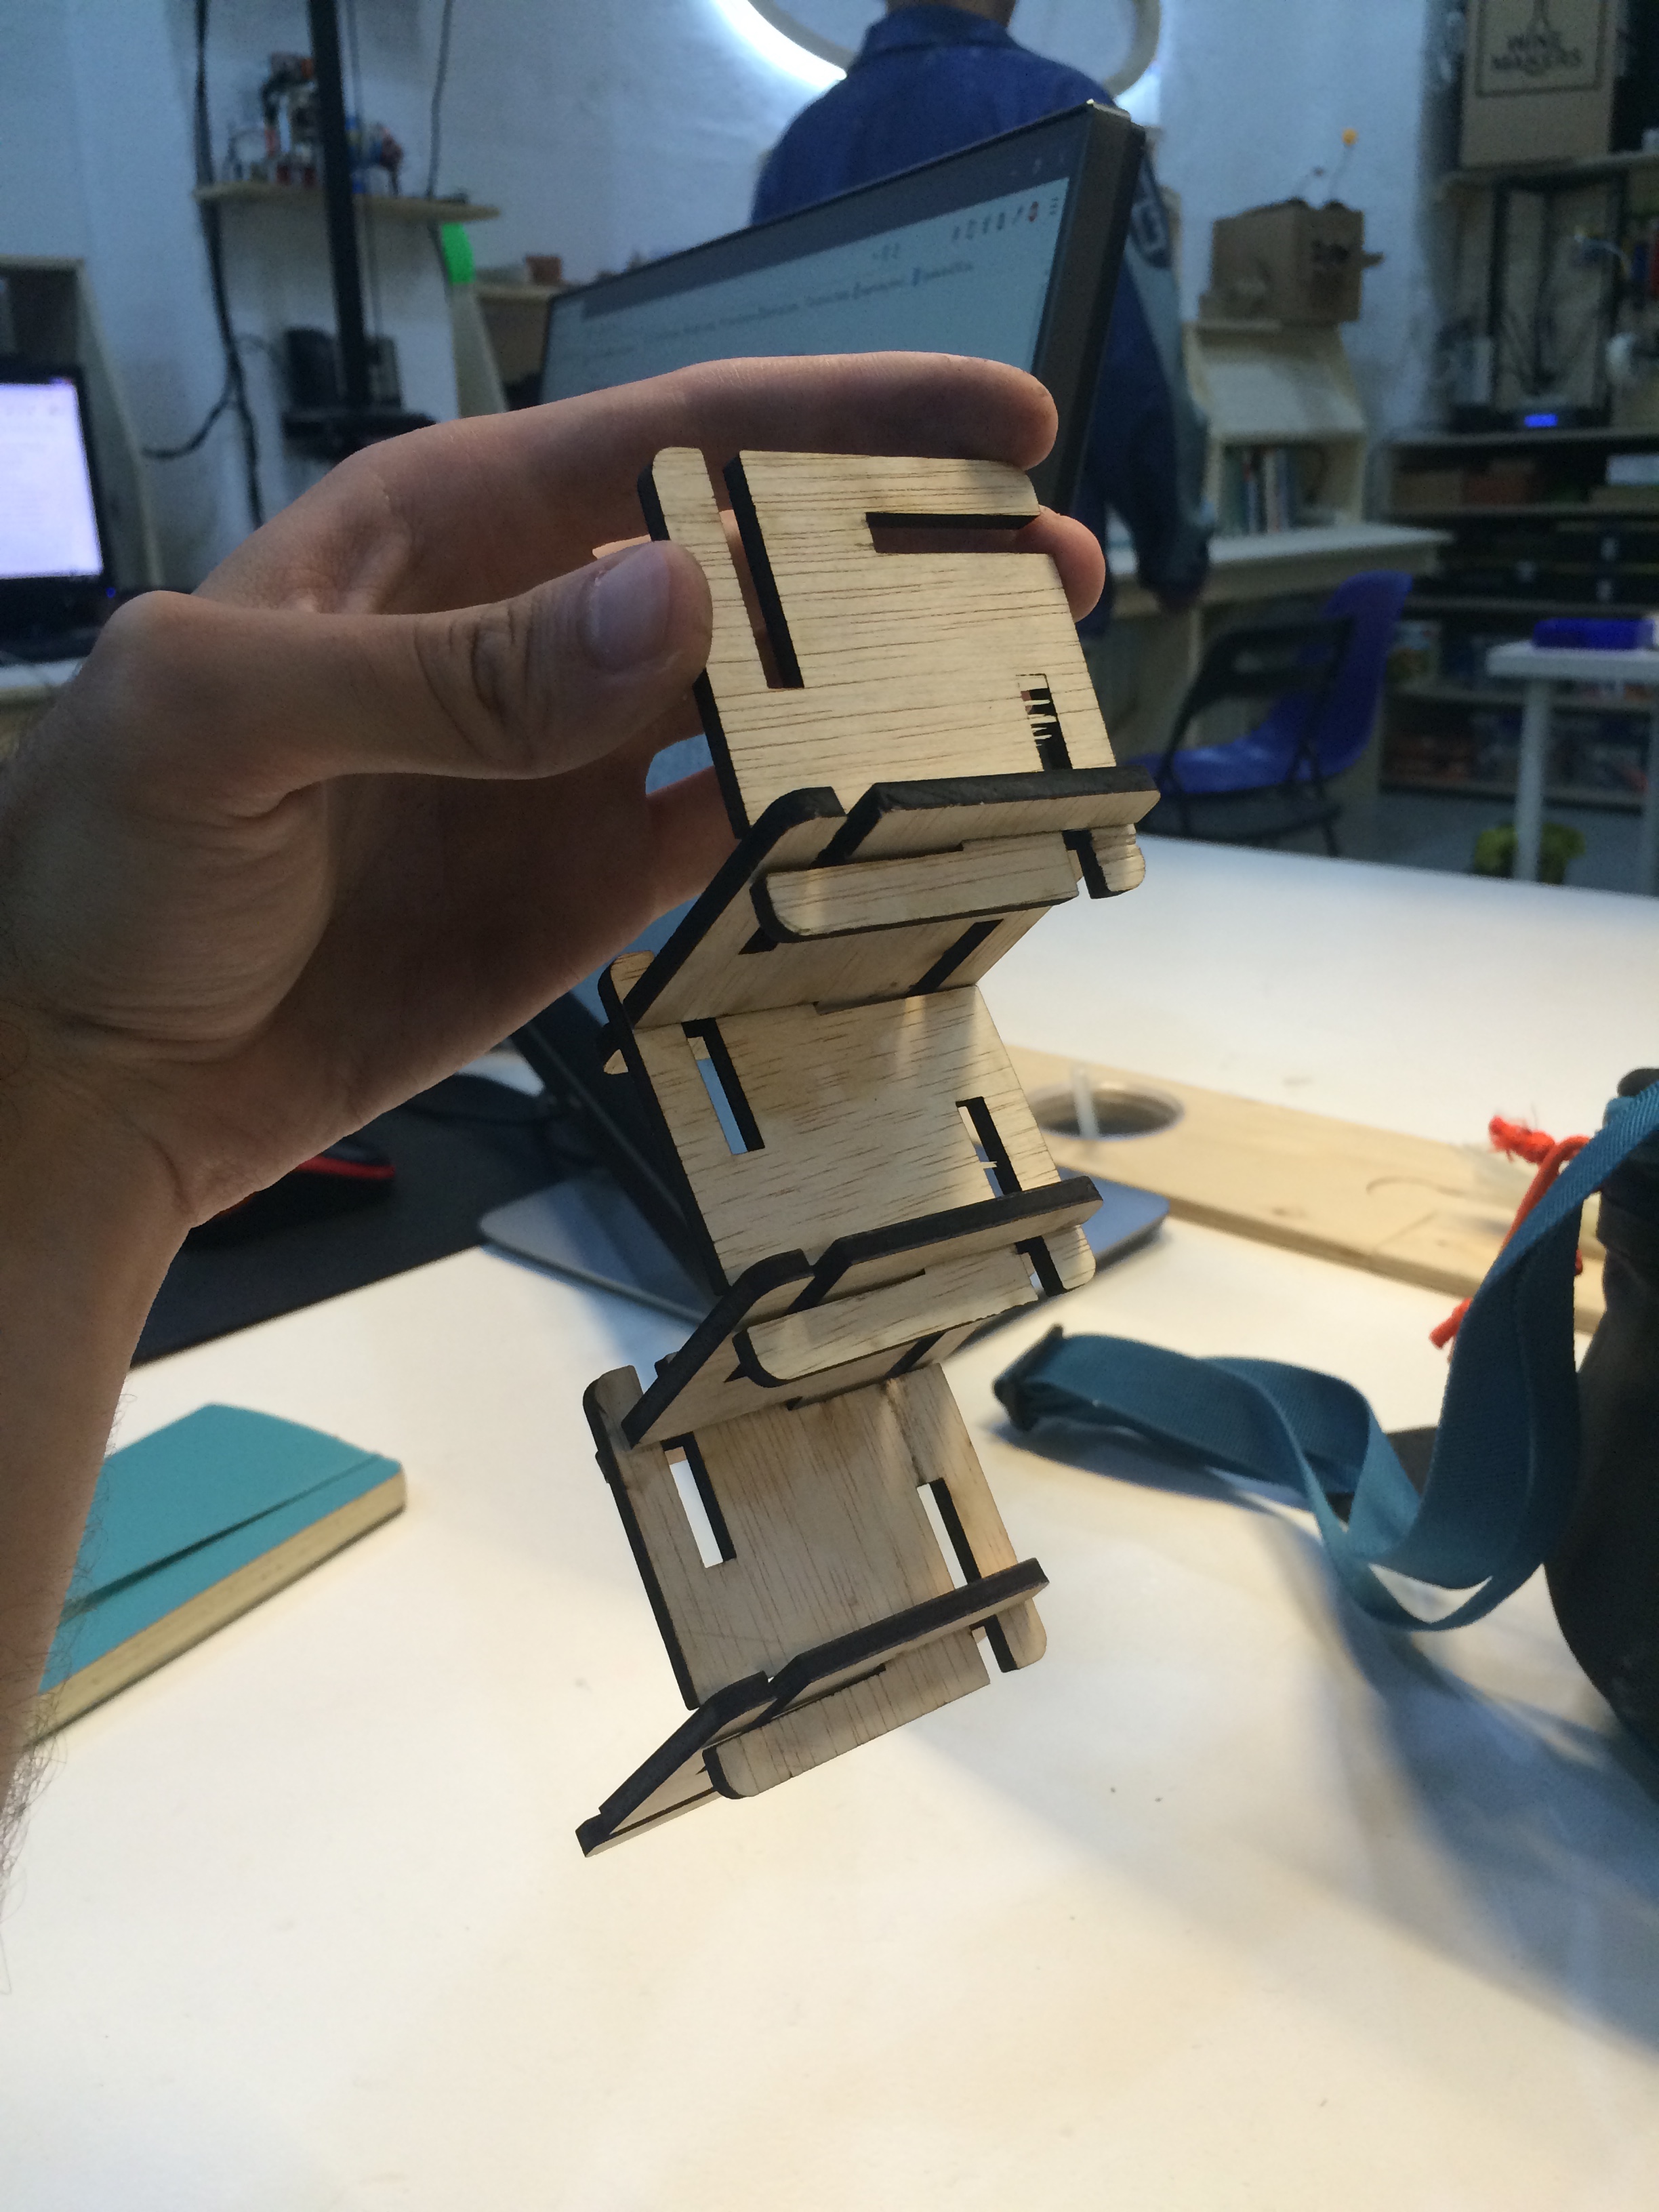
After this I redesigned the piece to make it fit in many directions. As I’m using 5mm plywood now I easily changed the parameters:
In the Trotec100 I used the following settings:
- Power: 70 / Speed: 0.65 / Hz: 2000
And went great:
I didn’t try to make the flex part again because the plywood was too thick.