2. Project management
I worked on modifiying the website template and started to getting used to Git and documentation process.
Research
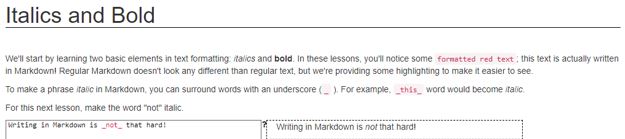
In the beginning, I asked my sister who has some background in website development about what she would recommend for me to use and she suggested Wix. So, I created an account and then answered some questions by the website. Then tried & explored the available options & made a website. In that period, I went through markdown tutorial because I thought it’s always good to learn new things. Later on, I discovered that Wix was not an option, so I decided to modify the template.

Git & Markdown
This is the web page that I was given access to in gitlab. All changes I make will be saved under Version Control using GIT. This means that I will have all the different versions of my page saved and available all the time in the Gitlab interface.
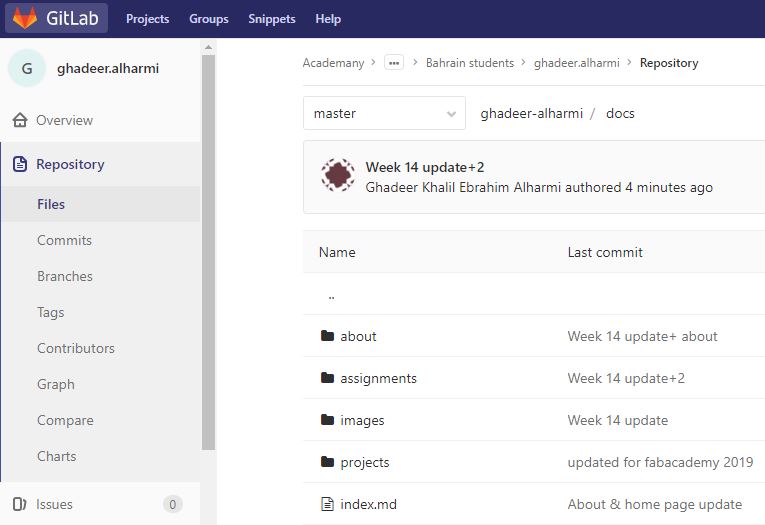
This website is built automatically by gitlab every time I edit the files in the docs folder.
It does so using Mkdocs a static site generator written in Python.
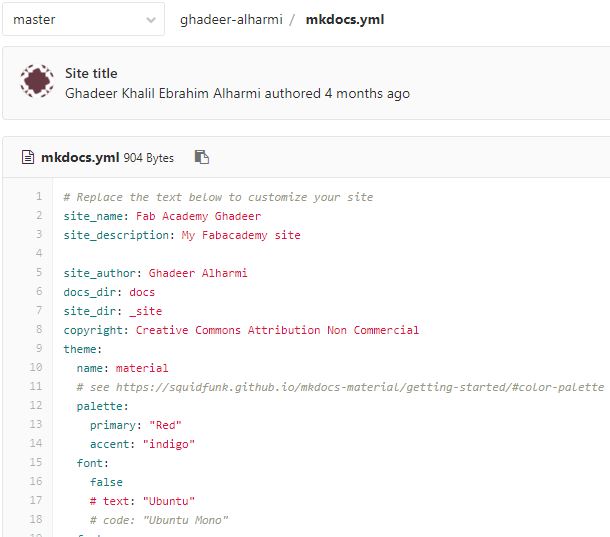
I had to start customizing the file mkdocs.yml with my information & this is a link to markdown sheet sheet .
In the beginning, I had problems with uploading & displaying images but I it found out how to do it when we had a local session. We went through setting the process of creatinng SSH key & pull & push & the process in between.
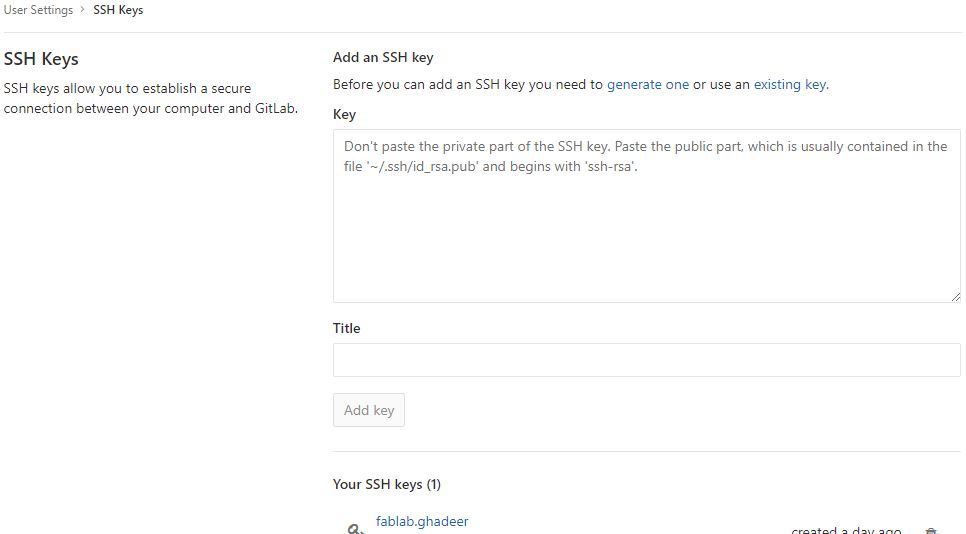
I had installed git software before for work related purpose but didn’t use it much. We followed what was mentioned in this link Gitlab & SSH keys by first checking if I had an existing SSH key, but I didn’t have one. then, I generated one & added it by going to settings & then selecting SSH keys.
//Setting global user name
git config –global user.name “name”
//Adding my email
git config –global user.email.”my email”
//Locating an existing SSH key pair
type %userprofile%\.ssh\id_rsa.pub
//Generating a new SSH key pair
ssh-keygen -t rsa -C "your.email@example.com" -b 4096
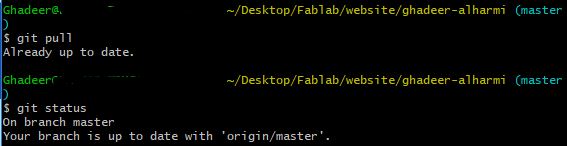
Then I created a new folder on my laptop & cloned the files in it. Then, tried to pull & check the statues to ensure that it’s up to date.
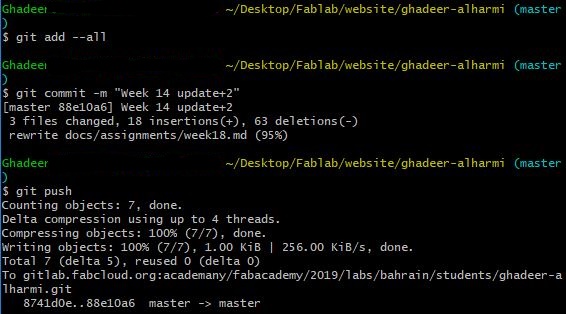
Then, tried to modify one of the md files using Notepad++, saved the changes, then added the changes, commit & then push.
//Steps of commiting data to master
$ git add --all
$ git commit -m "description"
$ git push
This way is more convenient than making modifications on the online version. So, I kept making changes to the files I have on my laptop then I pushed those changes.
More modifications
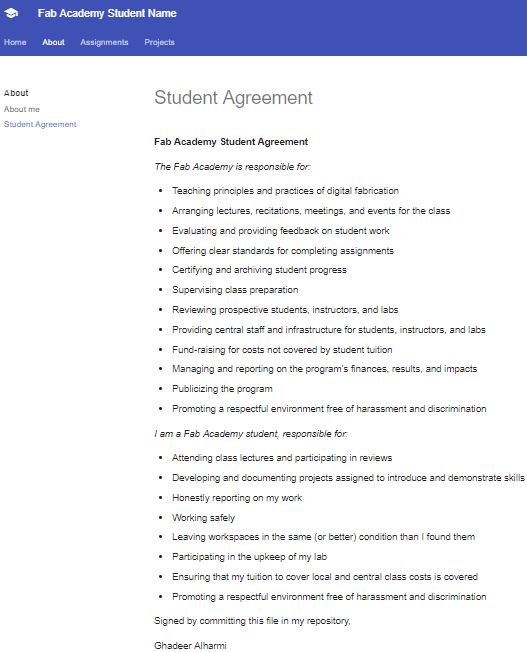
Then I continued to make modifications & adding images & files to the template. I have introduced my self in home page & added a short introduction about the project I want to make. Also, I added Student agreement to the website from this link Student Agreement
It took me awhile to find the right way to resize the images in markdown by following some of suggested solutions in Stackflow
Only the first line of code worked which was my last attempt as shown in the image below (below is an image not broken links)
{:height="200px"}
Changed primary palette colour to red
palette:
    primary: "Red"
    accent: "indigo"
Adding headers & sub headers
#                //first header
##               //second header
###              //third header
Adding hyper link
[gif websit](https://gifs.com/)
Displaying gif using direct link
