6. 3D Scanning and printing
This week I worked on defining my final project idea and started to getting used to the documentation process.
Group Assignment
You can find our group assignment in this link .
Some important information about 3D printing:
Model requirements:
-
Water tight
-
A solid object
-
No floating objects
-
No internal overlapping
-
.stl format since it is the most required for 3D printing
Printer Limitations
-
Bed size
-
Nozzle size – the smaller, the better, which results in better quality but will need more time.
-
Layer height – more layers, better quality but time consuming.
-
Printing temperature – different temperature should be set for each material.
-
Shell
-
Filling type
-
Orientation
-
Filament types
-
Finishing – sanding, resin coating, acetone bath, painting.
Advantages
-
Complex shapes
-
Creat custom parts
-
Good for prototyping & testing
Disadvantages
-
Slow
-
Limited
Other Points
It’s important to check that the first layer of the model, is printed properly. First, We need to clean the bed by using water or alcohol or acetone. Some of the ways to stick the first layer properly, is by using Glue stick & Painter tape.
One of the issues we can face while doing 3D printing is warping which can be avioded by having a heated bed.
Model
All design steps & download files are in this link
Worked more on the design from week 3 assignment. Tried to make head connection.

Then connected it to the body & then added a tail to the body of the dragon. This part can not be printed substractively because the joint need to be printed inside of the head.
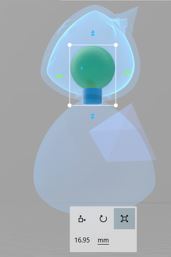
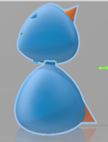
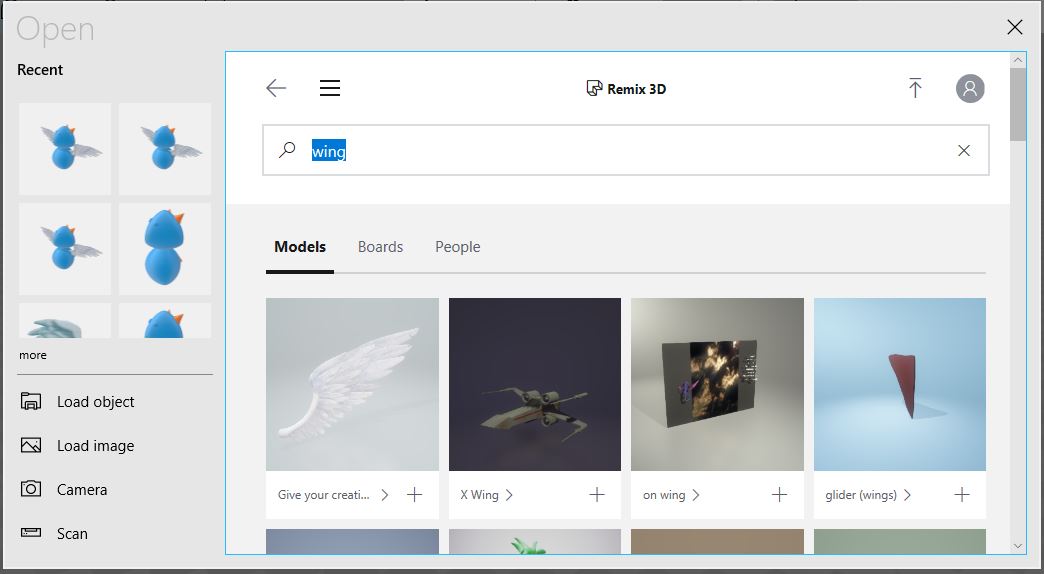
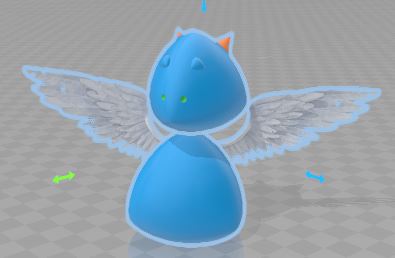
To make my model look nicer, I searched for 3D wing models. Then, I added them to my design.
Printing
We had a 3D printing workshop in our lab. It covered the basics of 3D printing, filament types, what we can print, Advantages & disadvantages & more.
For printing our models, we used Original Prusa i3 MK2S printer. You can find the printer documentation & printing steps in this link.
We used a slicer program to convert the 3D models to .gcode format for printing. We tried using PrusaControl & Slic3r Prusa Edition, the second one had more options.
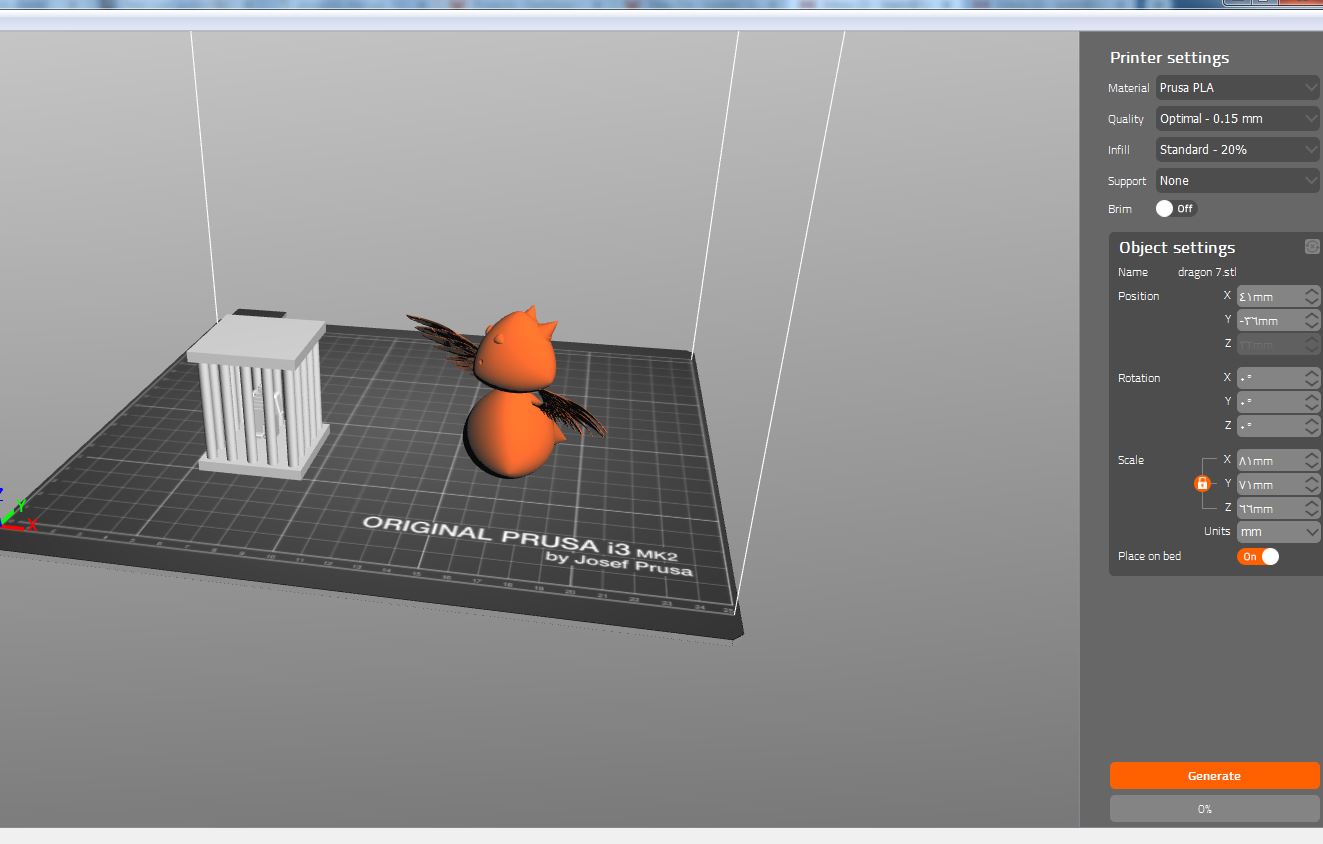
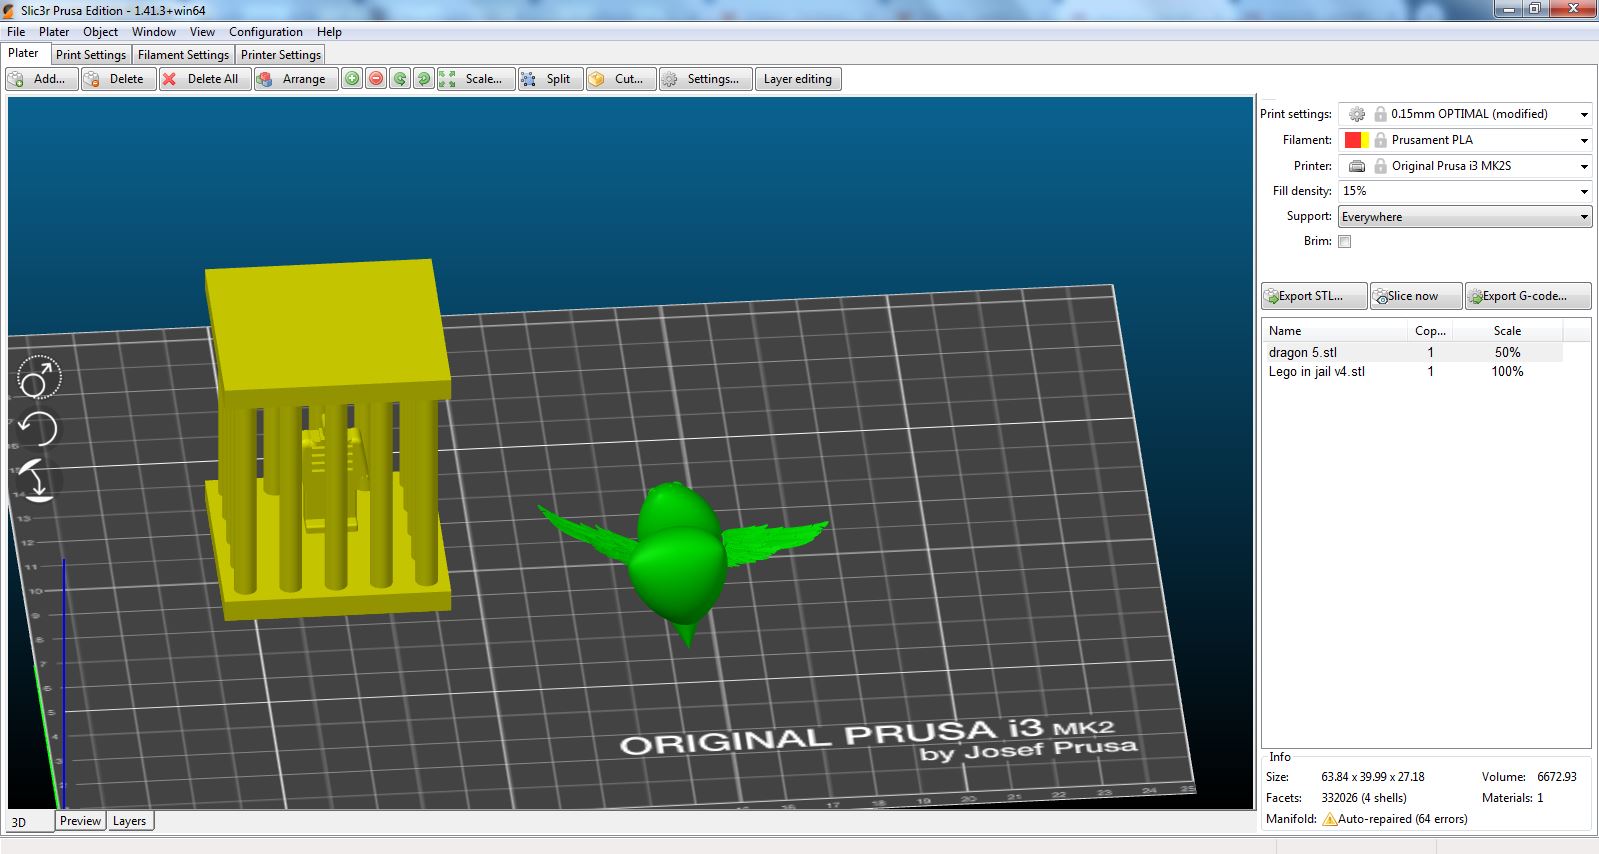
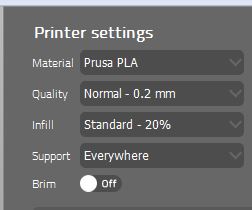
We printed them using these settings
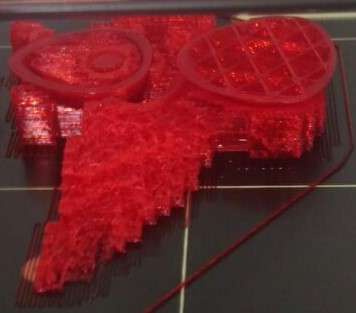
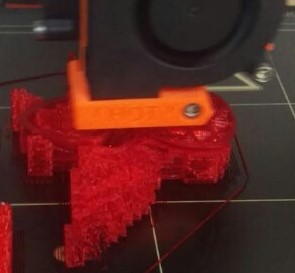
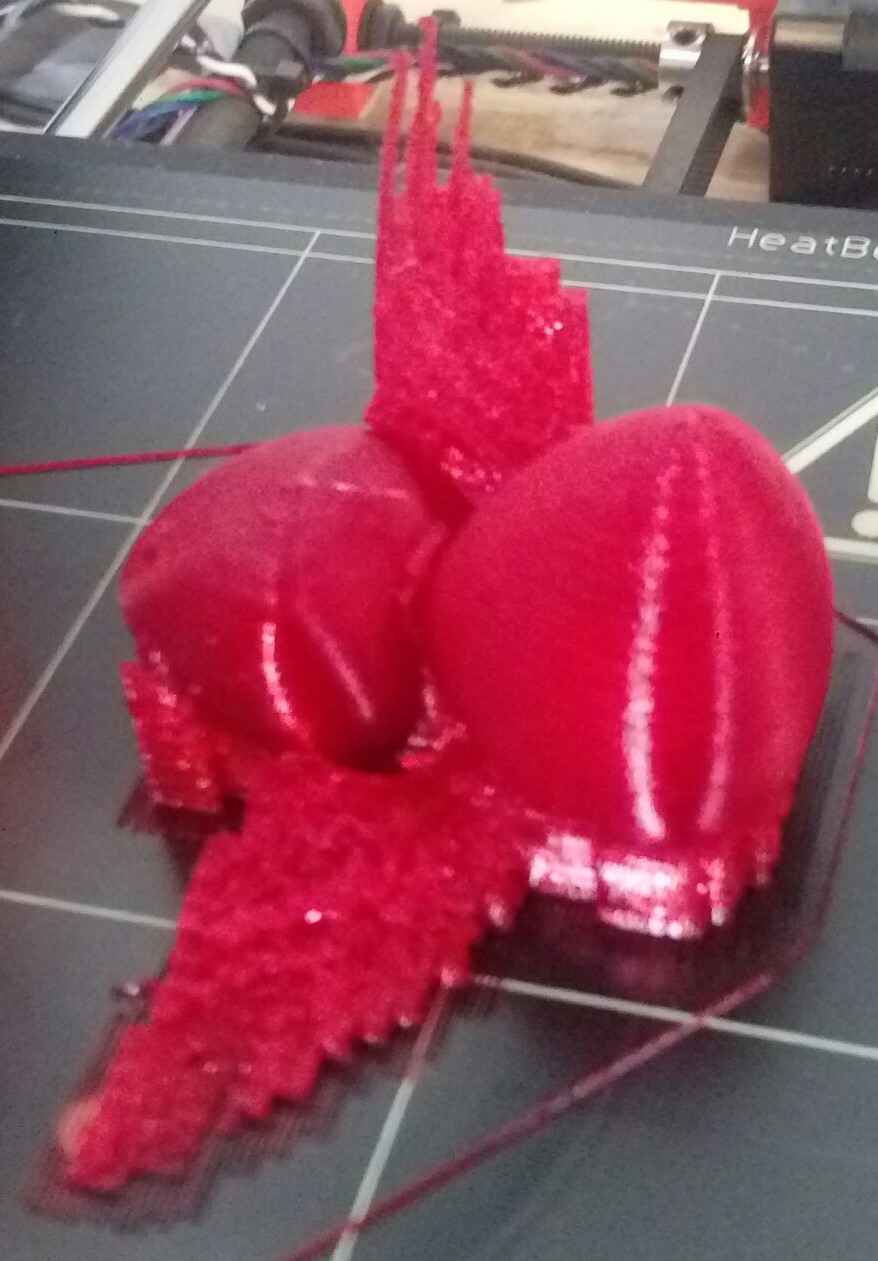
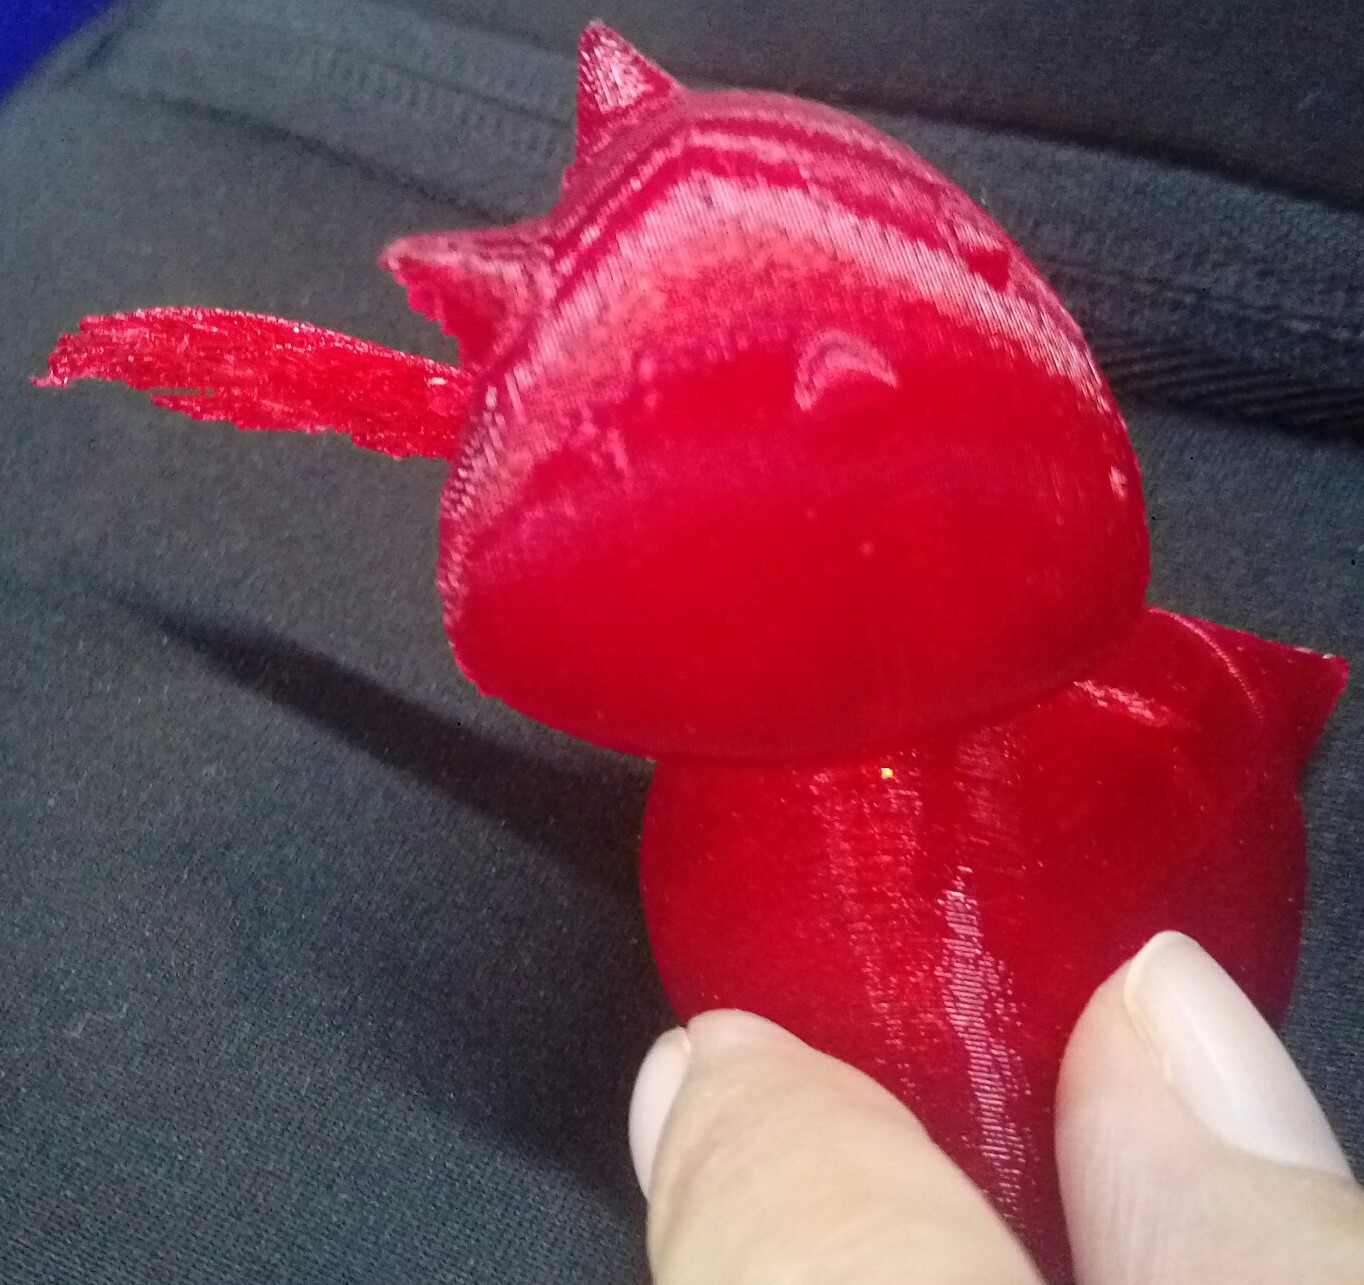
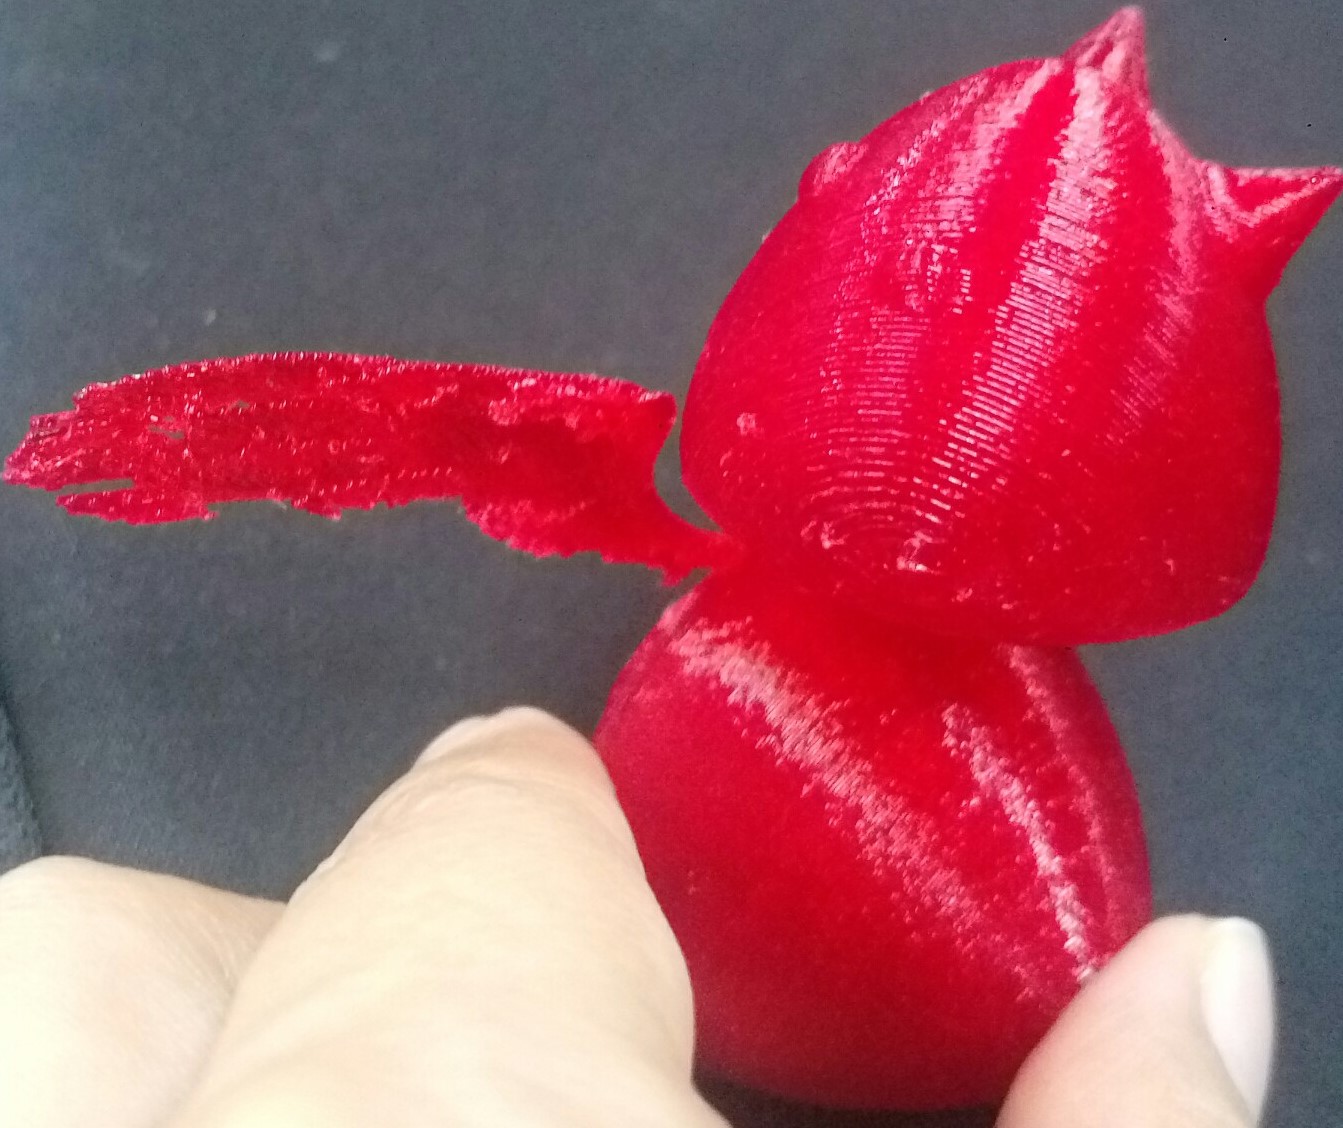
I beleive the my first print went well
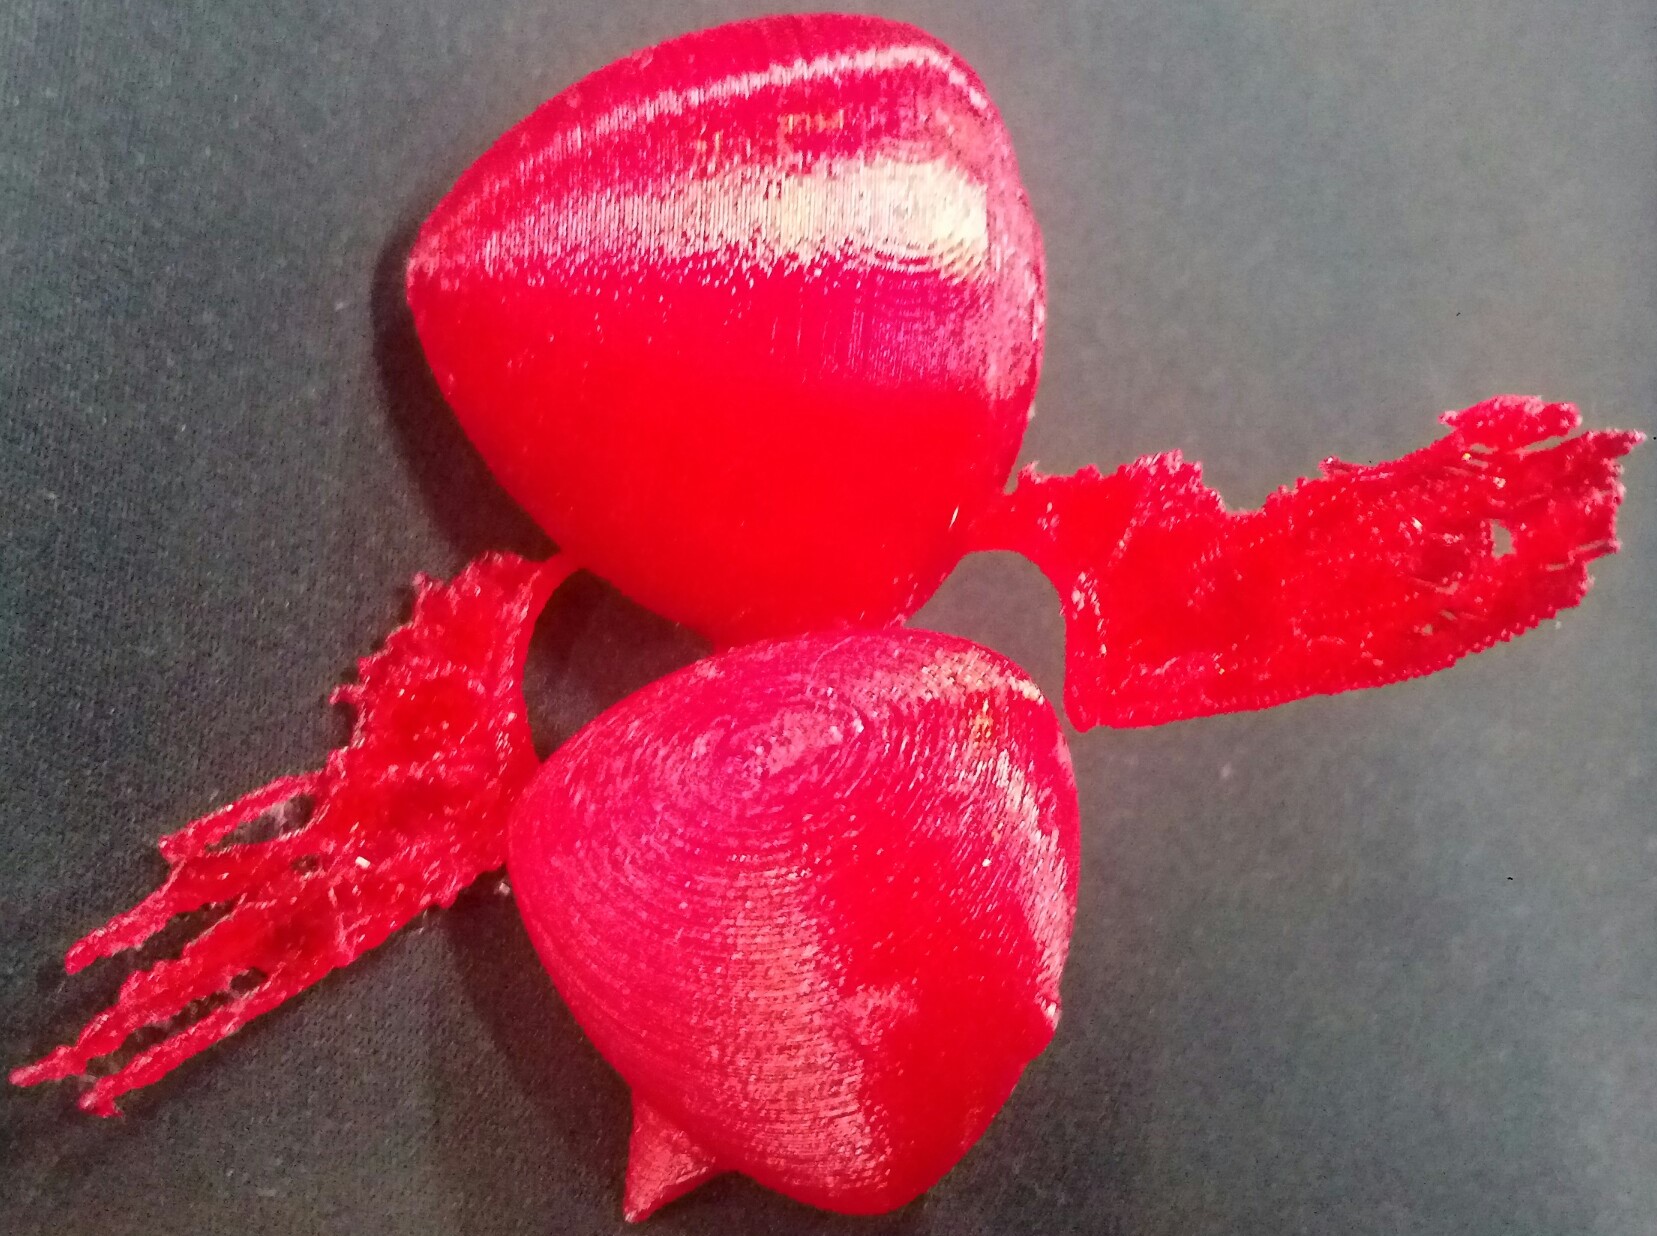
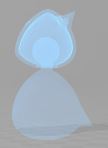
When I was trying to remove the support, I broke one of the wings, I should have removed them more gently because the wings are small. I beleive I will not face this problem when I print it in a larger size. The dragon head was printed successfully. I can rotate it.
3D Scanning
Qlone
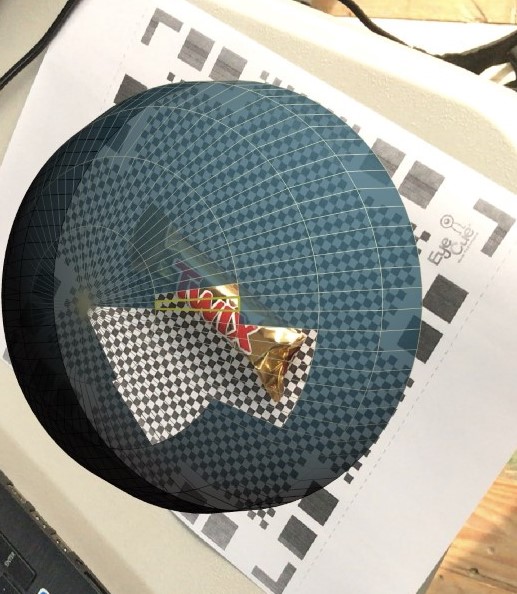
I tried to do scanning using Qlone mobile App, but the App kept on crashing, so I borrowed our instractors phone to try it. My first try was not successful because the paper moved while I was scanning.

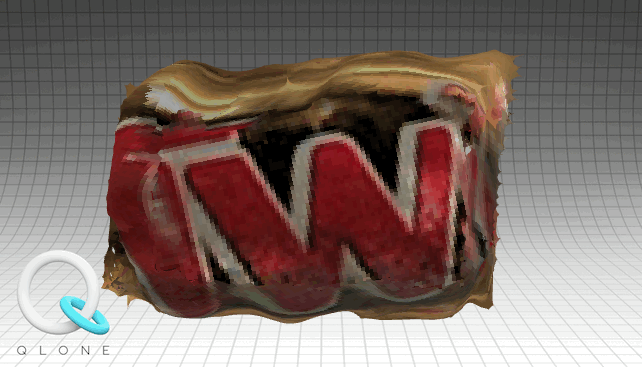
I tried again but the App kept on crashing when the scanning was almost done.
Scann3d
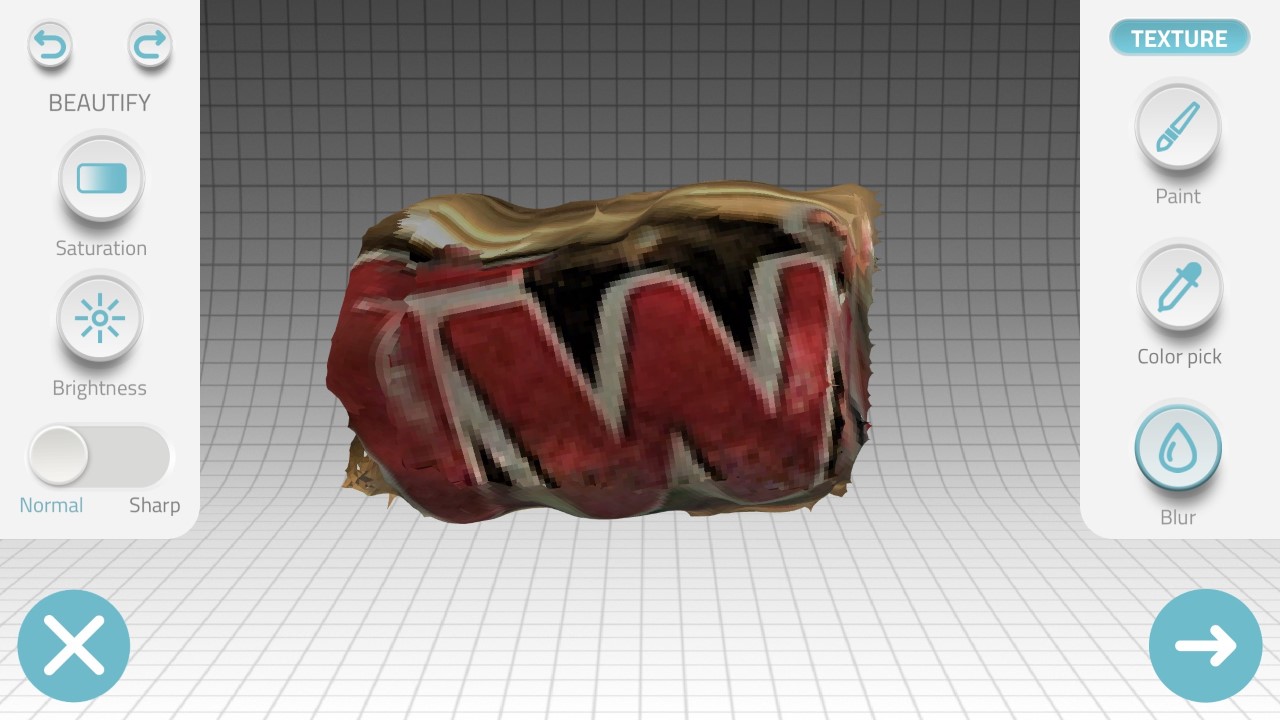
I tried Scanning using Scann3d App but the result was not good. I had to take at least 20 pictures to create a 3D model but this was the result.

AutoDesk Recap
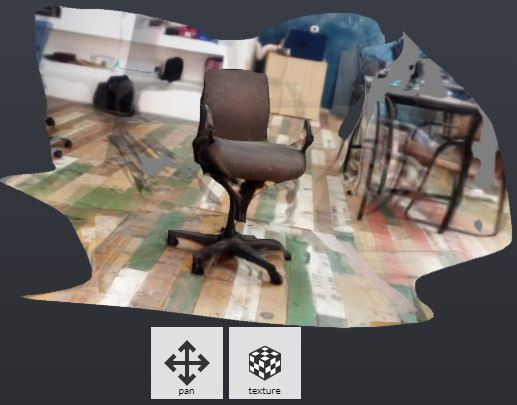
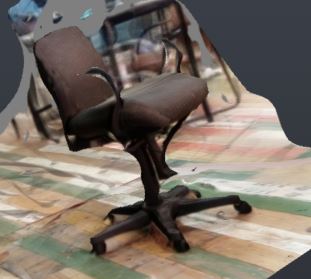
Using the same pictures I took for the previous App, we got a much better result with AutoDesk Recap.
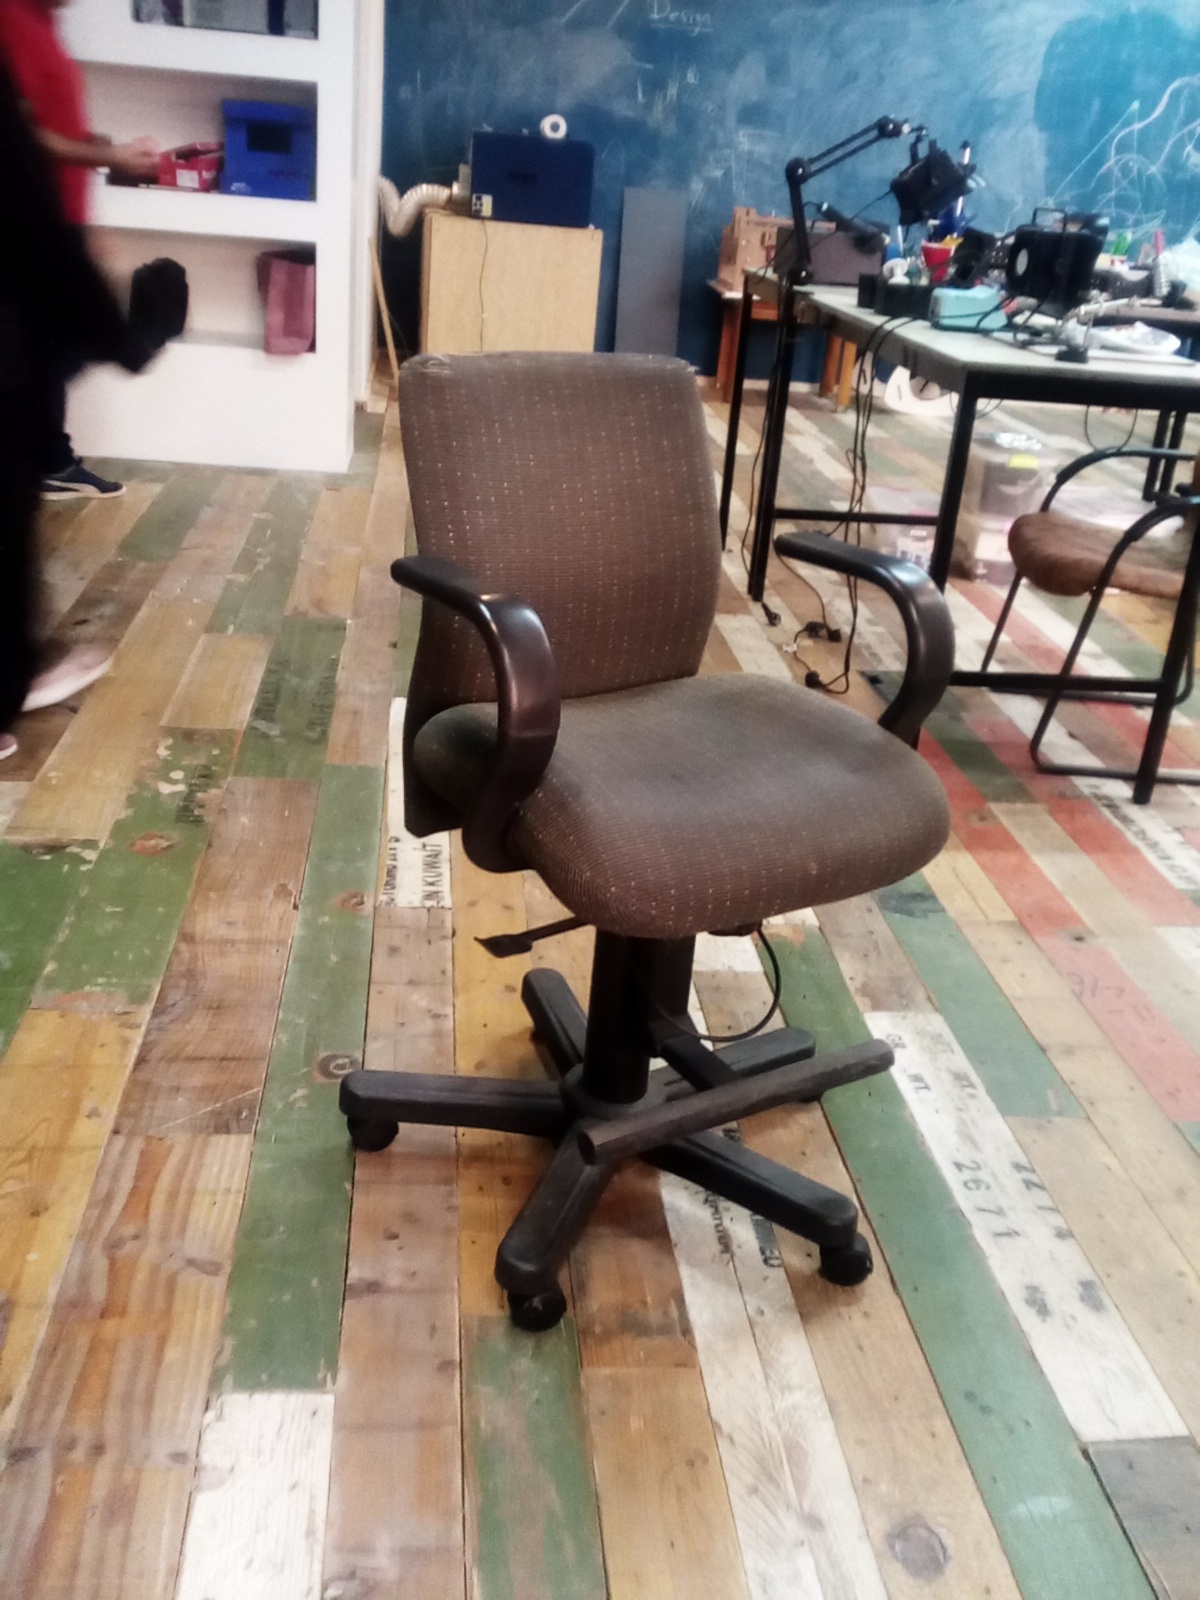
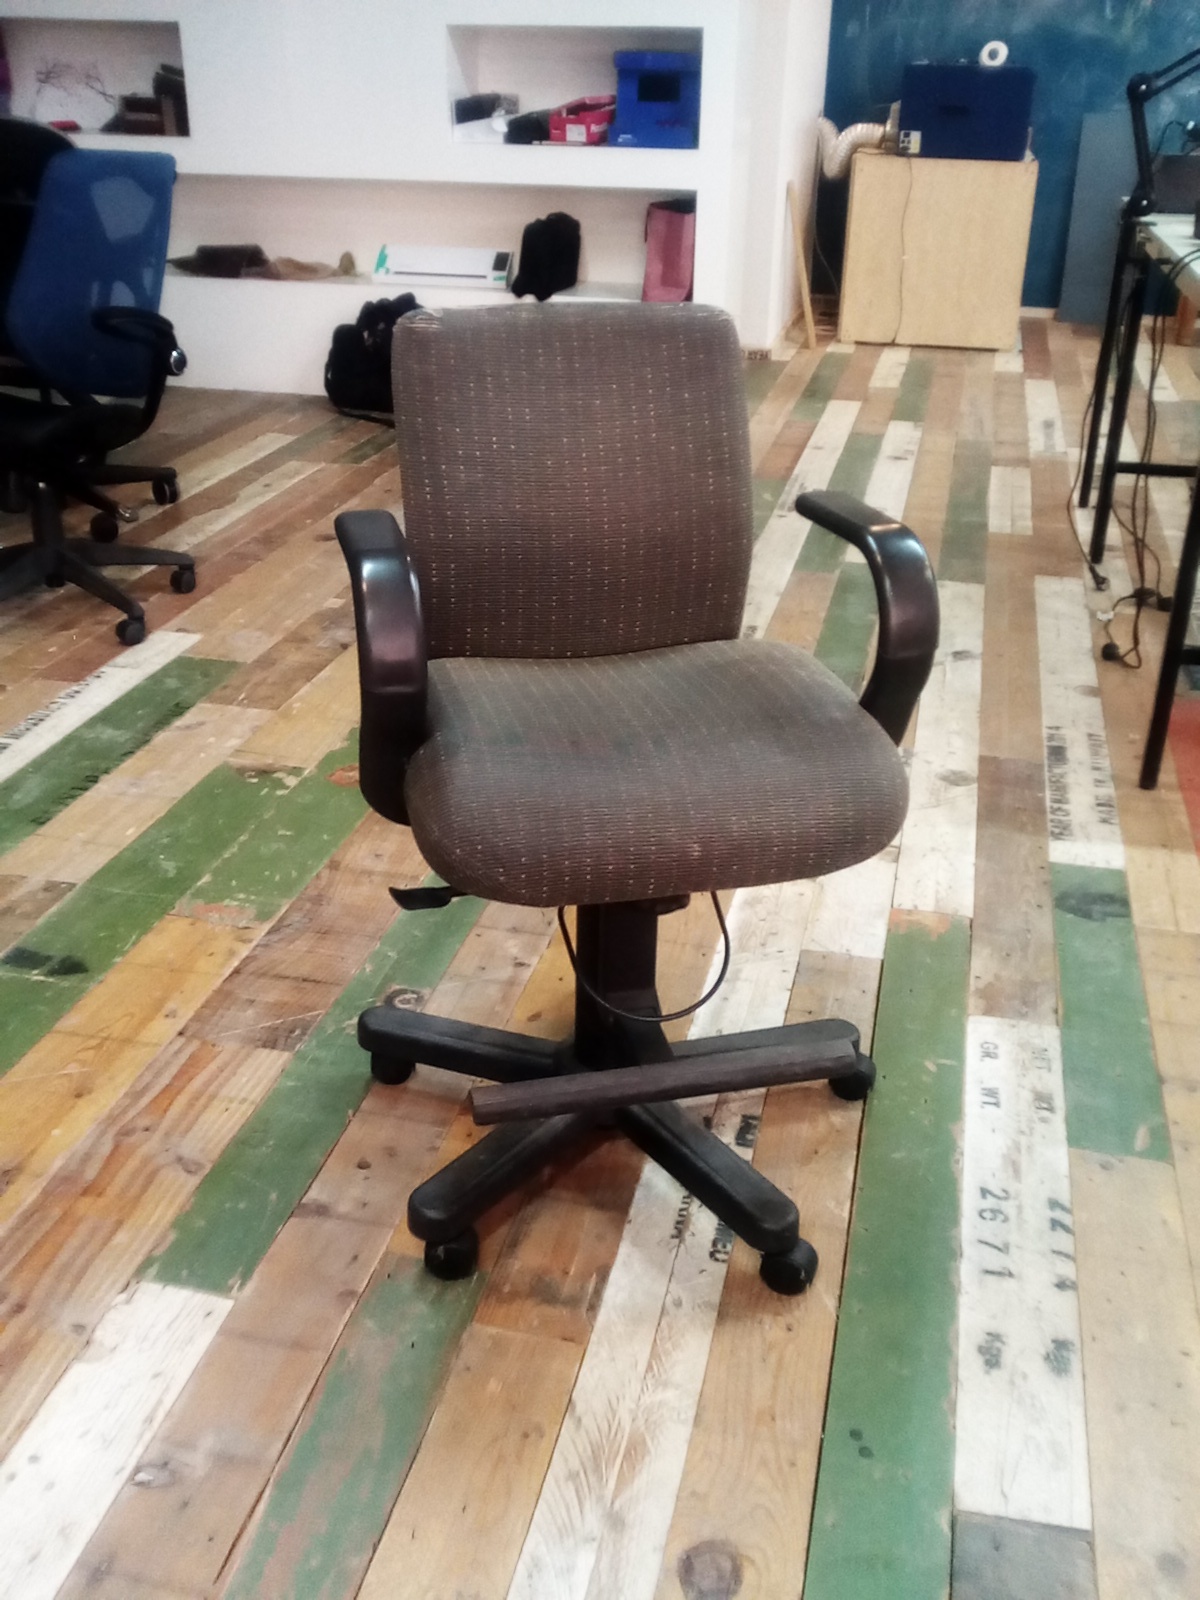
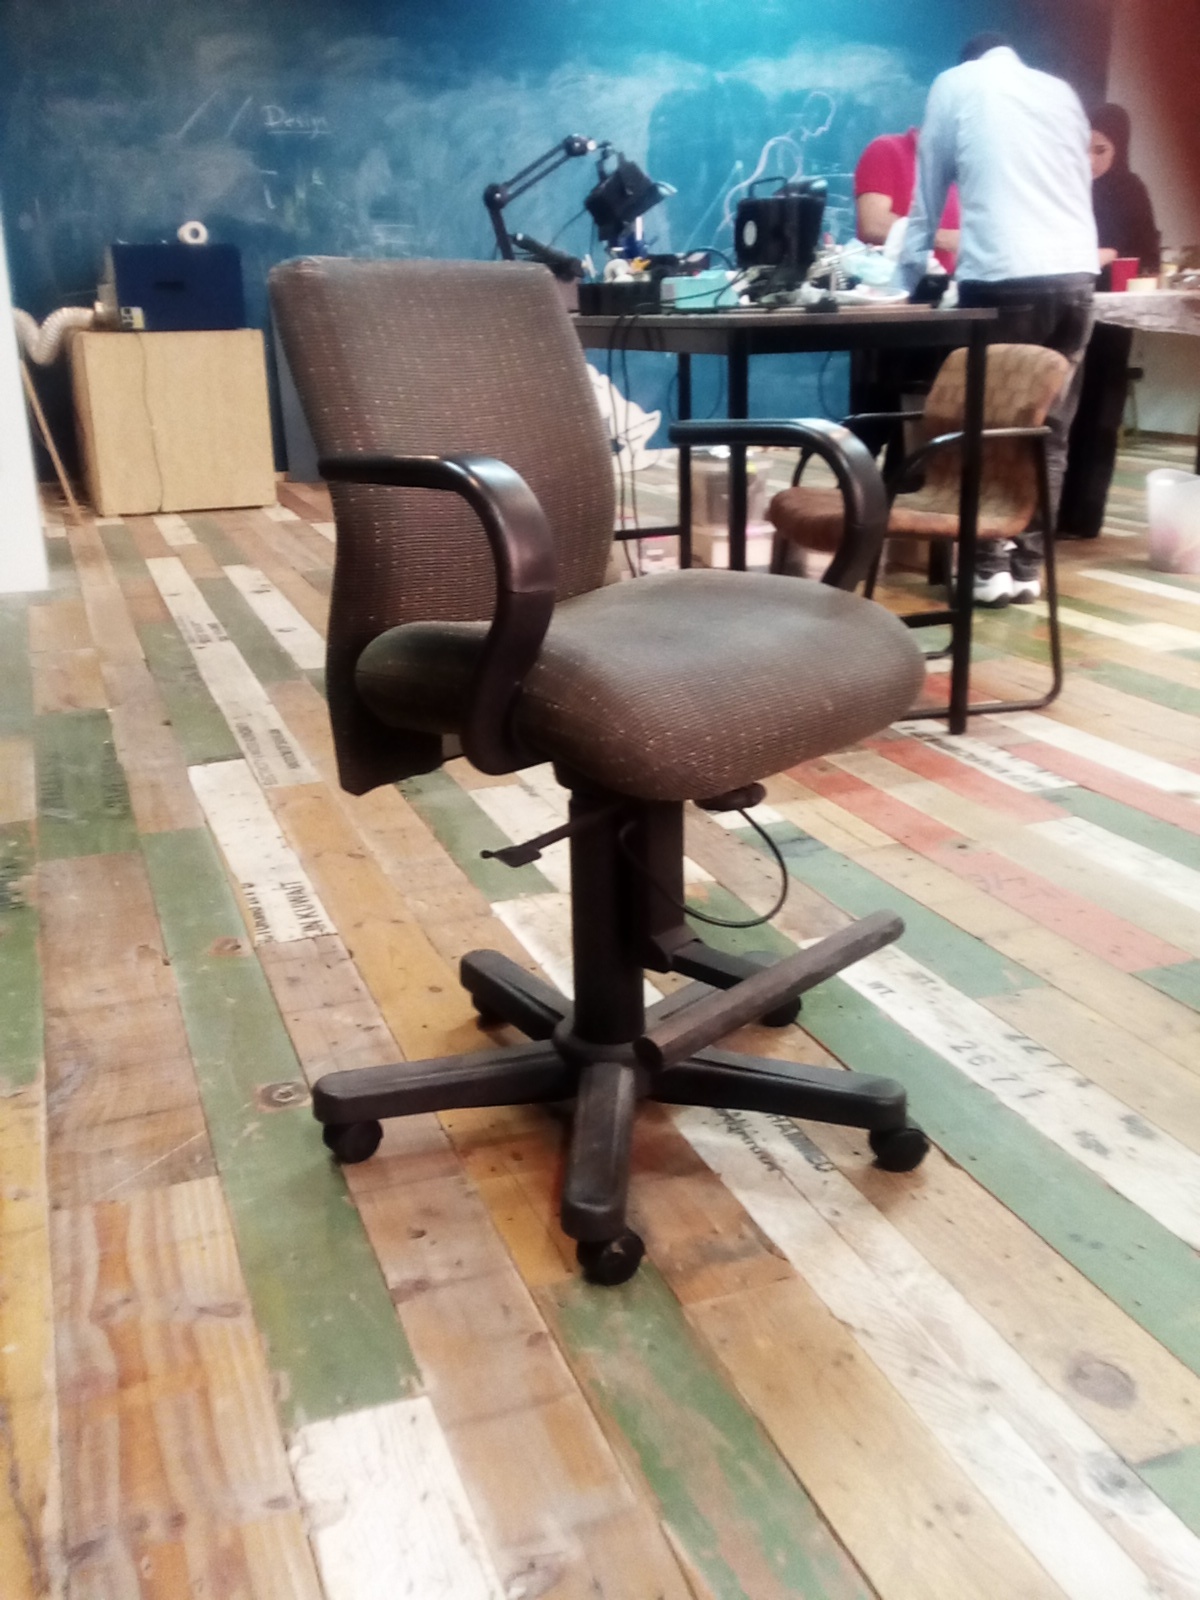
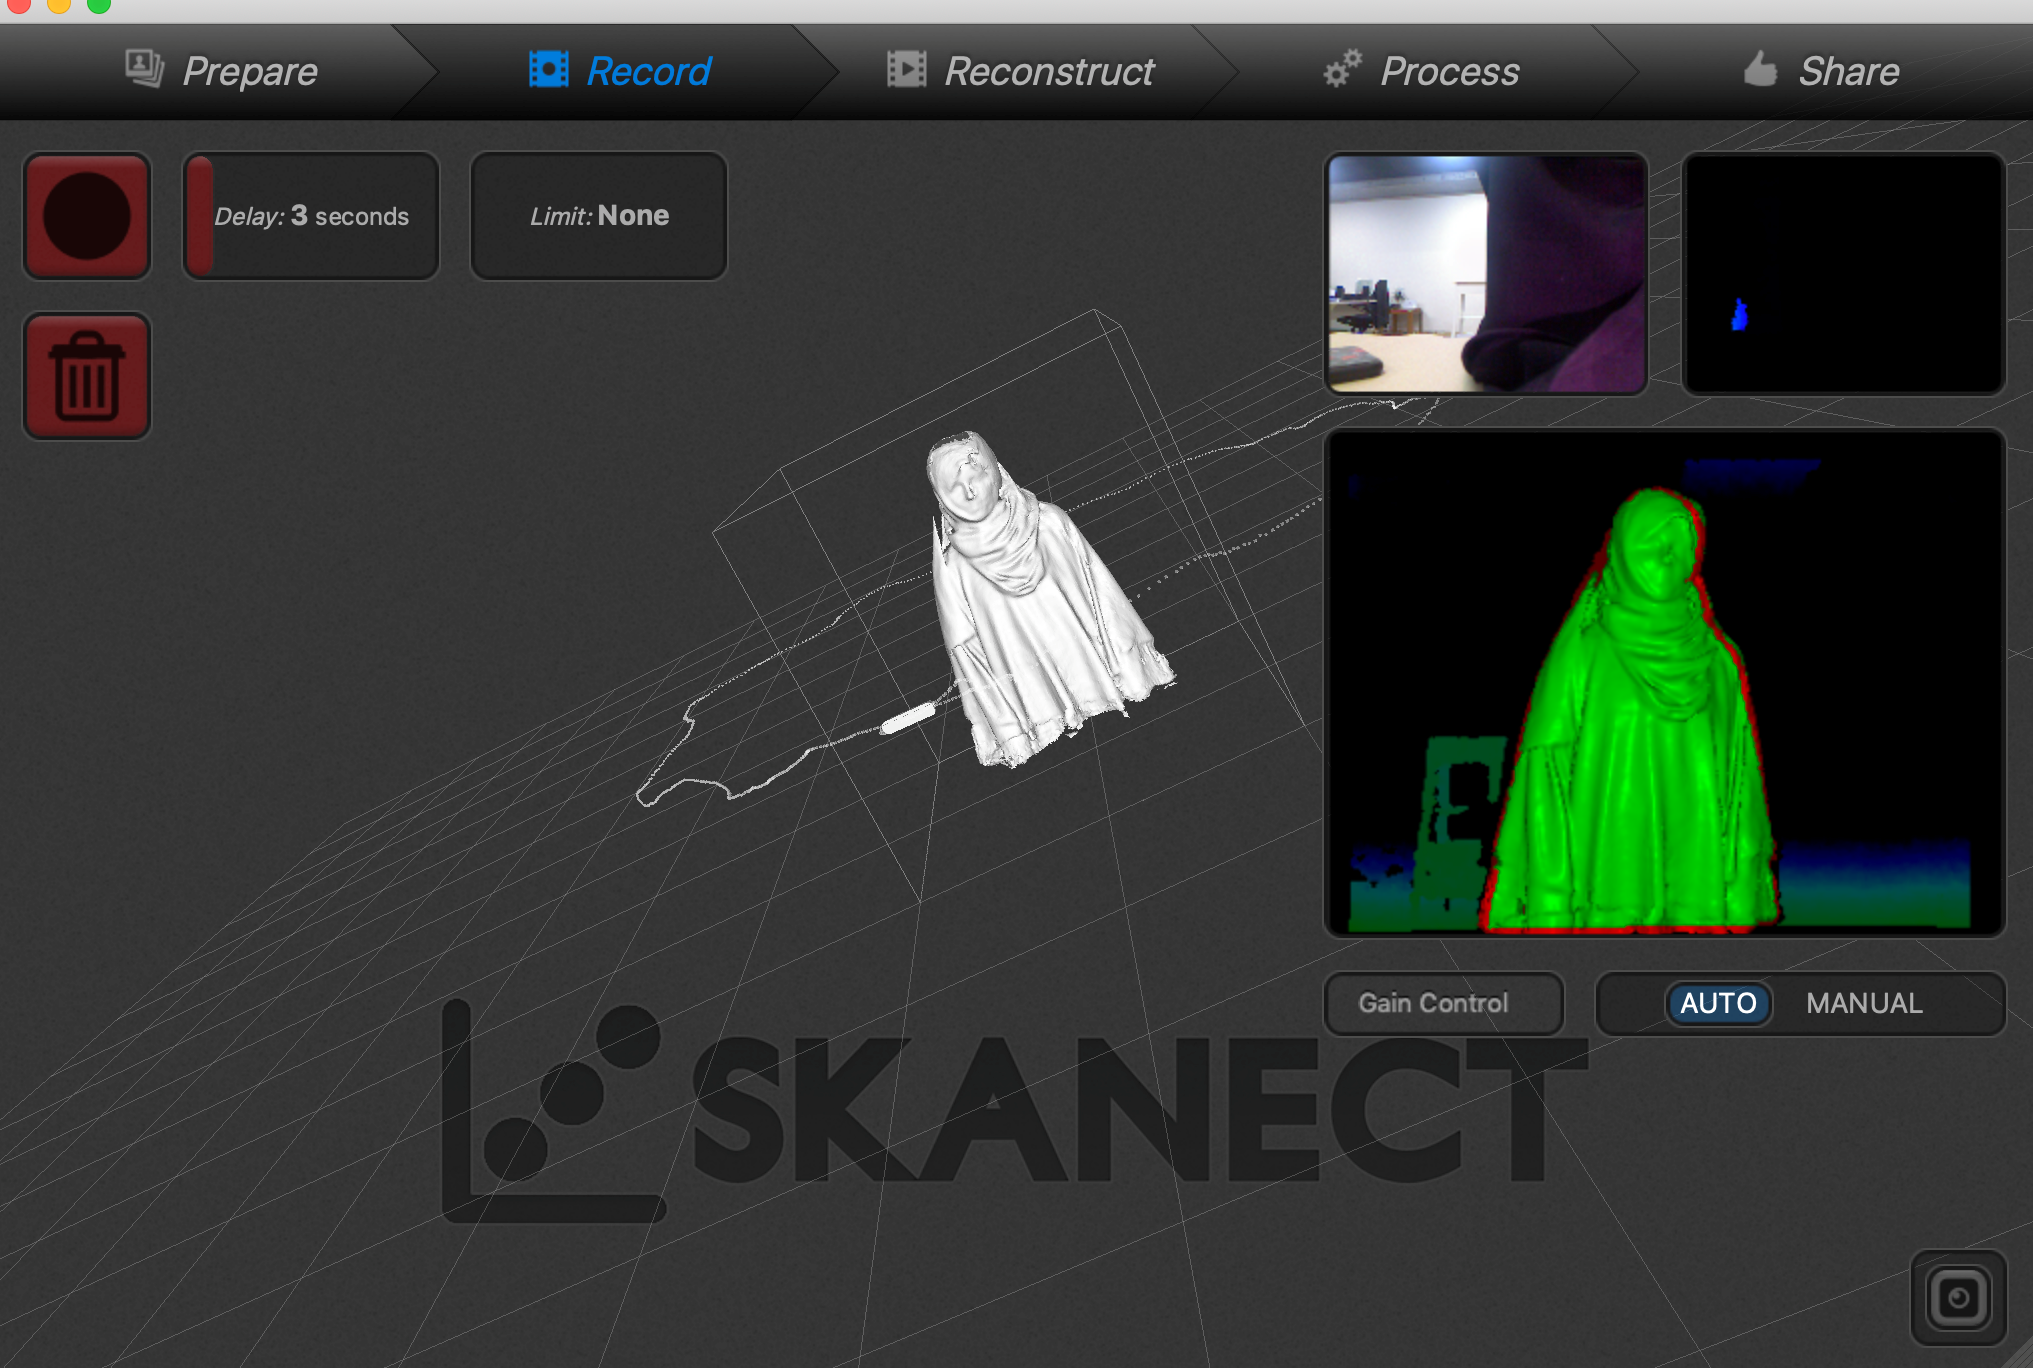
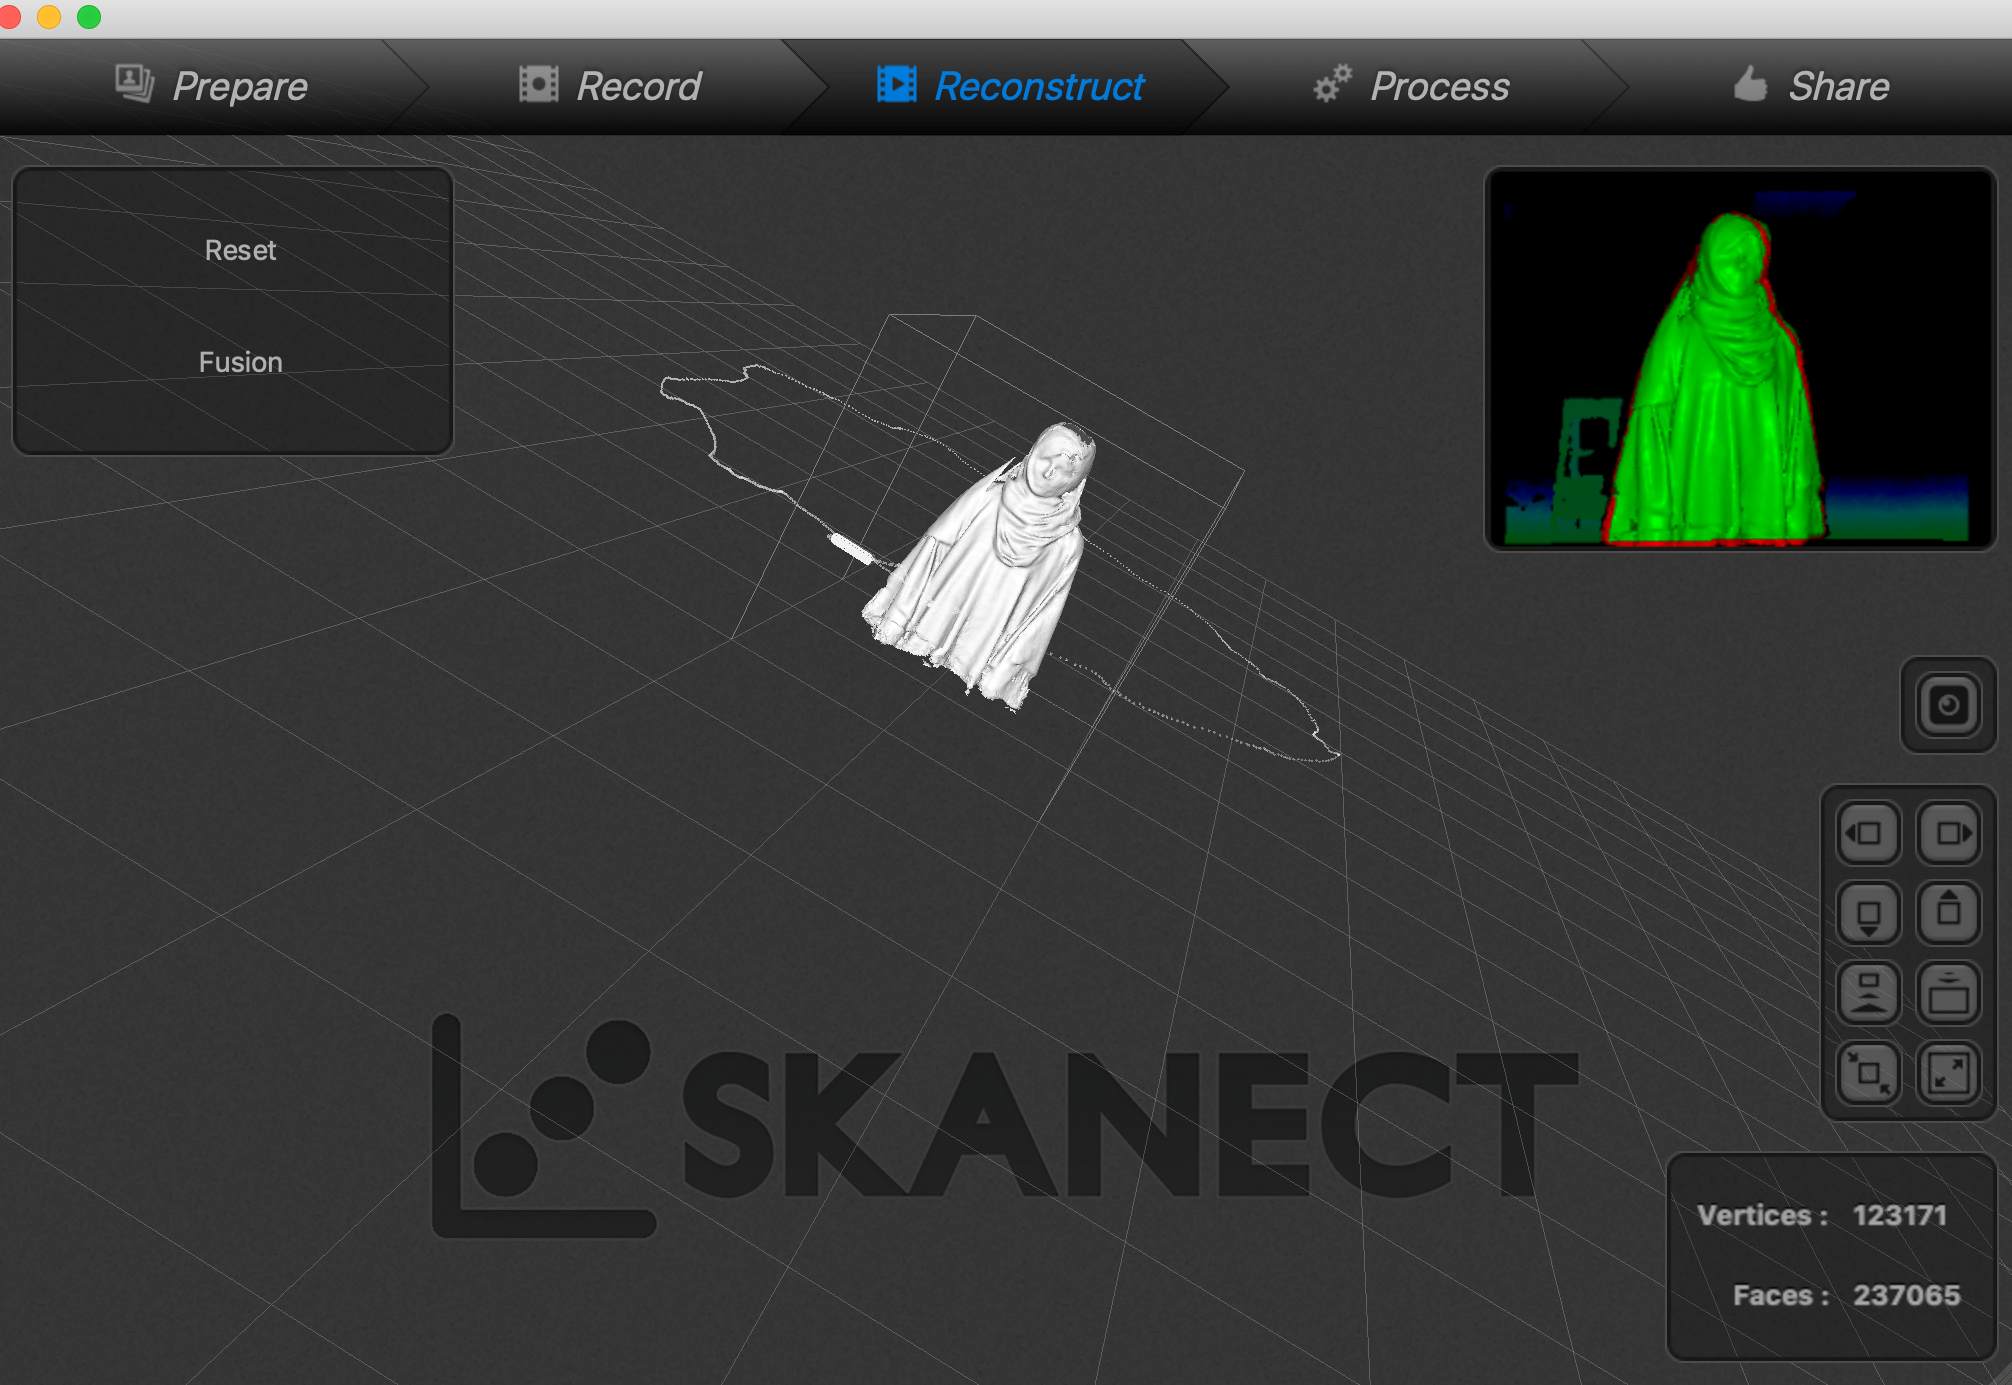
Skanect
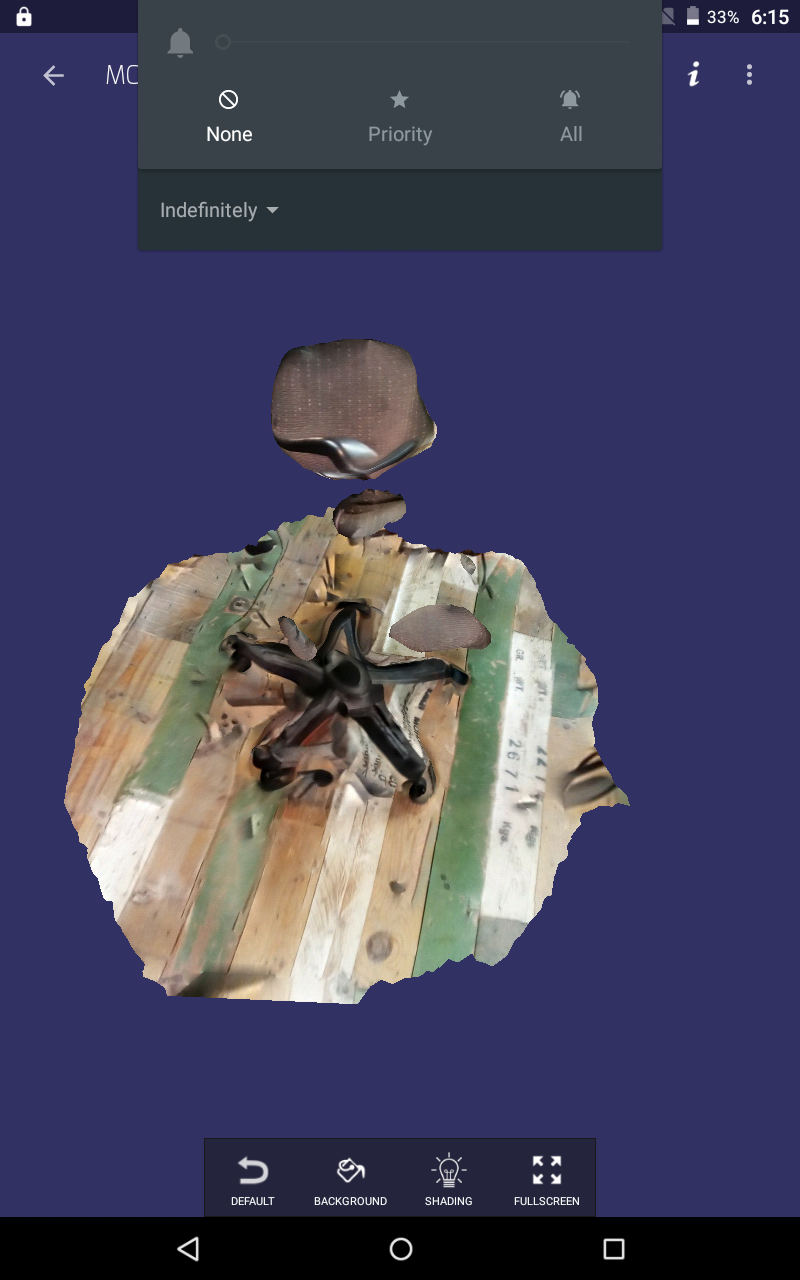
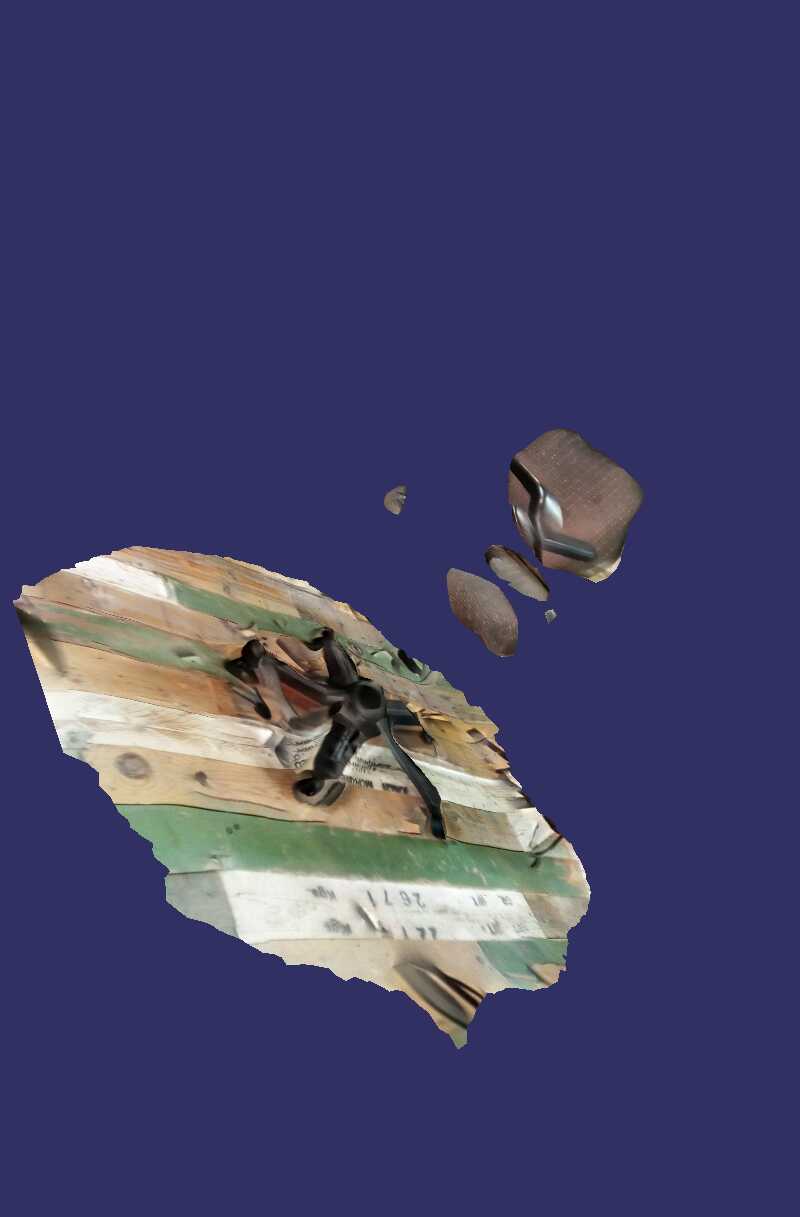
I tried to do several scans using this software but most of them failed. I tired to scan a chair, coffee mug & some models but they all were not good. As a last try, I tried to create a 3D model for my self which had the best result between all of them.
First step is recording, then reconstruct, and then processing in which I used a feature to fill the holes.
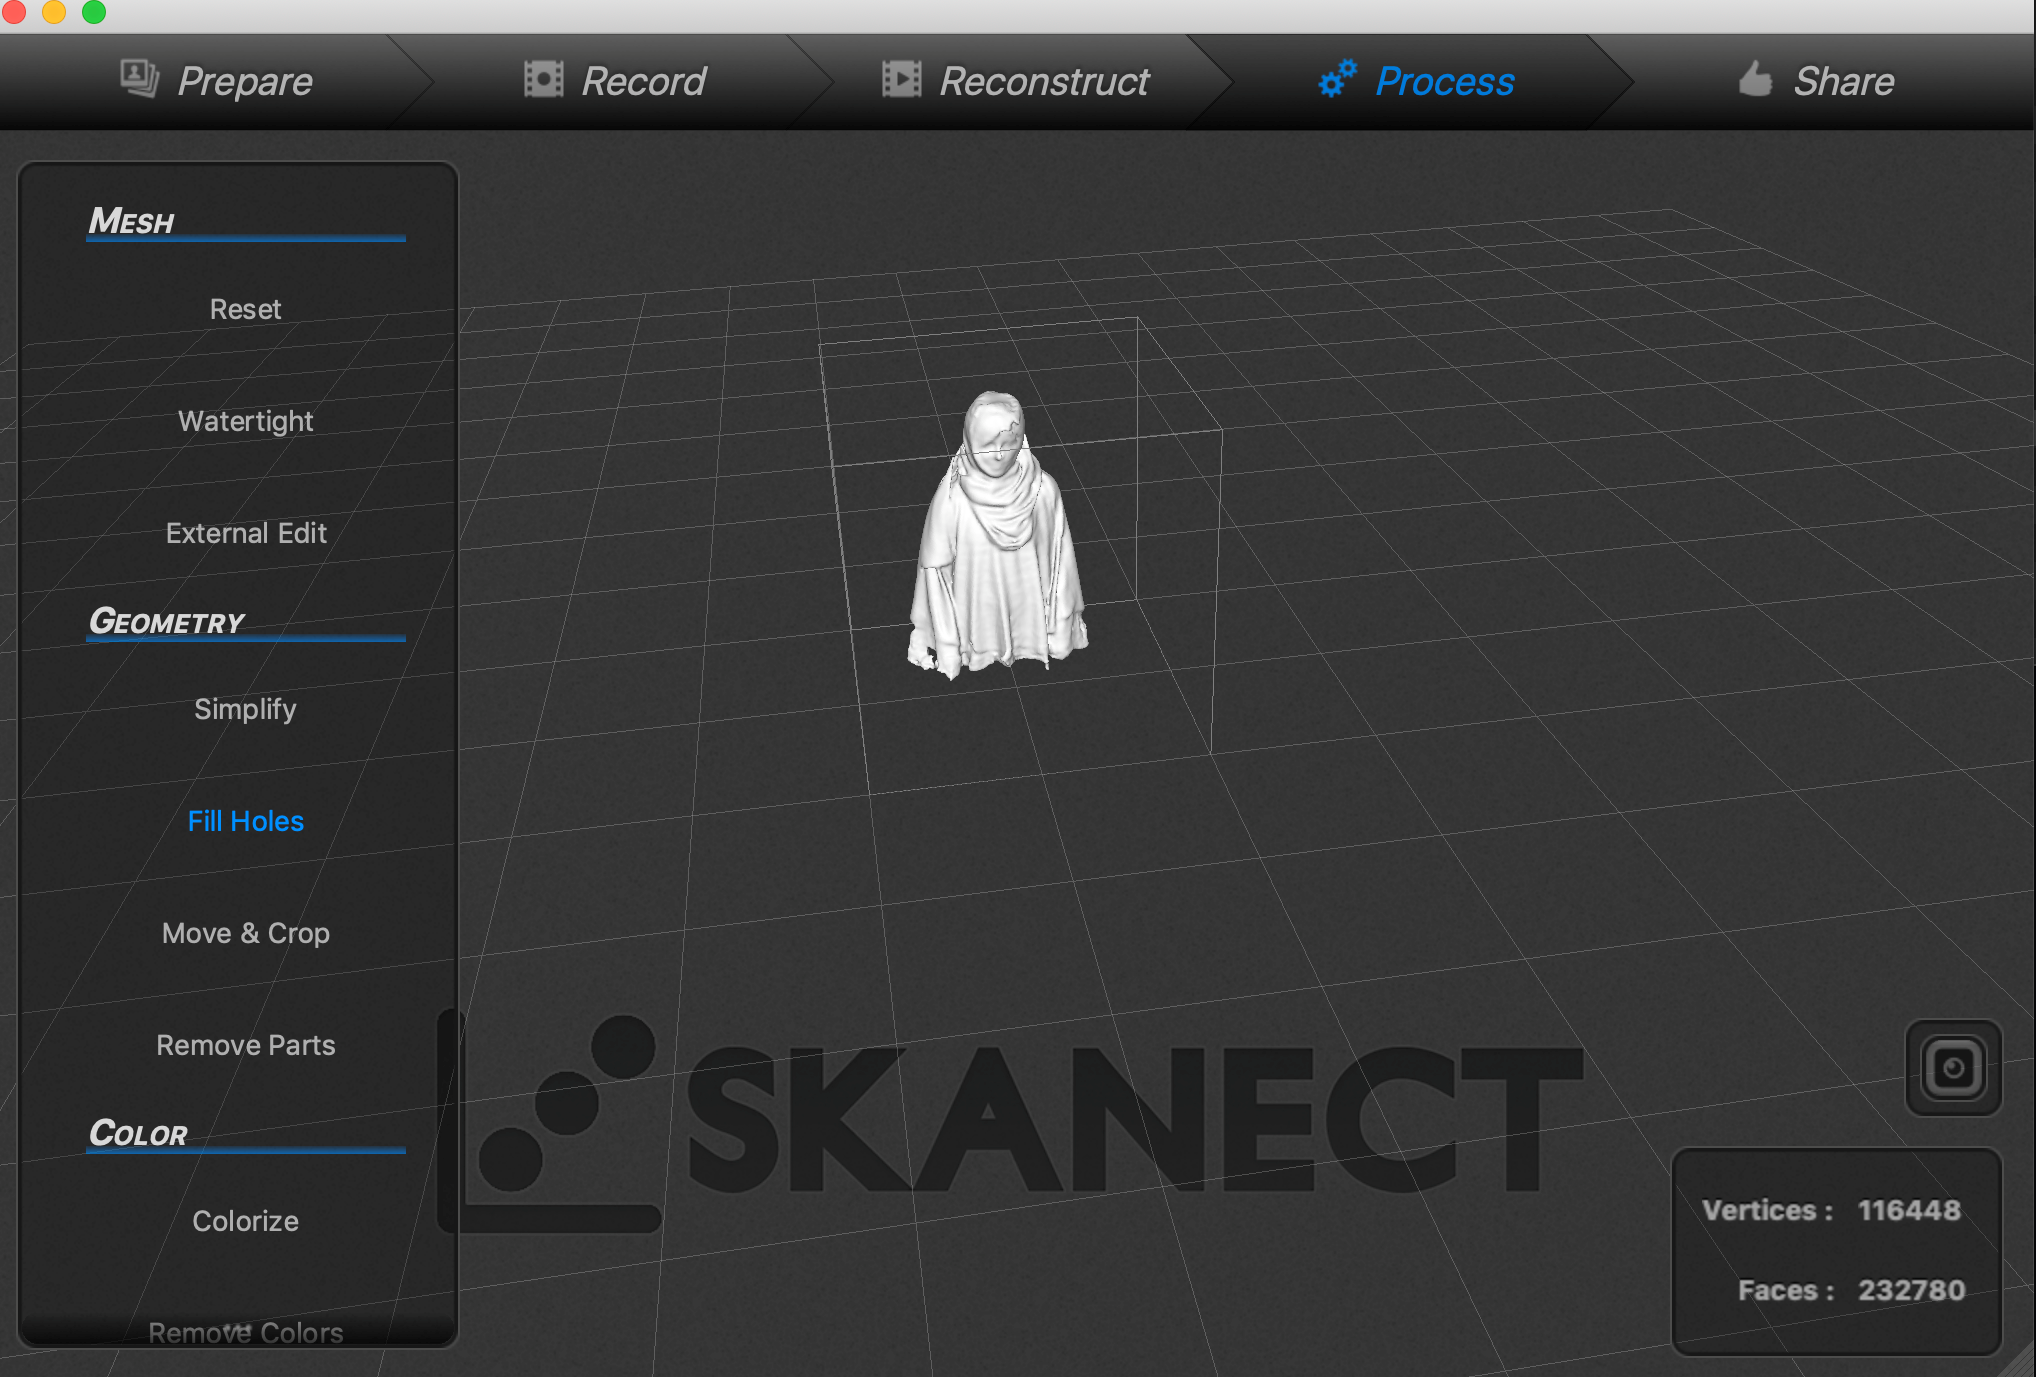
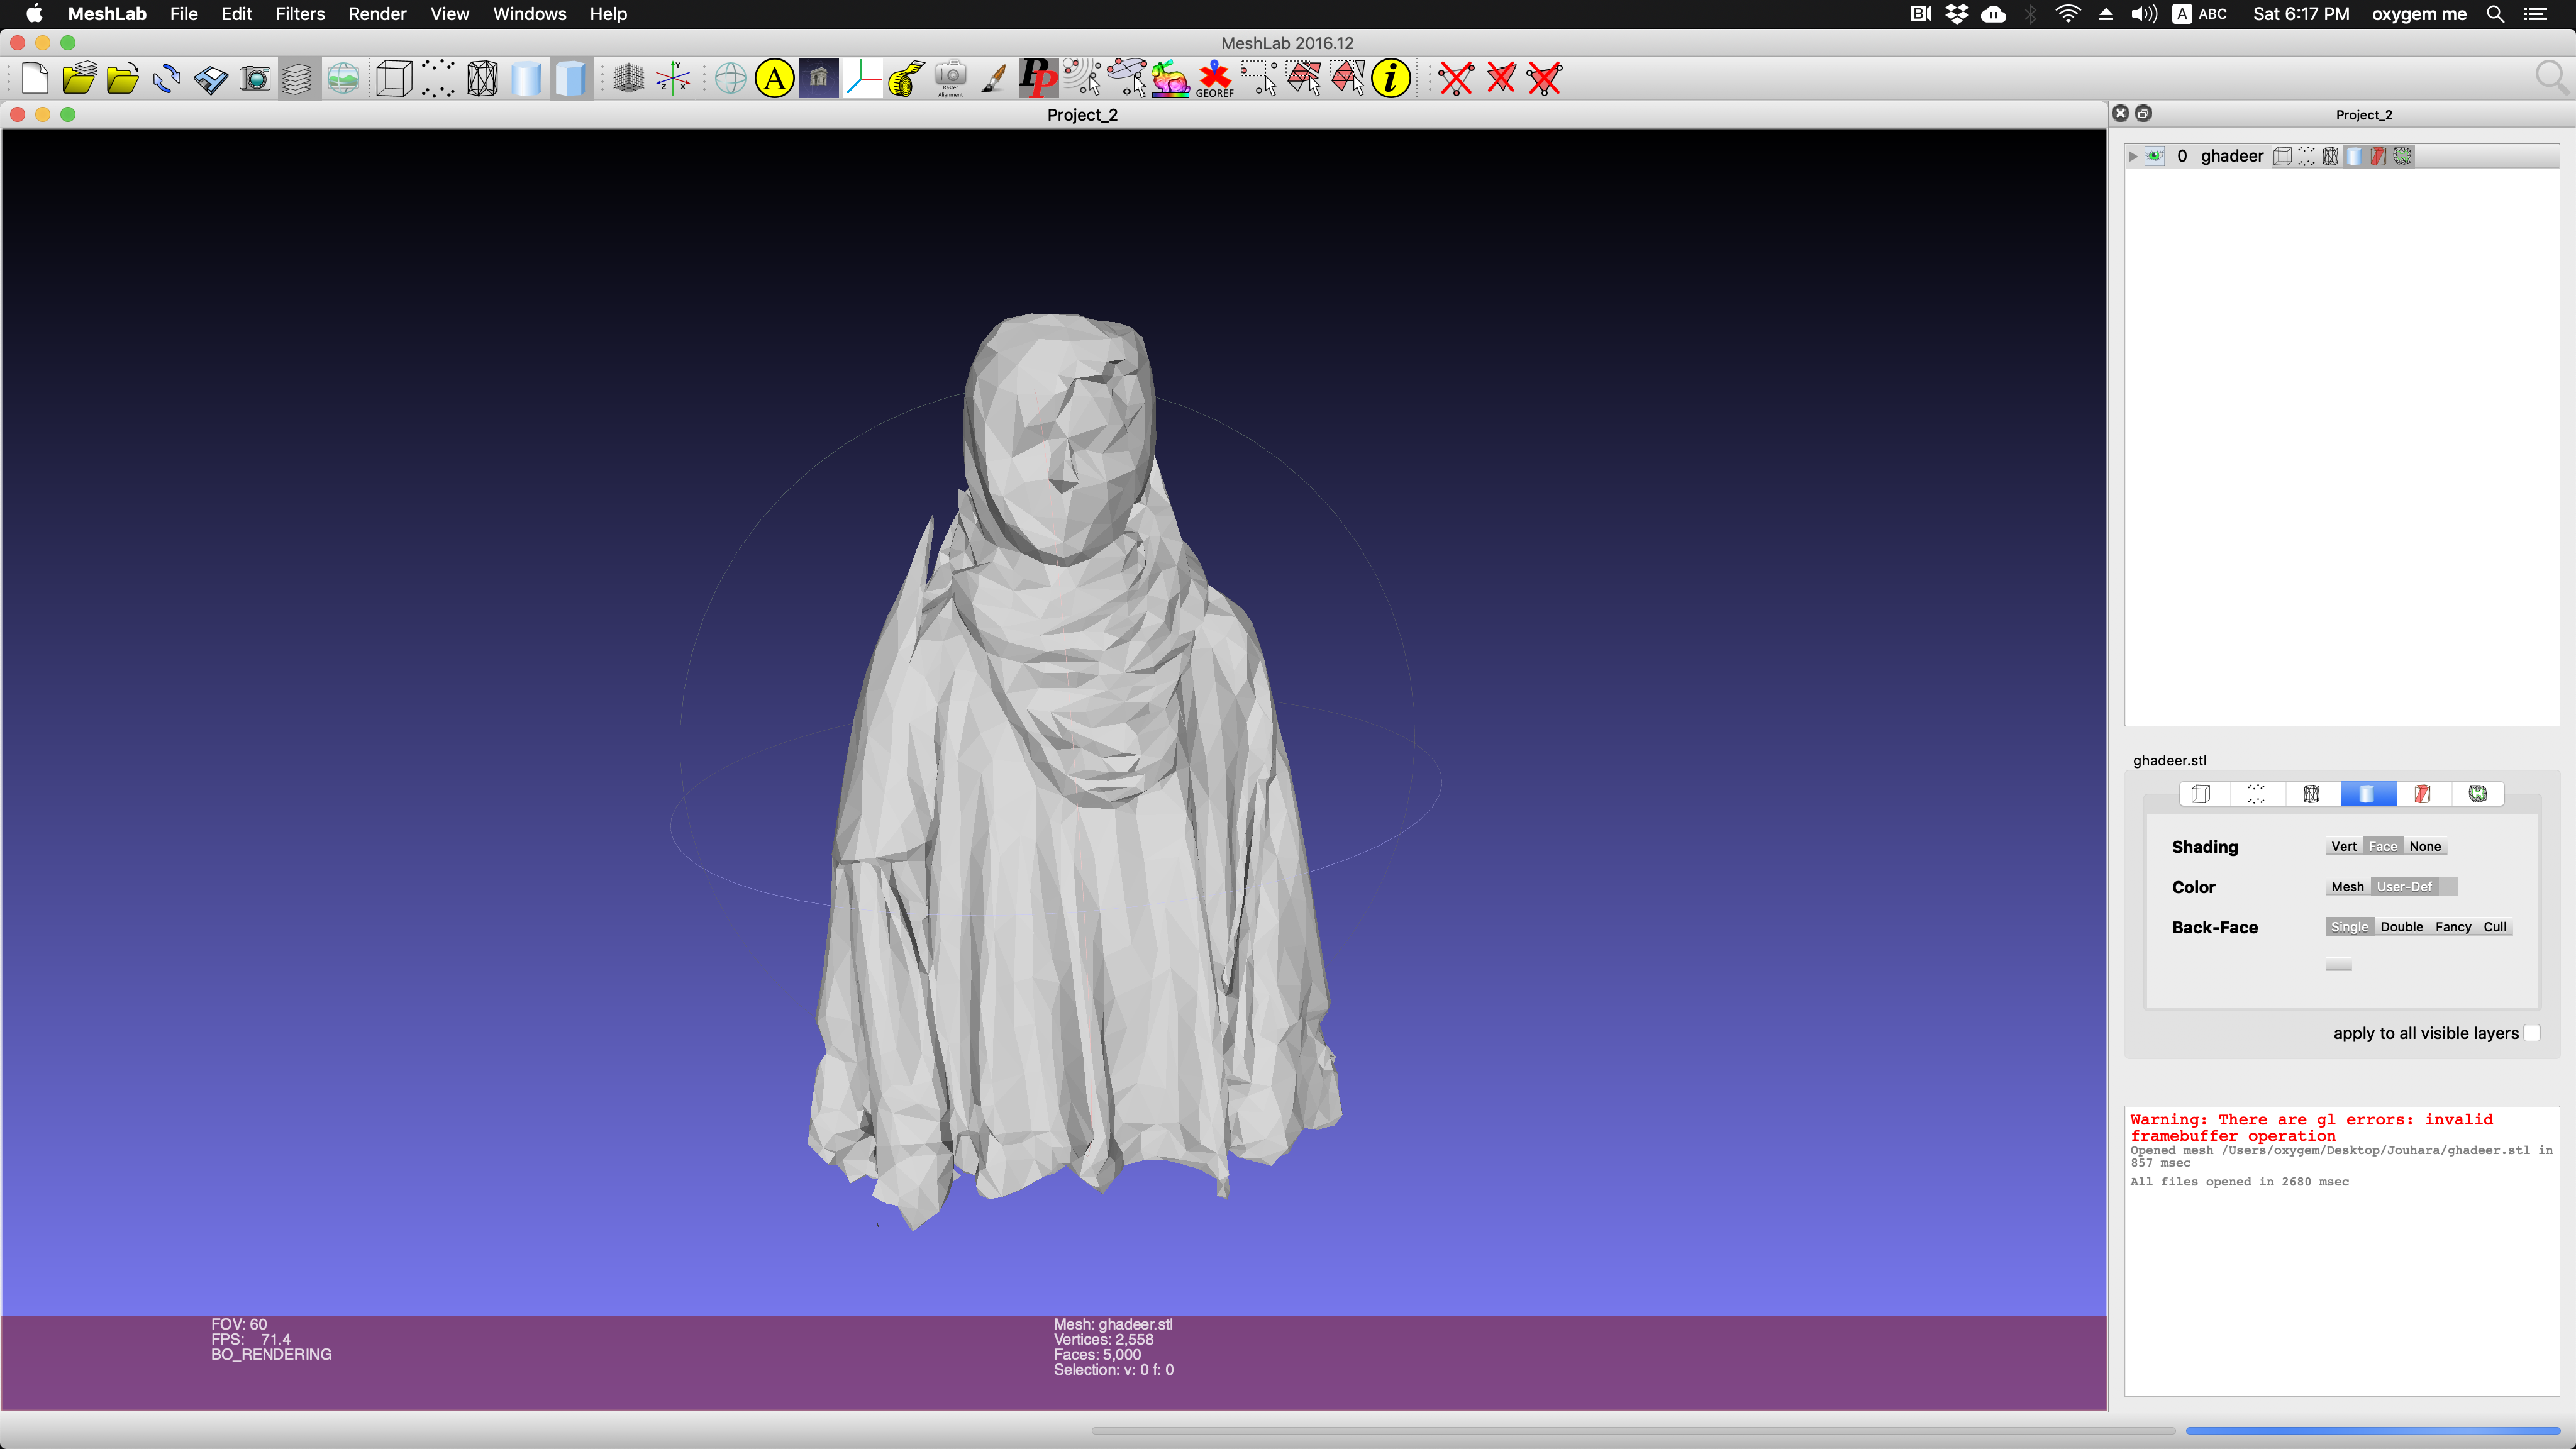
I saved the file in stl format which caused it to loss most of the details.
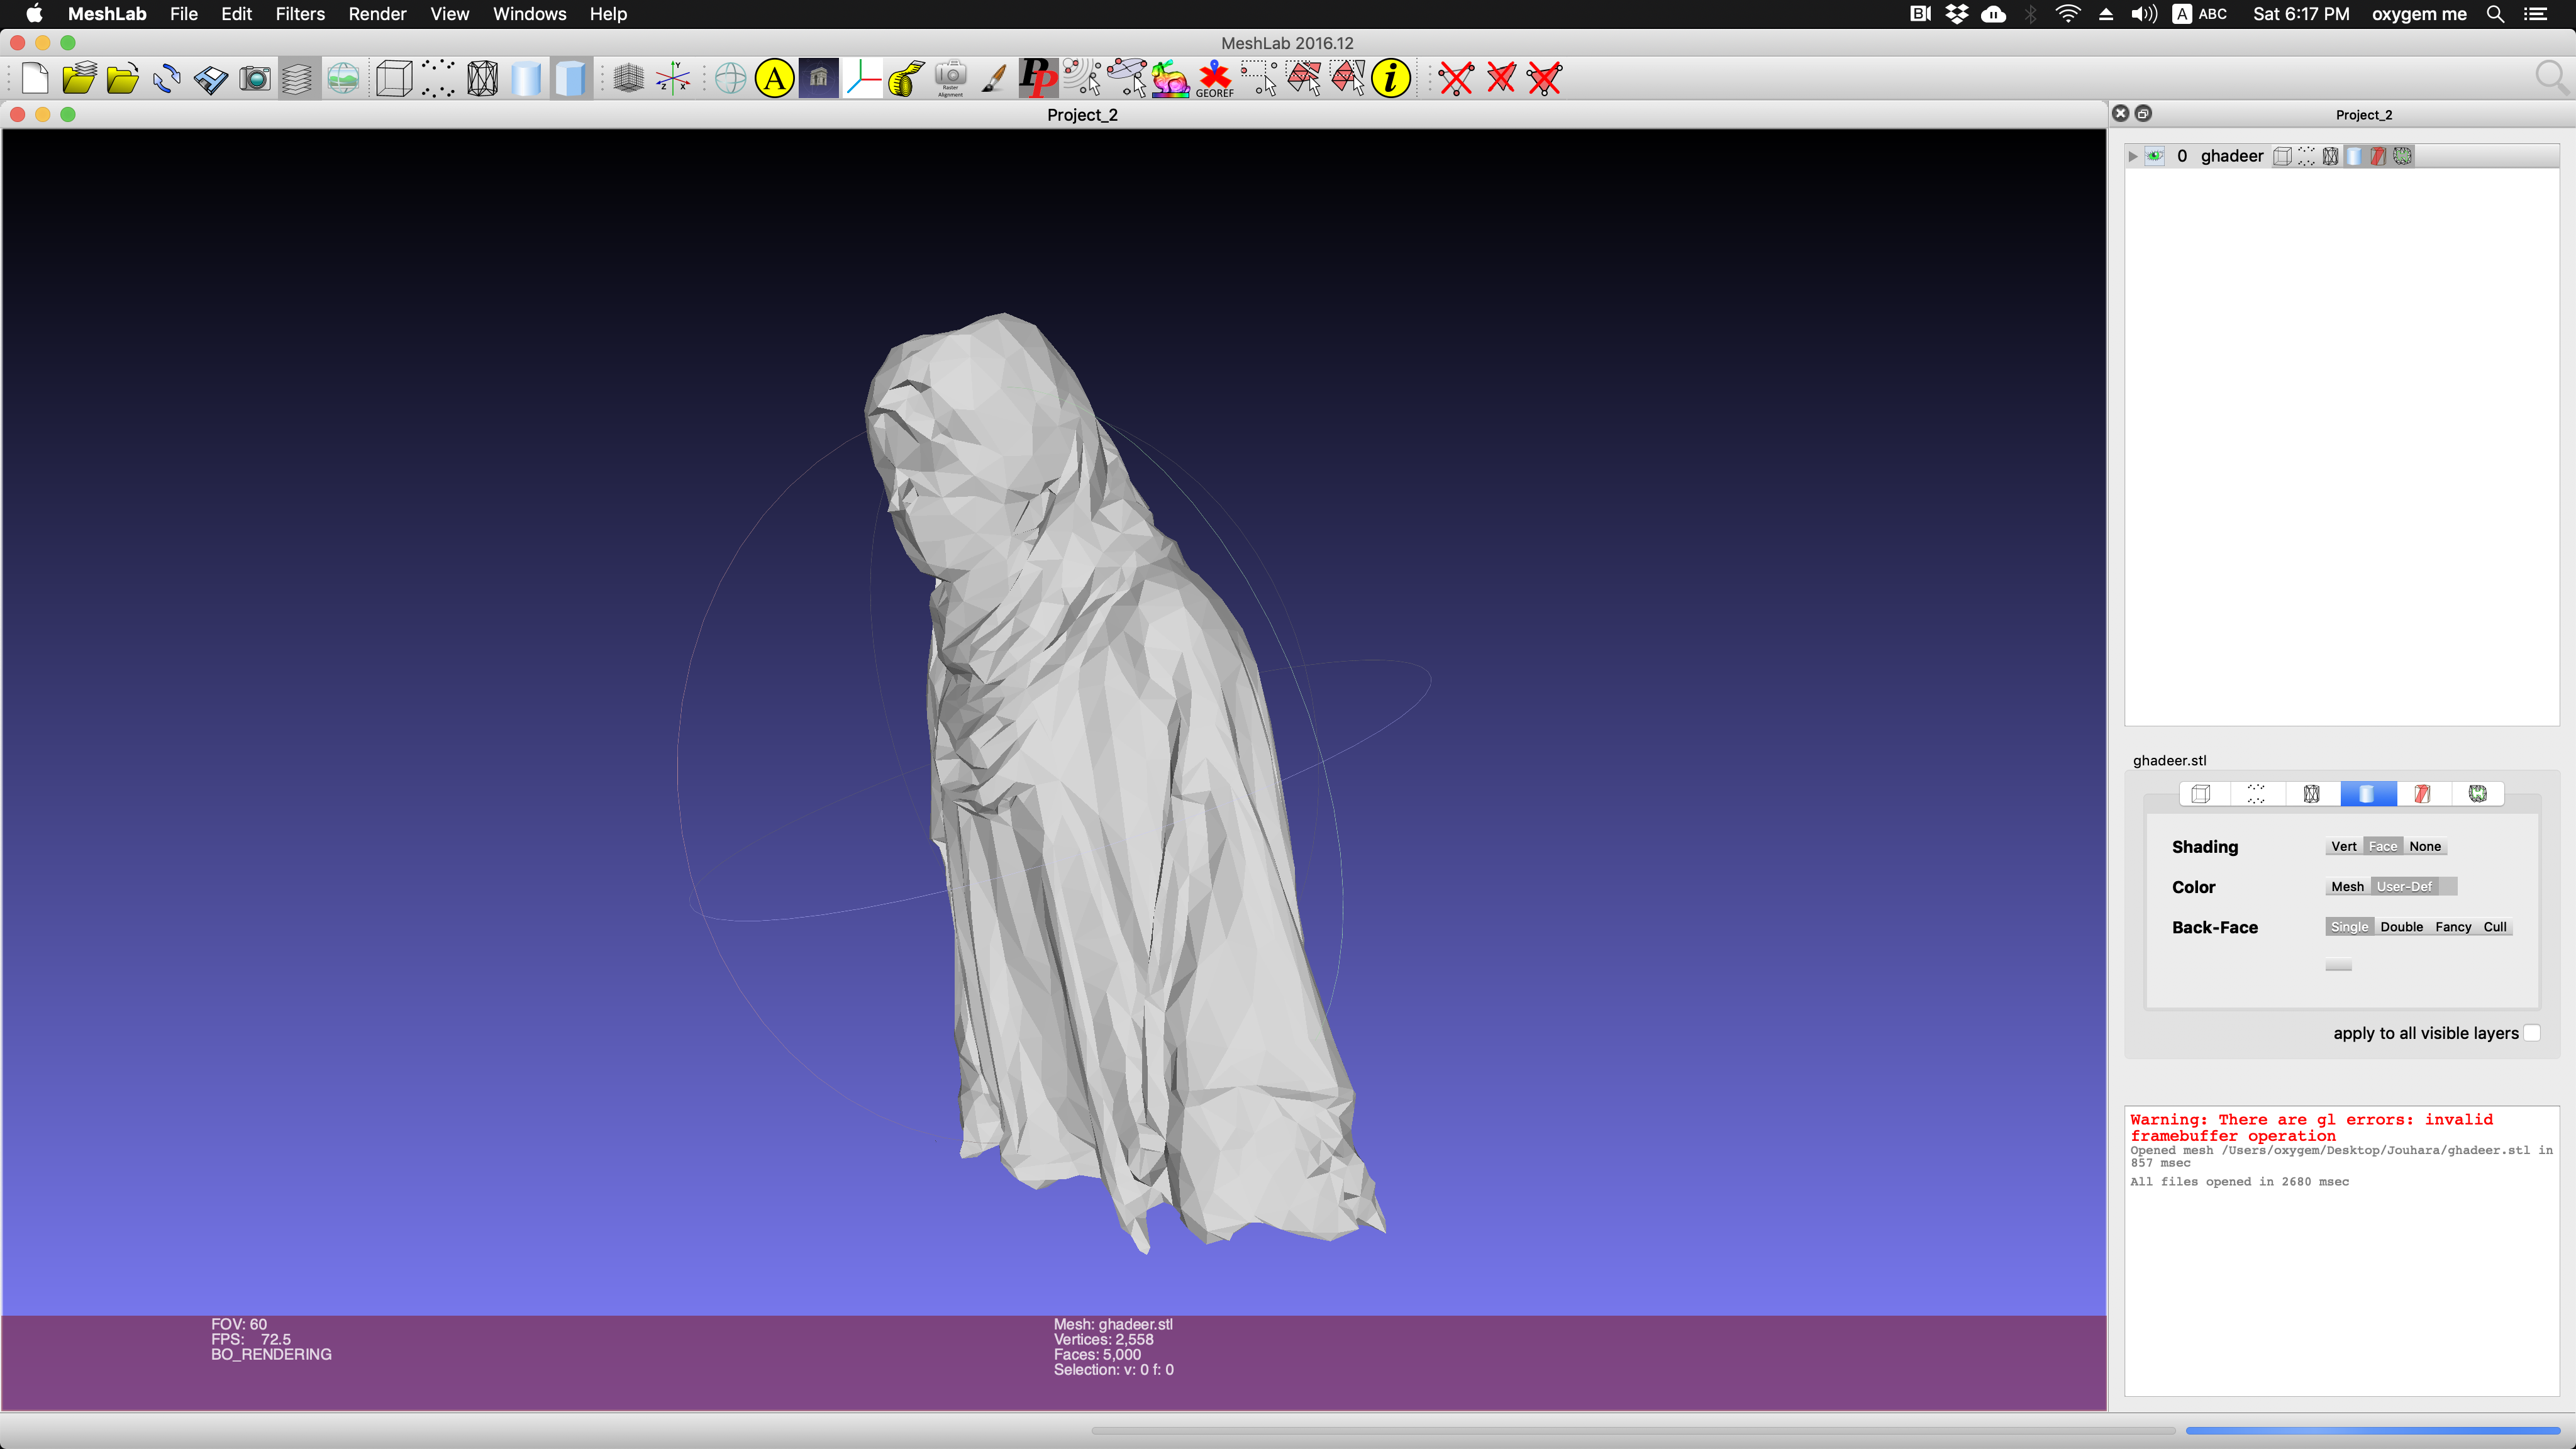
Download file (right click + Save link as)