17. Machine design
This Weeks’ Task:
- Actuate and automate your machine.
- Document the group project and your individual contribution.
Group Assignment
Here is a link to our group page.
Individual Assignment
In this week, I continued with the fabrication process after fixing all the issues that occured while testing our prototype.
Final fabrication
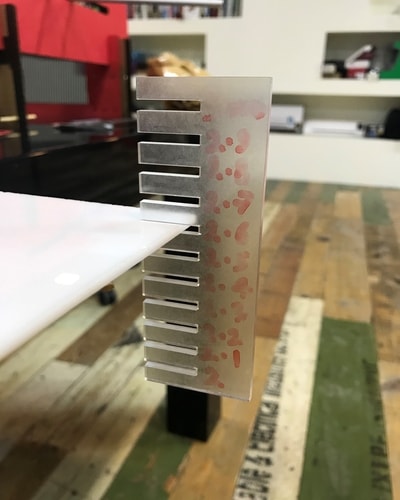
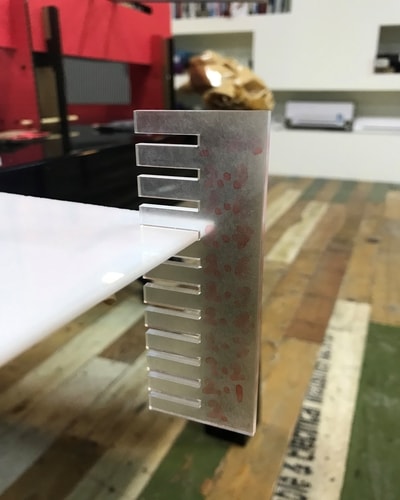
Before fabricating, I ran a kerfing test for the acrylic sheet that we used for our machine by using the acrylic comb that was made earlier for our group project. This will help us to have better fittings for the final product. The image below shows that 2.7 mm had the best fit. The 2.6 mm went almost halfway through but got tighter at the end, and 2.8 mm was loose for the sheet.
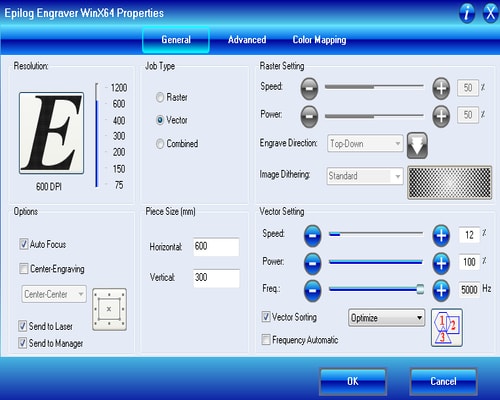
The changes were made to the model and the new files were sent again for laser cutting. This is the settings used for acrylic. I repeated the same procedure for preparing the files as the ones made for the prototype.
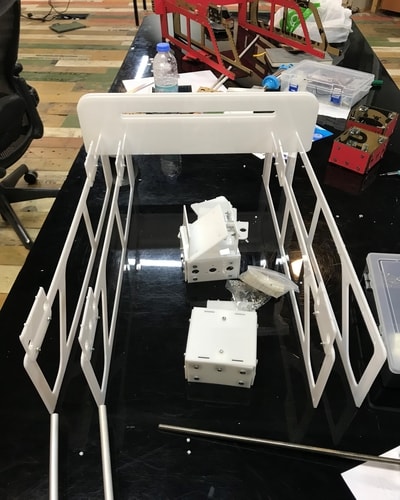
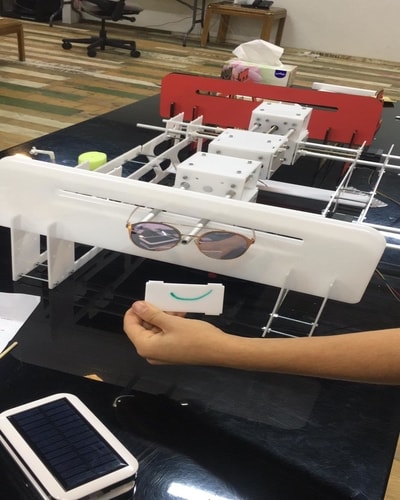
Final images of machine
Here is a video showing how the motor worked.
Here is a test using pencil before trying out with water and soap.
And here is a video showing how the machine worked.