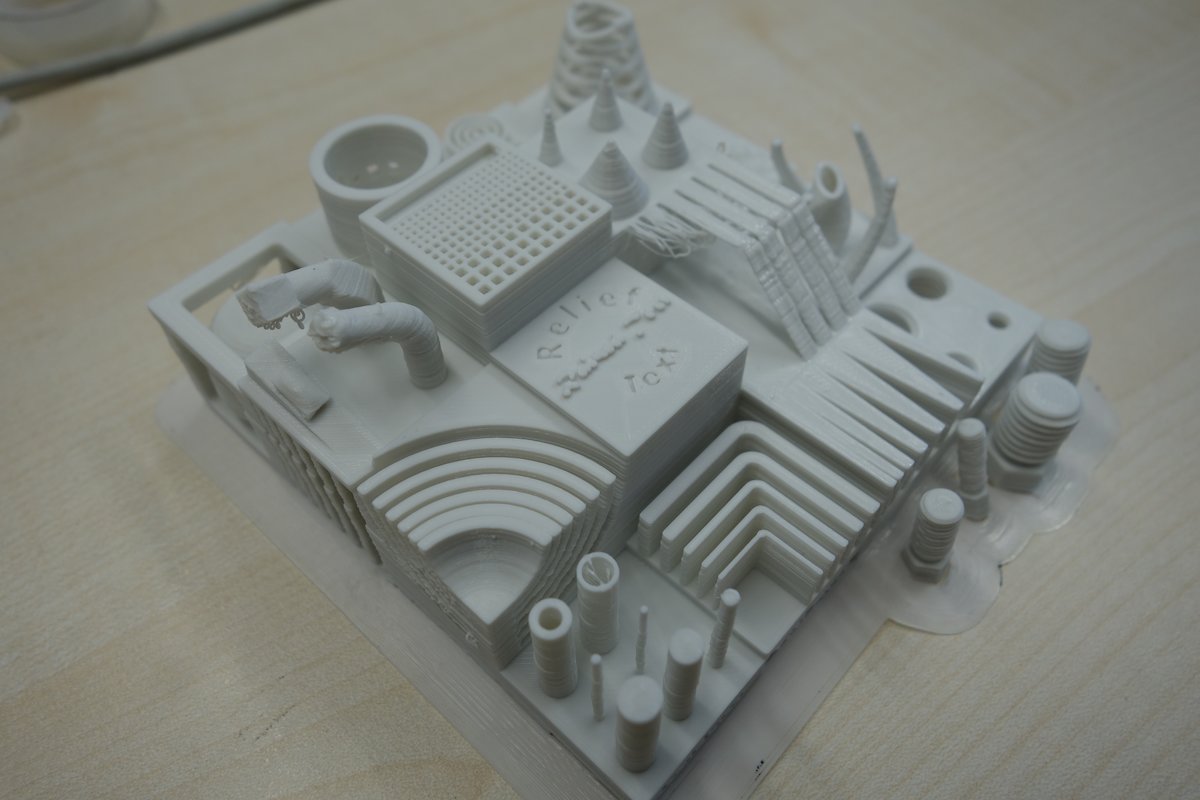
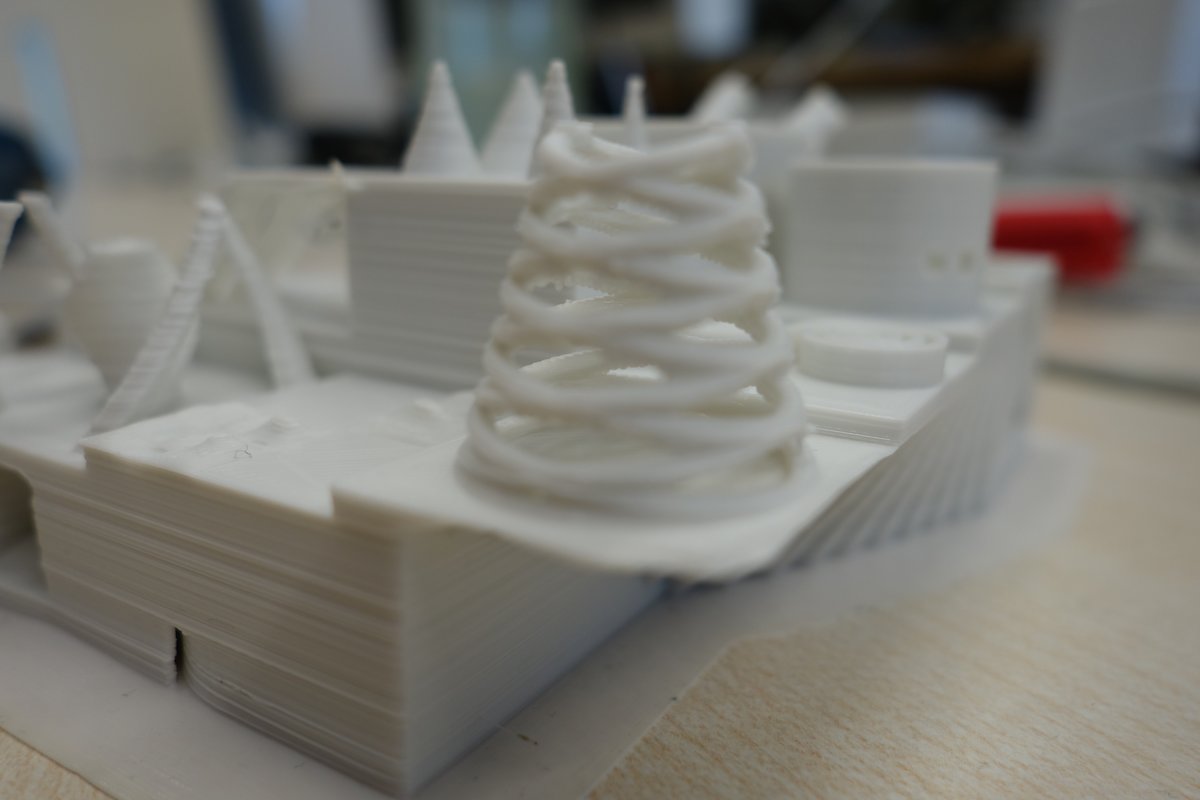
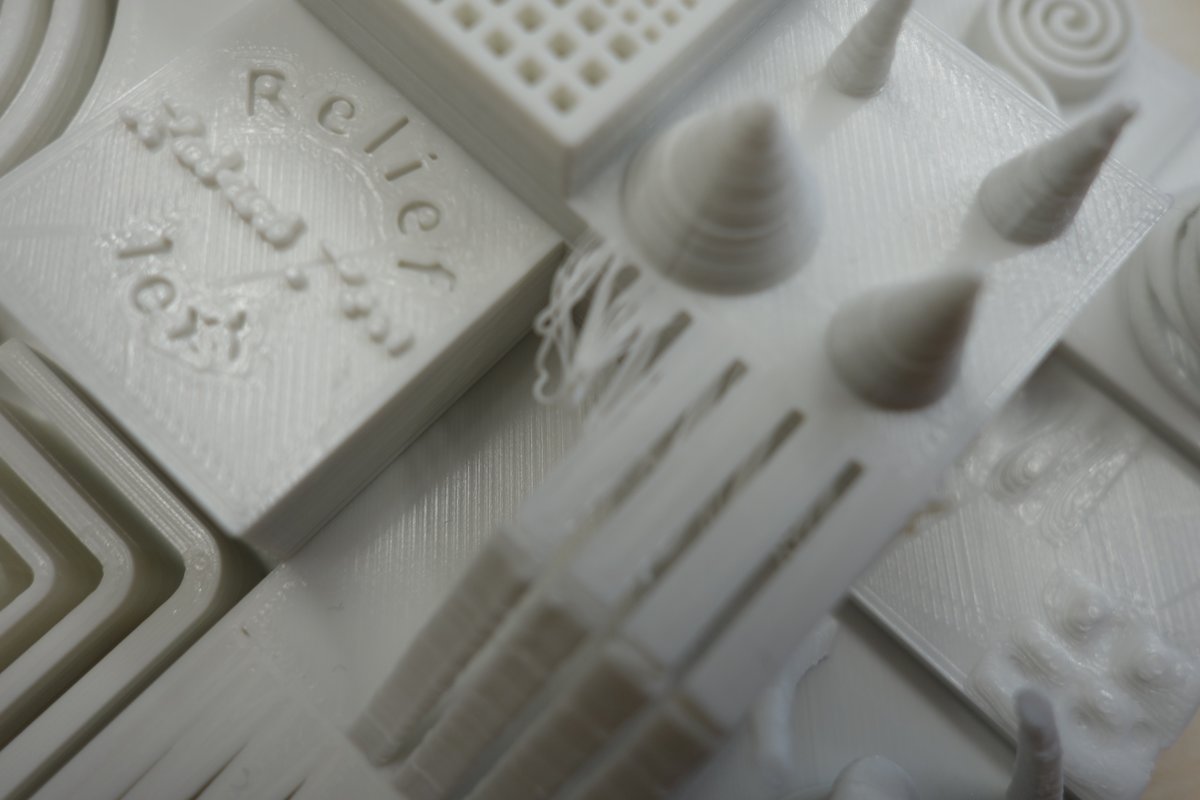
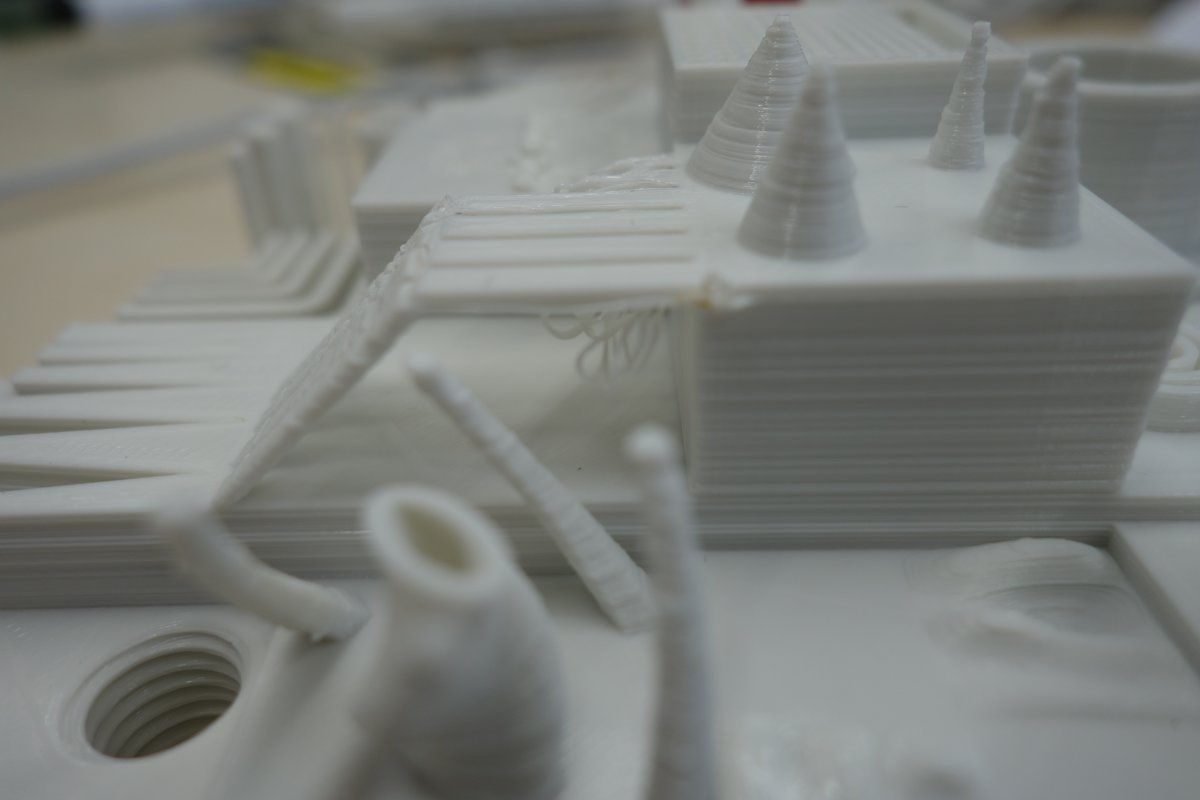
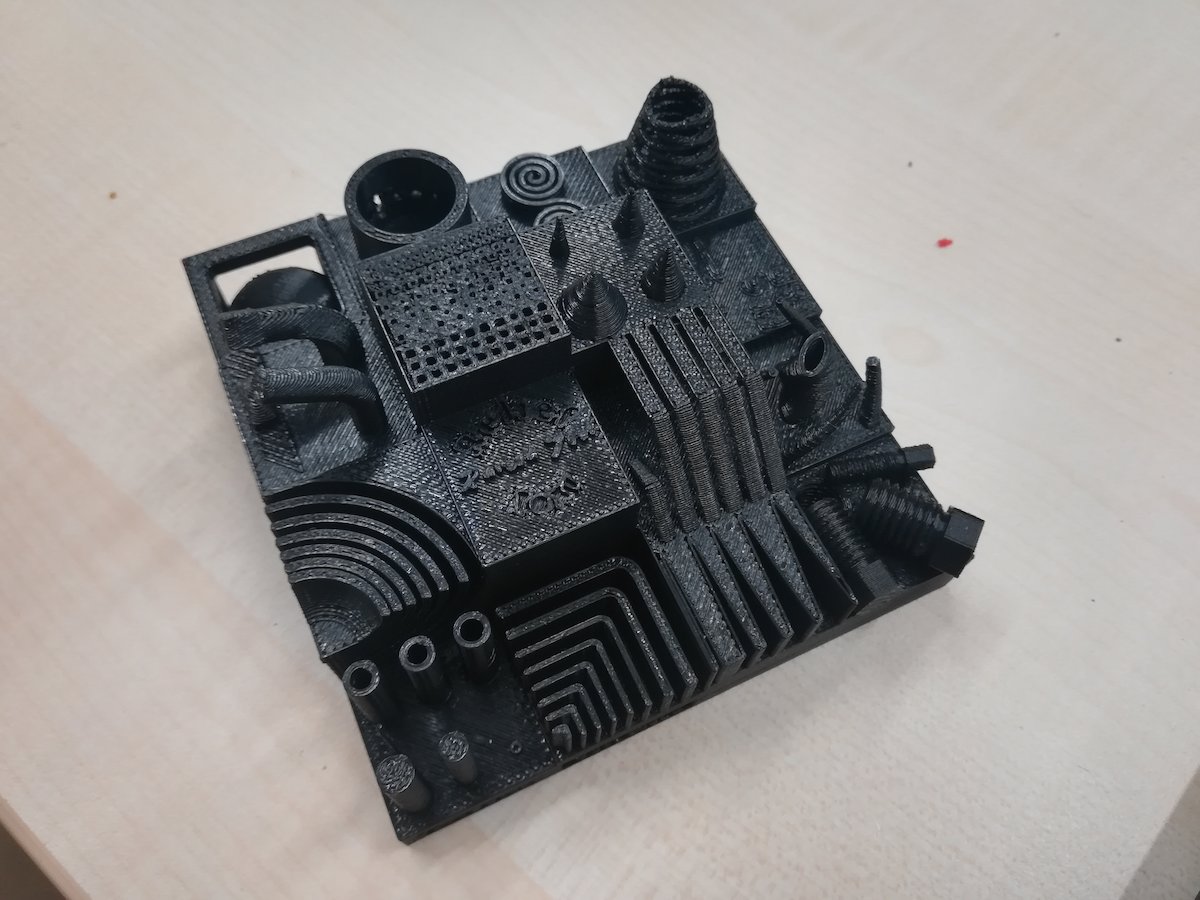
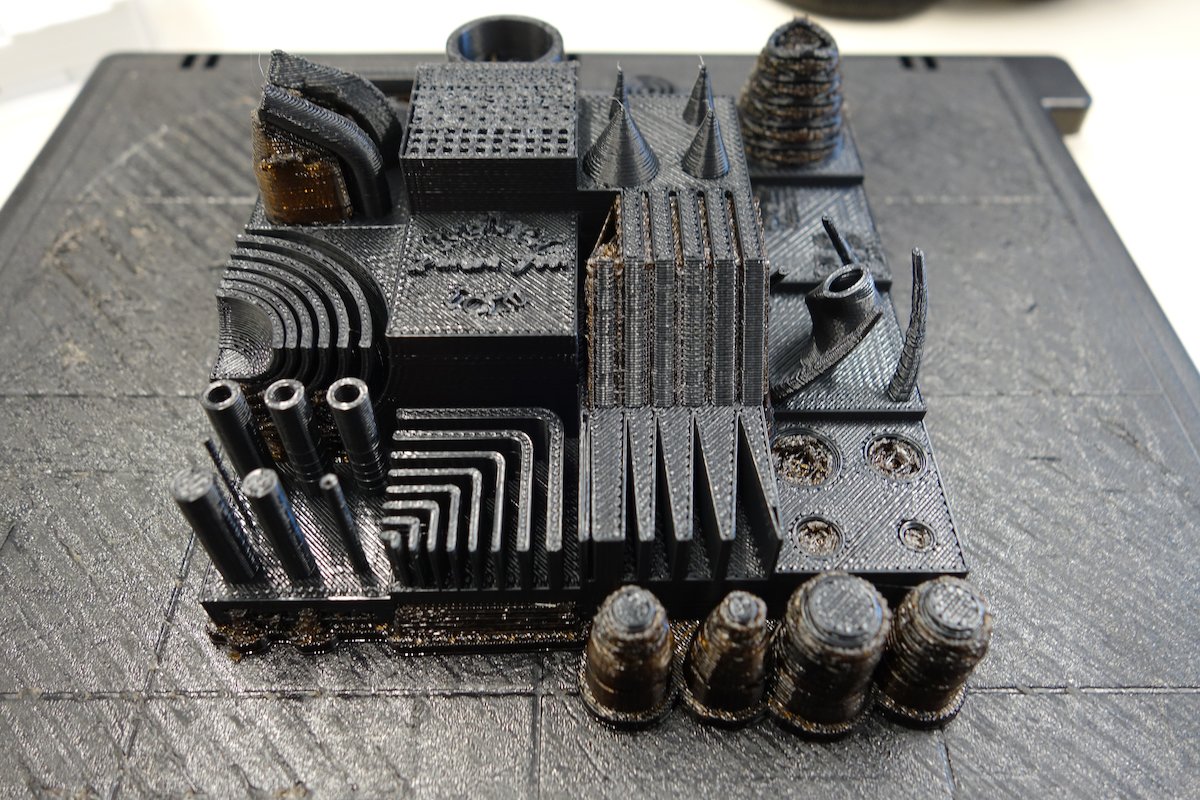
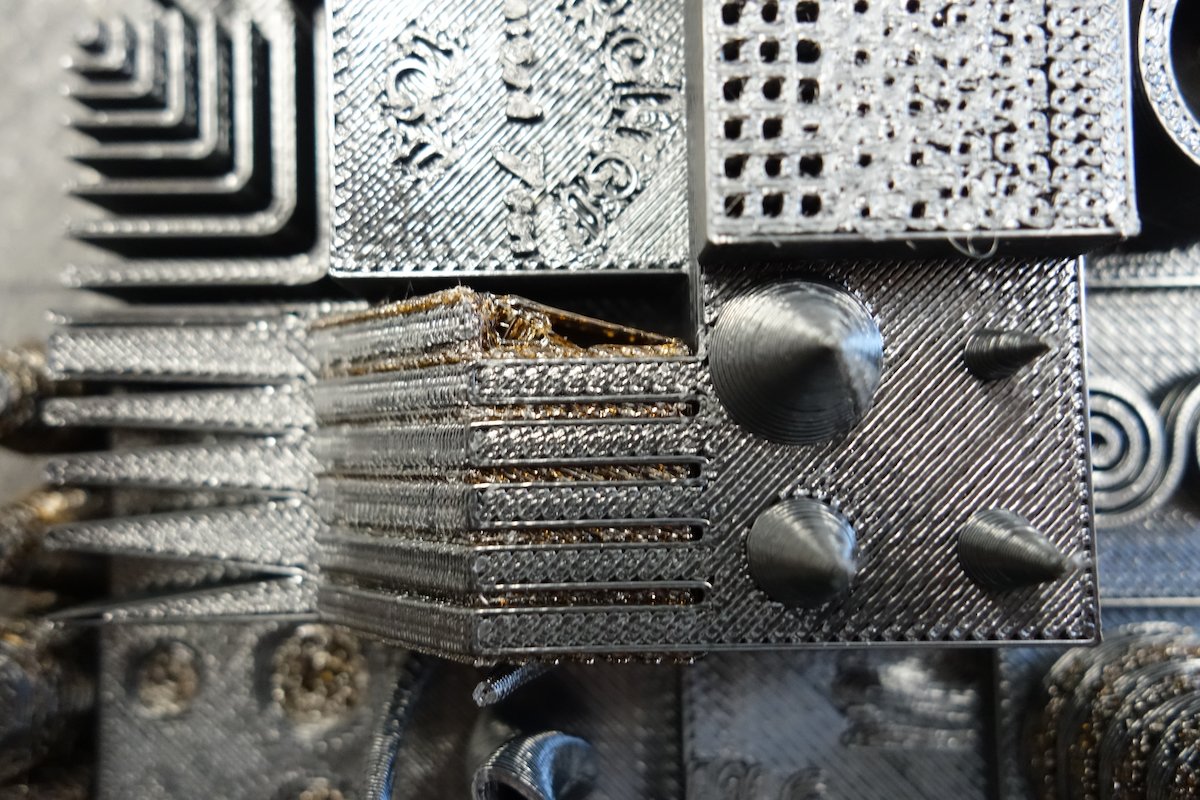
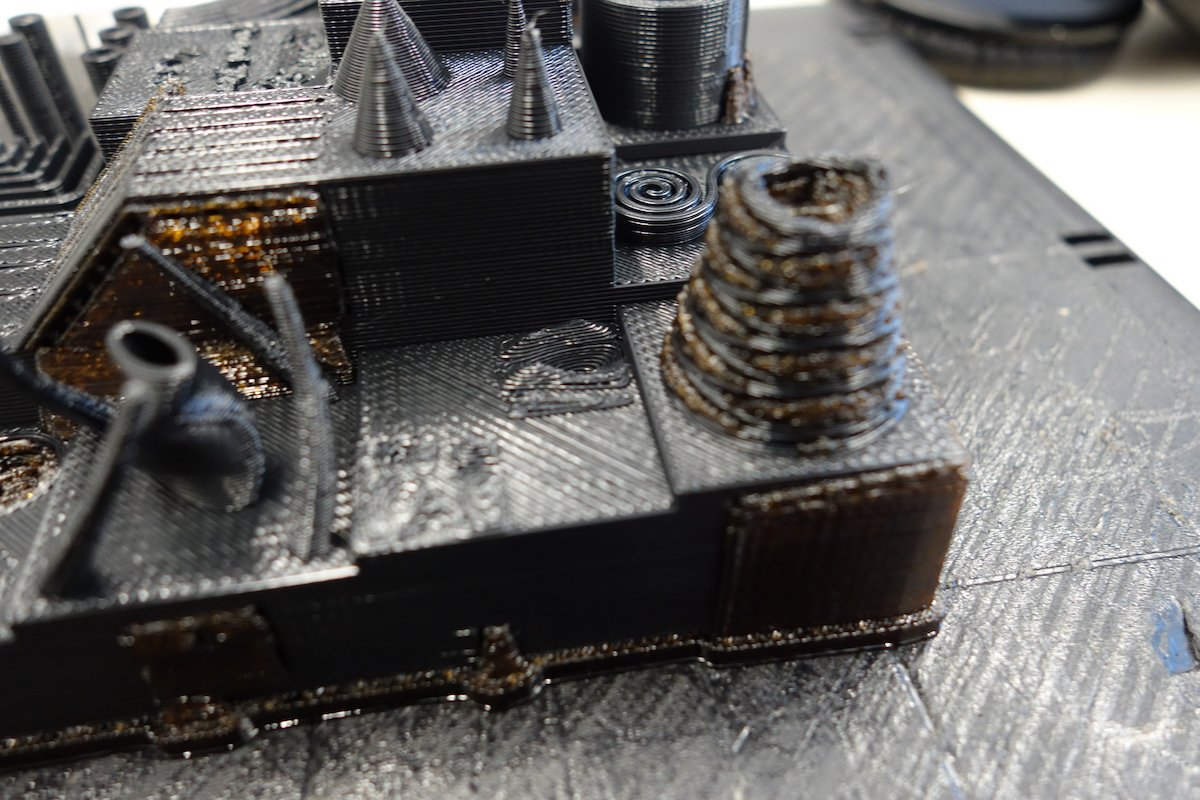
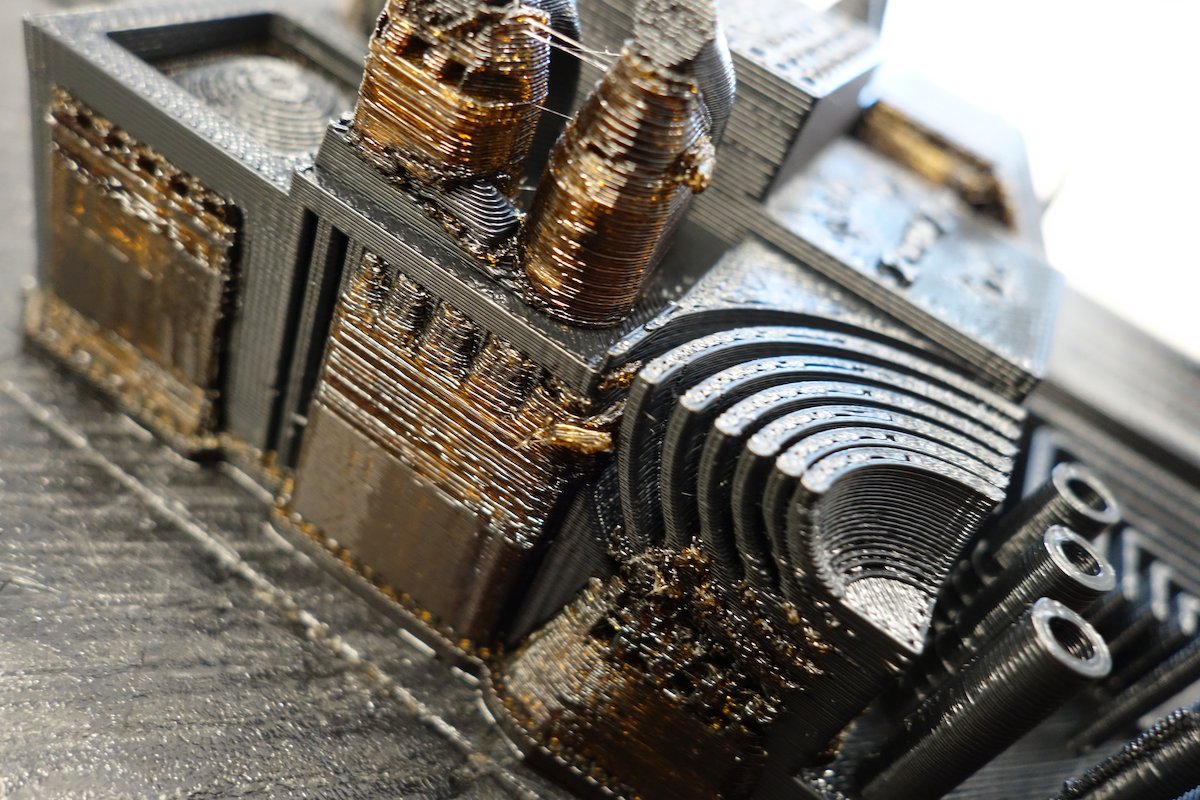
As this weeks group project, we tested the limitations of our labs 3D printers. To this end, we printed a stress test, a 3D design comprised of various features that prove difficult for 3D printers, on each machine. The design we used can be found here.
Advantages and limitations of 3D printing
The greatest advantage of 3d printing is that it is available for everybody. There are already really 3d printers available and therefore anybody can buy one and produce parts for his own needs. It allows creating real parts with ease, which was not possible before without a lot of work. Be it spare parts, cases, figures or whatever. Now anybody can adjust and produce them for their own needs. Limiting on traditional 3d printers is that you can't print things with overhang without support material. Next, to this speed and quality are the greatest limitations I would say. Because 3d printers are still quite slow in printing, especially for higher quality prints. This can be a limiting factor for huge prints which could then take several days. The quality is depending on the printer also a problem because there are variations in how accurate the printers are. So the more experienced you are and the better you prepare your model and set up your printer the better your prints get.
Printers in our lab
Theoretically, there's an Ultimaker 3 in the lab as well, but it is currently broken, so we couldn't test it. On none of the printouts did the screws actually fit.
Ultimaker 2+ Extended
The test piece printed on the Ultimaker had two obvious flaws: one overhang failed to print, and the screws did not fit. We printed the test piece with a layer height of 0.1mm and an infill of 20% with no support and adhesion to the build plate. The rest was the standard settings in cura.
Stratasys Dimension Elite
The Dimension is a professional 3D printer and is able to automatically add support material where needed. It produced the best result for the testpiece. Here we also printed with a layer height of 0.1mm but this time we added support material. The rest of the settings was also left on default. This can automatically be dissolved in leach, which is great for support material which you can't really remove after printing.
Learned things
First of all: Expect a print to not work on the first attempt, even with advanced printers. Start with some settings you think should work well and then refine from there. If you have parts on your model which you think might be problematic for the printer make small test prints with only this parts, so you can get this part printed much faster and optimize the designed model or the print settings to print this part properly. So you can go through much more iterations in the same amount of time compared to printing the whole model, which is nice when the complete print might take several hours. So always start with test prints! Then if you need something where the exact dimensions are extra important, you should start with a few test prints around the desired size and test which fit your use case best. If you have a lot of overhangs print with support material, if you can't scrape that away on the final model print with dissolving support material.
