Computer-Aided Design
Learning outcomes:
- Evaluate and select 2D and 3D software.
- Demonstrate and describe processes used in modelling with 2D and 3D software.
Interviewing fabbers
Problem report!
Selection of the softwares:
- Fusion 360
- 3D Builder
- CorelDRAW
- GIMP
I’m excited to learn more about Fusion 360 and 3D Builder to learn it because I think having more than one option could help in figuring out the best quality of printing the product we need.
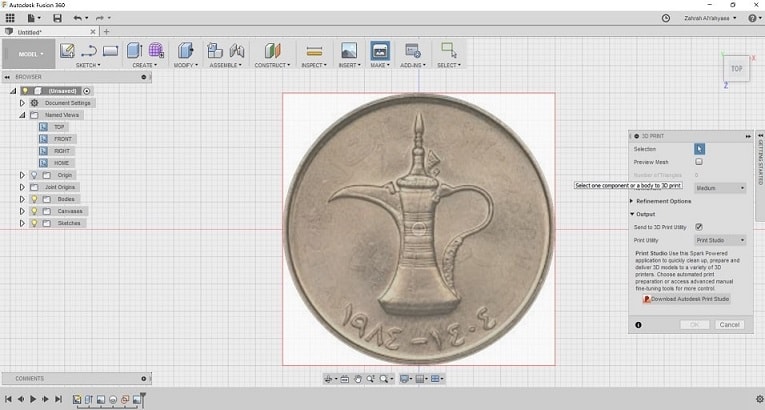
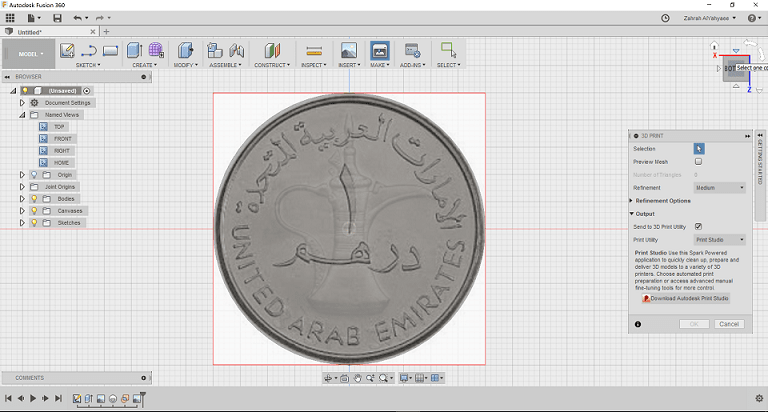
So, as I’m exploring the Fusion 630 I started my first step to work on my final project trying to make the design of my coin which I needed in my board game. in 3D and in 2D I would like to try both CorelDRAW and GIMP.
However, I used before the photoshop software and I think adding the Gimp to my knowledge would be a bonus of course! Well, after trying it I will decide which one to go for and why.
I used before the photoshop and illustrator for designing and only these two programs. However, I did start to learn the basics of 3D design on 3D Builder software, watched some YouTube tutorials about the program and then I tried to experiment the program. So, this is the result..
3D Builder
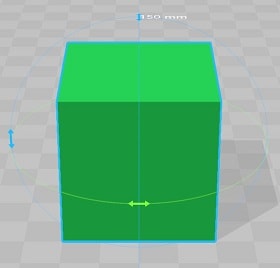
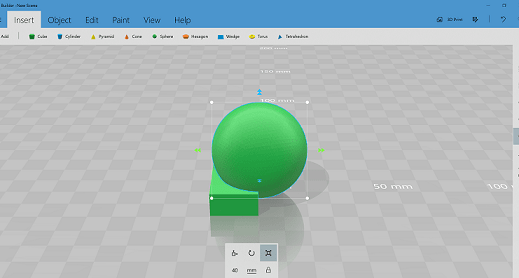
I used the default shapes of 3D builder as I took it and started to apply some of the available options and see the differences in the shape so that I know more about the tools and for what.
 So, I chose this shape for the given options in insert tool.
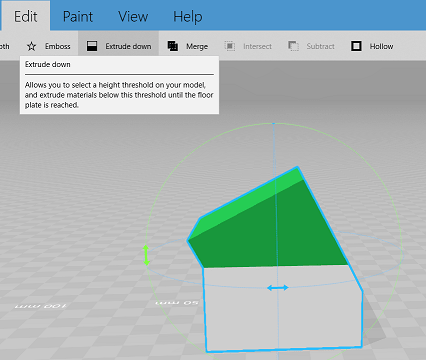
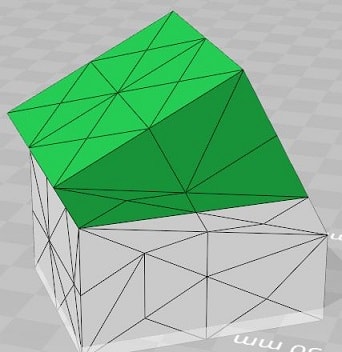
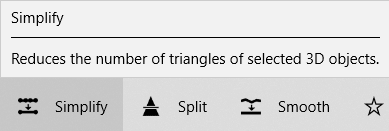
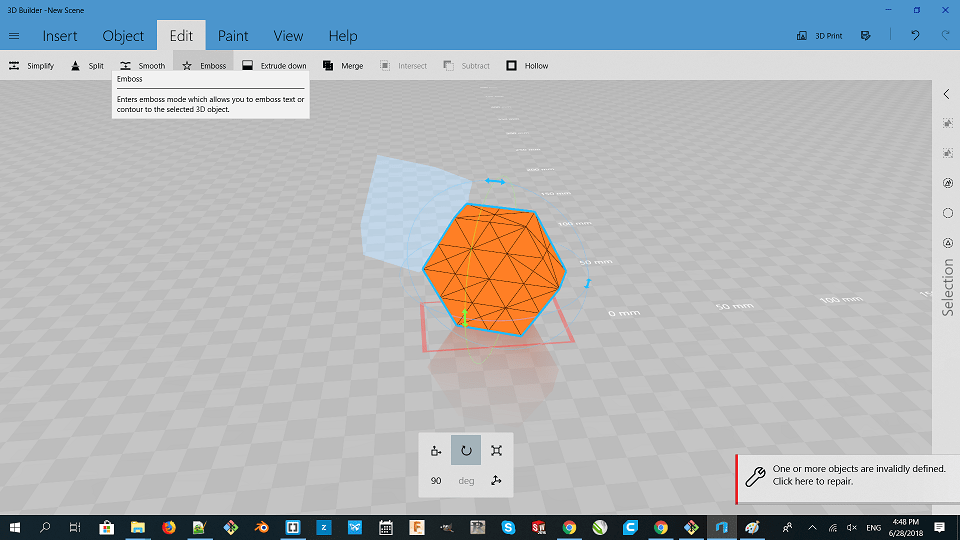
 Extrude down tool changed the square shape to this shape and simplify tool also add more triangles
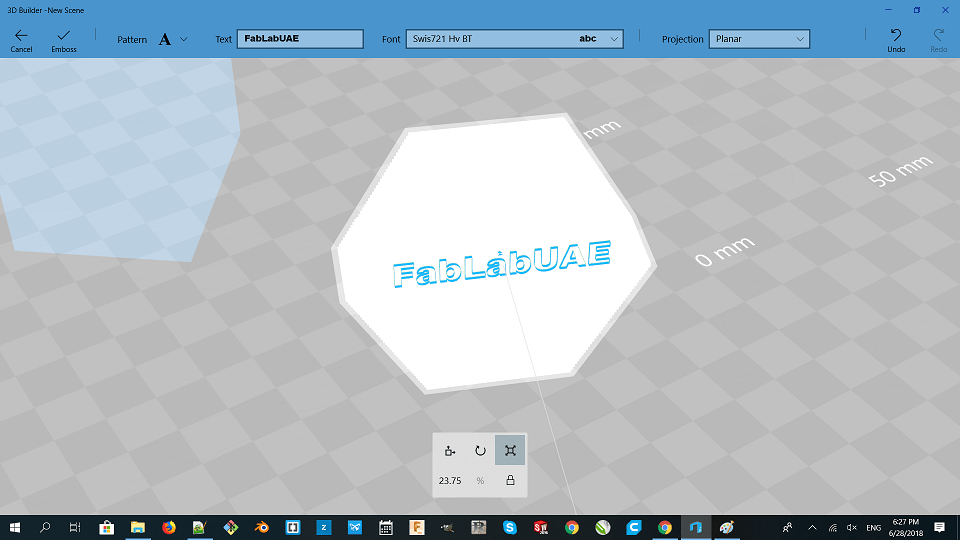
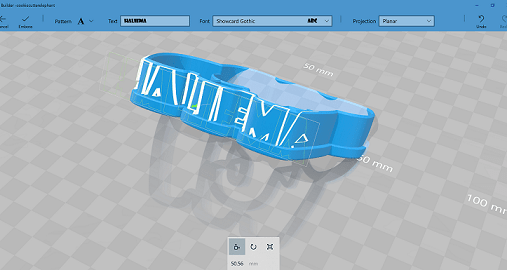
 this is nice option to add text emboss so I added the "fablabUAE" on the hexagon shape and to merge objects select on them and from edit choose merge.
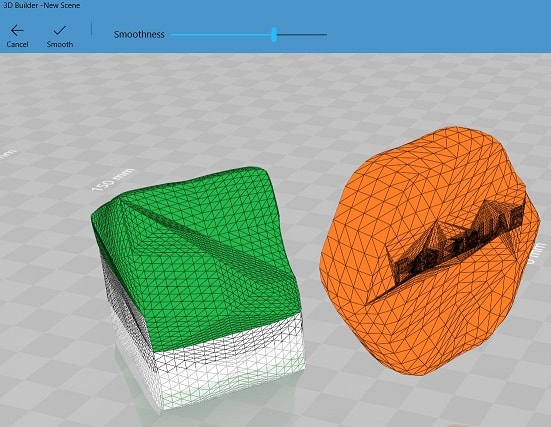
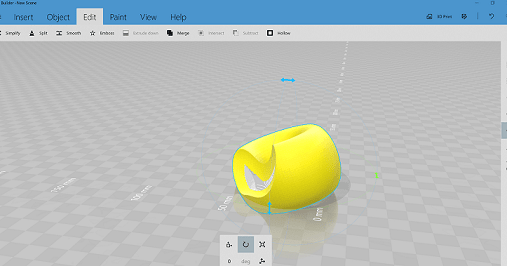
 if you want to make the sharp edges soft, edit / smooth tool and you can adjust the level of that. you can nsee the below image I did apply this feature "smooth"
 These are some other examples I did in 3D builder.
Fusion360
Tutor's feedbacks
I showed the instructor my work skitch and she provided me with useful feedback and resource about the difference between bodies and components providing a web page to read Learn when to use bodies and when to use components What is a component? And why do we need them?....
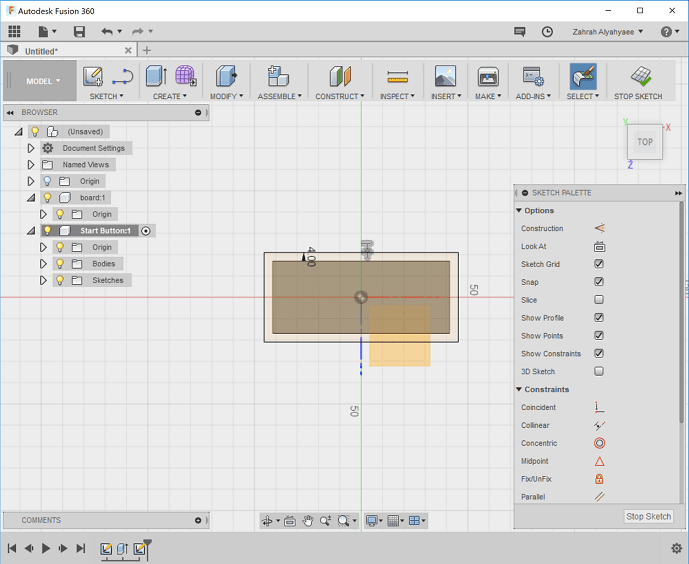
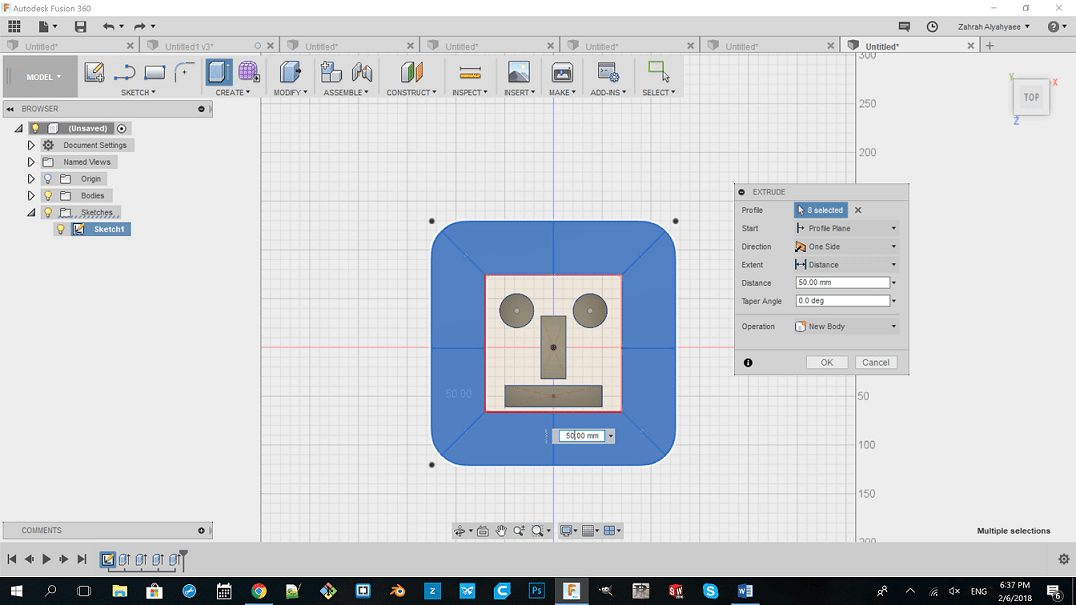
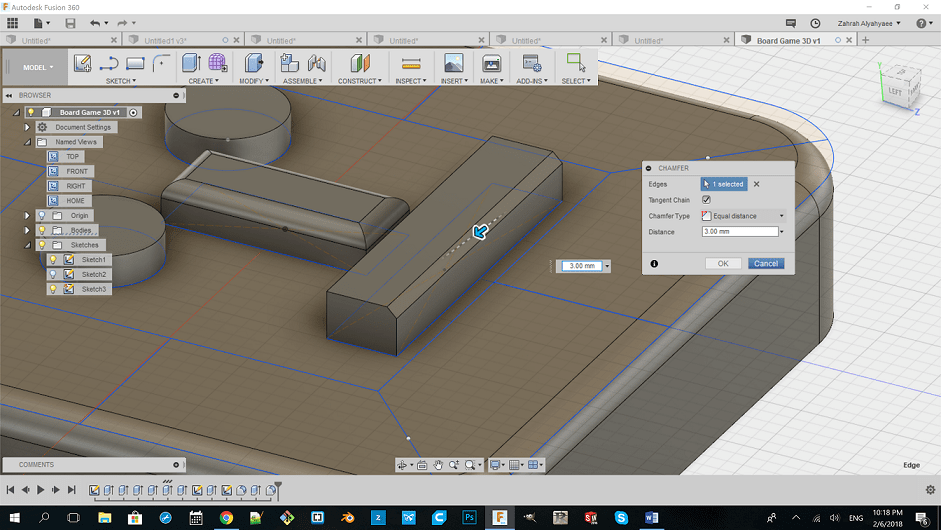
Extruding, Chamfer and Fillet steps:
Extrude
1. Select the object.
2. Press “e” letter on key board or go to create then extrude
3. Go to the cube on the top wright of the window and select on the "dimension cube".
4. Select the object you want to extrude.
5. Press on the arrow to pull it in or out.OR Choose the distance and taper angle from the extrude window.
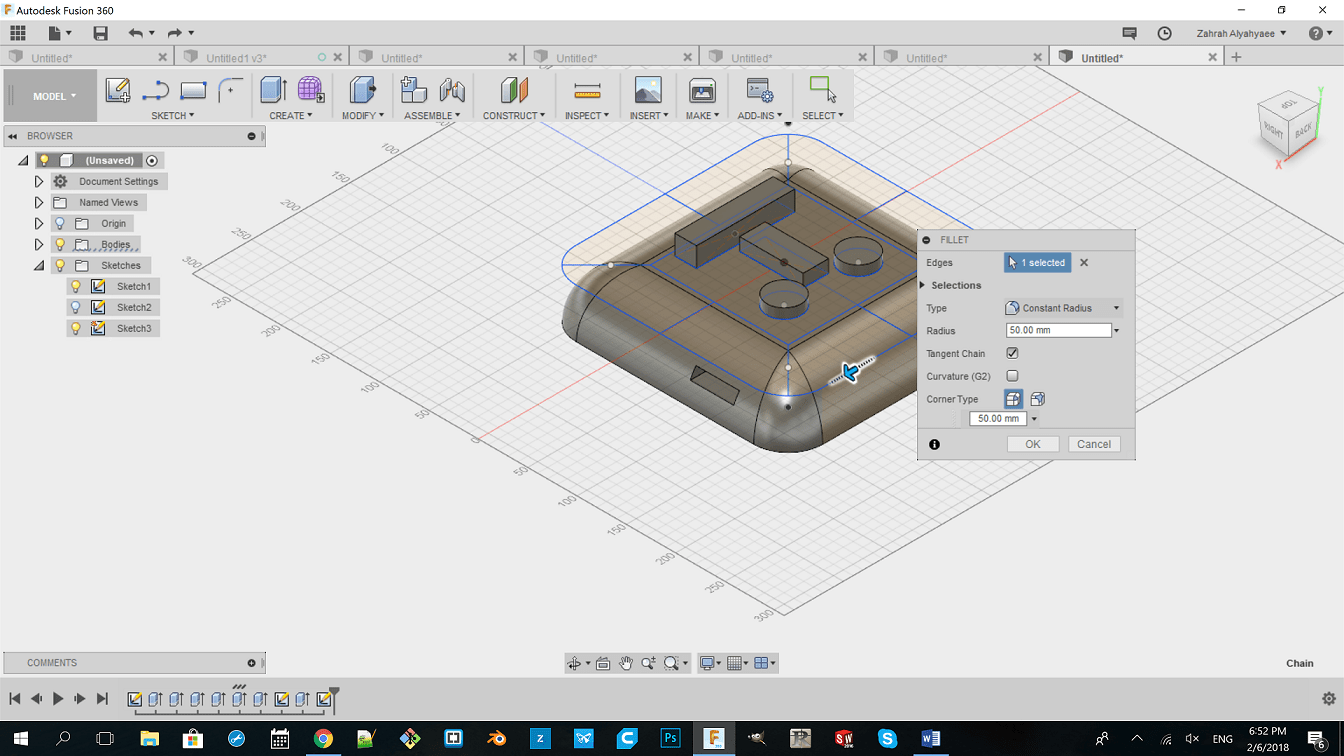
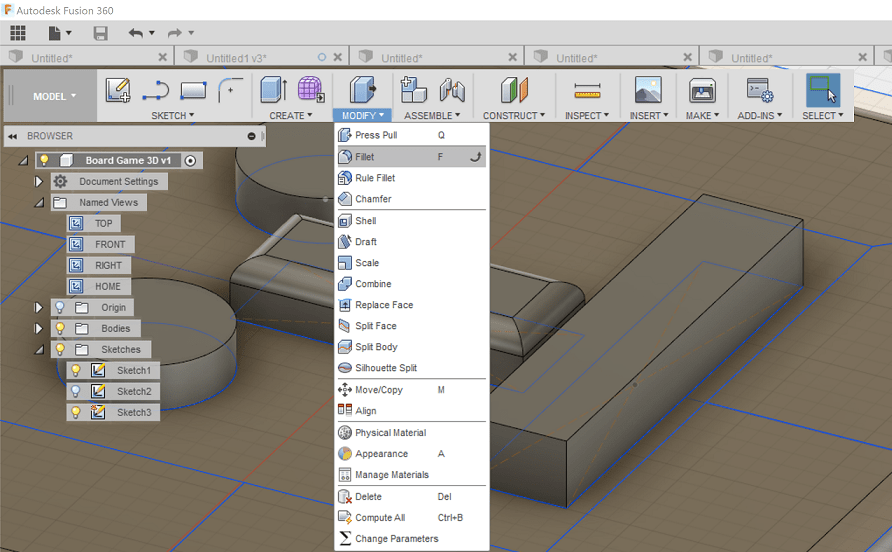
Fillet and Chamfer
1. Press “f “letter on the key board. Or go to Modify and choose the second option from the list "Fillet".
2. Select the line or the object you want to work on or change the shape of the edge.
3. Press on the arrow to pull it in or out and choose the distance and taper angle from the fillet window.
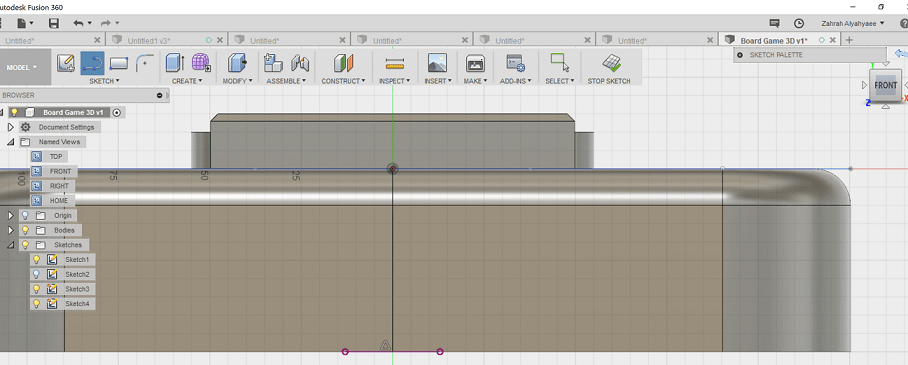
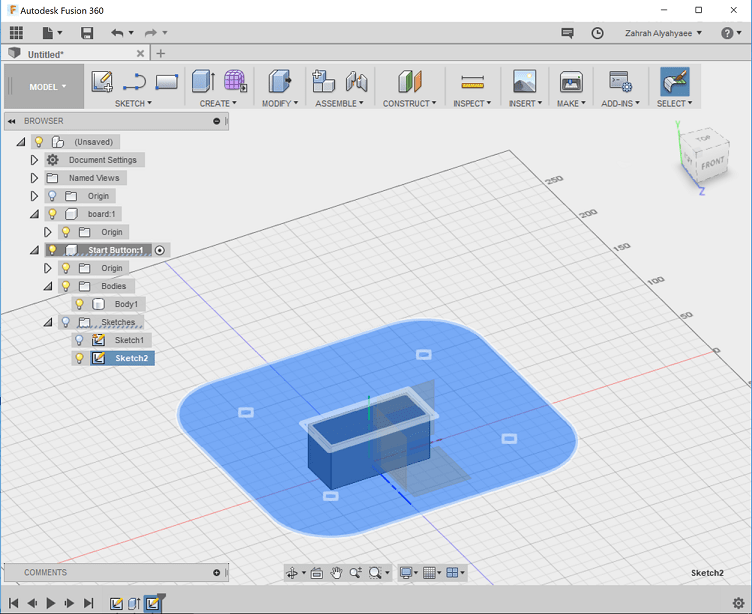
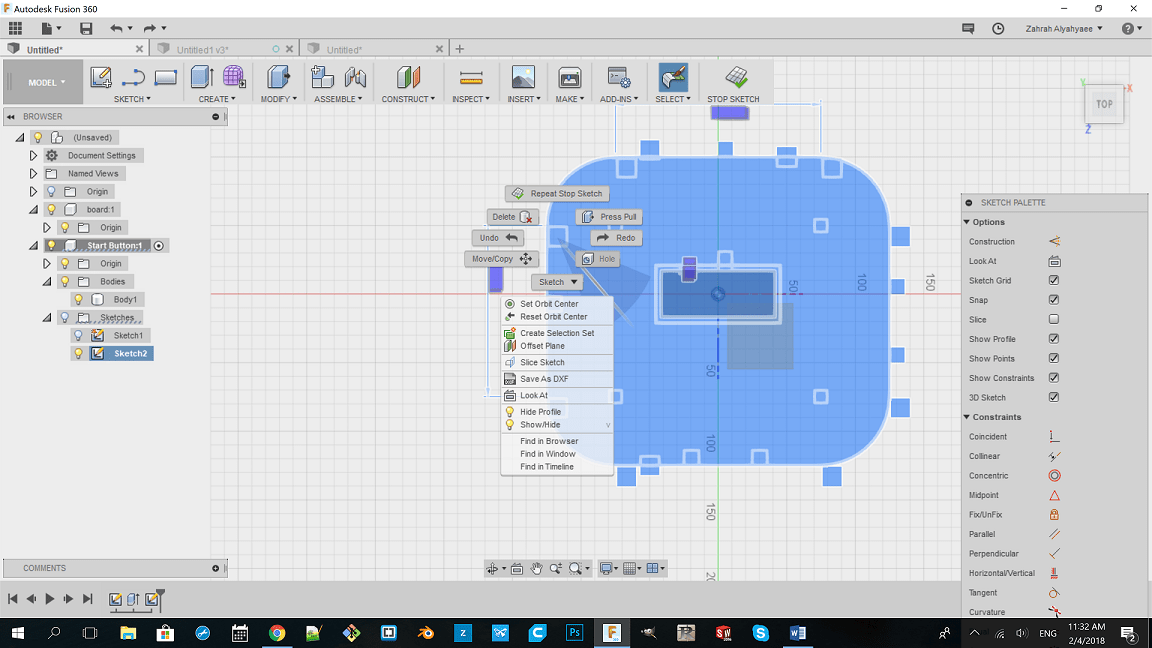
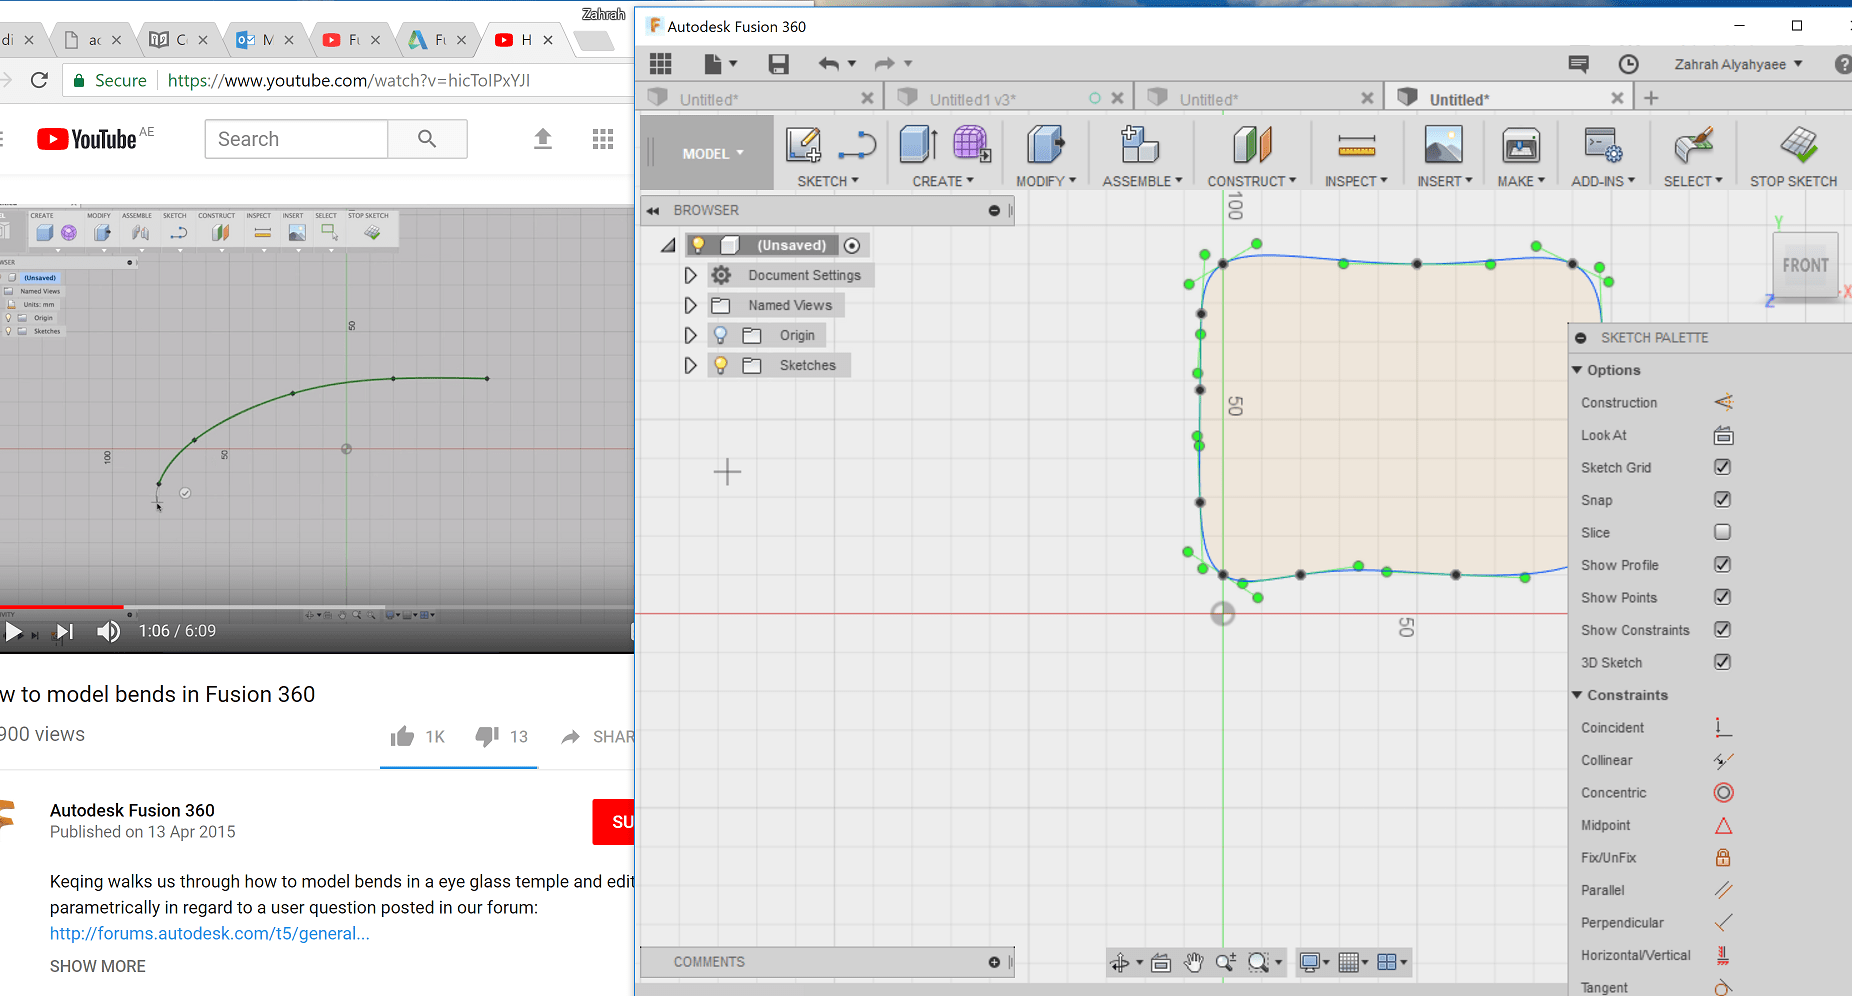
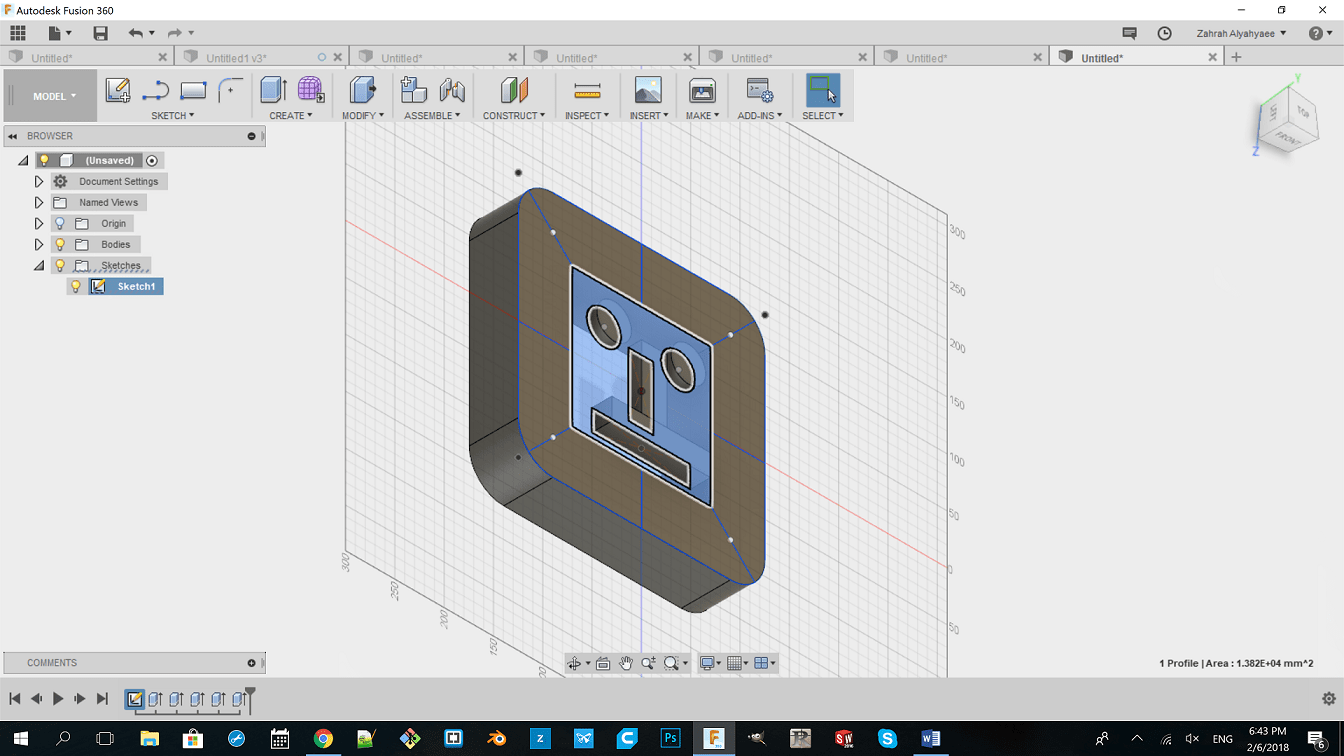
As you can see, this is my first attempts for making a model of my Final Project in 3D shape by the software fusion 360. Im really glad that I learned how to use Fusion 360 and wanna go deeper in this software, as well as of course want to add to my knowledge another new 3D software.
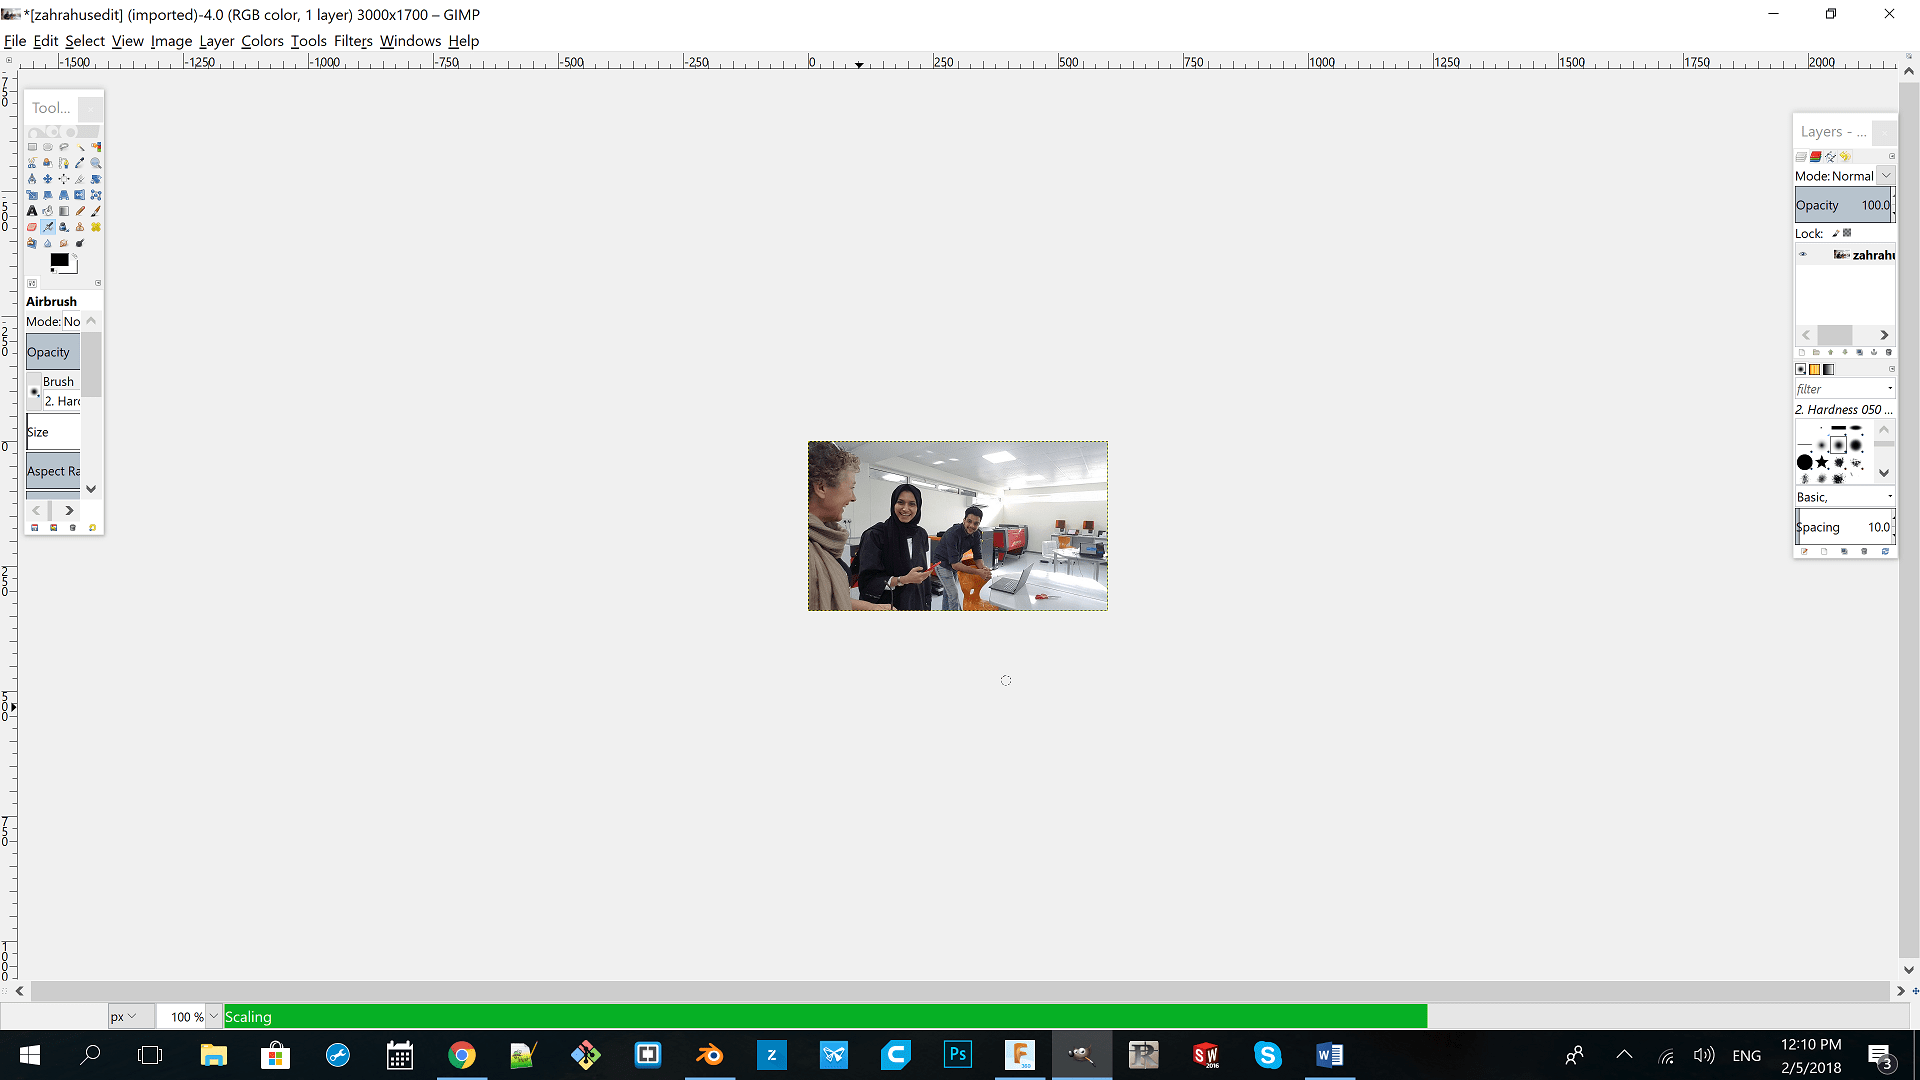
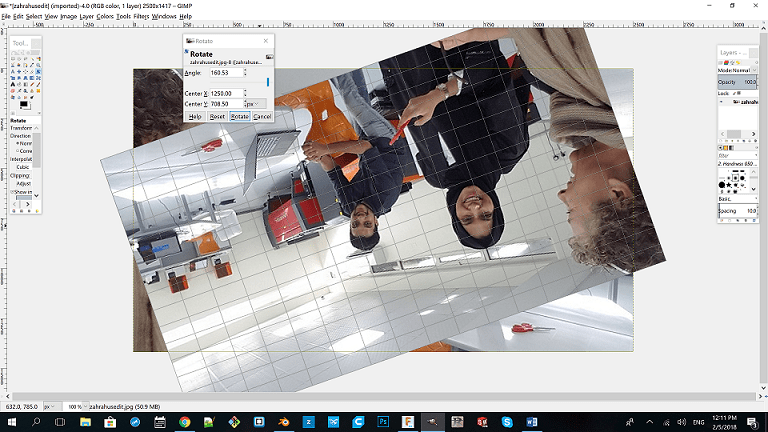
GIMP
I saw the tutorial of gimp by Mathieu Laporte as I would like to thank him for providing the clear and simple explanation of the software.
What software I will choose?
I think I’m going to use Gimp program to edit my photos and resize also to create my 2D designs. The reason why Im choosing gimp is that its a free software while photoshop is not. Plus, I Used before the photoshop and I found gimp a good additon to my design softwares skills and less complicated. Thus I decided to go for gimp over the photoshop.
CarelDraw
I found CorelDraw an excellent software to edit the images and I loved a feature called Bitmaps which helps you in editing the background of the images in a seconds and I used to do same with removing colored backgrounds from images in photoshop and it takes more time that it in CorelDraw.
I will put the steps with some images on how you can do a black and white background here:
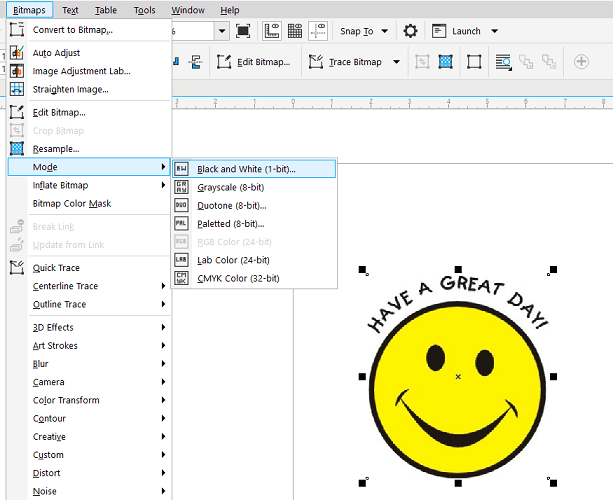
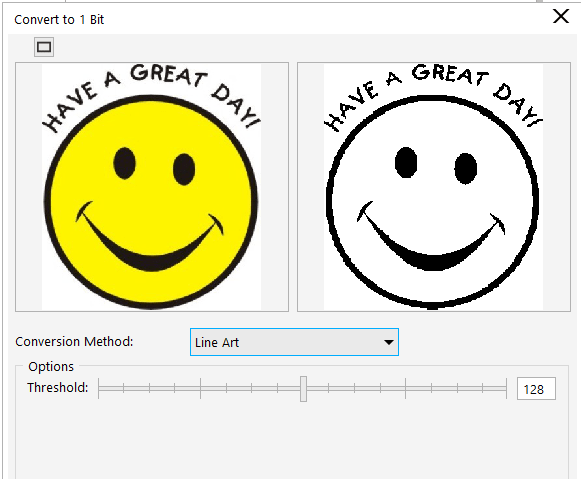
1.Drag the image or file/ open from CorelDraw2.Select imag/ bitmaps/ mode/ Black and White (1-bit)../ Conversion method:/ lineArt "if you want it all black or one color" ok
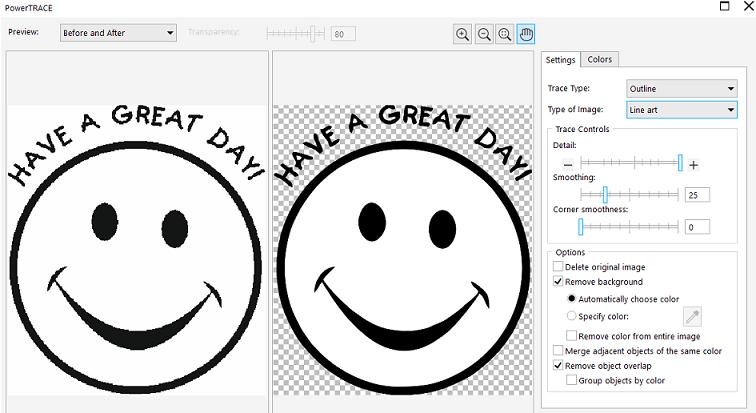
3.Right click/ center line trace/ technical illustration/
4.In trace type choose "outline"/ ok
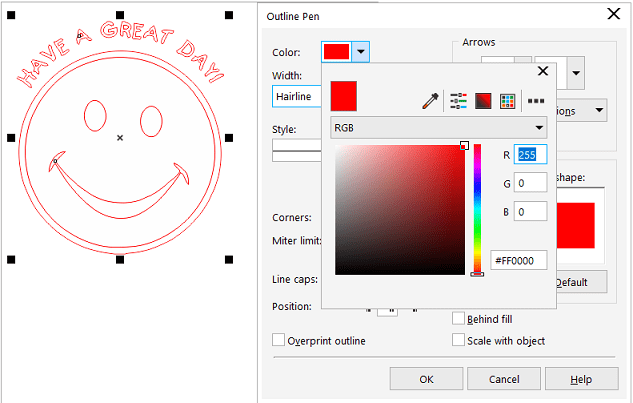
** This feature I used it in Laser cutting which is a hairline feature if you want to cut. 5.Select all component/ hairline to cut "and the color must be red -255 RGB-"
6.The infil colot to No Fill
7.Expot the file to DXF or SVG.CAD
 ** This image has been taken from bluestemprairie.com