Week 15:
Mechanical Design
Group Project:
Our group work see the link- DXB PLOTTER
1. Individual assignment:
Design a machine with my group.
The Machine:
We design and build a machine "XY Plotter to Draw Freely on Paper".
Our project is supervised by MOATH ALI
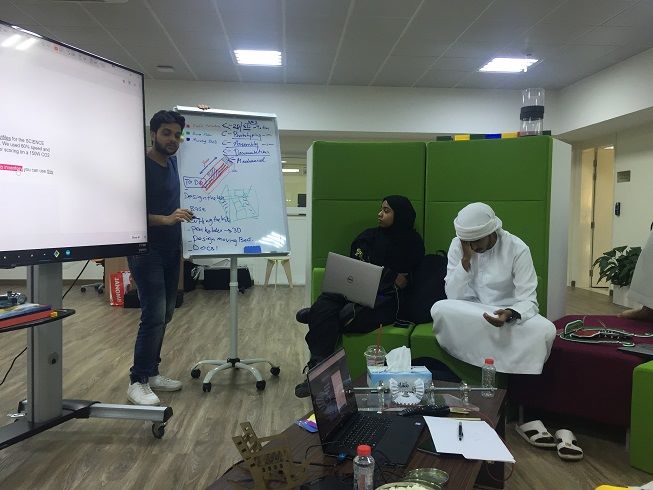
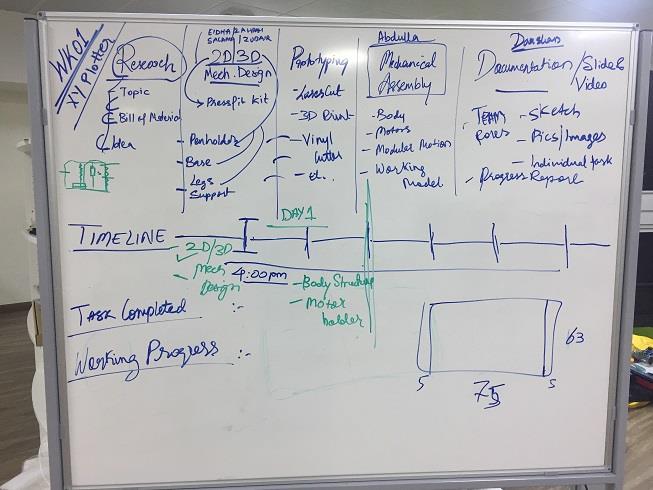
So, the first day of course before we start the project, we gathered and we planned the task between the group.
So I helped in the idea, design, building and the other process of our machine. Then I will tell you what parts I have done among others.
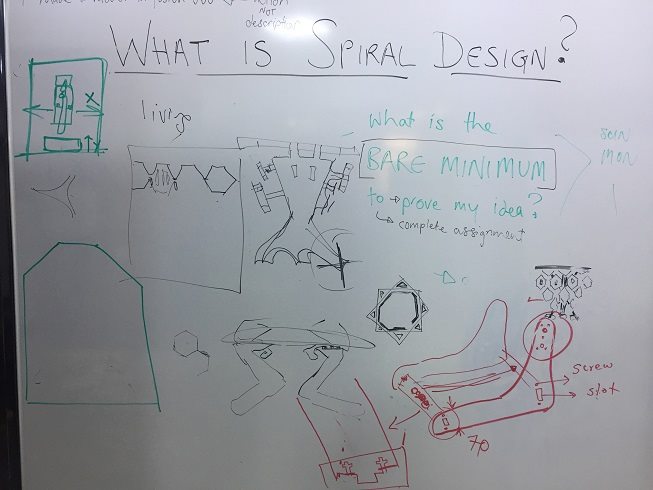
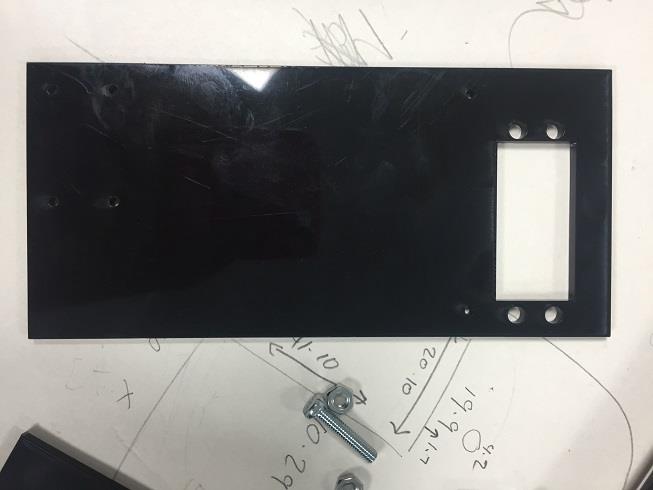
This is the sketch of the machine. So, Me and Alzubair took the part of designing the room for servo motor and the pen holder. well, I did the 2D design for servo motor and him -Zubair- the 3D design for pen holder.
Working on some tests which we already start put the motor to the handles of the pen holder.
basically, the feedbacks and suggestions which given by Muaath were on changing the joints from screws to slots and creating gaps for screw parts which will hold the pieces stronger, the alignment will be more accurate and straight by then.
Part that I took:
1. Designing
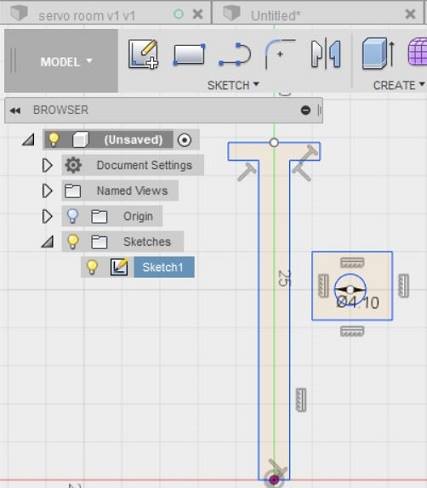
I took the part of the design, I decided to use Fusion 360 to do so because since I joined the Academy this is the software I really loved in terms of creating a 2D and 3D design. Also, I think day by day I know a new thing and tip in this awesome software.
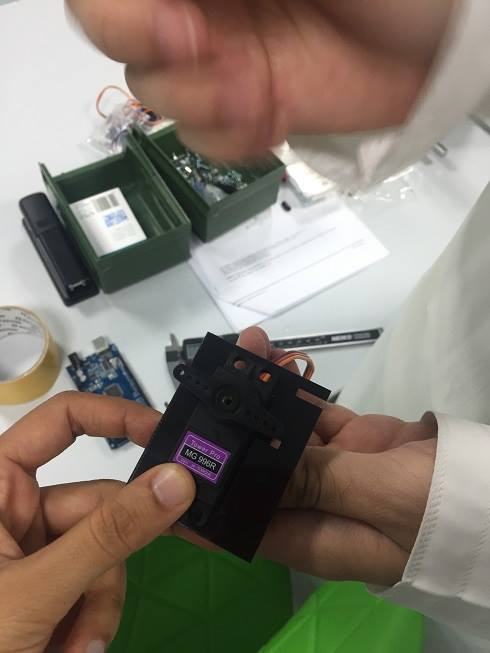
This widget for the servo .
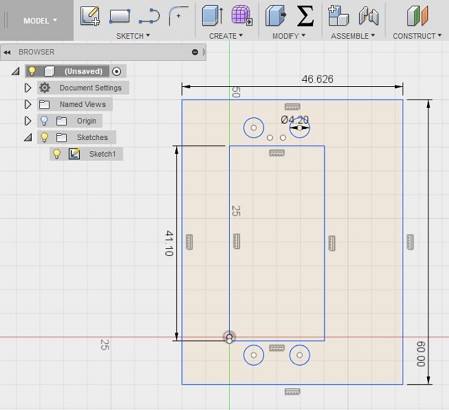
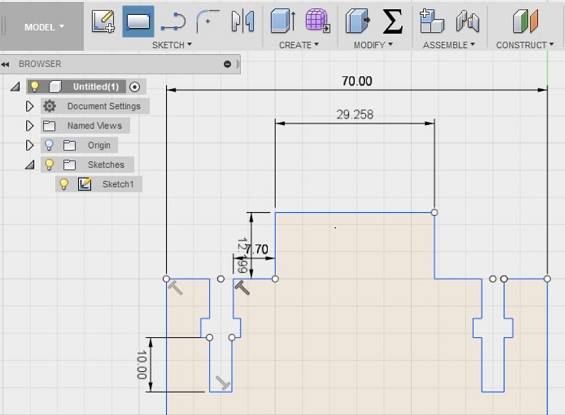
Designing the joint / slot

As I'm taking part in 2D design I can show you the other stuff that I also did in Fusion for the machine.
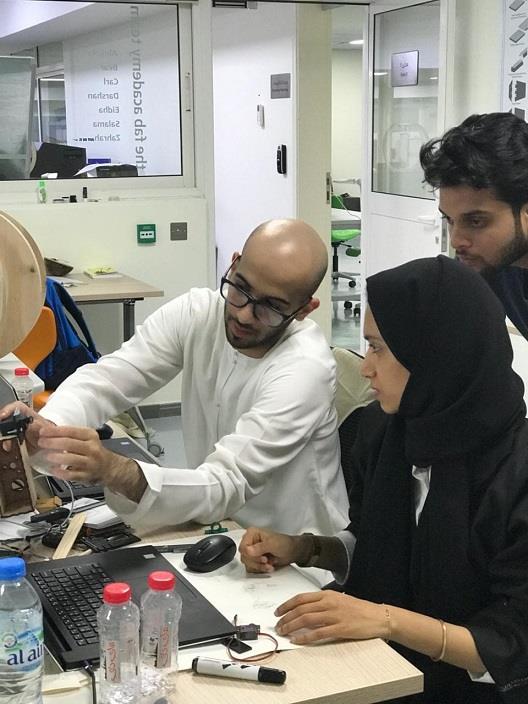
As Muaath suggested to change joints into slots and making a space or room I can say for the nuts and screws, as he showed us an example of from the last year's projects they did in the lab.
It is really easy and more clear to see instead of only explain. "Good Way of teaching Muaath" :)
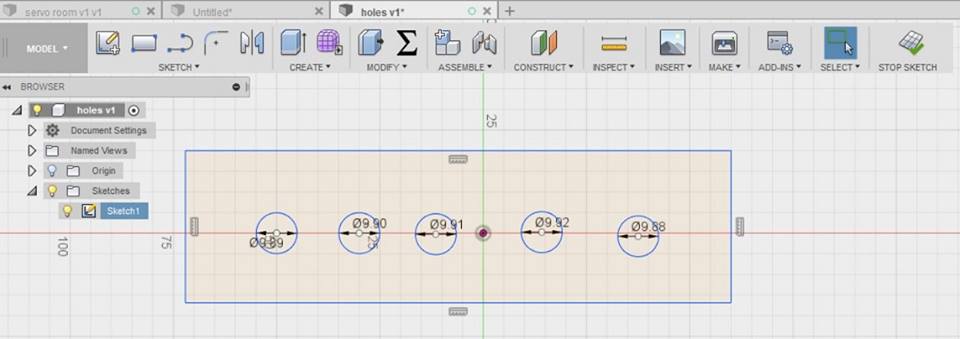
These holes for testing the correct size for the rods
2. Cutting
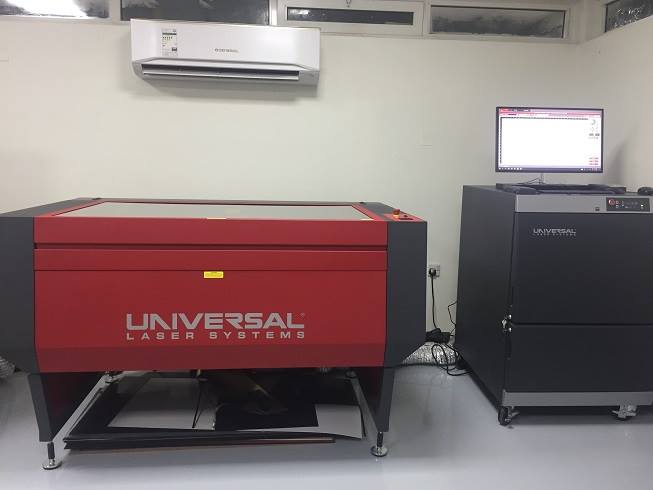
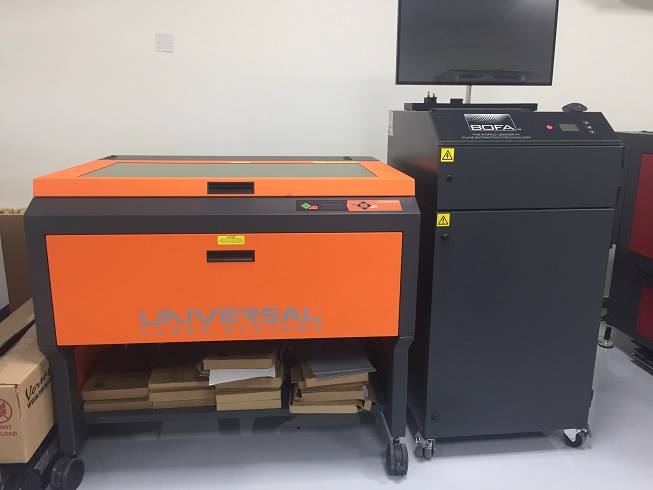
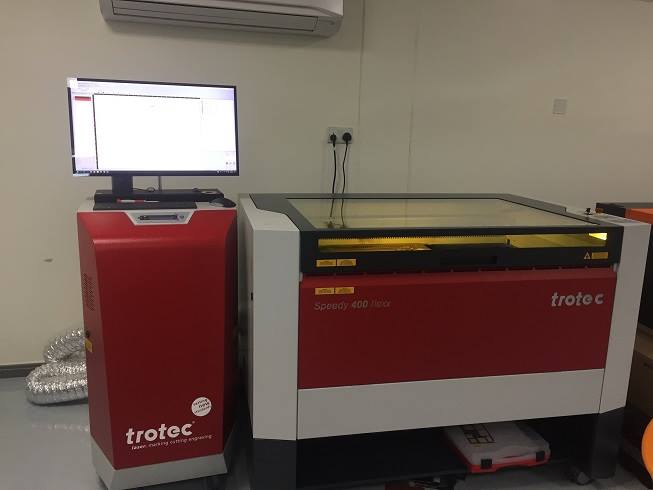
The Machine used for cutting are "Laser Systems Universal and Trotec.
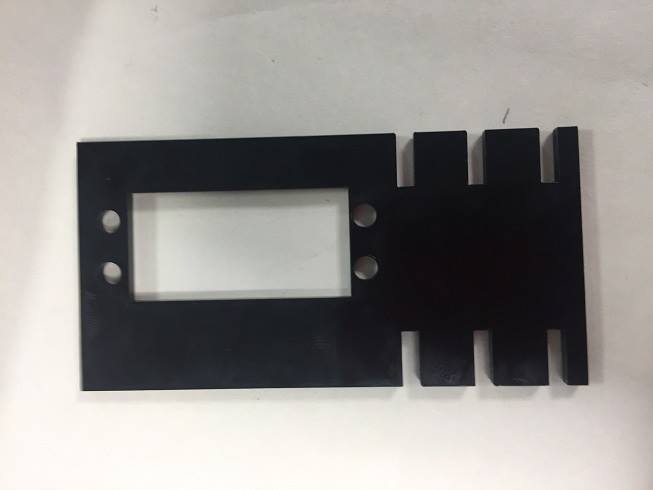
Cutting Widget for servo motor.
Cut for holes and joints
Cut for slots
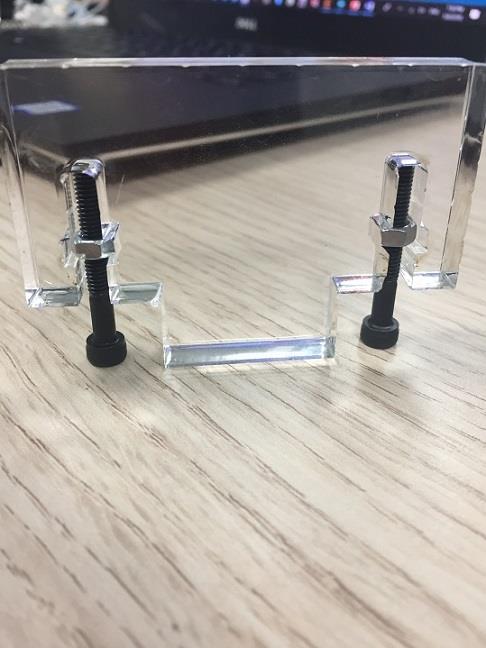
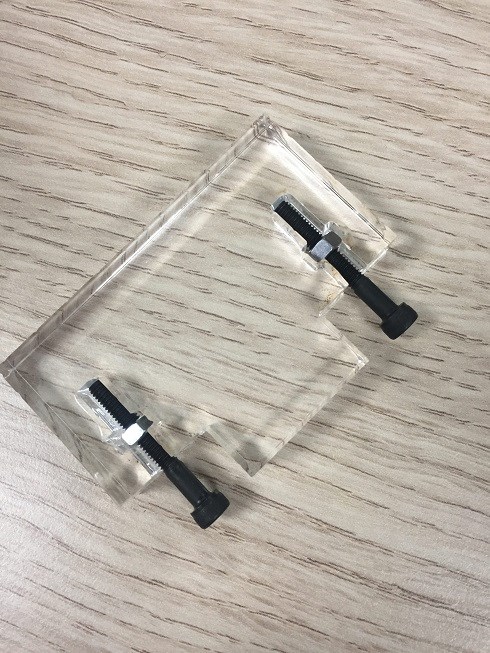
Here is the cutting of tests that I did just to check the fitting, size, holes... using different types of materials like to cut: acrylic "3mm, 6mm and 12mm" and MDF "3mm" changing the settings each time.

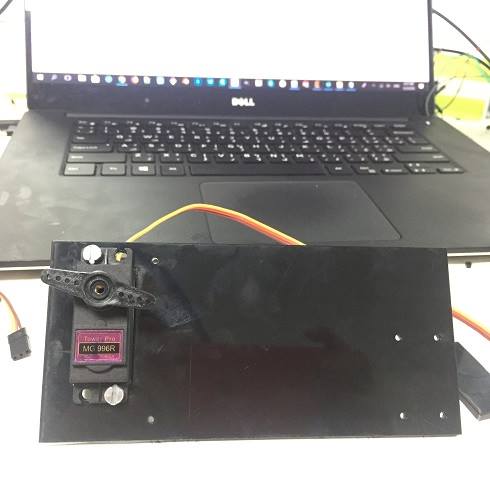
these are the things we need to use: Servo motor and as you can see we tried both size the small servo and the big one which at the end we chose the big size because it is holding the pen holder better and stronger than the little one.
In addition, the screw was another important thing, of course, caliper for the best acierate fit and size.
As I go with the design I draw another sketch to visualize the part which I'm going to cut.


This part me and Salama Al Tamimy did the design the part of the body or part of the frame
3. Highlights of this week
1) This project built my basic "engineering" skills in terms of how some tools can be used in help making a machine like roads, motors, servo motors, bearings which help in moving the tool faster and smoother.
2) Assembling parts to create a machine also was a good addition to my skills too.
3) I tried to work in most parts of the project because I wanted to learn the most skills my engineer friends have and learn from them.
For example: I used laser machine to cut so the Universal laser machine Our Professor Wendy already taught us the software of the machine, But the new laser machine I learnt this week is for trotec laser machine trotec laser machine, So our tutor in the lab Hashim Al Sakkaf taught me how to use the new software to cut on this amazing machine which for sure is additional knowledge to my making skill.