What I want to do this week?
Scan my head (Kinect)
Software used:First step I did the download of Skanect and activated it (IF YOU DON'T HAVE A LICENSE YOU COULDN'T EXPORT THE MESH) to scan my head using Kinect 360.
Tip:
Then you need to plug the Kinect USB port into you computer BEFORE open the Skanect, because sometimes if you open the app and then plug the Kinect it don't recognize.
After finish the scan you can follow these tutorials to see how export a good .STL file: Tutorials
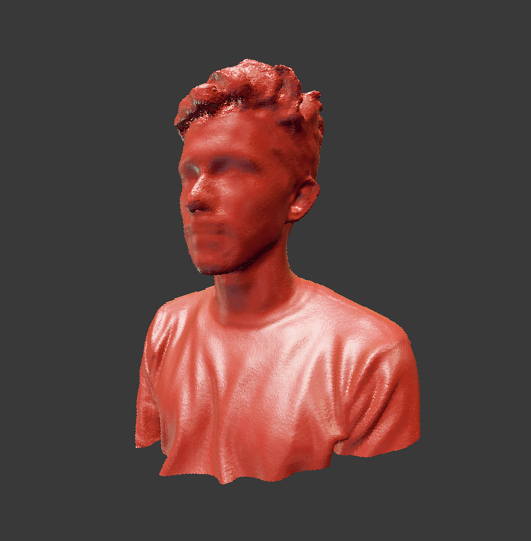
This is the file from Skanect without changes, but there's a lot of holes in my head because usually hair is a really big problem to scan. See below my issues with my hair and my beard:
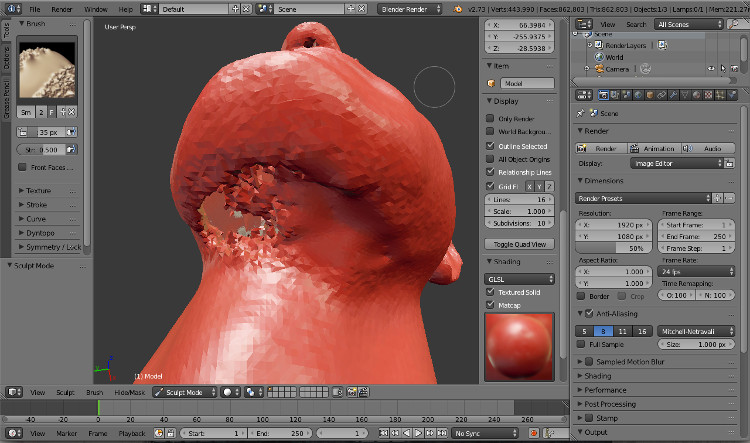
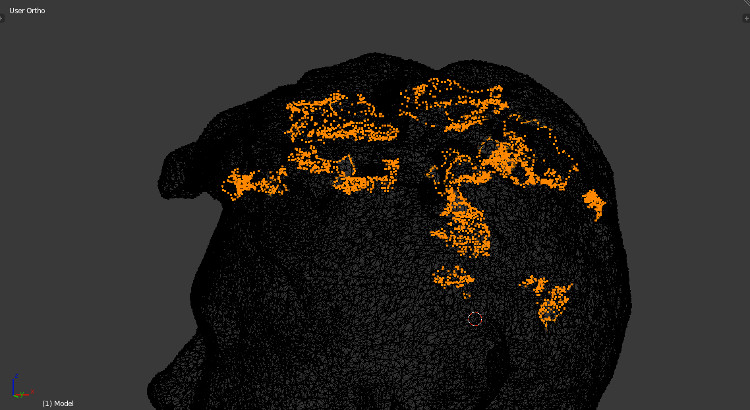
Using Blender, first I used the Sculpt Mode with Smooth tool to kill some bad vertices and surfaces. After that I started the manually process of select the Non Manifold (Shift Ctrl Alt M) and see what's wrong, delete the bad parts and make a new surface. But I couldn't finish this week the closing holes process because the mesh in my hair got a lot of crazy geometry with so many weird surfaces that will take hours to fix. I'm wondering to finish it on the next week to print.
Scan with 123D Catch
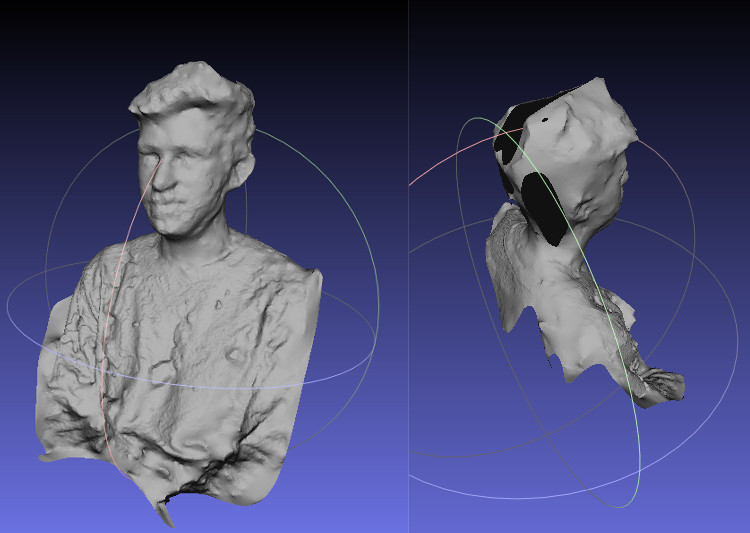
Software used:I also scanned my head with 123d Catch mobile app. Actually the result was good because we took the pictures only with room light, and for these kind of scan the light is the most important thing (You should do this during the day with sunlight but not directly in your object because you don't want hard shadows.
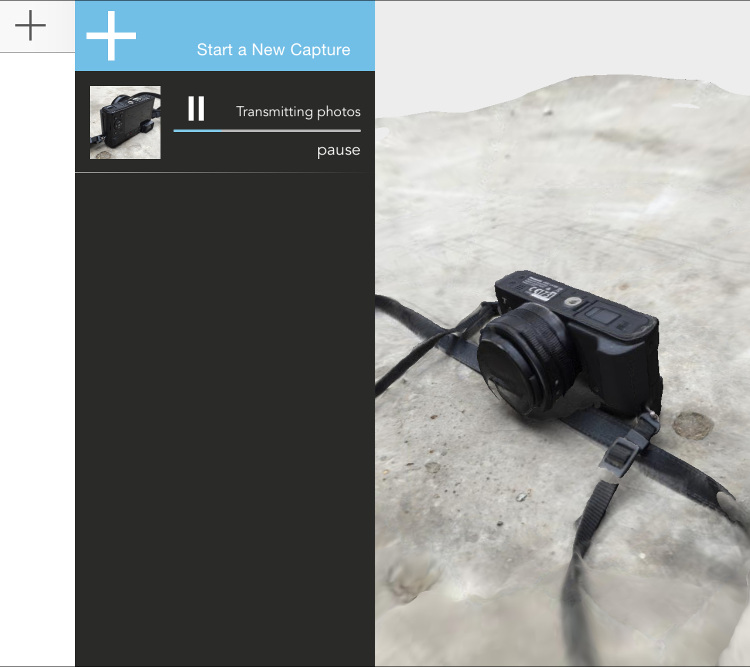
I did a scan of a camera using the 123d Catch mobile app. The result is that were missed some surfaces and I took 60 pictures, the minimum recommended is 20. In my opinion this objects with small details are not recommended to scan with this tool. But also I realize that objects with dark colors like black also are not so good to scan using photo scanning, because the black color hide the shadows making more difficult to see the surfaces shape.
3D printing
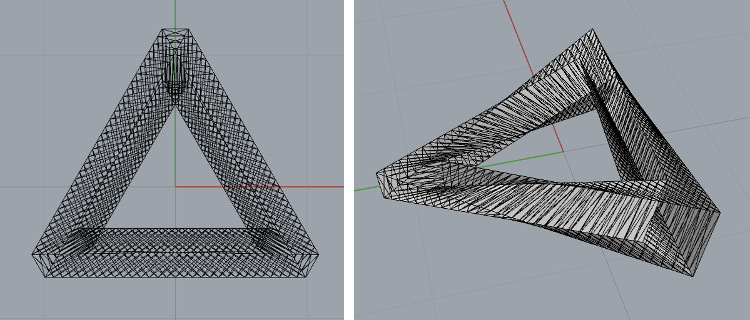
Software used:Test printing with flexible material. For my first print I chose an "impossible geometry" to print. It is a penrose triangle, designed by Escher. The idea is to make a optical illusion like this:

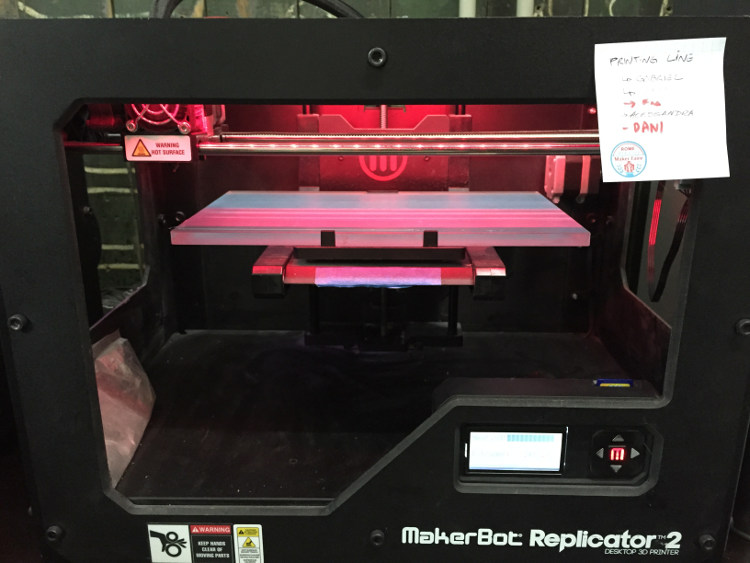
To print I used the NinjaFlex material with these machine settings:
Temperature: 245º C
Speed: 15mm/s
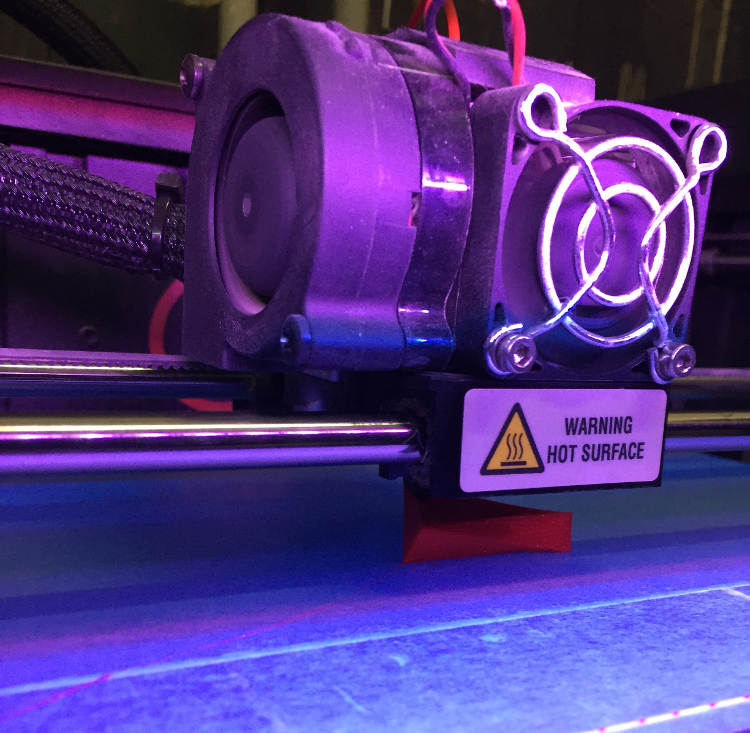
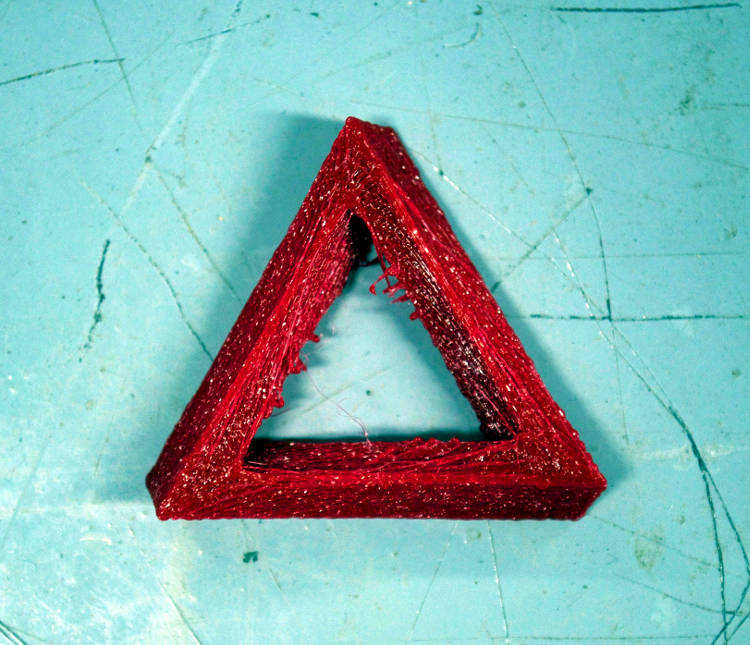
The result is not good as I was expecting, but now I can use an iron or a cutter to get a better finishing.
Design something and print it
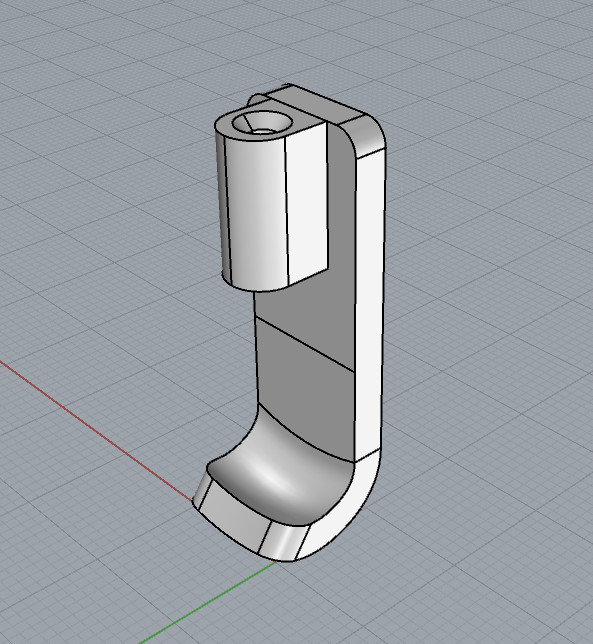
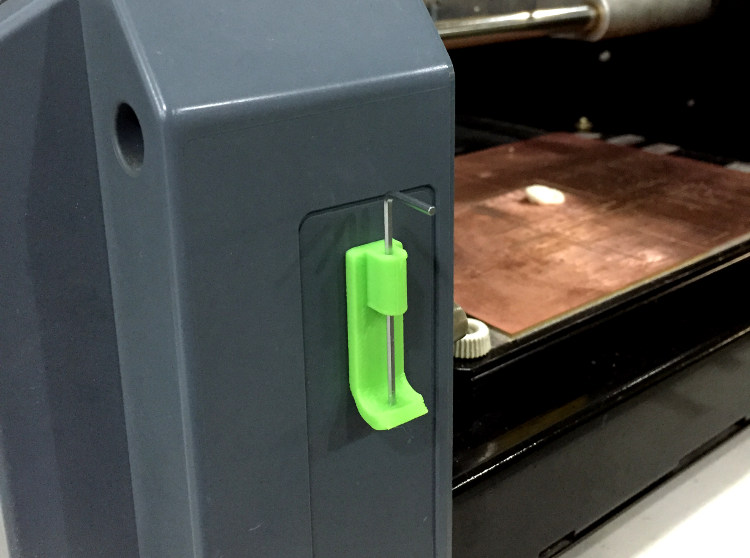
We had a improvised way to hold the tools in milling machines, so I designed an appropriate holder and printed it in Makerbot. This is the old solution:

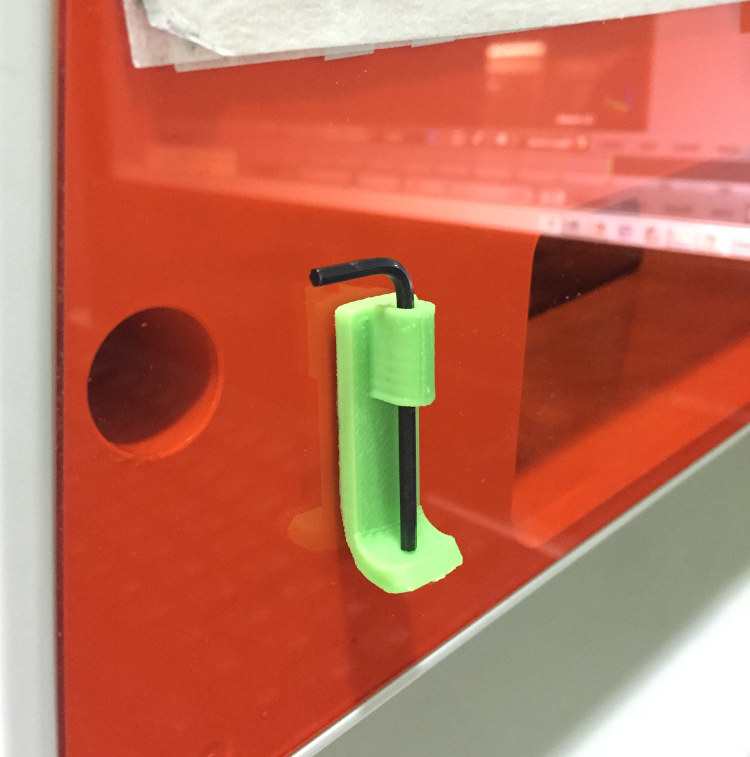
And this is the fab lab solution now:
| File | Material | Machine |
|---|---|---|
| penrose.stl | NinjaFlex Red (1.75mm) | Makerbot Replicator 2 |
| tool-holder.3dm | PLA Green (1.75mm) | Makerbot Replicator 2 |
| tool-holder.stl | PLA Green (1.75mm) | Makerbot Replicator 2 |
| ← week 4 / eletronics production | week 6 / eletronics design → |
|---|