


Molding and Casting
This week assignment is to design a 3D mold, machine it, and cast parts from it.
A. Designing the mold:
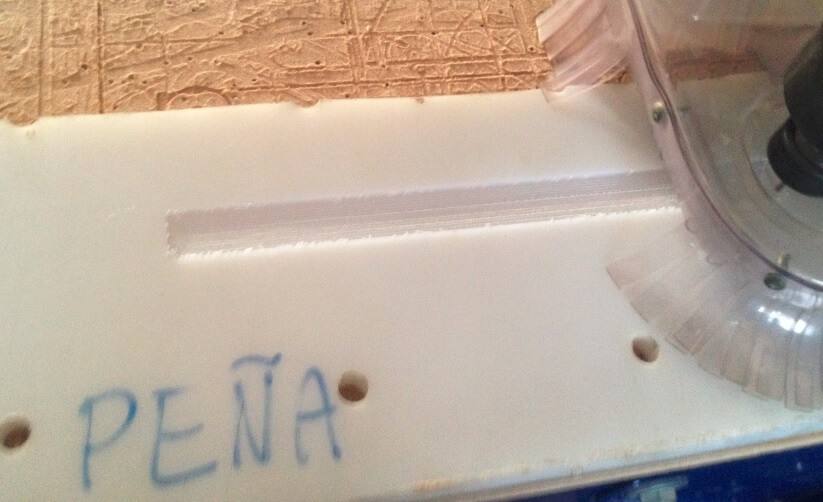
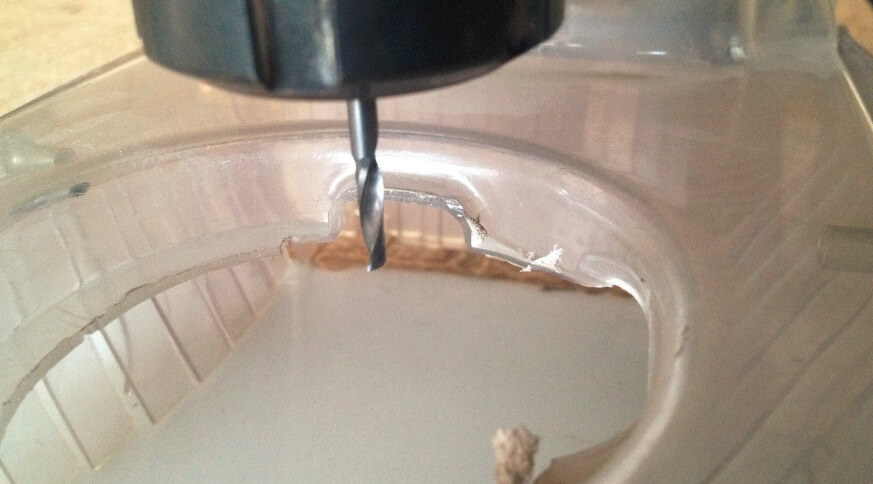
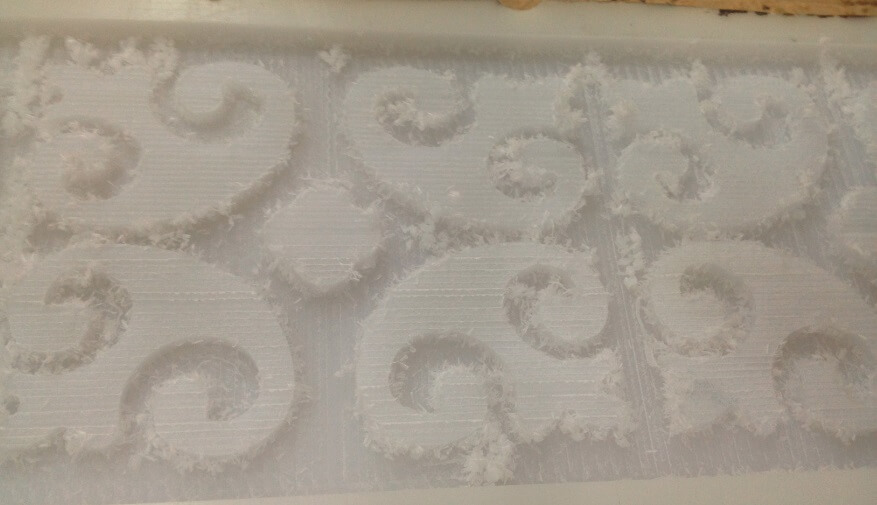
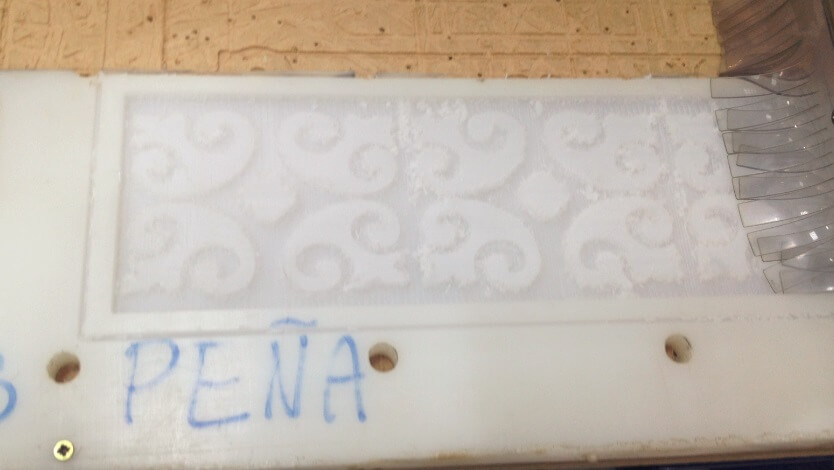
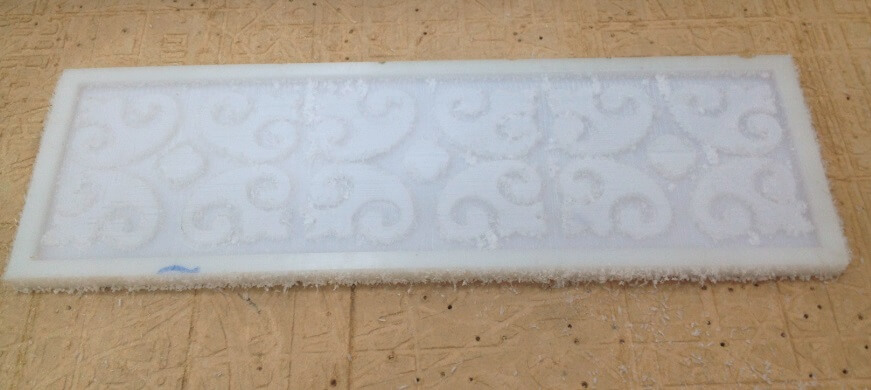
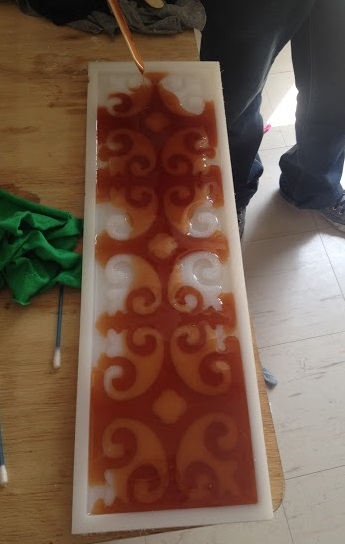
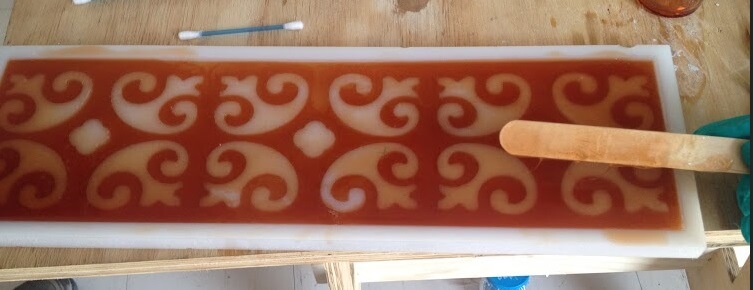
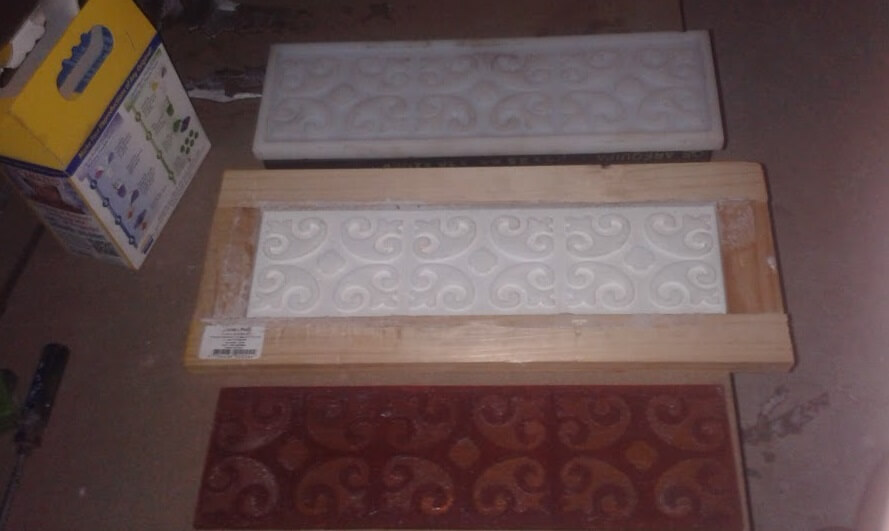
For the process of molding and casting I was decided to make a plate 400 x 112 mm in the front have forms in high relief, for which it was designed in AutoCAD as some commercial samples. The high relief that would have a thickness of 4 mm. I generated a DXF file extension to worked with the ShopBot CNC, as follows: 1. The material served us as a basis for generating the negative rubber was High Density Polyethylene (HDPE) 16 mm thick 2. A rectangular recess of dimensions 400 x 112 mm to 3 mm in depth, there was another recess according to the form with a depth of 7 mm was made. 3 Was generated with these steps the mold for emptying the rubber molding.

Downloading link for my archives: Archives
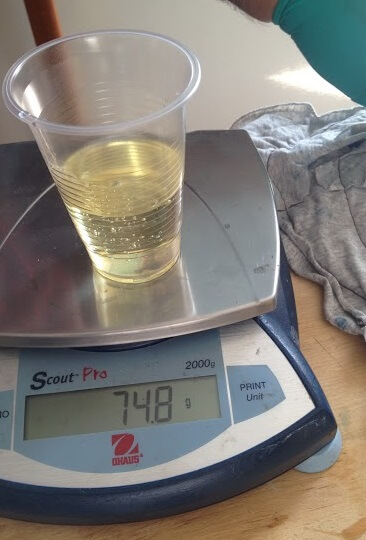
B. Molding
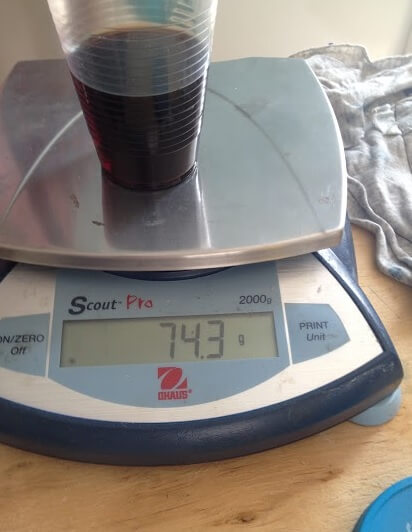
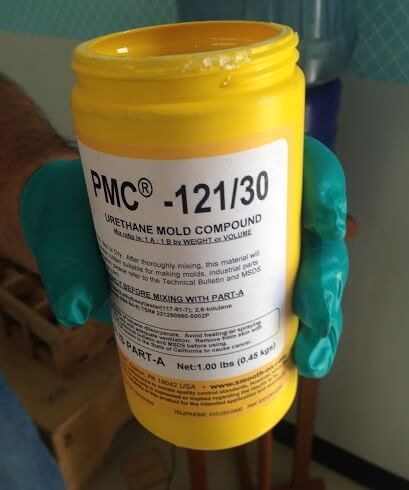
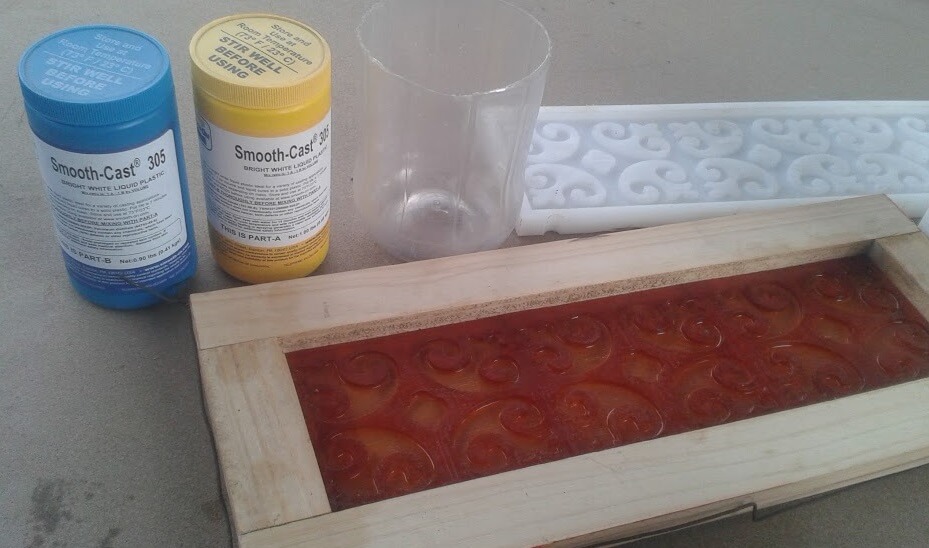
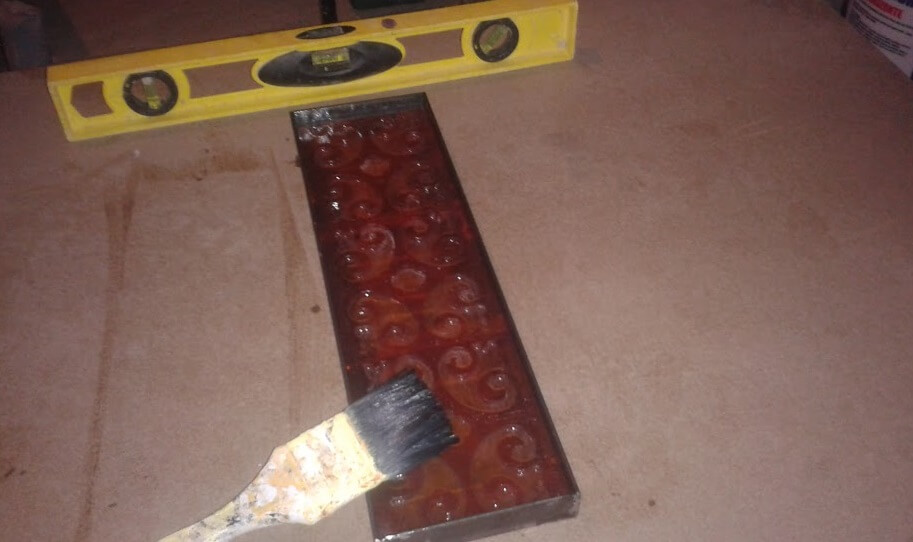
Before starting the molding process, we ensure that we have all the supplies and tools. We must also endeavor to review the MSDS of chemical components before opening. Moreover, we use personal protective equipment such as gloves, goggles and optional mask. Materials Molding: -molding pack, which contains: URETHANE and RUBBER MOLD COMPOUND -plastic cups to sample each component, and then mix -release agent, To apply the positive mold -wooden pallets -cloth rags Molding Equipment: -Scale: To have the same weight of both components. PPE for Molding: -MSDS of chemicals -gloves -safety glasses -masks Molding Test After obtaining the base HDPE proceeded to flush out the components for generating the rubber mold. We used the materials respecting the mixing ratio and the process according to the technical specifications. A separator as a release which is smeared, until fully spread it on the base was used. We proceeded to pour the mixture proceeding quickly to prevent product it heals.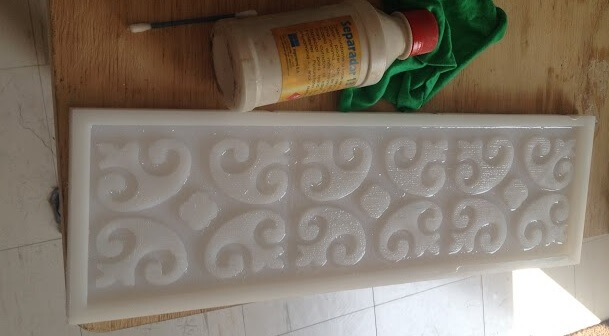

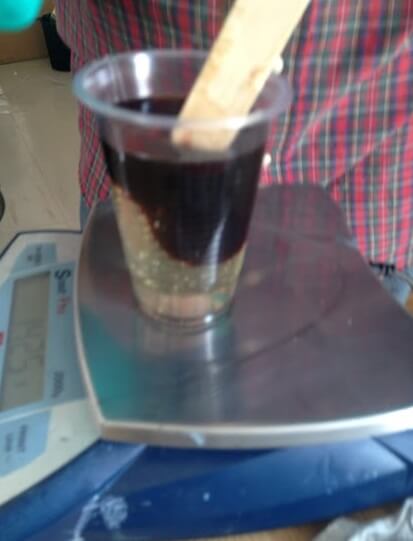
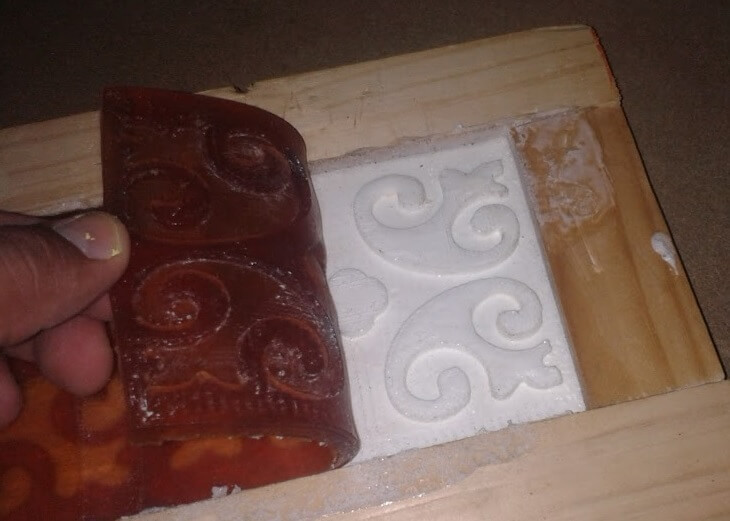
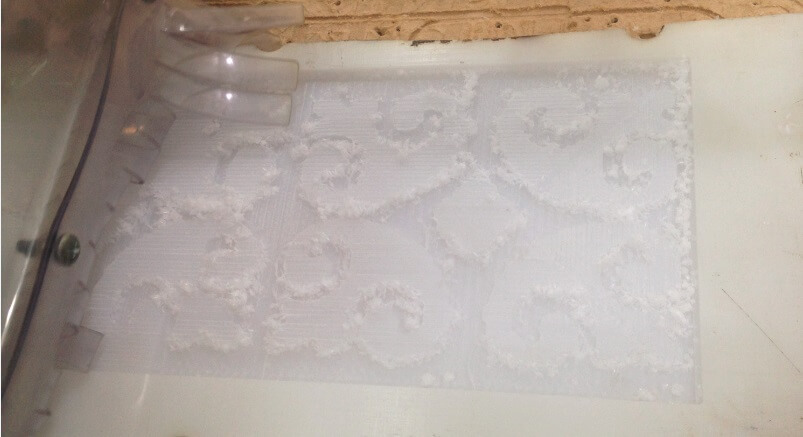
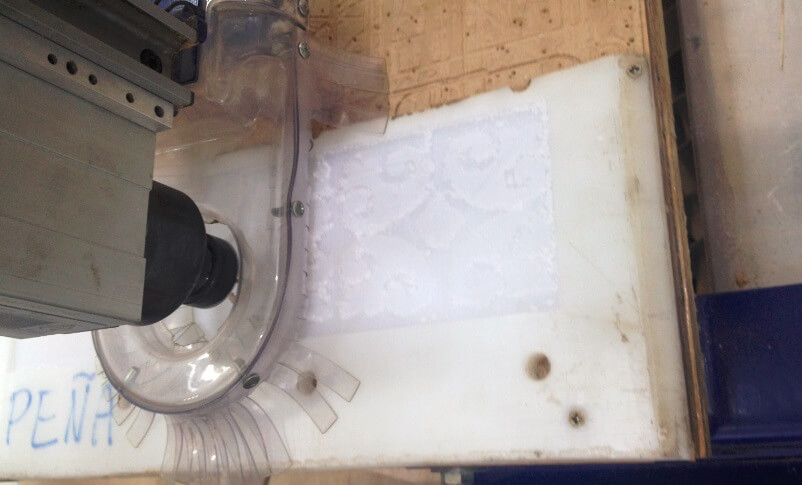
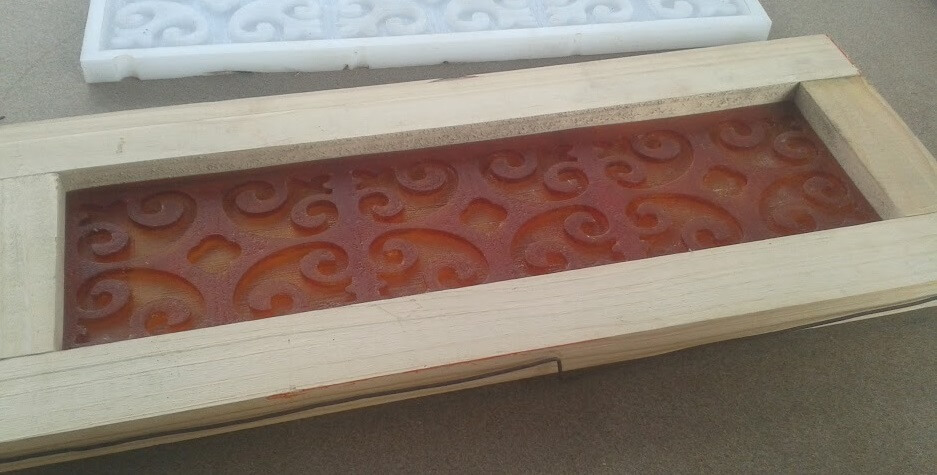
C. Casting
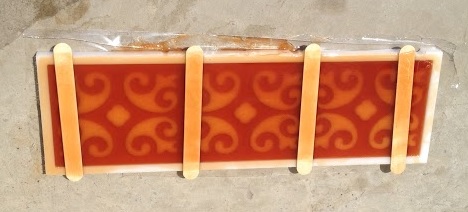
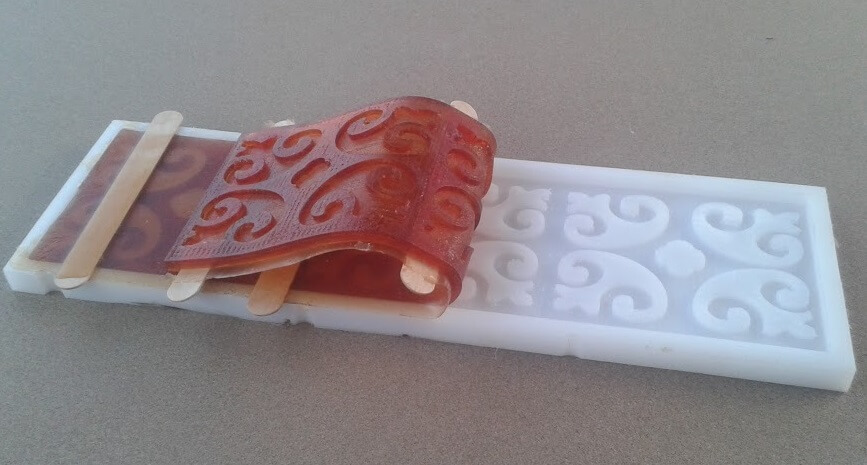
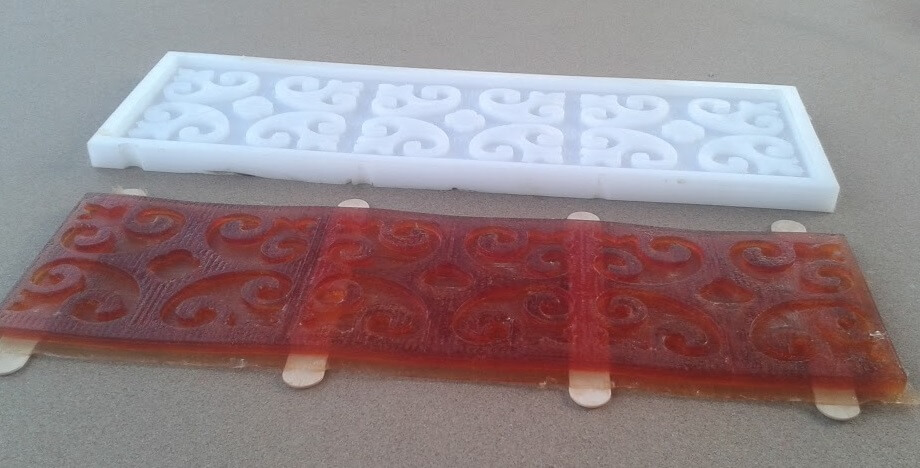
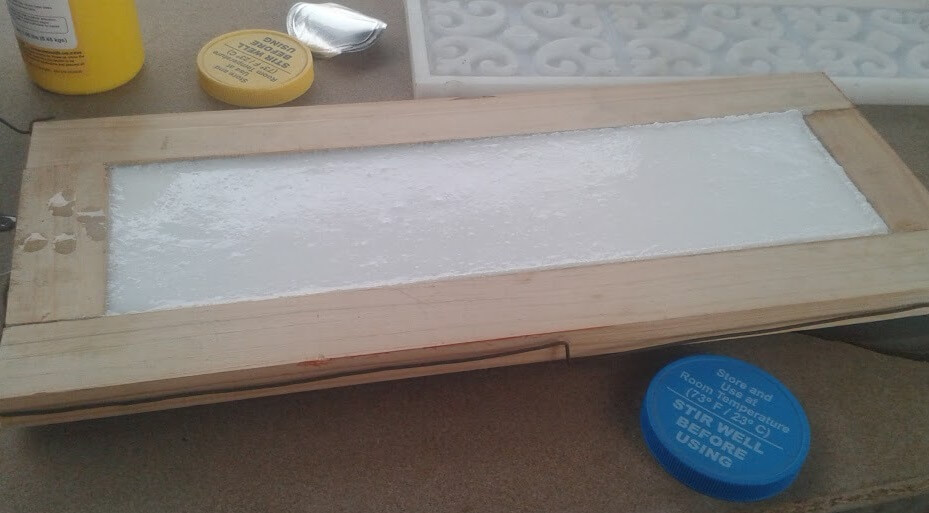
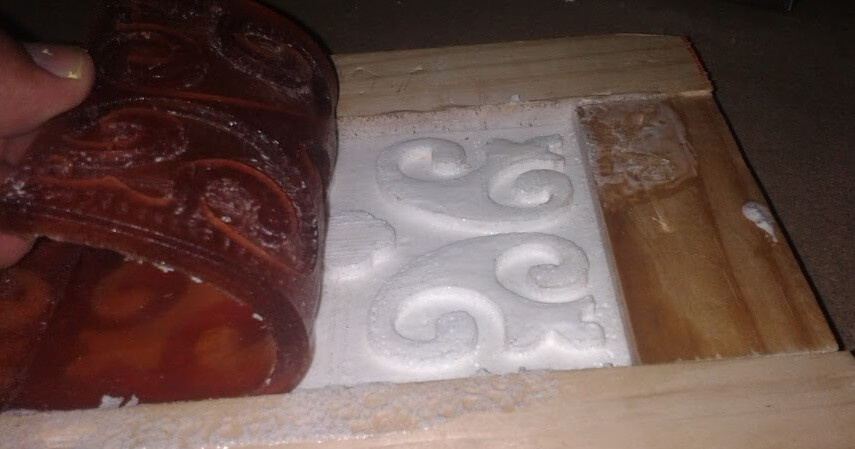
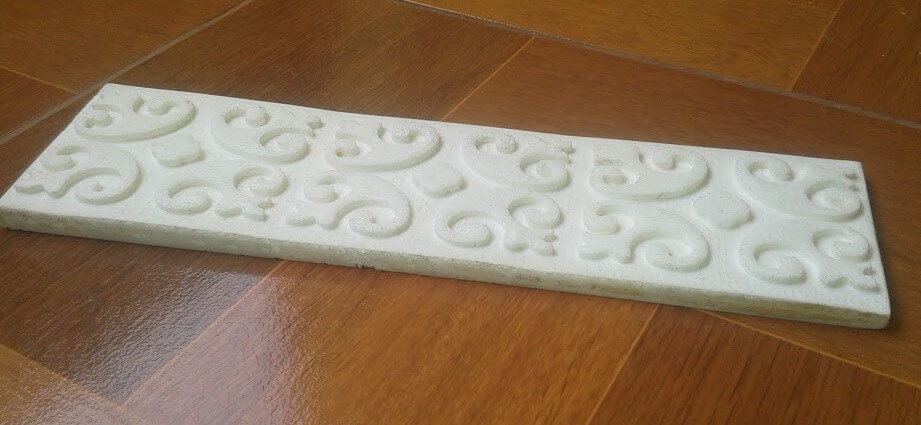
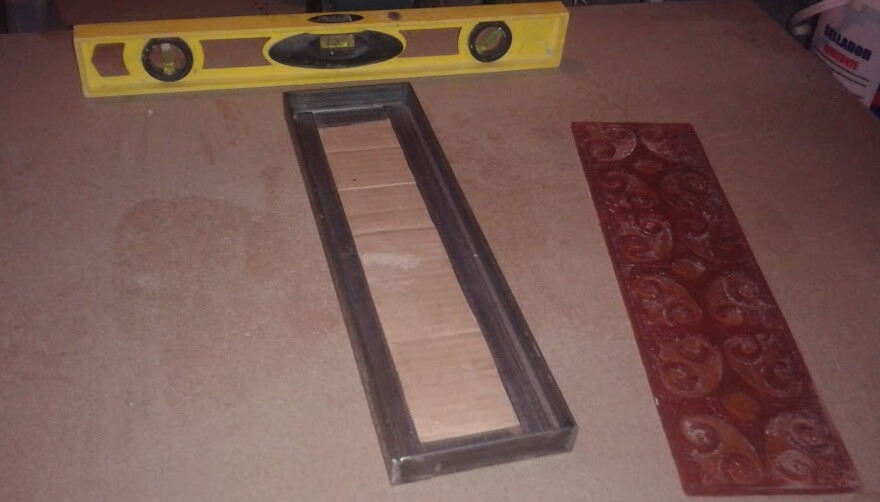
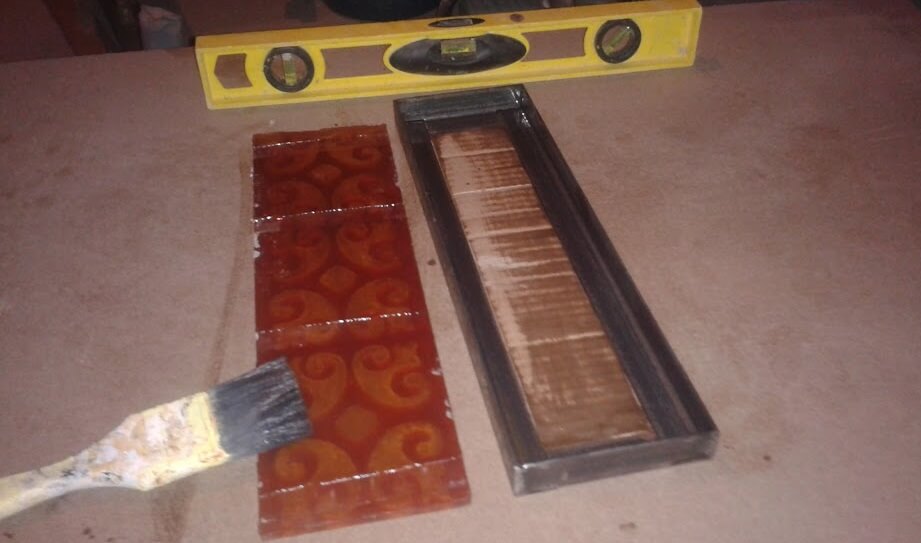
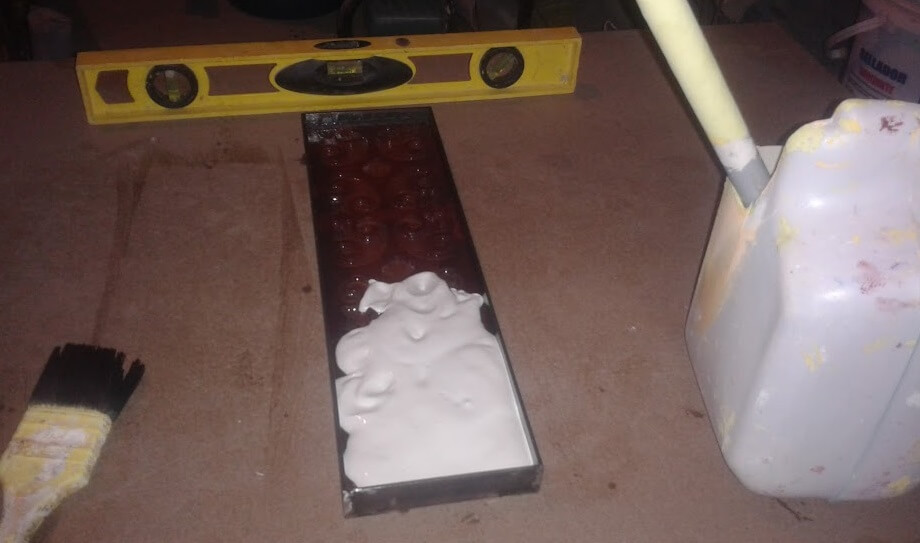
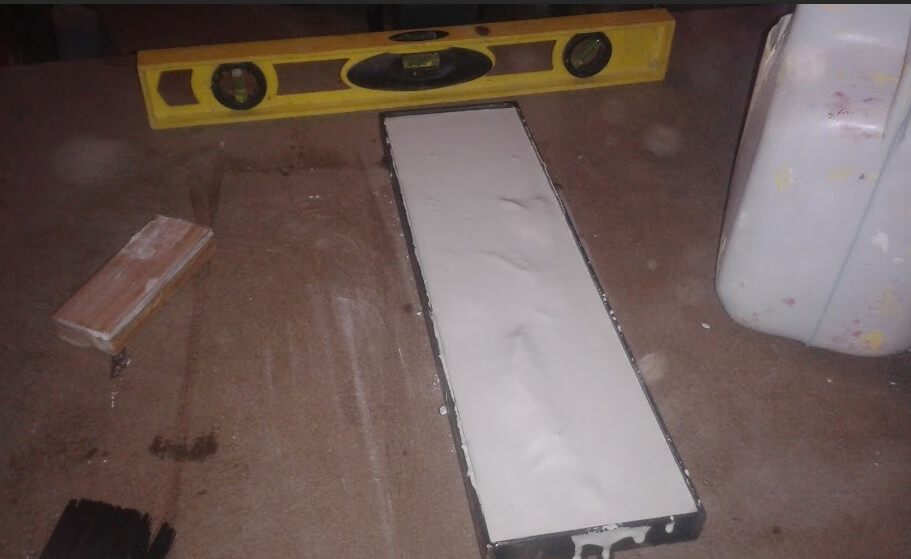
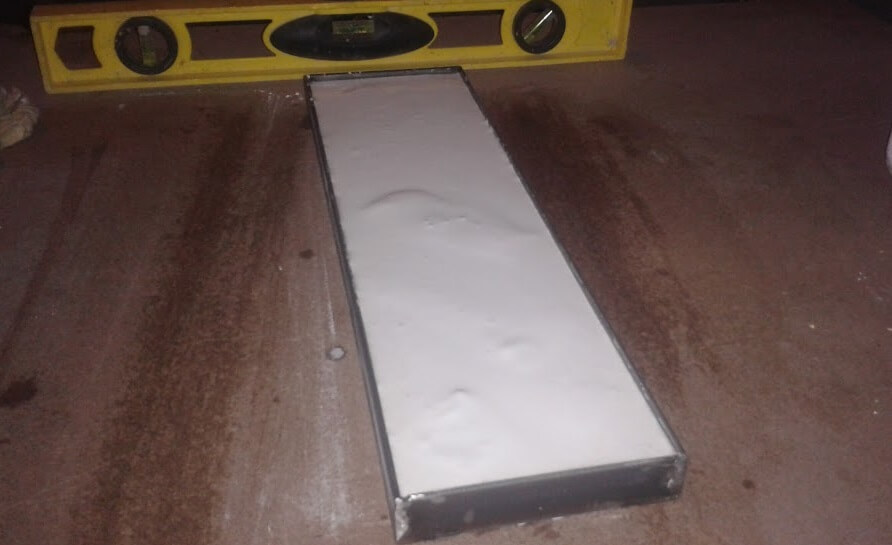
A wooden frame so that it fits exactly the rubber mold ie the inner frame dimension is 400 x 112 mm was used first. Was placed in the bottom part within the rubber mold. Separator spread across the surface of the rubber mold and the inner edges of the wooden frame and proceeded to perform the mixing of the components of Smooth-Cast 305 liquid plastic is estimated that by the size of the piece would be used throughout product content so all the contents of the flask A with the entire contents of the bottle B. mescló rapidly and the corresponding recess was performed mixed. In this process details not take as: 1. The level of the table where the emptying process was implemented was not optimal which caused it to make emptying gap which will cause the thickness of the final product is not even noticed. 2. Due to its porosity wood absorbed the release agent which caused the plastic adheres slightly to the wooden frame 3. The tolerances between the extent of the wooden frame and the dimensions of the mold caused a certain amount of plastic liquid seep into certain spaces between the mold and wood frame. After 8 hours of rest proceeded to demolding the plastic. Finding the difficulties arising from the detailed comments, the plate with the desired high relief was obtained.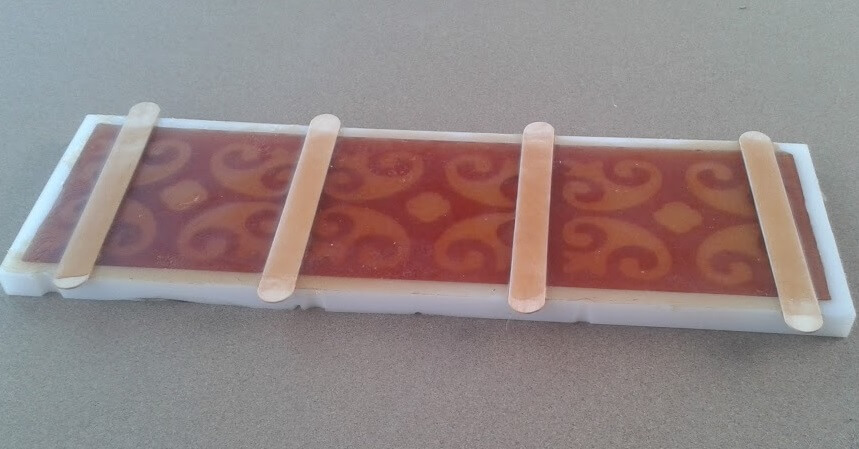

Enjoy!