Week 9
Molding and casting
This week we had to make a mold in order to cast something. I decided to make legs for my alarm
(I have to heighten the box because I want to put the speaker below).
I started by drawing the positive on Solidworks to mill it into the wax in order to create a mold
with the smooth-on PCM 121. Here is the file
I wanted to do a two-part mold, but this is more complicated and it uses more material. And for a simple
mold I didn't need my Solidworks drawing but just the final piece (It tooks less time to make).
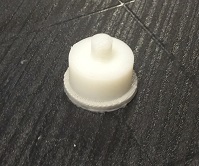
So I drew the final part. I wanted the left one (see below). But it would not have been possible to unmold.
So I changed one end to get the right one.
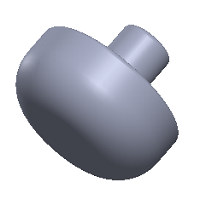
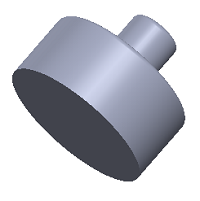
So I made my piece with the 3D printer. Here is the STL file. And the original from Solidworks.
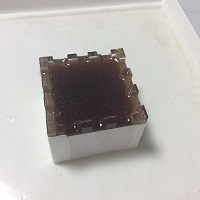
After that I made a box with MakerCase by laser cutting. And I stuck my piece at the bottom with double-sided tape so that it does not move.
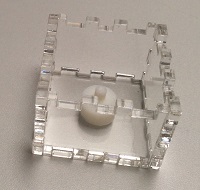
I then placed tape around the box to fix the different parts together but also for sealing.
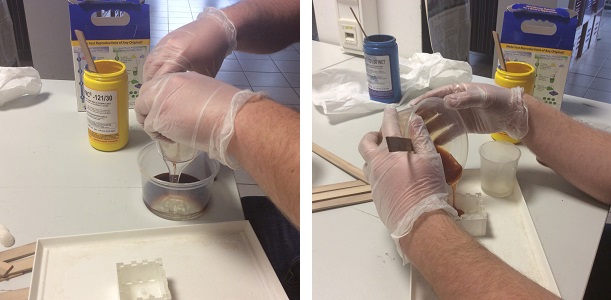
I prepared all the materials.
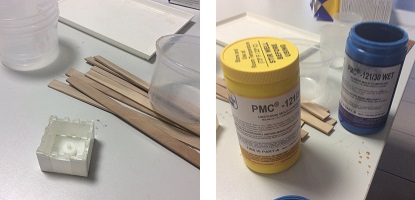
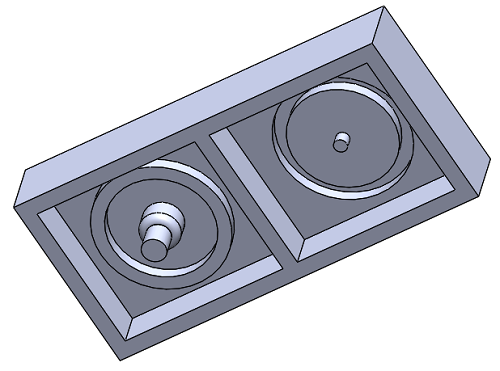
I measured a volume of both products, well mixed and then poured the mixture carefully without interruption in the box.
And I waited 16h ...
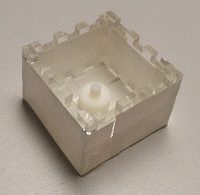
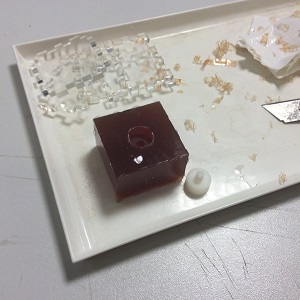
I managed to remove the mold from the box quite easily and the printed piece too (using a cutter).
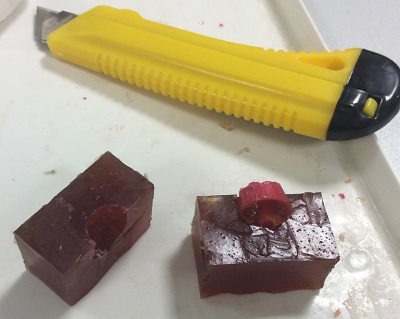
I then prepared the mixture (1:1 volume and a drop of red dye). And I poured everything into the mold. The piece became opaque in 30 minutes. It was time to unmold.
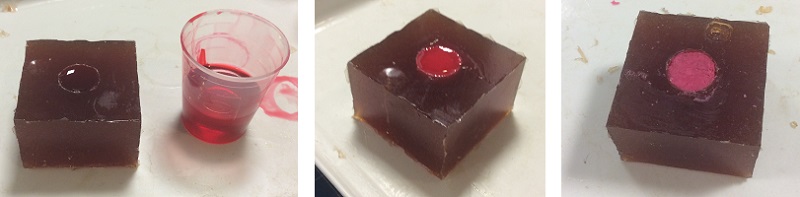
Unfortunately it was impossible to unmold ... The piece is adhered to the mold ... I think I should have used a product for unmolding to spray on the mold before filling it. Or maybe the chemicals stored in the happylab were too old. I will try with new chemicals !
Software and website used