Week 5 : 3D scanning and printing
3D Printing
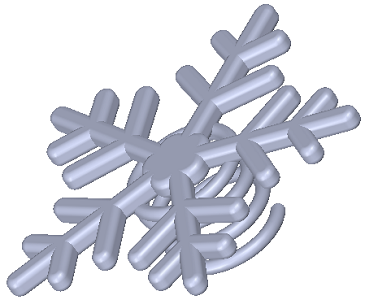
This week we first had to draw something in 3D that can only be done with a 3D printer.
So I drew the object below with solidworks. Click on the picture to get the .stl file.
Then I printed with 3D printers and the software named "CatalystEX". I had never used a printer like this using a second material for the support. It's really great. To remove the excess material, I just let soak the piece in a special liquid at high temperatures. And everything is perfect!
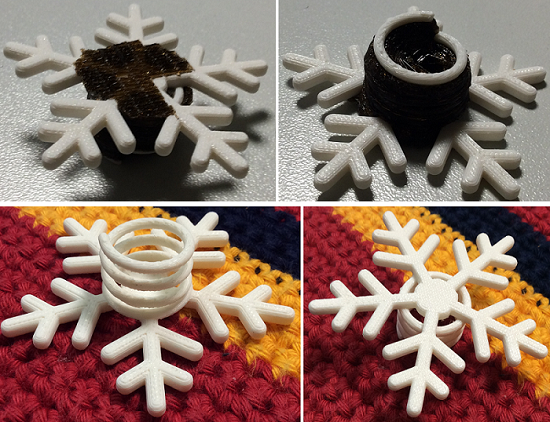
I have had no problems for this part. I even had the pleasant surprise that the spring moves as I had hoped.
The question is : What is it for ?
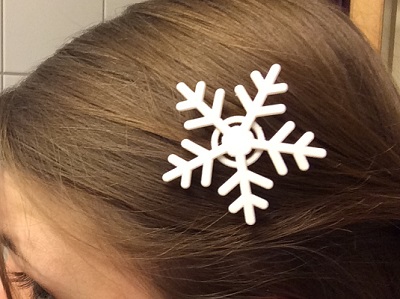
This is a clip for hair !!! It is a little large but it is easy to hang and does not fall.
3D Scanning
The second objective of this week was to scan something or someone in 3D.
I tried using a 3D scanner and also with the method called photogrammetry.
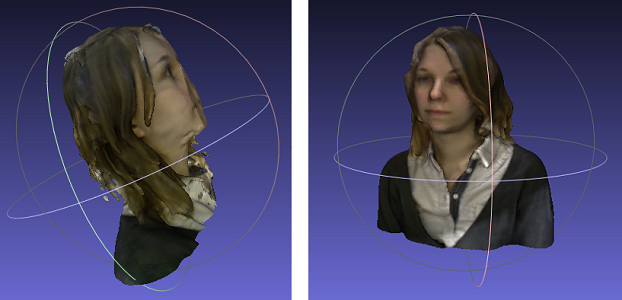
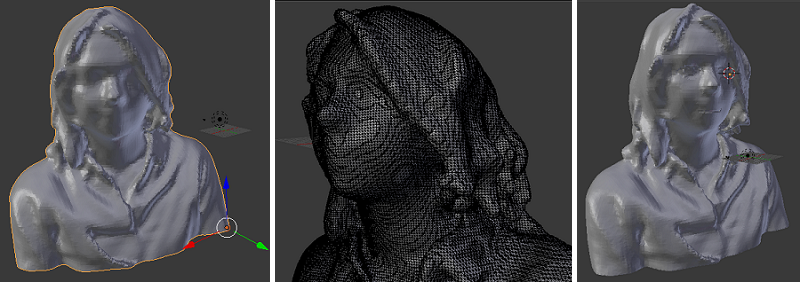
Let's start with the 3D scanner, I first tried to scan ... me!
I have taken time to get something clean! I did several tests including failures
(picture below left) and I ended up getting a good result (right).
All you need is a 3D scanner and I used the ReconstructMe software that is easy to use.
Some tips from my multiple testing :
- Use the Selfi mode (ReconstructMe offers that) to be sure to have everything
- Start the scan being back for a net face (hair who cares)
- Do not turn too fast on itself to not move too much
- Do not turn too slowly also to not move too much ;)
The above screenshots were made on Meshlab. This is a usefull application that lets you open many different file
formats. Moreover, it allows to see the colors of the scan if it is in color and with the .ply format.
The screenshots below were made on "Blender". I also discovered that software this week. It is quite complex
but after spending a whole evening watching video tutorials I managed to make my first steps with.
I really like this tool, you can absolutely do what we want with the mesh. Only disadvantage : it takes time.
I also tried "Sculptris", which is much easier to use and really funny. But I think we can do fewer things
and less precisely.
So I used Blender to enhance certain features of the mini me in 3D. I did not made big changes because I
wanted to keep my facial features and not invent new ones. The result is on the right.
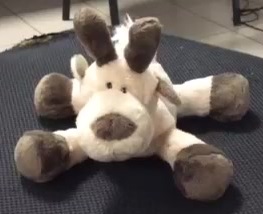
I then wanted to scan an object because I thought I had a better result because the objects does not move ! I chose a plush with the aim to successfully print it in mini.
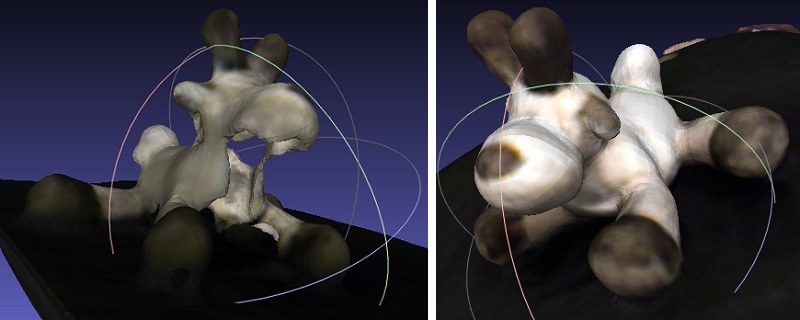
This time I only did two tests. The first with a bad angle of the scanner (left) and the second was very good (right). Get something clean is very easy with an object !
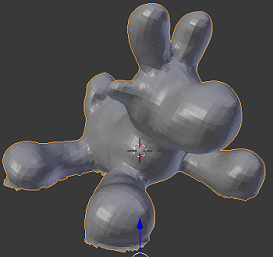
So I opened the file (.ply) in Blender and originally I had this (see below)! The support was with because the scanner detects that moves only, but I turned the chair to turn the plush.
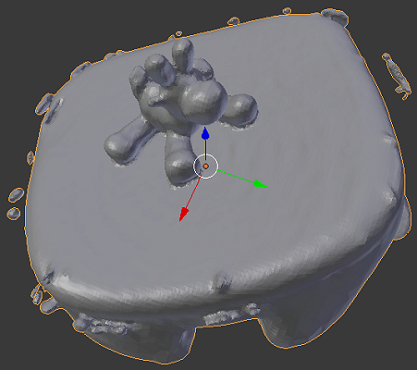
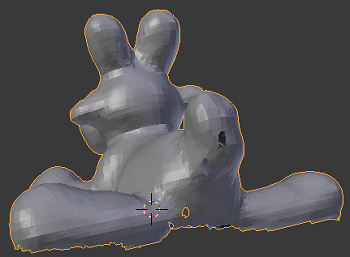
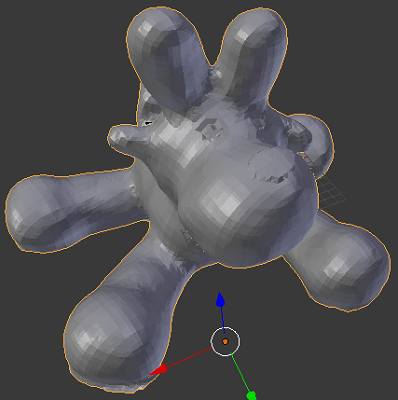
With the edit mode I managed to remove anything that I did not want to but I ended up with holes in the mesh. So I just recreated faces from the points. It was very quick and easy with Blender. I put an example in the photos below. I also redesigned face because there was none. And as this is not a real person that does not bother me (:

After closing completely the mesh I was able to print it ! And the result is really cute (:

As I said above, I also tried photogrammetry.
I started with a little metal angel and I had very bad results!
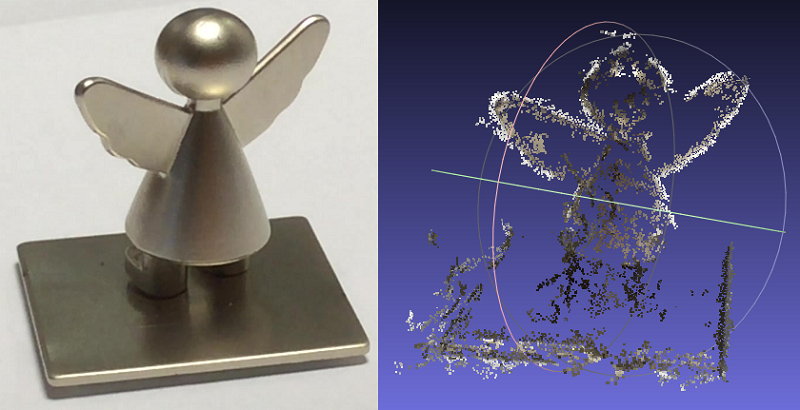
Why ?
- More an object is small harder it is to scan in 3D
- Metal reflect the light so the color of the angel depended
on tilt and camera orientation
- The light was not good, I'll have to put one that comes from above
- I took the photos carelessly
I then repeated with plush.
This time I took a video by turning neatly around my plush. I then extracted 200 photos of my video with a software called "Free Video to JPG Converter".
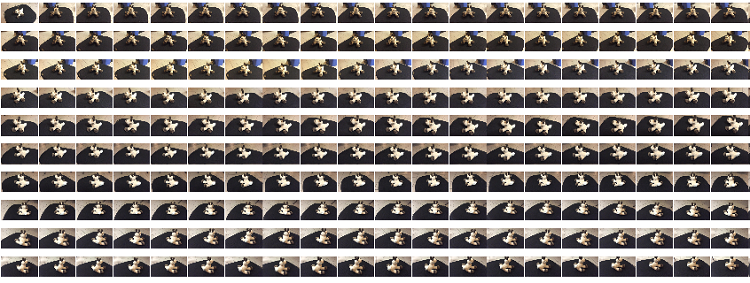
To create the point cloud, I used the software "VisualSfm" and its associated tutorial. By following
the steps we seem to get something interesting without too much difficulty.
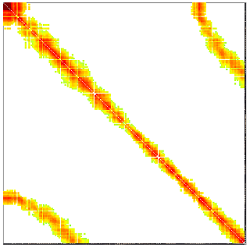
The software first compares the pictures in pairs to find the matches and record only that! It may take time!
And you can then view the matches matrix. Ideally when turning around the object you obtain a diagonal matrix.
This is what I got (photo below) through the technique of the video and the photo extraction software.
After that we can make the 3D reconstruction and the dense reconstruction which rebuilt point by point (matches) the object.
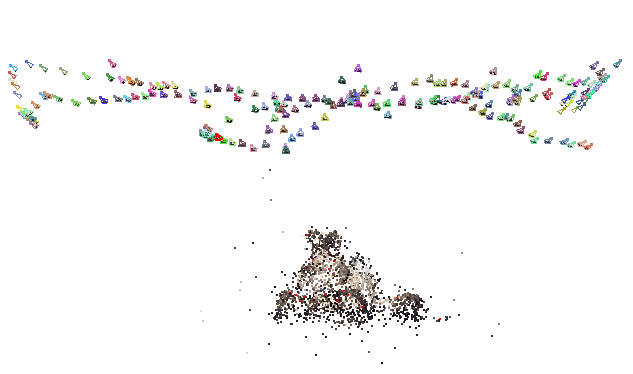
And when I opened the .ply file in Meshlab it was much more better than the angel.
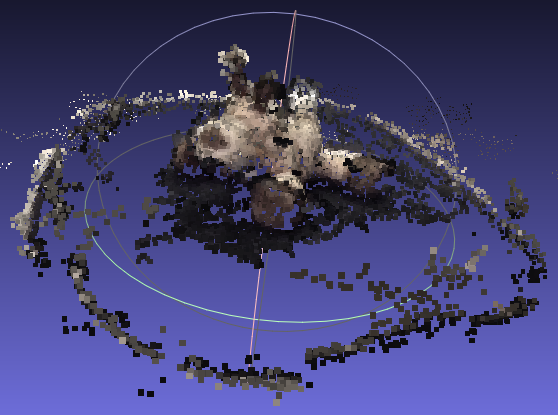
The method of photogrammetry is then to apply filters to build a mesh from points, adding faces and smooth the 3D model. I wanted to do this with MeshLab that allows it. However I have not been able to use this software on my computer. I can open and save files but when I try to do something else, the software stops running ... I will try on another computer soon (:
Software and website used