Week 12
Composites
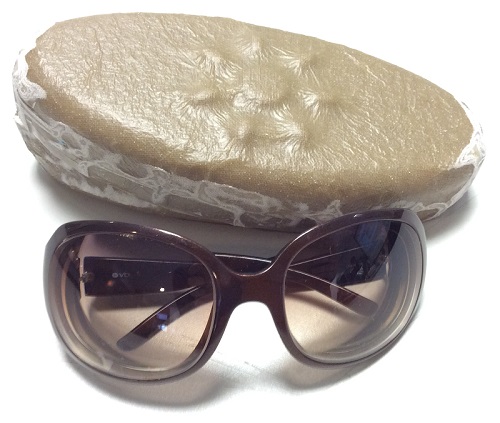
This week was a creative week but I had no idea to do something related to my final project. As
the summer is almost here in Vienna, I decided to make a box for my sunglasses (:
I used Solidworks to simply designed the two pieces to mill.
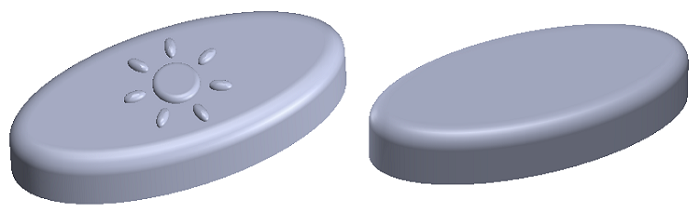
The STL file : 1st part & 2nd part
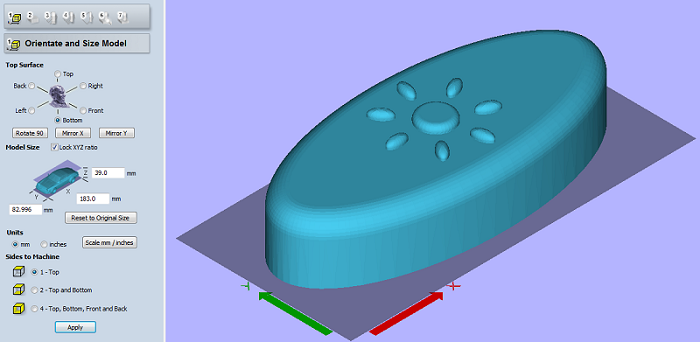
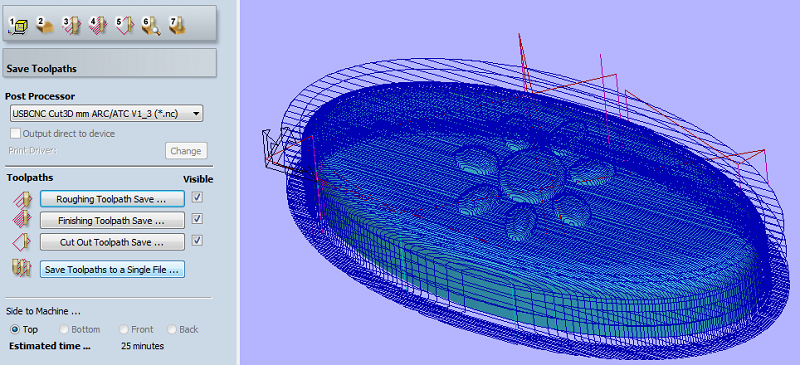
I wanted to use something new to generate the Gcode so I tried with Cut 3D. I described all the steps by
taking screen shot to remember the different settings.
First you can decide the size and position of your piece. And you choose which sides you want to mill.
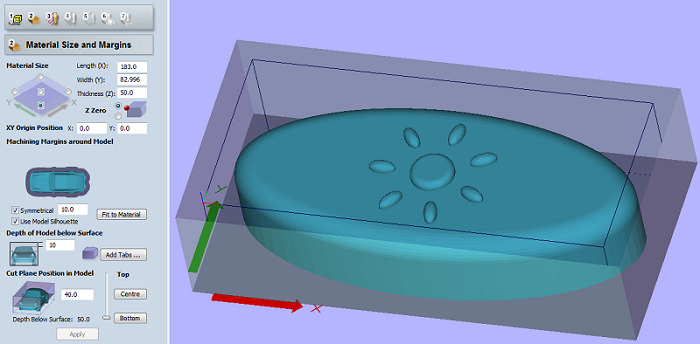
After you enter the size of the materials and you can choose the origine, the marges and the position of your piece inside the material.
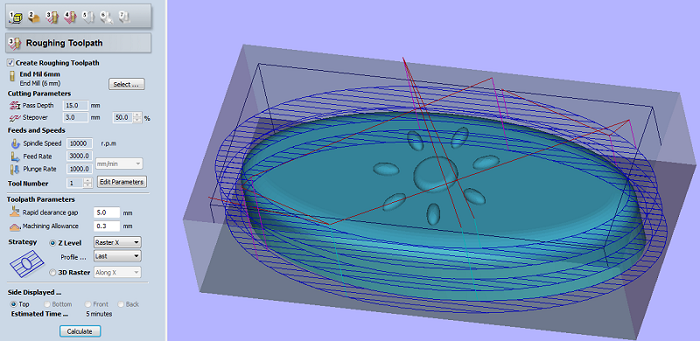
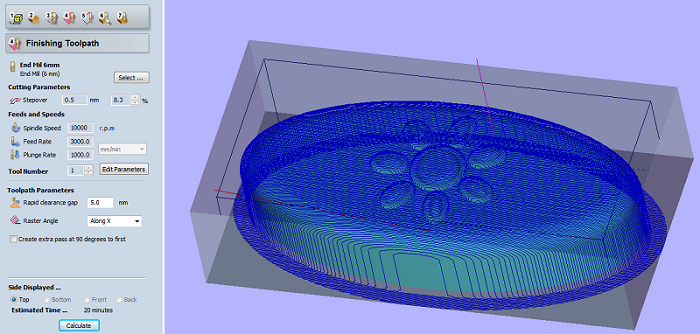
Then you can choose the settings for the roughing toolpath (tool, stepover, speed, ...) and estimate the time it will takes.
After that you have to choose the settings for the finishing toolpath (tool, stepover, speed, ...) and estimate the time it will takes.
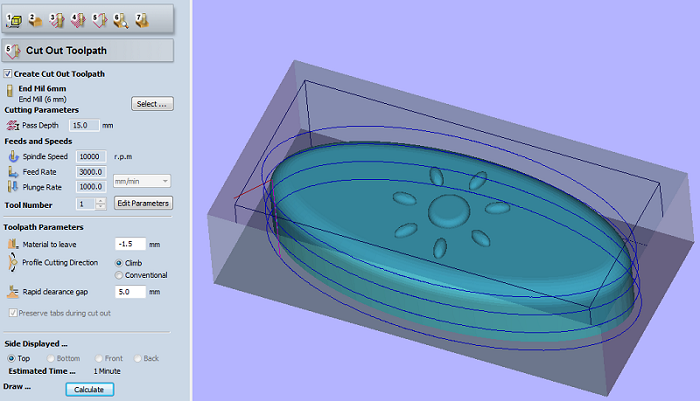
The final path is the cut out path usefull to detach your piece at the end.
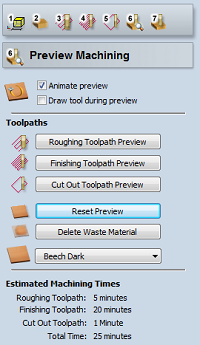
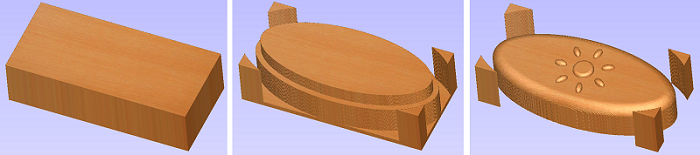
To check all the paths you can simulate the milling for the different paths.
And final step : you can save the Gcode (:
I also want to talk about a software I have found and which is free if you have solidworks. It's called HSM Express and with this you can open a Gcode and when you click on a line of text : you can see where is the tool on the piece, what does the code-line mean and honestly a lot of other stuff. This is really cool !

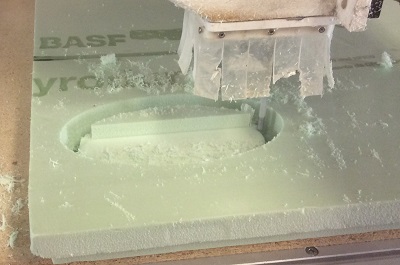
Back to my glasses box. I then prepared everything to mill my pieces. An endmill (standard 6mm diameter) and a piece of foam.
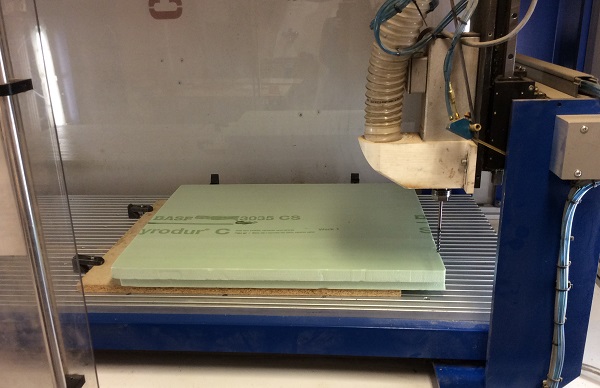
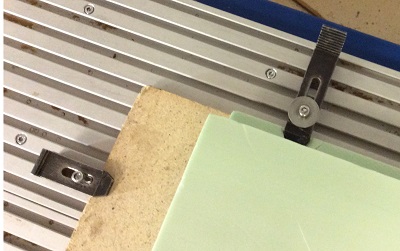
The fixation of the foam was a problem because of the thickness of the material. I used tape between the wood and the foam (at the place where I wanted to mill my piece) plus two fixations on the wood and two fixations on the foam+wood.
I started to mill after set the origine and we can see the roughing toolpath just below.
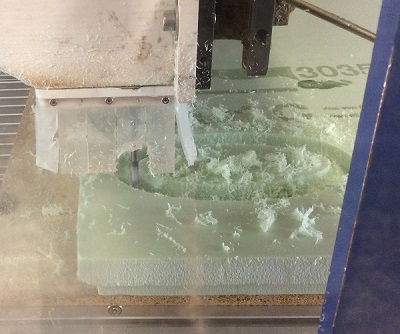
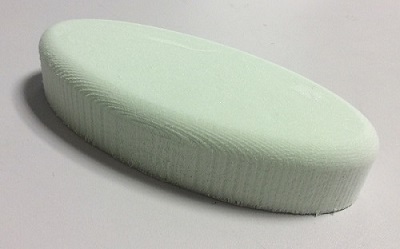
And then the finishing toolpath.
And the final piece which has a really nice finish.
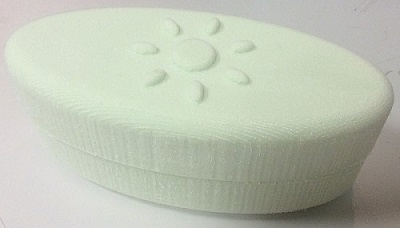
I milled the second part and was finally ready to start making my box!
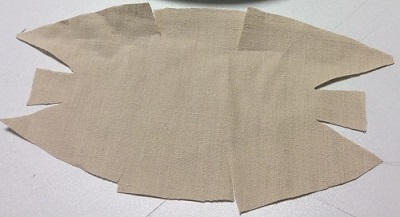
I decided to use linen and epoxy resin for this composite week. So I cut linen so that it follows the shape of my two molds. I cut three pieces of linen for each mold to have three layers in the end.
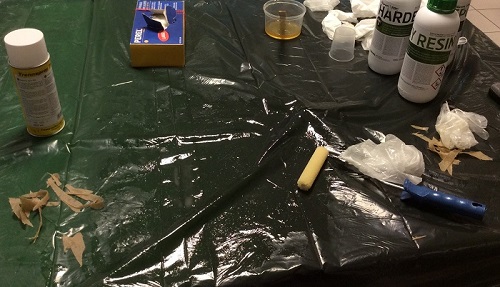
So I prepared everything because once the resin made, it is necessary to hurry. We must think of all the material: separating spray, epoxy, hardener, blue sheet, white felt, linen, mold ... But above all we must think about protecting the table, wear a blouse and gloves, and open the door to air out !!!

I started by putting the separating spray to be sure that we will be able to detach the mold at the end.
I did it outside because of the smell, three times waiting 15 minutes between each (recommended for a
new mold).
I mixed resin (2 volume) with the hardener (1 volume). Then I soaked my linen pieces with the
mixture. And I finally placed soaked linen on foam parts .. I have no pictures because I hurried.
Especially the resin starting to heat up, it does not smell very good and everything was sticky.
At the end I placed my two pieces in the vacum bag by putting over the blue foil (to prevent from sticking to the resin) and the white felt (two layers)(which helps prevent air bubbles).
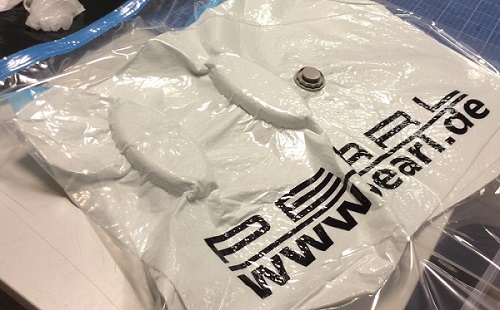
I waited during 24 hours and then... I opened the bag and found this !
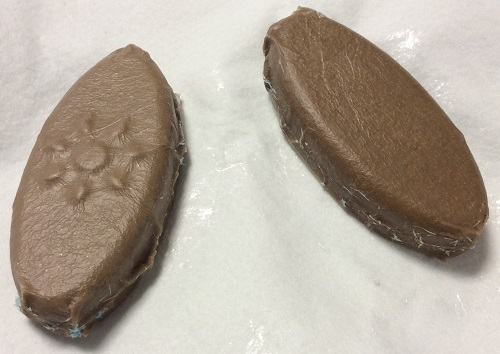
But the resin went under the mold so it was impossible to remove the piece of foam. So.. I used acetone to dissolve the foam.

And if the inside was quite good, the outside was really bad. I didn't see it but when I put my pieces into the bag, the linen mooved... So I tried to sand the folds. But the result is not super nice ..
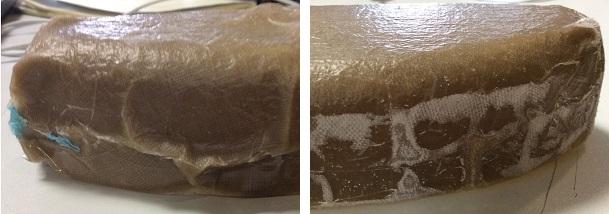
I'll try to paint the box to remove the defects but for now this is not so bad (:
Software and website used