****************************************************************************************************************
ASSIGNMENT: ADD A BUTTON AND LED TO THE ECHO HELLO-WORLD BOARD // CHECK THE DESIGN RULES // MAKE IT //
SOFT: EAGLE
TUTORIAL: ELECTRNICS DESIGN - EAGLE
MACHINE: TROTEC SPEEDY 100 FLEXX
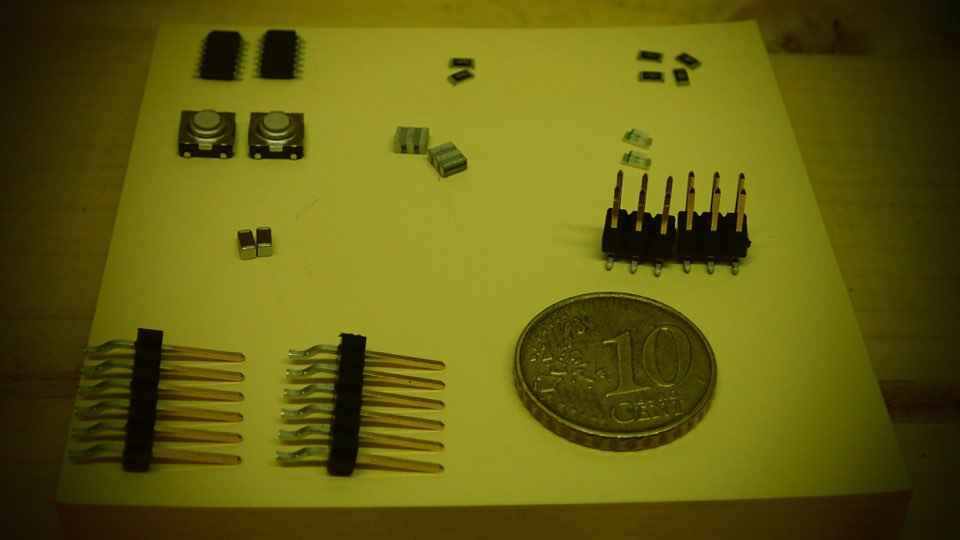
SUPPORT : CIRCUIT BOARD BLANKS FR-1
DOWNLOAD:
****************************************************************************************************************
EAGLE SOFTWARE
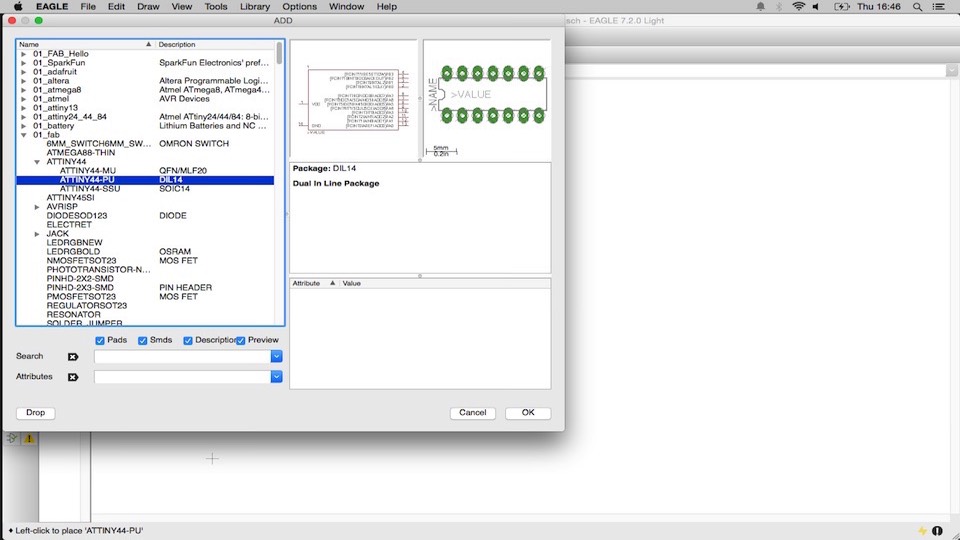
CadSoft EAGLE design software is an easy to use yet powerful tool for designing printed circuit boards. The name EAGLE is an acronym which stands for Easily Applicable Graphical Layout Editor. This software offers user friendly powerful and affordable solutions for PCB design, including Schematic Capture, Board Layout and Autorouter
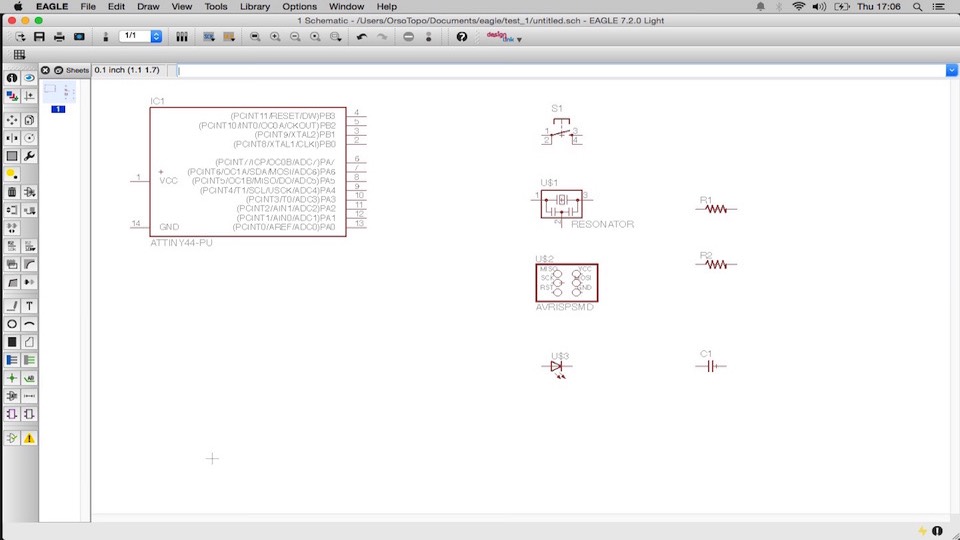
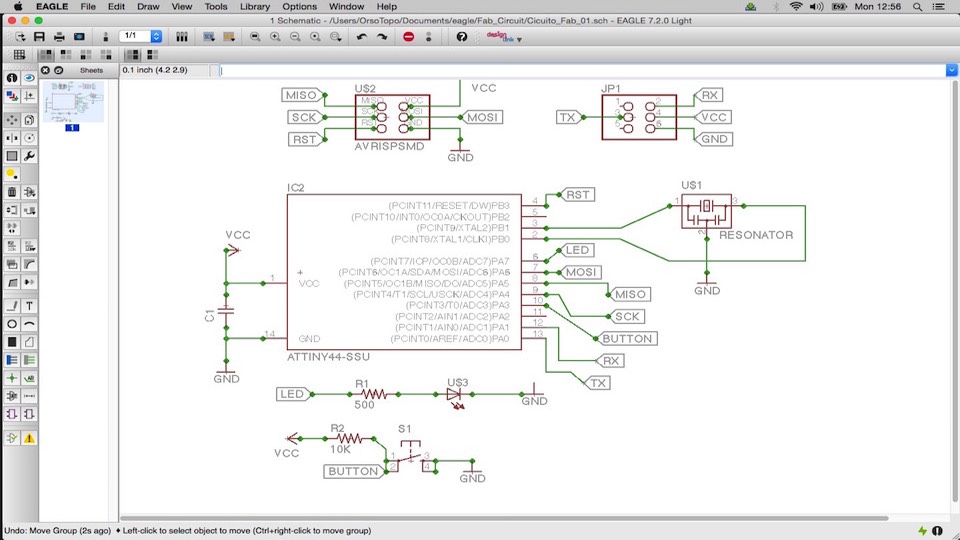
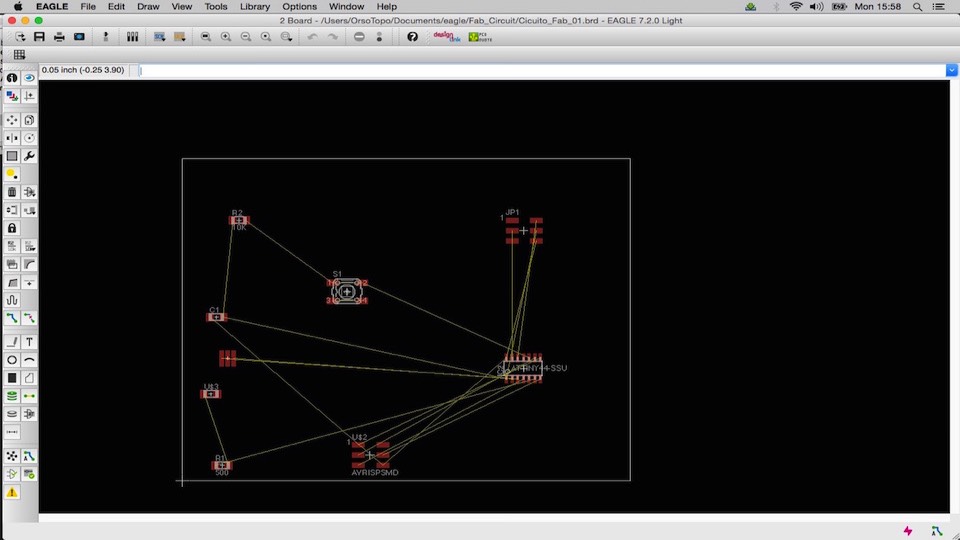
SCHEMATIC
The schematic editor is used for designing circuit diagrams. Parts can be placed on many sheets and connected together through ports.
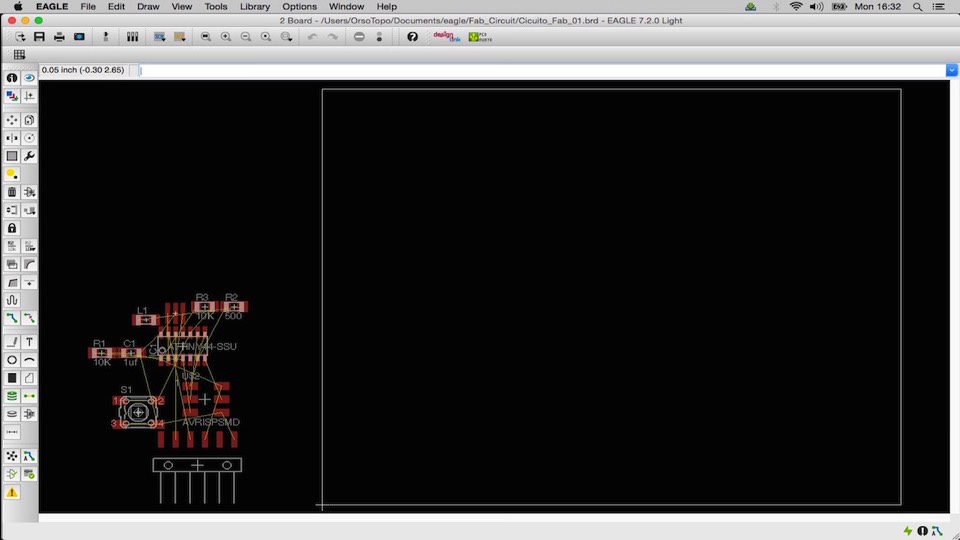
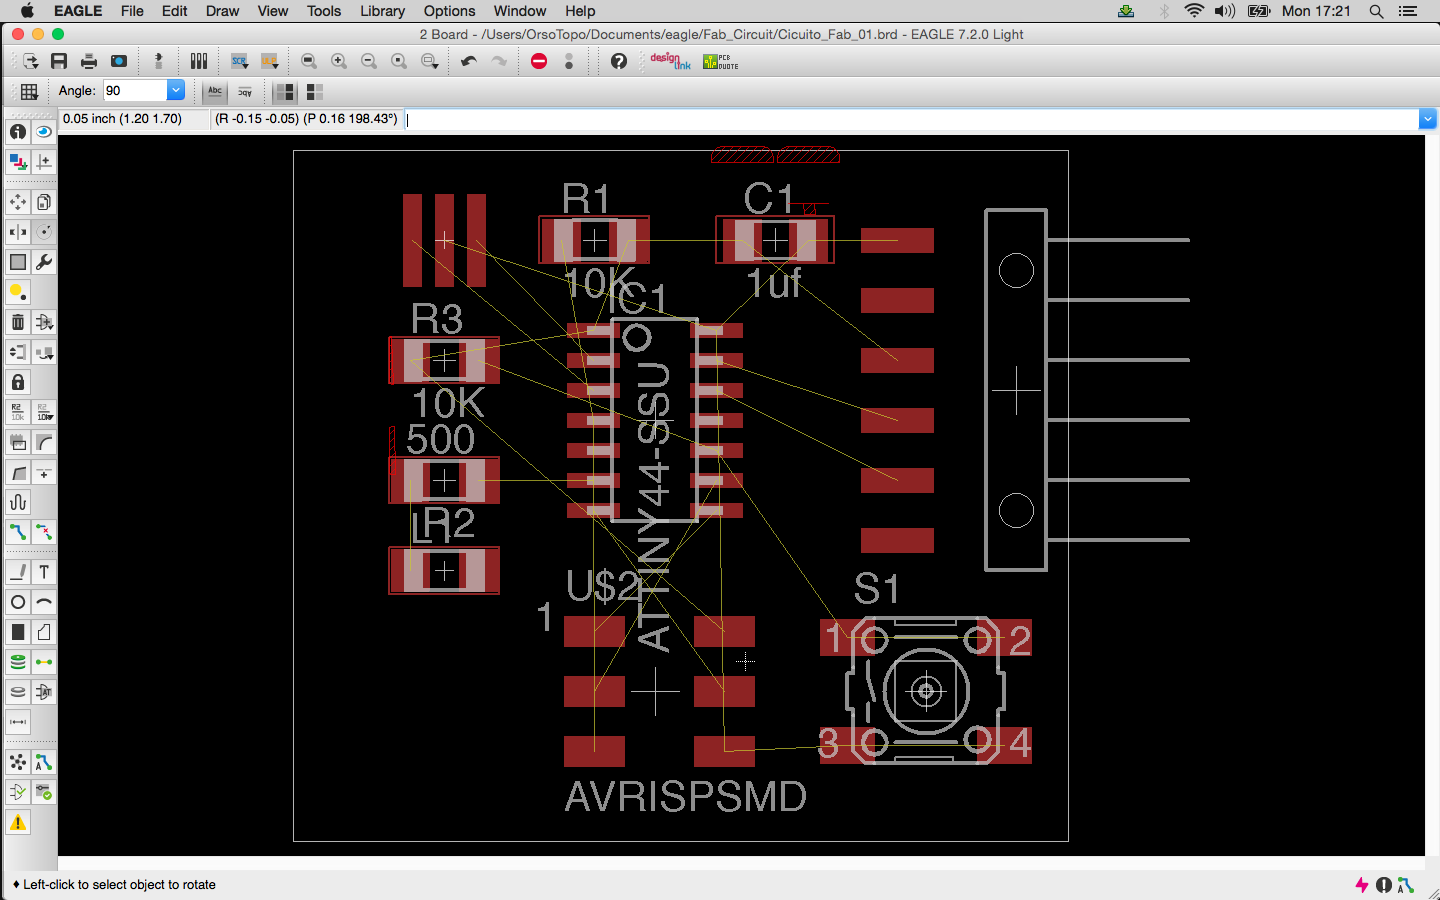
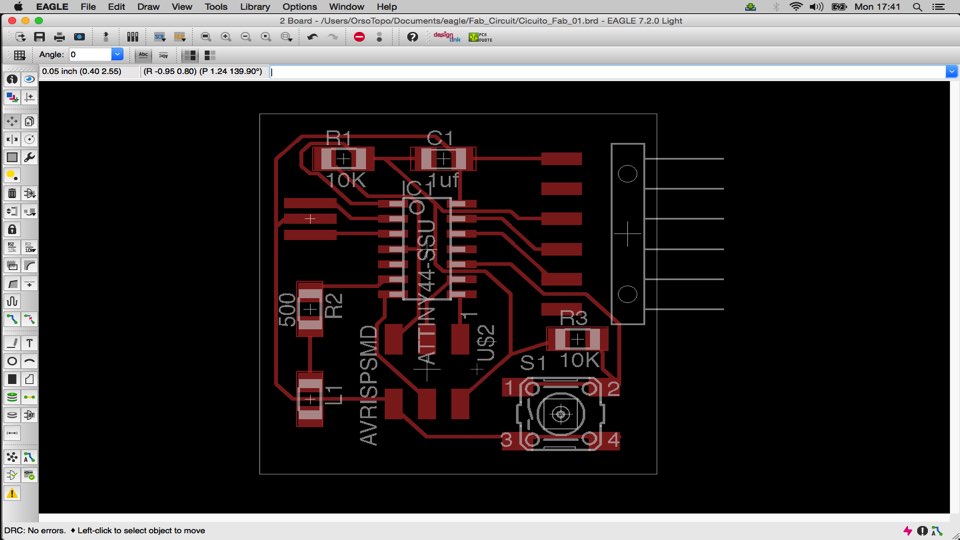
BOARD LAYOUT AND ROUTE THE TRACES ON BOARD
The board layout shows how the electrical components and traces will be laid out on the board. The PCB layout editor allows back annotation to the schematic and auto-routing to automatically connect traces based on the connections defined in the schematic
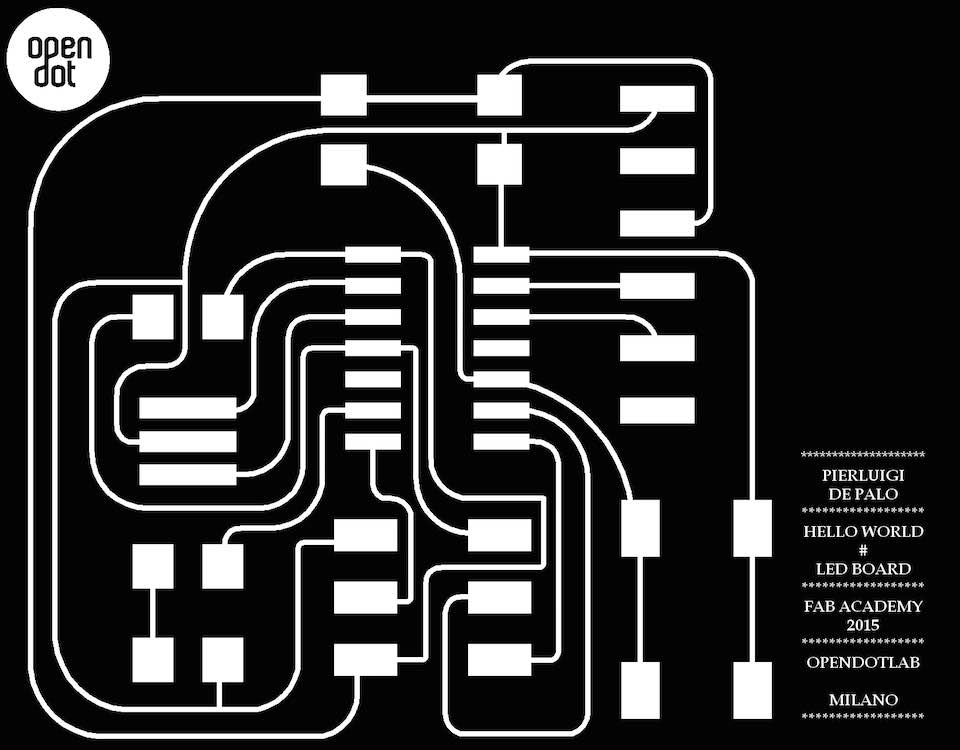
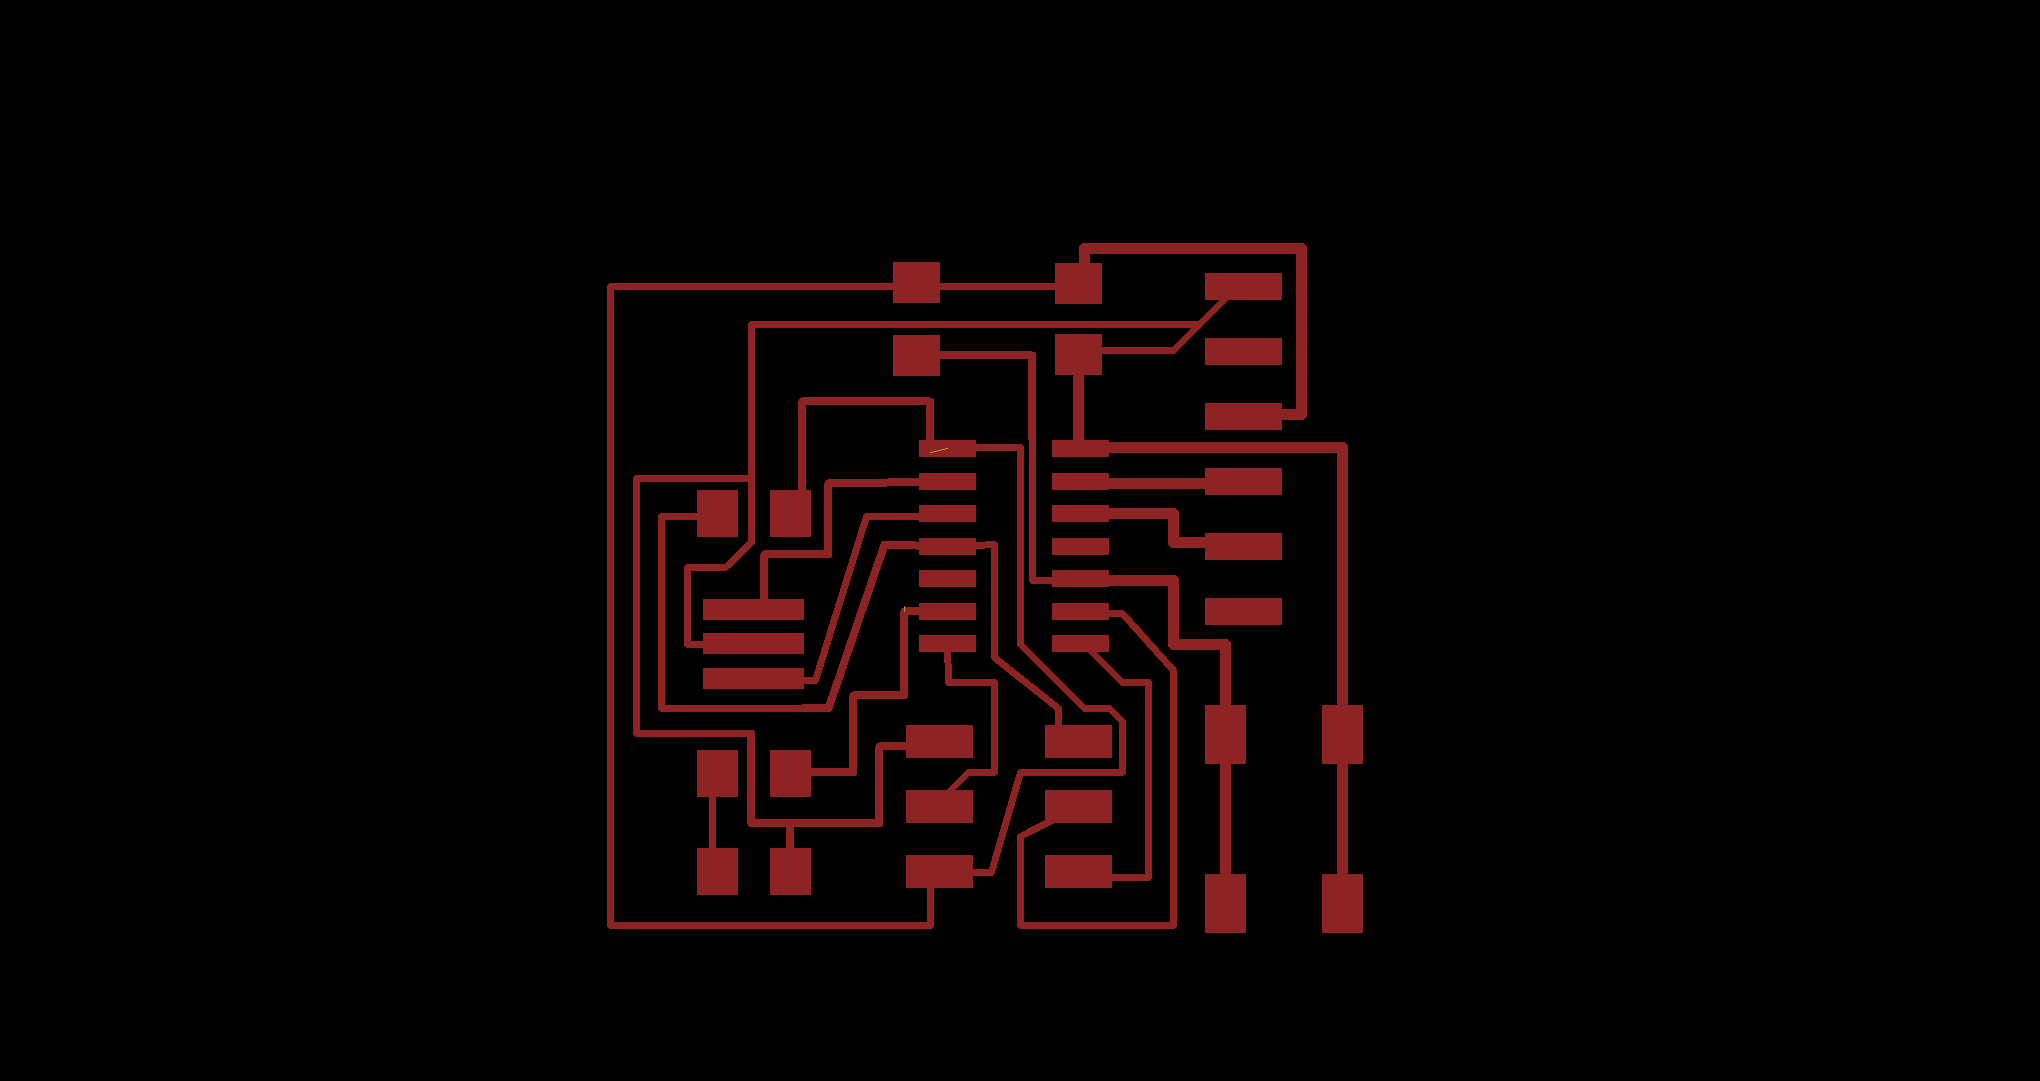
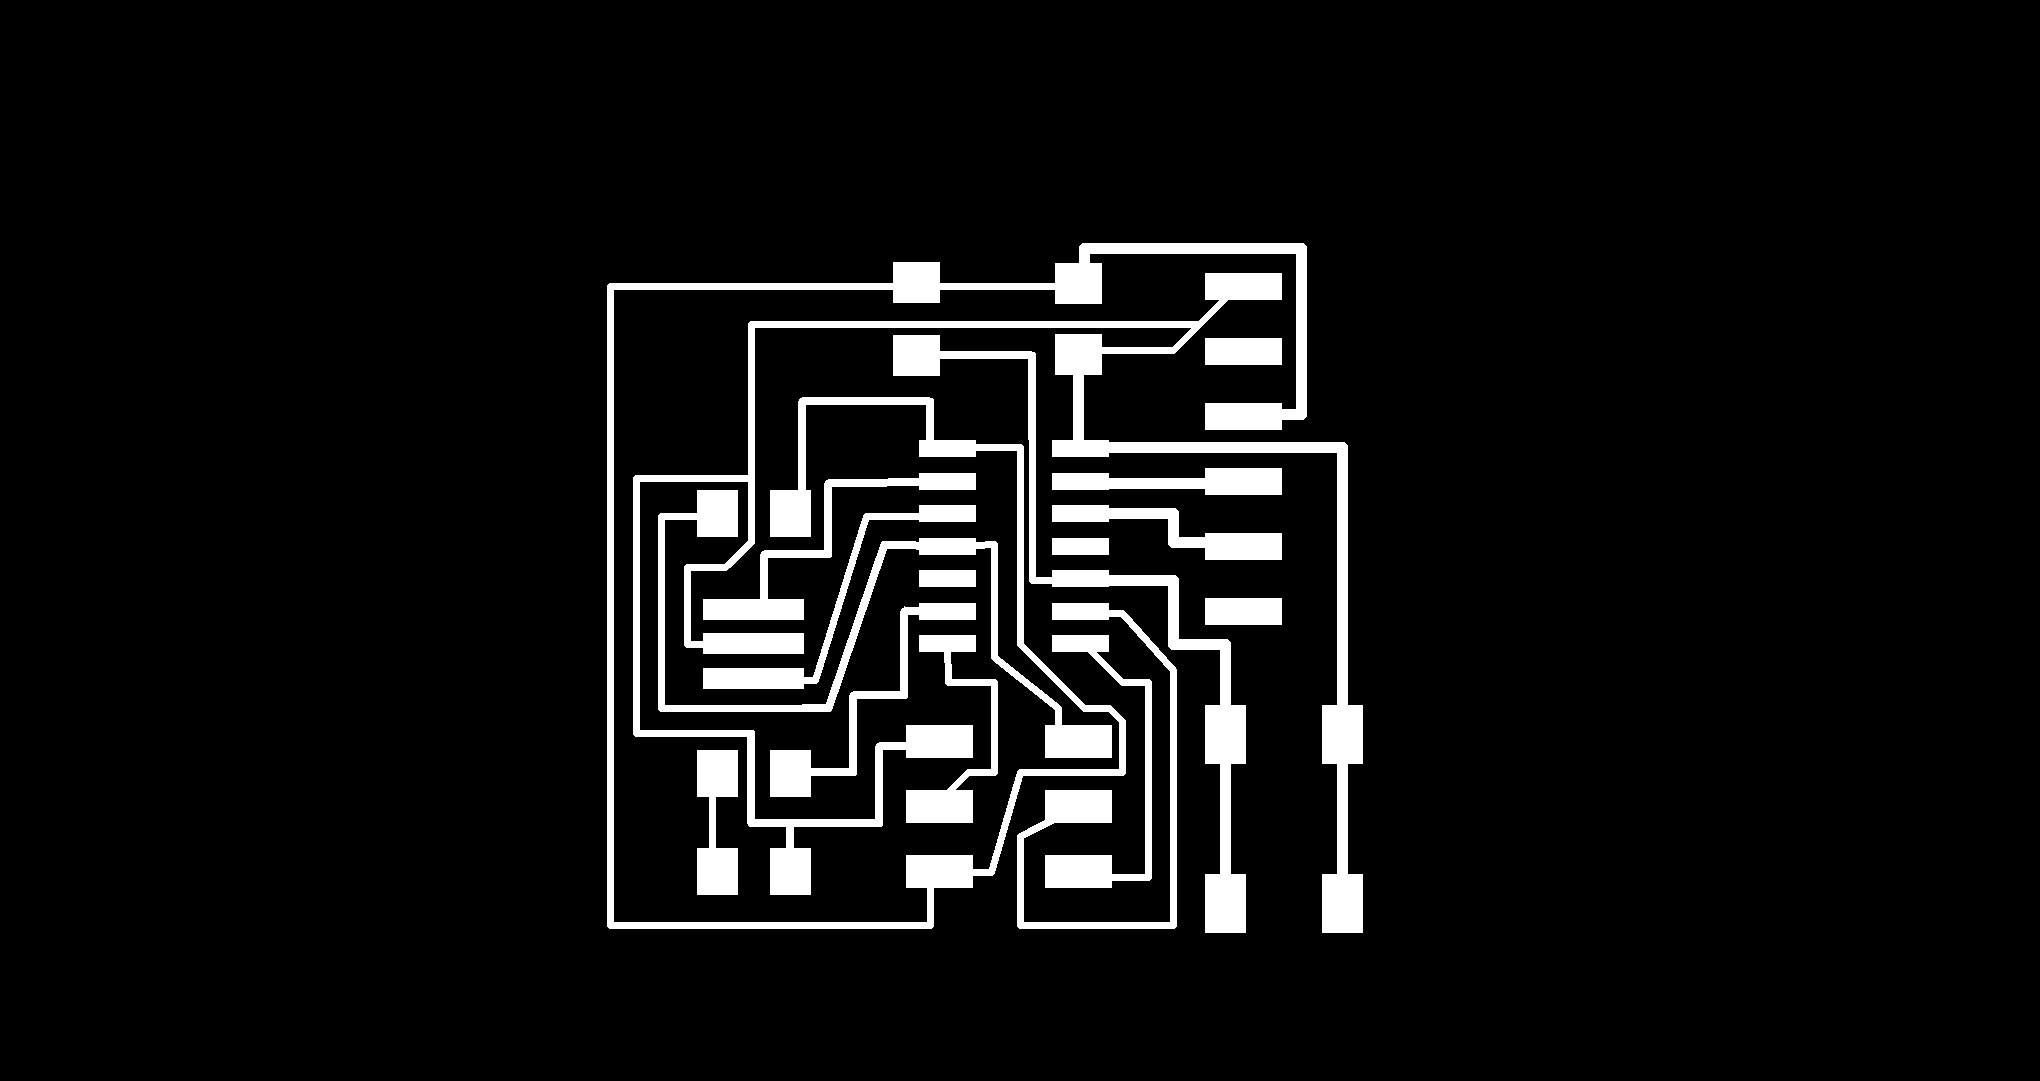
EXPORTING A BOARD DESIGN
1_Export as a png (file -- export -- image)
2_Settings should be MONOCHROME and 1000 DPI - this will export a image with white traces.
3_Make sure the color mode is set to greyscale: image > mode > greyscale
4_Export Dimenson layer for milling the outside of the board
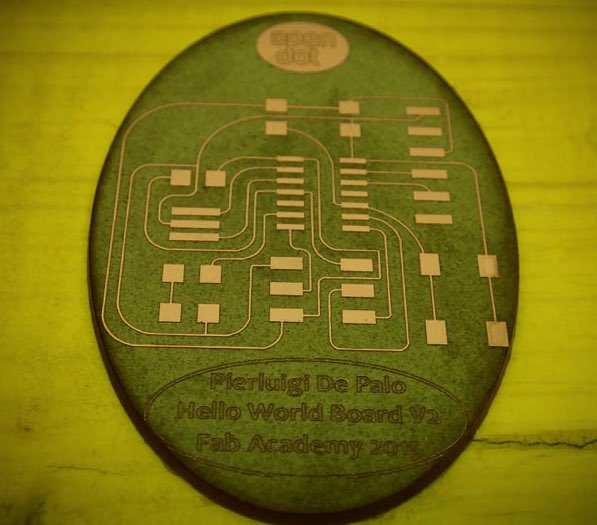
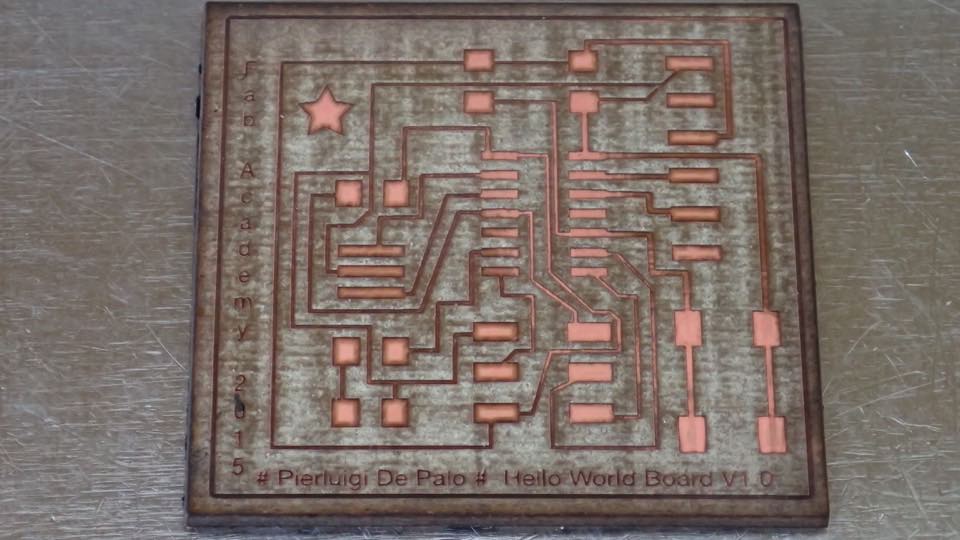
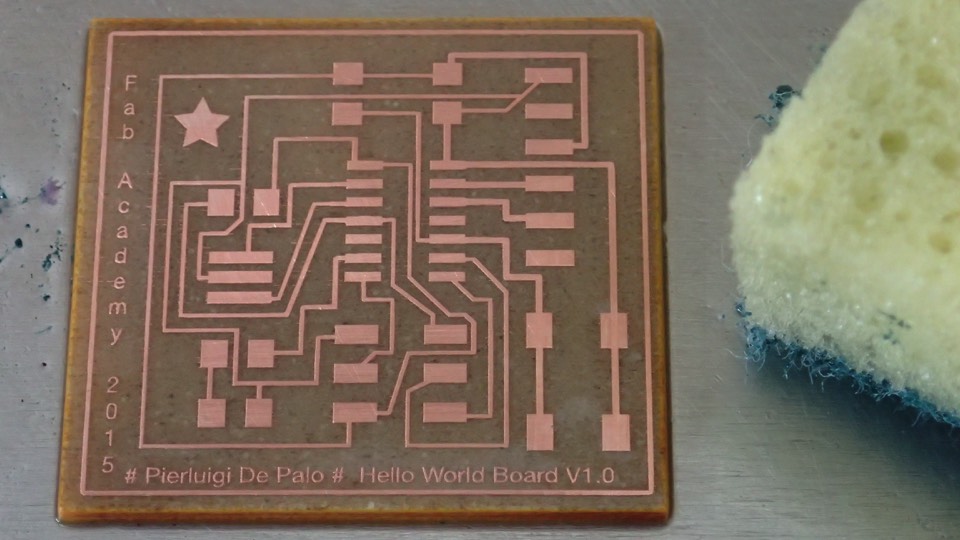
LASER ENGRAVING BOARD - PART 2 (PREVIOUS PART HERE)
This is the video of the laser engraving process for a series of boards, realized for the exercise of the week.
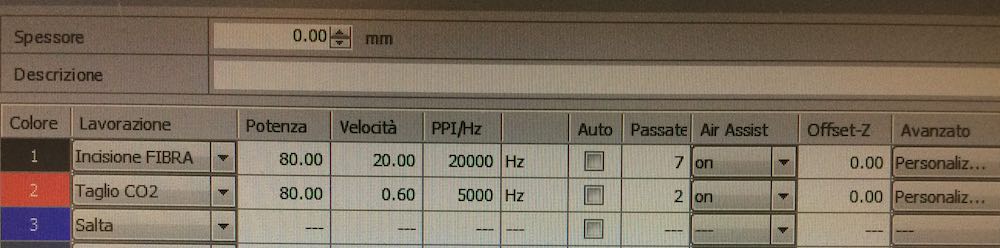

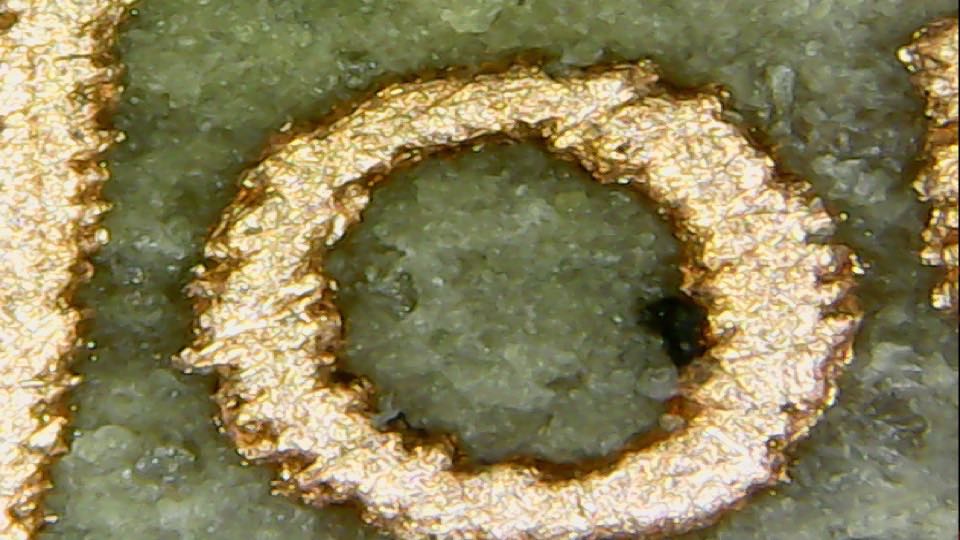
CONCLUSIONS
The process with 7 pass engraving, work very very good.LOL
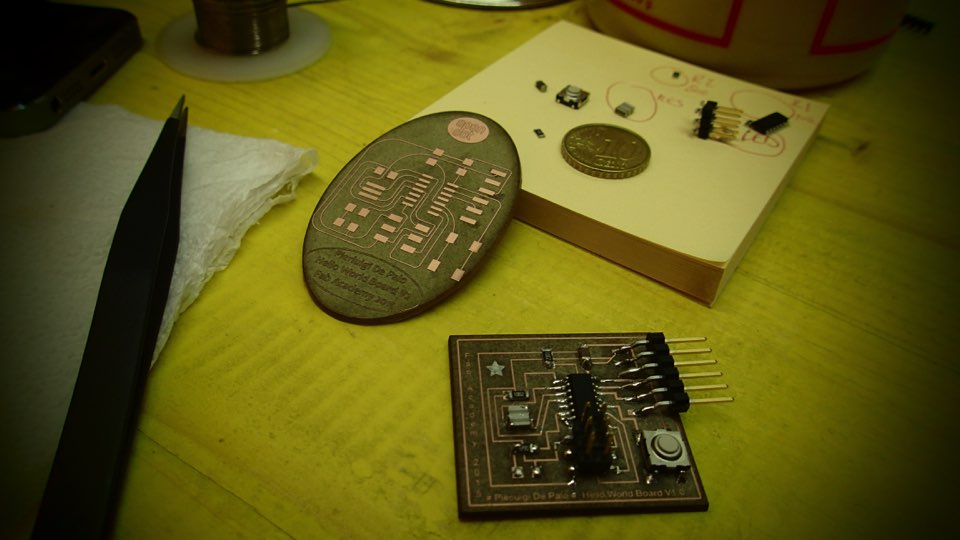
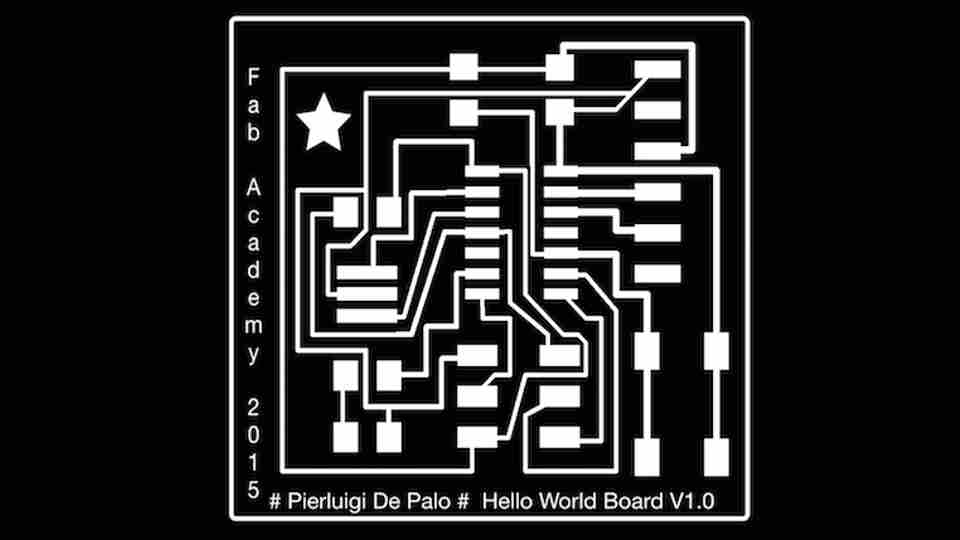
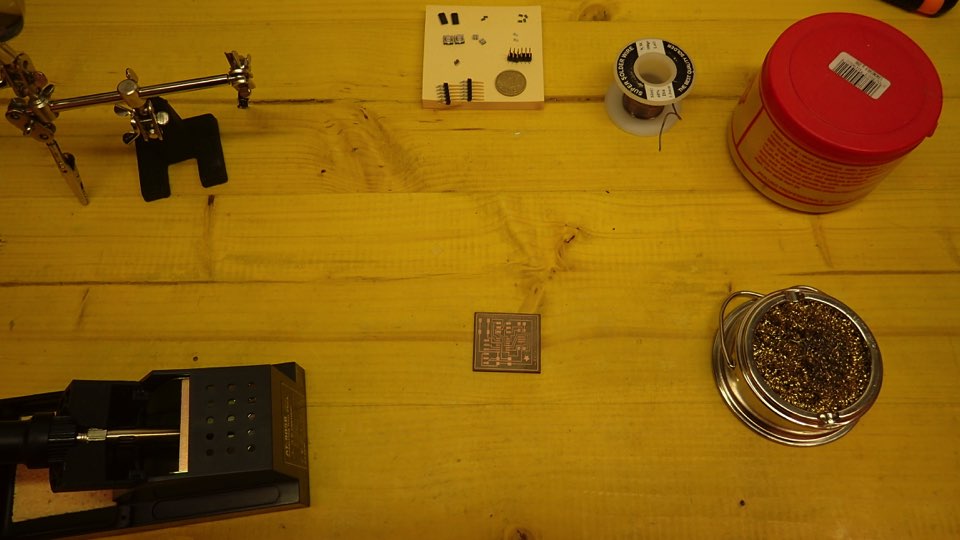
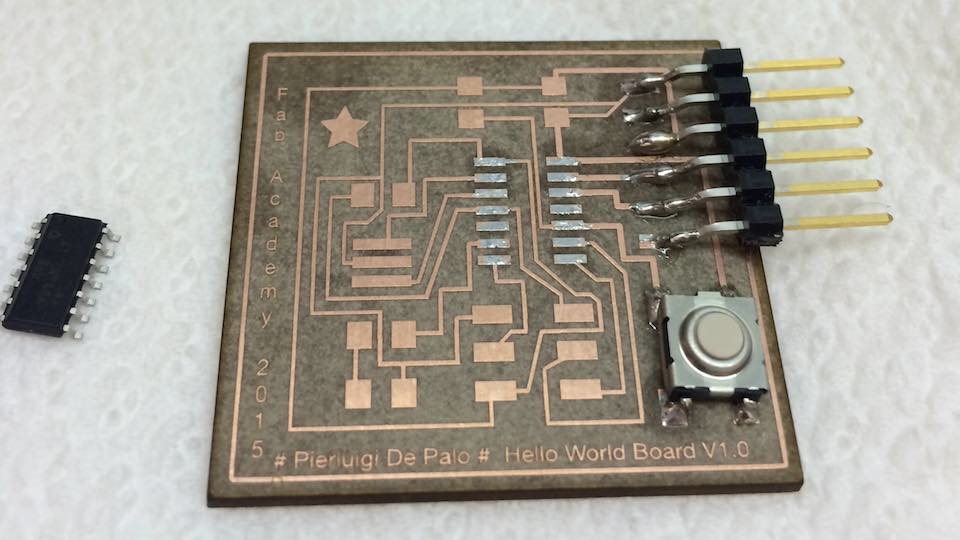
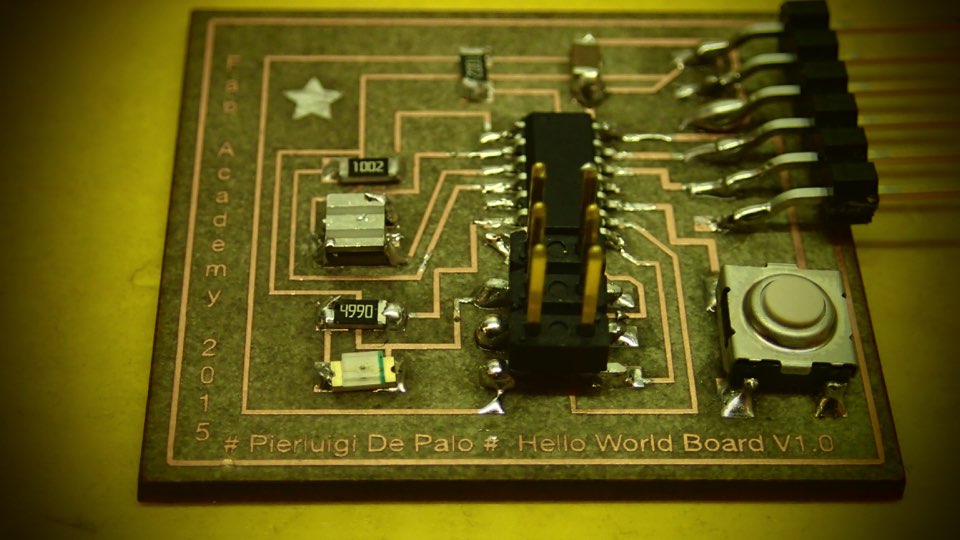
MAKE THE HELLO BOARD
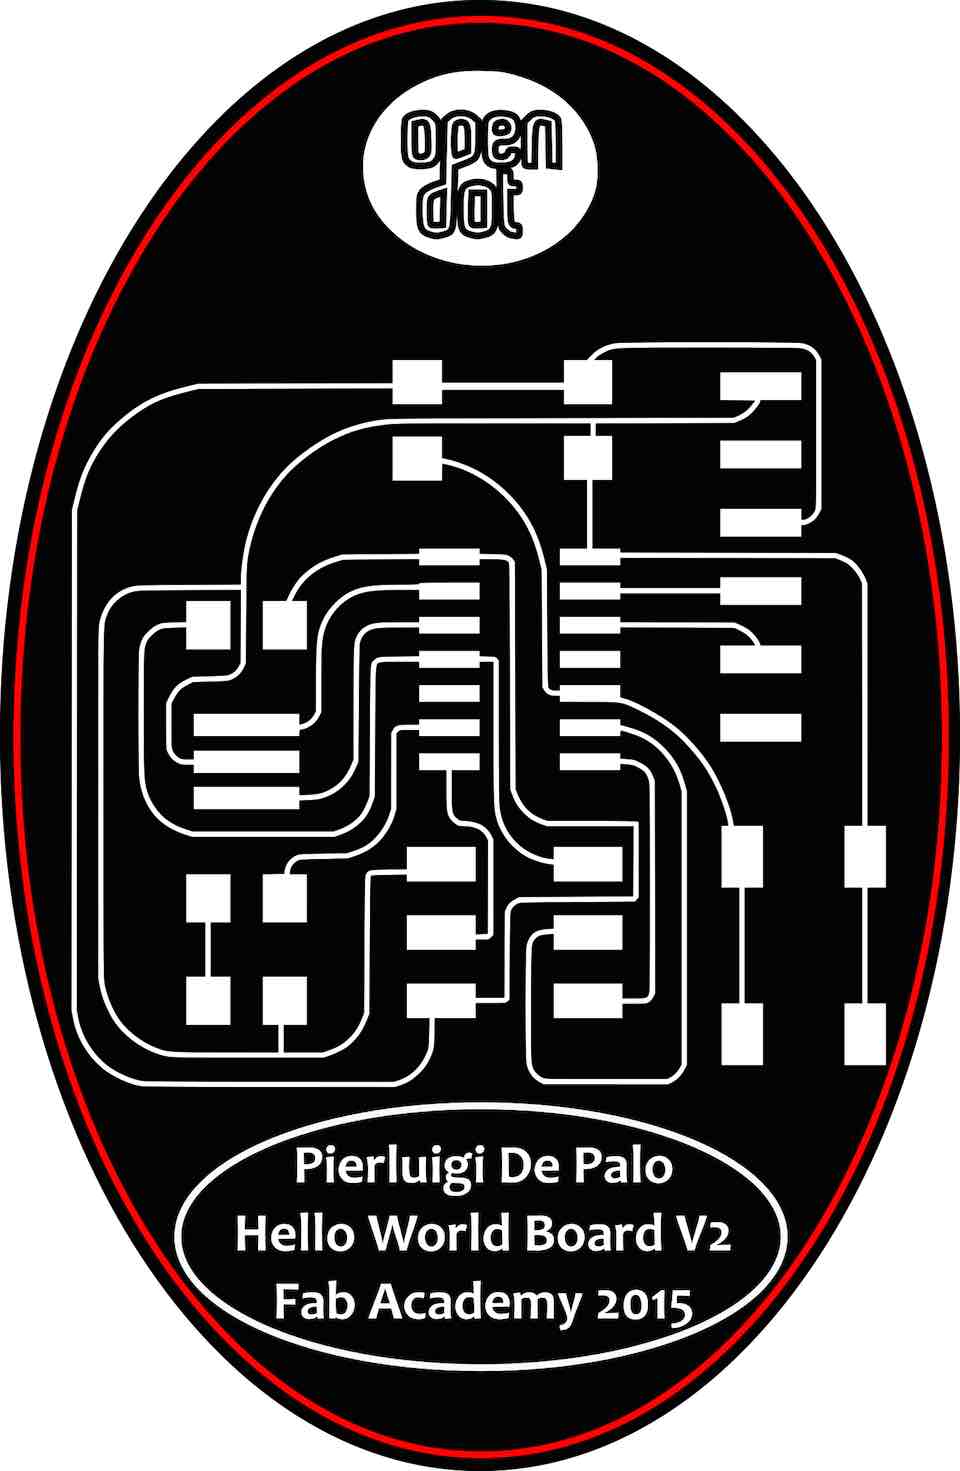
EXTRA EXERCISE : HELLO BOARD V2- ROUND CIRCUIT
To test the potentials of the laser engraving system, we created all of the PCB here in OpenDotLab. The board is not complete, perhaps in the future when I have more free time....;-)