Cutting A New Clock
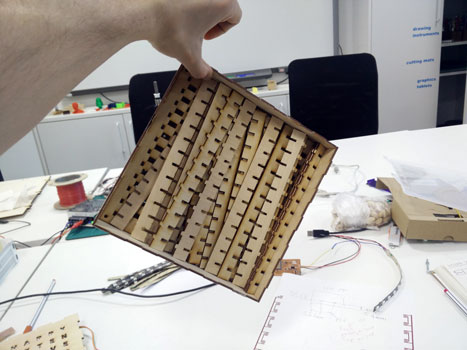
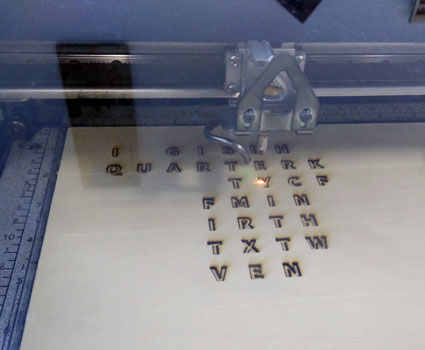
I made a few minor adjustments to the word clock model that I already had and cut it out from some 3mm plywood.
Unfortunately I had a problem: my kerf adjustment was off. I had just used a value I had used in the past but it turns out it wasn't quite right. The result was a clock that was not so much press-fit as never-come-apart-again fit. It could support it's entire weight on one joint.
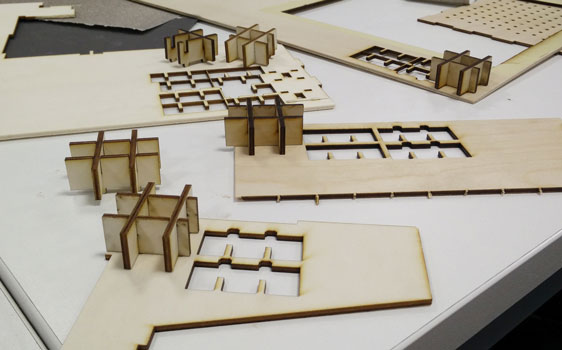
So I went back to basics and made some extra test cuts.
In the end the problem wasn't actually my kerf setting - it was a PDF import problem. I had always had problems importing DWG files from Inventor into CorelDRAW so had been using PDF files instead. Unfortunately there were some conversion errors in the PDF process. They were small enough that everything looked OK, but some small detail (small as in sub millimetre) was lost. The result: bad press fit.
I've since found out that there are actually two versions of DWG: an AutoCAD version and an Inventor version. They appear to be quite different internally, and most non-Autodesk applications can only seem to deal with the AutoCAD version. Why they didn't use a new file extension for what is essentially a new format is beyond me!
I've now got my DWG files from Inventor being saved in the AutoCAD format, so I can import my cut outlines into CorelDRAW perfectly. I'm still compensating for kerf in Inventor though, and it's a pest having to regenerate and layout all the parts for each adjustment. I think in the future I'll ignore kerf in the 3D model, and instead do adjustments as outline offsets from within CorelDRAW.
Ply Problems
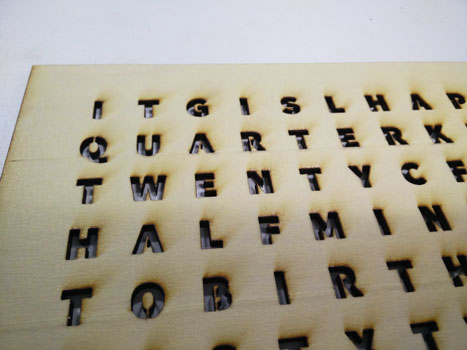
I wanted a really aesthetically pleasing finish on the clock face, so I opted to use some really nice 3mm birch plywood. Unfortunately, it's not the best for laser cutting.
Using our standard settings for 3mm ply, I was getting through most of the time, but still having to use a bit of force to remove pieces. Any kind of force on the letters is useless because it just results in breaking the support struts. Internally, the ply also had quite a few knots, which basically stopped the laser dead in it's tracks.
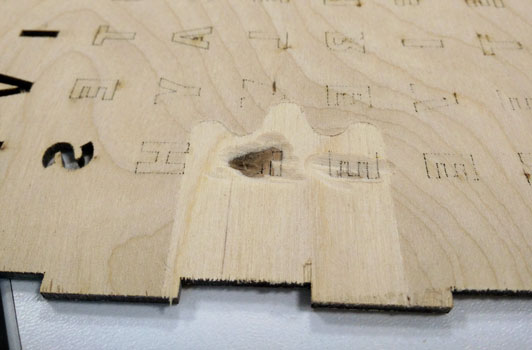
As you can see, I tried Dremeling down a bit to save the piece but it ended up being a waste of time. Instead, I opted to really drop the laser speed down. I had avoided doing this in the first instance as it leaves a really smoky finish on the wood that looks naff.
To avoid as much marking as possible, I tried coating the front layer of the plywood with masking tape.
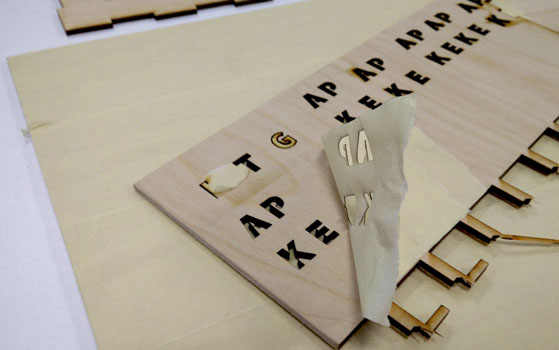
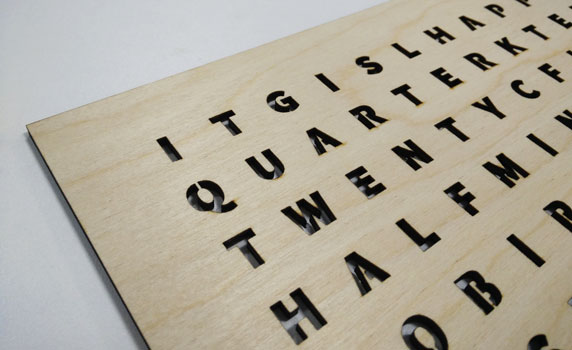
I was happy with the result, so cut a new front face. I ended up using our standard settings for 6mm ply to get through the 3mm ply + knots + masking tape every time.
You can see that the letters are basically falling out once they are cut. No more prodding at letters with a craft knife hoping I didn't break any supports!
Removing the masking tape and a bit of light sanding later, the ply looks really good.
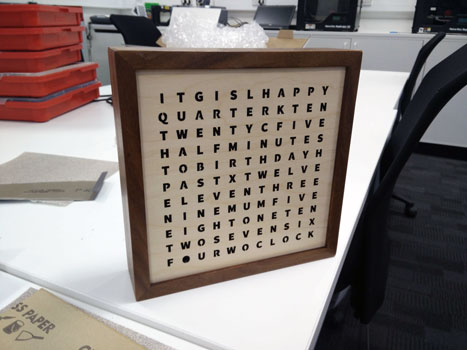
A Teak Frame
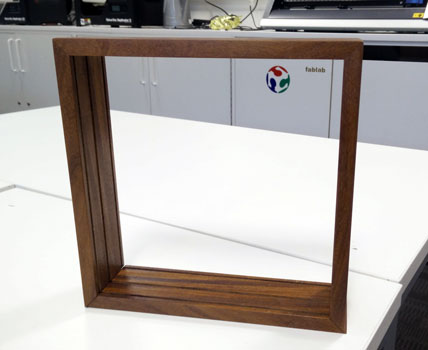
To add some class to the clock I decided to go a bit old school and hand make a frame from some reclaimed teak. I stained it with some Danish oil to give it a nice dark finish. I think the contrast it makes with the light birch face is pretty damn sexy.
With the outside of the clock looking much better, it was time to sort out all the damn wiring inside! Check it out in Update 3: Power Distribution.
Comments
comments powered by Disqus