This Week's Assignment
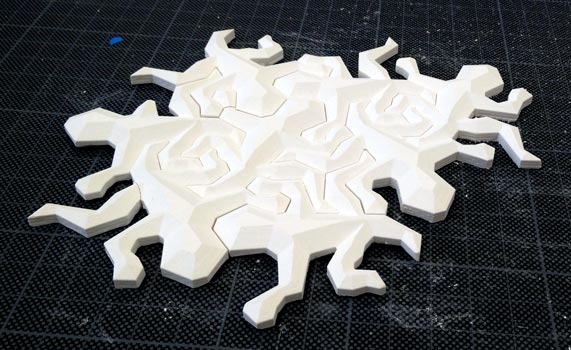
The assignment for this week was to design a 3D mould, machine it, cast a negative mould from it and then use the mould to cast parts. I've never done any moulding or casting before so decided to keep it simple and aim for a one-piece mould with simple materials. Here's the final outcome:
Designing The Mould
I wanted to design a part that was simple and took advantage of the main benefit of casting: one mould can make lots of parts quickly. We regularly use a simple Escher Lizard design to demonstrate cutting acrylic on the laser cutter and I figured it would be a good part for casting. The shape only needs a one-part mould and the tiling effect gets cooler the more lizards you make.
Instead of messing about trying to make my own version of the Escher Lizard, I just used _nikola's Escher Lizard Improved redesign on Thingiverse. I imported the stl file into Inventor and used the Mesh Enabler plugin to convert it into a solid base feature. From there I could use it just like a part I had designed myself in Inventor.
Testing The Mould Design
I used the Roland MDX-20 with machinable wax to make my positive mould. I fixed the wax to the machine bed using strong double sided tape and used a 4mm slot mill to make the wax flat relative to the tool bit. To mill the positive, I experimented with two different bits: a 3mm bit and a 1mm bit, both bull nosed.
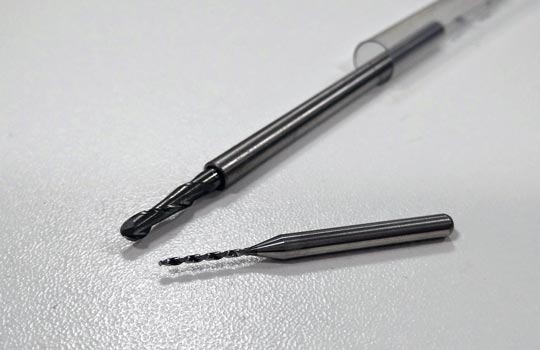
I would have liked to try a flat bit too but we didn't have any that fit the Modela. We only had slot mills, not end mills (i.e. they couldn't be used to plunge) and I wasn't sure how easy it would be to restrict the toolpath to only enter from an edge rather than plunge.
To start with, I tried using only the 3mm bit for both the roughing pass and the finishing pass. The rough pass took 27m and the finishing pass took 1h15m. Using only the 1mm bit, the roughing pass took 43m and the finishing pass took 1h9m.
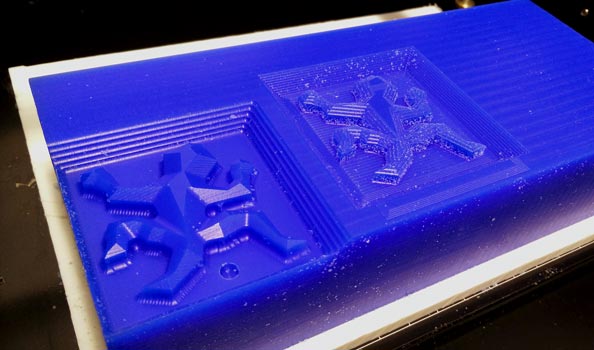
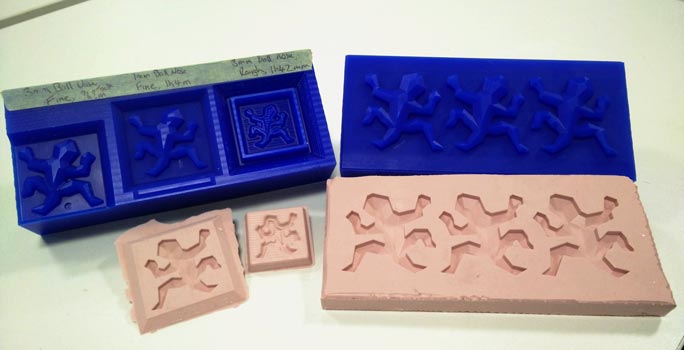
The lizard on the left has had both a roughing and a finishing pass using the 3mm bit. The lizard on the right has had the roughing pass using the 1mm bit, but is yet to have the finishing pass. I actually thought that the finish on the 3mm lizard was pretty good. Unfortunately the bit was too big to mill the entire lizard (it missed a bit between the right arm and leg), and because of the round end the base of the lizard wasn't totally square (which would cause problems when it came to fitting the lizards together).
I also did a test part that included walls around the lizard for containing the silicone.
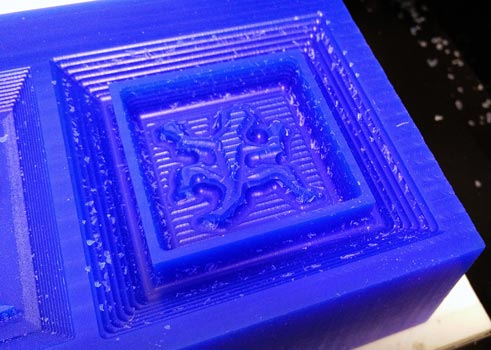
Ultimately, this added some extra restrictions on the design: the cutting shaft on the 1mm bit was only 10.7mm so that defined the maximum height of my walls. If I wanted a 5mm thick base on my silicone mould, that only left about 6mm max for the lizards. On top of that, the 3mm roughing cut took about 60% longer than the simple design (and for a lizard that was only about half the size!).
Overall, I decided that the best plan of action for my final positive mould was to:
- do a rough pass with the 3mm bit
- do a finishing pass with the 1mm bit
- forget about having wax walls and just cut a box out of plywood on the laser
- to save time casting final parts, make multiple negative moulds in the same piece of silicone
Machining The Final Positive
I settled on a lizard size that I liked and figured I could fit three on a single block of wax. Although I could have fit at least 9 on the bed size of the Modela, I didn't have a suitably sized piece of wax to hand and the machining time would have been excessive.
I imported the lizard STL into Inventor and made it into a part. I then made an assembly that included three of the lizards on a common base that matched the top face of the wax block. I exported the resulting solid as an stl and imported it into Modela Player 4.
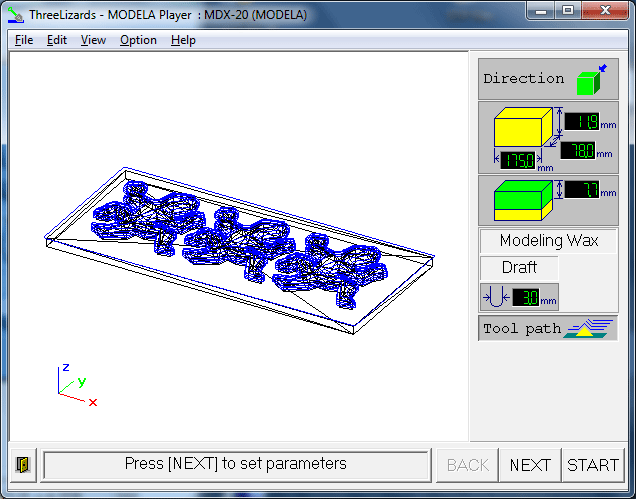
The UI of Modela Player is a bit rubbish, but it's (mostly) intuitive. Just remember that setting the origin point of your wax isn't part of the wizard workflow. The one very nice feature is that you can essentially print preview the job and see what the final part will look like.
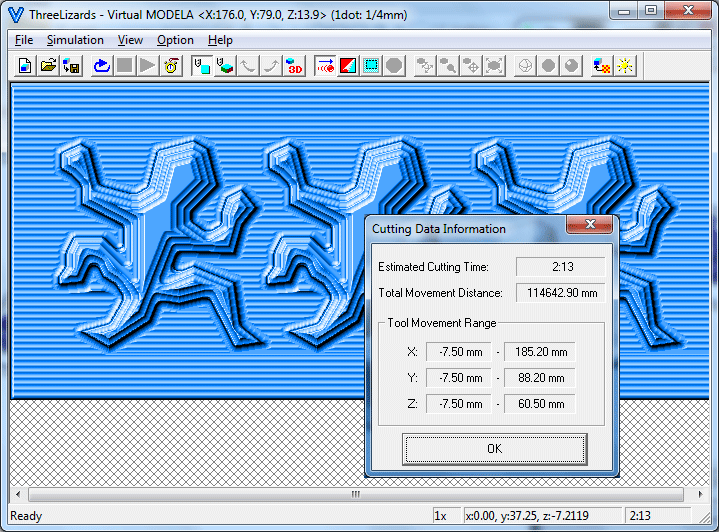
The image above is for the roughing pass using the 3mm bit, and the estimate of 2h13m was pretty much spot on. Doing the same for the finishing pass using the 1mm bit gave this:
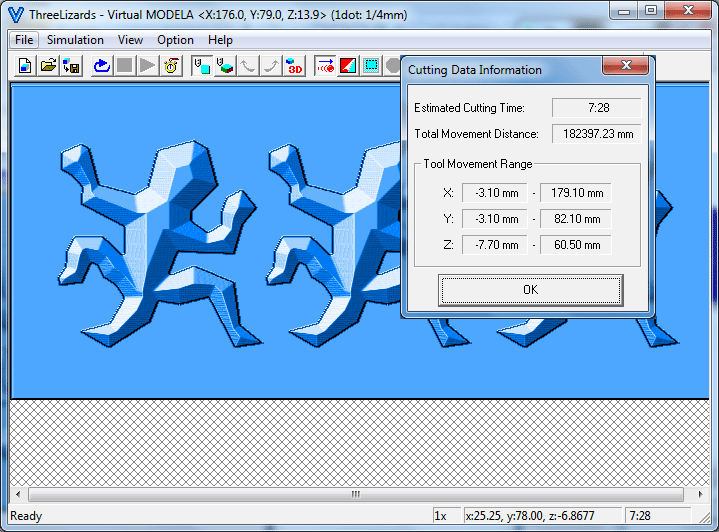
Eesh, seven and a half hours! It was frustrating that I didn't really need the finishing pass on all sections of the design, only really around the edges of the lizards. I was tempted to try using Inventor HSM to create a better toolpaths (there is a post processor for the Modela RML format here), but decided I didn't have time to experiment with another piece of software this week.
Here's a close up of one of the lizards after the finishing pass (and a quick run under the tap to remove excess wax chips).
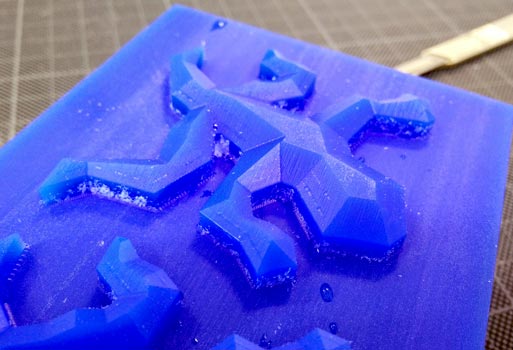
Because Modela Player generates the finishing pass as an XY scan over the part (with varying Z), the vertical edges had quite a rough finish. In the picture above you can see some scrap wax that hasn't been properly removed (on the leg at the left). In the image below, you can see the faint line where the roughing pass stepped down. The roughing pass did an outline of the lizard, and produced quite a nice edge. The vertical cuts of the finishing pass can clearly be seen at the base of the lizard.
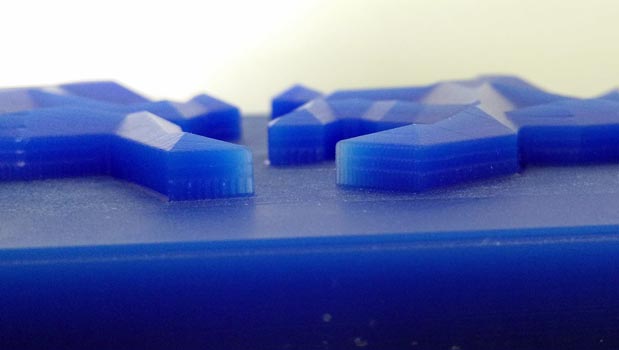
Overall I think the limitations were with Modela Player more than anything else. Next time I'll try the Fab Modules or Inventor HSM for making the toolpaths.
Casting The Negative Mould
With my wax positive finished, it was time to cast a silicone negative. I cut a bounding box out of scrap 3mm plywood on the laser and taped the wax block in using masking tape.
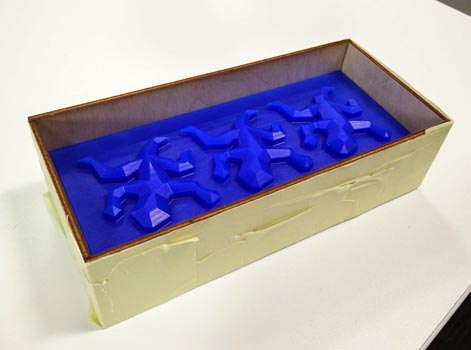
The silicone I was using was Polycraft GP-3481-F. It came as a two part solution with a mix ratio of 10:1. I didn't do a particularly good job of mixing the two together and managed to introduce a LOT of bubbles. With no access to a vacuum chamber, I improvised:
![]()
That's the air assist for the laser cutter turned on it's side and being used as a makeshift vibration table. It didn't manage to get all the bubbles out, but it did get them off the faces of the lizard parts and that's all that really mattered.
24 hours later and some quick edge cleaning with a craft knife, I had a pretty serviceable silicone mould to start casting parts with.
Casting Plaster Lizards
To test the mould I started with simple plaster, specifically Polycraft Formula Fine Casting Plaster Plus, because it's super cheap.
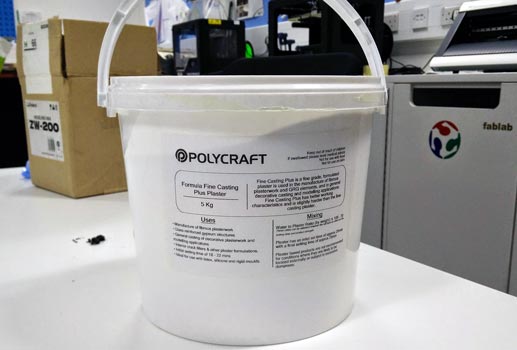
I mixed the plaster using the ratio implied on the box, which stated "Water to Plaster Ratio (by weight) is 100:70". I thought that it was a bit odd to have more water than plaster but decided to go with it.
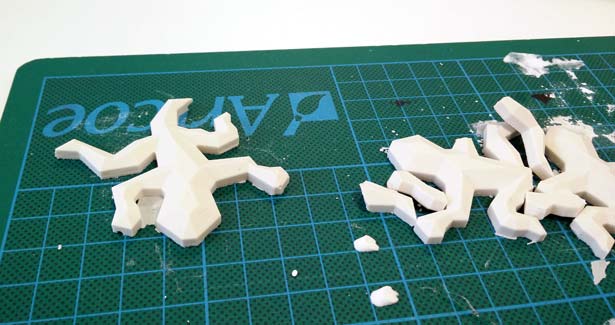
The plaster was way too thin and took forever to cure. As you can see in the picture above, I ended up only getting one of the three lizards out in tact. Instead of 100:70, I experimented a bit and found that a ratio of 1:1 by weight gave much better results (both in terms of consistency and setting time). I have since looked at the website for the plaster where it states that it's actually 100 parts plaster to 70 parts water... Damn that stupid label!
I set about casting lots of lizards.
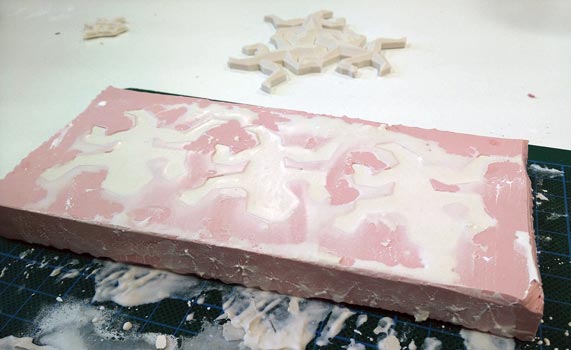
With the 1:1 ratio, I was still only managing to get 2 out of 3 lizards out of the mould without breaking off any limbs. By the time it came to trying to fit all the lizards together, I mas only keeping about 1 in 3 lizards in tact. It's a shame these lizards aren't the type that can grow back missing body parts.

If I was going to stick with plaster, I would increase the size of the lizards and tweak the model a bit to remove sharp edges. As it was, I had wilfully ignored the mill diameter/corner routing problem (round mills can't make sharp internal angles). The result was that the very fine points like on the tail had to be pushed with a bit of force into the slightly rounded recess between another lizard's arm and leg. Plaster + force = broken lizards.
Casting Plastic Lizards
With the plaster only being marginally successful, I decided to try casting some plastic lizards using the same mould. I used EasyFlo 60 Liquid Plastic. It was pretty easy to work with, even if I did have to do it outside (for ventilation) and the working time once mixed was only two and a half minutes!
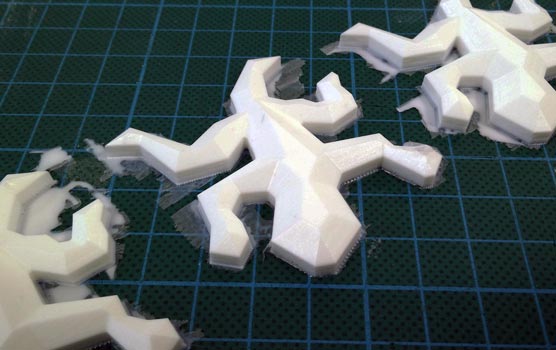
The little plastic skirts around the base of the resulting lizards was easy to take off with a fingernail/craft knife. The plastic was significantly stronger than the plaster and all three of the lizards I cast came out perfectly. They had a bit of give in them too, so it was easy to snap them together.
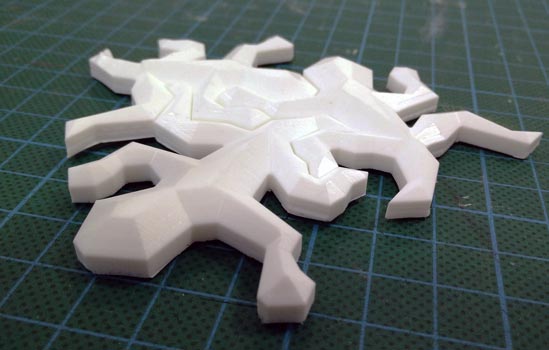
I only cast three, but it would be cool to cast a lot more. I might try experimenting with adding a pigment to the plastic too.
Final Thoughts
I might have kept it simple this week, but I certainly learned a lot. As with most of the Fab Academy topics, one week is nowhere near long enough to really get to grips with a new process. Some final thoughts:
- Designing a mould for even a simple part takes a lot of thought
- Keep your final material in mind when designing the mould
- Having a vacuum chamber would make things much easier
It didn't arrive in time for this week, but I've ordered some food safe silicone so that I can try casting some chocolate. I might even get cocky and try a multi-part mould too. Time dependent, I might write up any successes in another "bonus" post.
Get The Files
- Here is the stl of the 3 lizard mould
No GitHub necessary this week!
Comments
comments powered by Disqus