This Week's Assignment
The assignment for this week was to build a machine as a group. You can see our group write-up here.
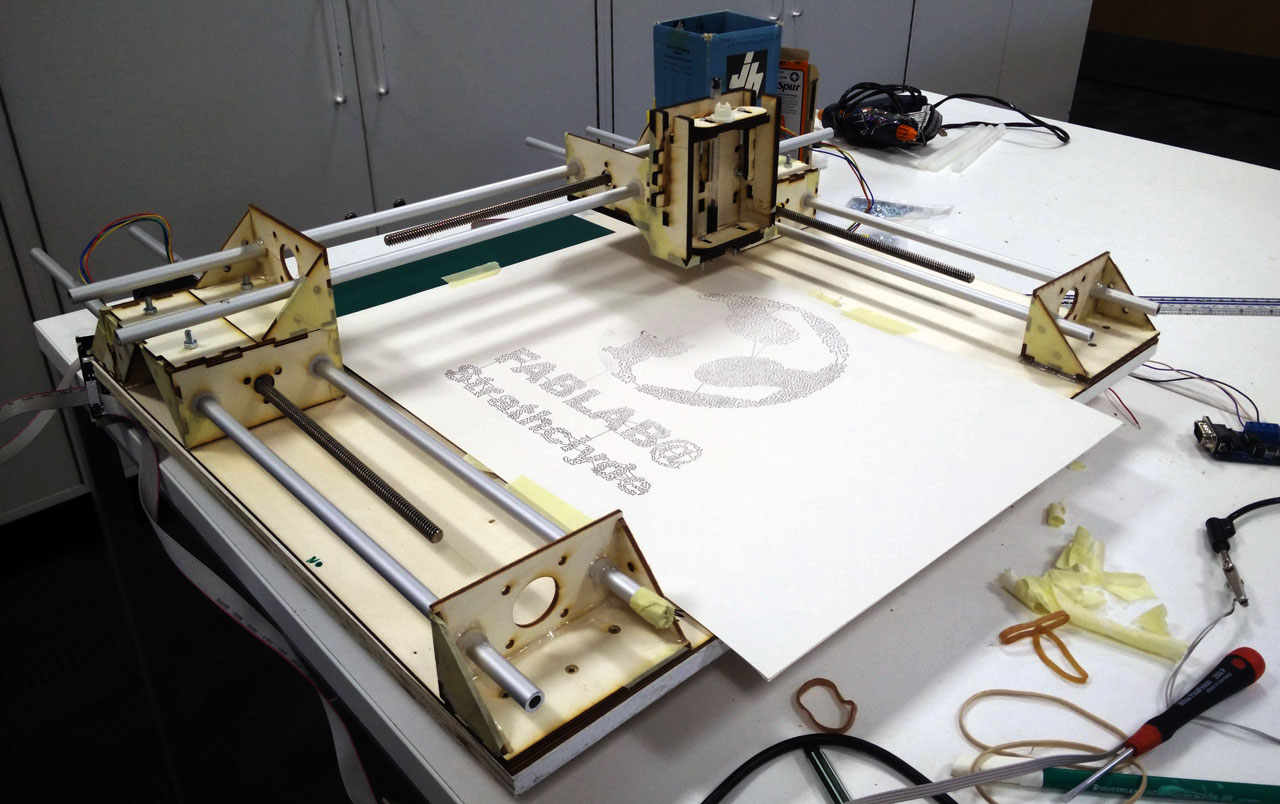
I worked on the interfacing and software for our plotter. Some details on my individual contribution are given here. We ended up with a pretty cool drawing machine!
Getting Started With Gestalt
Since we had been shipped 4 of the modular machine stages, we figured we might as well use them.
My first job was to get to grips with the Gestalt framework. I have to say that while I think the concept is interesting and has a lot of potential, the documentation for the project is terrible. I had decided that it would be cool to make a custom node to control a servo to do pen up/down for our drawing machine, but the lack of good, up to date documentation made me abandon this plan pretty early on.
Here's a list of the documentation I could find. If I have missed something obvious, please let me know in the comments!
-
A list of machines made in 2014s HTMAA. Cool machines, but I couldn't actual find source code for any of them
Making a FabNet Adapter
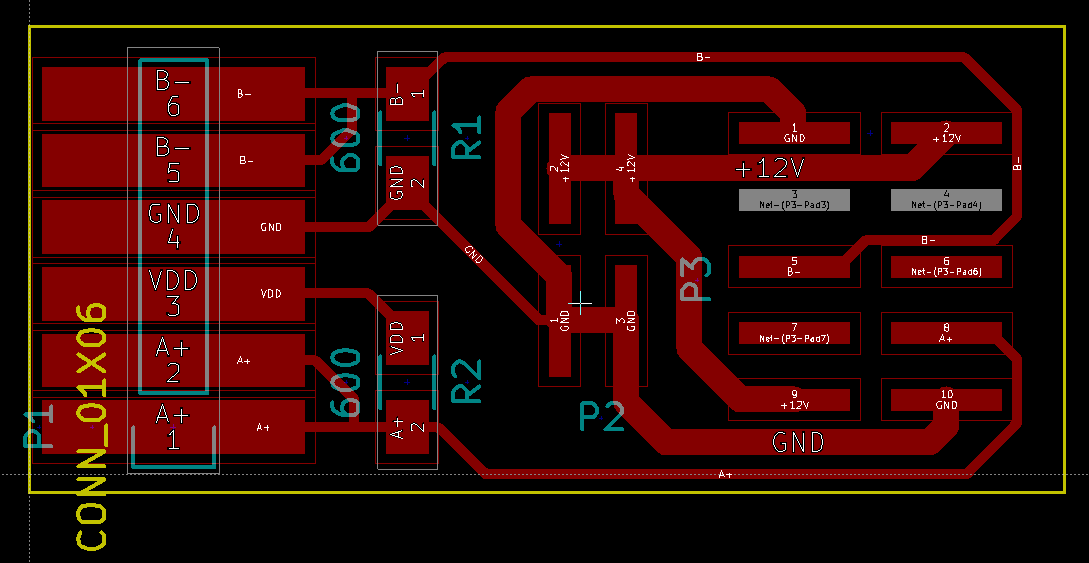
To talk to the Gestalt nodes, I had to make one of the FabNet adapter boards. It basically acts an entry point to the network for the RS485 USB cable and power.
I wasn't a fan of having to mess around with making custom ribbon cables, and I could only find Bas' version as a png (which isn't a good format for our Denford PCB engraver). So, I just made a new one in KiCAD.
Basic Gestalt "Hello World"
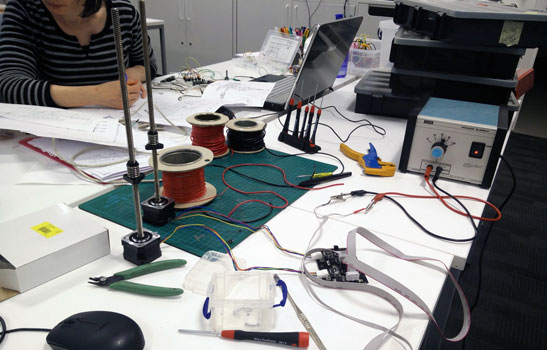
FabNet adapter made, I started trying to talk to the motors. I eventually got two axes running on my desk.
Our machine was a two x axes design, so I wanted to try and express this in Gestalt. Some of the examples show combining the virtual nodes. For example:
self.xNode = nodes.compoundNode(self.x1AxisNode, self.x2AxisNode)
Unfortunately, this only seems to be helpful for sending control commands (such as velocity), rather than combining move commands. In the end I just set the machine up as a three axis machine and duplicated X moves
for move in moves:
        # notice one X is sent to two axes
        stages.move([move[0],move[0],move[1]], 0)
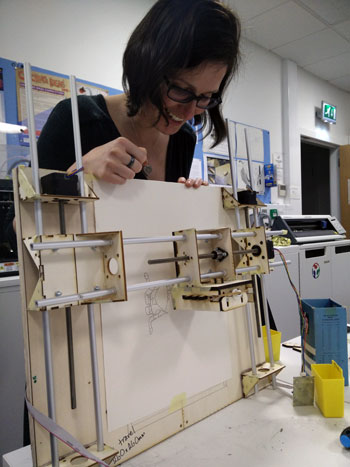
Once the machine was in a state of basic functionality, I tried plotting a simple 20mm line.

Measuring it with a ruler showed it to be closer to 27mm. I remembered Nadya changing the elements.leadscrew.forward(6.096) to 8 in one of the lectures. With the new value, a move of 20mm came out at as close to 20mm as I was able to measure.
File Formats
To keep things simple, I asked Jianlin to create plot files that were simple .csv files with a list of XY plot coordinate points. Extracting the points from a .csv is pretty trivial in Python
# parse a CSV file of plot points
moves = [[float(0),float(0)]]
with open(plotFile, 'rb') as csvfile:
    coordinates = csv.reader(csvfile, delimiter=',')
    for point in coordinates:
    moves.append([float(point[0]),float(point[1])])

# The first move was just a dummy float so remove it
del moves[0]
There's still a whole bunch of improvements that could be made to the virtual machine interface. For example, taking in the name of the .csv file from the command line rather than it being hard coded. But for now, it all works pretty well.
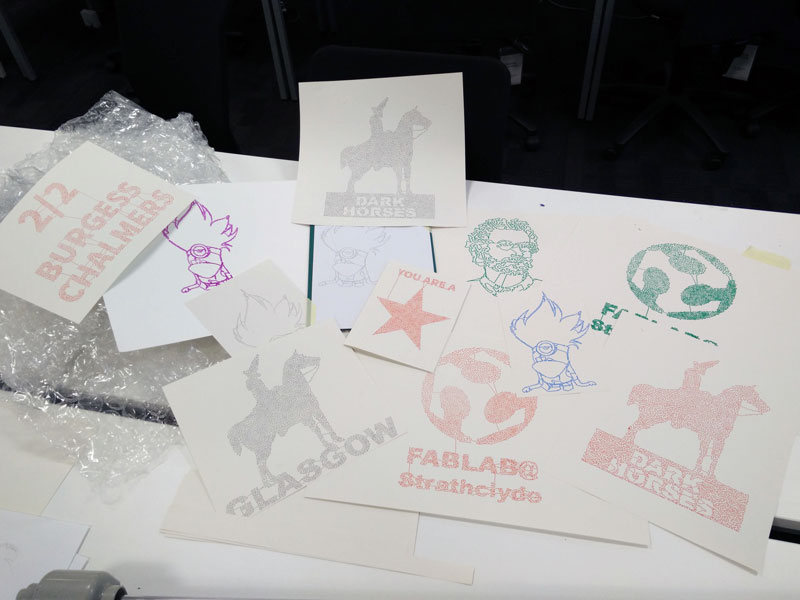
The Working Machine
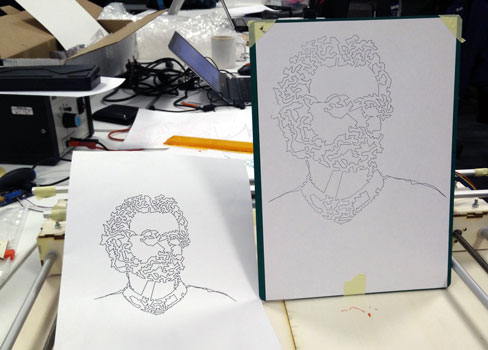
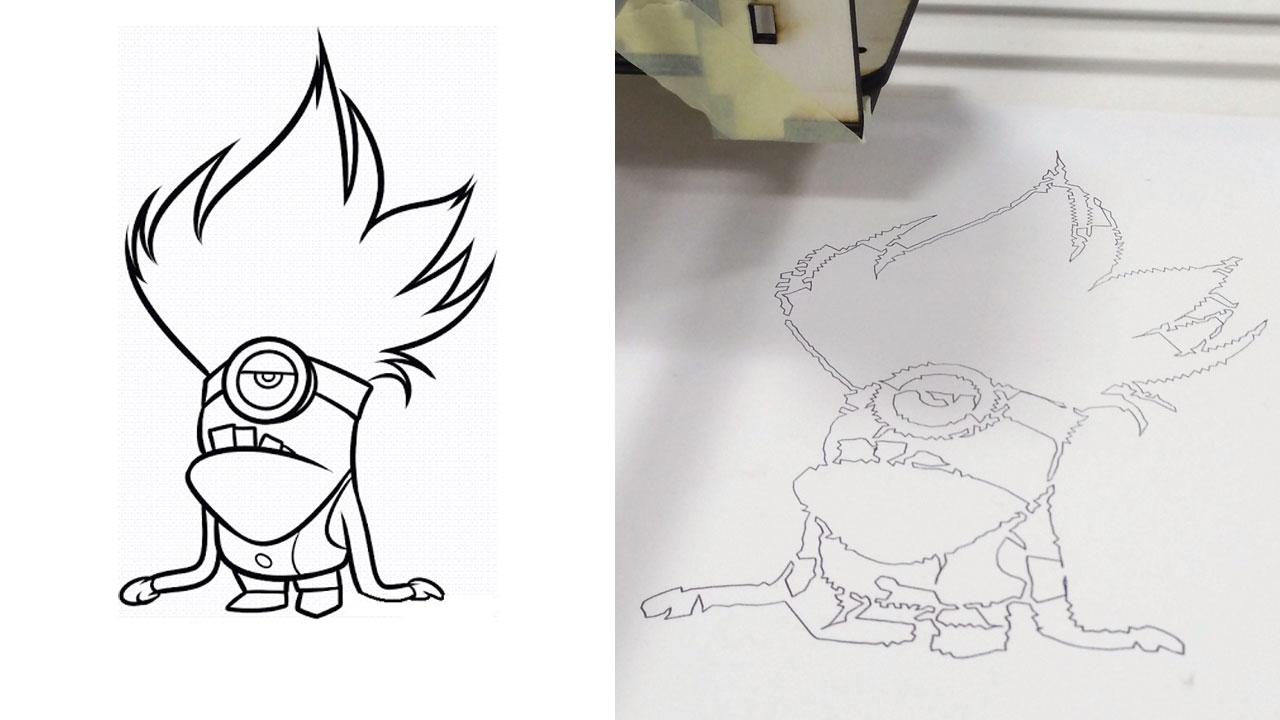
In the end we made a pretty cool plotter. I ended up getting distracted playing with. Here's some of the results.

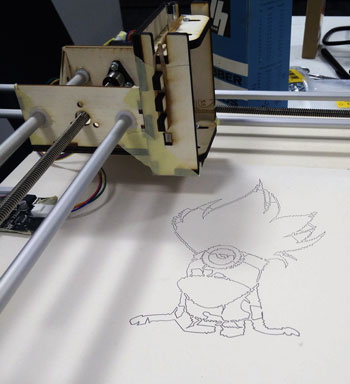
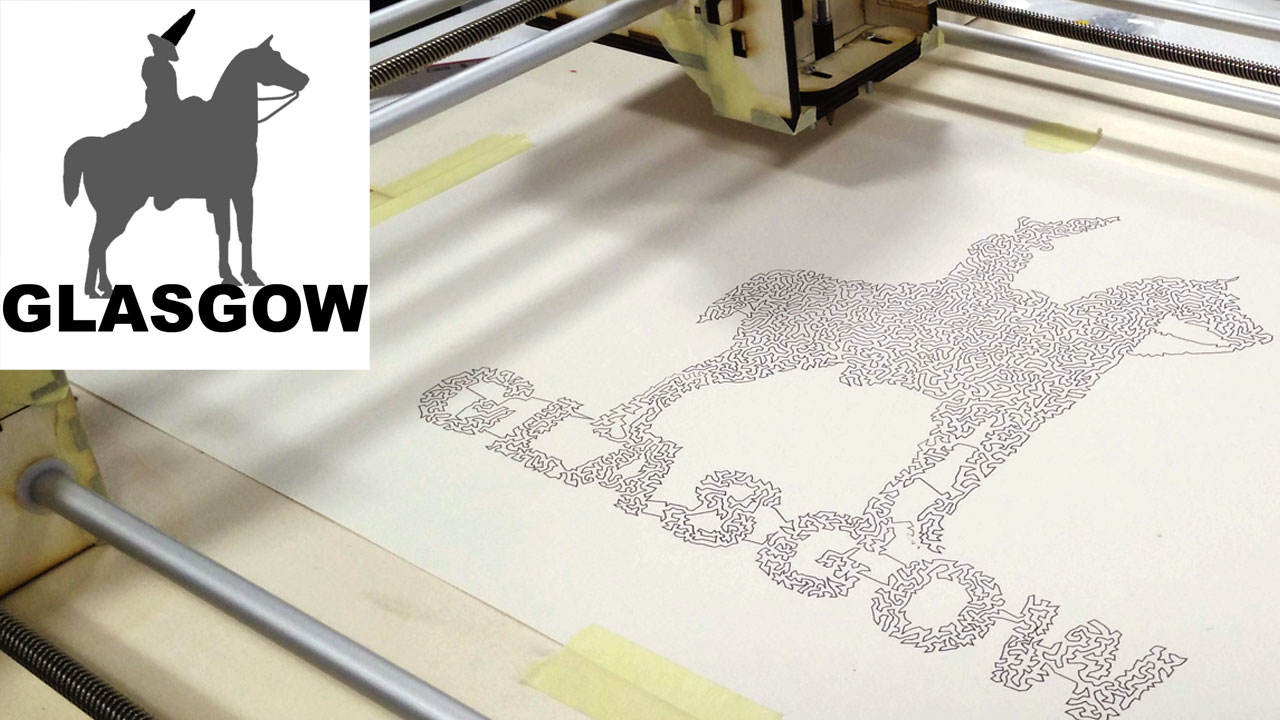
I love the stepper motor music when the machine is running!
Get The Files
The design files for the rest of the machine are on the website of their respective developer.
Comments
comments powered by Disqus