Open Source Open Society
This week the Open Source, Open Society conference was held in Wellington. Bringing together speakers from across the country and around the world to discuss, what happens if we open everything?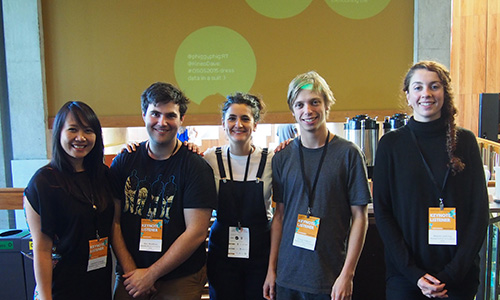
Our team put together a projection work to spark conversations and provide emphasis from topics that were overheard throughout the conference.
The conference provided a great opportunity to catch up and chat with others working on cool, challenging projects in an open way. Our class spent a bit of time talking about what we have been working on as an example of an open education system as well as the other open processes and platforms that make our learning environment possible. We even held class at the conference, which was a pretty exciting change of venue.
Output Devices
The challenge:
Add an output device to a microcontroller board you’ve designed and program it to do something
Plan of attack:
Add a speaker to last weeks’ board and use it to play sounds from the SD card.
Approach:
Resolve the logic level difference issues from last week. Mill, populate and test the new board. Play sounds.
Output Devices - Louder now
Following on from the input challenge this week we were tasked with adding an output to our board. I chose to continue experimenting with different audio circuits and added a speaker. I used an amp this time instead of the transistor-based setup I followed back in week six.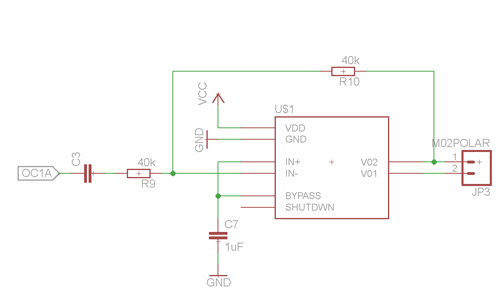
The design is a little more complicated than the previous version, but the amp should allow for cleaner and louder sound production. It uses a few non-inventory components that I picked up from the local electronics store. Unfortunately they only stock the THT variety which made the board a little chunky.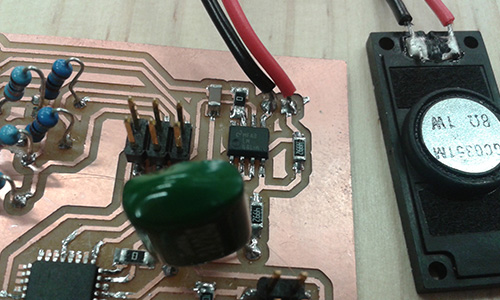
The issue from last week is that the SD card can’t run at 5v and the atmel chip can’t run above 4Mhz at 3.3v. So the first step was to add a level converter to drive the SD card at 3.3v and still allow the rest of the circuit to get to play at 5v. A voltage divider on each input line for SD should do the trick.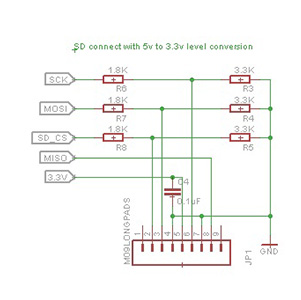
With the SD card happily hooked up I set about storing some audio on it for playback. The card was a little old and grumpy, though this was possibly caused by the previous weeks’ abuse. My board had a hard time interfacing with it and the previously awesome SD mount actually made testing the connections more challenging than I would have liked.
To continue testing my output device, I moved the audio from being wav data on the SD card to a PCM data stored on the atmega itself.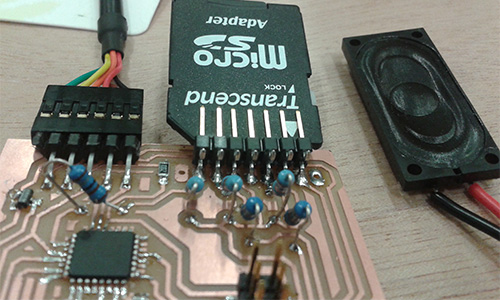
This required a pretty serious rewire of the code to make it play nicely. I followed a tutorial for the pin setup in C that was written for a Mega32 and adjusted the calls for the lines used by my atmega328.
Using pulse-code modulation to play the audio was the solution. It allows audio to be pre-encoded to a range of digital steps which the micro controller can then play back. The downside to this approach is that it’s very memory intensive on the micro controller, with only a few seconds of audio filling up all of the space available on the atmel chip.
Despite this drawback of the software approach take the speaker preformed well. Blasting out tunes much louder than I would have thought such a small speaker would be able to. Sorry to Daniel, Ben and Anna who were working in the lab with me over the weekend and had to put up with dyeing speaker noises for most of it.
Output Devices - Weekly resources
Tools used this week:
Hardware:
MDX-20
Software:
Arduino
Fab Modules
Eagle
Materials:
See eagle files for BOM.
Tutorials links or references used
Files Produced
Archived files