Week 5
Week 5 Downloads
Assignment - Design and 3D print an object (small, few cm) that could not be made subtractively and 3D scan an object.
We talked about two different types of 3D scanning,
- Laser Scanning using the Roland
- Stereoscopic / Infrared using an Xbox 360 Kinect Sensor
Roland LLPX 600
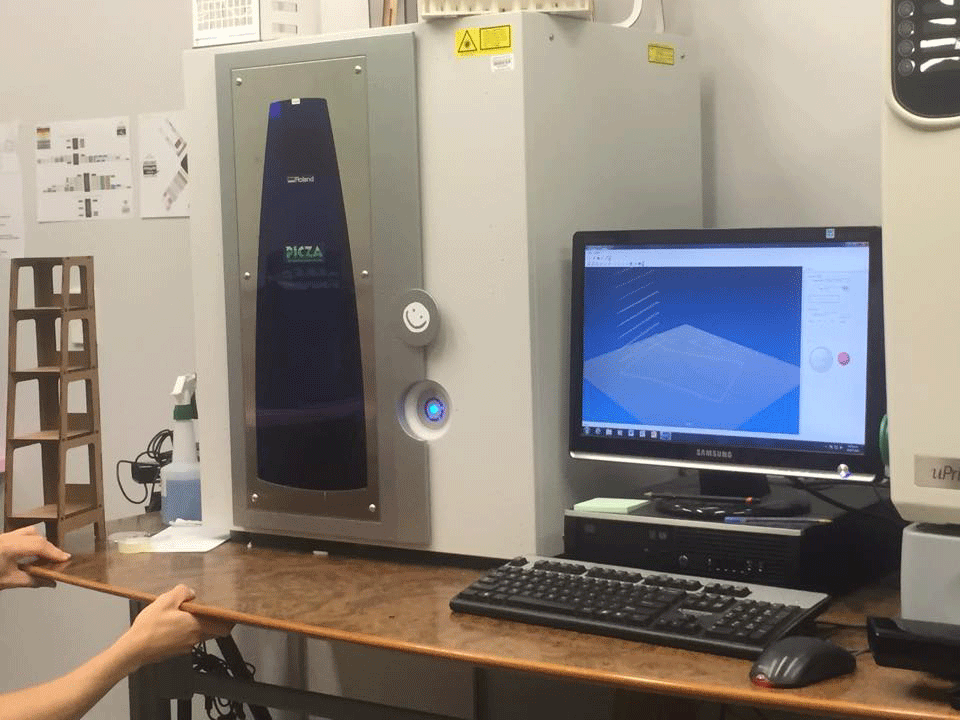
LPX-600 3D Scanner
Scanning volume: 406.4mm tall and 254mm in diameter0.02mm maximum scanning resolution
Exports CAD models in point cloud, STL, PIX and 3DM data formats
This machine uses two laser eyes to scan the objects. The objects scan a lot better if they don't have anything reflective on them and are a light absorbing colour, such as matte colours. The plate that the object sits on does spin around and side to side so it is important that the object is secured to the base plate well.
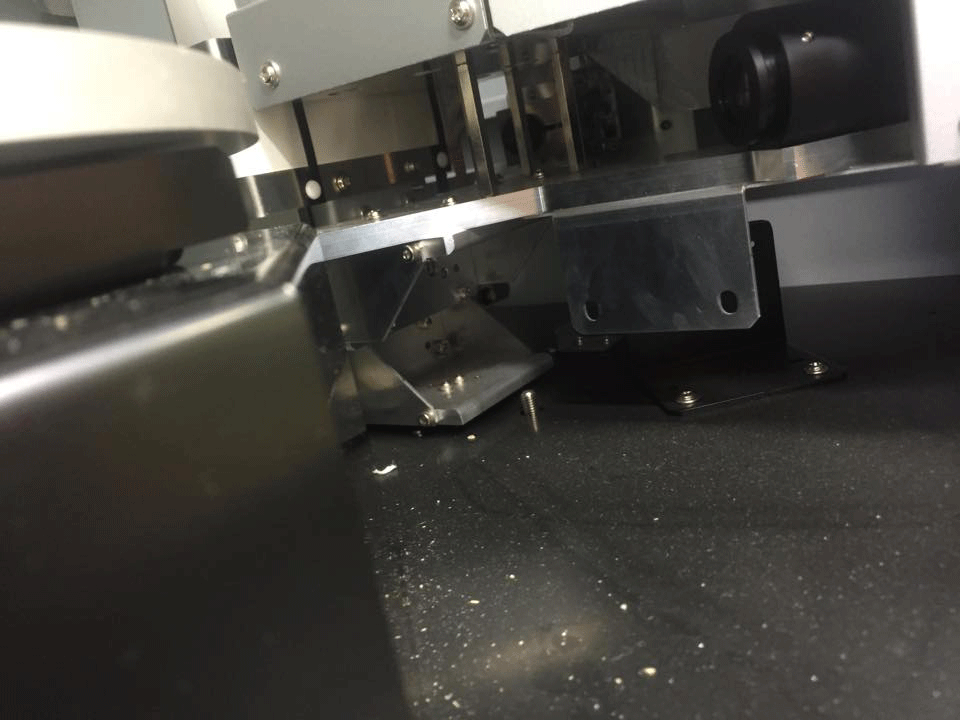
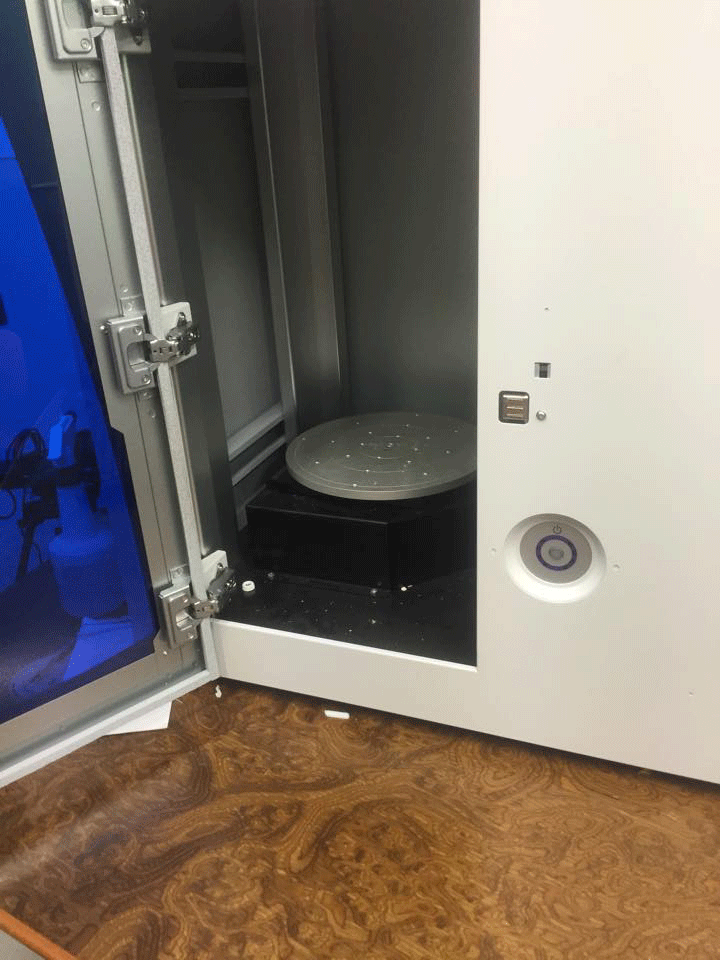
If you wanted to get a really in-depth scan of something you can take scans from multiple angles and put the scans together in a 3d programme.
Using the Roland
Open up the software LPX Studio.
- Make sure object is sturdy on the base plate.
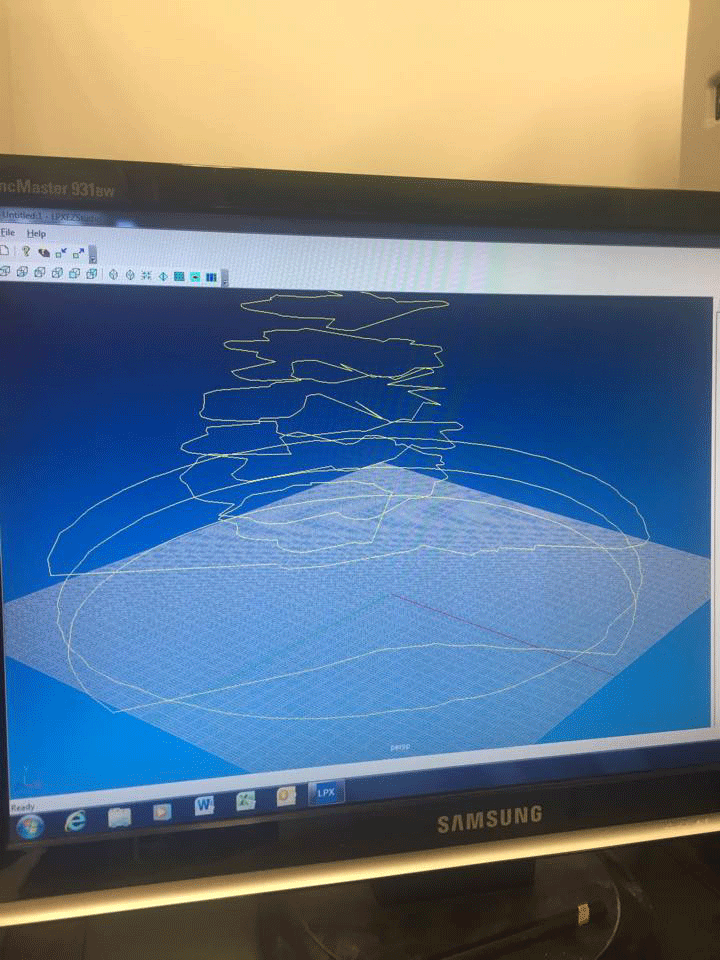
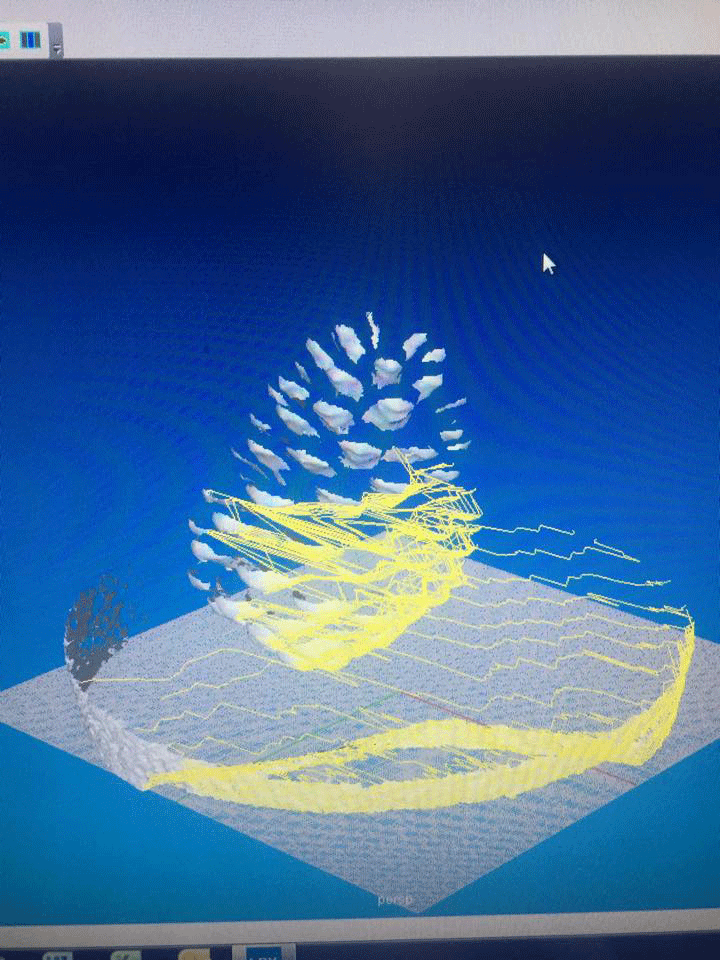
- Need to preview the object to get a rough idea of the shape and size to give an estimate for time. It will not let you scan without doing this.
- Change user settings
- For the pinecone I used 0.8 for height and 0.8 width = mm2
The min setting for the scanner is 0.2mm and the max is infinite but will get a very poor scan if it is set too high.
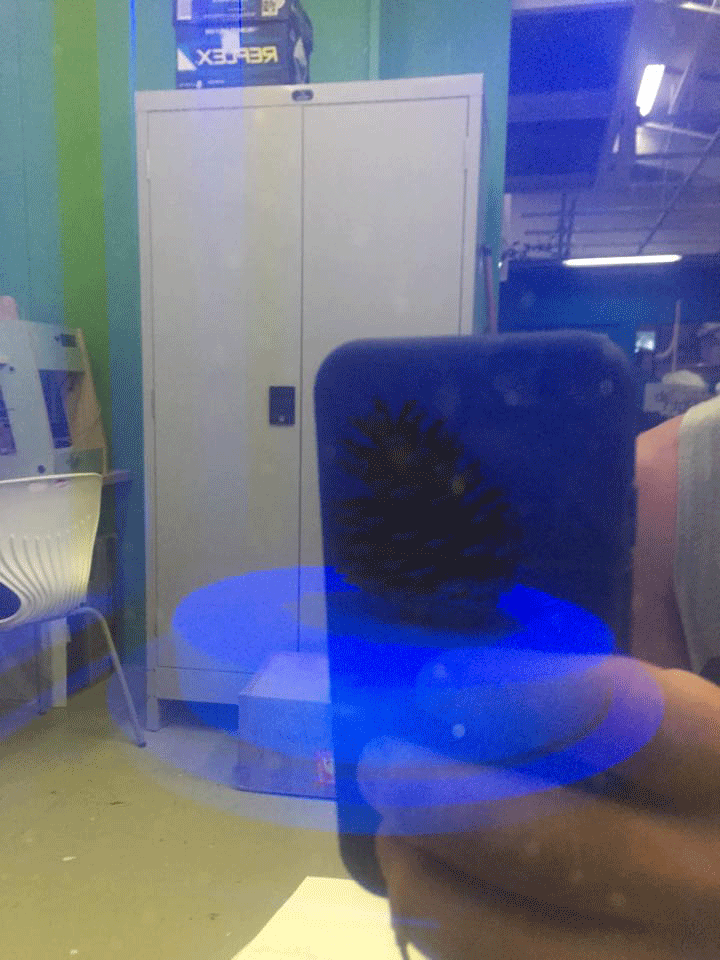
Pinecone Scan


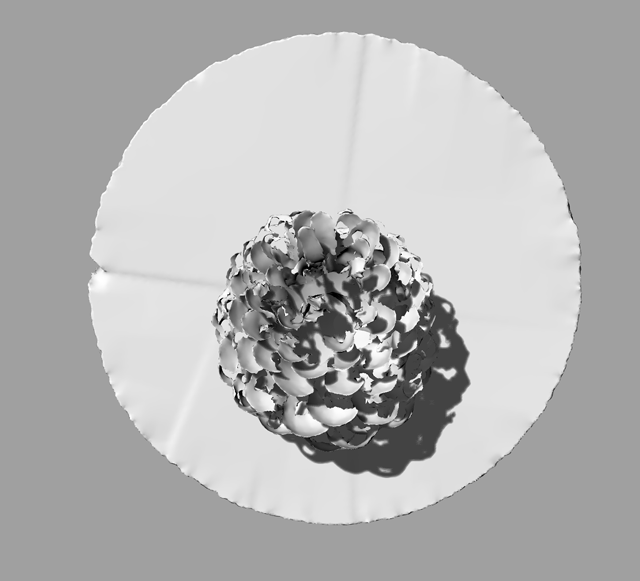
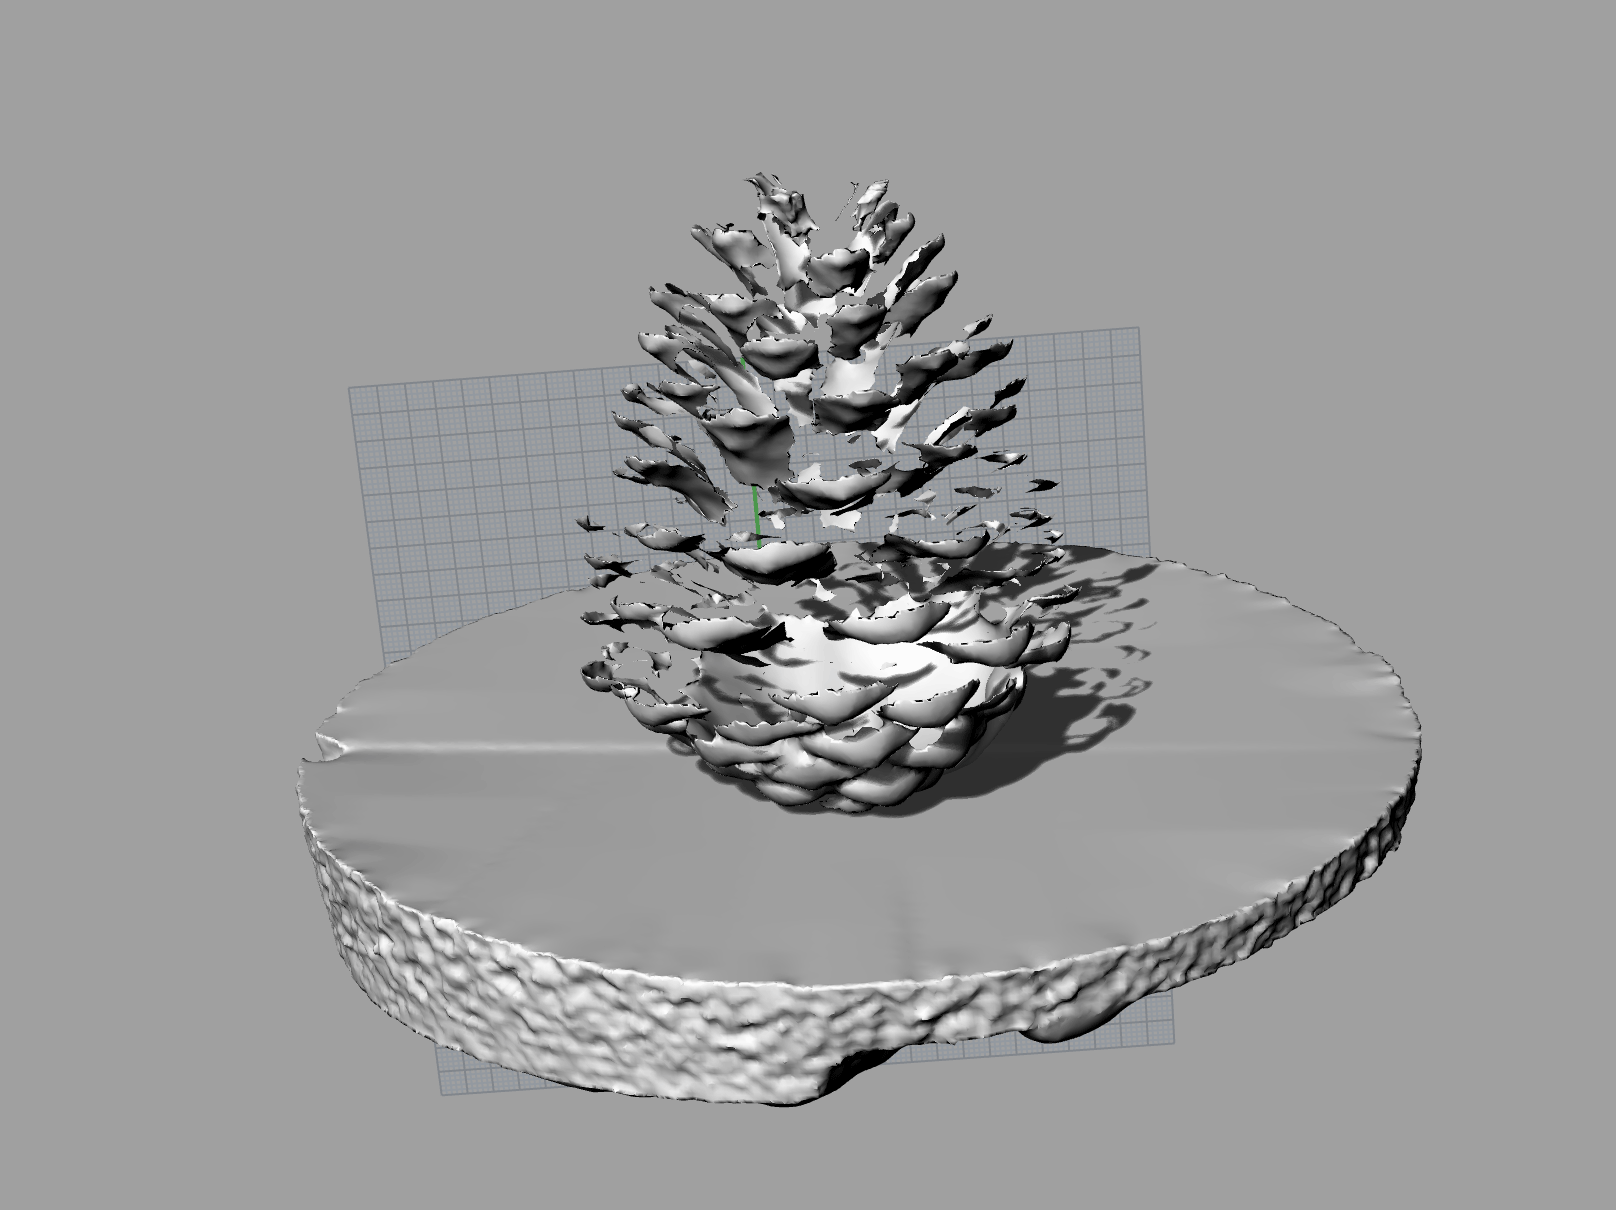
For my Roland scan I used a pinecone from home that had opened up to spread its seeds, I specifically choose this object as it has many parts which are easily visible with the human eye but not so much for the scanner and I wanted to see how well the scanner would cope with quite a complex object.
Note that the screenshots in Rhino are in the shaded view.
3D Printing
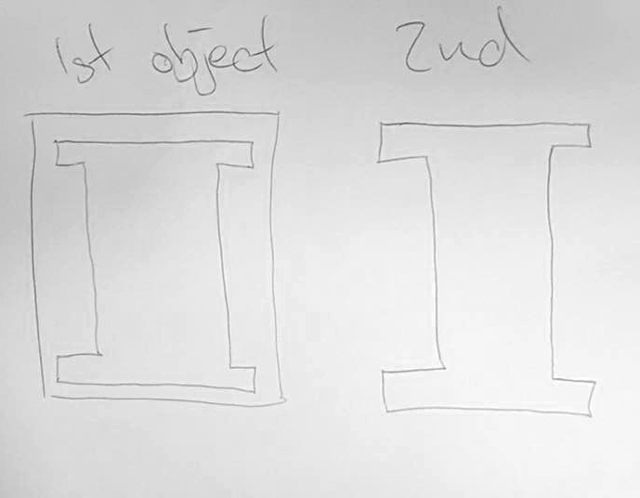
I wanted to try and print a concept that I have for my Masters project. My objective was to print two rings that fit inside each other, so that the inner ring can spin within the outer ring without coming up. To develop the idea further I could incorporate an area inside the ring where I could put a magnetic strip so that the ring could spin without friction.
This is the concept in a rough drawing.
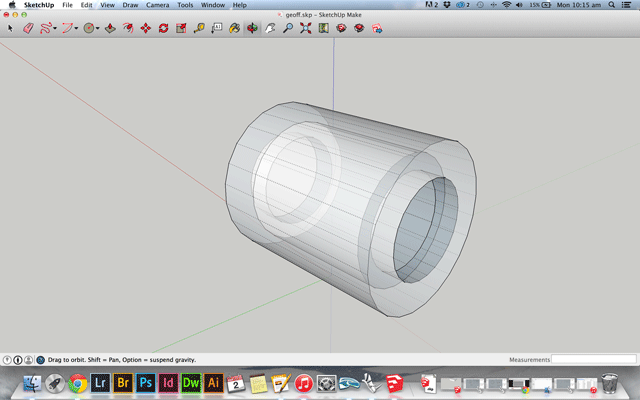
This is the concept done quickly in Google Sketch Up.
We used small Up Printers
- itŐs important to use .STL files for these machines so exporting is in the correct settings.
- make sure the base plate is clean and free of any excess materials
- do not run anything off the pen drive make sure its on the computer desktop or similar
- checking the file in NetFab to make sure it will print correctly.
Make sure the board is fastened to the baseplate with the clips and hit print and change user settings
I made it with the lower level of density, laying down filament at 0.25 and 4 layers thick on the outer shell.
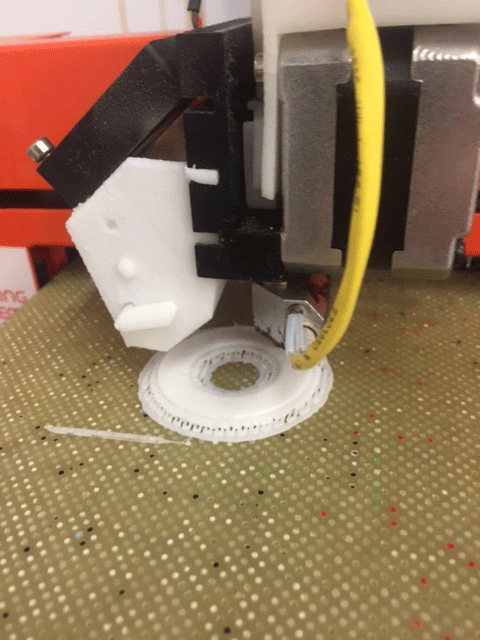
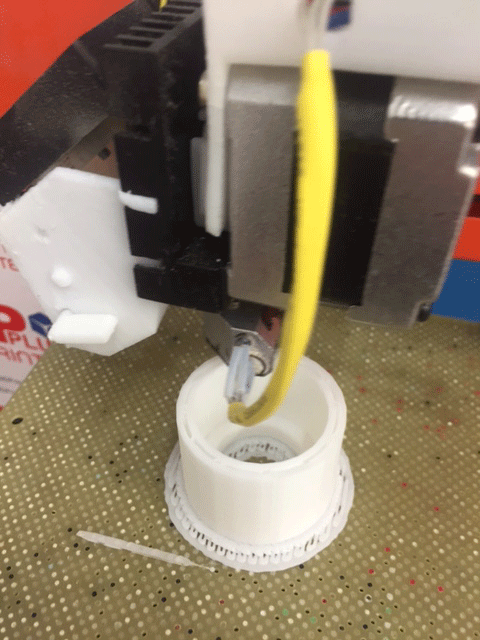
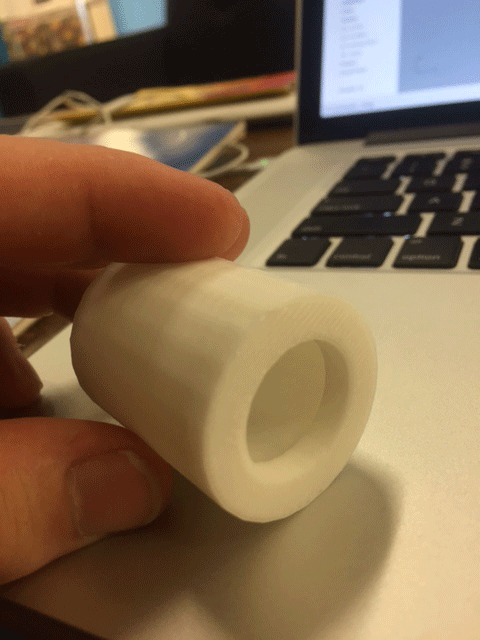
This concept wasn't working exactly as how I wanted, so I remade the file in Rhino was a little help from a friend. The new file had a piece that fitted inside with a gap so that when it was printed it would be able to spin inside the outer ring.
This helps shows what the inside of the object looked like and how it worked.

