Week3
Assignment - Design, make, and document a press-fit construction kit
Laser Cutter
Next we looked at how the laser cutter works. From my Industrial Design papers I had a bit of previous experiences using this machine, so I was glad that not everything was completely new.
Wendy showed us the illustrator template she had set up which had the exact same dimension size as the bed we were using and the correct graphic styles needed for different types of actions. She explained how it was important to have the correct colour stroke for the different types of rastering and cutting that we wanted to do. It was also very important that we had the correct stroke sizes on the vector lines otherwise the machine would not recognise it.
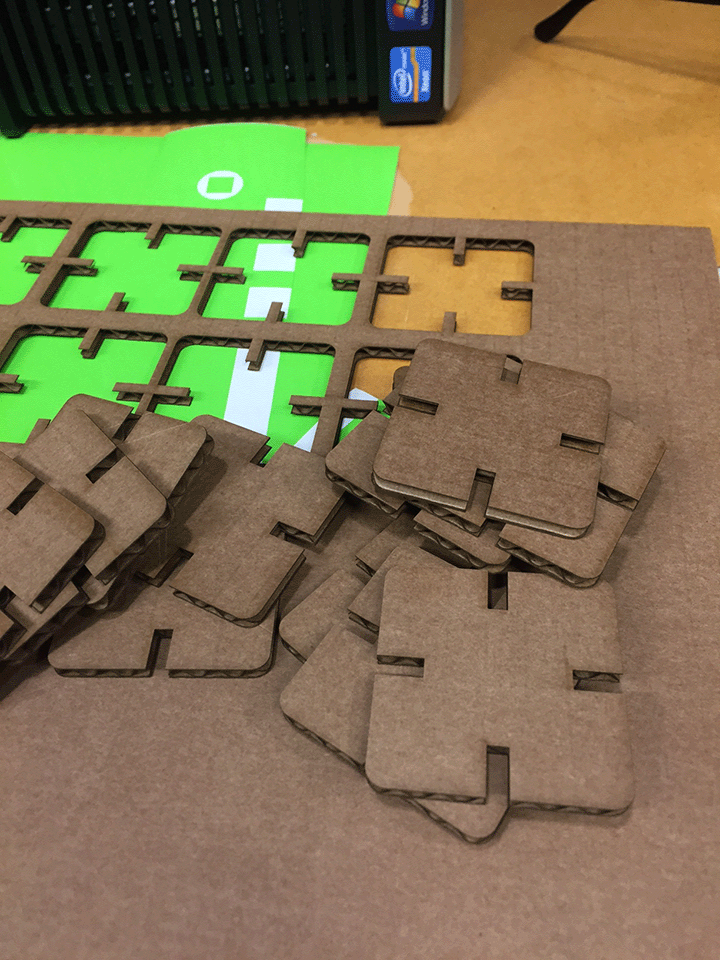
We cut some basic shapes out of 4.5mm cardboard and tested how some test fit models work, and how we need to adjust the illustrator settings for different materials and different tolerances. Using cardboard it had very good tolerances where the material is reasonably soft and has a bit of give in it in comparison to something like acrylic which is a very dense material.
I made some basic shapes in Illustrator with slots that I could put together to test tolerance. My next step of development would be to make more than one shape but with the same slots that could join together to expand the possibilities of the shapes.

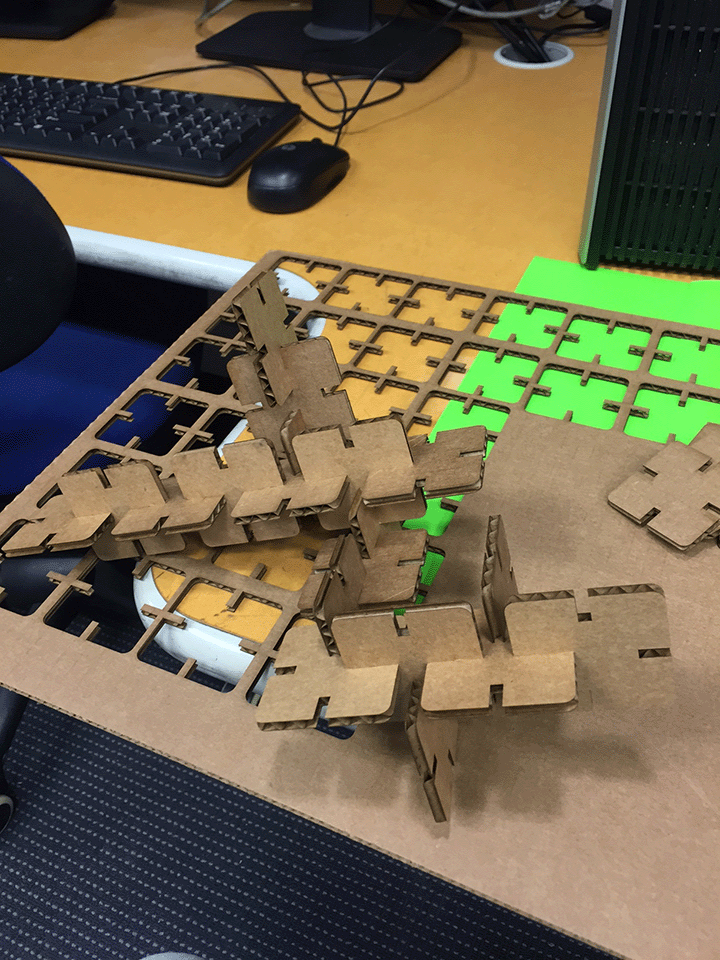
I also want to make a press fit model that I can benefit from personally like making a computer stand for my desk at home. Having some experience with the laser cutter I'm going to have a little bit more fun with it and hopefully finish this module of work a little faster.
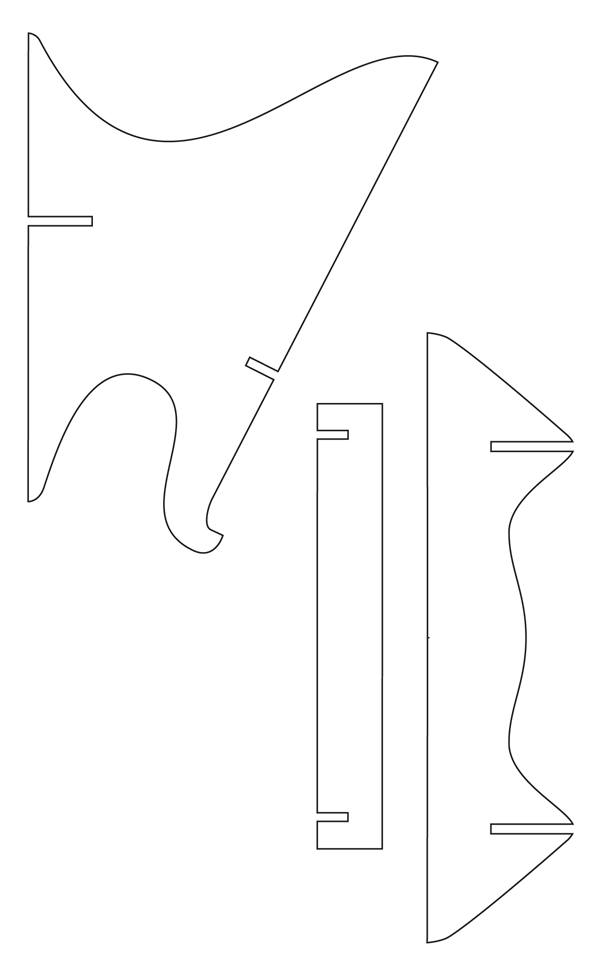
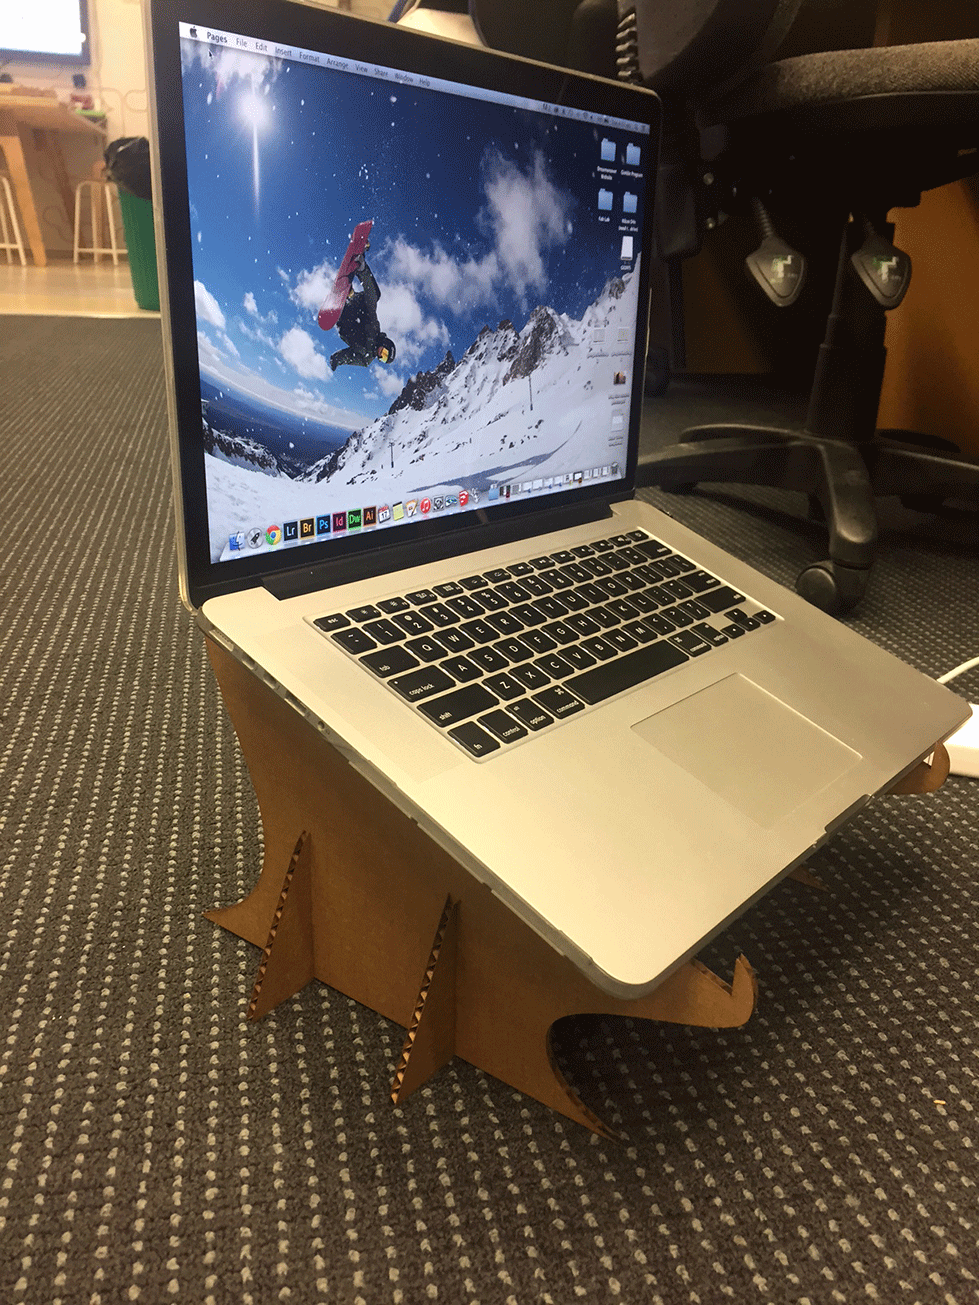
I found these files on www.thingiverse.com an awesome website with heaps of open source files. I made this prototype in 4.5mm cardboard but after using it for a while at home I realised it would either need more structure to make it stronger or be made out of a different material. This is something I could explore when it comes in week 8 where we use the large CNC machine.
The machine settings I used were for cutting were speed 12%, power 65%, PPI 315.
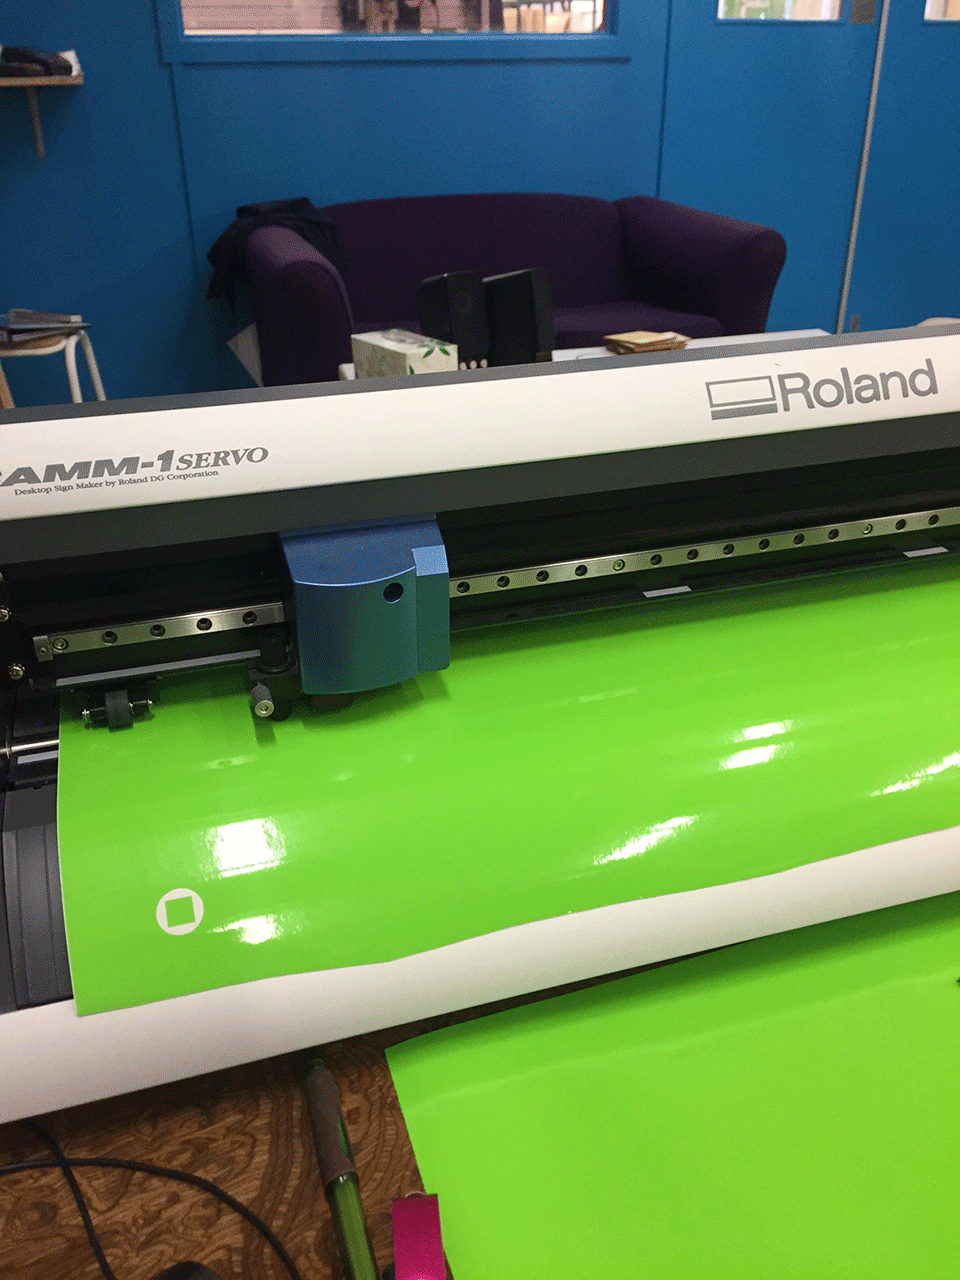
Vinyl Cutting
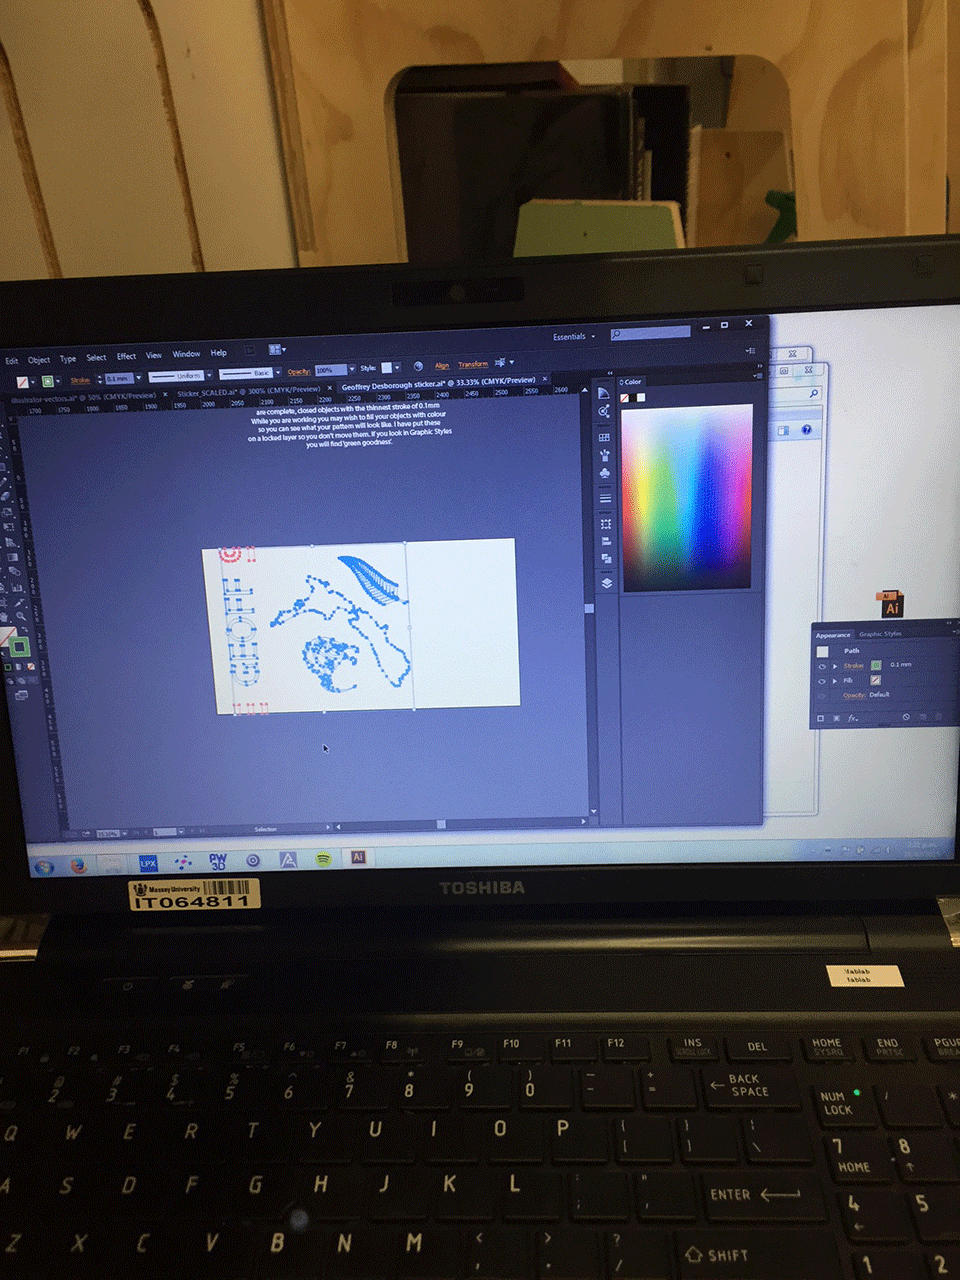
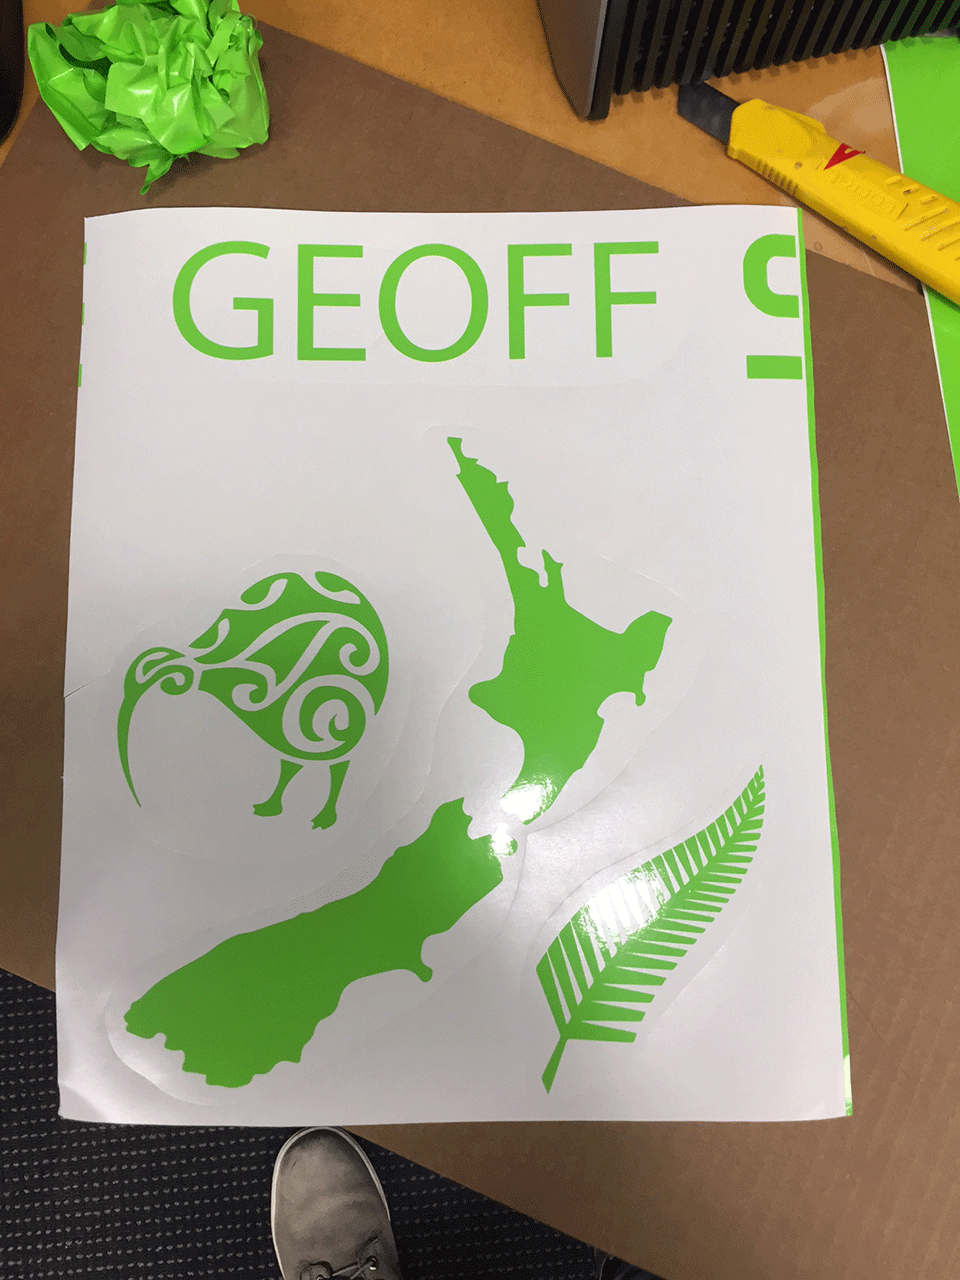
We made the stickers in Illustrator with a template file that Wendy gave us which had the correct dimensions and graphic styles set ready for cutting. We were wanting to design something for the Fab Lab for a new kitchen area that she had created. She had given us all specific templates with locater points so that when everyone had printed their vinyl we could stick them altogether.
Using Illustrator was easy and we found objects from the internet or created them from scratch and I found a really good website called The Noun Project ĘĘwhere they had heaps of awesome icons that could easily be transferred into Illustrator using the trace tool. We could get the outline of the image making sure that we used a very fine stroke of (0.1mm) and using the correct graphic style we were able to cut these files out.
I nested a few images together, being from New Zealand and not having specific ideas I put together some classic Kiwi images.
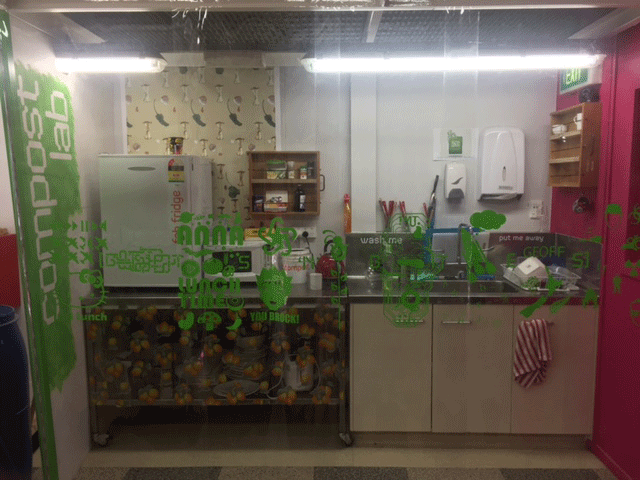
The image below is of the sticker on our new compost lab, Wendy has put up a clear plastic sheet to stop dust from getting into our kitchen area as it is next to the shotbot.