From Doodle to Digital
In which I face my fear of Adobe Illustrator and turn a sketch into digital art. dolore.
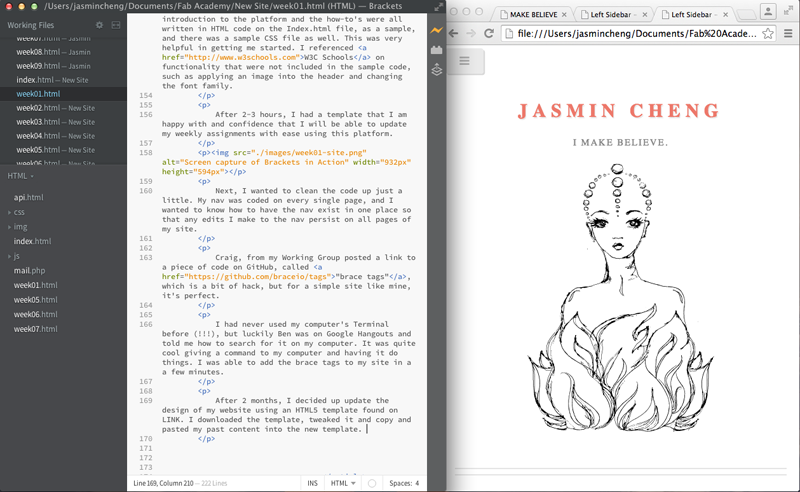
I make believe.
I knew a lot had changed since I built my own website using the Geocities platform in the '90s. Back then, I didn't know about CSS or Javascript (did they exist???). Animated GIF's were used un-ironically.
I had very little idea of what was out there in terms of site builders or text editors, but I knew what I was hoping to find:
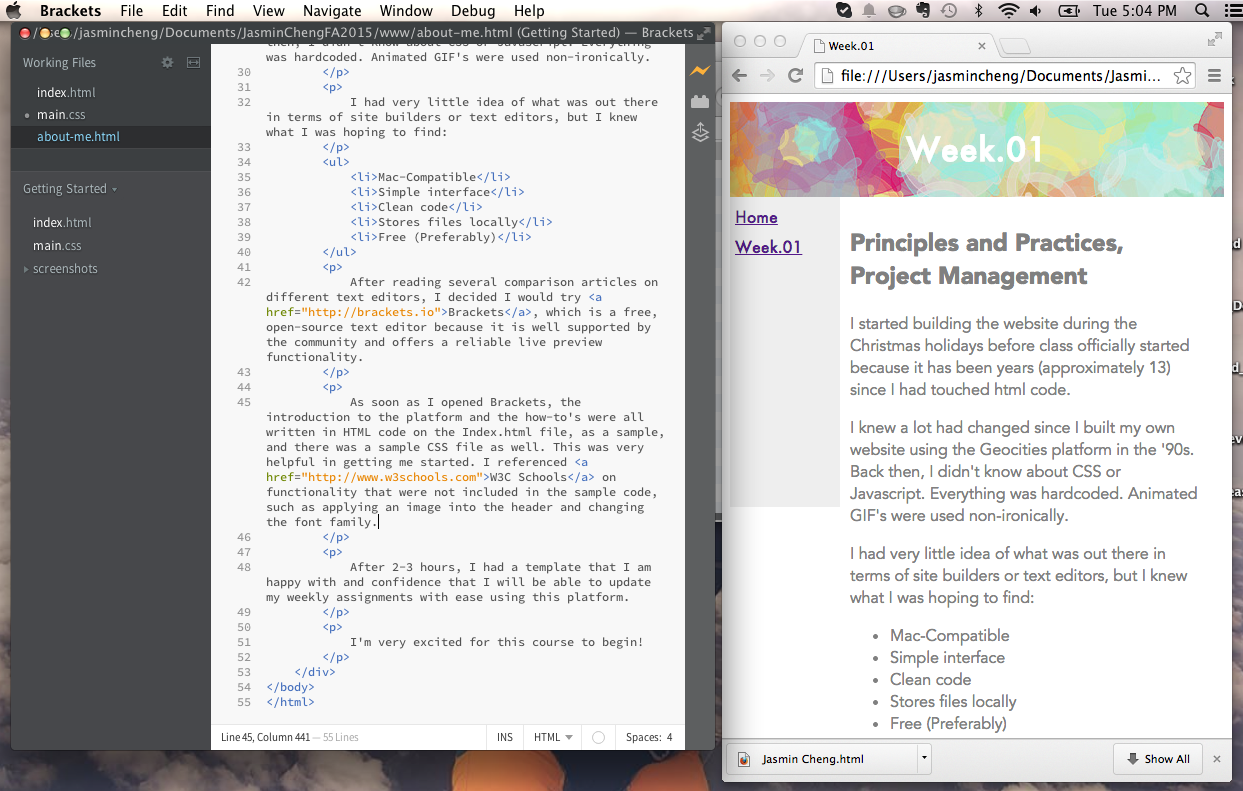
After reading several comparison articles on different text editors, I decided I would try Brackets, which is a free, open-source text editor because it is well supported by the community and offers a reliable live preview functionality.
As soon as I opened Brackets, the introduction to the platform and the how-to's were all written in HTML code on the Index.html file, as a sample, and there was a sample CSS file as well. This was very helpful in getting me started. I referenced W3C Schools on functionality that were not included in the sample code, such as applying an image into the header and changing the font family.
After 2-3 hours, I had a template that I am happy with and confidence that I will be able to update my weekly assignments with ease using this platform.
Next, I wanted to clean the code up just a little. My nav was coded on every single page, and I wanted to know how to have the nav exist in one place so that any edits I make to the nav persist on all pages of my site.
Craig, from my Working Group posted a link to a piece of code on GitHub, called "brace tags", which is a bit of hack, but for a simple site like mine, it's perfect.
I had never used my computer's Terminal before (!!!), but luckily Ben was on Google Hangouts and told me how to search for it on my computer. It was quite cool giving a command to my computer and having it do things. I was able to add the brace tags to my site in a a few minutes.
After 2 months, I decided up update the design of my website using an HTML5 template found on HTML5 Up, which offers some really nice HTML5 templates for free using a Creative Commons License.. I downloaded the template, tweaked the design, and then copied my existing content into the new pages. I'm really pleased with the aesthetic of the design and hope to continue using this website to document my adventures in digital fabrication after Fab Academy is completed.
The first time I made a push to the archive was a bit intense. So much could go wrong! I didn't have any experience with version control platforms before, even though many of my friends use Github.
The way we did it at Fab Lab Wellington, every week, someone new had to do the push. If it was your first time, it would be the responsibility of the previous person to teach you. This was really effective in getting everyone to do a push - and in teaching how to do it, deepen their own understanding of the process.
Craig was my teacher, and here are my notes from that first push. I have made many other pushes in the last 6 months.
Salt-N-Pepa - Push It from Golden Era Videos on Vimeo.
