How to 3D print an object
Prepare model
This tutorial is about how you can print something using FDM technology. First, you should use any computer-aided design program to make a 3D model and then export it to STL format. From the other side you may explore libraries with prepared 3D models for printing.Slice model - KISSlicer
Download KISSlicer first (version 1.1.0.14 used in this tutorial).Как напечатать объект на 3D-принтере
Подготовка модели к 3D-печати
Эта инструкция расскажет Вам о том как напечатать объект с использованием технологии FDM. Для начала Вы должны иметь 3D-модель объекта, который Вы хотите напечатать спроектированную самостоятельно или скачанную с одной из библиотек с 3D-моделями. Большинство программ для подготовки моделей для 3D-печати принимает в качестве входного формат STL. Ограничения на 3D-модели связаны в основном с их размерами - рекомендуется печатать модели с минимальными размерами 0.5×0.5×0.5 см и минимальным топологическим элементом (толщина линии стенки) 0.2 мм.Slice model - Slic3r (alternative step)
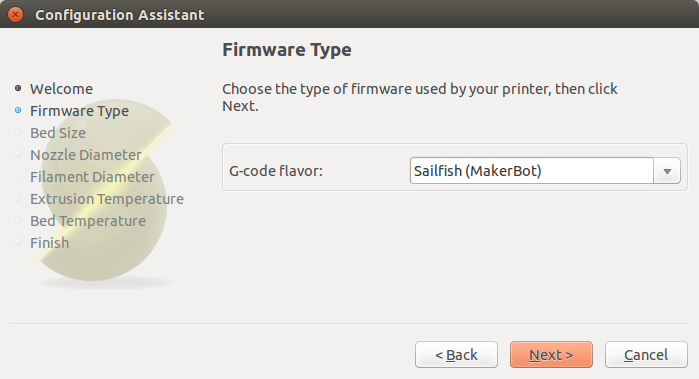
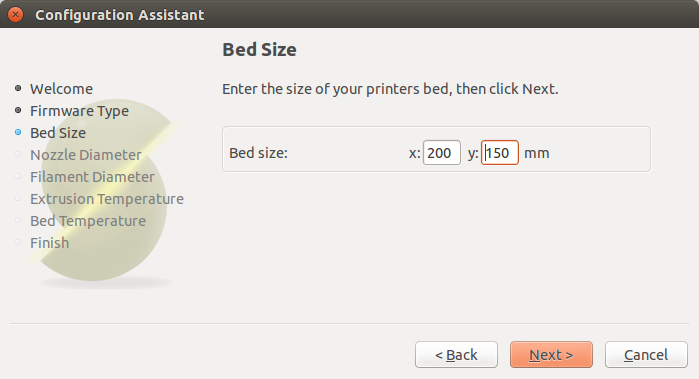
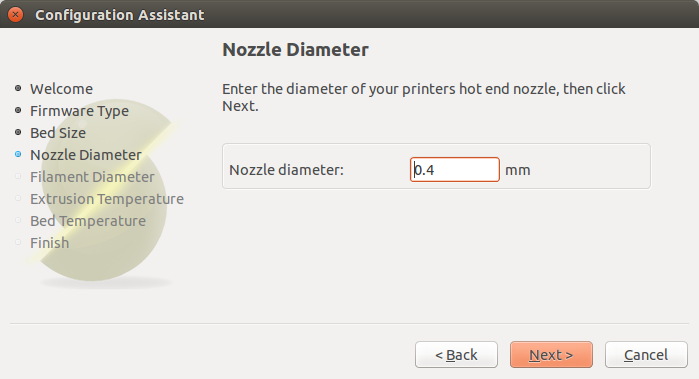
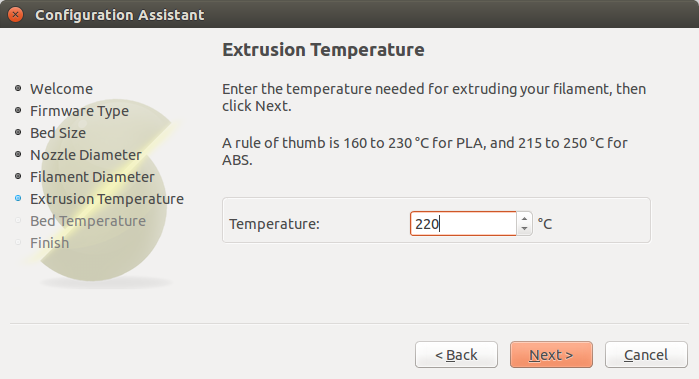
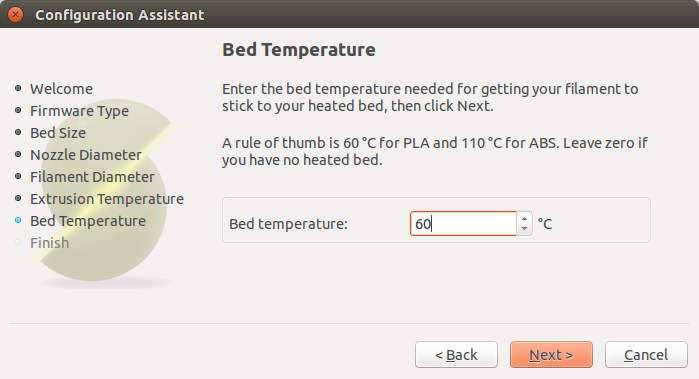
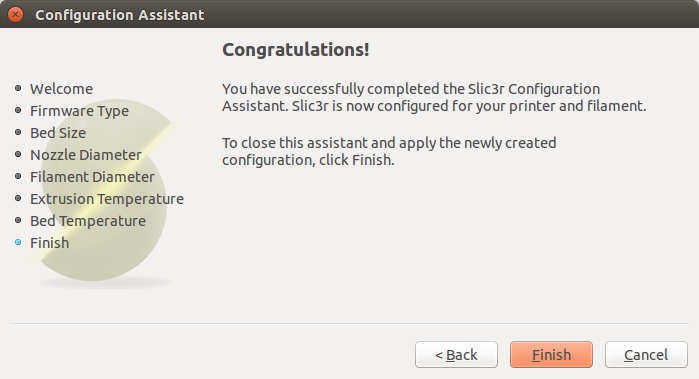
Download Slic3r first. Run it and go through the wizard. I used these parameters for my Makerbot Replicator Dual and PLA filament:Нарезать модель на слои - Slic3r (альтернативный шаг)
Скачайте Slic3r. Запустите его - при первом запуске пройдите через шаги настройки. Я использовал следующие параметры для принтера Makerbot Replicator Dual и PLA-пластика: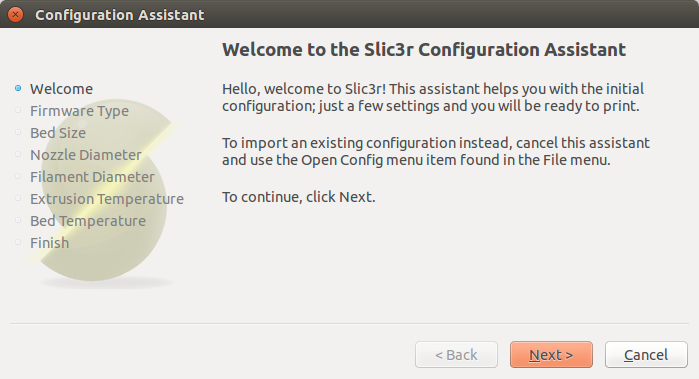

Generate files for printer
Most printers use their own format of files (not simple g-code). MakerBot replicator use x3g format for firmware later than 7.0. To generate x3g from g-code use ReplicatorG. Good idea is to print from SD-card so there will be no problems with computer sleep or discharge.Подготовьте файлы для принтера
Большинство принтеров использует свой собственный формат файлов. MakerBot Replicator использует формат x3g (при прошивках выше 7.0). Для создания из g-code файлов x3g надо использовать ReplicatorG. Рекомендую печатать с SD-карты чтобы избежать возможных проблем с компьютером (ушел в сон/разрядился/и т.п.).Print it!
Put SD-card inside printer and choose your x3g file (in case of Replicator) using interface of printer - that's all! Now you have to wait for heating of plate and nozzles and for printing of your file.Напечатайте Ваш объект!
Вставьте SD-карточку в принтер и выберите созданный Вами файл с помощью интерфейса принтера - и это всё! Осталось дождаться нагрева платформы и экструдеров, после чего начнется печать.Another design using SolidWorks, Kisslicer and ReplicatorG
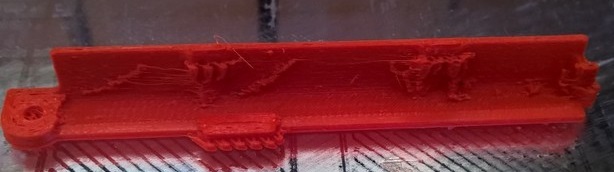
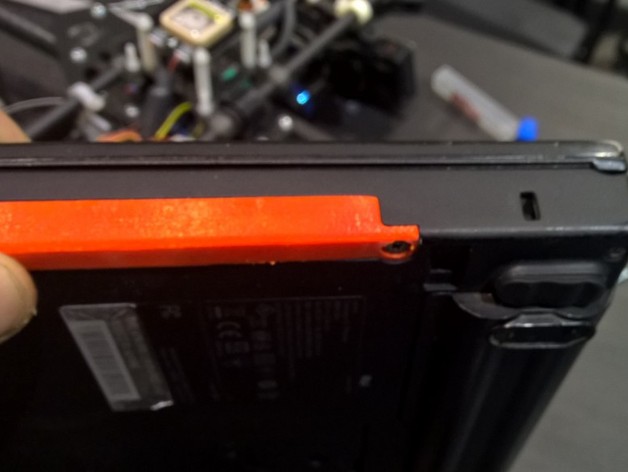
Holder of HDD/SSD for Lenovo ThinkPad X220
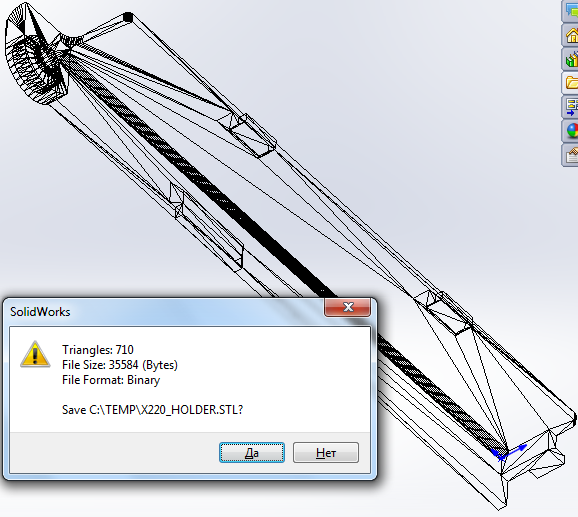
I broke the holder of SSD on my laptop and decided to print a new one! I used SolidWorks to design it.Before printing of the model - export your design to STL-file:
Then load it to Kisslicer and rotate, if needed:
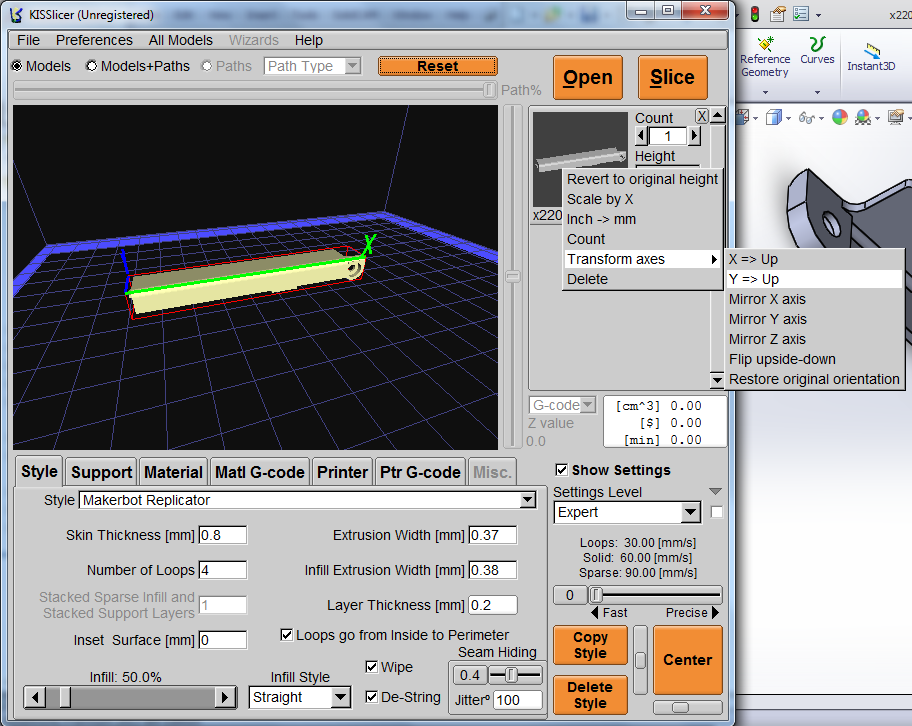
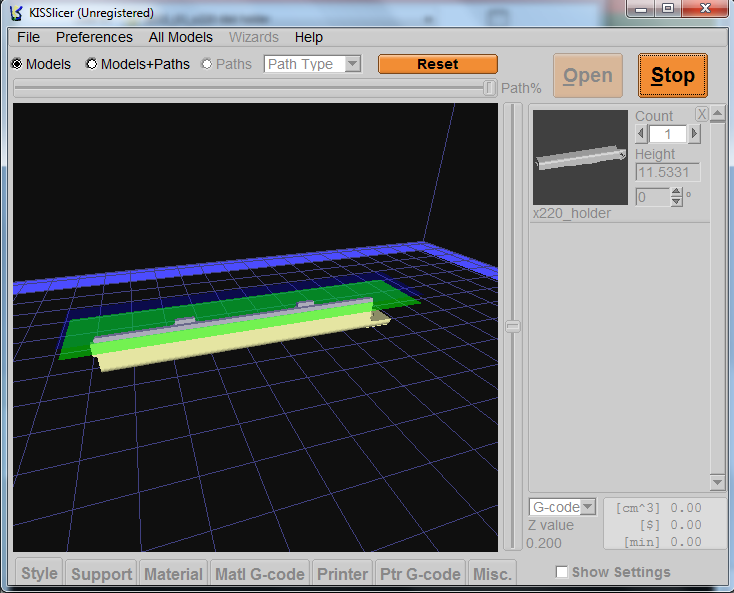
Ask local technician for parameters of your printer or copy his *.ini files (with parameters inside) and press "Slice" - you'll see the slicing process:
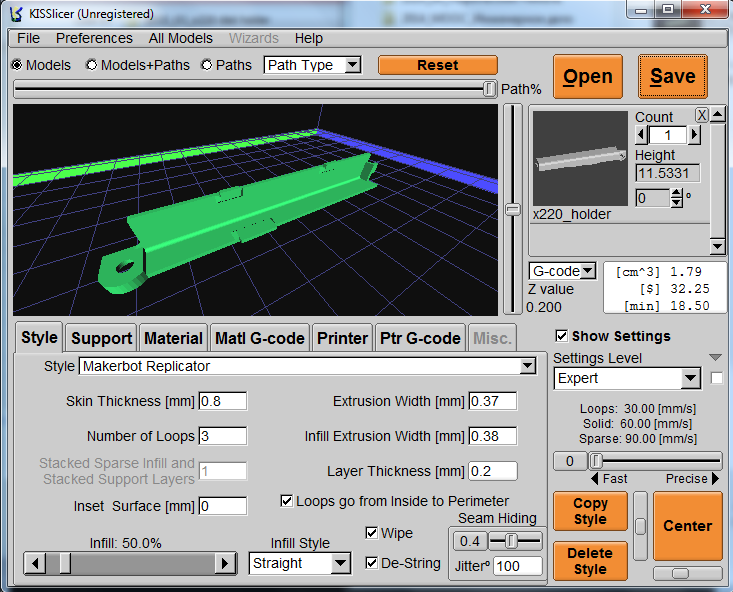
After the slicing press "Save" to save your g-code for printer:
If you're using Replicator - open g-code files in ReplicatorG:
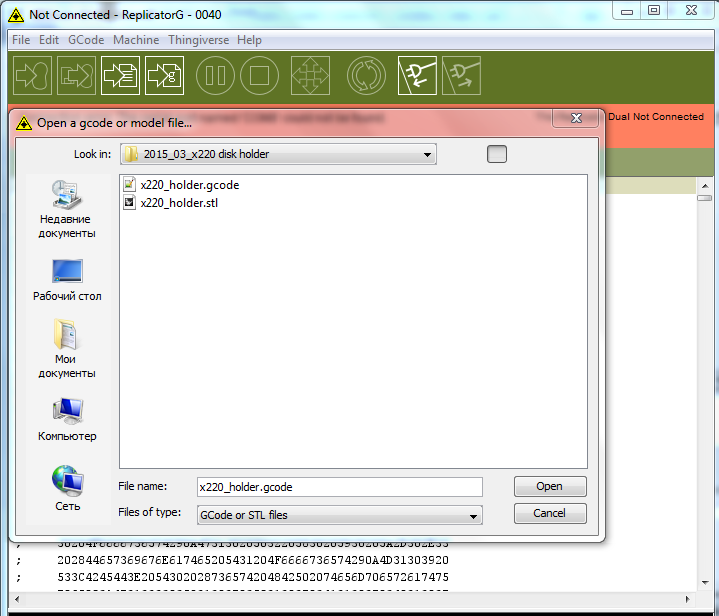
And press "Build to file for use with SD card" (you can save it directly to SD card for printer or copy it later):

That's it:
 Local copy of source files were uploaded to Fab Academy site (STL, Solidworks 2013 source file). I used Kisslicer 1.1.0.14 for slicing. Parameters of Kisslicer also archived.
Tutorial: 3D-scanning using 123D Catch
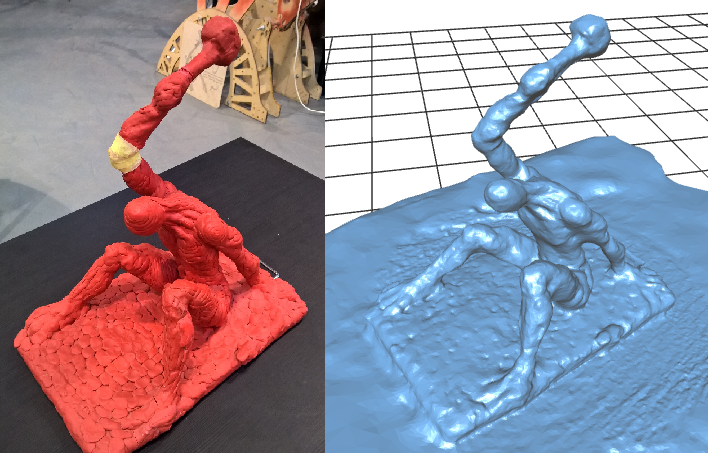
Scanning of sculpture
In Fab Lab Polytech we have two kinds of 3D-scanners: Roland Modela MDX-20 and Kinect. To be honest MDX-20 is 2.5D-scanner because it uses iron scan head to be in contact with scanning model. So I decided to use 123D Catch application to make a 3D-model and netfabb Basic to repair STL-model.I tried to make a 3D-model of a ssd-holder for X220 (see above), but the holder is too small so I decided to make a 3D-scan of a sculpture of Petr Pavlenskiy made by Oleg Kulik (all rights for the sculpture and its representations to him).
- You have to put an object on a flat surface of color contrast to the color of an object.
- Put everything from the table and space around it.
- Take a lot of photos of the object using good camera (at least 10Mpx) from viewpoints of the same angle to the horizontal surface. I made 25 photos from different points around the object using my Lumia 1520.
- Download and install 123D Catch.
- Open 123D Catch and Create a New Capture. Upload/select your photos and Create Project (fill the description form).
- Files will be uploaded to Autodesk site and after some processing you'll get a STL-model.
- That's it!
Model presented above were not uploaded to GitHub because all rights reserved by Oleg Kulik (it's his art project).