W7 - ELECTRONIC DESIGN
W7 - REFERENCES
link: CadSoft EAGLE
link: led calculator
link: EAGLE tutorial
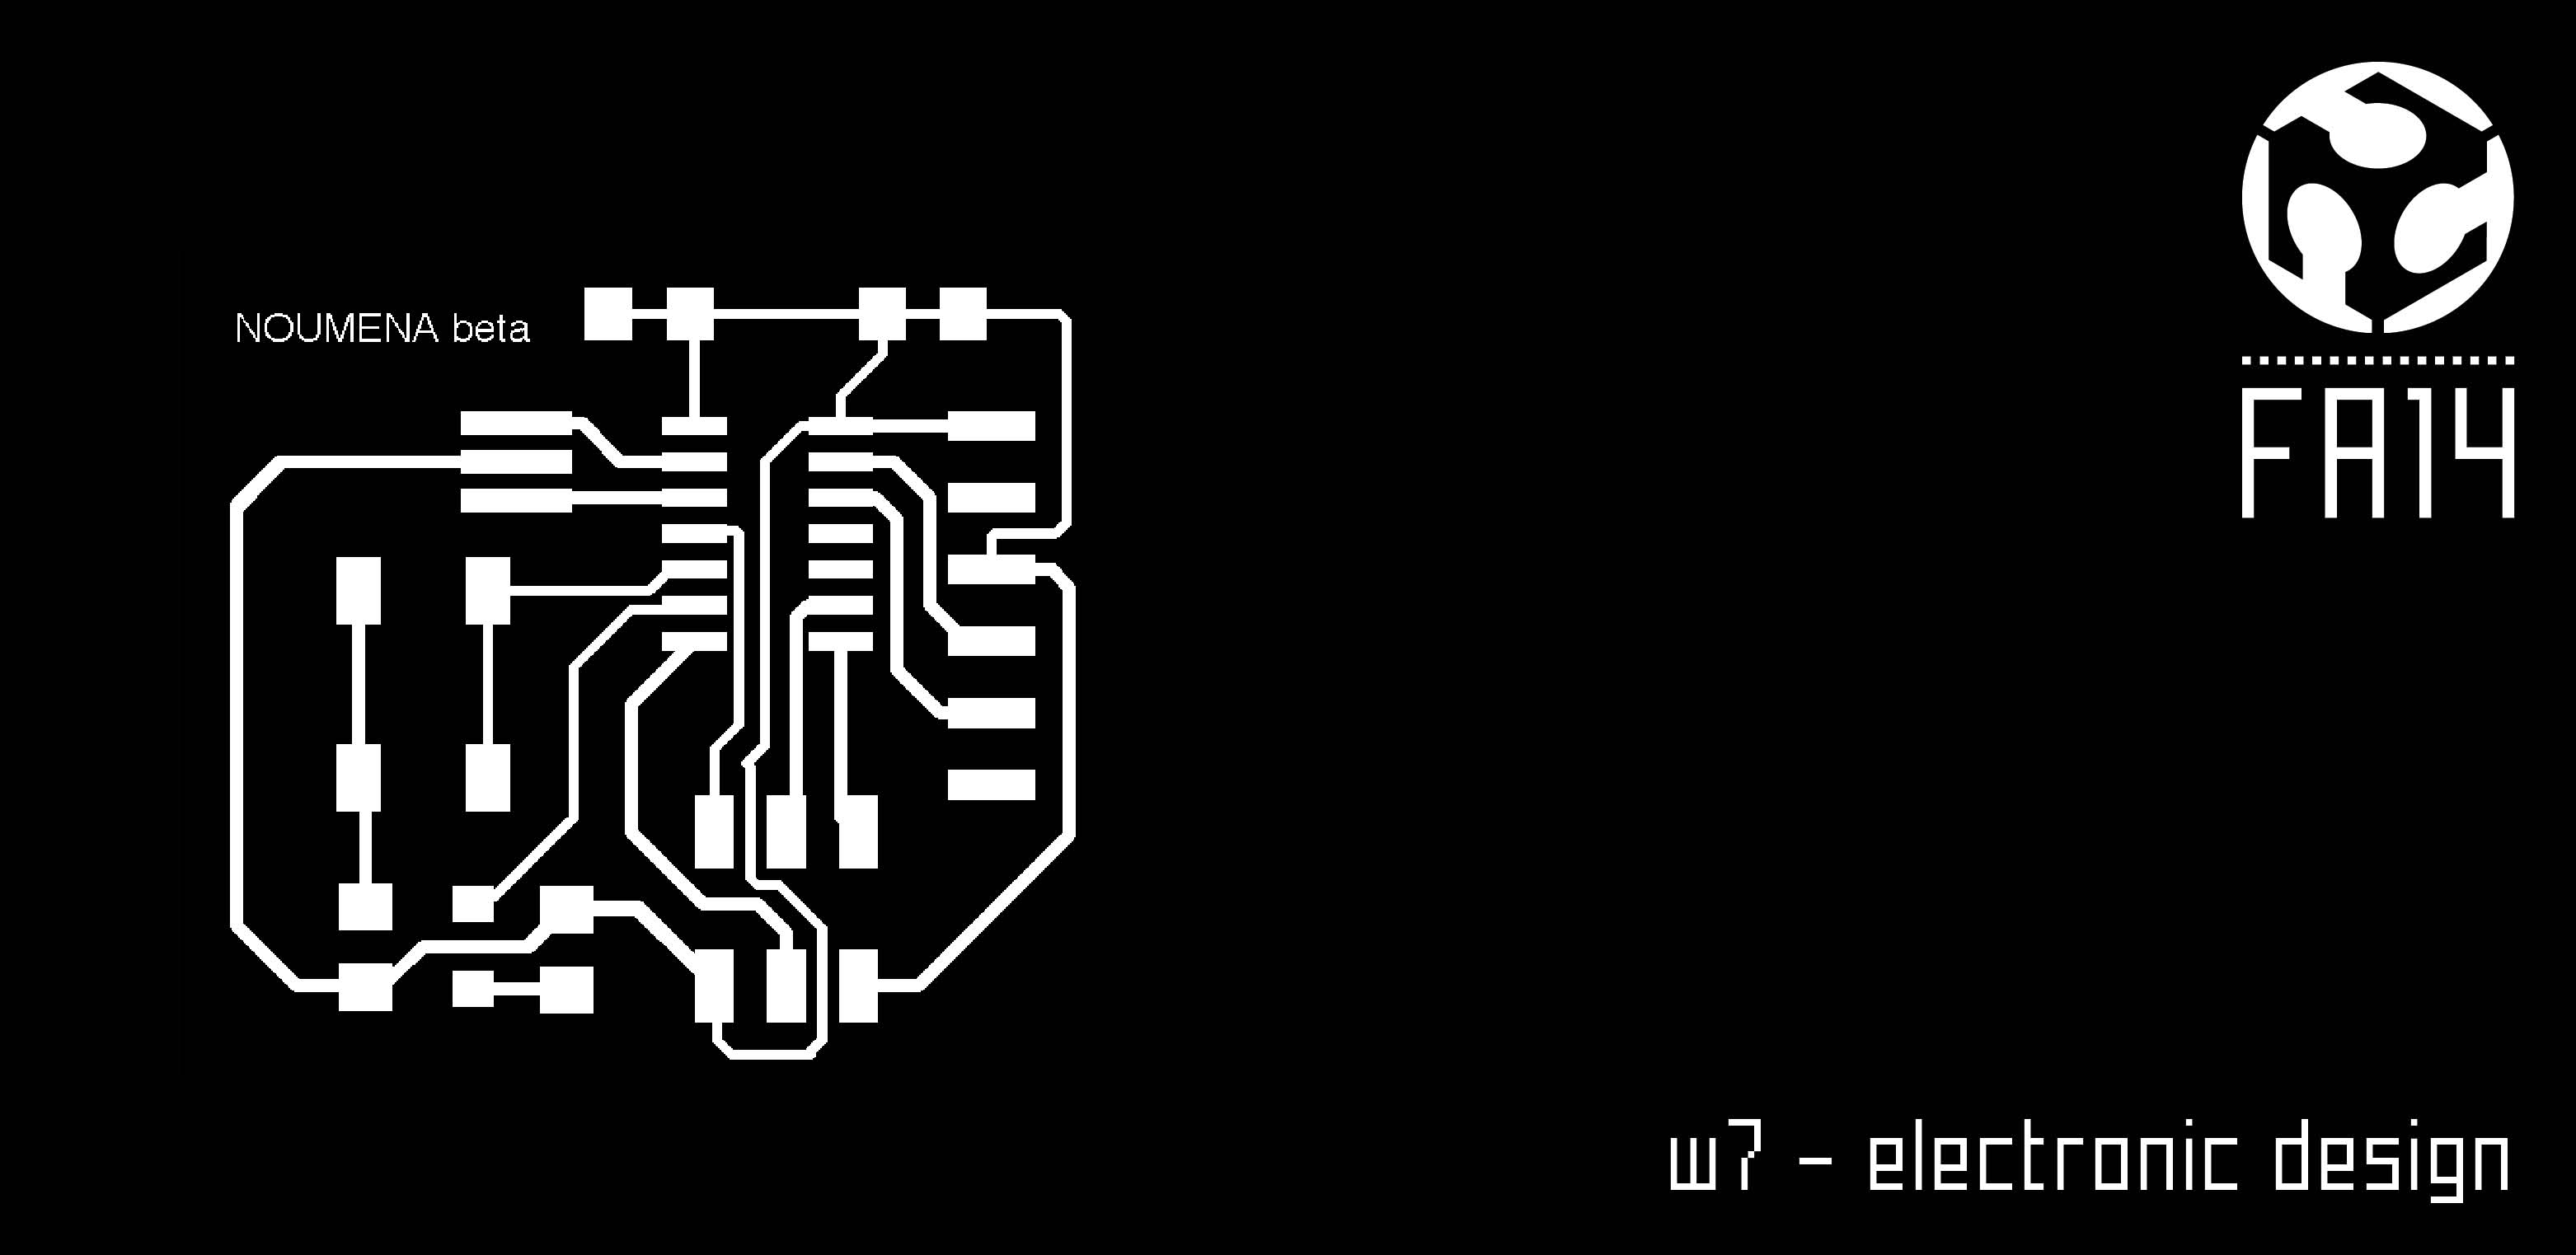
This time we are adding a lot of nice components like a button that will controll the connection of the LED with the VCC. To do the board the next step is again use the Rolan Modela in order to mill the board. The steps are always the same: in Eagle save as PNG the image of the circuit on monochrome with a resolution of 500px. Than in photoshop generate the two files for the traces and interior.
Again use the modela usign the tool 1/64 for traces and 1/32 for interior. Once all is ready start to put the components. Once the components are there check the connection with a multimeter and ready to play with the ISP to run the bootloader.
link: led calculator
link: EAGLE tutorial
W7 - DOWNLOADS
design files
This time we are adding a lot of nice components like a button that will controll the connection of the LED with the VCC. To do the board the next step is again use the Rolan Modela in order to mill the board. The steps are always the same: in Eagle save as PNG the image of the circuit on monochrome with a resolution of 500px. Than in photoshop generate the two files for the traces and interior.
Again use the modela usign the tool 1/64 for traces and 1/32 for interior. Once all is ready start to put the components. Once the components are there check the connection with a multimeter and ready to play with the ISP to run the bootloader.
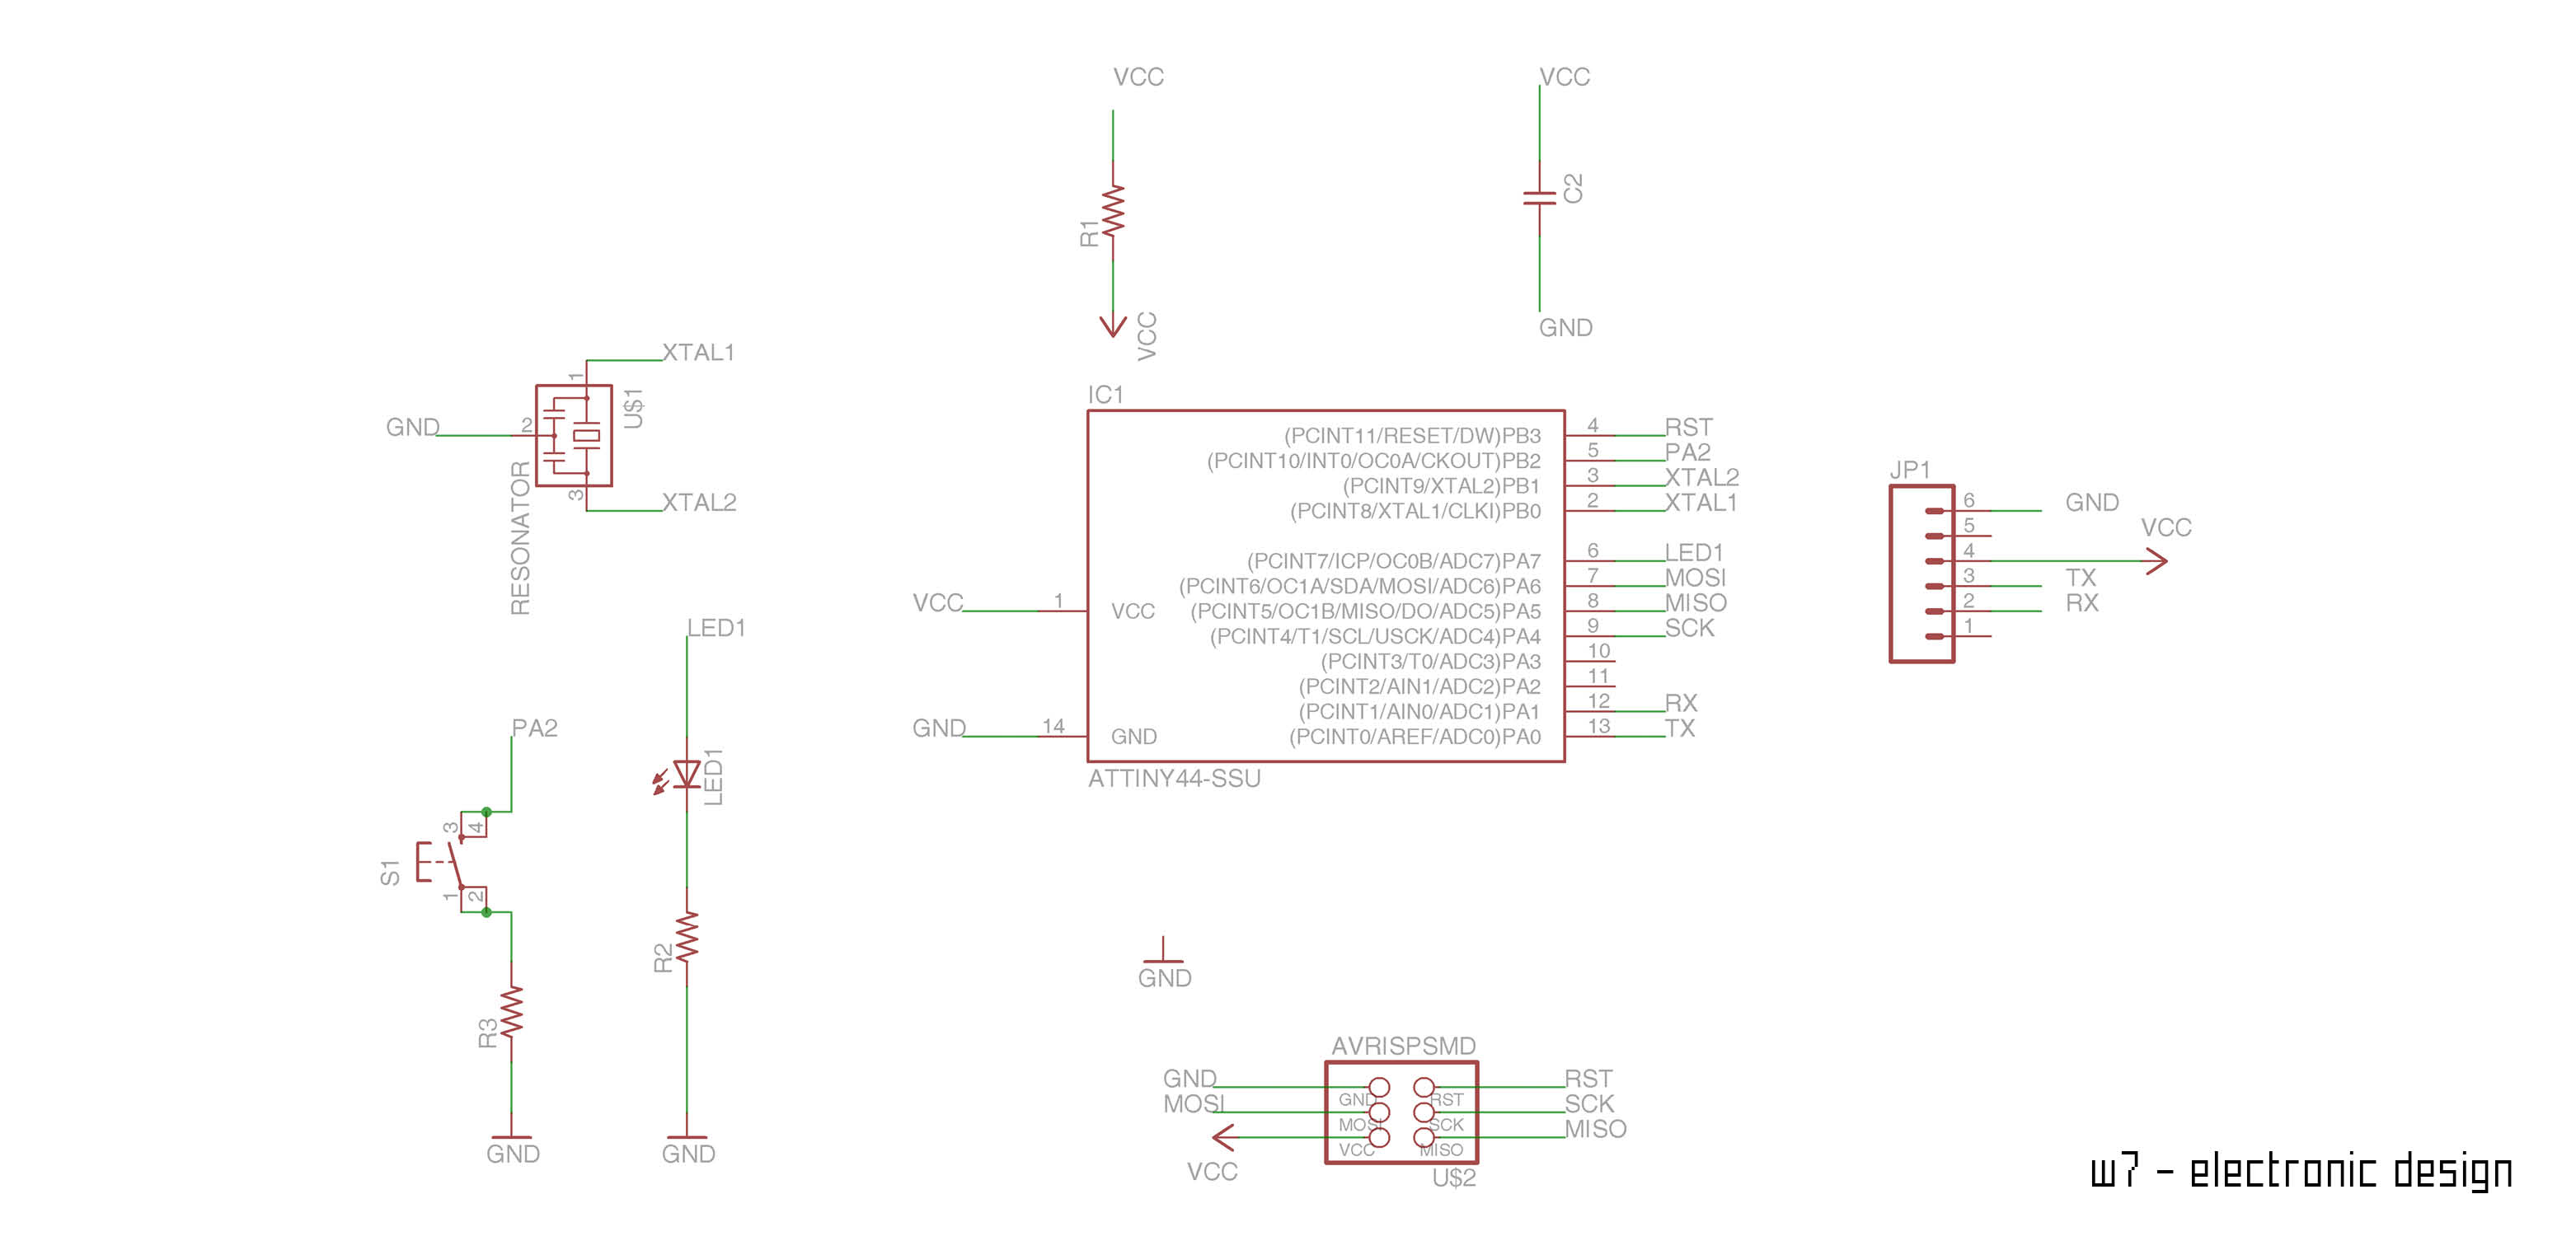
step 01 - eagle
selecting the components
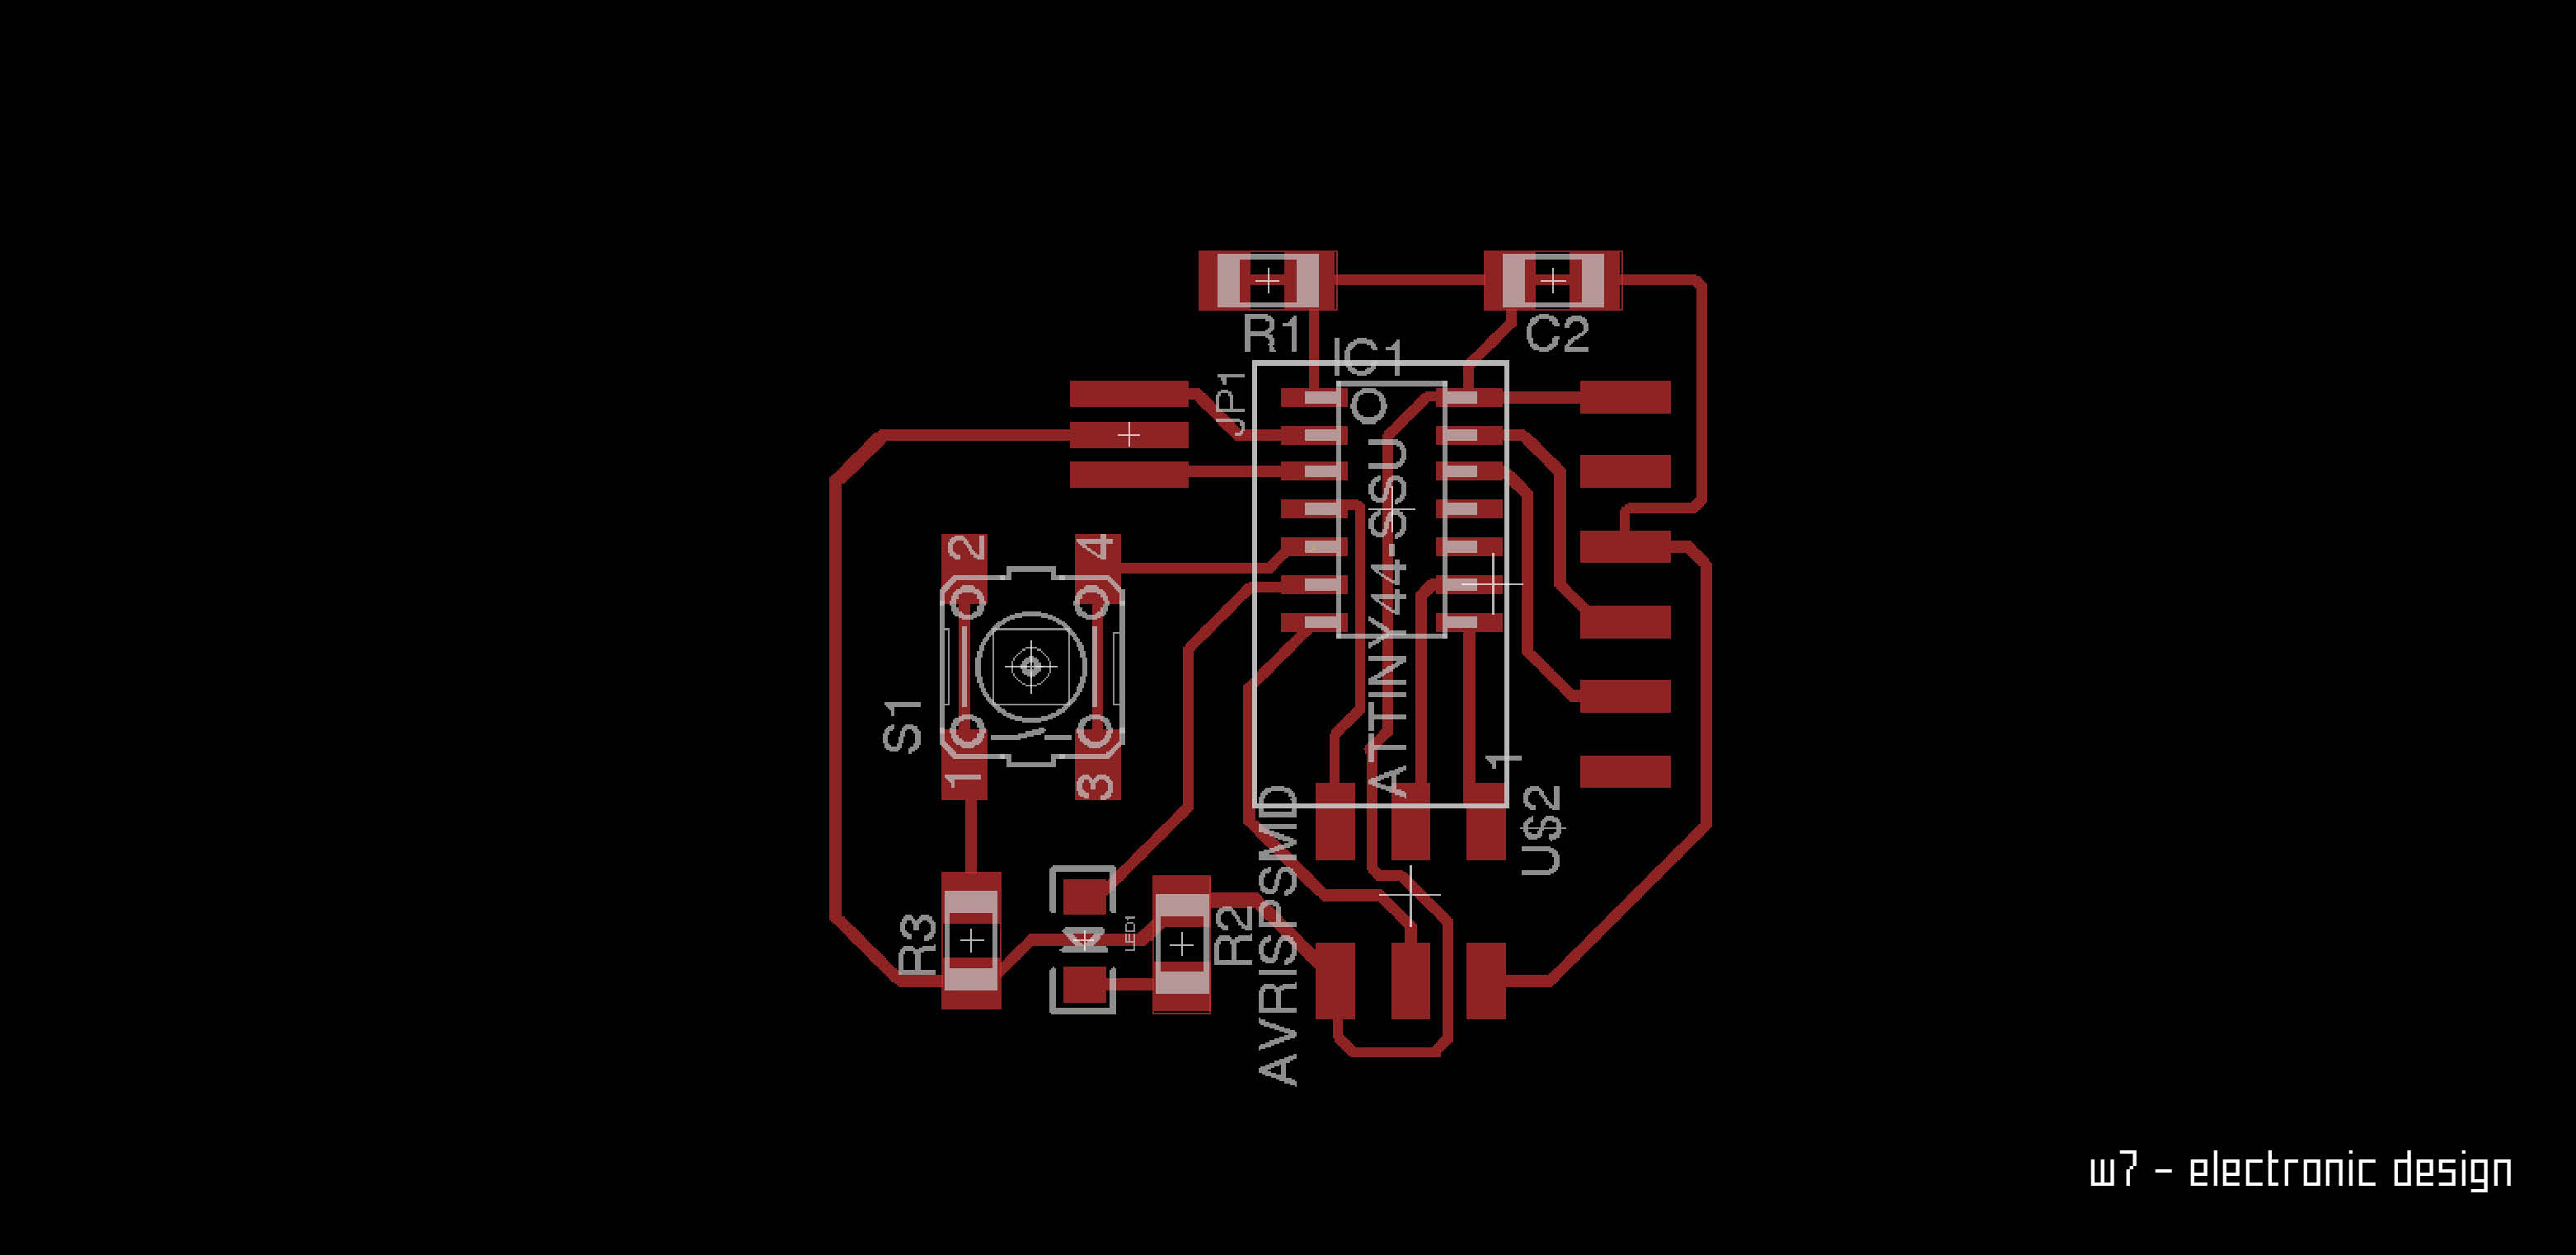
step 02 - eagle
drawing the connections
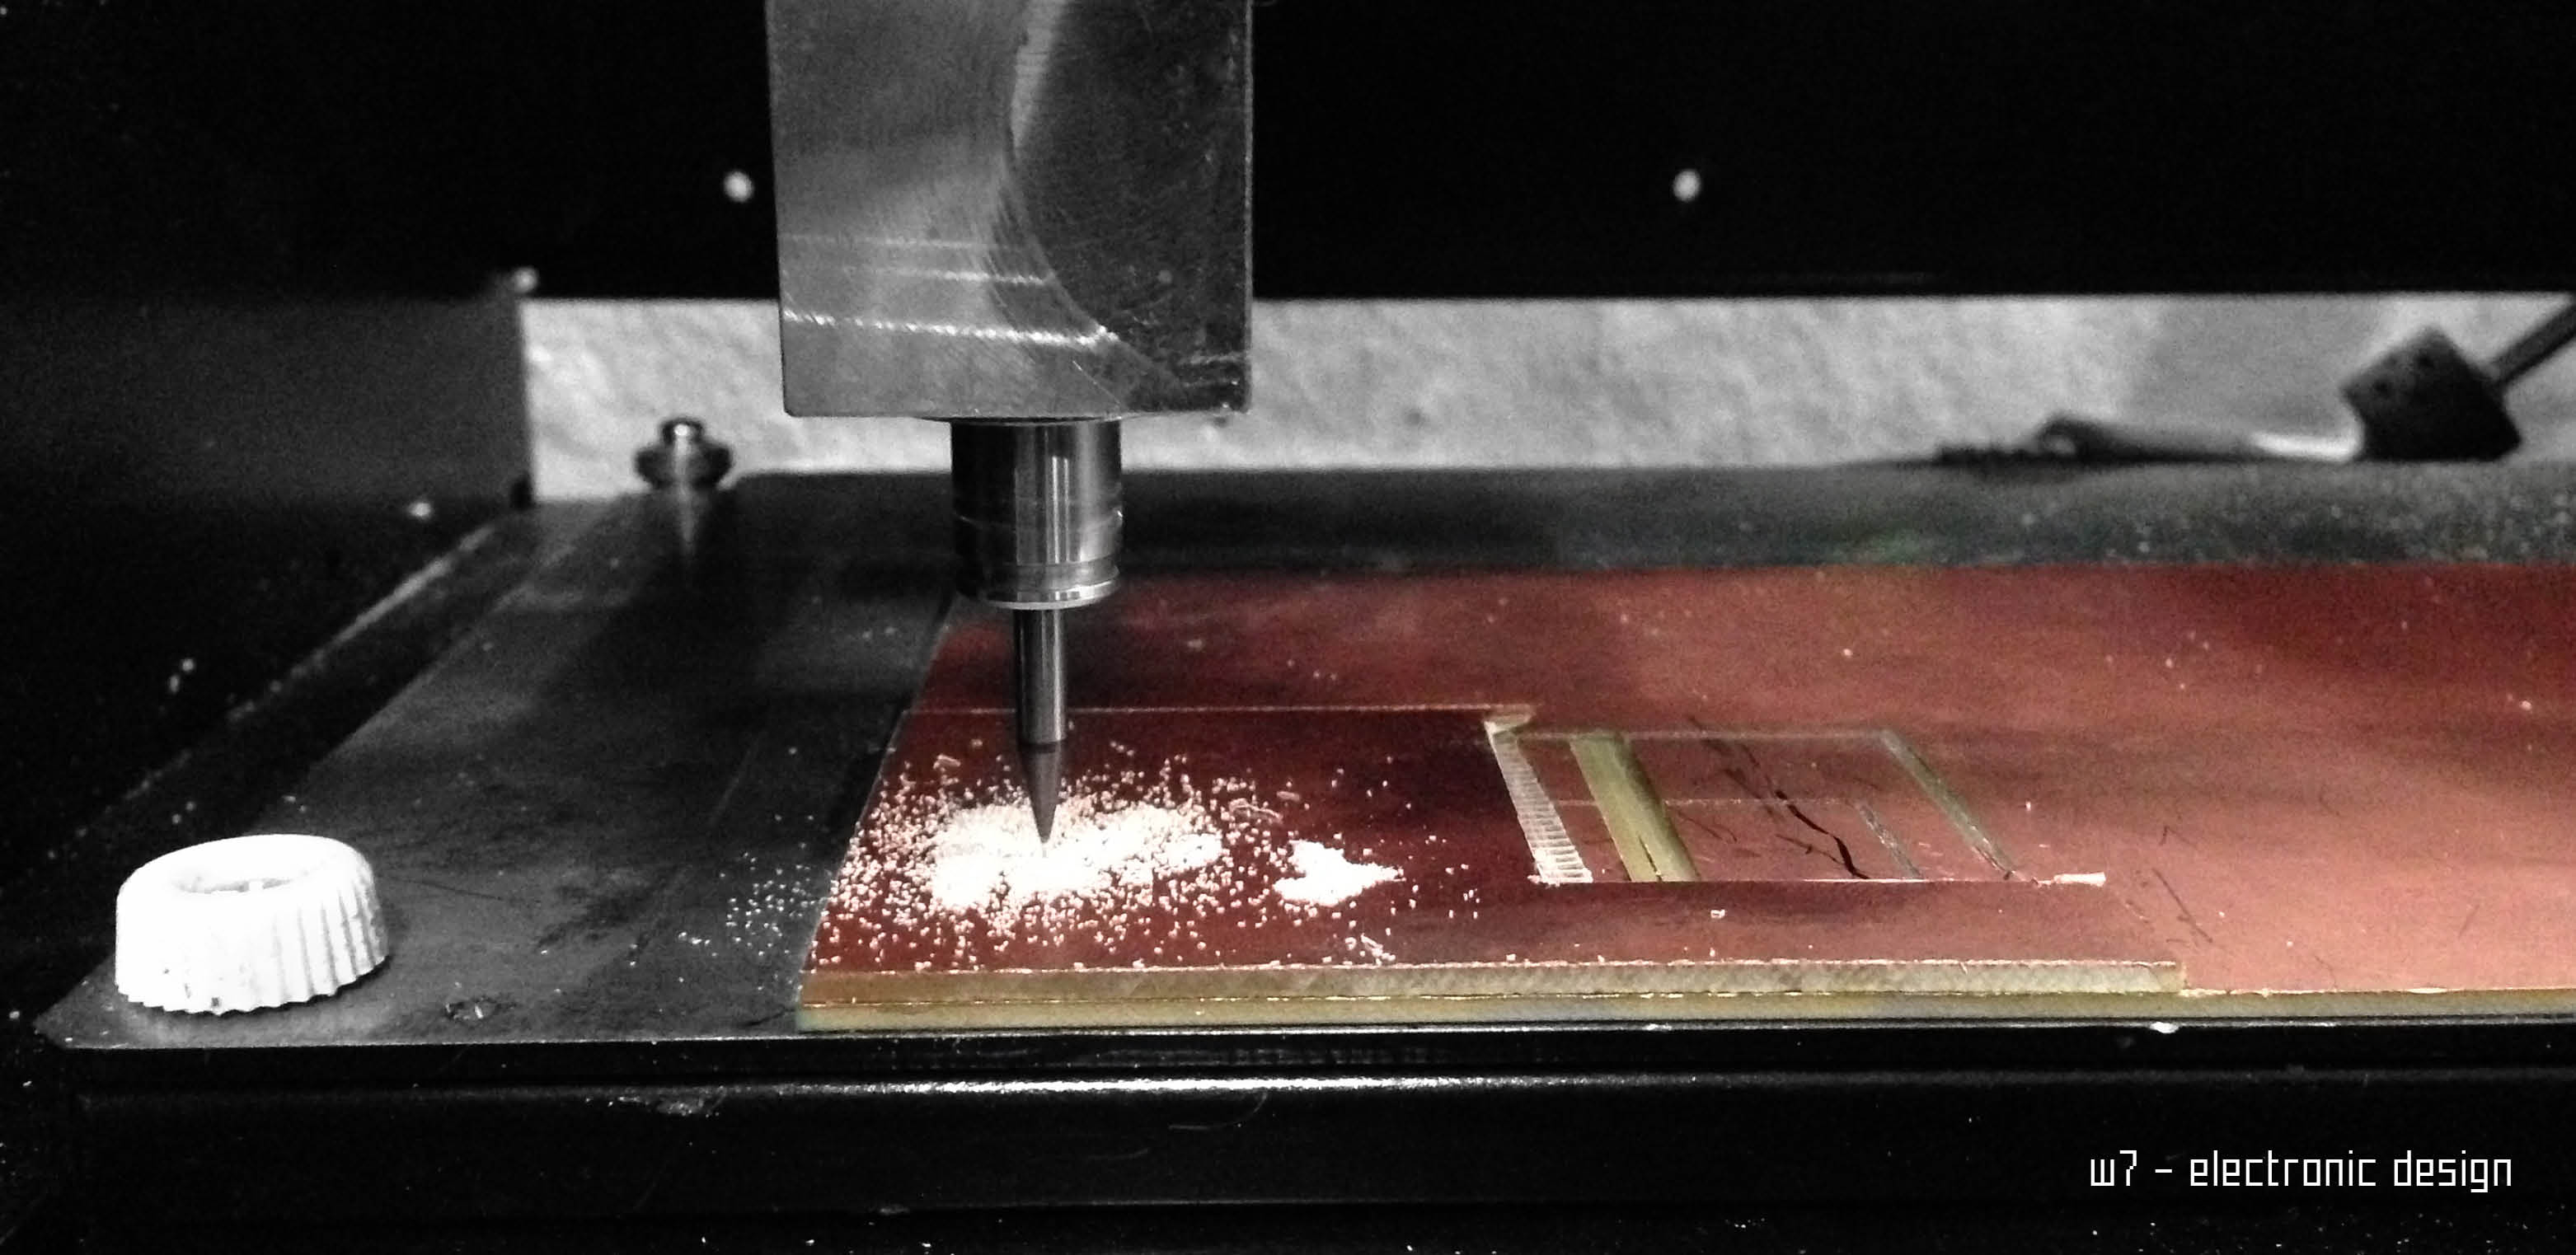
step 03 - milling
creating the board
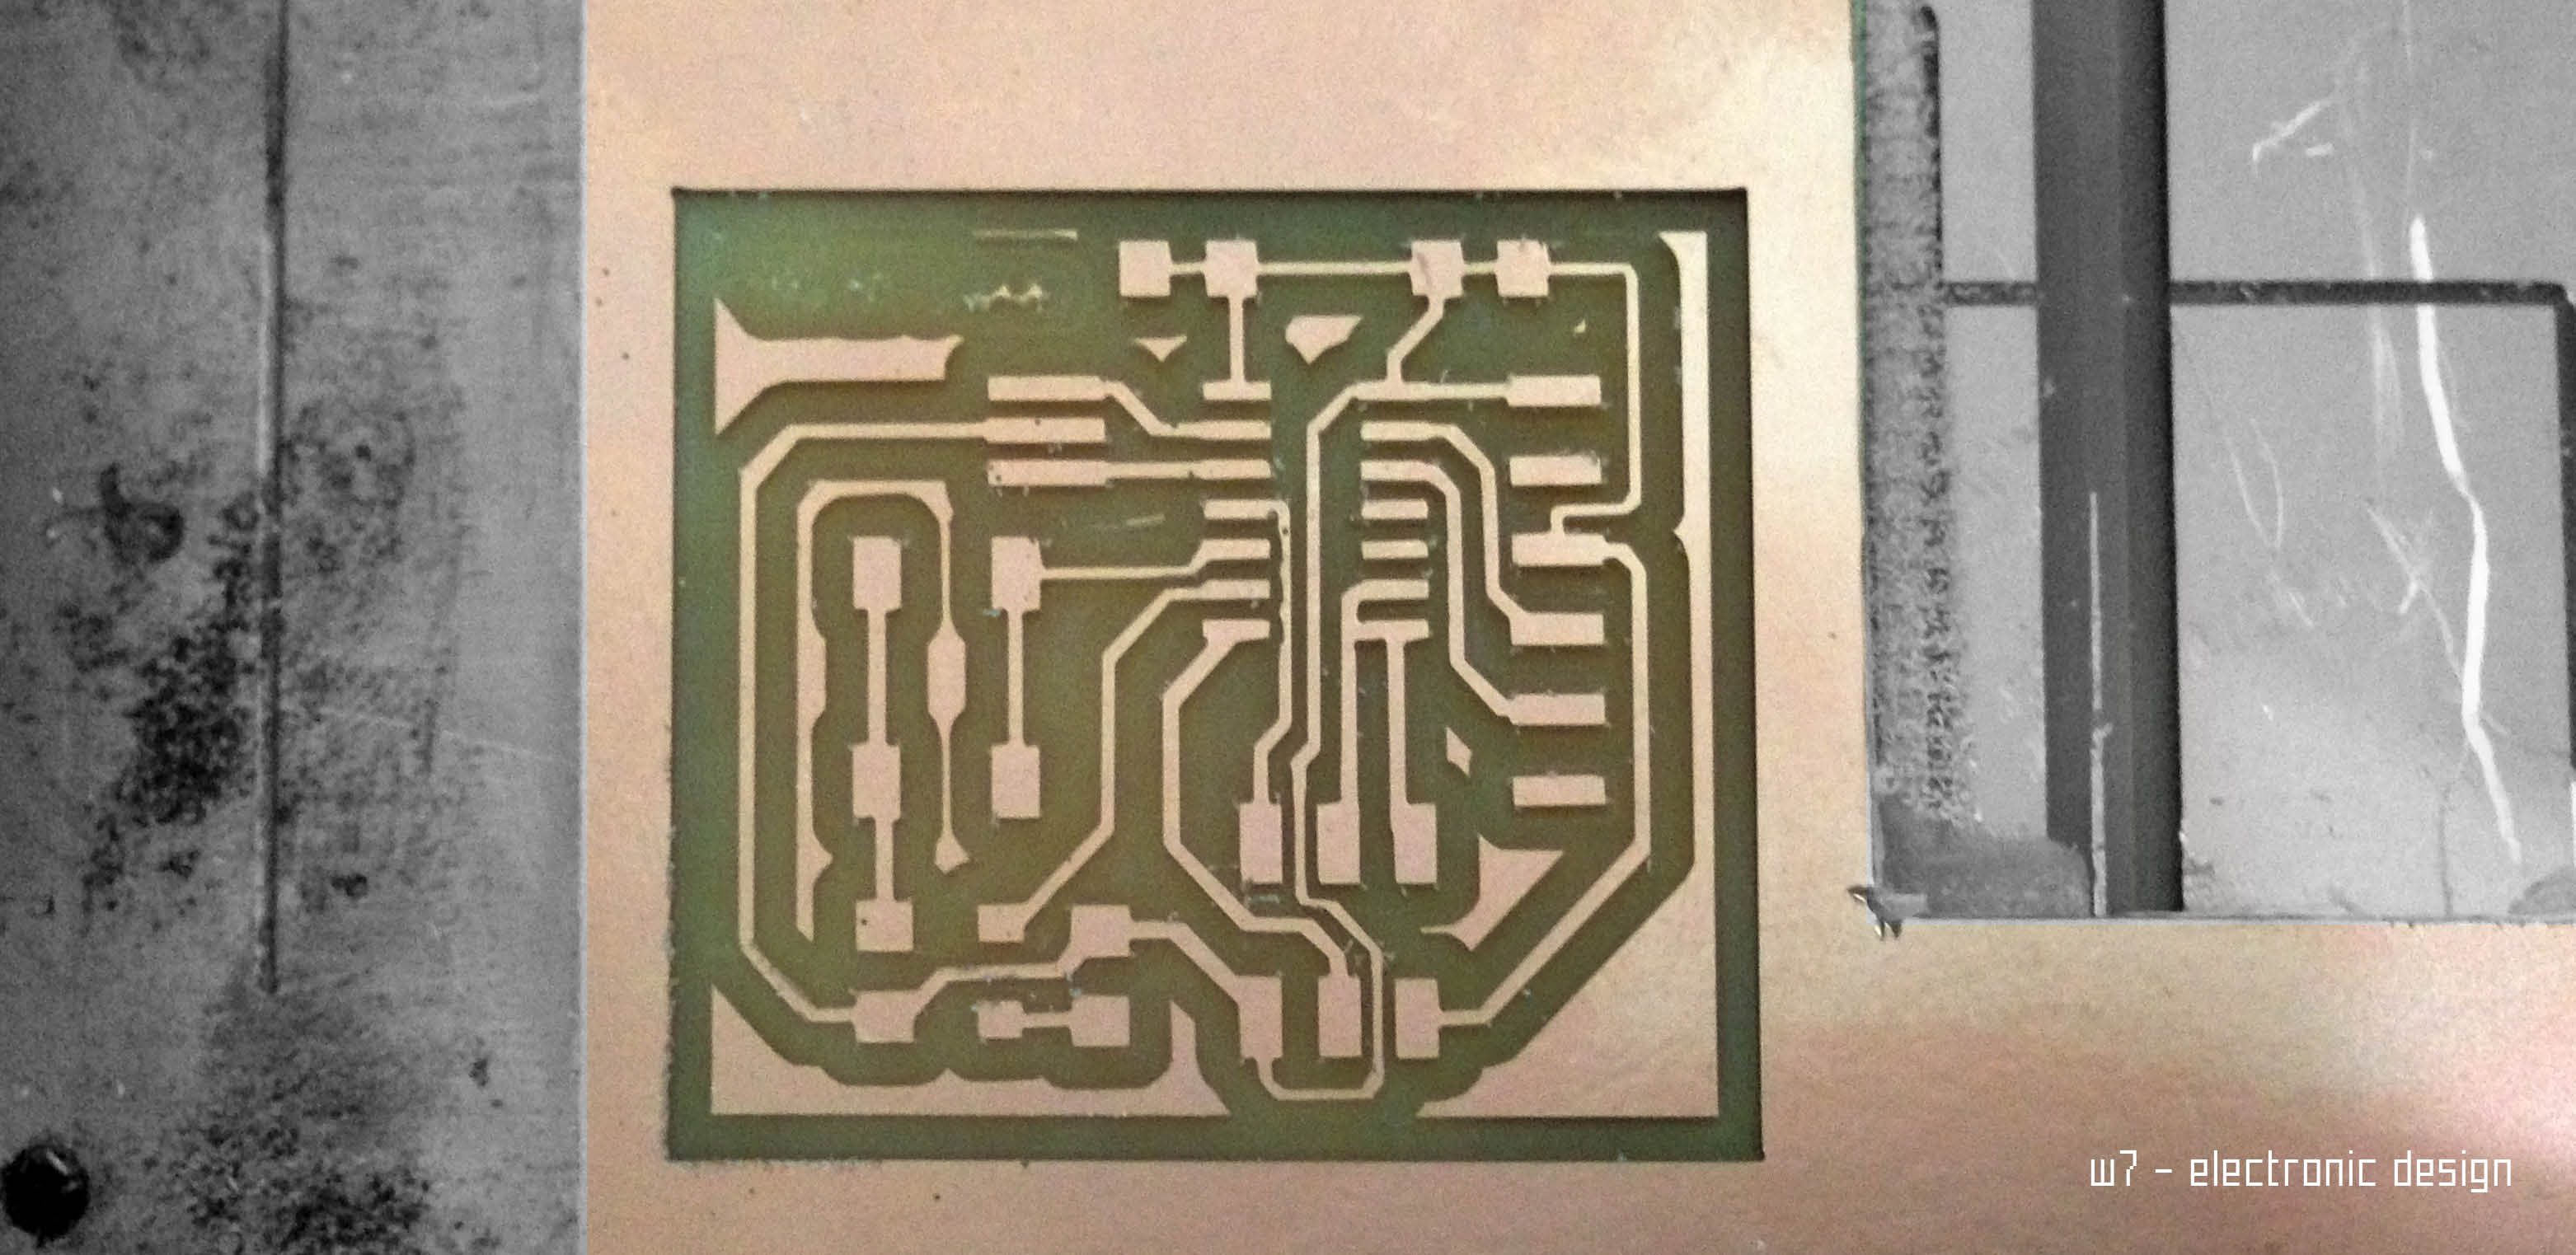
step 04 - milling
completed board
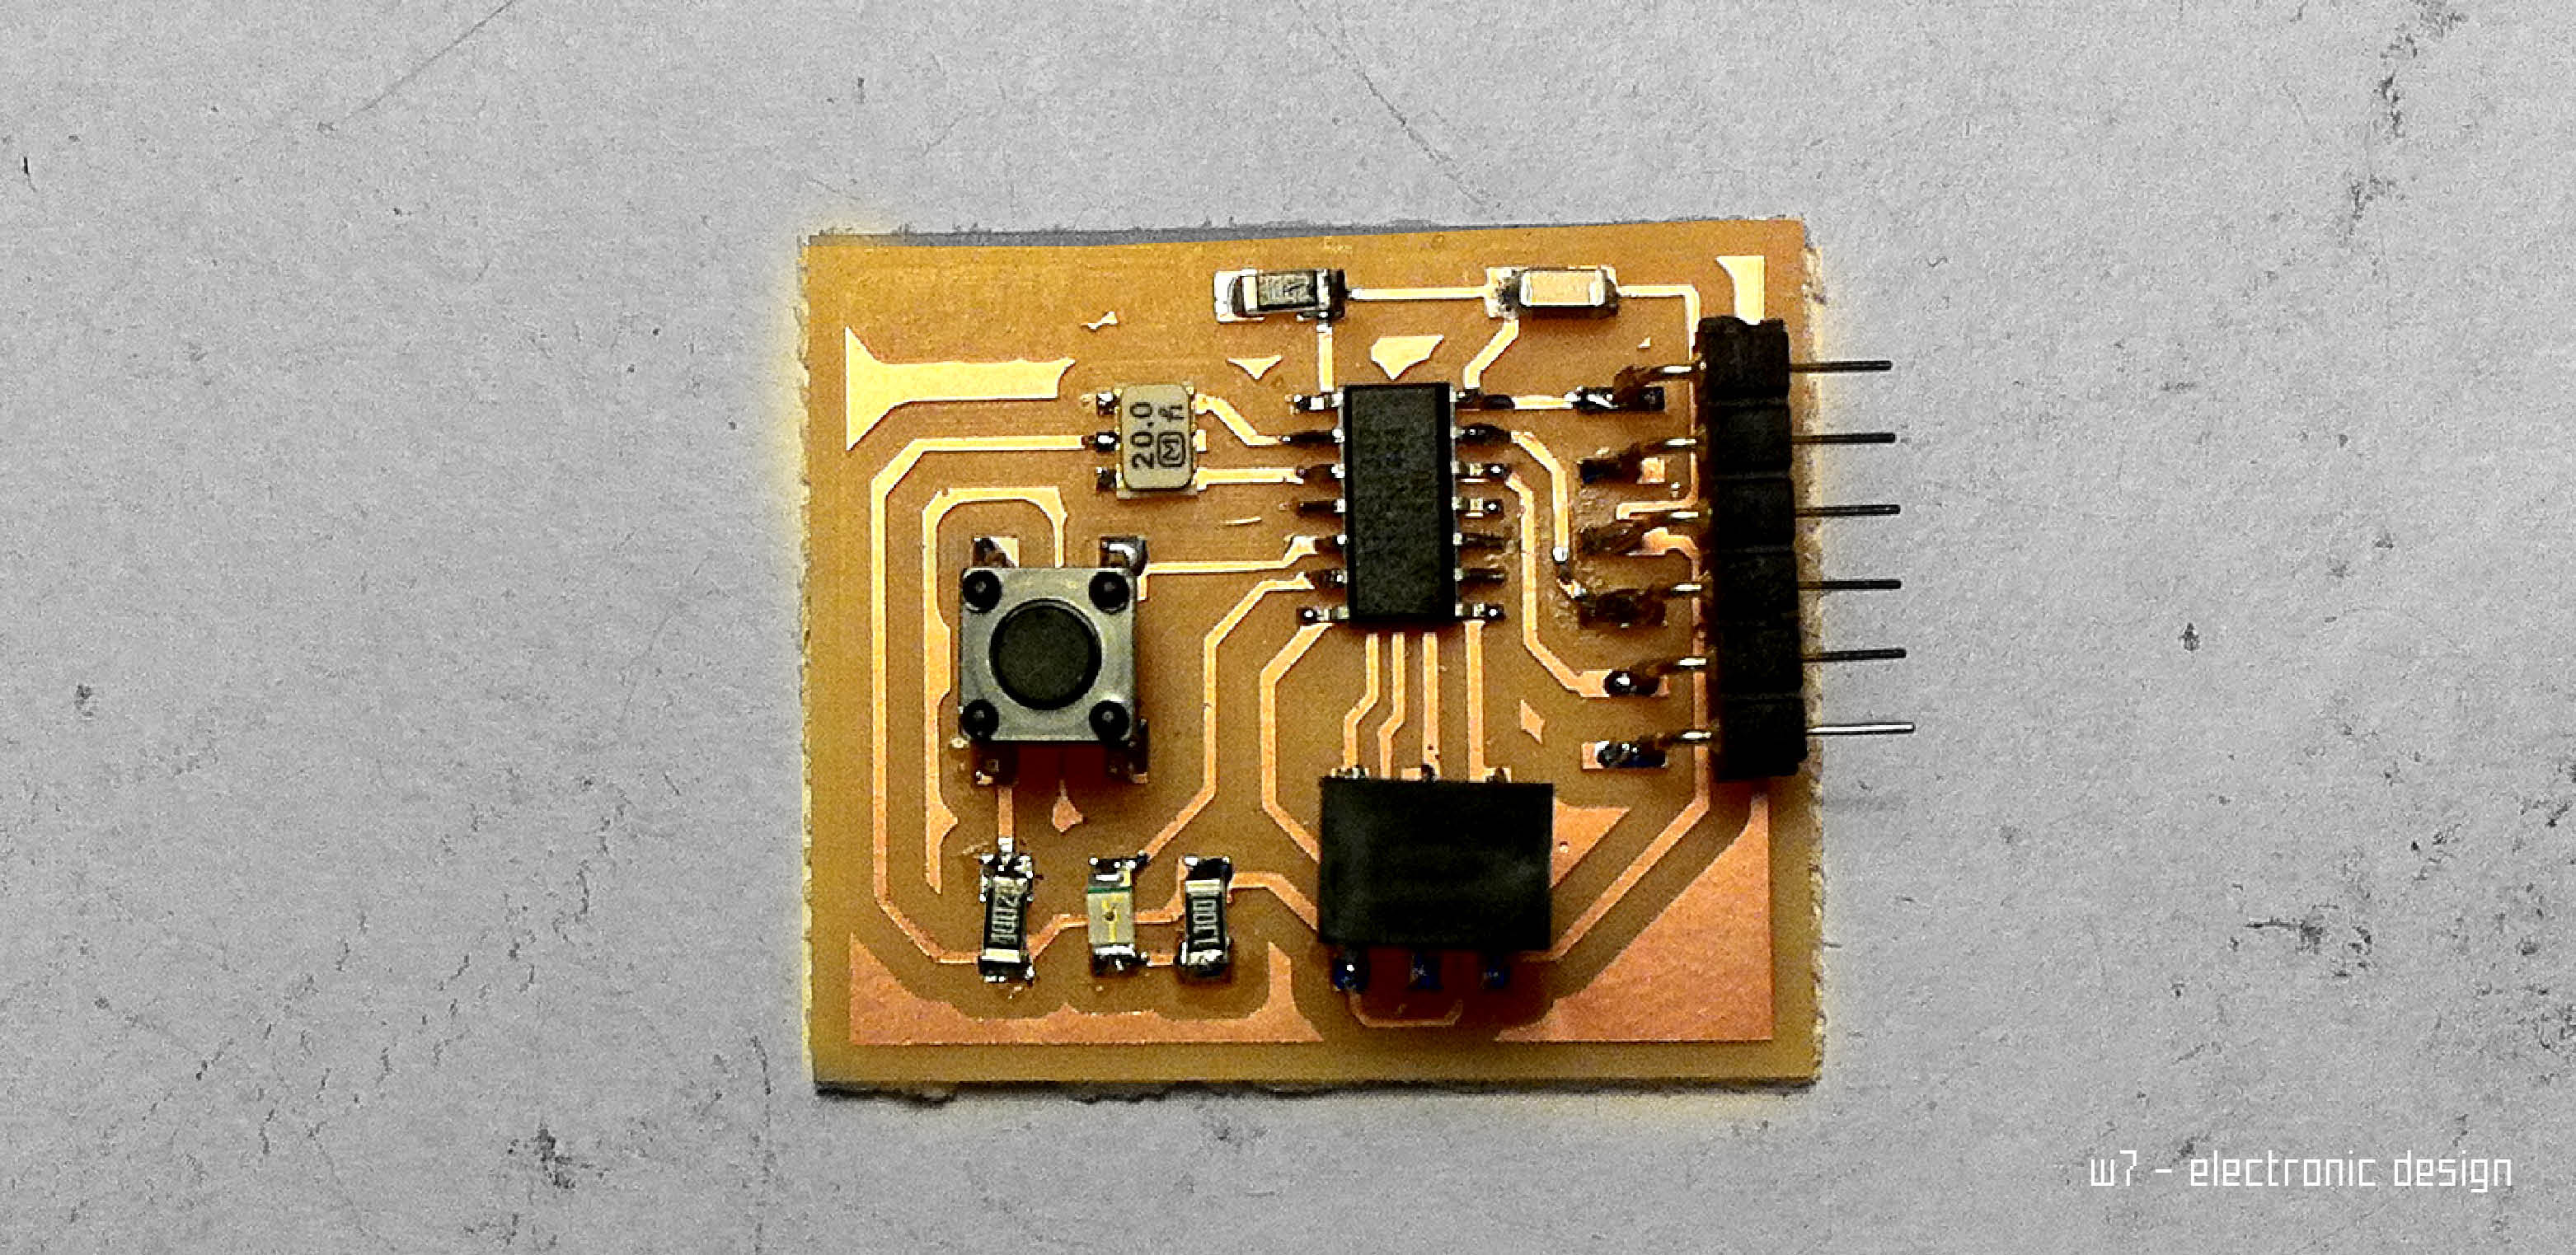
step 05 - board
final board
Weekly Assignments