W11 - COMPOSITES

W11 - COMPOSITES
In this week assignment I focused on creating an artistic candle holder.
The concept idea was inspired by the melting properties of candle.
To achieve it, I decide to use a computational strategy.
I applied a definition of Filipe Reis called Spreading on surface. As Filipe Reis explain "It find the closest point on surface , and then remove elements on a list [ cull ] with gaussian curvature values associated to find the closest point in a point collection to replace and build a new surface based on this values".
link: shopbot
link: composites material
link: vacuum bagging techniques

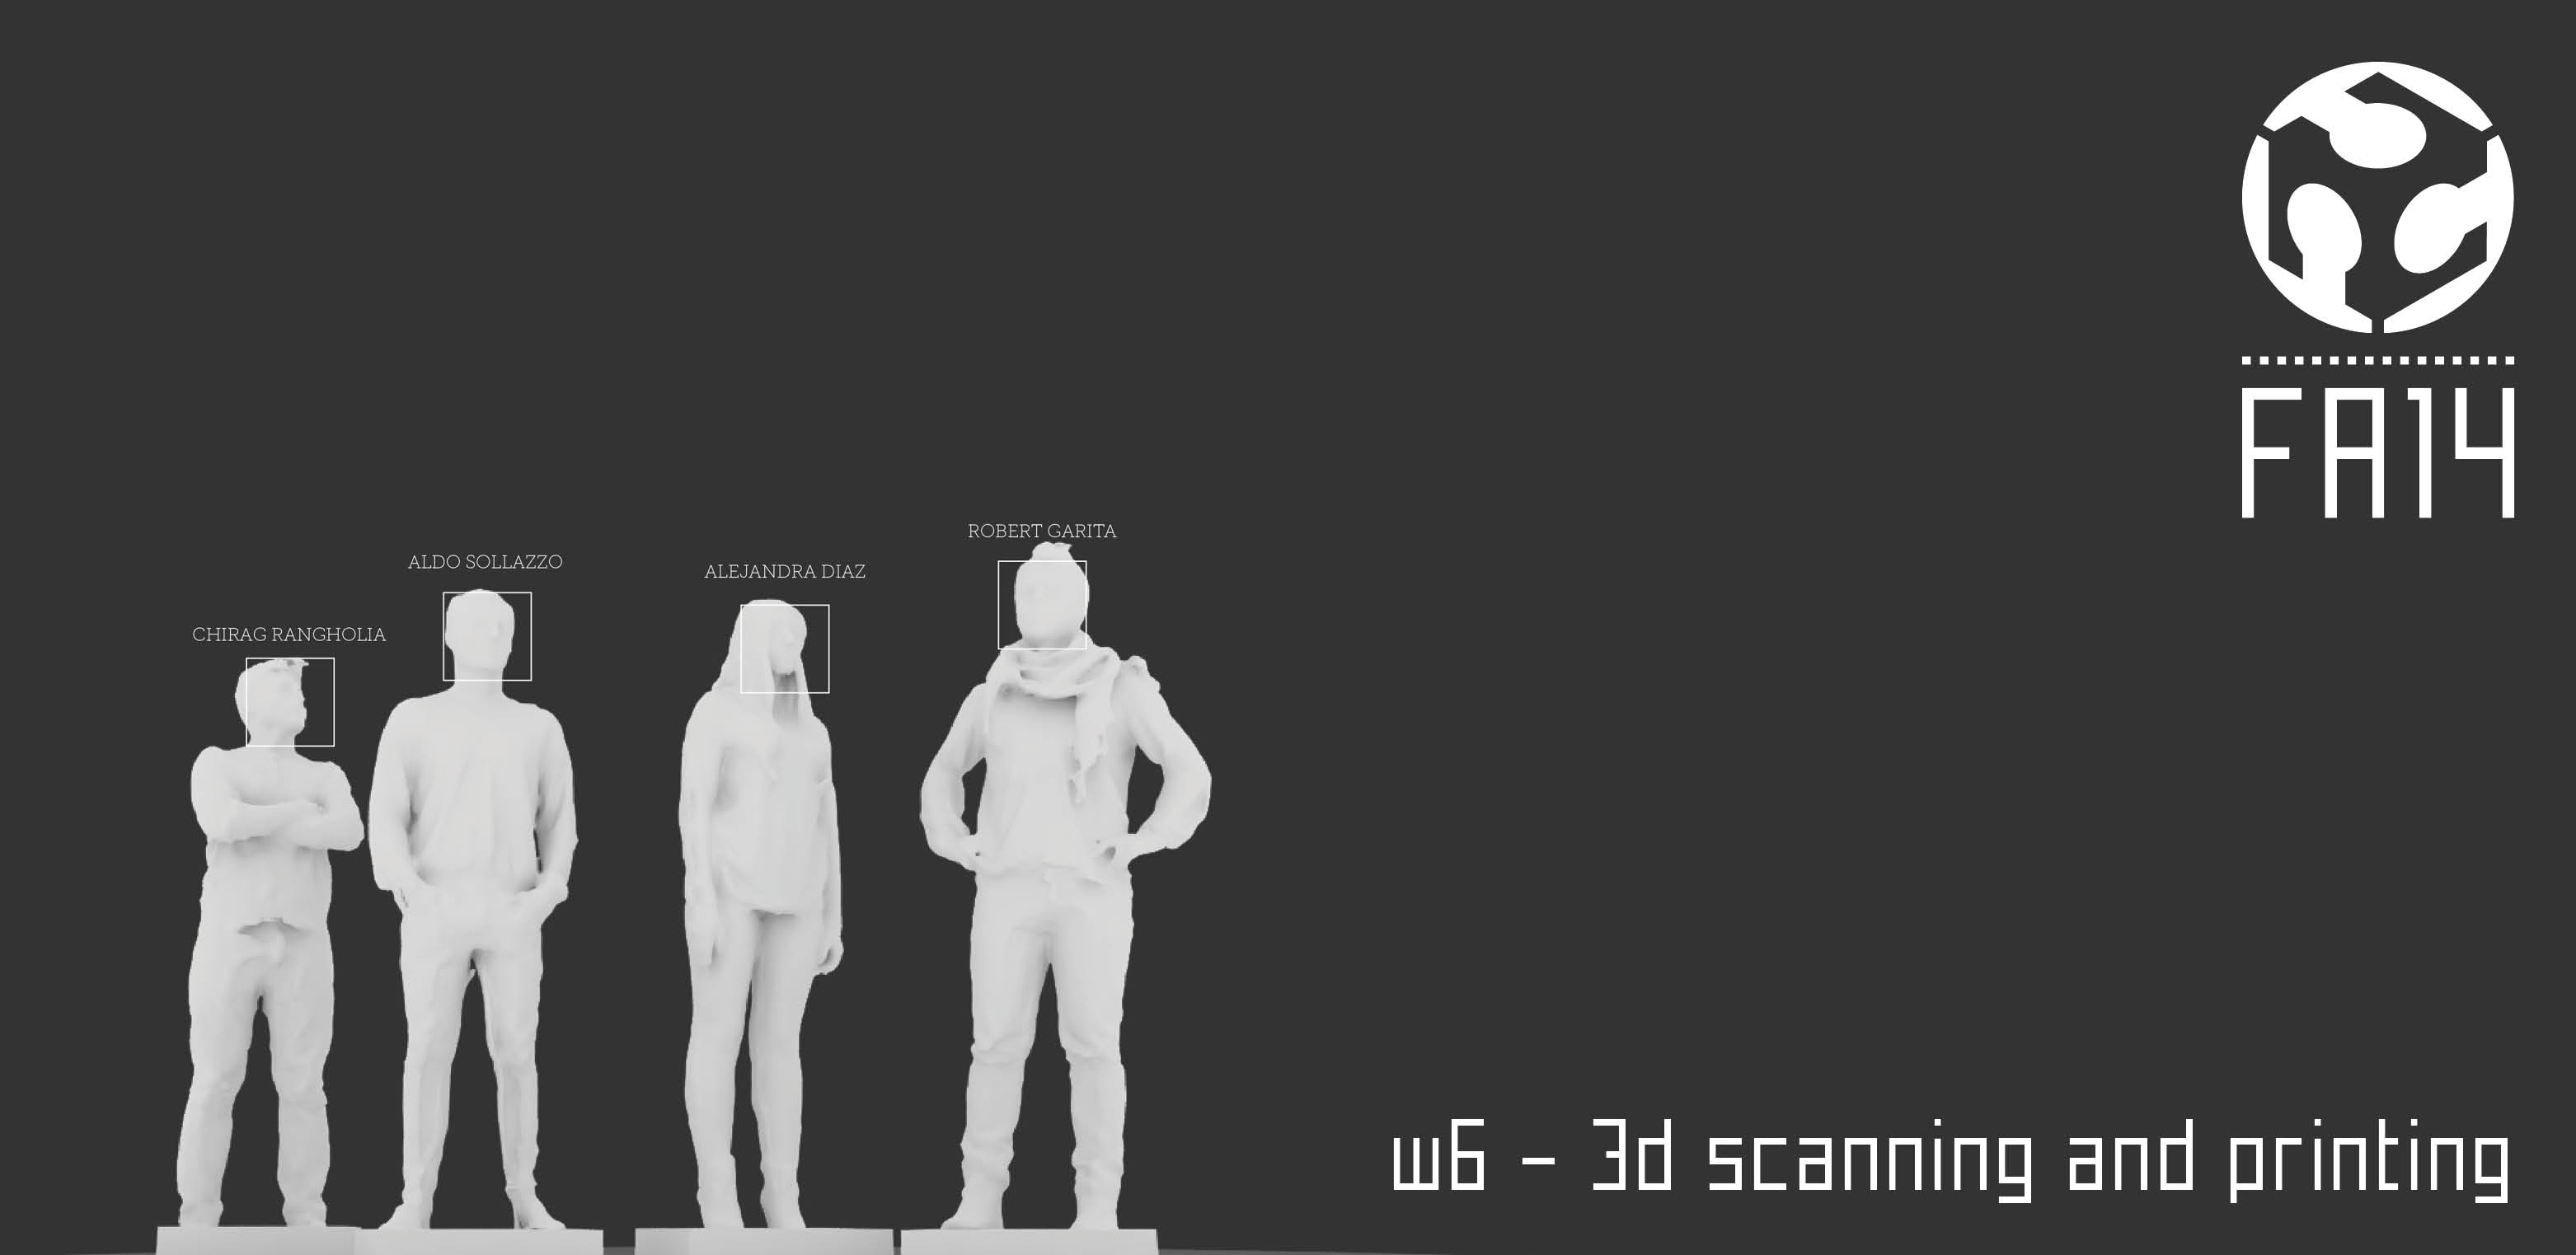
img 1 - the winners
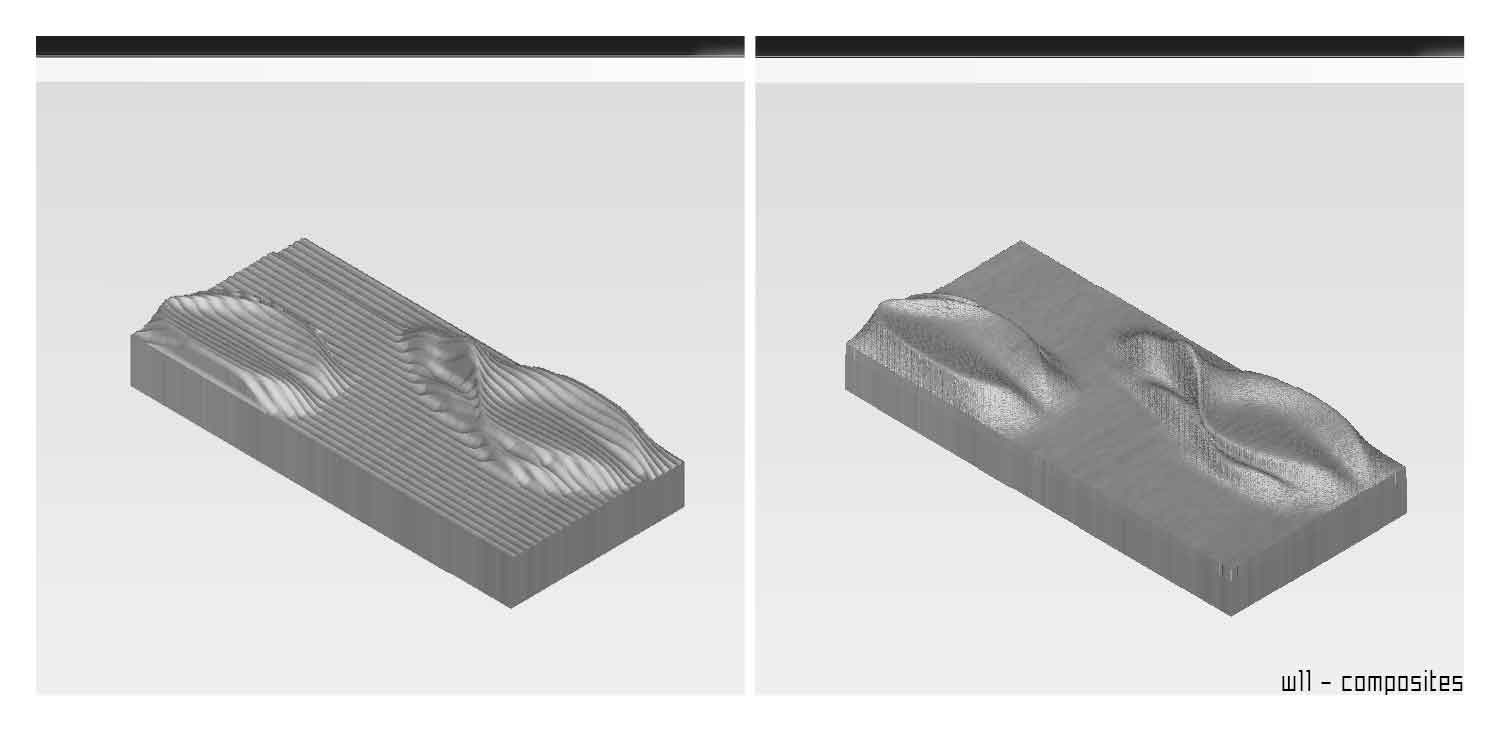
In grasshopper I draw the surface. As I said the definition is online and can be copied very easily.
Of course I had to work respecting the dimensions of the exercise. The box assigned to each students had a size of 30x30x7cm maximum height.
To define the surface I used two circles that were creating a sort of flame effect on two opposite corners.
Once I got the surface I exported all creating an stl file transforming the surface into a mesh.
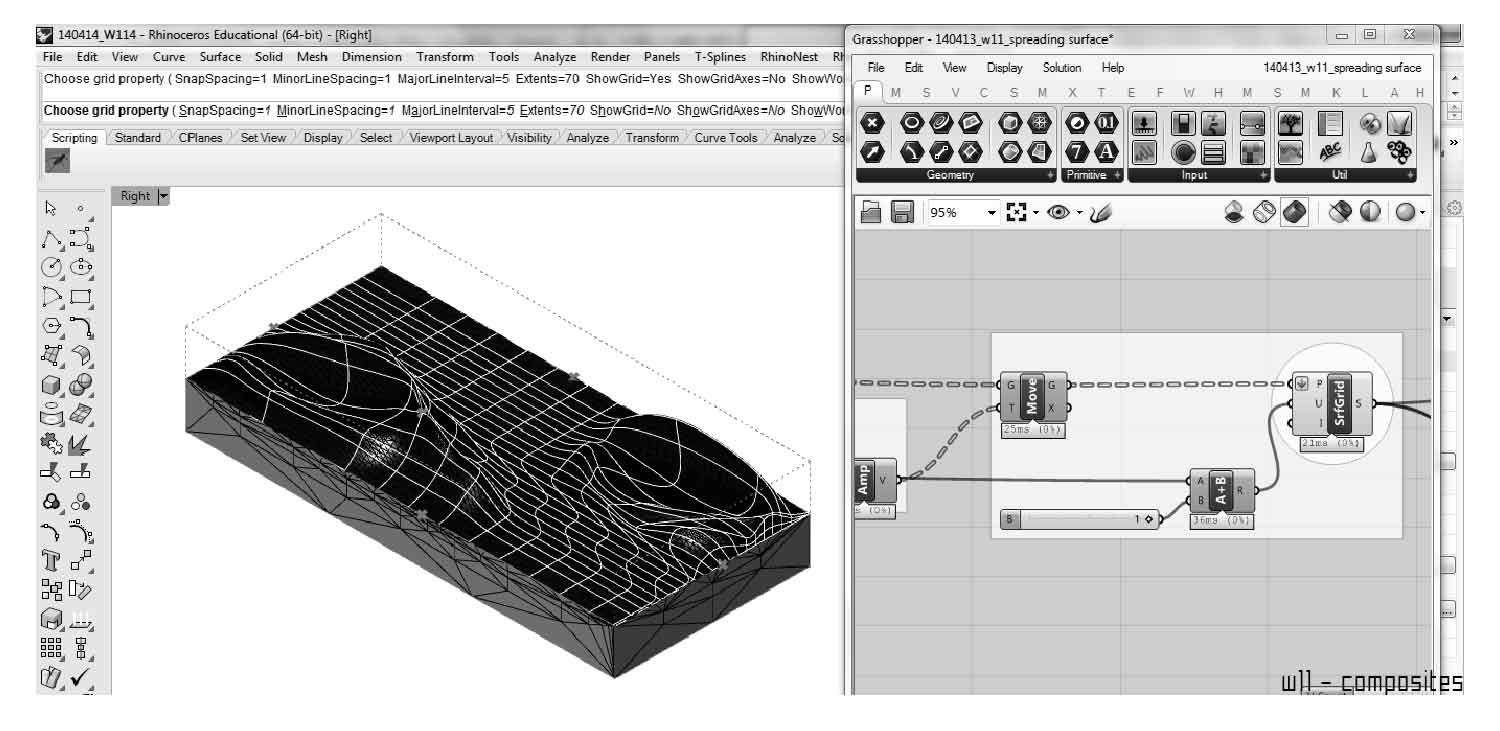
img 2 - 3d visualization
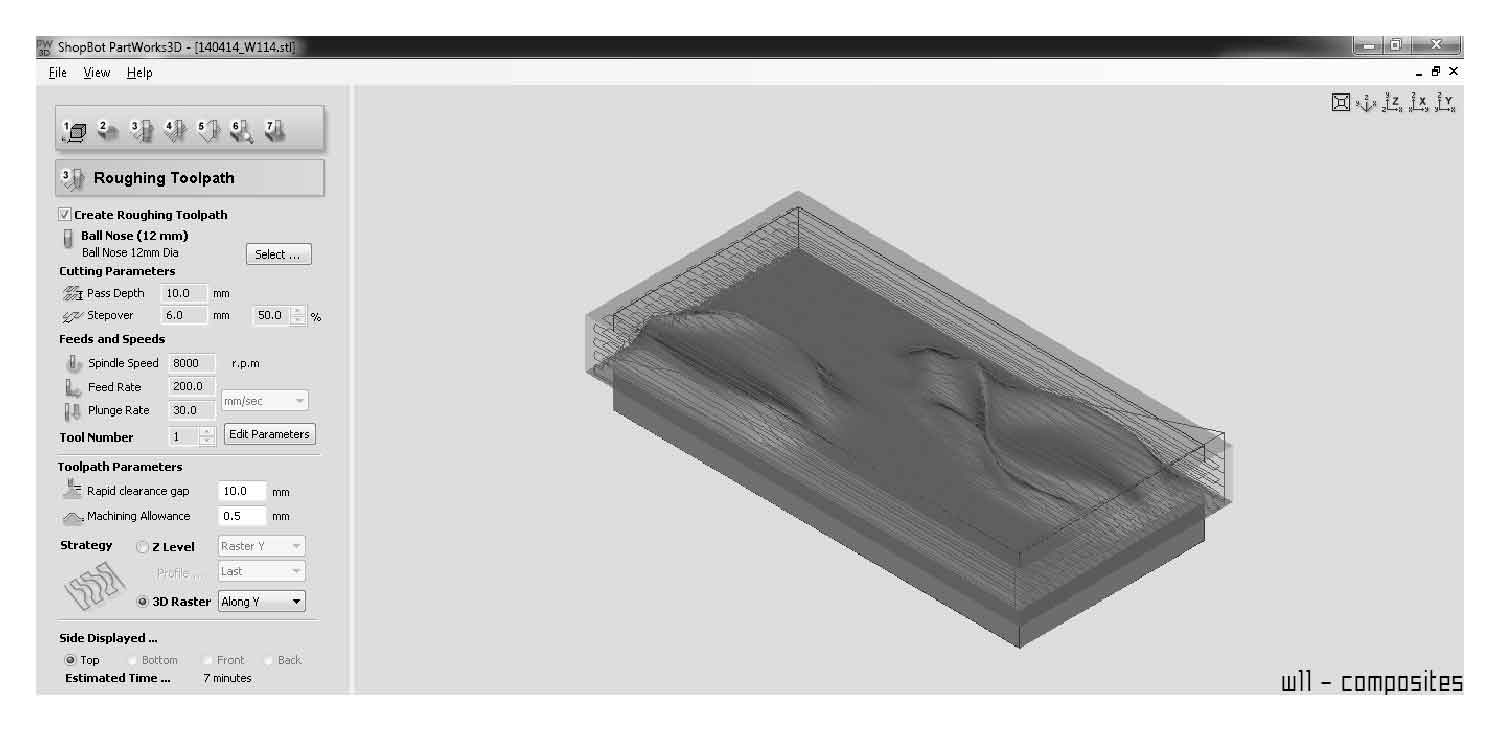
With the stl file I moved to the Shopbot PartWorks3D. The program is based on 7 differents steps and is quite intuitive to follow the process. The real first step is to define the size and orientation of the mold.

img 3 - mold design
Going forward with the process the program will ask you the Roughing toolpath. So we'll define the tool dimensions and as well how the machine will "draw" our mold in the rough finishing. The options are both in x and y direction.
We can visualize at the end of this process the lines of each movement the machine will do and also we can see how much time it will get to finish all the work. In my case the time for the first rough part was 8 minutes. The finishing toolpath was much quicker taking just 4 minutes. We can have similiar options for this path as well (so both x and y) but is also interesting to use the 45 degress that keep sort of a pattern on the mold that i really like.
step 05 - board
At the end of the settings we can simulate the entire process of the toolpath.
The program works in the same way of Rhinocam that I was already used to work with. The difference is that it is much more logic and easy to use.
step 05 - board
Fixing and preparing the foam for milling machine.
First of all our foam is rigid expanded polyurethan. Here in barcelona we bought it here.
To fix properly you have to use a double sided tape on the bottom of the foam. Than fix it to the base.
We have than to fix x and y home coordinates and the z value as well. To do it we used a metal shit. The tool detect the metal plate and it automatically stop. Remember of course to connect the circuit from the tool to the machine.

step 05 - board
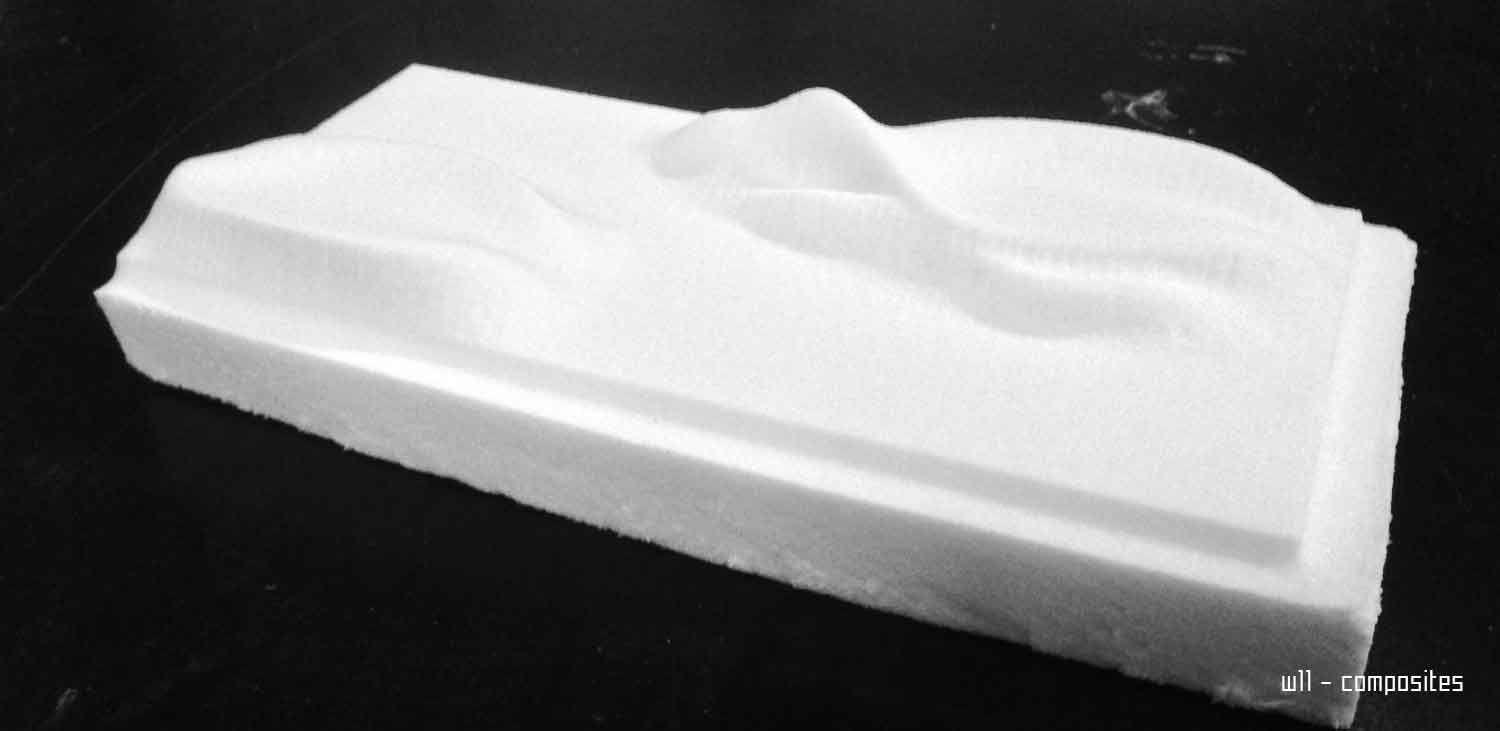
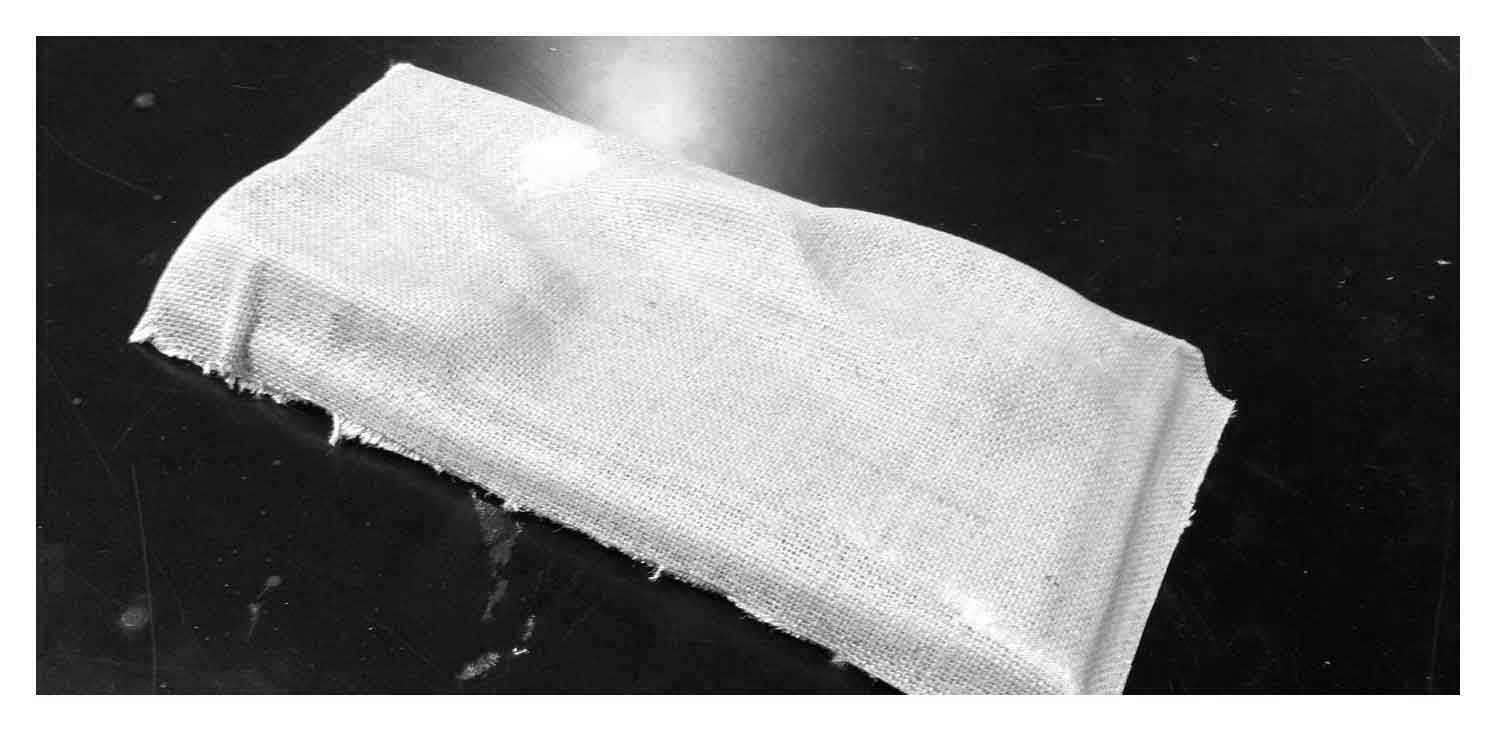
The final result has a smooth aspect.
The machine produced a really nice surface and I didn't loose too many details from the design part.
step 05 - board
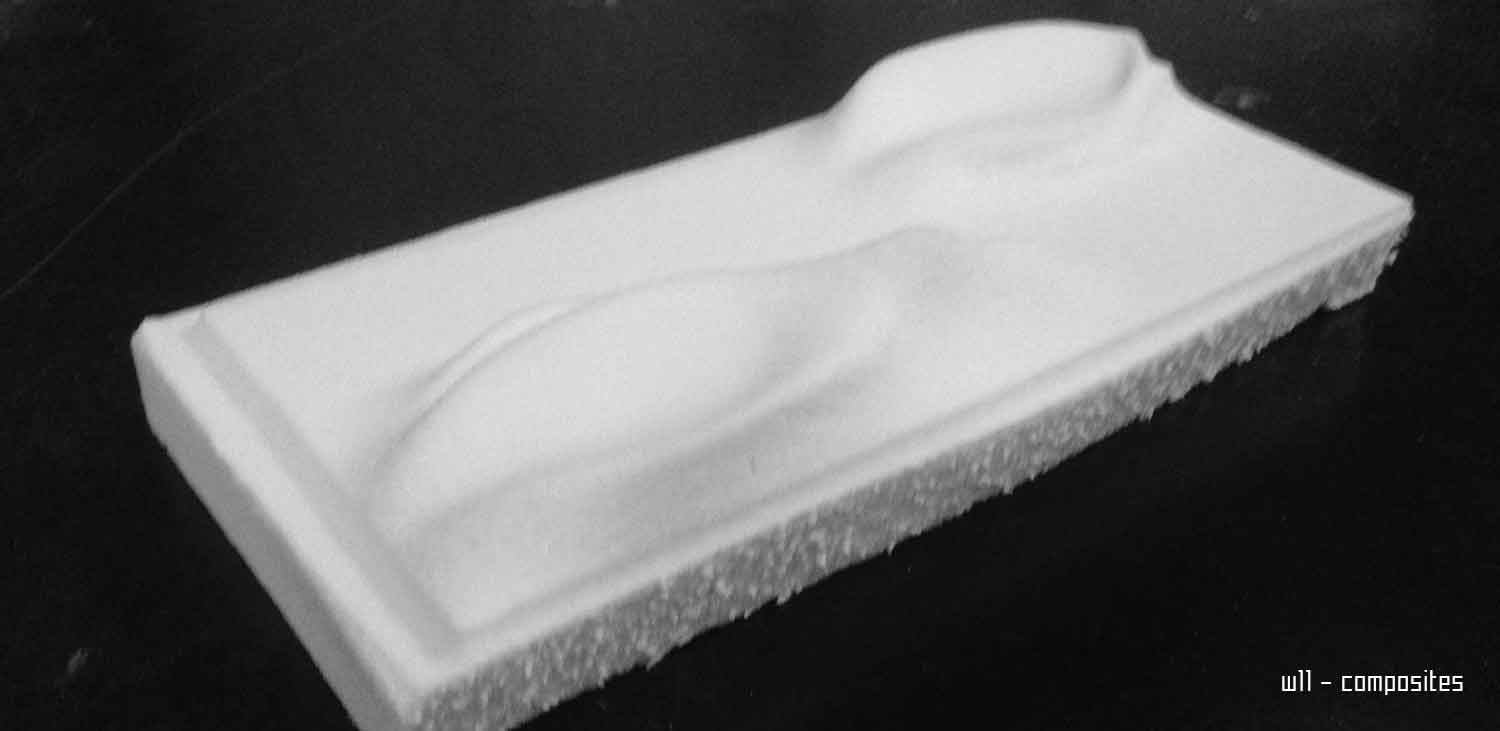
Another picture of the mold.
step 05 - board
final board
The surface is effectly smooth and the design is really similar to what I drawn.

step 05 - board
final board
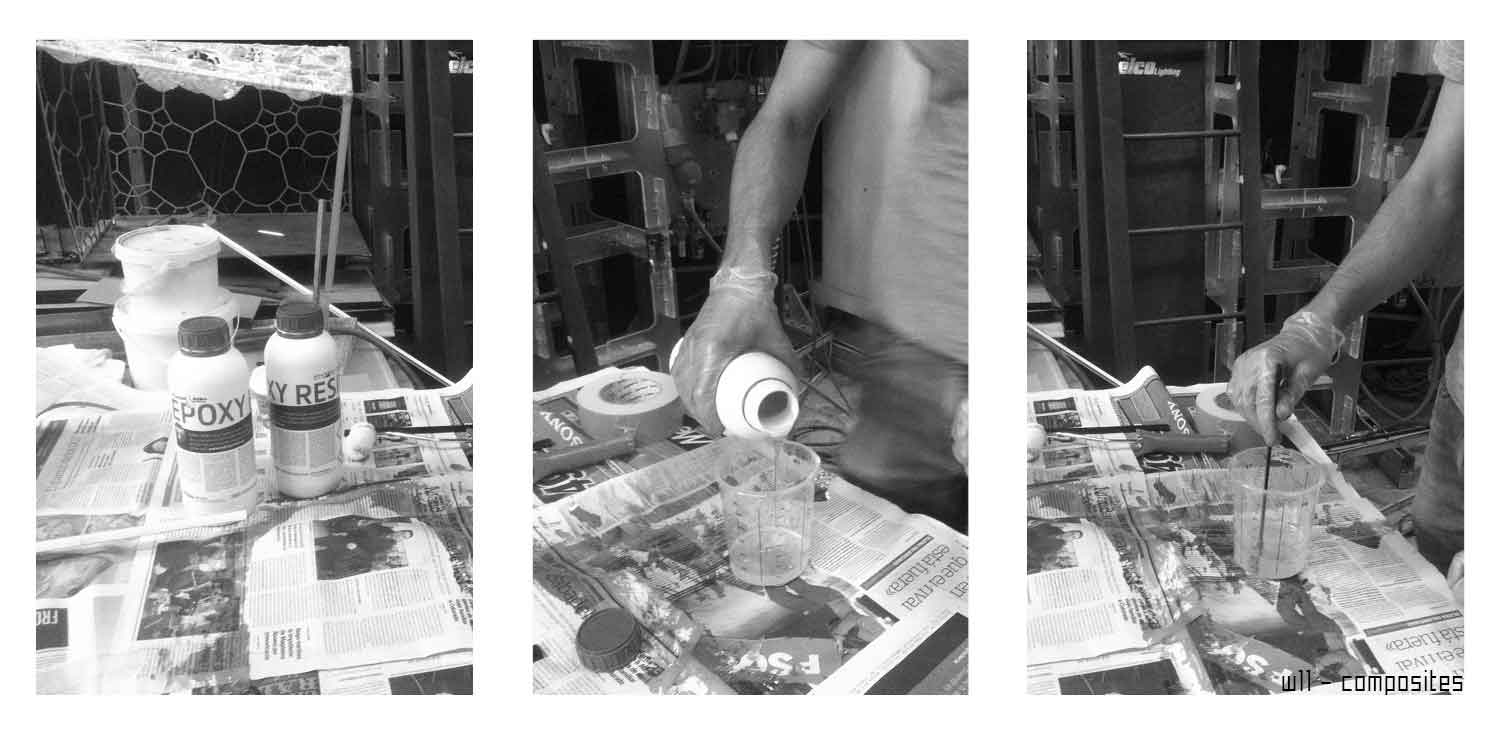
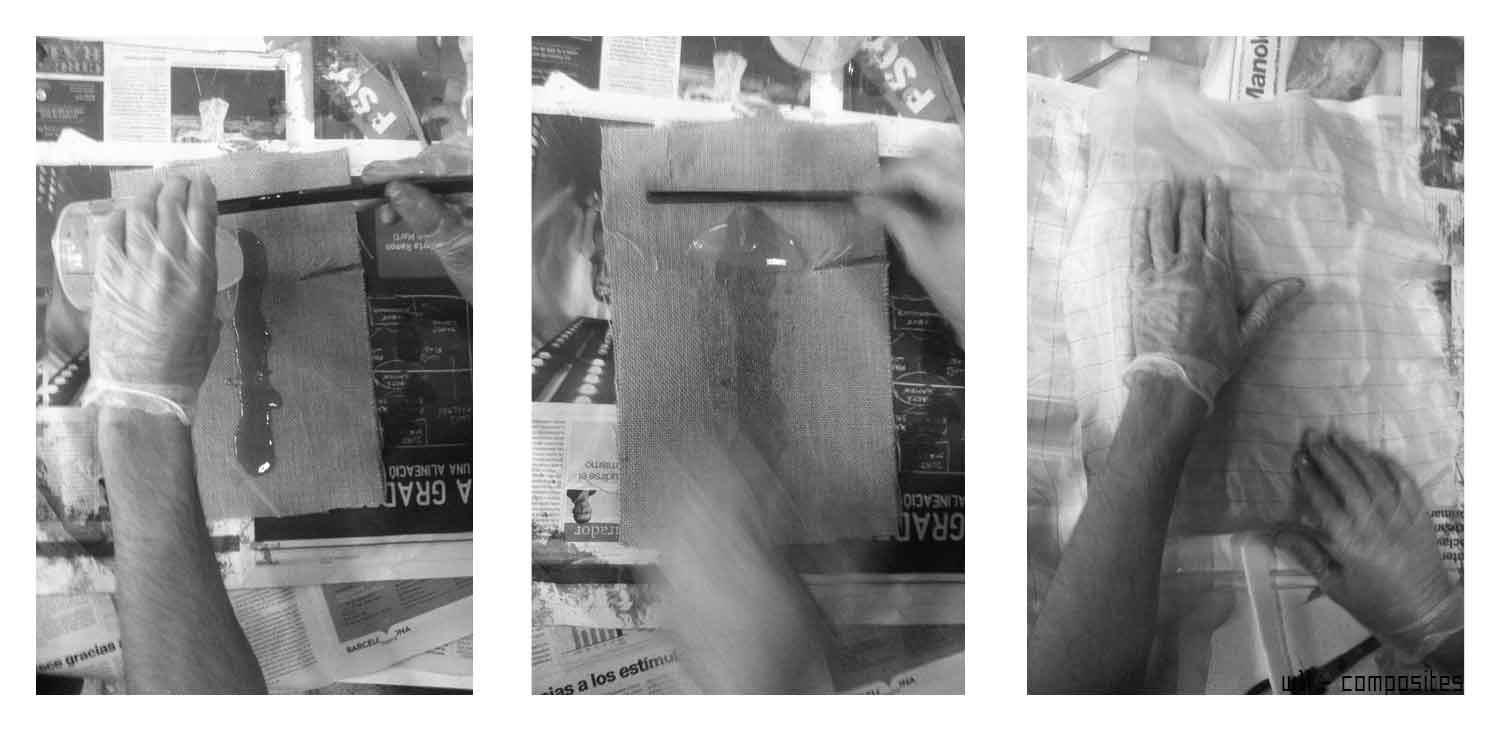
The next step is to use epoxy resin. The term epoxy has been widely adapted for many uses beyond fiber reinforced polymer composites. Today, epoxy adhesives are sold in local hardware stores, and epoxy resin is used as the binder in counter tops or coatings for floors. The myriad of uses for epoxy continues to expand, and variates of epoxies are constantly being developed to fit the industries and products they are used in. In the realm of fiber reinforced polymers (plastics), epoxy is used as the resin matrix to efficiently hold the fiber is place. It is compatible with all common reinforcing fibers including fiberglass, carbon fiber, aramid, and basalt.
step 05 - board
final board
The application of the resin is easy. After having several (three) layers of material one on top of the other we can start to distribute it all along the surface. Than we put it on top of the foam using another layer of fabric in between. We press and we are now ready to put everything inside the vacuum bag.
step 05 - board
final board
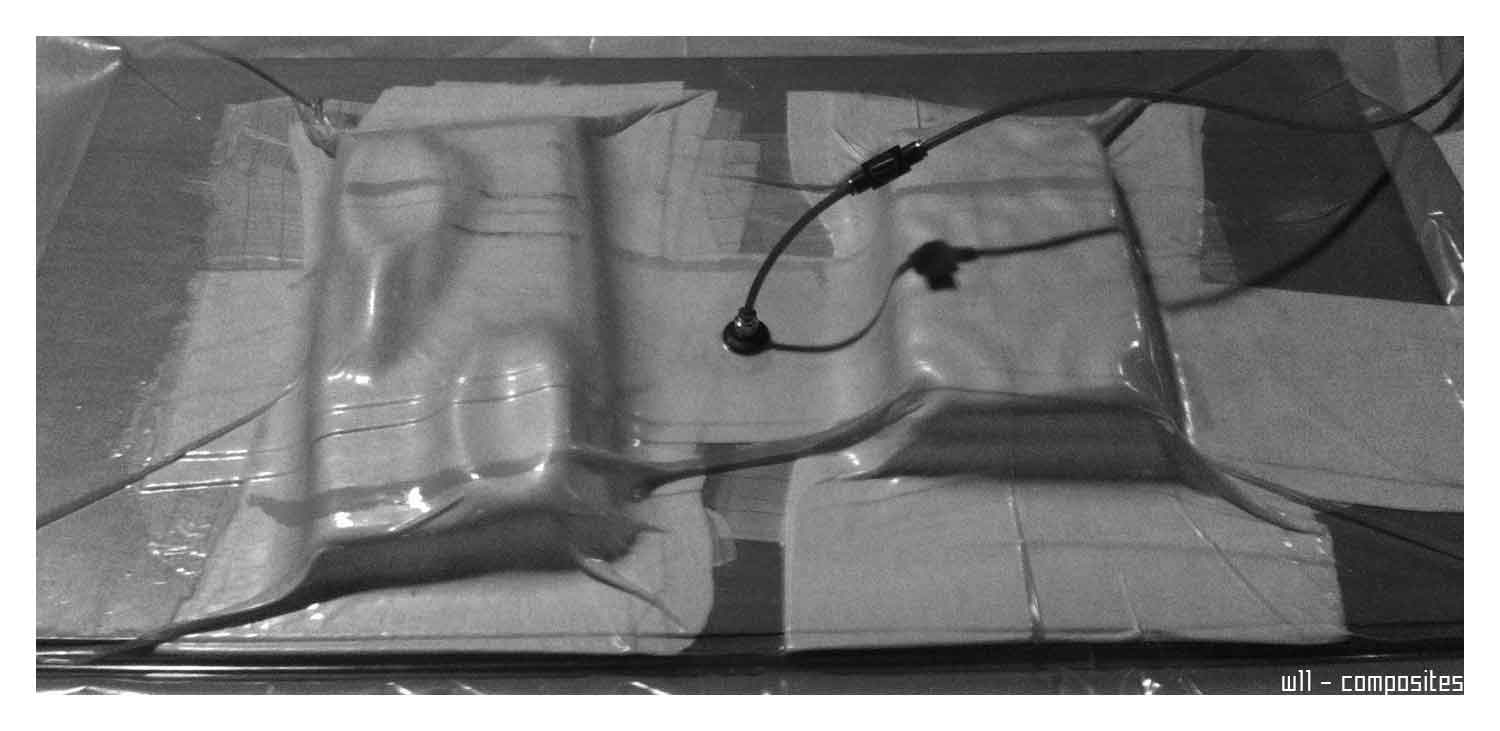
Vacuum bagging (or vacuum bag laminating) is a clamping method that uses atmospheric pressure to hold the adhesive or resin-coated components of a lamination in place until the adhesive cures. (When discussing composites, “resin” generally refers to the resin system—mixed or cured resin and hardener—rather than unmixed 105 epoxy resin.) Modern room-temperature-cure adhesives have helped to make vacuum bag laminating techniques available to the average builder by eliminating the need for much of the sophisticated and expensive equipment required for laminating in the past. The effectiveness of vacuum bagging permits the laminating of a wide range of materials from traditional wood veneers to synthetic fibers and core materials..
step 05 - board
final board
step 05 - board
final board
Weekly Assignments