| Index About Me |
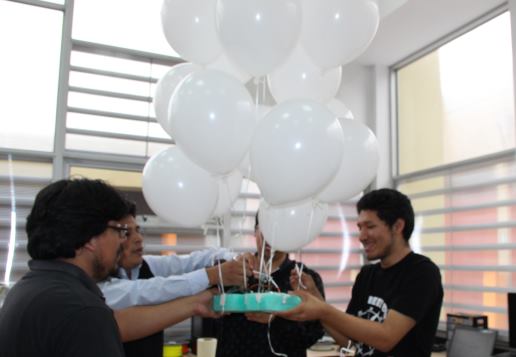
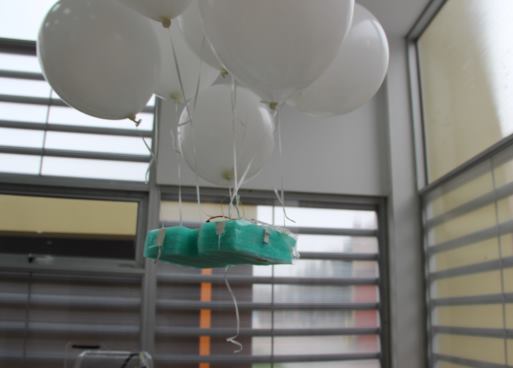
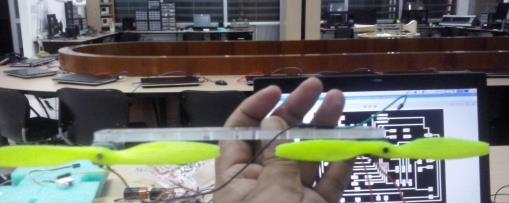
Final Project NotesThe name of the game is Integration. After the Final Presentation Session, I have been working to improve the functions and capabilities for my airship prototype. A few photos of the final presentation make-of can be seen below, first, aligning and balancing the airship and second, letting it float, which worked:
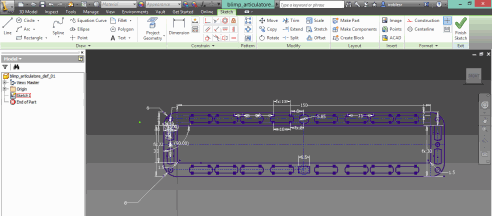
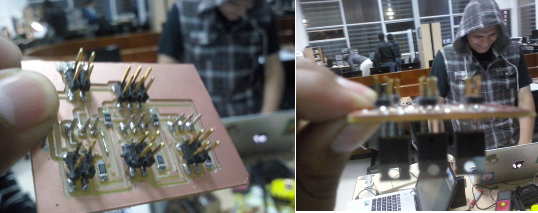
After the first presentation, it was clear that some improvements needed to be made to the model in order to render it functional. These were: Propelling: a single DC Motor and a propeller would not be enough to move the canopy, for the second version I decided to add support for a second motor and another propeller Control: A single MCU would not be enough to deal with the DCs and the servo on its own, it needed support if it was to power both. This was addressed by making the power distribution board described in the Project Development section and connecting the motors to different MCUs, this meaning the next version would use both an arduino and a fabduino. Mechanical Design: In order to accomodate for two DC motors and two propellers, the articulator piece made and talked about in the Mechanical Design section had to be changed, made even wider, I returned to Inventor to modify the previous design
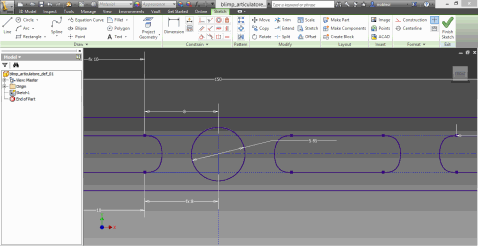
Since this new piece would be significantly heavier, the
miniservo I used in the previous installment would not do, I chose a
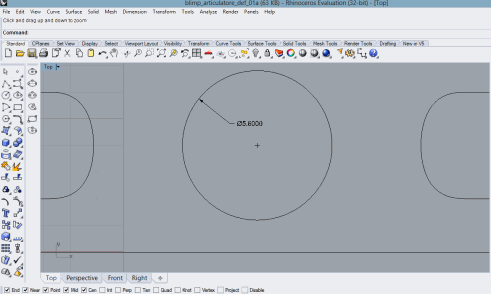
bigger, heavier Servo Motor, this servo had a bigger axis diameter, I
measured it with a calliper and added for ther laser kerf. However, once cut, the piece fitting was too loose to work, so I took te exported design and edited it in Rhino (no need to return to Inventor to edit) just change the fitting part and cut it again.
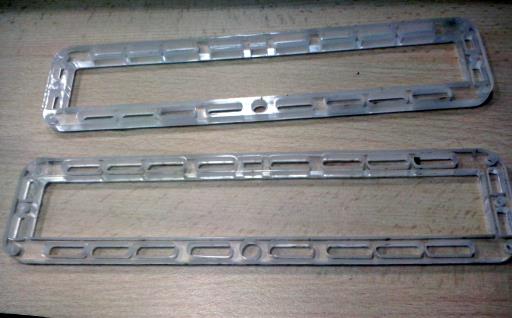
This time the result was as expected, and the new servo piece fits the servo perfectly, both cut pieces can be seen below, the best fit being on top:
The next step was the assembly of the steering/propelling array, in order to do that, the DC Motors had to be bonded to the articulator piece, these was done using double-sided adhesive tape in the articulator and covering the DC Motors with insulation tape to increase their adherence, since the double-sided tape did not work on the motors alone. No more fixation elements were needed, this helping the cause of keeping things as light as possible.
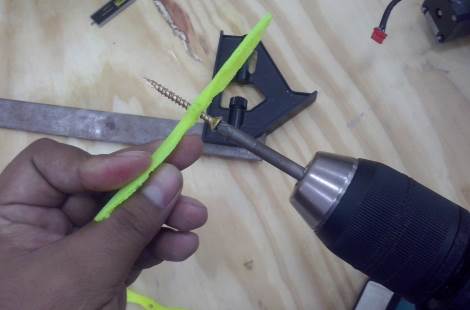
As it can be seen in the image below, the main reason behind expanding the articulator is the length of the propellers, as a shorter distance would have caused them to interfere with each other. As I was assembling the array, I found that the shaft's diameter of one of the motors was greater than expected, so I used the electric screwdriver with a screw as a drill, after several attempts drilling in and out of the propellers attachment hole, it was able to fit in the DC motor shaft.
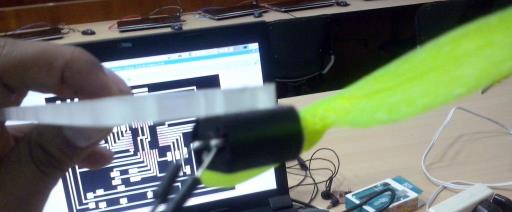
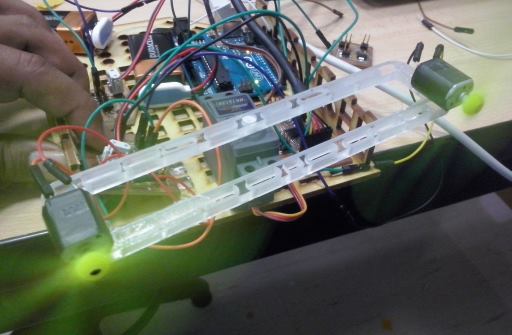
Then, after assembling this array with the servo, it was time to test the if the steering and propelling combined worked. The motors were connected to the power distribution board mentioned in the Project Development page.
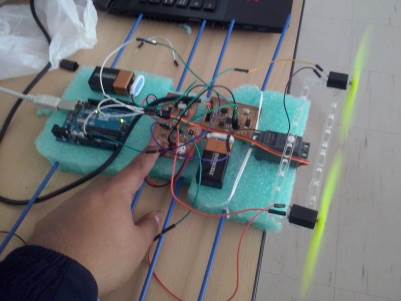
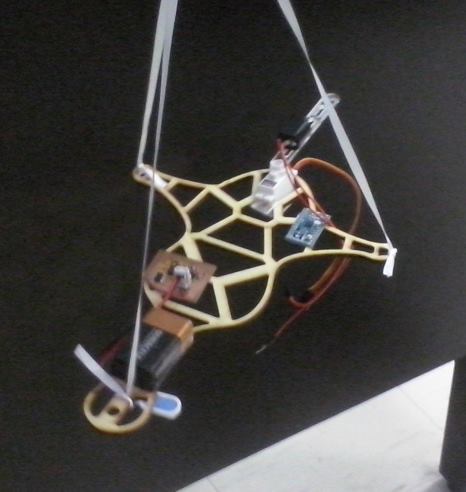
The servo was on fed on energry from a 5V voltage regulator connected to a battery, and controlled via an Arduino board, the control signals for the DCs would come from the Fabduino board. The integrated system can be seen below.
In order to avoid the propellers hitting the canopy box while steering, I reduced the rotation angle from 60° to 30° by changing the Arduino IDE servo controller code, in this case, the servo would go on a three-staged arc, 74° - 89° - 104° and back.
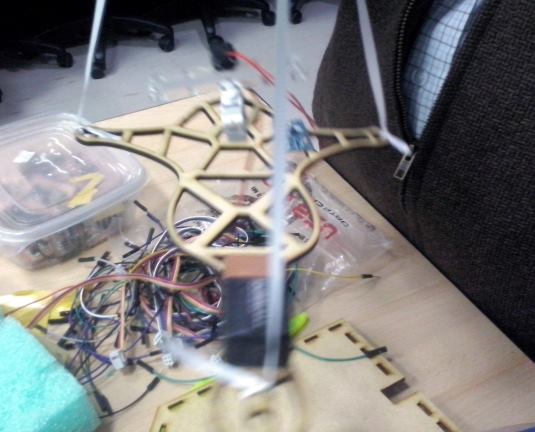
This can be seen in the video below: 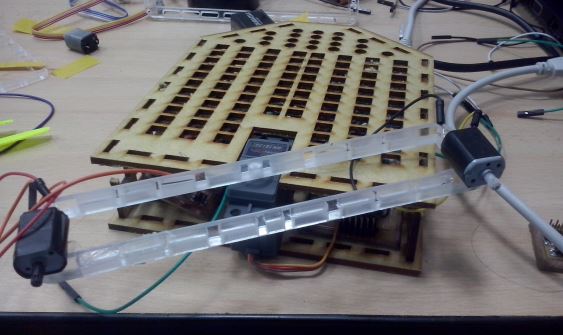 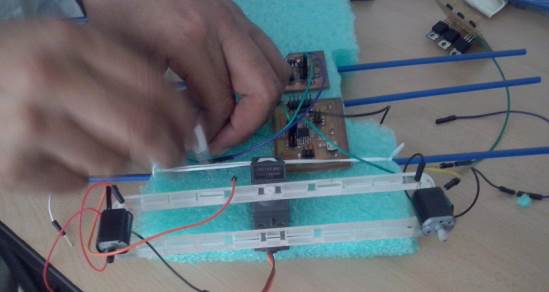 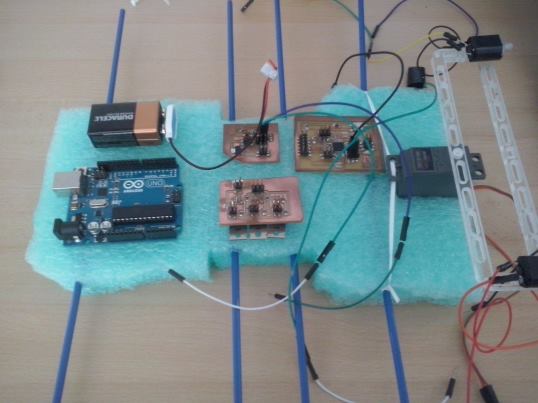 To acheive this,
I started from the foam canopy of the first version
and, removed two layers of foam and added plastic tubes to
attach the baloons to them. After re-wiring and pówering the MCUs, we
were ready to test the motion again.
    Lessons LearnedPlanning, well done, can save you a lot of time.Spiral development can really get things going by making you focus when it counts. Persistence and well-intended help can make the difference in your project. The electronics can certainly be improved, and in the end, a whole fabduino is too much processing power for controlling DC motors. Balloons can be trick to handle, in order to improve the reliability of the project, a way to make a DIY Zeppelin would be more suitable. What comes when?I have gone that in some detail in this matter in the Applications and Implications Page Final WordsThis course have been an invaluable experience and I am deeply thankful to my instructors, the lab assistants and my fellow students, It's been a great time and I loook forward to keep improving, creating and sharing. |