3D scanning and printing
on this week's assignment we had to scan a 3D object and design something to be printed in 3D wich its form was not possible by other means of fabrication.
I tried the Kinect scanning approach. I was interested on the fidelity of the scanned results and its limits of scale (which was the smallest scale object possible to scan?). I was also interested in real-time response of the aproach and lag.
I tried 3 different software solutions for the kinect, with very different results. ReconstructMe was the worst one, or at least, the one wich I've got worst results (More on this latter, as I found the source of many problems when scanning with Kinect).
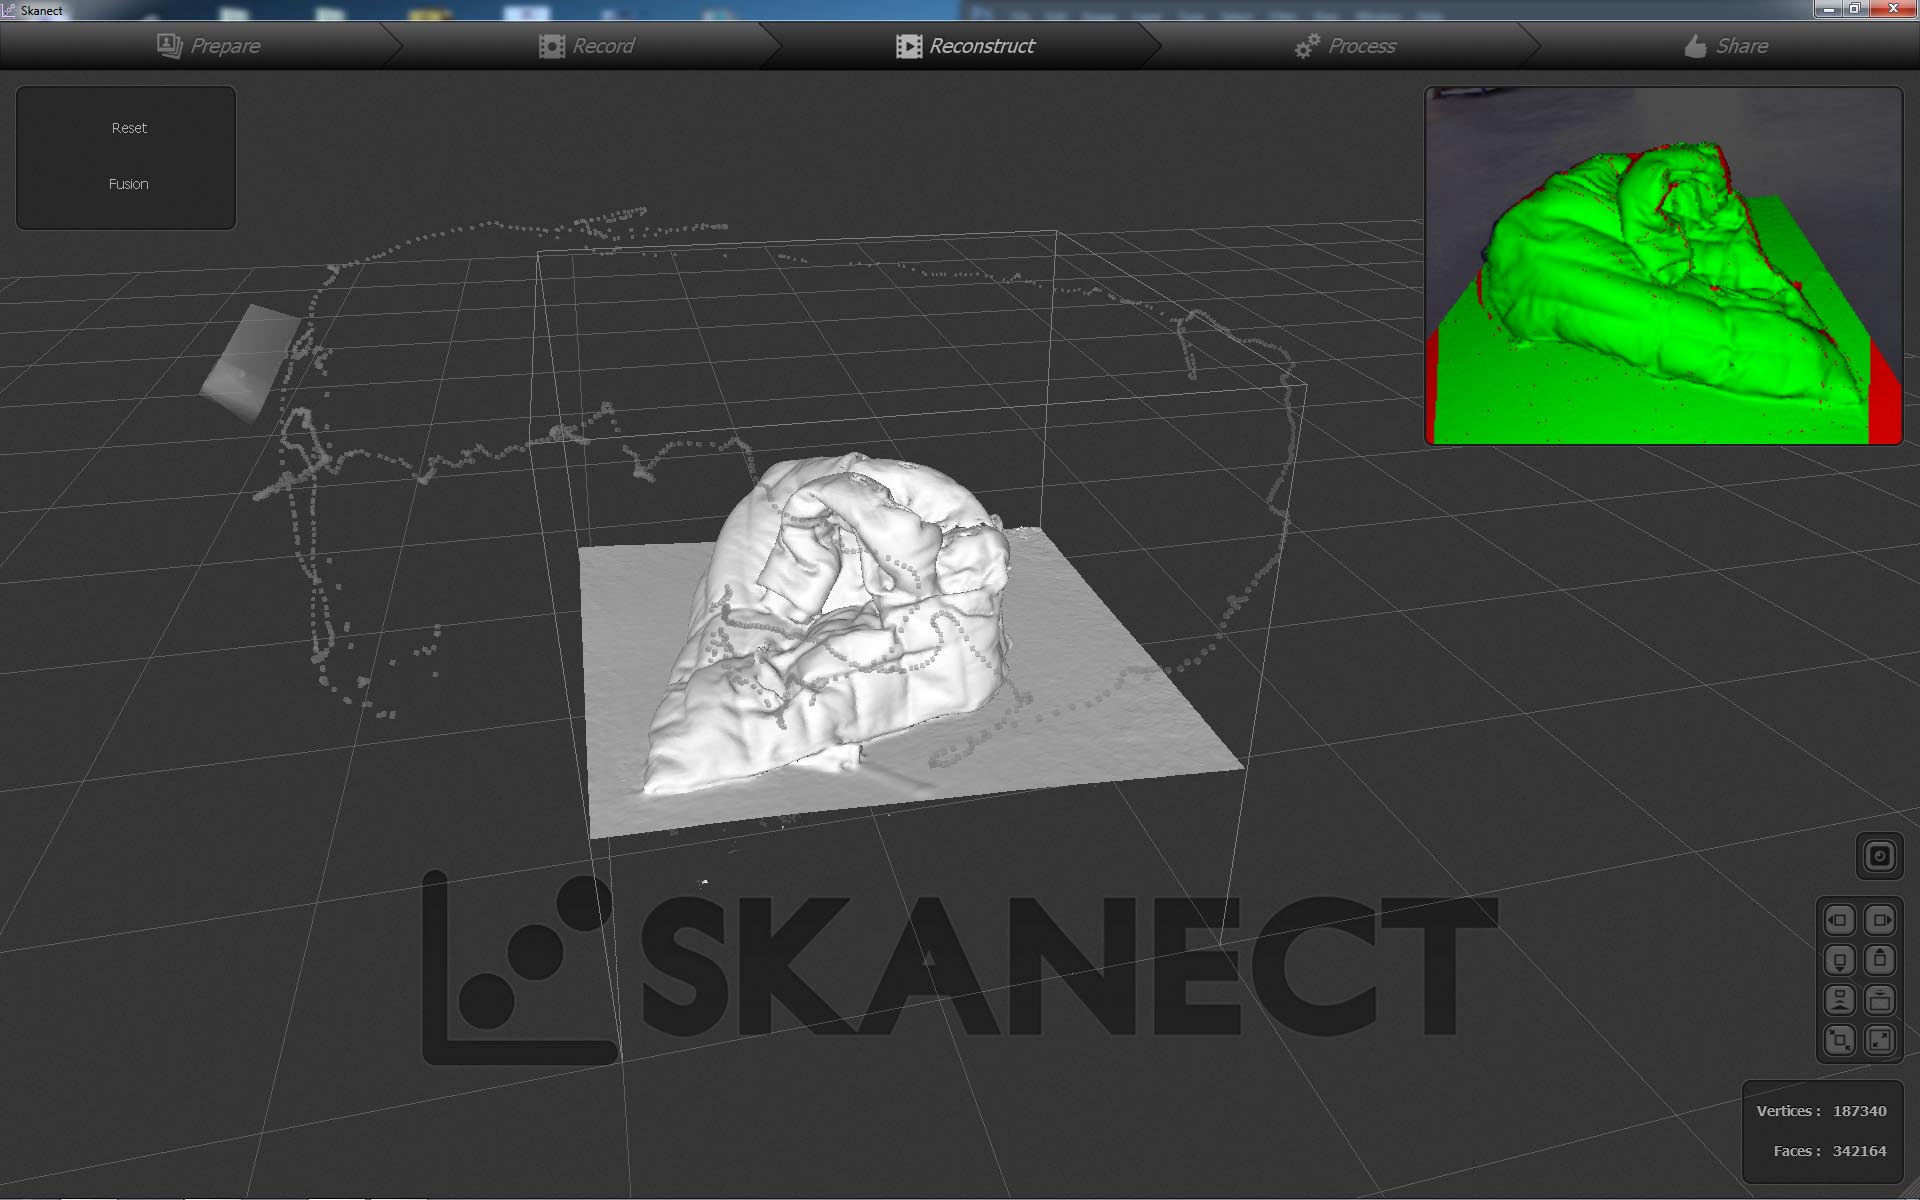
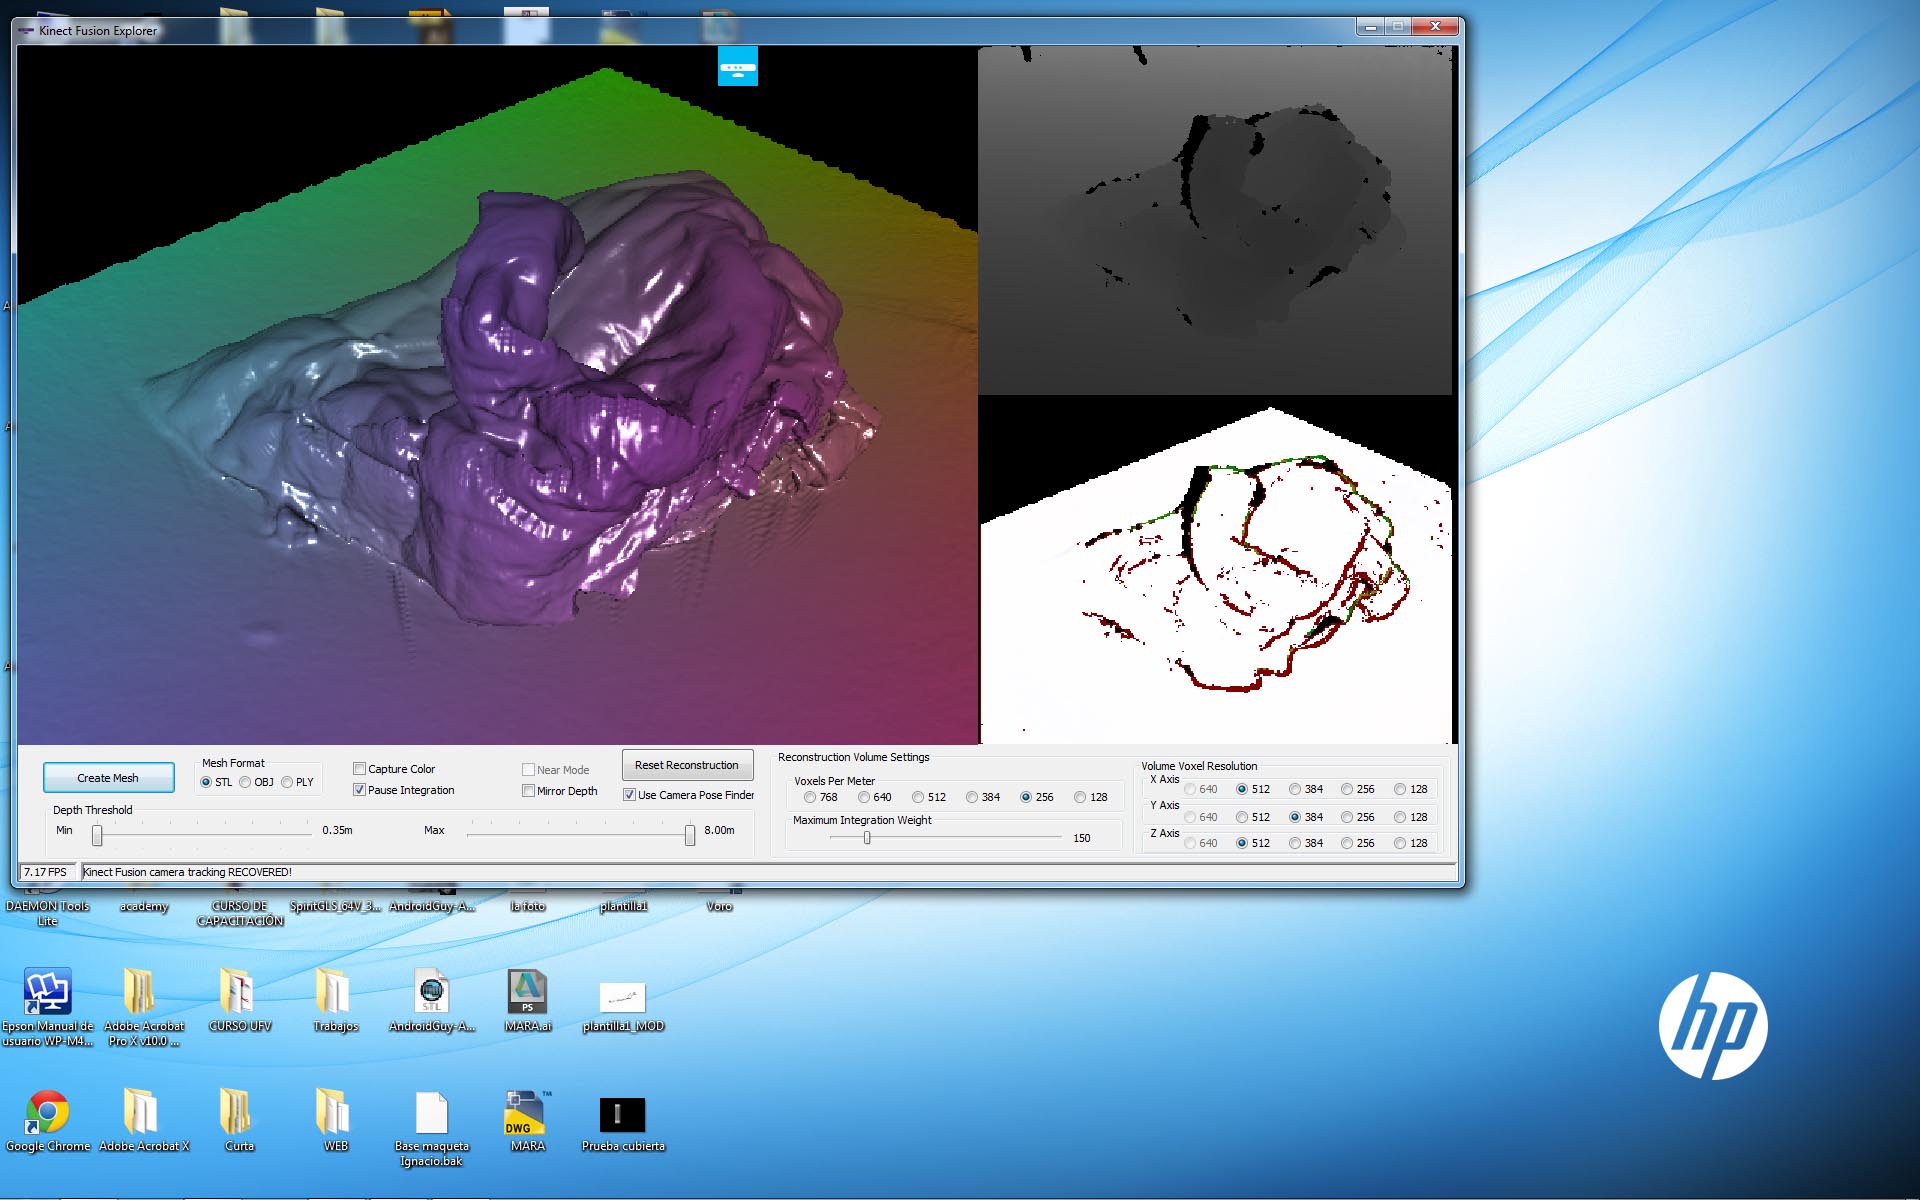
Using Microsoft's Kinect SDK (Verson 1.8) and the Fusion demo was a much better experience, but still far from the results wich I saw In YouTube done by other people. The best results I've got was with Skanect (Version Beta 1.6). It was easier to acknowledg the scannning volume and results were more consistent, although the offline fusion got worst results than the real-time one.
One thing has to be explained to understand whether the results are going to be usuful when sacanning with kinect or not. When using Skanect, I noticed that GPU was disabled for its duties of computing the mesh.
I got the latest drivers of the GPU (a Nvidia Quadro 600) and CUDA computing could be done and checked. The results when scanning with this approach instead of just using the CPU were better, faster and more responsive. But we have to keep in mind that the Quadro 600, even being a "pro" GPU, is not very good. You're mostly paying for homologated drivers for Autocad, etc.
The Quadro 600 has only 96 CUDA (computing) cores (with a 40Watt consumption). Let´s keep in mind that, an enthusiast mid-range Nvidia GPU as, let's say the GTX 770 has more than a thousand cores, which mean an order of magnitude not to be understimated when using a GPU for this duties. A GTX 780 TI has 2880 CUDA cores... even better, and more expensive. What's interesting is that a GTX 750 TI has 640 CUDA cores, a 60 Watt power consumption and a 100 dollar price, which make it really interesting piece of equipment for a FabLab.
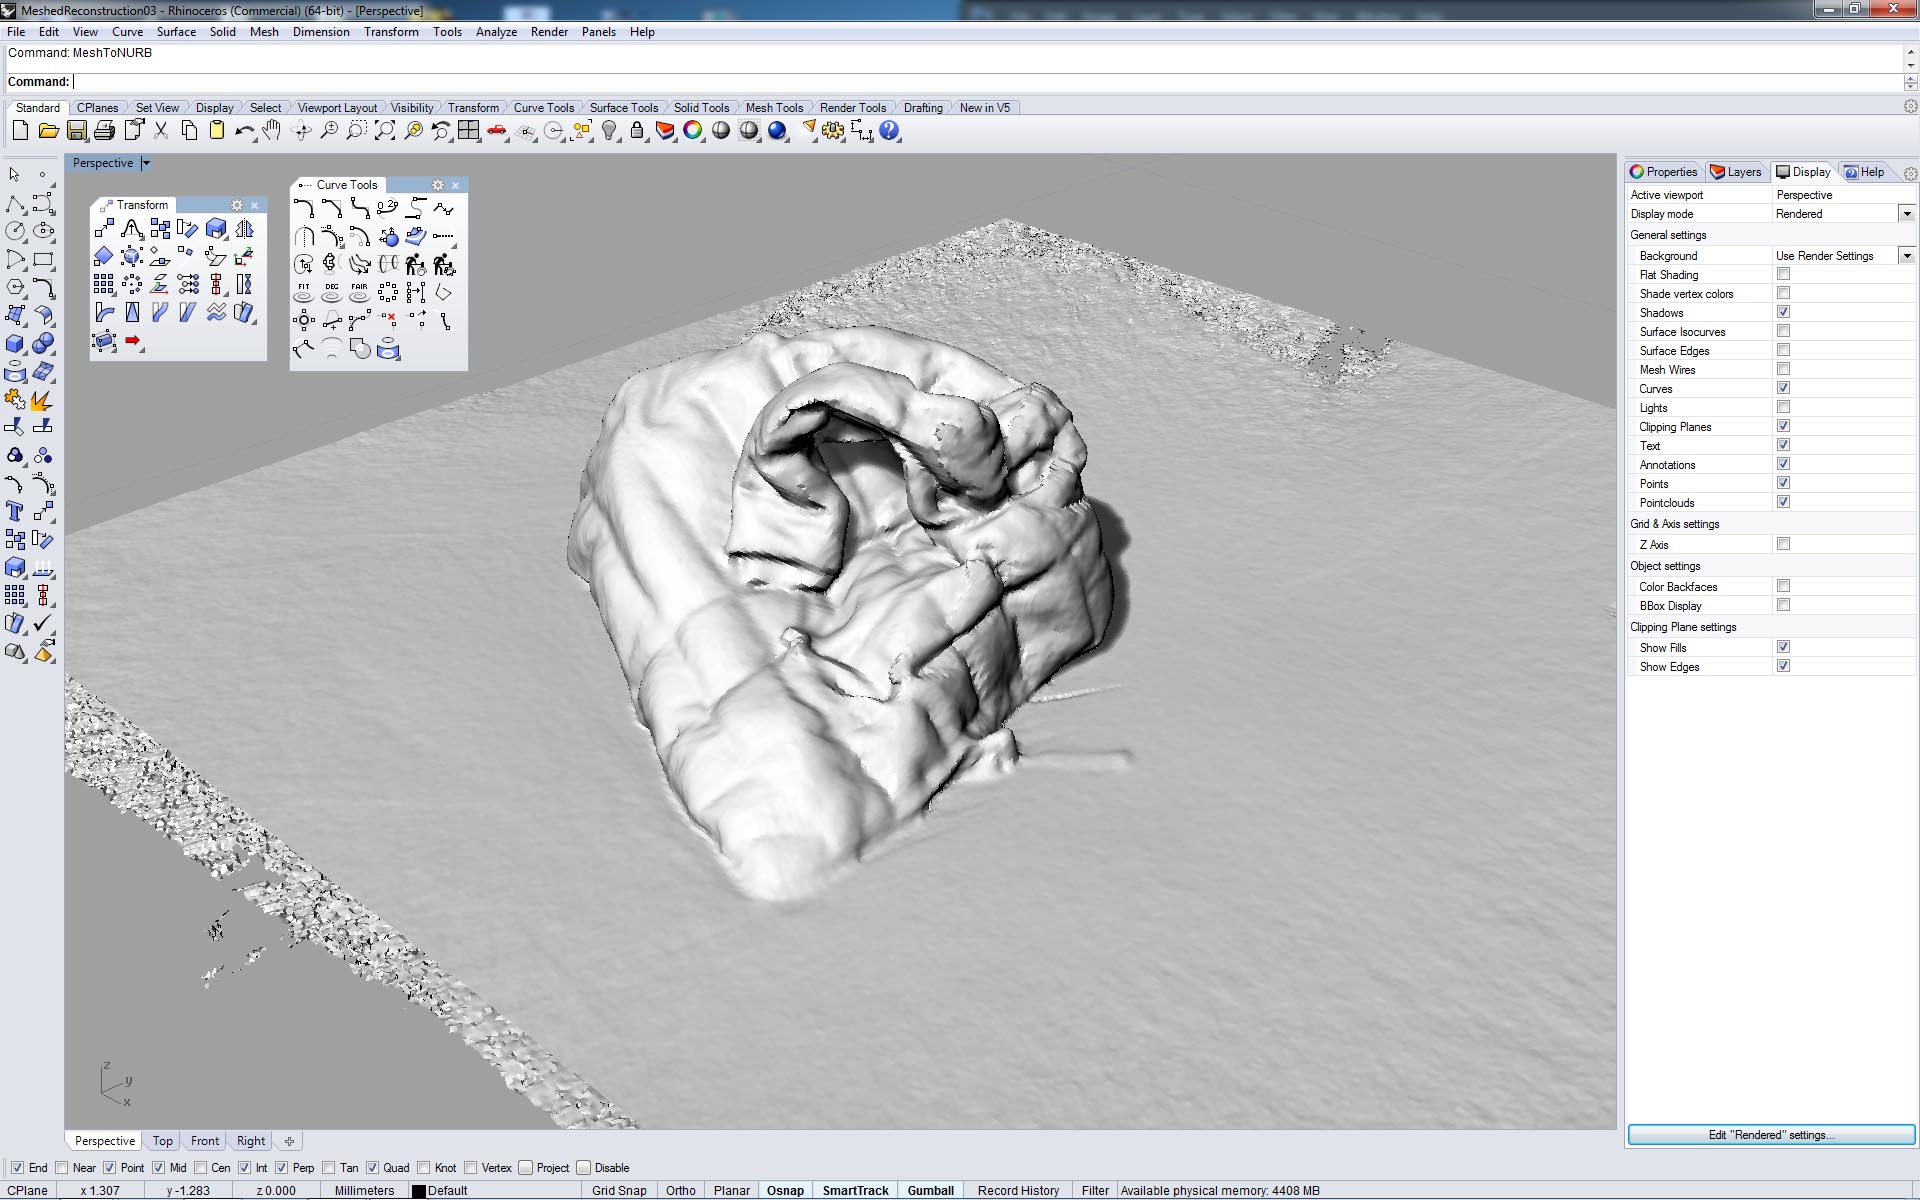
I present the scanned results (wich I consider a failure) as a proof of the aproach used with actual equipment, I plan to revise this part as soon as we get the 750 TI wich I think will get FAR better results.
Next wast 3D printing.
The printer in the Lab is the Makerbot Replicator dual. We mainly use a combination of programs for getting the best results with it.
Design is done with Rhino.
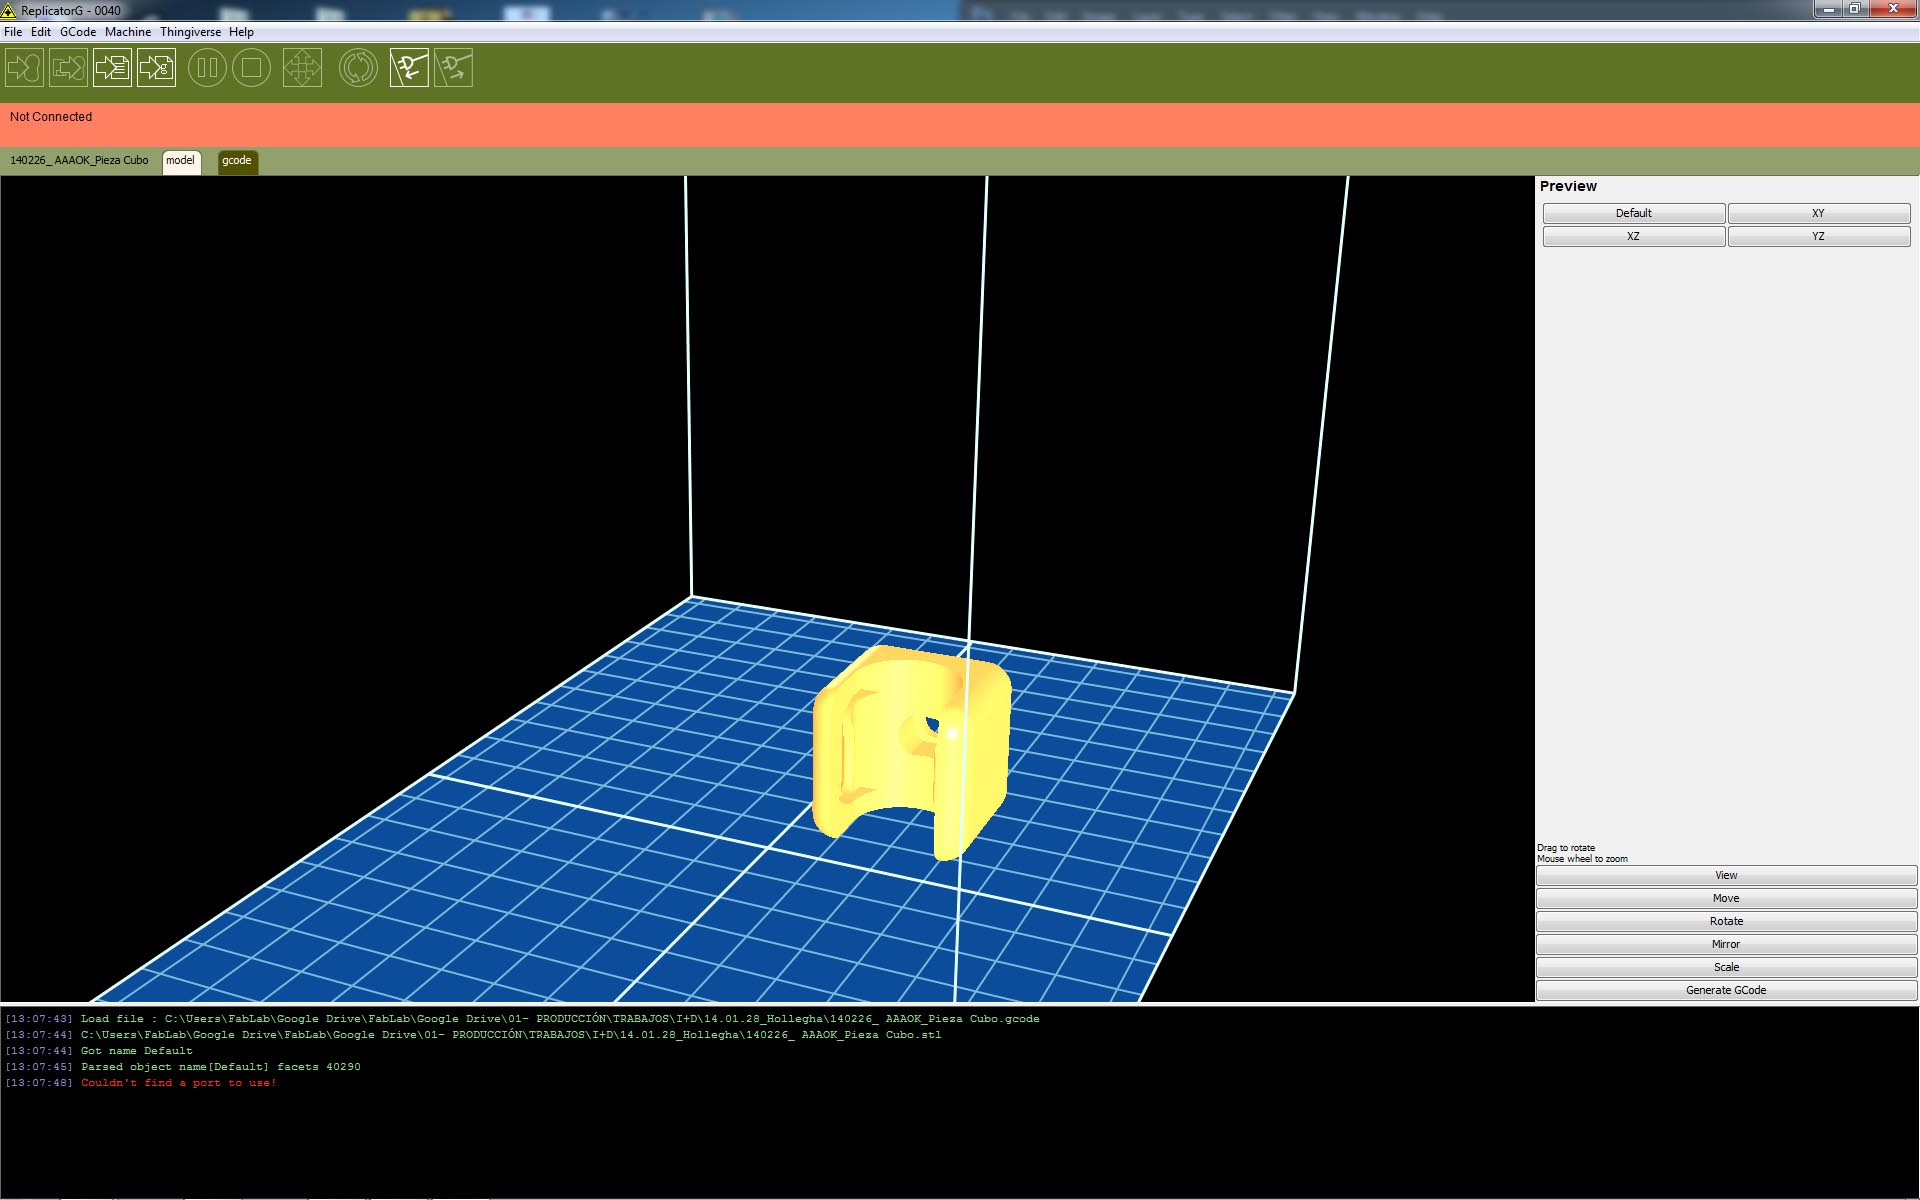
Then the STL is exported to ReplicatorG to generete the G-Code. We find it much more interesting than MakerWare software, mainly because the options allowed in Skeinforge (the slicer we use with ReplicatorG). That options are critical when you're using experimental filaments that are not ABS or PLA.
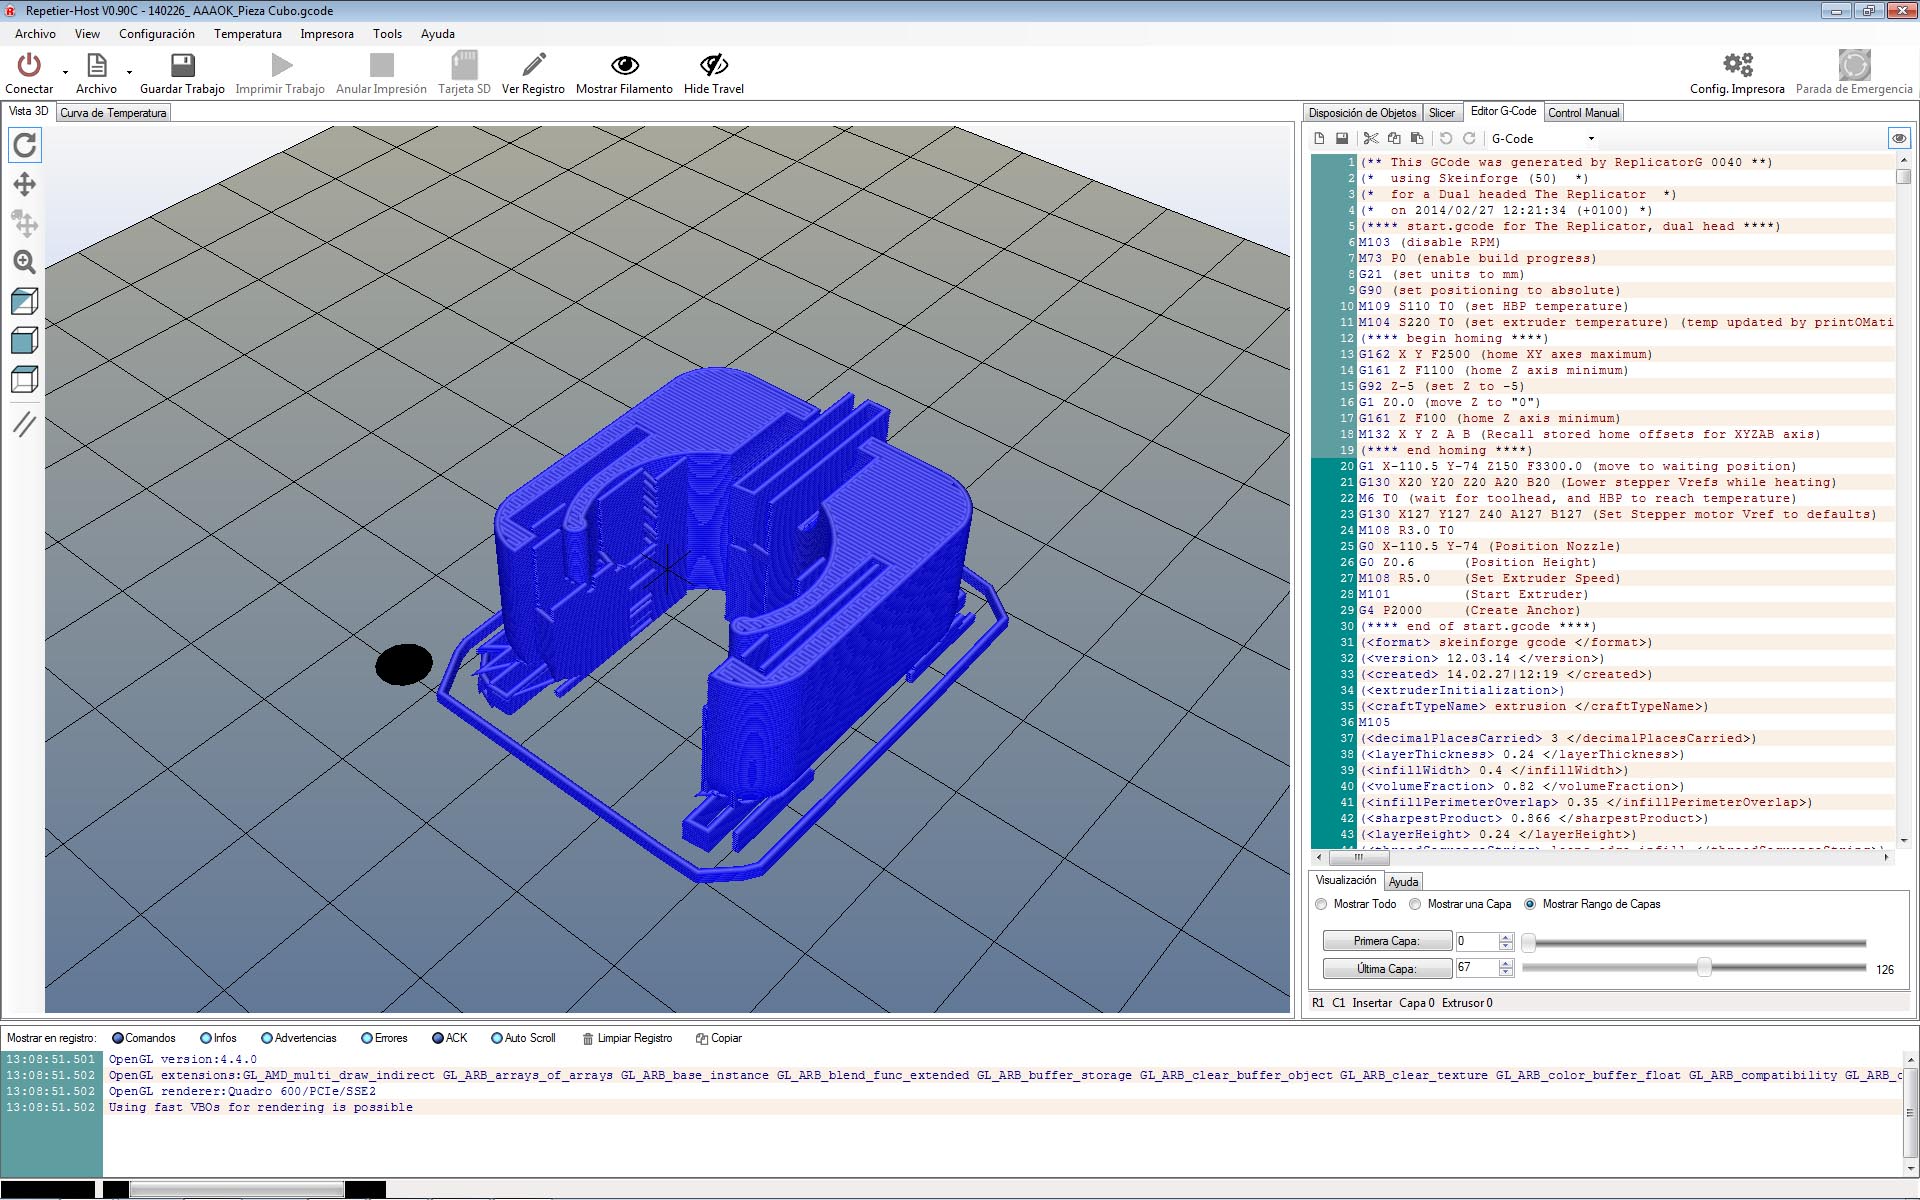
One step we have learned to do before writing the G-Code to the SD card is checking the code in Repetier-Host. Repetier is a really useful software for 3D printing and the use of it with its firmware (that we DO NOT use, because if it ain't broken don't fix it mentallity) will probably get the best and fastest results (Py-Py faster than conventional Python, not shifting between software for checking the preview, etc).
What we do is use Repetier just as a preview. And TRUST that Repetier preview!!! If you see something strange or unexpected in that preview, it will be just as bad in the printed object. Even minimal things, like shelling or infill gaps are represented acurate and trustworthy.
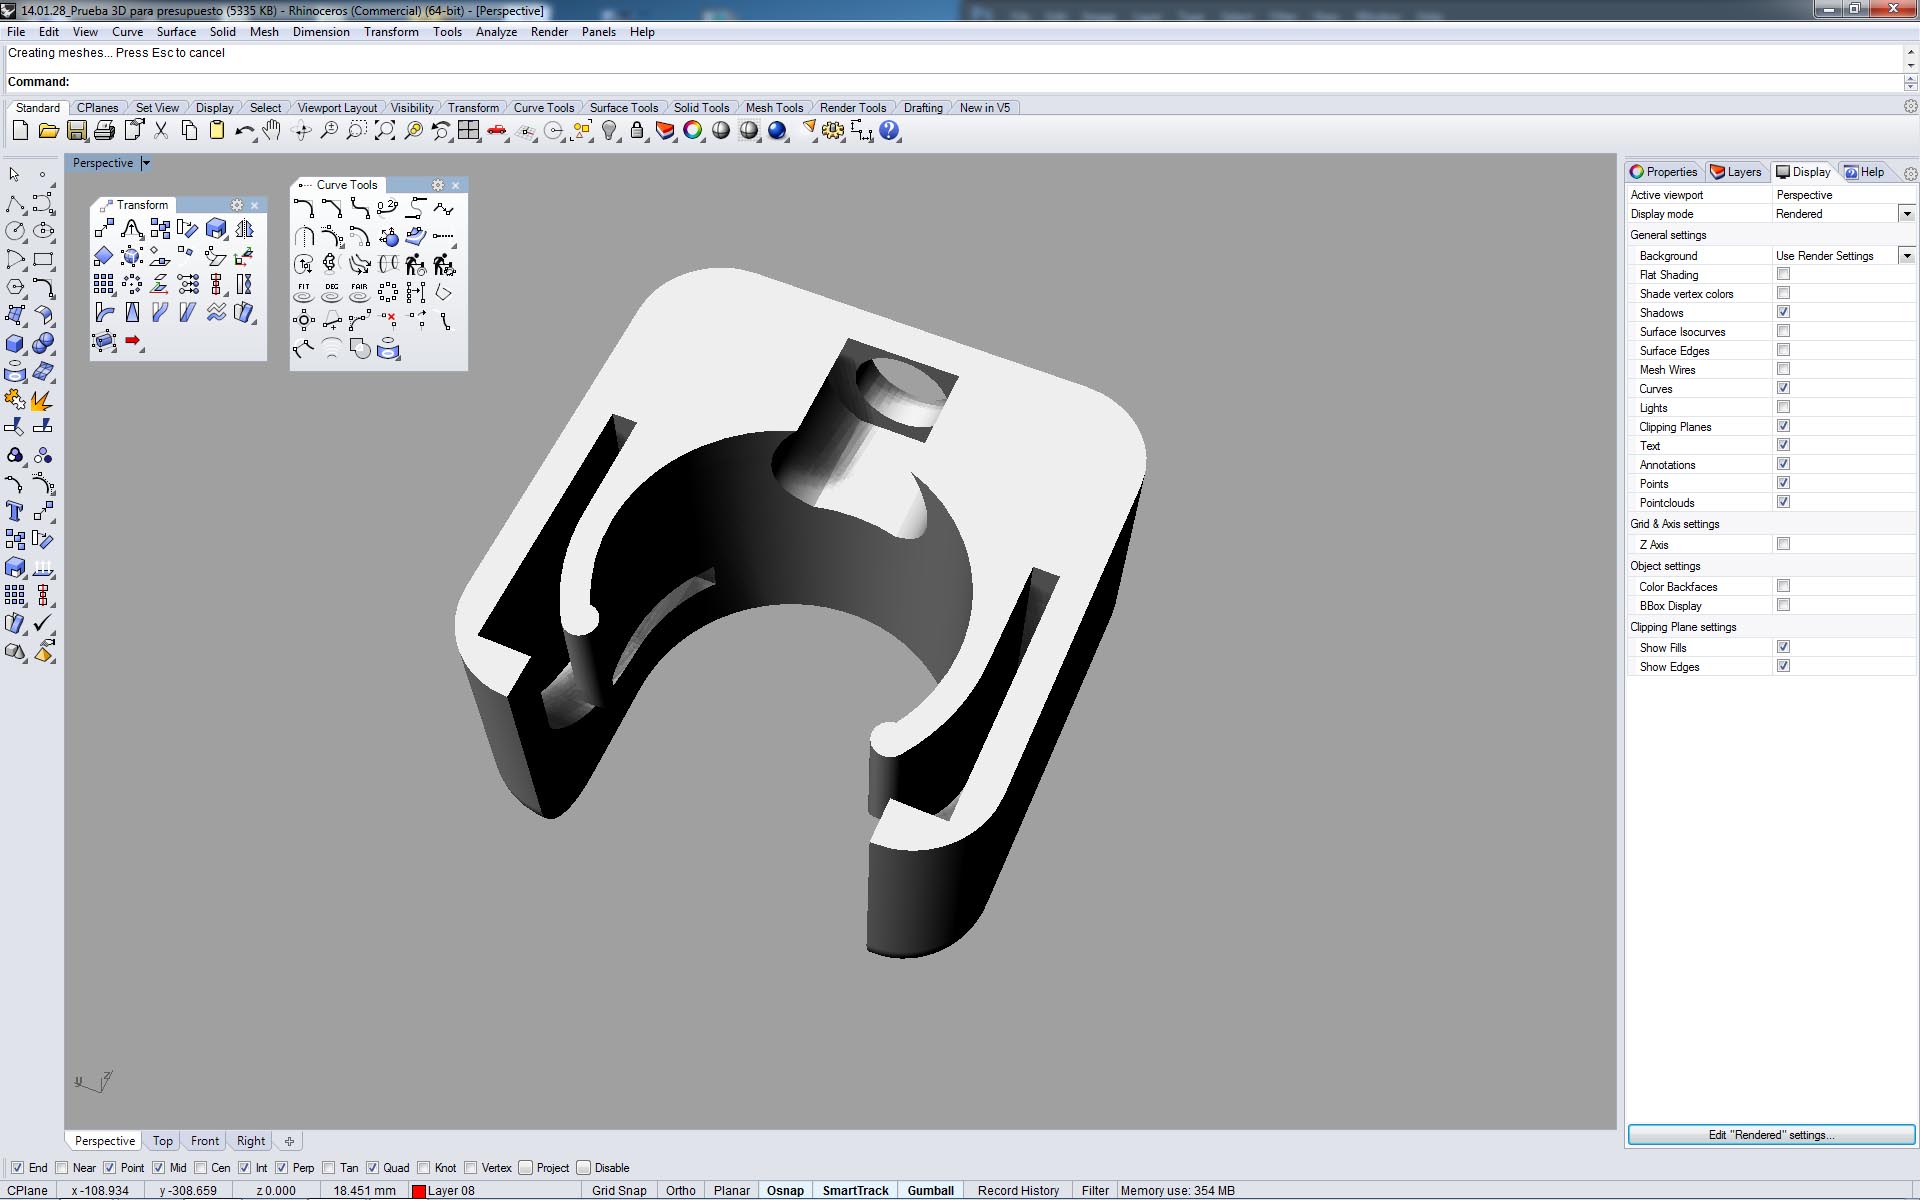
The part I was triying to make is an evolution of the design for the children construction set done for Week02. As can be seen in the cross-section axonometry its a design of to parts printed really as one. One exterior shell that covers the clamp itself, that has to be rounded, kind to be grapped.
The other is the clamp itself, that attaches to the stick and its used as a joint to combine them in different geometries, two of the parts can be attached also facing opposite sides with a nut and a bolt.


The geometry of the clamp part and the tolerance gaps needed between it and the shell in order to make it "click" to the wooden stick, make it impossible to achive the same results (in JUST one part) with other approaches such as molding, instead of using 3D printing.