April 2013
Embedded Programming / Input Devices / Composites / Output Devices
Electrical things continued.... Embedded Programming
I'm just writing it as it happens, so it'll be annoying if I'm the random page. If I get stuck on one thing, I carry on with another until I find the answers for the first problem. That's my system. *cheesy smile*
Finally, finally got the USBtiny working!!! And had a holiday on a tiny Pacific paradise as well....
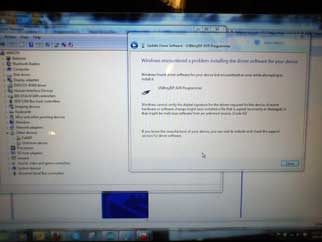
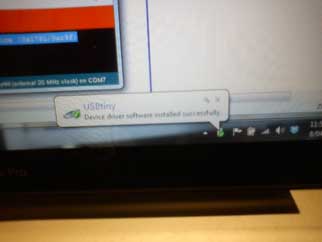
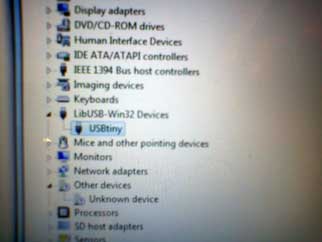 There was no driver... doh! Took a while to get that one sorted, but getting used to spending time in the device manager now with all our machinery behaving strangely at different times. So excited to finally have that done. Still not sure whether the USB 2.0 made a difference as well, but we'll see, as Stu was working on Mac and having the same error message as me on the Windows side.
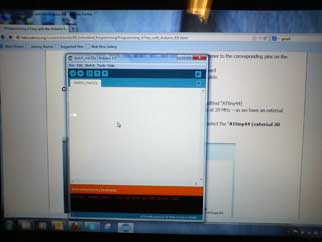
But now I'm getting an error when I try to activate the button. Sigh... the Highs and Lows of embedded programming. That's a joke - an electrical arduino button joke. High button, low button - gedit? That's another joke in there too, an ubuntu one this time with a NZ accent.
![]()
Input Devices:
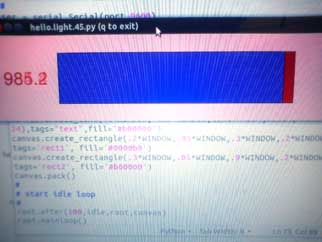
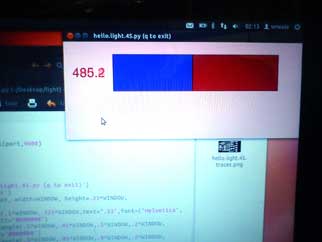
I chose to do the phototransistor using the tutorial that Anna has put up on the Content site - thinking that it would be the task that would help me towards my goal in the final project of using lighting within the standing desk that responds to the environment. The UI came up but didn't respond to light change initially, but then I switched computers and it worked perfectly. Must fix the other computer...also having troubles with permissions reverting every time we log off or shut down that computer. Apparently that's common.
The link for these files is here.
![]()
![]()
![]()
Composites:
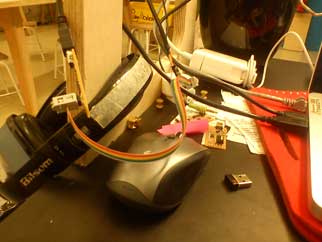
I started with the idea of making a light shade by laser cutting a circle of fabric into a 'net' which can then be pulled over a form. The first test was using felt, but of course the fibres are too short for it to retain integrity. It was a useful test though and helped me refine the net parameters. After that I moved on to a linen fabric, as recommended and used my water bottle to form it. I've decided to lay up three of these fabric 'plys', and did a test vacuum using a ziplock bag without resin - so that I could work out the Venturi with our compressor unit. It's been a long time since I've vacuum bagged. I'll do a couple more tests without resin, making sure I've got the right combination of breather and release film, and the process in hand, then I'll move on to the real thing.

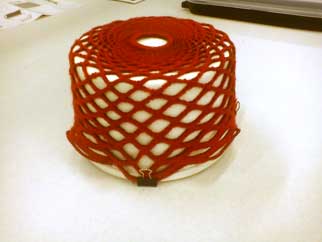
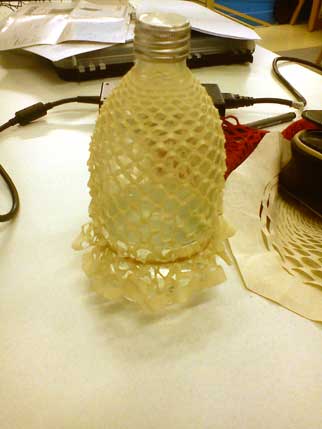
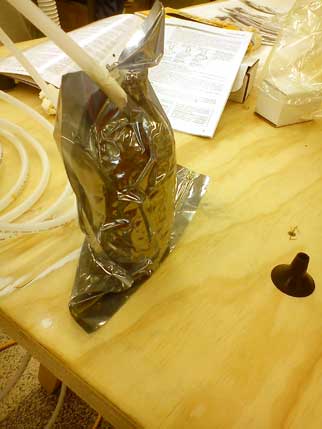
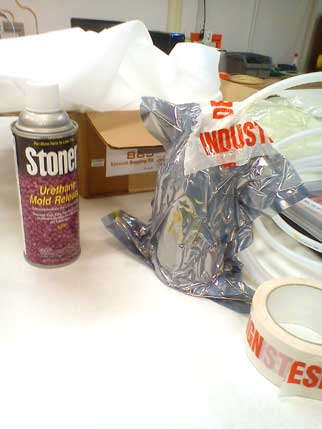

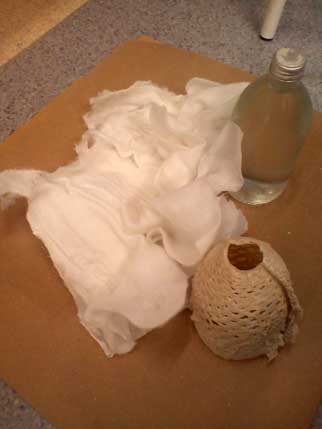
So, it all looked pretty good in the dry run, but the proof is when you include the resin, isn't it really.... While I successfully managed to generate a composite, it isn't the ideal controlled outcome that I'd wish for. I filled my bottle of water up with warm water to speed up the process of curing as well as reducing the possibility of the bottle popping under pressure, but I think I'll have to make another mould as the fabric changed under pressure and needs a slightly bigger mould to form over. As you can see from the above images, it took quite an effort to separate the breather fabric and film from the resin-impregnated linen. Though the 'lightshade' came off the bottle like a dream, thanks to Stoner.
Interface and Application Programming
Because I did the phototransistor in the Input Devices project, I decided to continue with that. I managed to mess it up more than change it, but I suppose that's the way to learn... My UI now has a pink background, with much smaller text and I played with the colours of the rectangles as well.


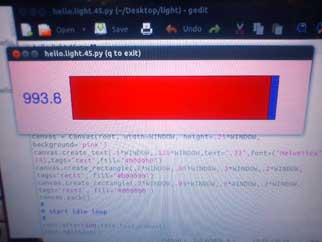
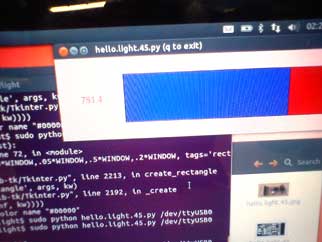
Pretty happy with that. Though I wish I could work out how to do a screenshot in Ubuntu on a laptop- it's different keys for the Mac side and the Windows side, but nothing I've tried works on the Ubuntu side.
Output Devices
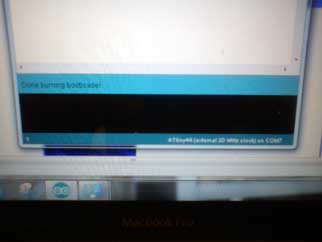
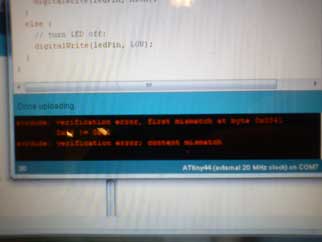
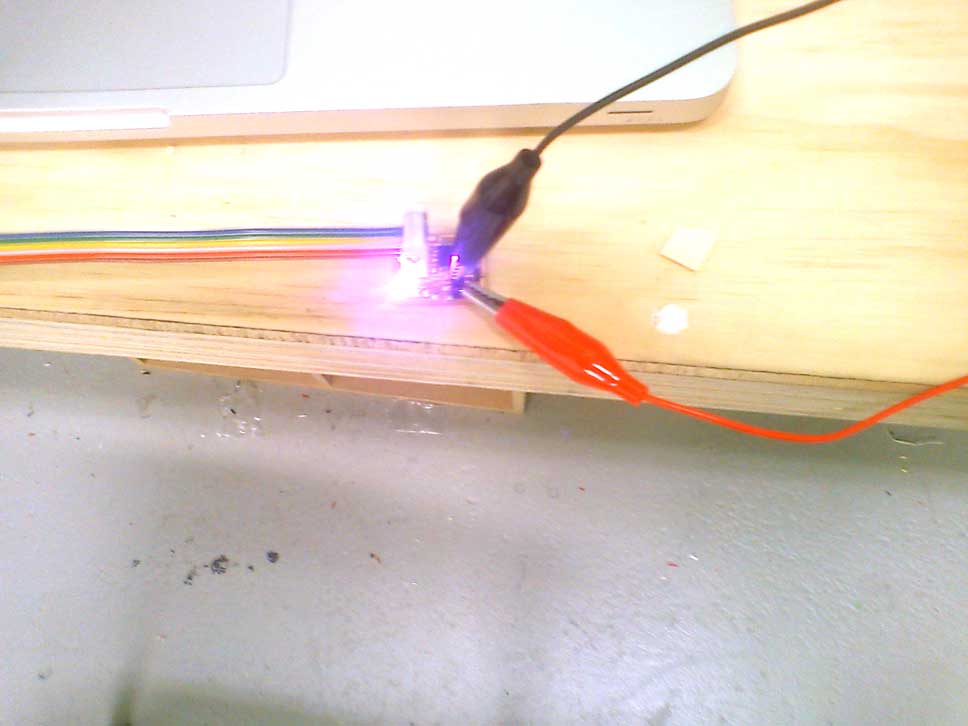
After speaking to Bas about what I need to do for my final project, I decided to start with the hello.RGB board. I'm getting pretty fast and good at soldering, so that's exciting. It was with a deep sense of satisfaction that I plugged it in to programme it. It didn't work.
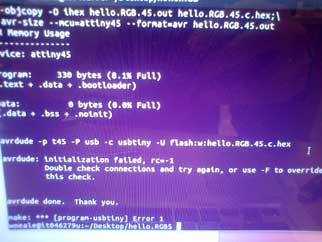
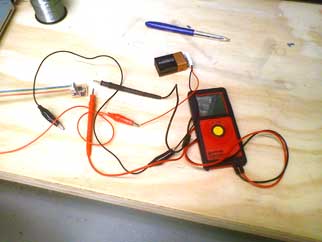
And the battery got pretty hot. Whoops - Bas suggested that I had a short, so I pulled out the ocular device and found a swarf curl of copper running between the light and one of the resistors, then whipped out the multi-meter to test all the connections and it all looked fine. I ran the programme a few more times, tried a few different USB ports on my laptop including dropping it through a USB 2.0 adaptor. Almost the same result, but I saw that twice the ports didn't recognise the attiny. SO... I moved to a desktop 'puter and ran the programme again, and SUCCESS.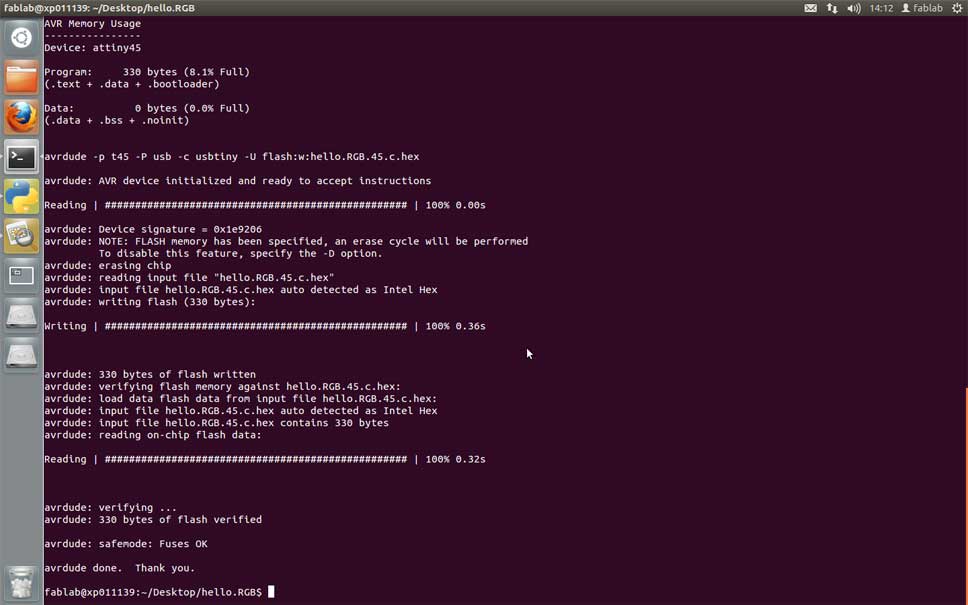
Just one more thing to troubleshoot - it's only cycling through red and blue, so I'll have to look at why the green isn't working.
While all this was happening, we had an introductory Arduino course which was awesome (partly because I already knew a bit from Fab Academy and could ask questions that were useful) and the Christchurch Wikihouse project was building their first full scale section on our shopBot - noise complaints from next door again, but the house jigsaw is being put together as I write, and it's looking good.
I fixed it - Bas suggested I look at the resistor associated with the green light. I checked it and found that the current wasn't flowing through it, so took it off, cleaned up the PCB using the de-solder braid and re-attached the resistor. Green light is go. The files for this are here. I also made the unipolar stepper board, but didn't end up using it, though Stu used it to play with for our compost project.