
How was made:
On the computer controlled machinig assignment, you can see, how the wood base for the slot car circuit was made, and you can download the circuit desgn file.
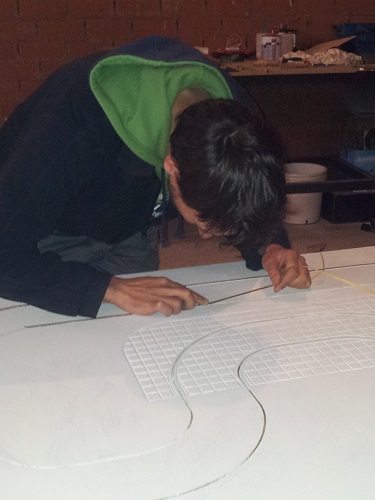
I use 2440x1220x18mm MDF table to mill the tracks. I used two different tools, a 3mm two edges mill for the tracks (it will be about 6/8mm deep) and a 90º 20mm mill for the rock flooring zones (I set 2mm deep in this case, to get o rocks flooring surface).

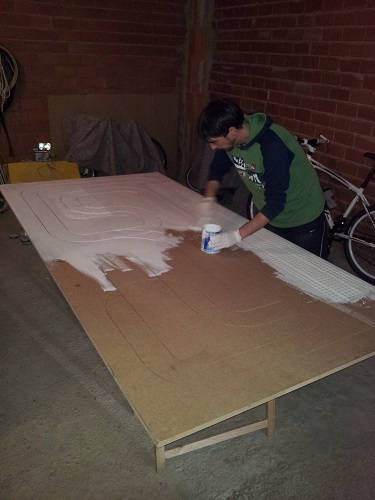
Once our wood base is allready, now we paint it with sealant paint, to prepare the wood for the final paint.
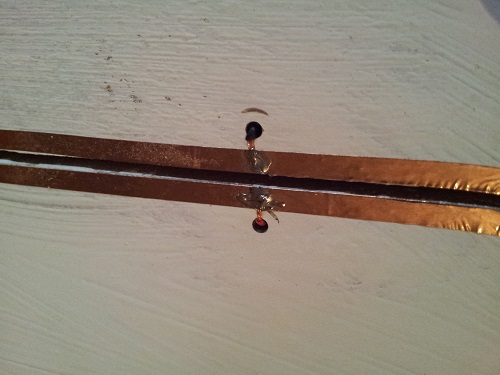
Now it's the time to put the adhesive cooper stripe, I used 5mm wide cooper stripe.
You must out cooper carefully in both sides of the tracks, this cooper will get the power from power supply to cars by resistor power controllers.
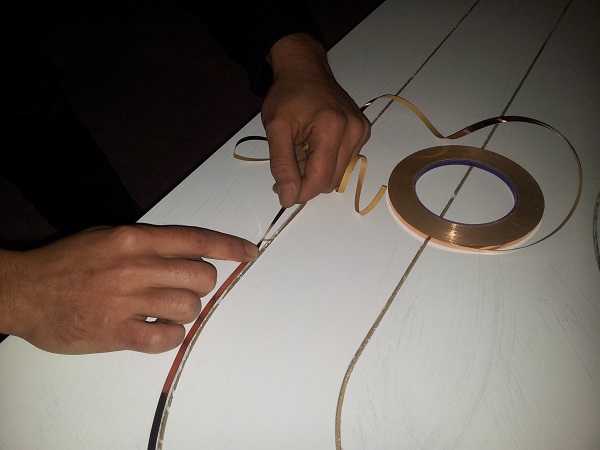
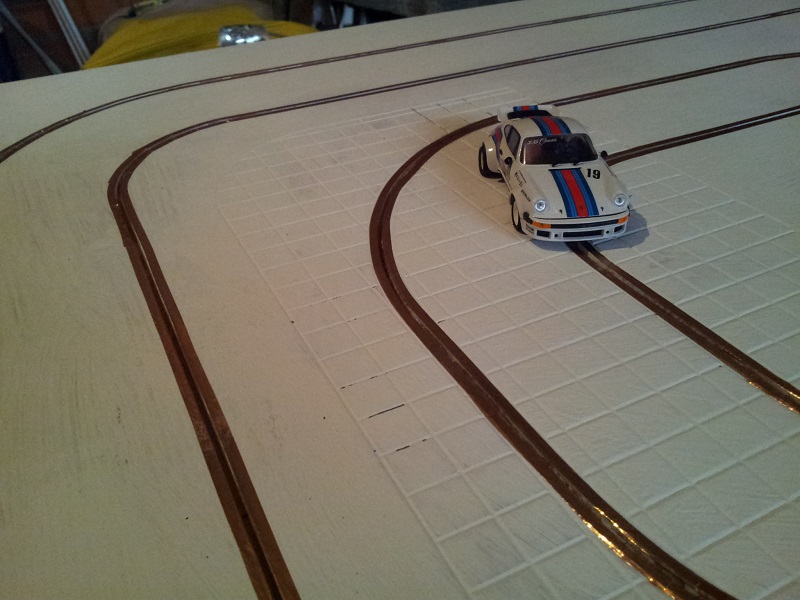
It's important that the cooper are very smooth, to get the best contact between cooper and car. You can test it by moving the car all over the tracks a couple of times.
To get the power from power supply to tracks, we make some holes near the tracks, to can solder small wires to the cooper. If the tracks are very long, it could be good to hve at least two or three connection points to maintain the voltage stable all over the tracks.
In this case I use a normal 12VDC PC power supply. It's very very important that the power supply you use is short circuit prtected, it's easy that the car make little short circuits on the tracks and could damage your power supply if it's not protected.
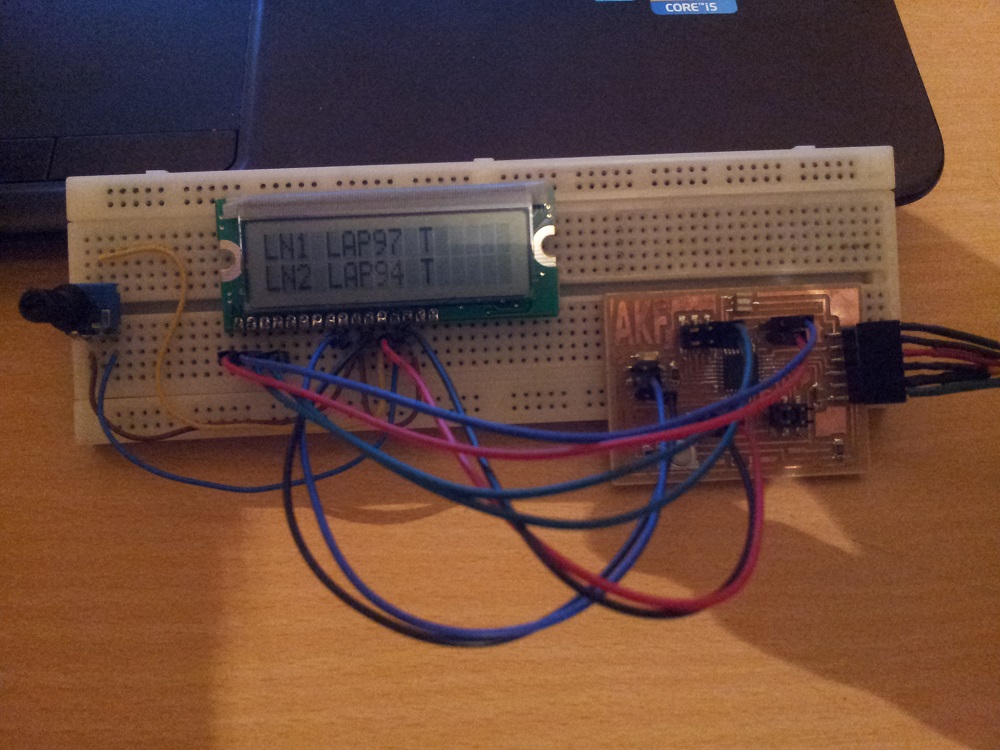
To make the circuit "smarter" I used a DIY Fabduino and a LCD display to make a lap & time lap counter for the circuit.
I used Anna Fabduino design. In the code you must set the number of laps of the race, and then, during the race, the display will show you a count-down of the laps to the end of the race.
I have a friend who works on a big icing products distribution plant, because of the vey low temperatures (-35ºC) they have a lot of problems of broken wires on moving parts. My friend get to me a couple of photocells with broken wires, that they can't repair and use again because of the quality standards of the company, so I get two proffesional photocells to my project by free :-)
I use the signal of this photocells to make the count-down and I'm also working on to show on the display the fast lap time.
Here you can download the C code of the program I'm using
ArduSlot C code
And here is a video of the car first movements:
DIY slot first test from R.Ferrero on Vimeo.