Appearance
Project Management - How to build your website
In this week's assignment,I have mainly accomplished three parts of work including: Setting up PC environments / Create a website / Plan a final project. The initial idea and sketch generated relate to my final project has been putted into my Final Project webpage.
Common tools for building a webpage
To build a webpage, here are some common tools used by developers:
- Text Editors/IDEs:
- Visual Studio Code: A popular code editor with extensive extensions for web development.
- Sublime Text: A lightweight text editor known for its speed and simplicity.
- Atom: An open-source editor with a focus on customization.
- HTML/CSS Frameworks:
- Bootstrap: A widely used framework for responsive web design, providing pre-built components and styles.
- Foundation: Another responsive front-end framework that offers similar features to Bootstrap.
- JavaScript Libraries/Frameworks:
- React: A library for building user interfaces, especially for single-page applications.
- Vue.js: A progressive JavaScript framework that focuses on building UIs and single-page applications.
- Angular: A robust framework for building dynamic web applications.
- CSS Preprocessors:
- Sass: A preprocessor that adds features like variables and nested rules to CSS.
- LESS: Similar to Sass, it enhances CSS with additional functionalities.
- Version Control Systems:
- Git: A version control system that helps manage code changes and collaborate with others.
- GitHub or GitLab: Platforms for hosting and collaborating on Git repositories.
- Design Tools:
- Figma: A collaborative design tool for creating UI/UX designs and prototypes.
- Adobe XD: A tool for designing and prototyping user experiences.
These tools collectively help streamline the process of building, testing, and deploying webpages. Here I have used VitePress and Markdown language to create documentation, leveraging VS Code for efficient editing and GitLab for version control and collaboration.
Version control
Version control is a system that records changes to files or sets of files over time, allowing users to track, manage, and revert to previous versions as needed. It's commonly used in software development but can apply to any type of digital content. Key features include:
- Tracking Changes: Keeps a history of changes made to files, including who made the changes and when.
- Collaboration: Enables multiple users to work on the same project simultaneously without overwriting each other's work.
- Branching and Merging: Allows users to create branches for new features or experiments and later merge them back into the main project.
- Reversion: Provides the ability to revert files to a previous state, useful for undoing mistakes.
- Backup: Acts as a backup system by storing multiple versions of files, protecting against data loss.
During Fablab study we use Gitlab as a version control system.
Other version control protocols and systems
Apart from Git, several other version control systems and protocols are commonly used:
- Subversion (SVN): A centralized version control system that tracks changes to files and directories over time, allowing users to manage different versions of files.
- Mercurial: A distributed version control system similar to Git, focusing on performance and scalability, with a simple command structure.
- Perforce (Helix Core): A centralized version control system known for handling large binary files and large-scale projects, often used in game development and enterprise environments.
- Bazaar: A distributed version control system that supports both centralized and decentralized workflows, allowing for easy branching and merging.
- CVS (Concurrent Versions System): One of the oldest version control systems, it uses a centralized model to track changes, though it has largely been replaced by more modern systems like Git and SVN.
- TFS/Azure DevOps: Microsoft’s Team Foundation Server includes version control capabilities and is often used in conjunction with other development tools in the Microsoft ecosystem.
- Visual SourceSafe: An older version control system from Microsoft that has been largely deprecated in favor of newer solutions.
Build your own site - Step1 : Prepare
Installing all the necessary tools to build the webpage:
- Git is used to control our version in gitlab,mac don't need to install,it use to setting git and gitlab;
- Gitlab is used as a servicer for our webpage;
- VScode for edit document;
- Nodejs is used it to build the environment;
- VitePress is a devlopment dependencies for the project;
- Markdown language to write our document;
Build your own site - Step2 : Set up git
I have followed the [tutorial] of Git (http://fabacademy.org/2019/docs/FabAcademy-Tutorials/week01_principles_practices_project_management/git_simple.html). First download git by:
brew install gitSet user config for git:
$ git config --global user.name "yaorun-zhang"
$ git config --global user.email "zhang.yaorun@gmail.com"
Check if there is any SSH-Key existing:
cat ~/.ssh/id_rsa.pubIf not generate SSH-Key:
ssh-keygen -t rsa -C "zhang.yaorun@gmail.com"Check the public key you just created:
cat ~/.ssh/id_rsa.pubBuild your own site - Step3 : Porject clone
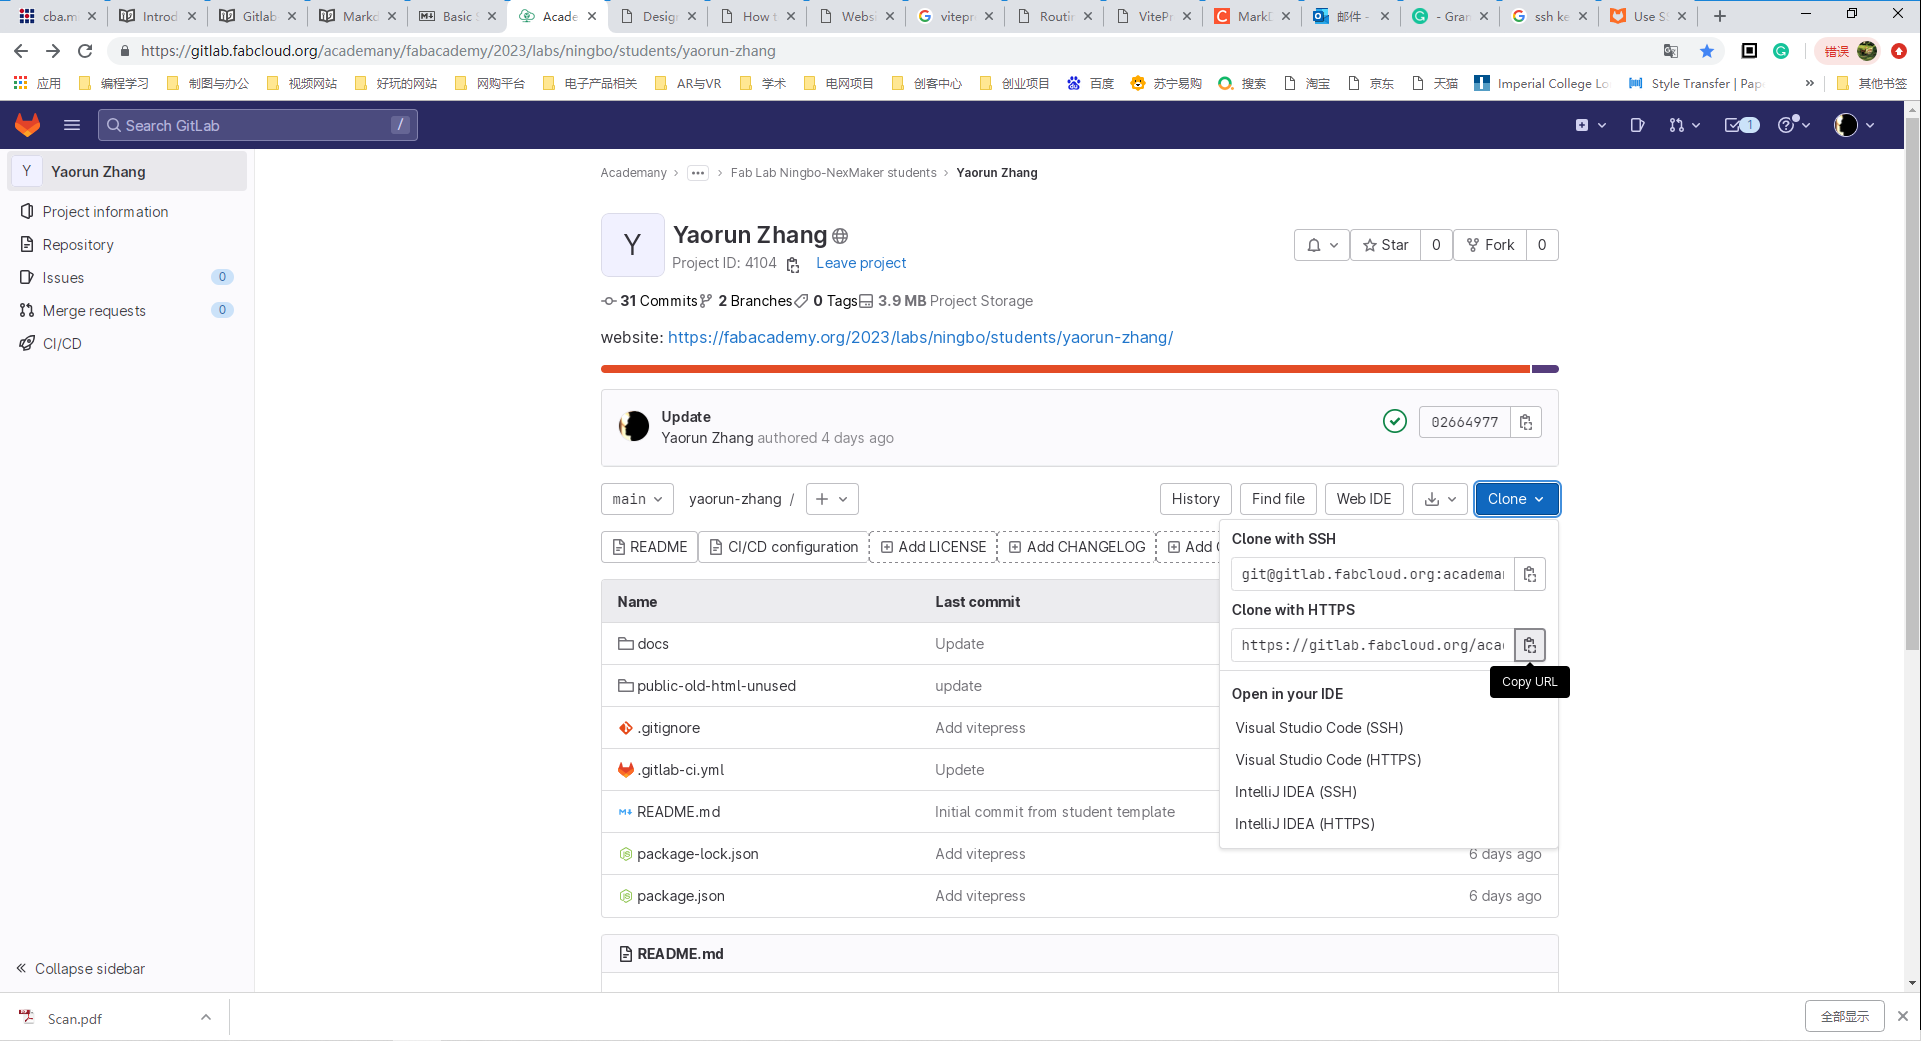
Go to my gitlab repository select 'Clone with HTTPS'.
Use git bash to clone the porject to my computer.
$ cd /d/gitproject
$ git init
$ git clone https://gitlab.fabcloud.org/academany/fabacademy/2023/labs/ningbo/students/yaorun-zhang.git
Build your own site - Step4 : Link the project to your computer
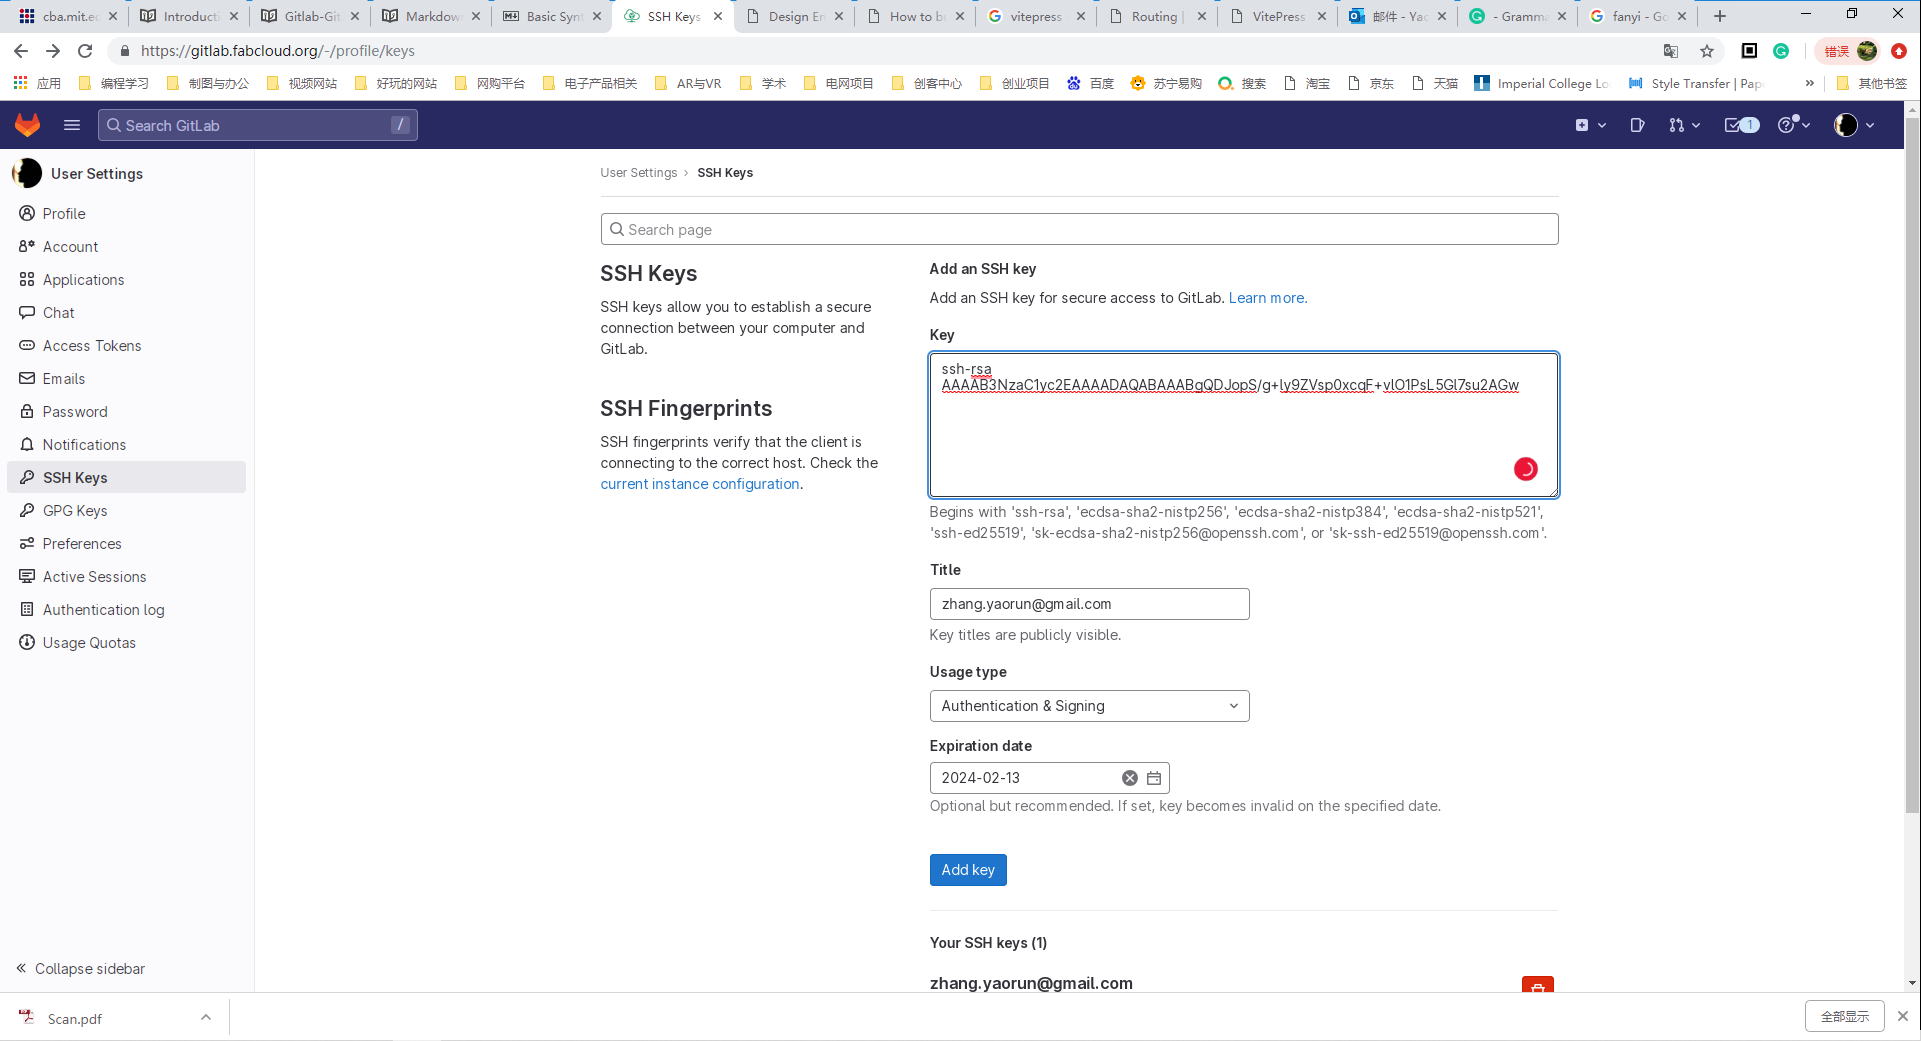
Use git bash to generate the SSH Key for remote connection.
$ ssh-keygen -t rsa -C 'zhang.yaorun@gmail.com'Copy the SSH Key.
$ cd /c/Users/Yaorun_Zhang/.ssh
$ cat id_rsa.pub
Paste it to gitlab server.
Test push some local change to my server.
$ git add --all
$ git commit -m"Adding test infor"
$ git push origin main
Step5 : Tips for edit file with VScode
Link git to your VScode, go to settings and add the path of your git.
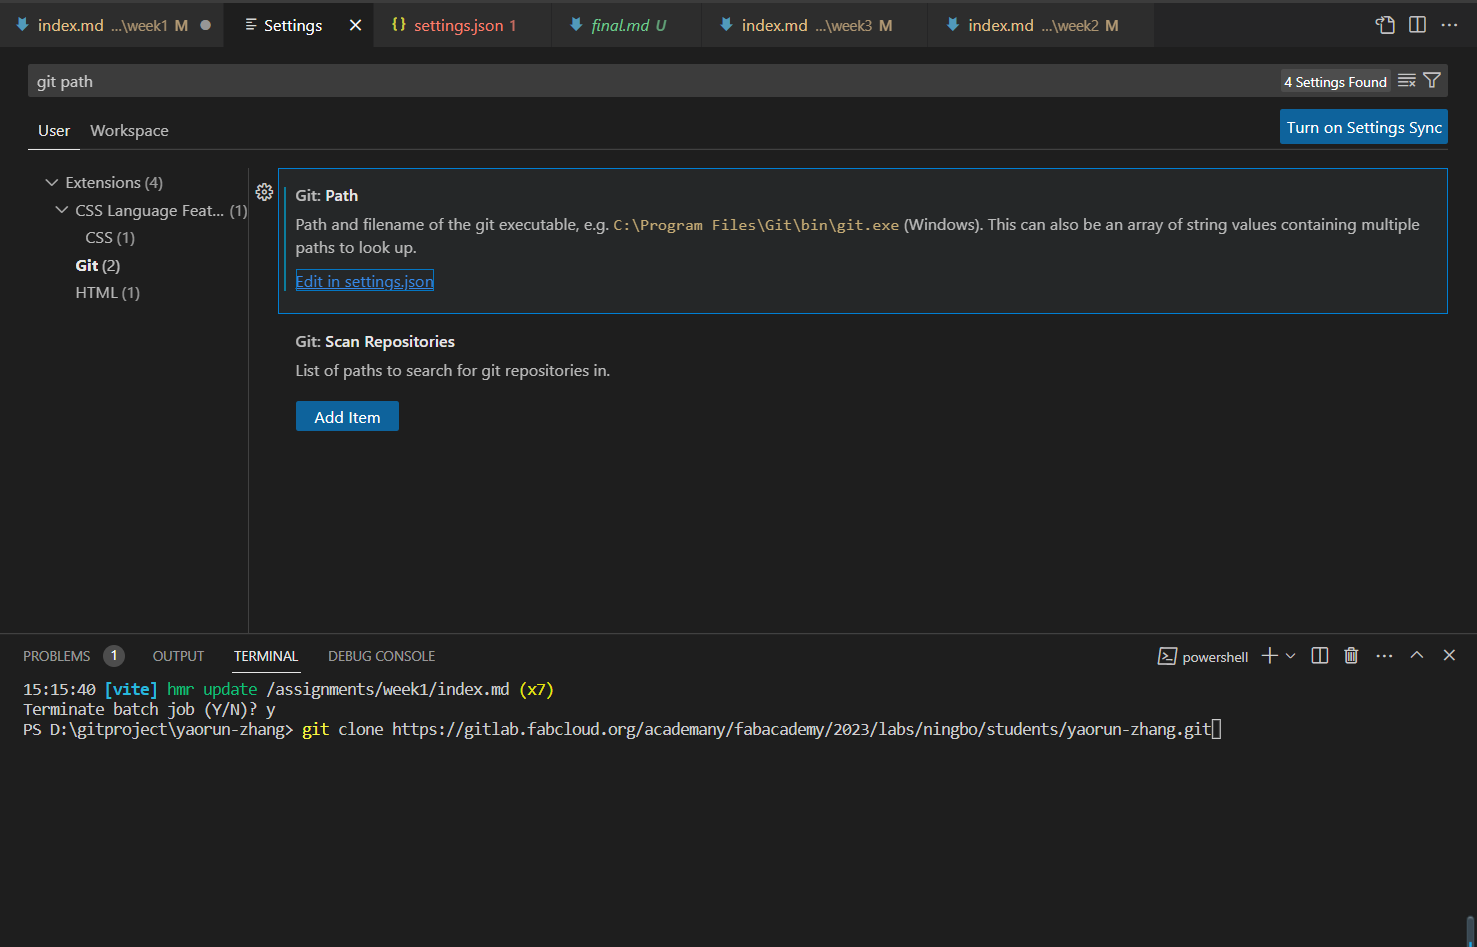
Set direction.
json
{
    "git.path": "c:\Program Files\Git\bin\git.exe"
}
Build your own site - Step6: Install the VitePress
First install 'nodejs' library as a working environment. Download the installer from NodeJS WebSite. Run the installer. Follow the installer steps, agree the license agreement and click the next button. Restart your system/machine.
Follow the instraction on VitPress website. Initialize with your preferred package manager.
$ npm initAdd VitePress and Vue as dev dependencies for the project.
$ npm install -D vitepress vueServe the documentation site in the local server.
$ npm run docs:devBuild your own site - Step7: Change the .yml file
For gitlab operation, the .yml configuration file needs to be changed.
image: node:16

pages:
  cache:
    paths:
      - node_modules/
  script:
    - yarn install
    - yarn docs:build
  artifacts:
    paths:
      - public
  only:
    - main
Build your own site - Step8: Edit the page export default configeration
The default configeration was edited to include nav-bar and side-bar. The webpage export direction was set to ../public.
export default {
    title: "FabAcademy 2023",
    description: "FabAcademy 2023",
    outDir: "../public",
    base: "/2023/labs/ningbo/students/yaorun-zhang/",
    themeConfig: {
      sidebar: [

          {
            text: "Home",
            items: [
              { text: "Home page", link: "/" },
            ],
          },

          {
            text: "About",
            items: [
              { text: "About me", link: "/about/" },
              { text: "Student agreement", link: "/about/agreement" },
            ],
          },

          {
          text: "Assigements",
          items: [
            { text: "Week 1. Project management ", link: "/assignments/week1/" },
            { text: "Week 2. Computer aided design ", link: "/assignments/week2/" },
            { text: "Week 3. Computer controlled cutting ", link: "/assignments/week3/" },
            { text: "Week 4. Embedded programming ", link: "/assignments/week4/" },
            { text: "Week 5. 3D Scanning and printing ", link: "/assignments/week5/" },
            { text: "Week 6. Electronics design ", link: "/assignments/week6/" },
            { text: "Week 7. Computer controlled machining ", link: "/assignments/week7/" },
            { text: "Week 8. Electronics production ", link: "/assignments/week8/" },
            { text: "Week 9. Molding and casting ", link: "/assignments/week9/" },
            { text: "Week 10. Output devices ", link: "/assignments/week10/" },
            { text: "Week 11. Mechanical design & machine design ", link: "/assignments/week11/" },
            { text: "Week 12. Input devices ", link: "/assignments/week12/" },
            { text: "Week 13. Networking and communications ", link: "/assignments/week13/" },
            { text: "Week 14. Interface and application programming ", link: "/assignments/week14/" },
            { text: "Week 15. Wildcard week ", link: "/assignments/week15/" },
            { text: "Week 16. Applications and implications ", link: "/assignments/week16/" },
            { text: "Week 17. Invention, intellectual property and income ", link: "/assignments/week17/" },
            { text: "Week 18. Project development ", link: "/assignments/week18/" },
          ],
          },

          {
            text: "Projects",
            items: [
              { text: "Mid-term project ", link: "/projects/midterm" },
              { text: "Final project", link: "/projects/final" },
            ]
          },

      ],


      nav: [
        {
          text: "Home",
          link: "/",
        },

        {
          text: "About",
          link: "/about/",
        },

        {
          text: "Assignments",
          link: "/assignments/week1/",
        },

        {
          text: "Projects",
          link: "/projects/midterm",
        },
      ],
    },
  };
Build your own site - Step9: Tips for push.
Before push add a .gitignore file for server to ignore some of the local enivroment config file updates as this enviroment will be automatically rebuild on server.
.DS_Store
node_modules
/build
/package
.env
.env.*
!.env.example
.output
vite.config.js.timestamp-*
vite.config.ts.timestamp-*
Build your own site - Step10: Use VScode to push.
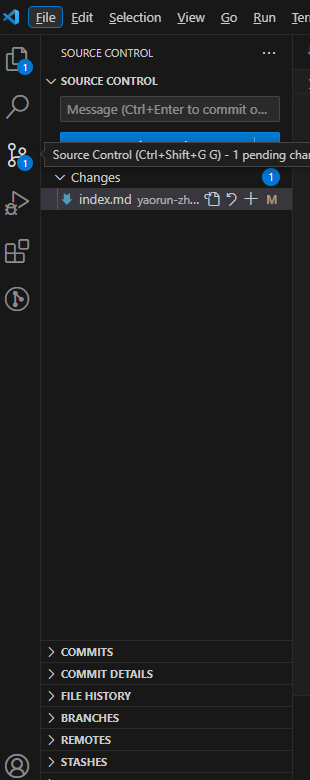
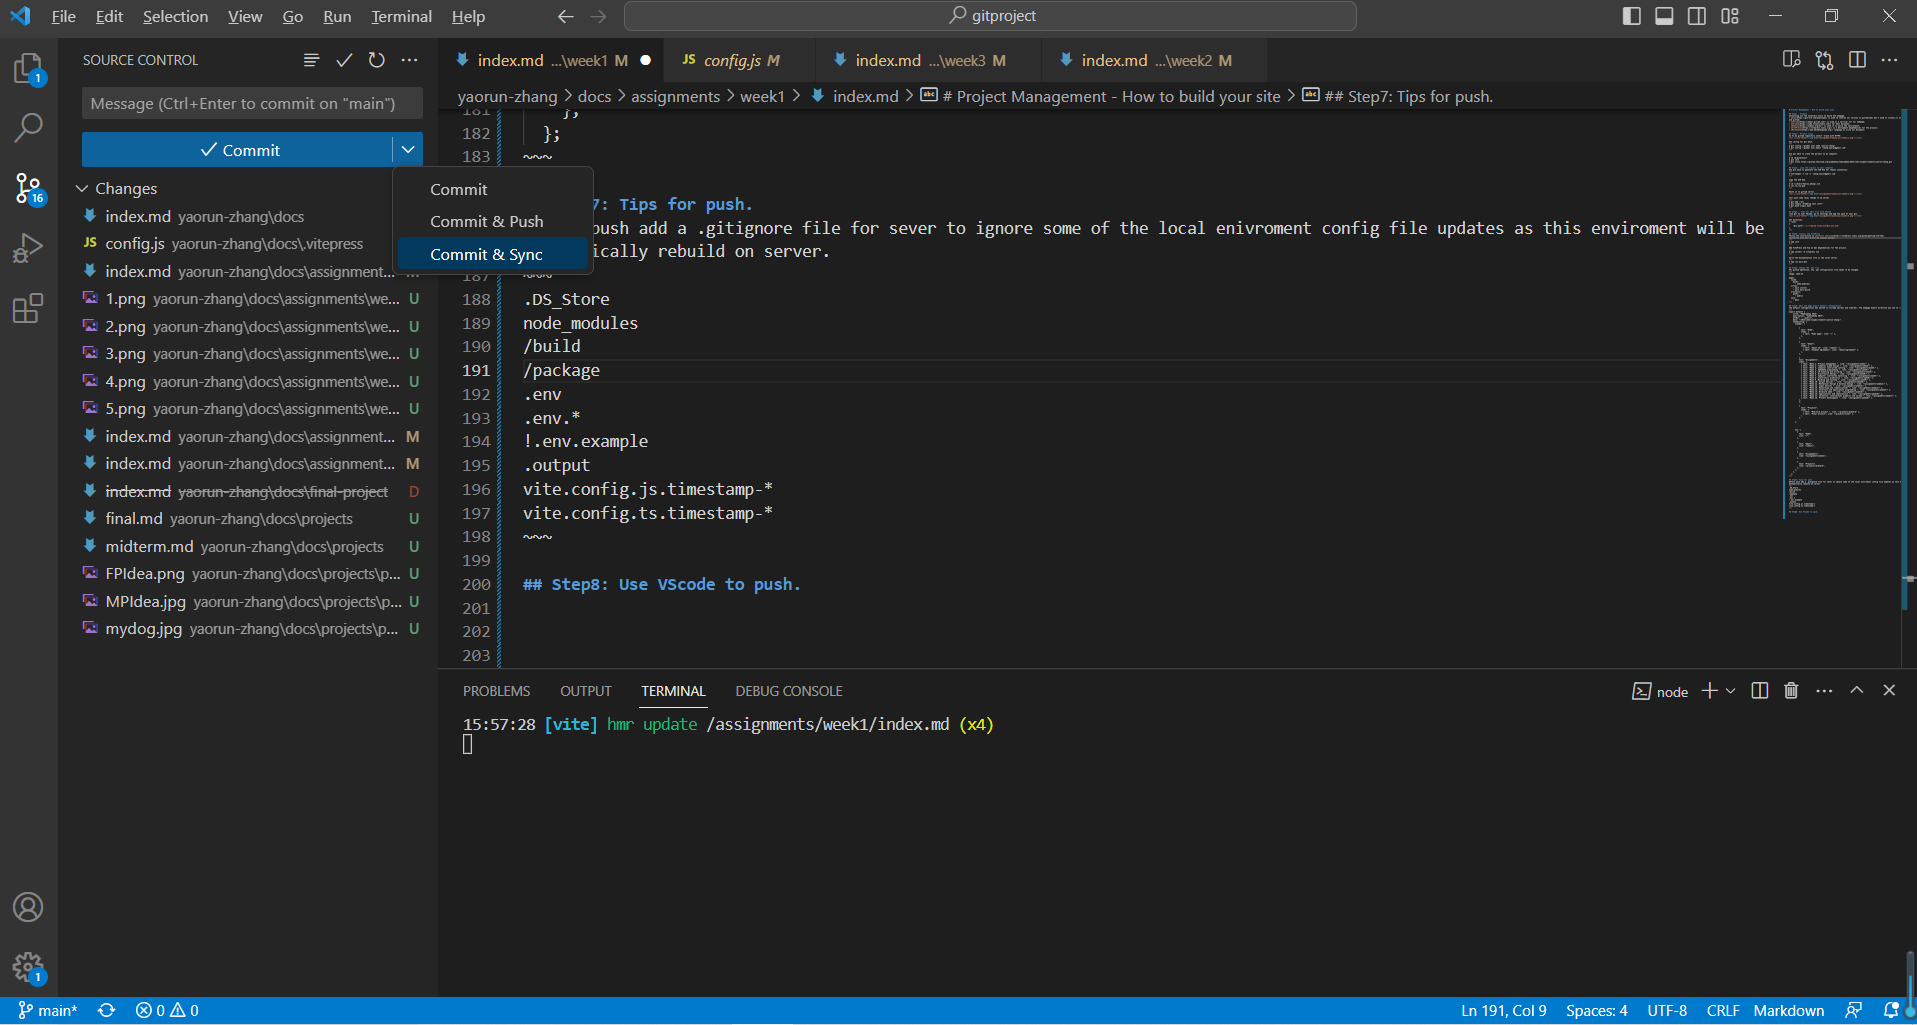
First save all modifications using 'ctrl + s'. Second go to the source control as below.

A final project idea
I planned to build a Bio-signal Data Collection & Analyzation Tool Kit for Motion Sickness Prediction as my final project. Motion sickness has long been recognized as an important factor affecting a person's car riding experience. In this project, I developed a bio-signal data collection and analysis tool kit that can be further developed for predict the occurrence of motion sickness based on human physiological signals. This device will be used in a car riding environment, anyone who is likely to encounter car-sickness will be a potential user. The figure below has shown the idea design of this tool set.
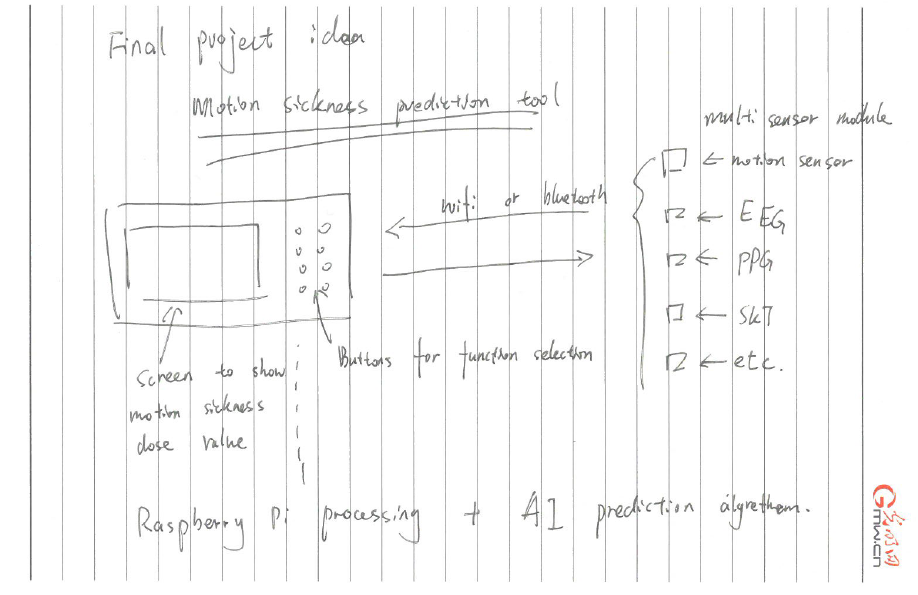
This detection tool consists of 5 parts:
- A set of sensors for collecting human physiological signals includes PPG, SKT etc.
- A data processor module based on Raspberry Pi with Wifi connection.
- A trained AI algorithm for data processing which can be deployed on Raspberry Pi.
- A screen to show motion sickness dose value.
- A control panel for function selection.