8. Computer controlled machining
CNC milling, or computer numerical control milling, is a machining process which employs computerized controls and rotating multi-point cutting tools to progressively remove material from the workpiece and produce a custom-designed part or product. This process is suitable for machining a wide range of materials, such as metal, plastic, glass, and wood, and producing a variety of custom-designed parts and products.
Learning outcomes:
- Demonstrate 2D design development for CNC production
- Describe workflows for CNC production
Like the previous weeks , student are expected to complete two (2) categories of weekly assignment.
- Group assignment:
- Complete your lab’s safety training
- Test runout, alignment, speeds, feeds, and toolpaths for your machine
- Document your work to the group work page and reflect on your individual page what you learned
- Individual project:
- Make (design+mill+assemble) something big
At the NIHERST Fablab we had access to X carve cnc milling machine:
X Carve:
-
Work Area: 29.5in x 29.5in x 4.5in
-
Machine Footprint: 41 in x 52 in x 22 in
-
Maximum Passthrough Sheet Width: 37in
-
Weight: Approx 100lbs

Group Assignment
For our Group assignment we had to complete lab’s safety training, test the runout, alignment, feeds and toolpath of the x carve cnc mill. Also we had to document.
The Group Assignment page is as follows Link
Group Members:
-
Nervene Bhagwandass
-
Christopher Proute
-
Terrence Carew
-
James Khan
-
Marvin Holloway
-
Ravi Baldeo
Individual Assignment
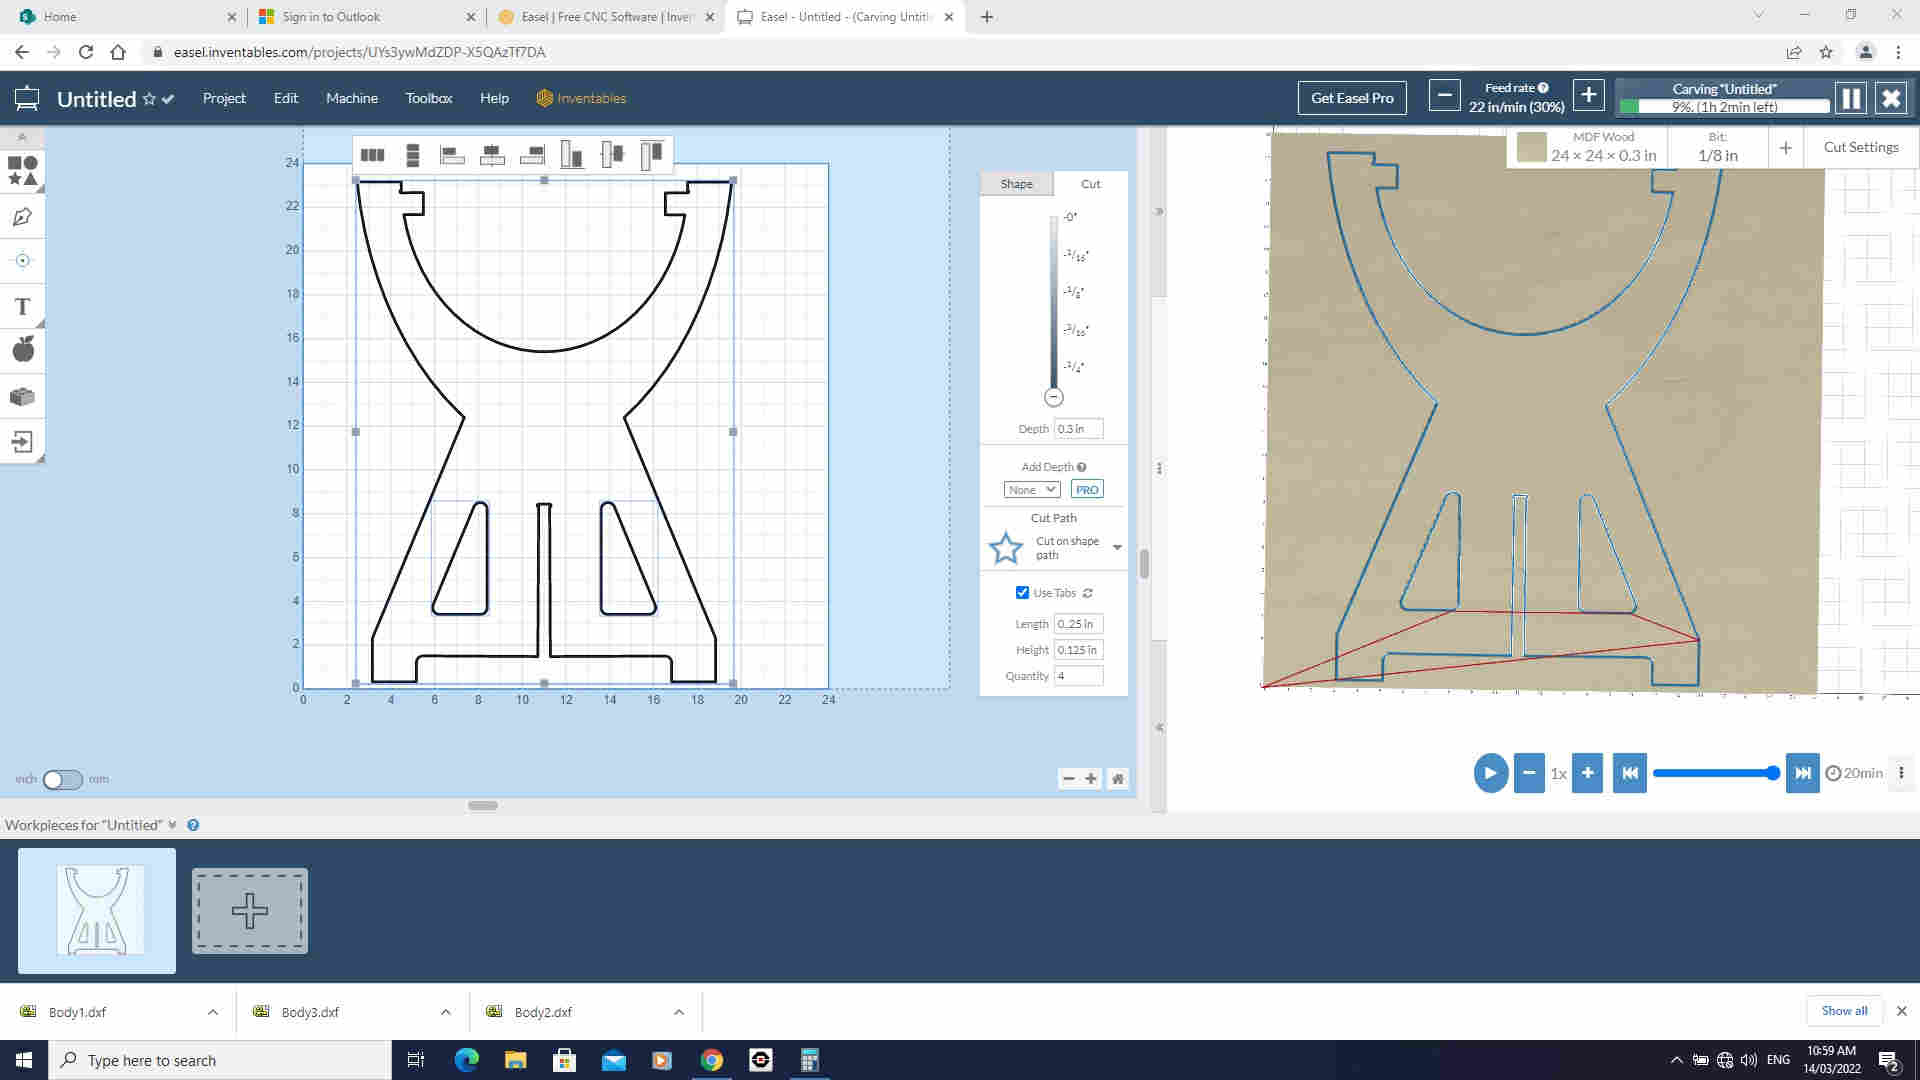
My Individual assignment decided to make a coffee table. I used Fusion 360 for my 2D design and Easel for the CNC file and toolpath.
Part Designing
I Design the coffee table in fusion 360 laying out the design and setting up the parameters

In Fusion sketch mode I draw all the parts of my object . I included the sluts for connection

When I was finished I used the Extrude tool and extruded parts only as much is the thickness of material.

It’s is important to add Dog bones because the tool is round and it’s going to leave fillet. Dog bones give choice to accommodate other parts together. For Dogbones tool it is necessary to install Dog bones plugin .i found Nifty Dogbone on the fusion app store or Github by DVE2000. When it was installed you need to include that in Fusion for that go to Tools section and choose Add-Ins button and upload here this plugin.
In order to create dog-bone I hit the upload button in the Solid section and select faces of the objects and it’s going to automatically select the edges which have to be dog-boned. For the Tool Diameter I use a shaft diameter, which is 1/8inch . For Tool diameter offset I entered 0.1 mm because this gives the tool path generator a little bit more space to get into the narrow areas. Then I choose Static bones, Type - Normal Dogbone. Hit OK and then it automatically creates dogbones.


Export file
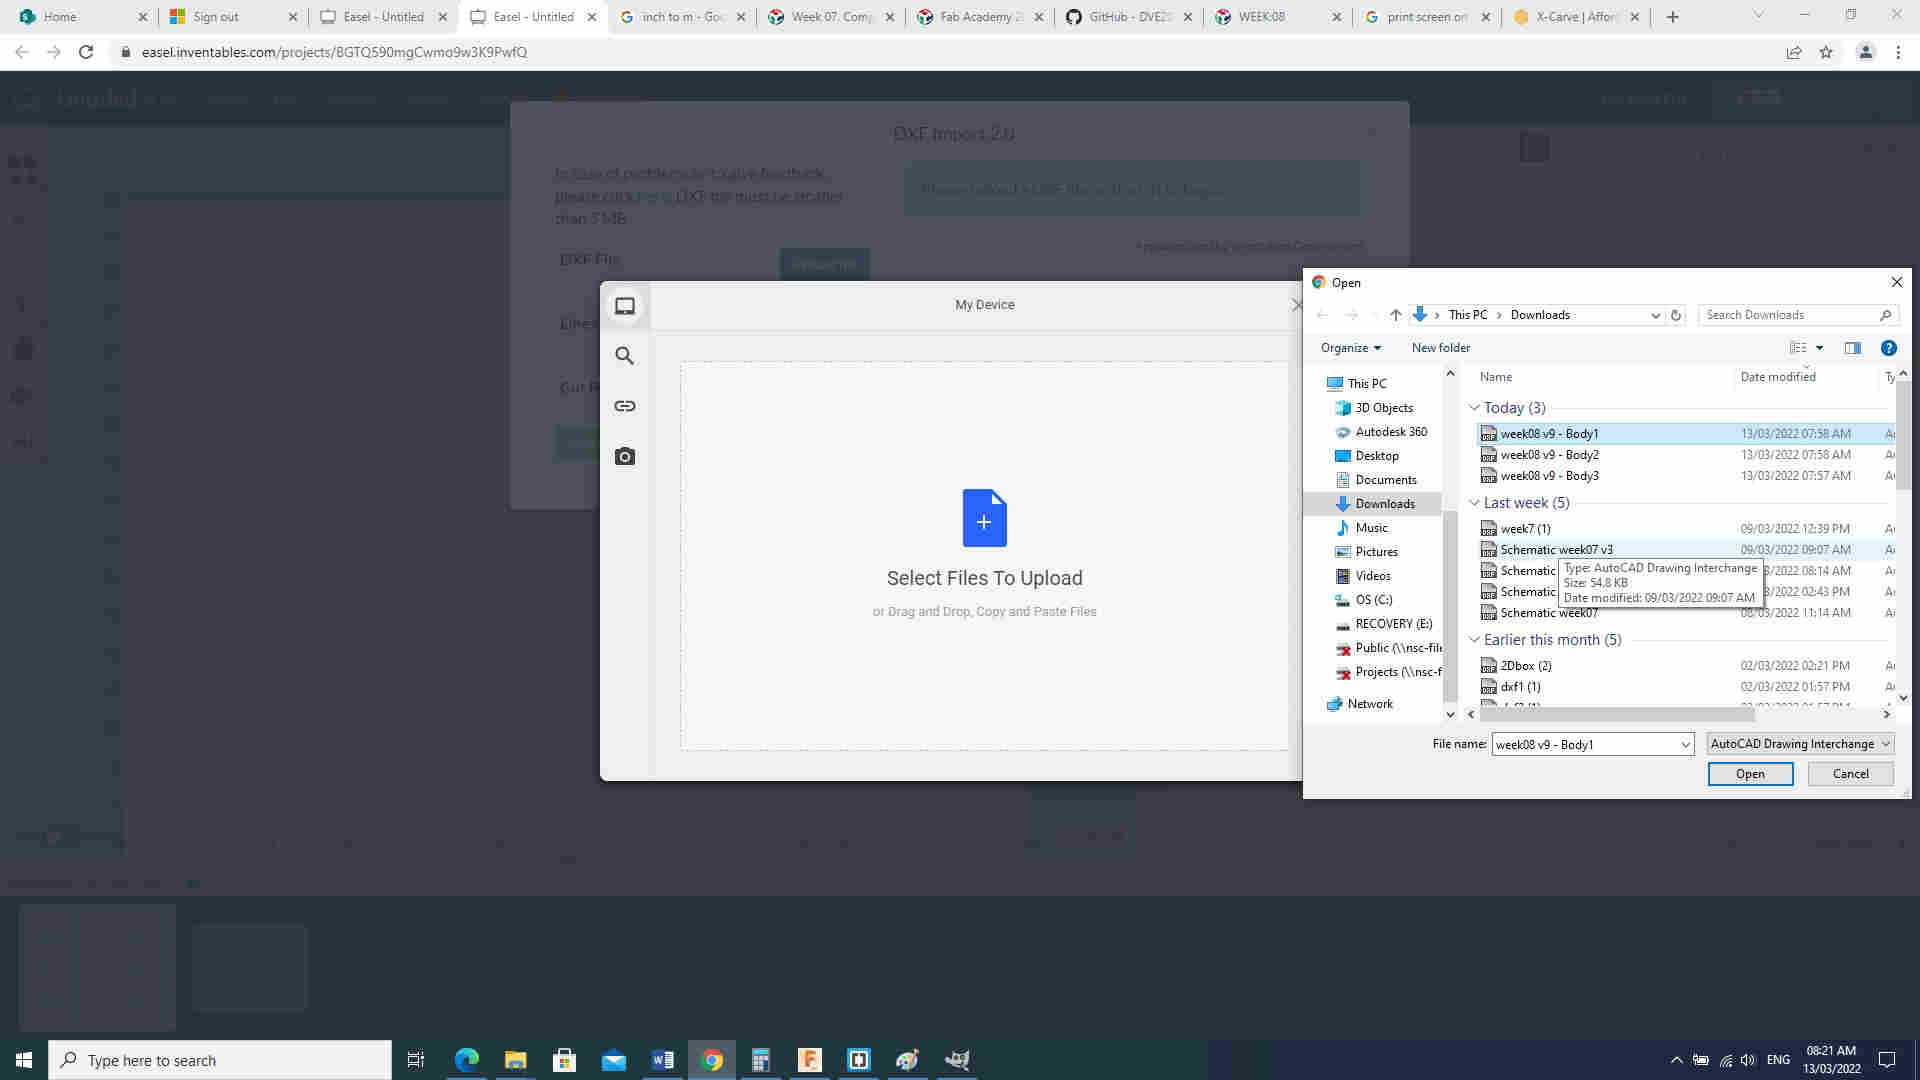
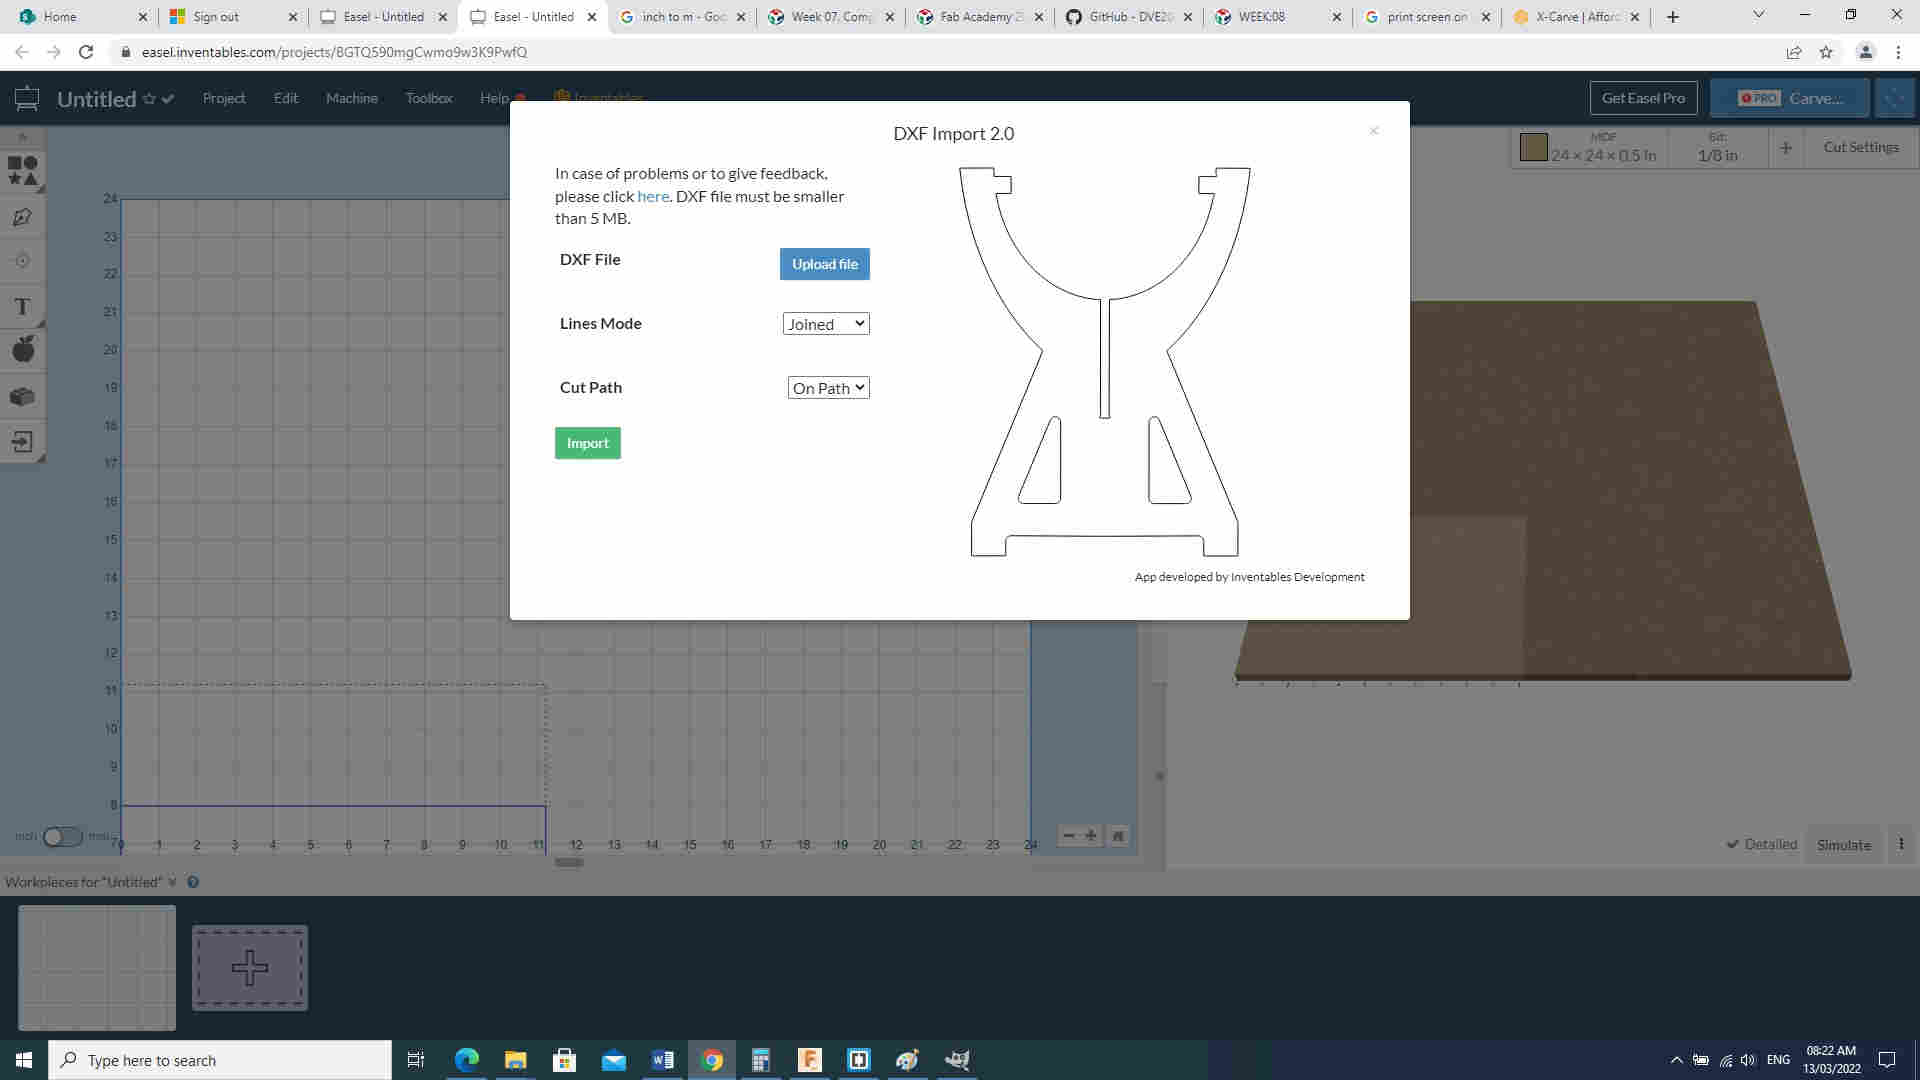
I exported my designs to dxf file format Using a previous software called dxf for laser I put the kerf and export the designs to dxf.
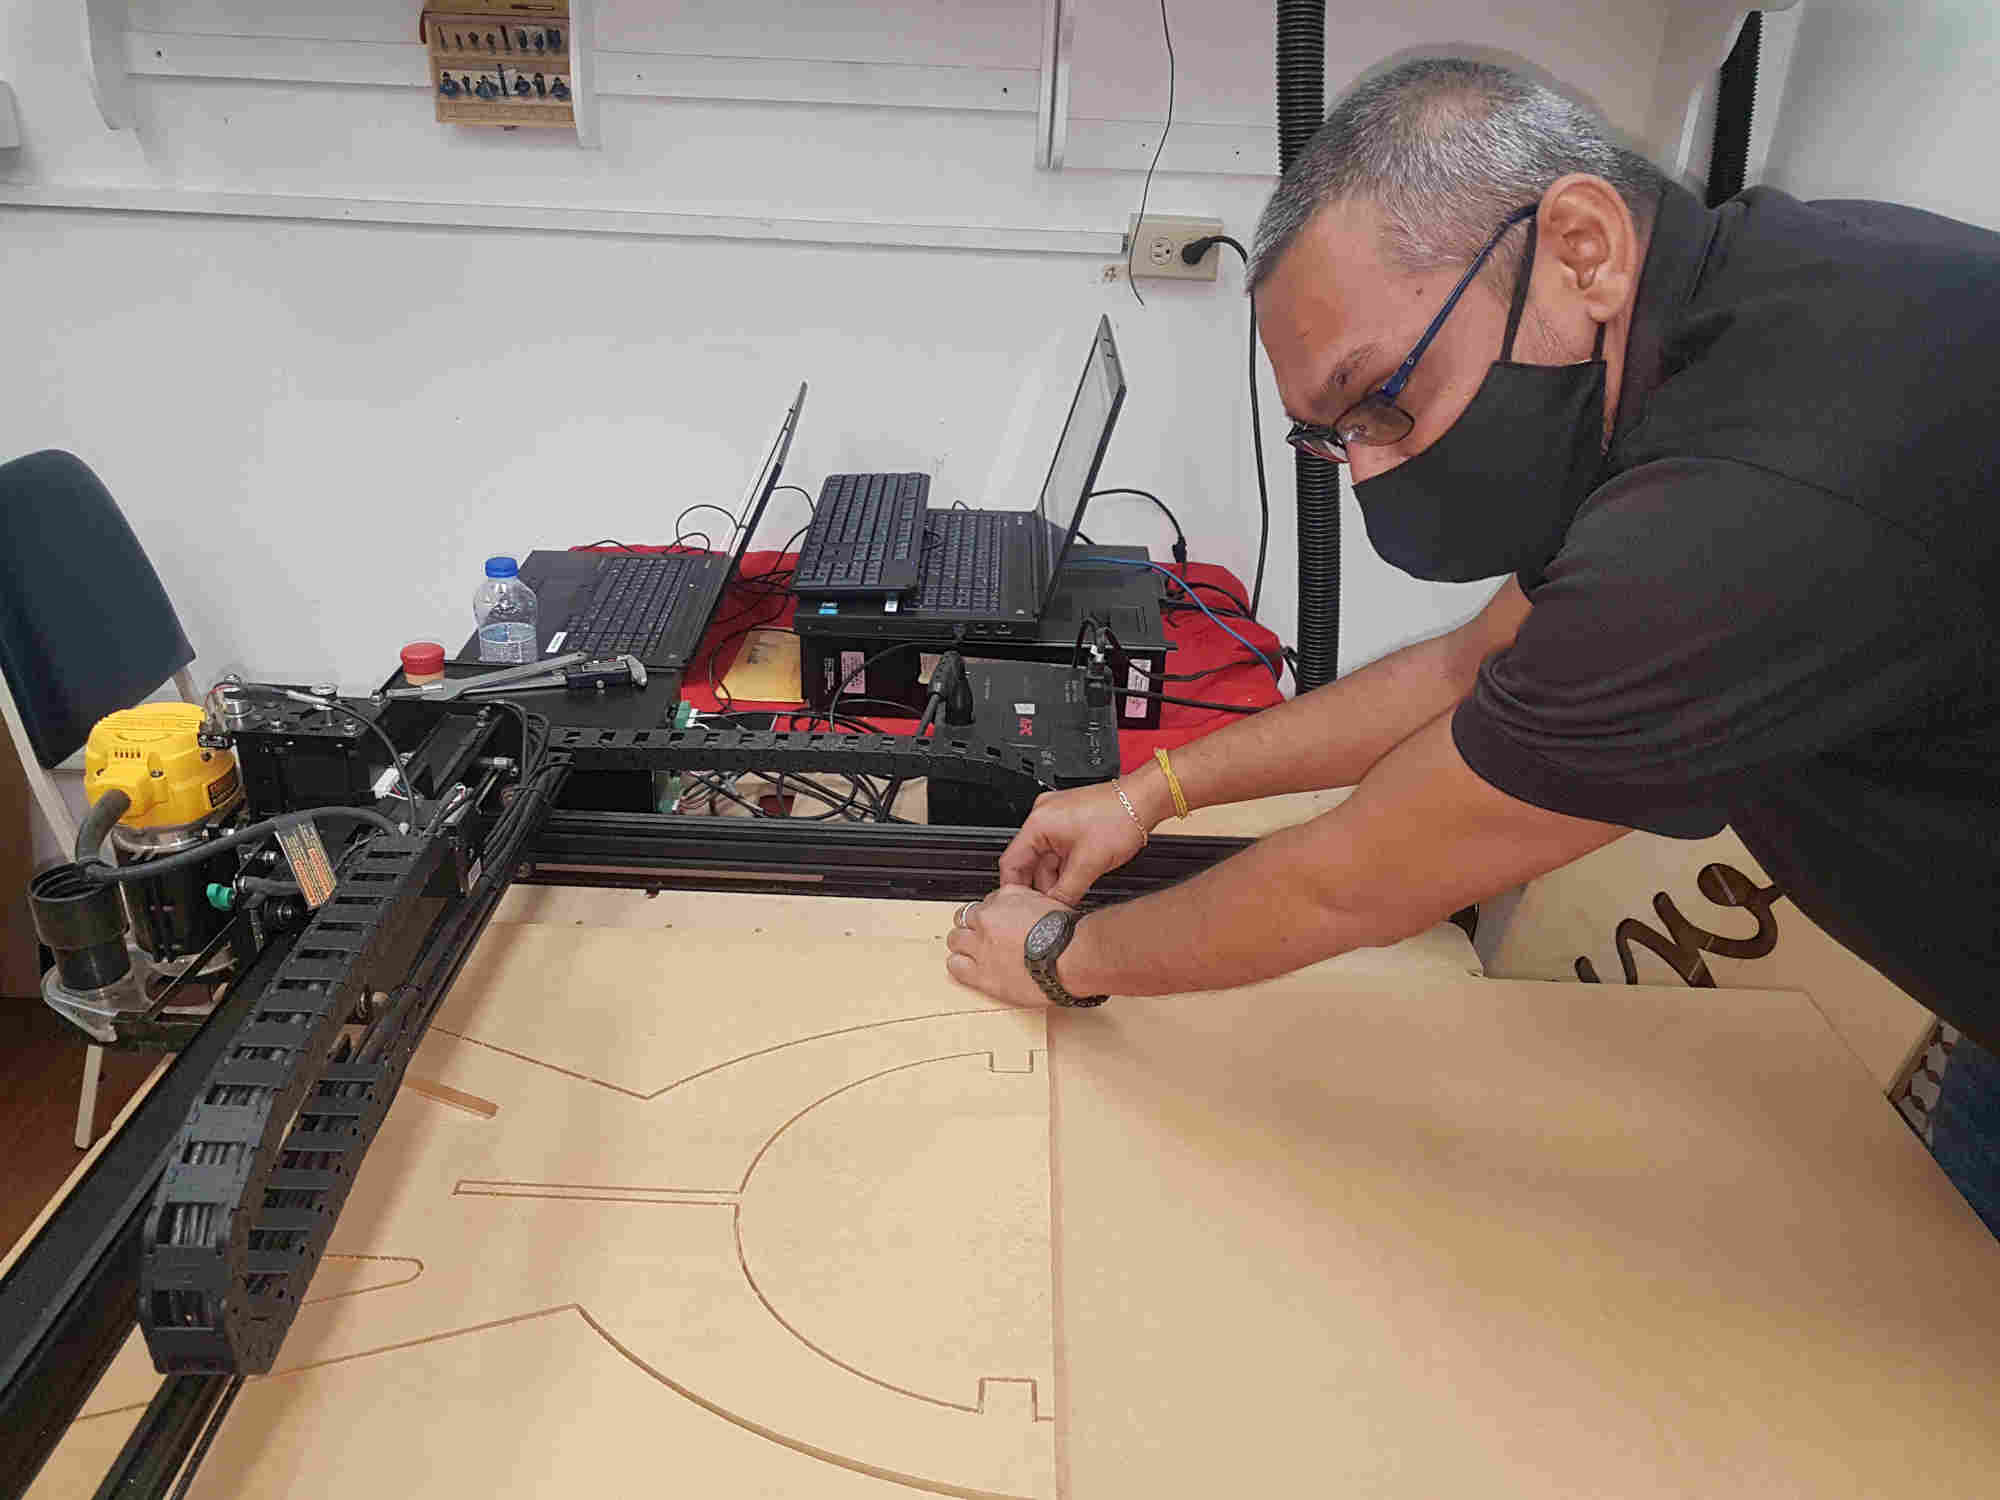
Part Manufacturing
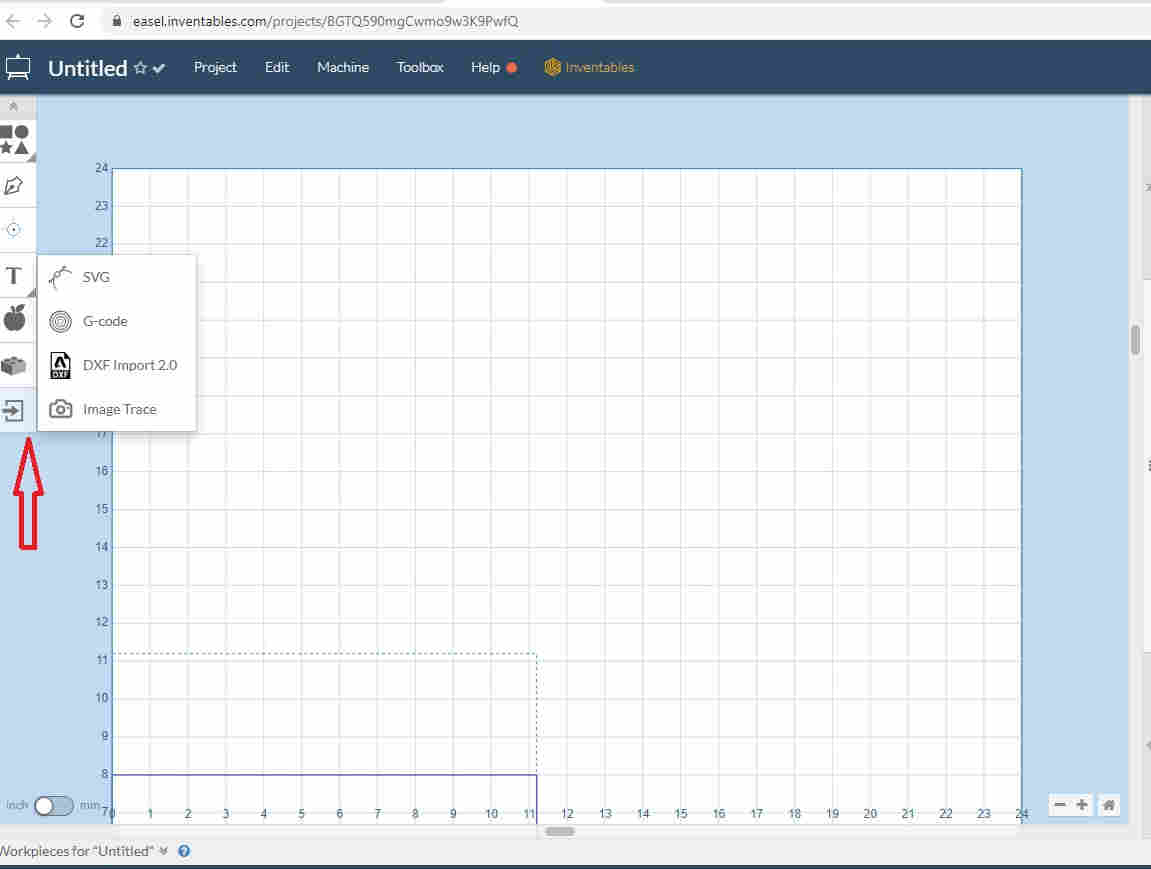
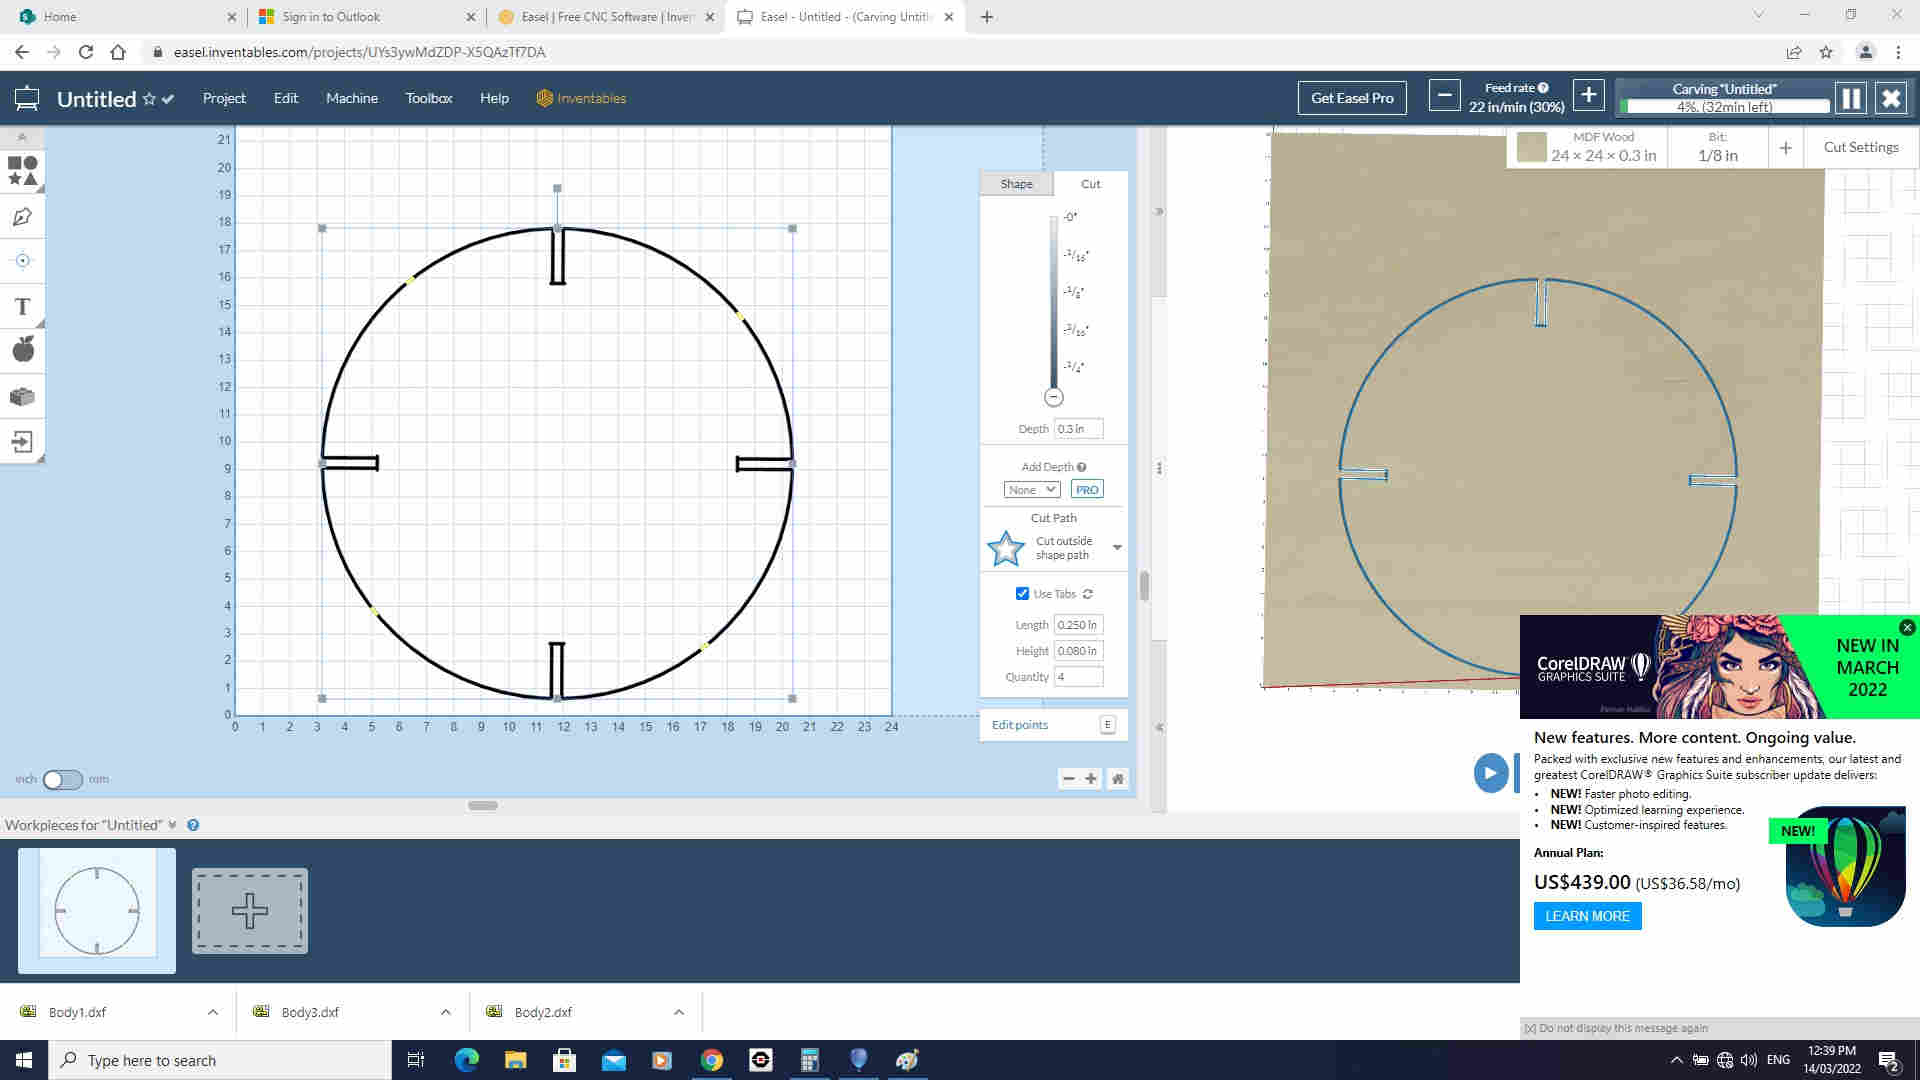
The milling process started with installation of the software call EASEL it is a propriety software which came with the X carve .

I first setup :
-
Material type: MDF
-
Diemension of the material

Second step was bit selection with a choice of straight cut or upcut bit of varying sizes. I used 1/8” upcut

Third i setup all the setting for:
-
Feed rates
-
Plunge rate
-
Depth per pass
-
Fill Method
-
Plunge

I then imported the first file

Before starting the carving process I had to Zero the machine using the Jog machine settings

I also had to set the cut path and to use tabs and specify the dimensions of the tab (length=0.25inch and height=0.125inch)

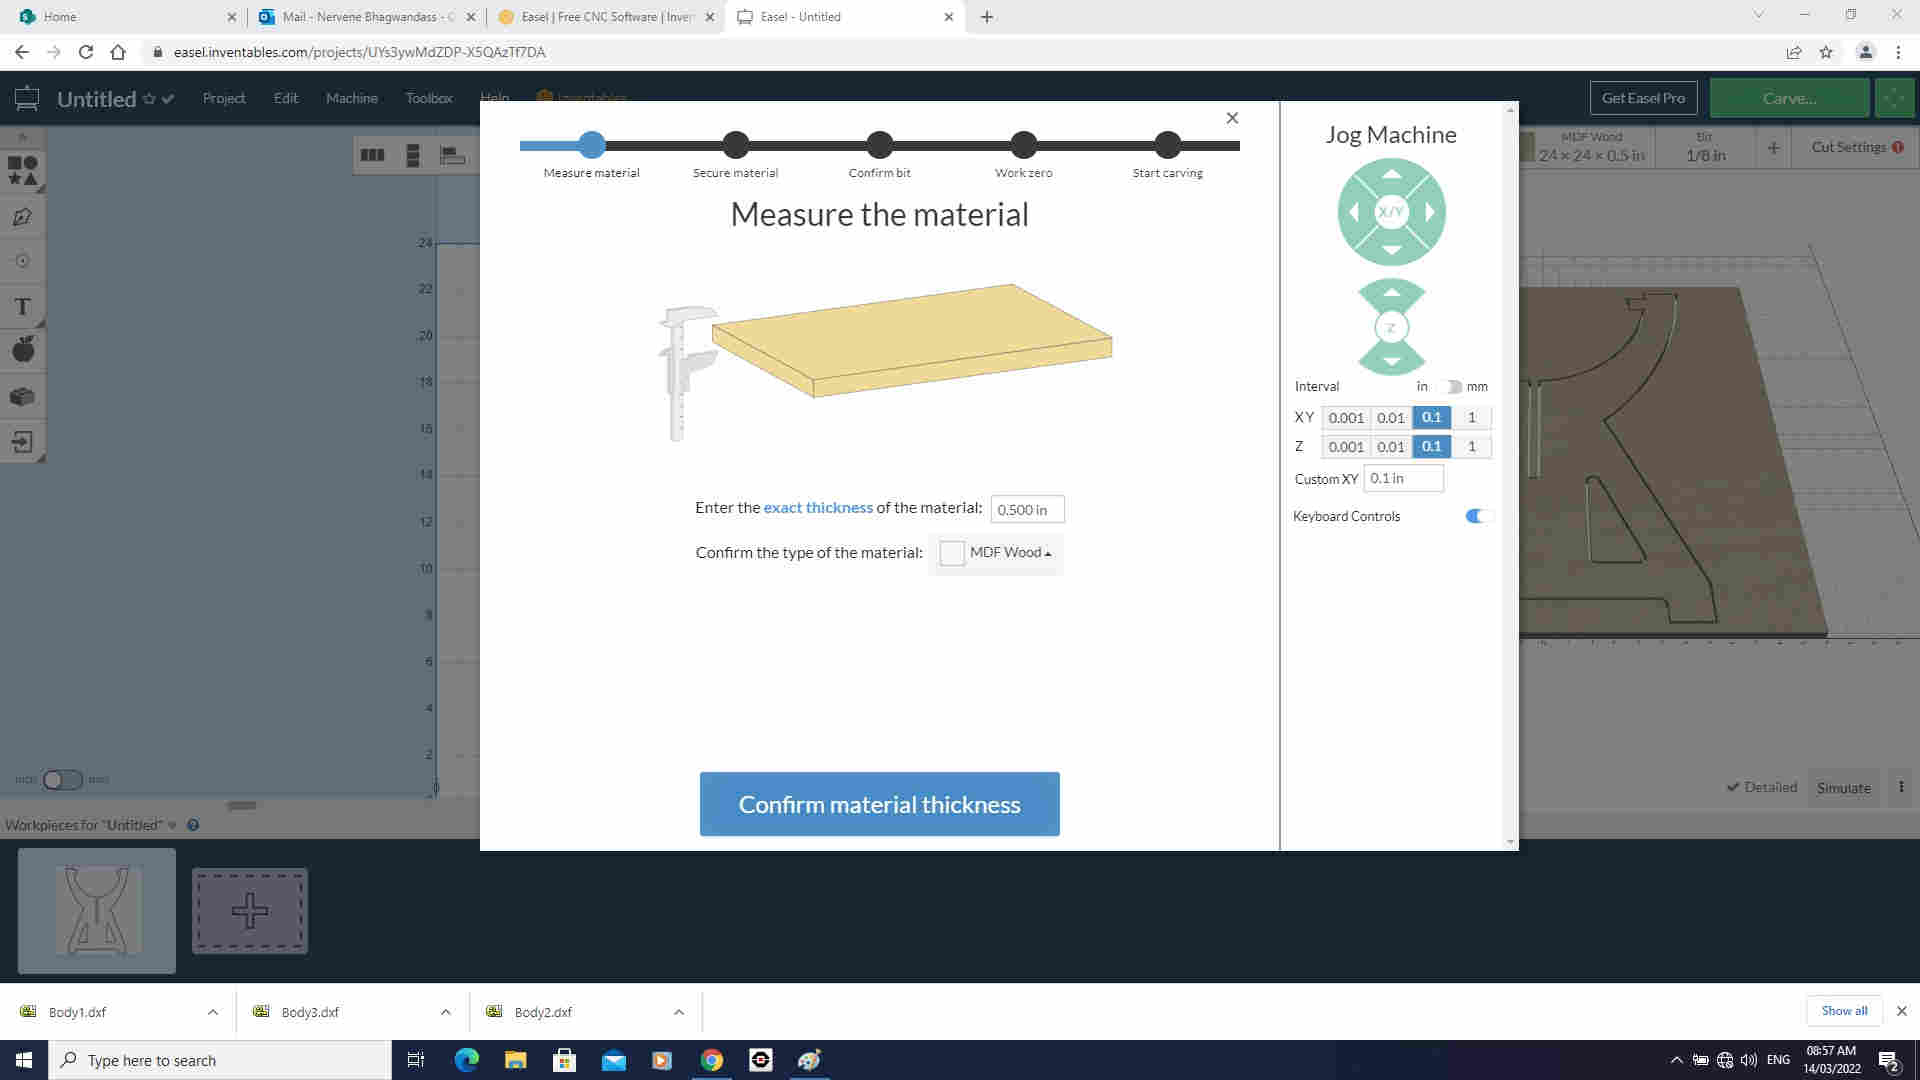
Confirm Material thickness
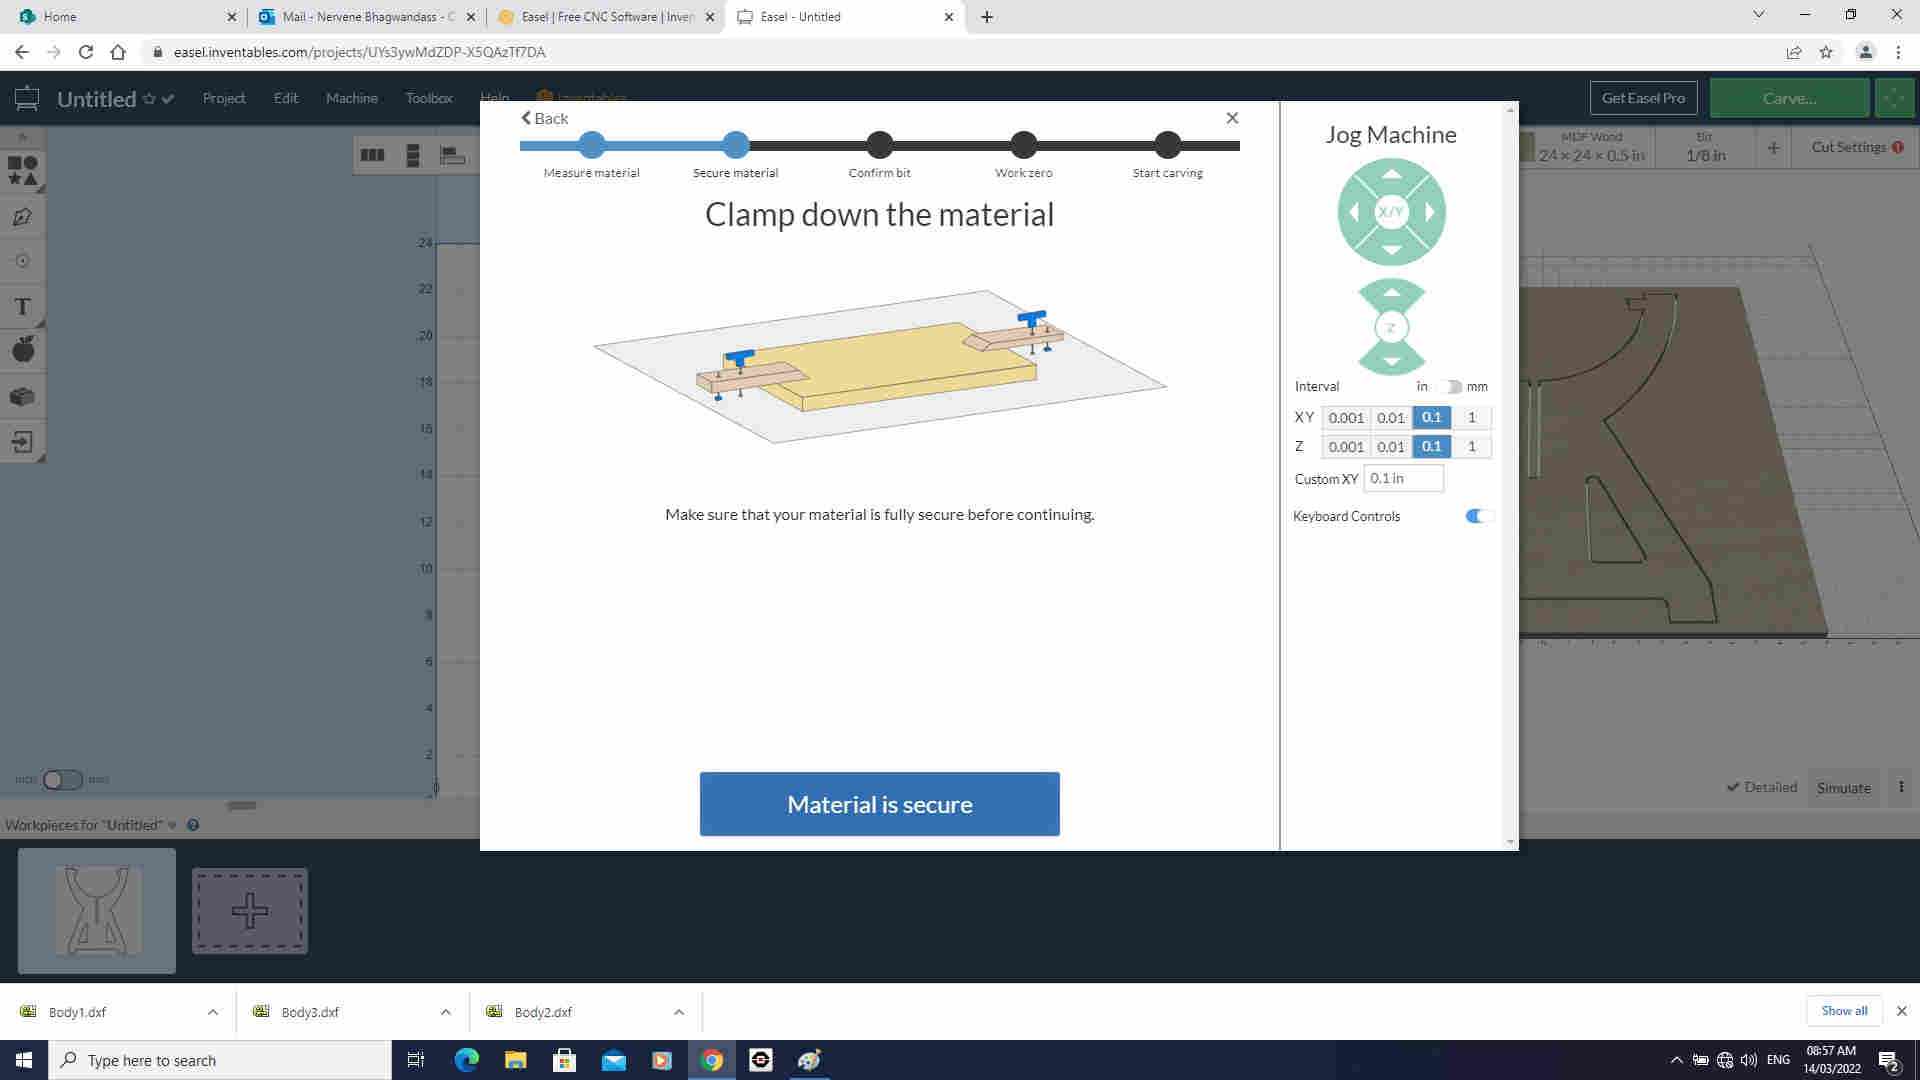
Material is Secure
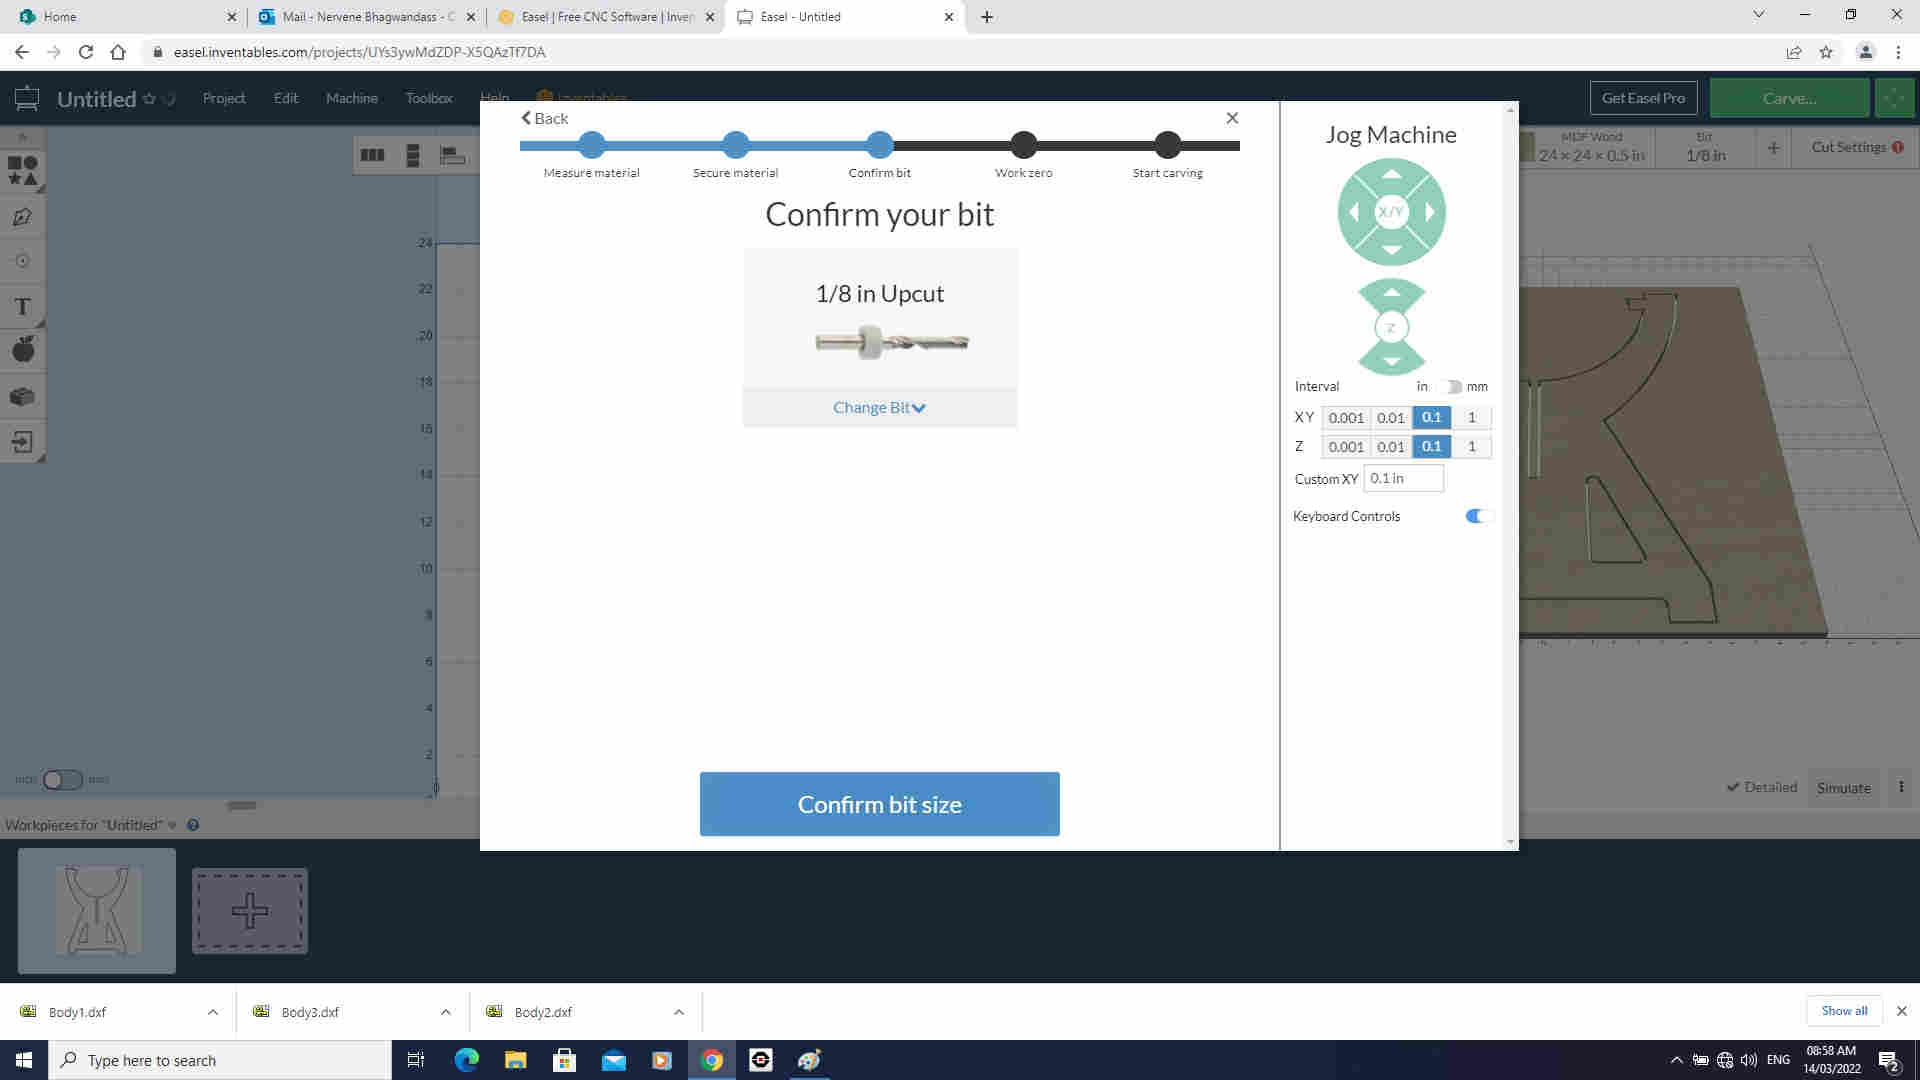
Confirm bit size
Click on carve in the top right hand corner and reconfirmed some steps
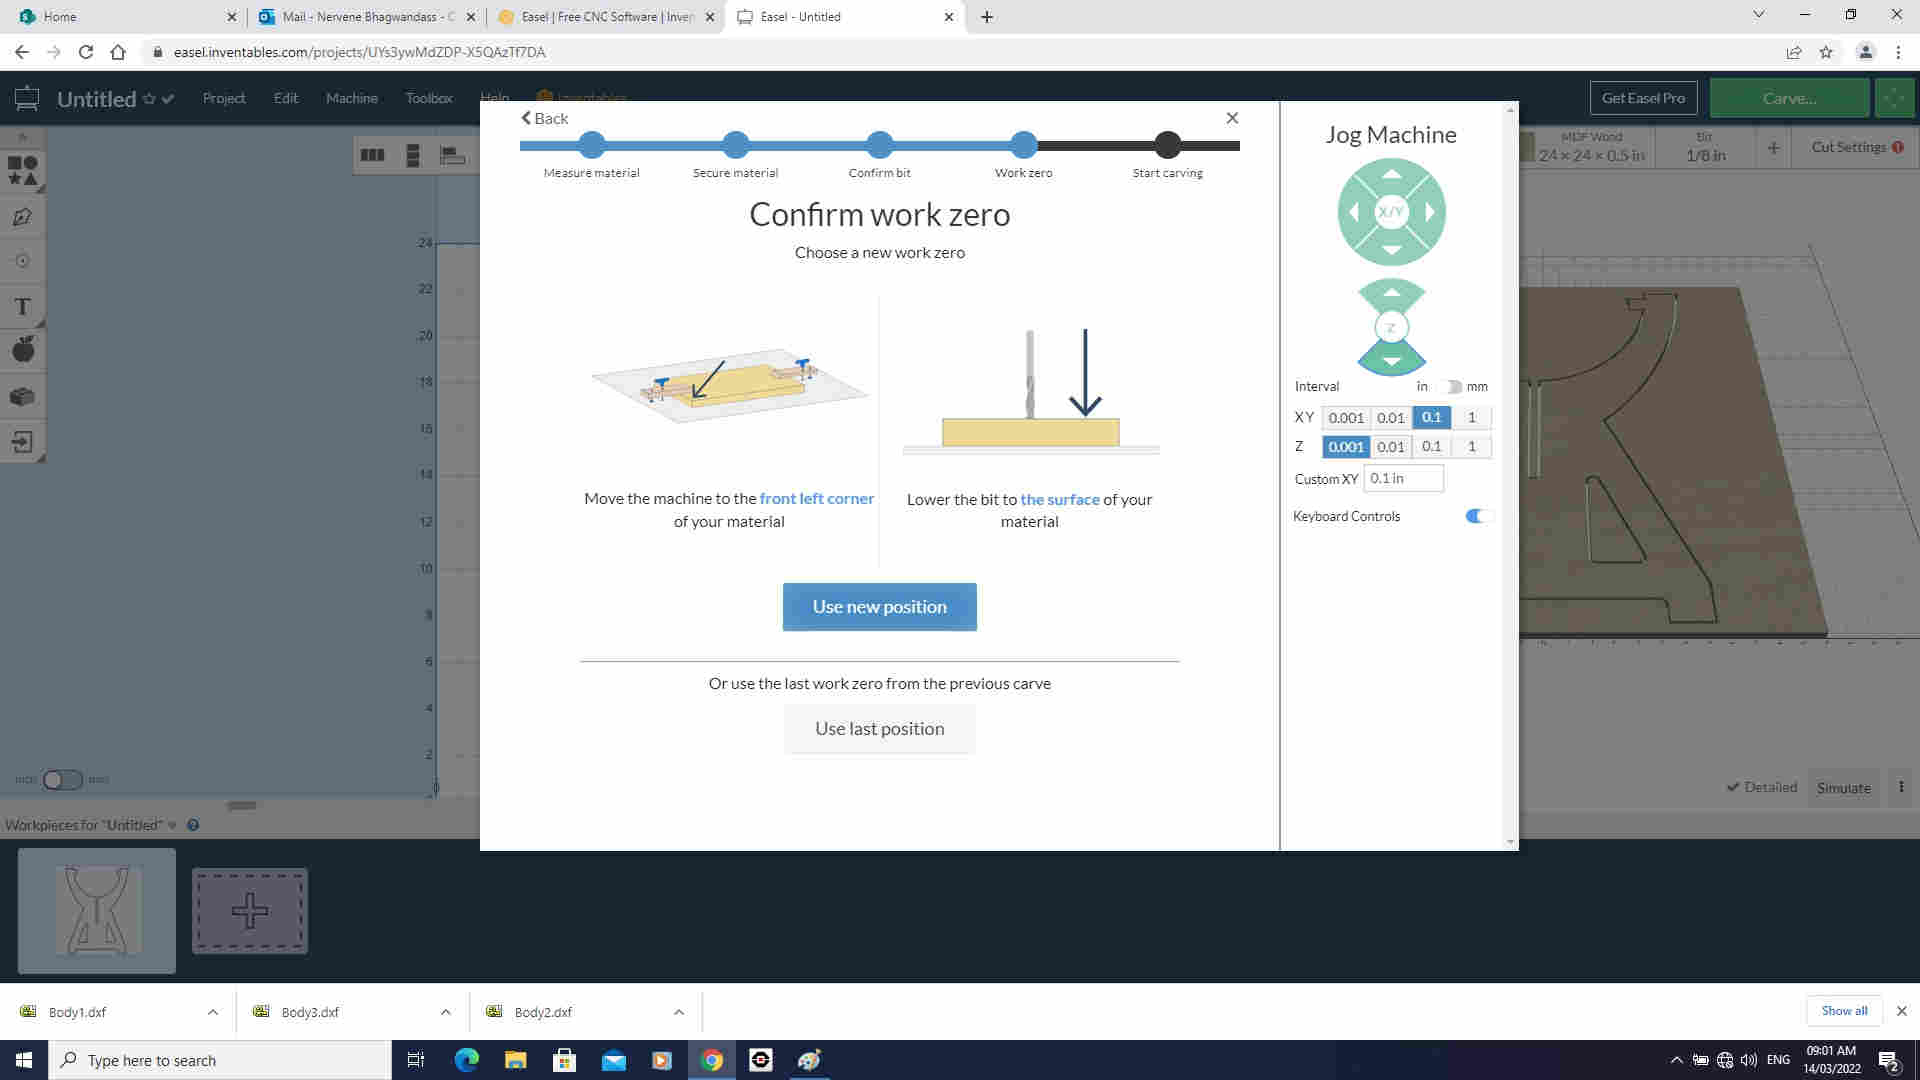
Use new postion

Final comfirmation
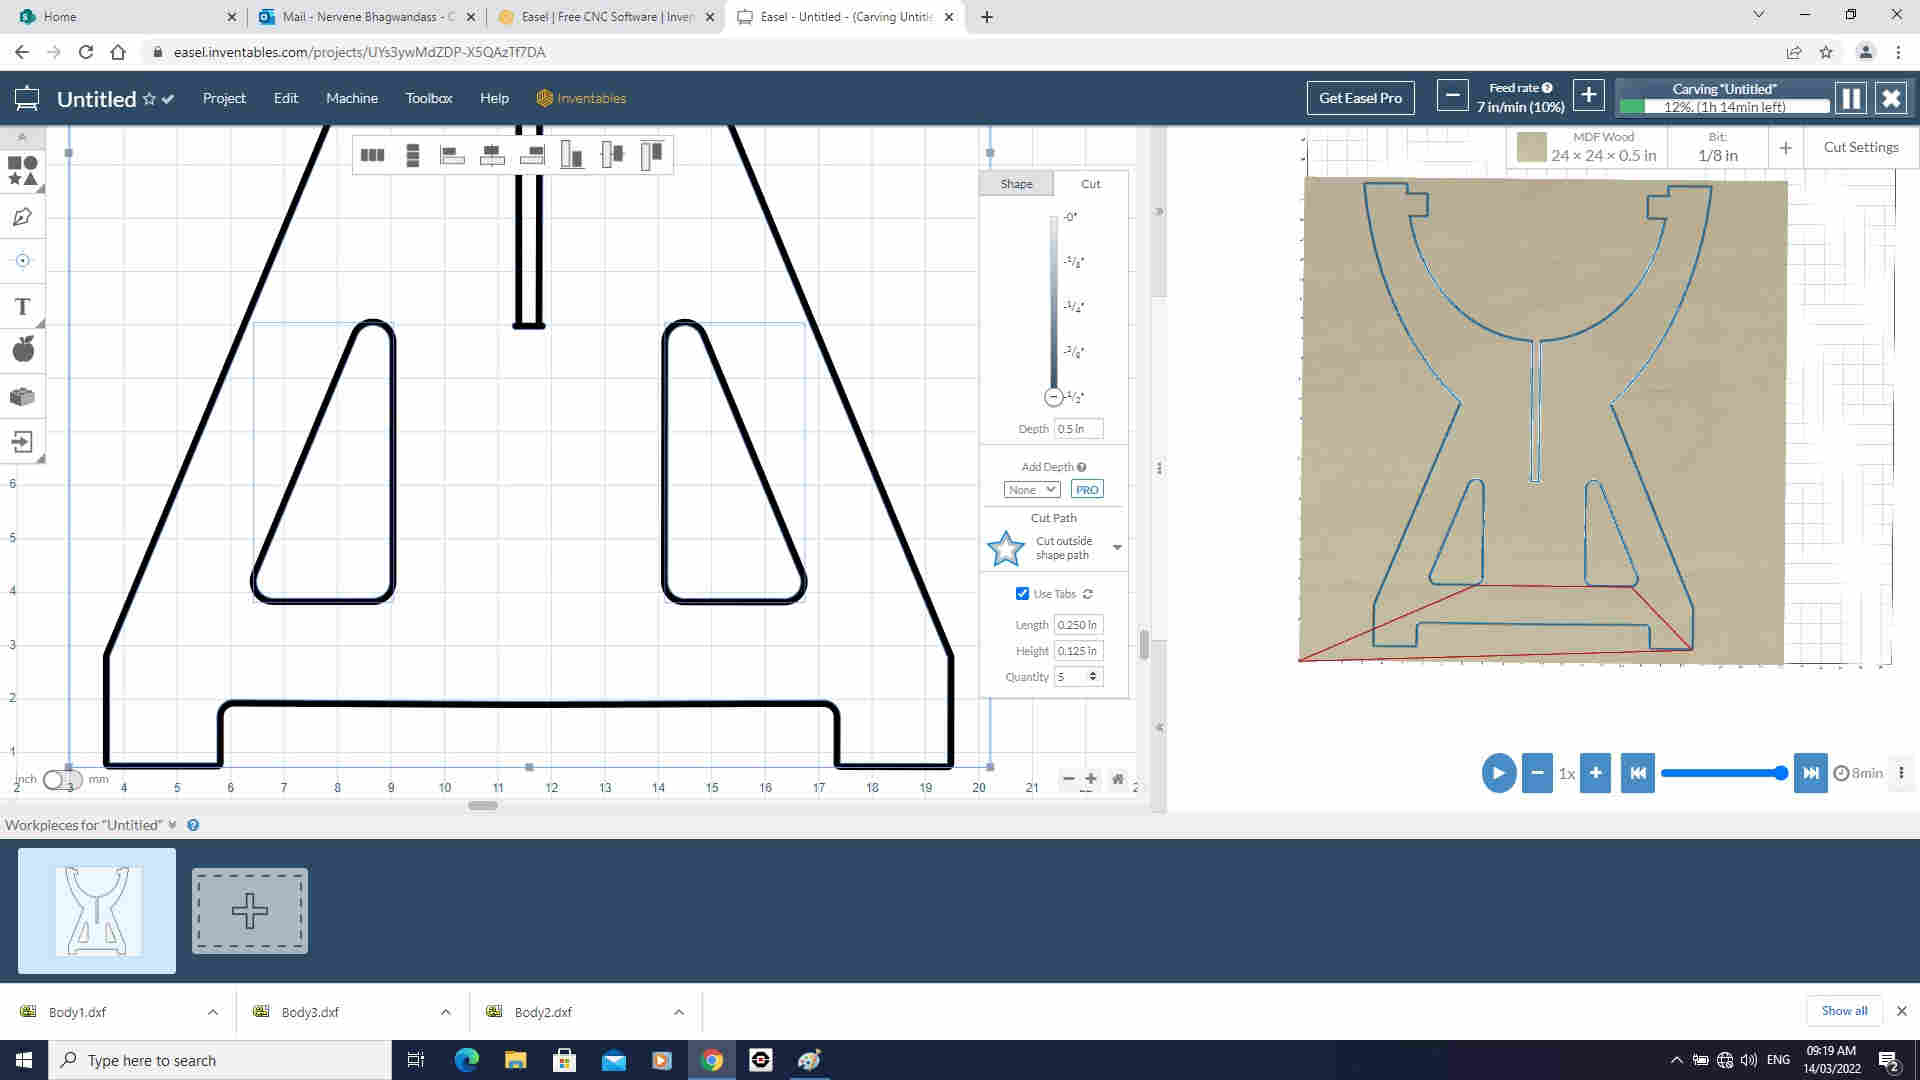
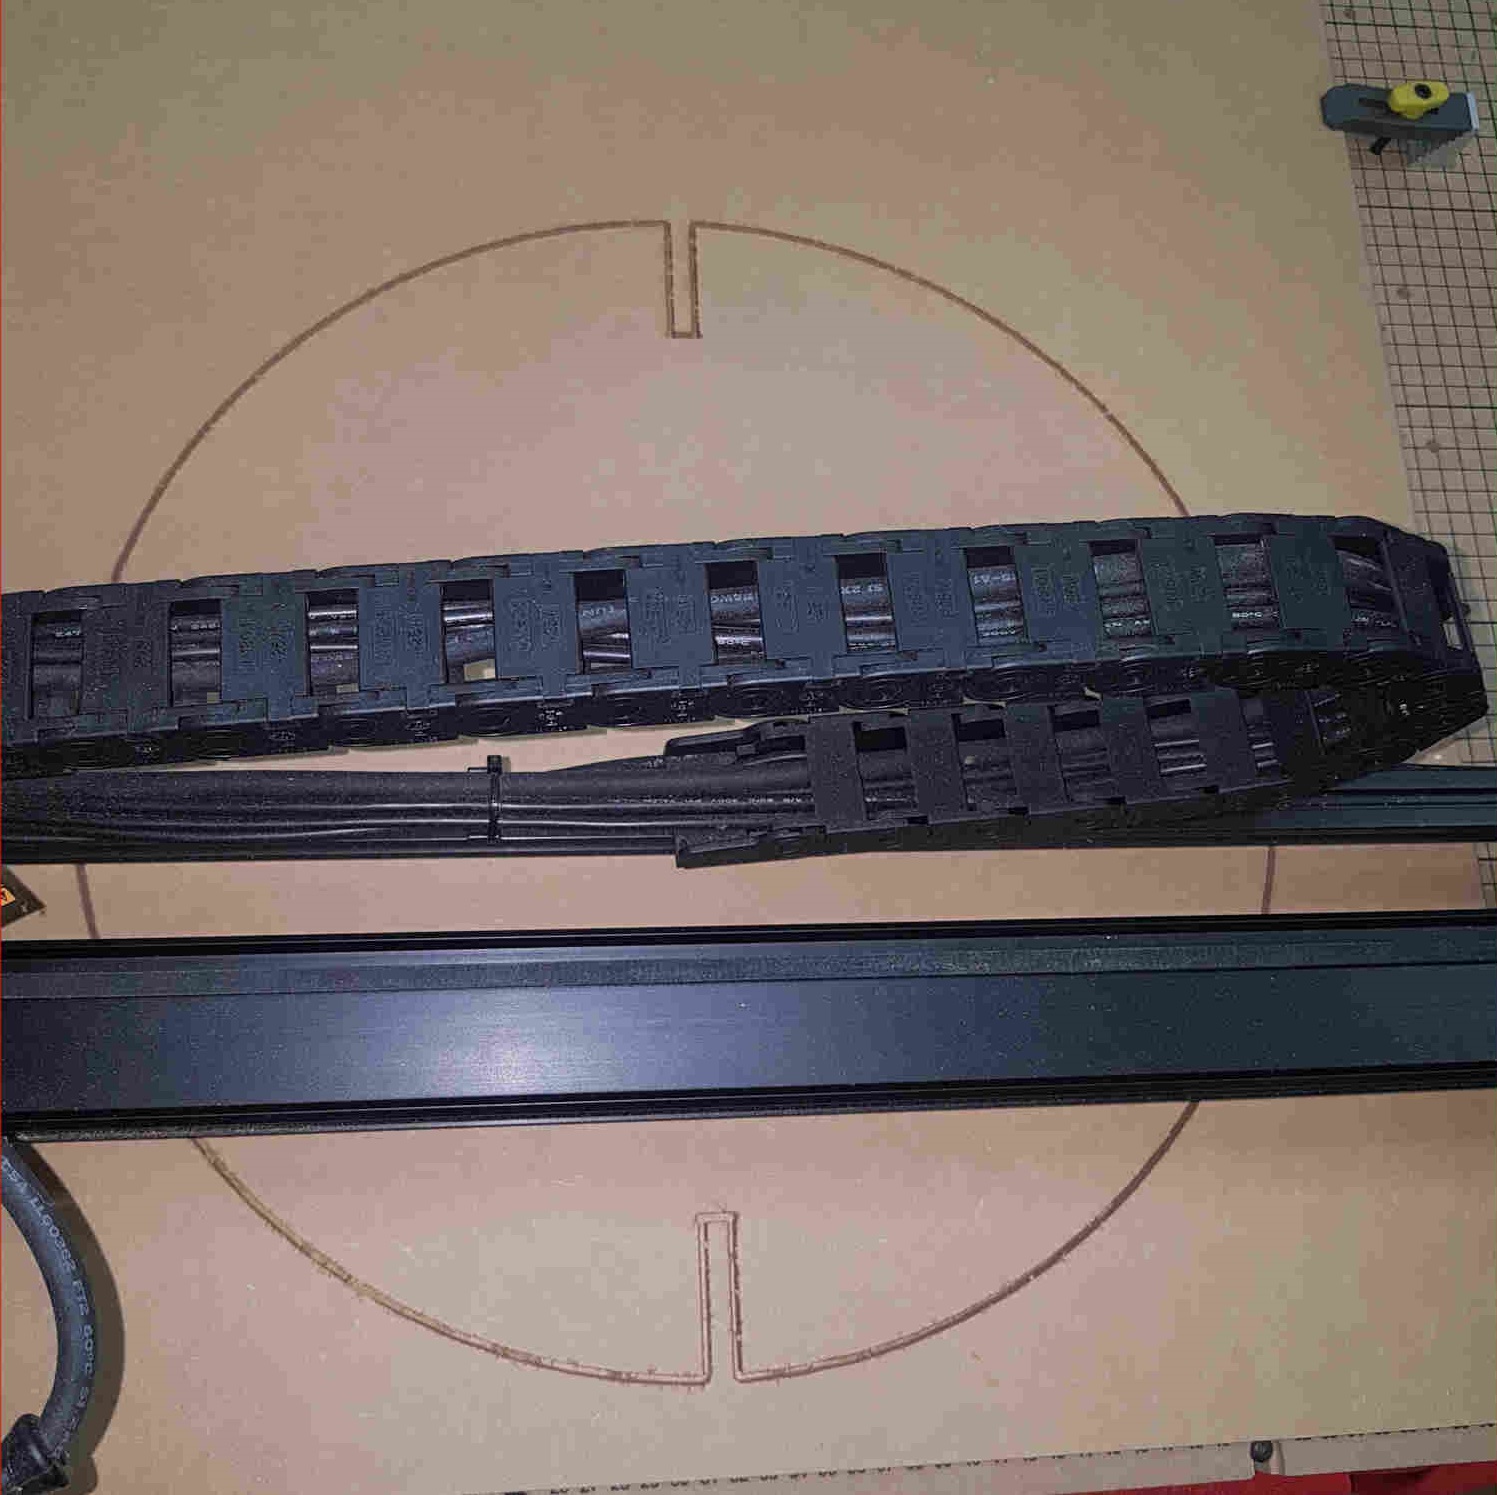
Carving begins
The cutting process begins.


Finish Cut
Removing fasteners
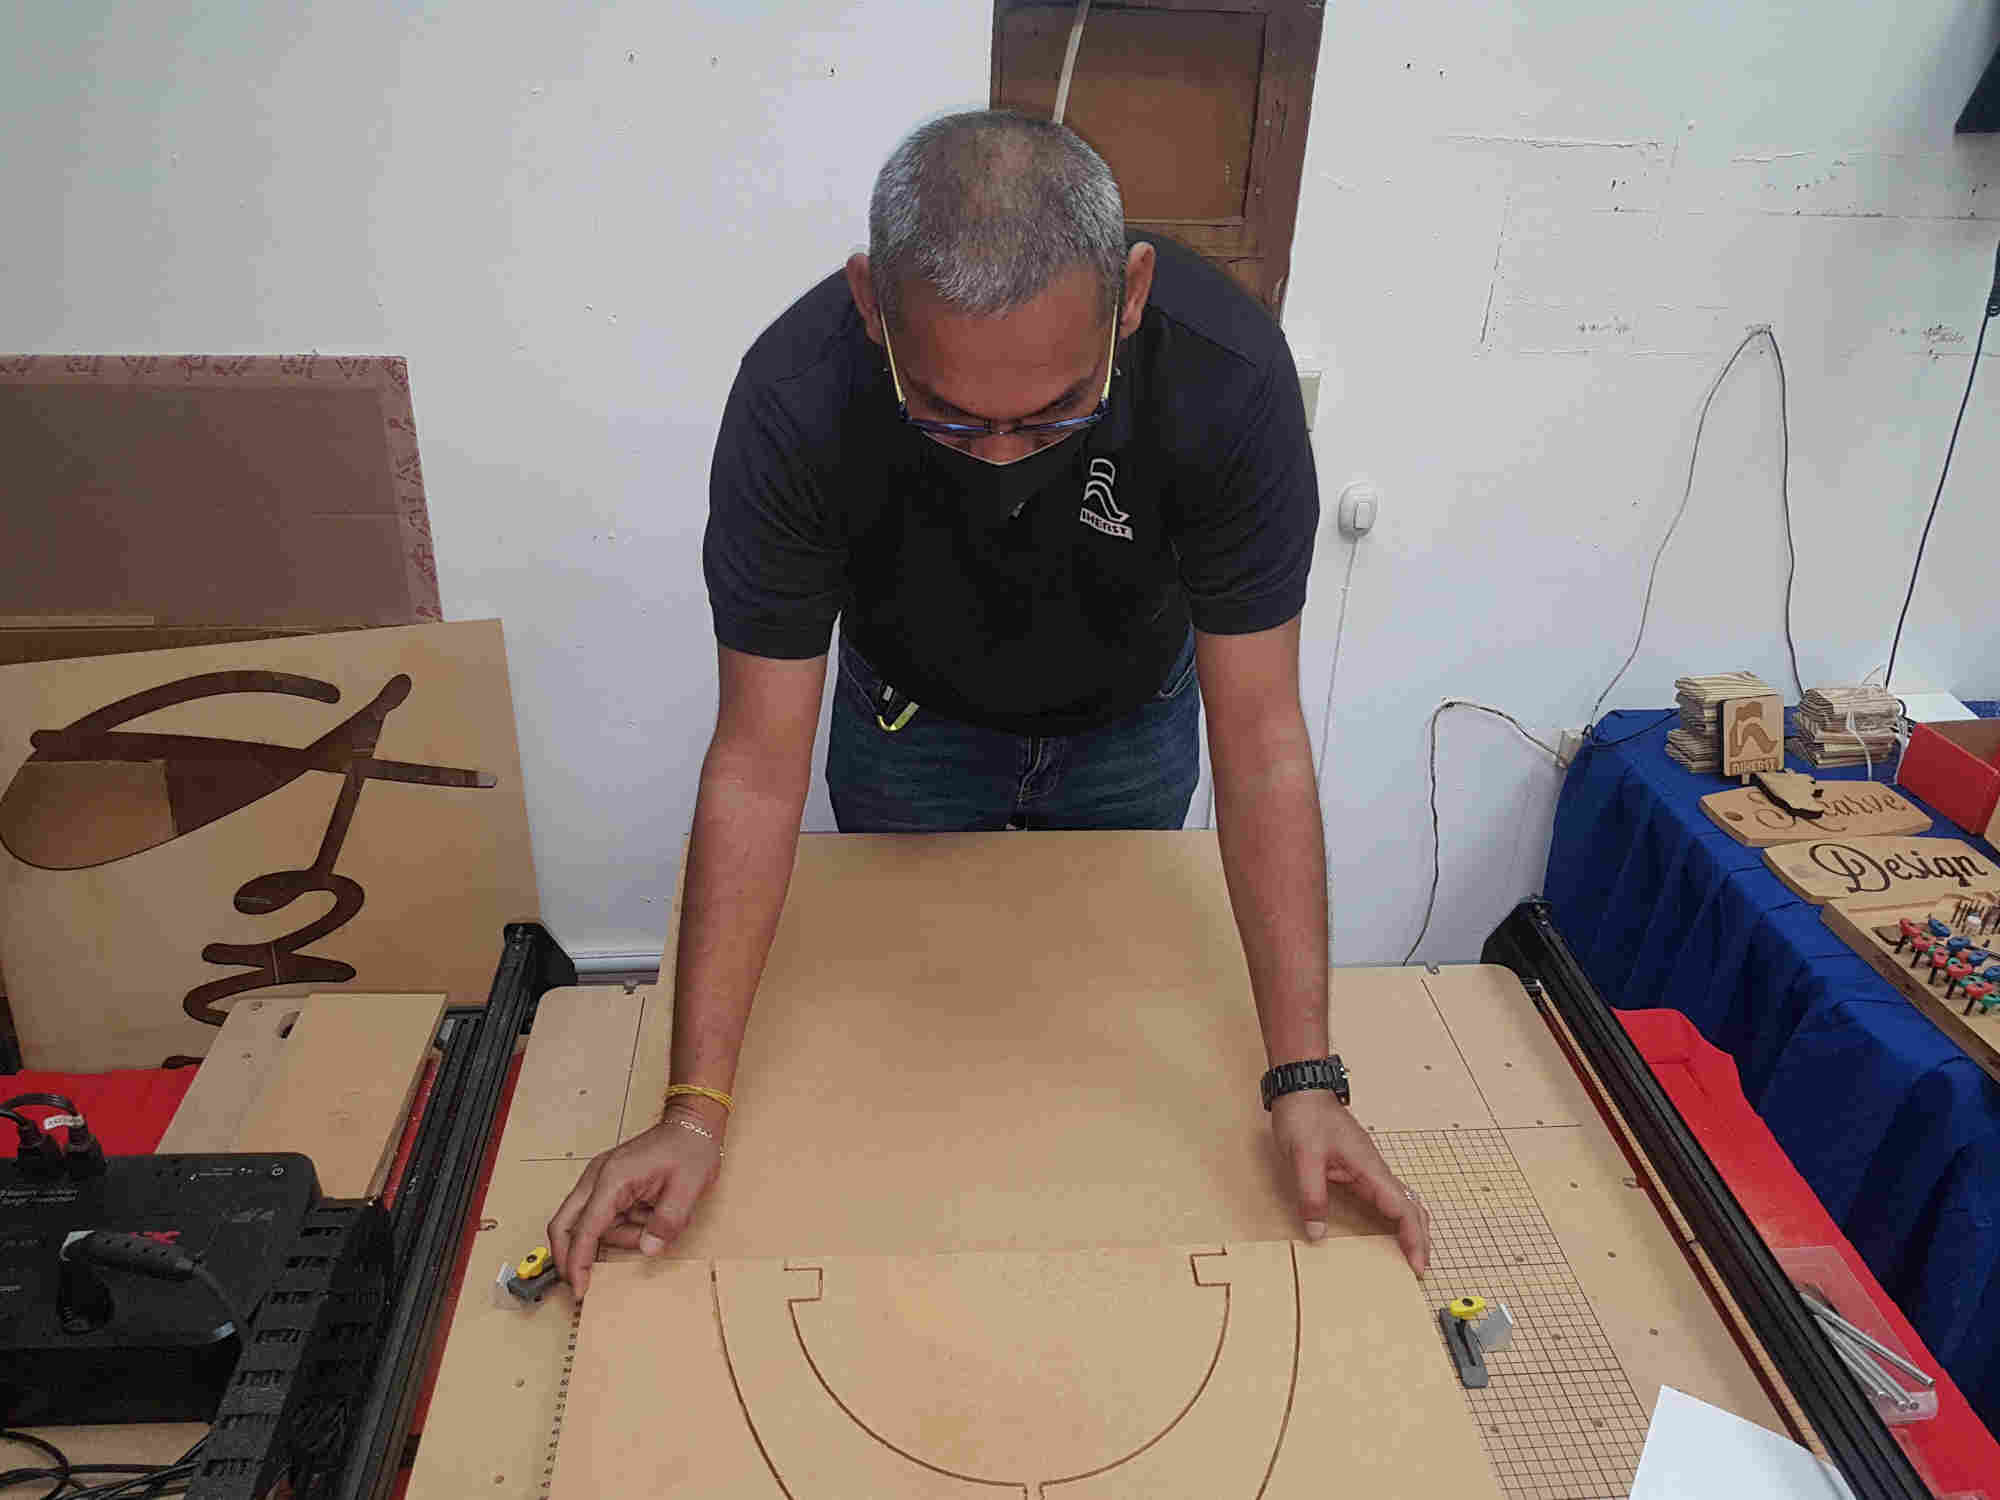
Removing cut piece
cutting out tabs
Repeated the above steps for the remaining two parts
Body 2
Body 3

Body 2
Body 3
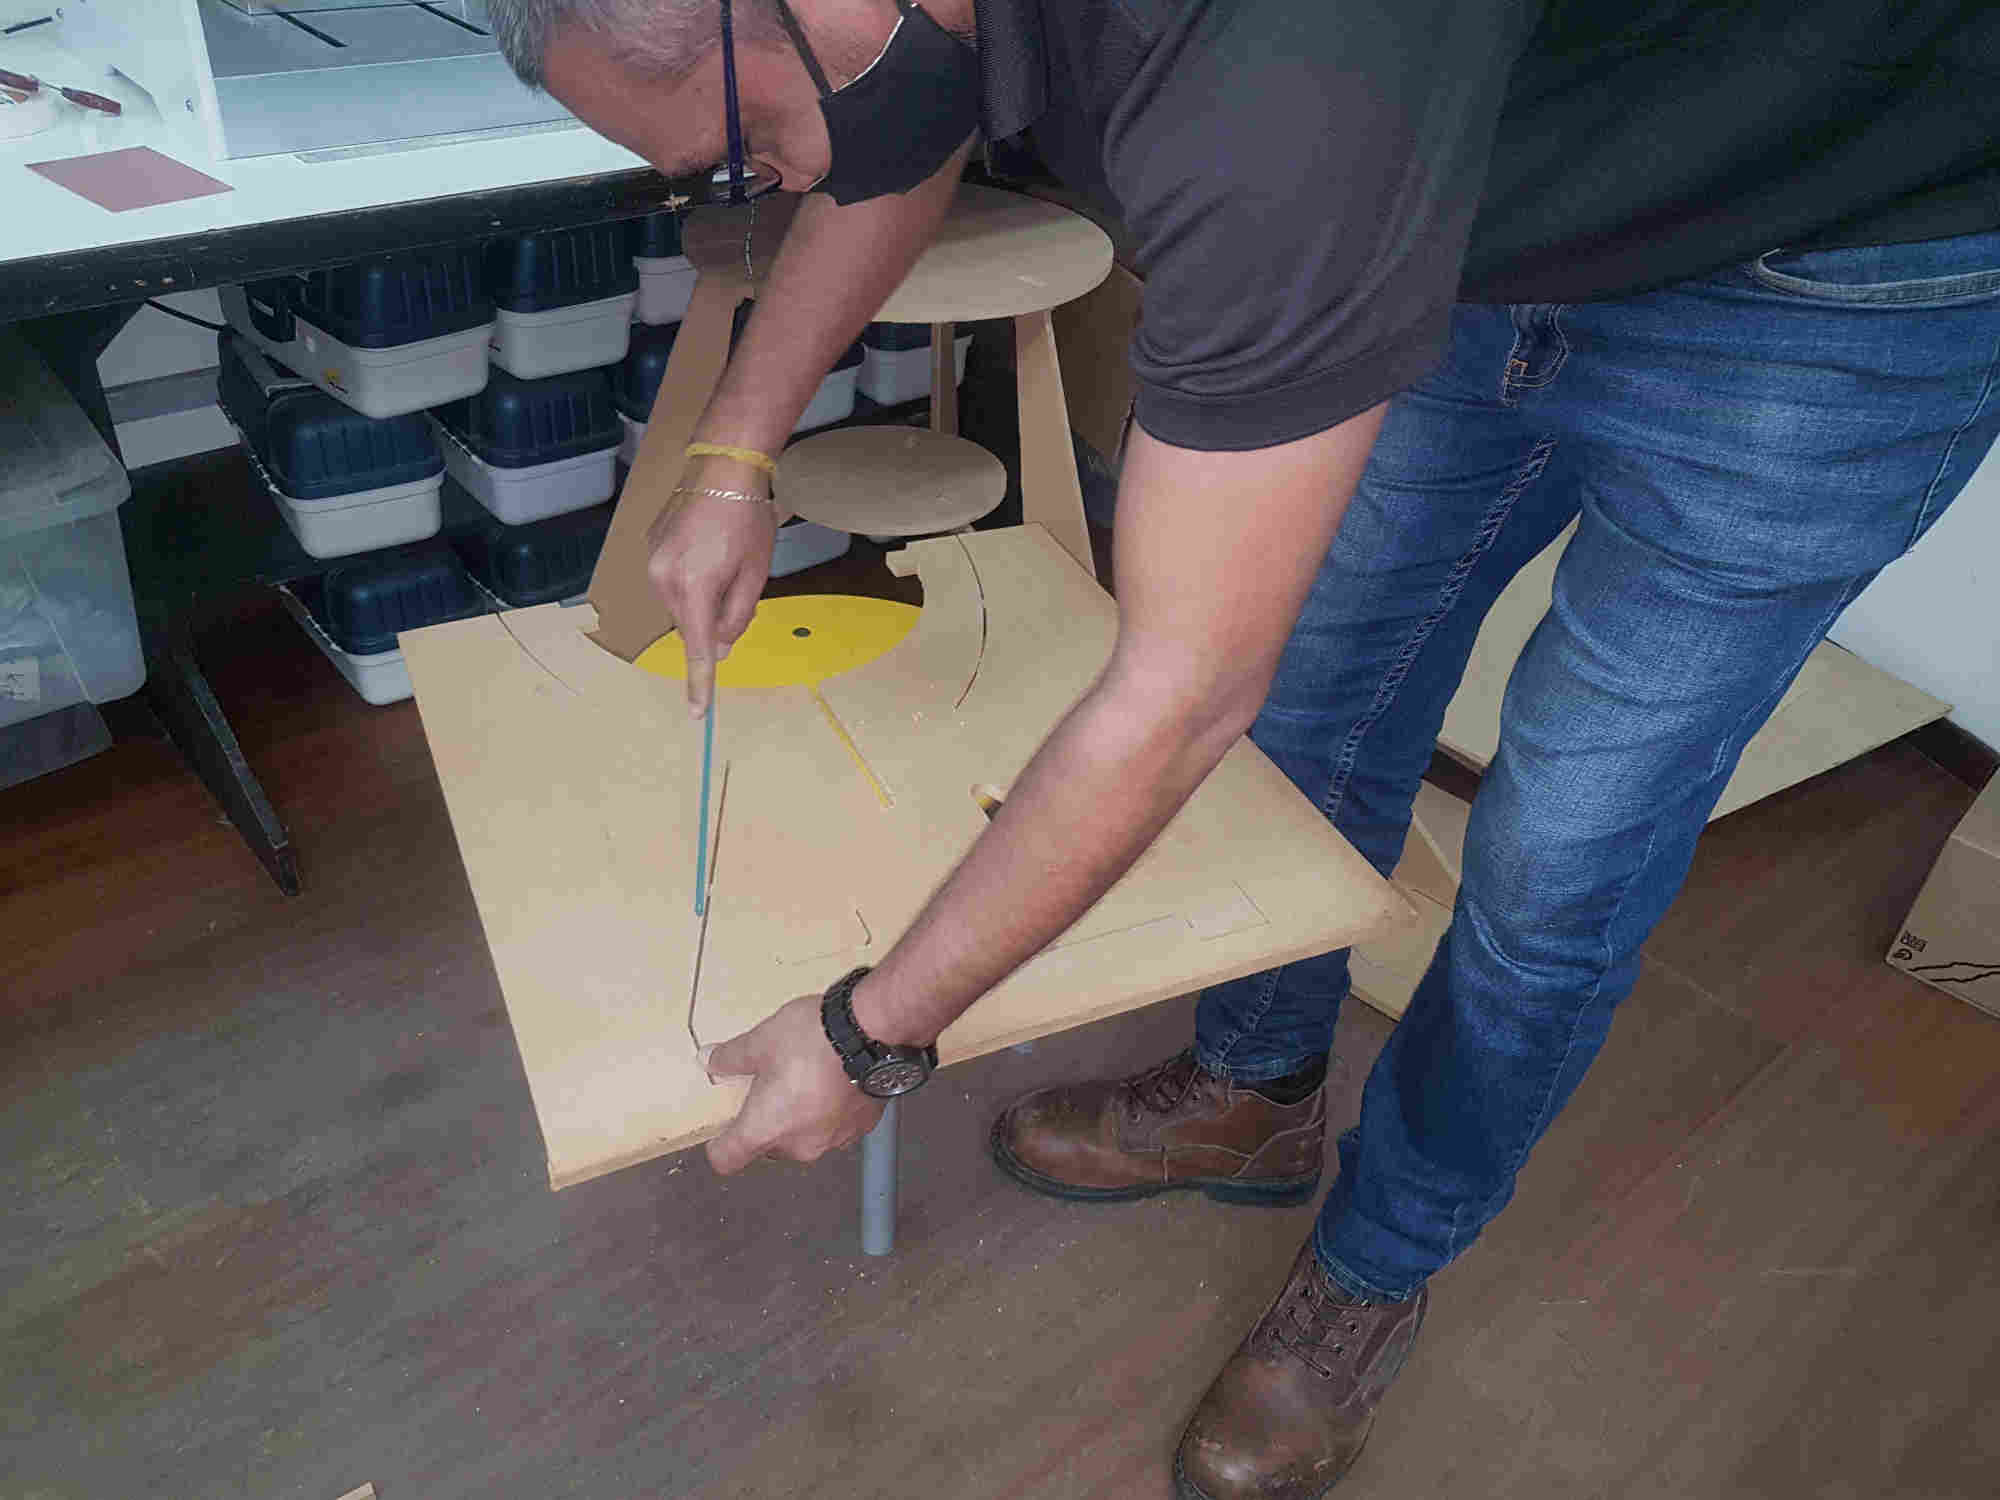
I removed the excess material

Assembly coffee table

Compression test

Thanks to Terrence Carew for being the test victim 😂