Week
Ten
Input Devices
Group Project
This week during our group project we experimented with various input devices, and talked about how they work. In our group we worked with a thermistor taking various voltage readings along the way to see how temperature affects the resistance.
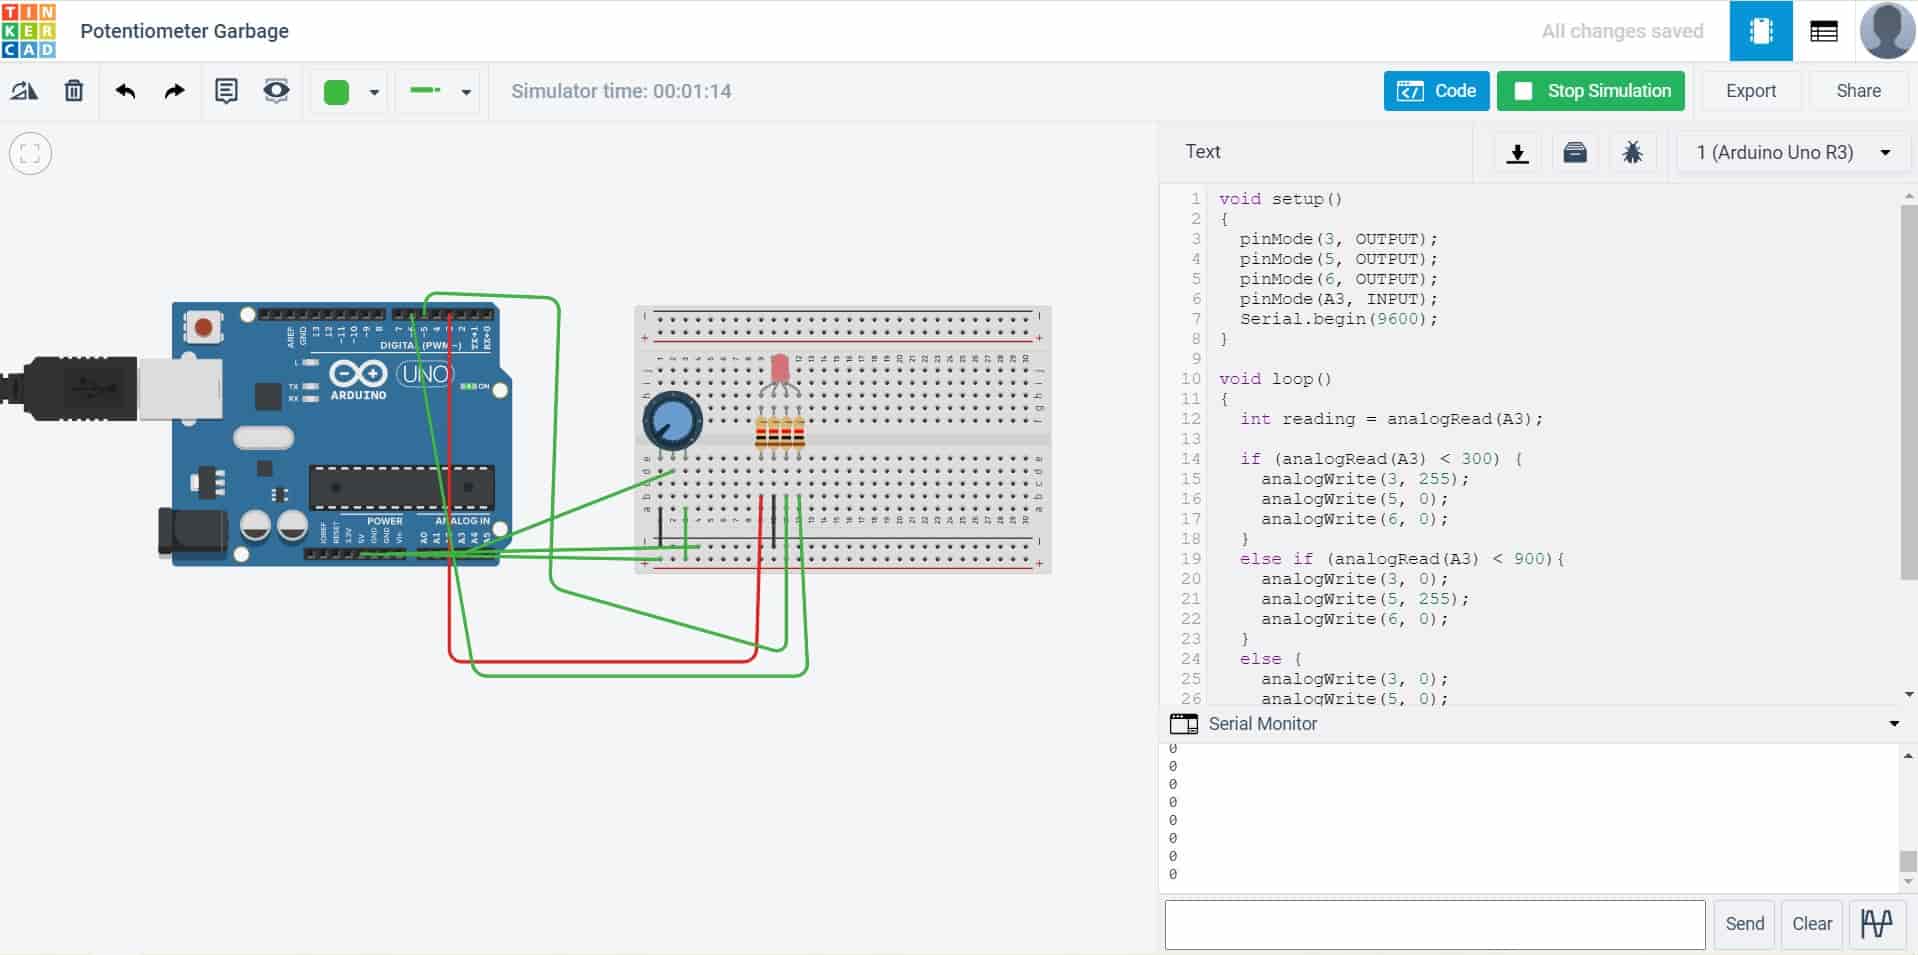
The other part of the group project was to work in Tinkercad to see how sensors work virtually, and how they can be programmed with an Arduino. During this section of the lab I set up a RGB LED, that would change colors depending on the resistance readings from the potentiometer.
Individual Assignment
This week I wanted to do something similar to what I did with my group assignment, however as far as I know our shop doesn't have any surface mounted RGB LEDs that can be sautered. So instead I set up to make something that would swap what LED is powered on depending on the resistance from the potentiometer.
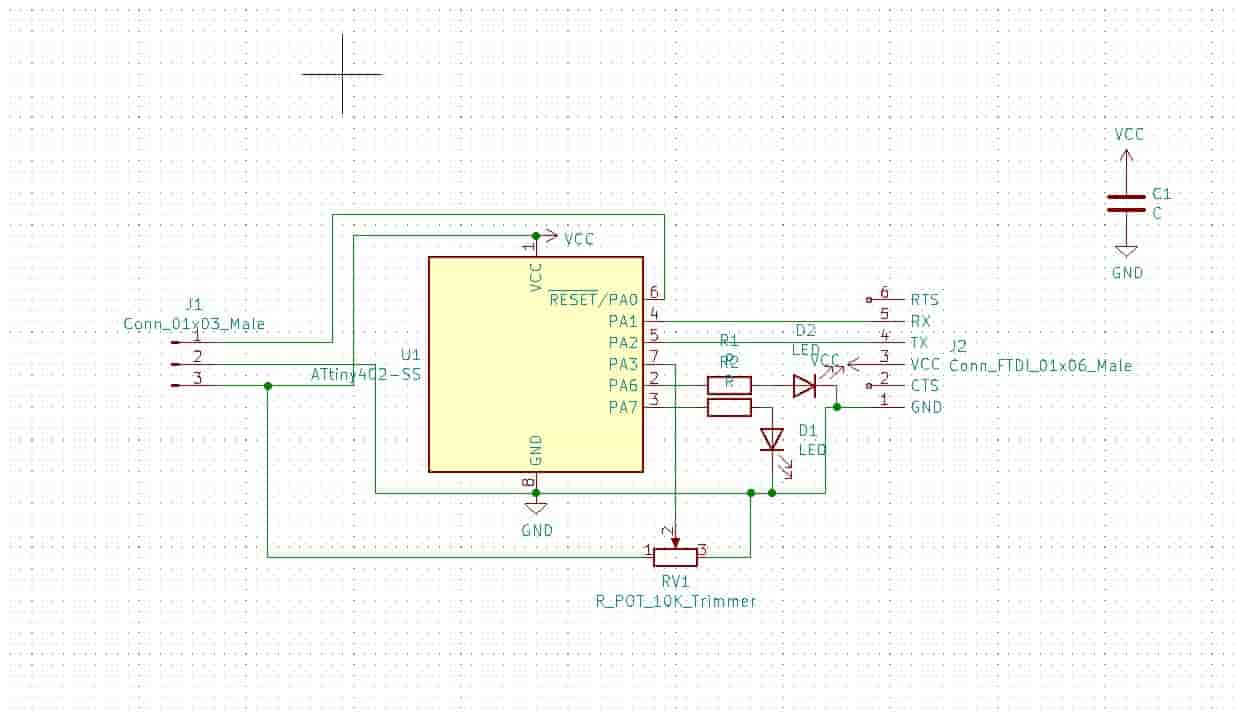
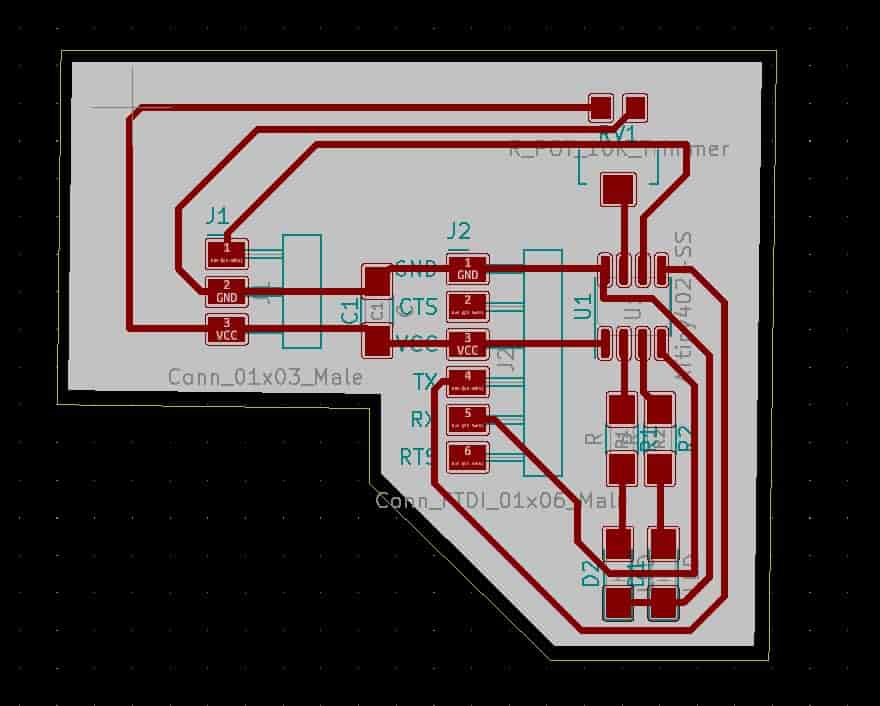
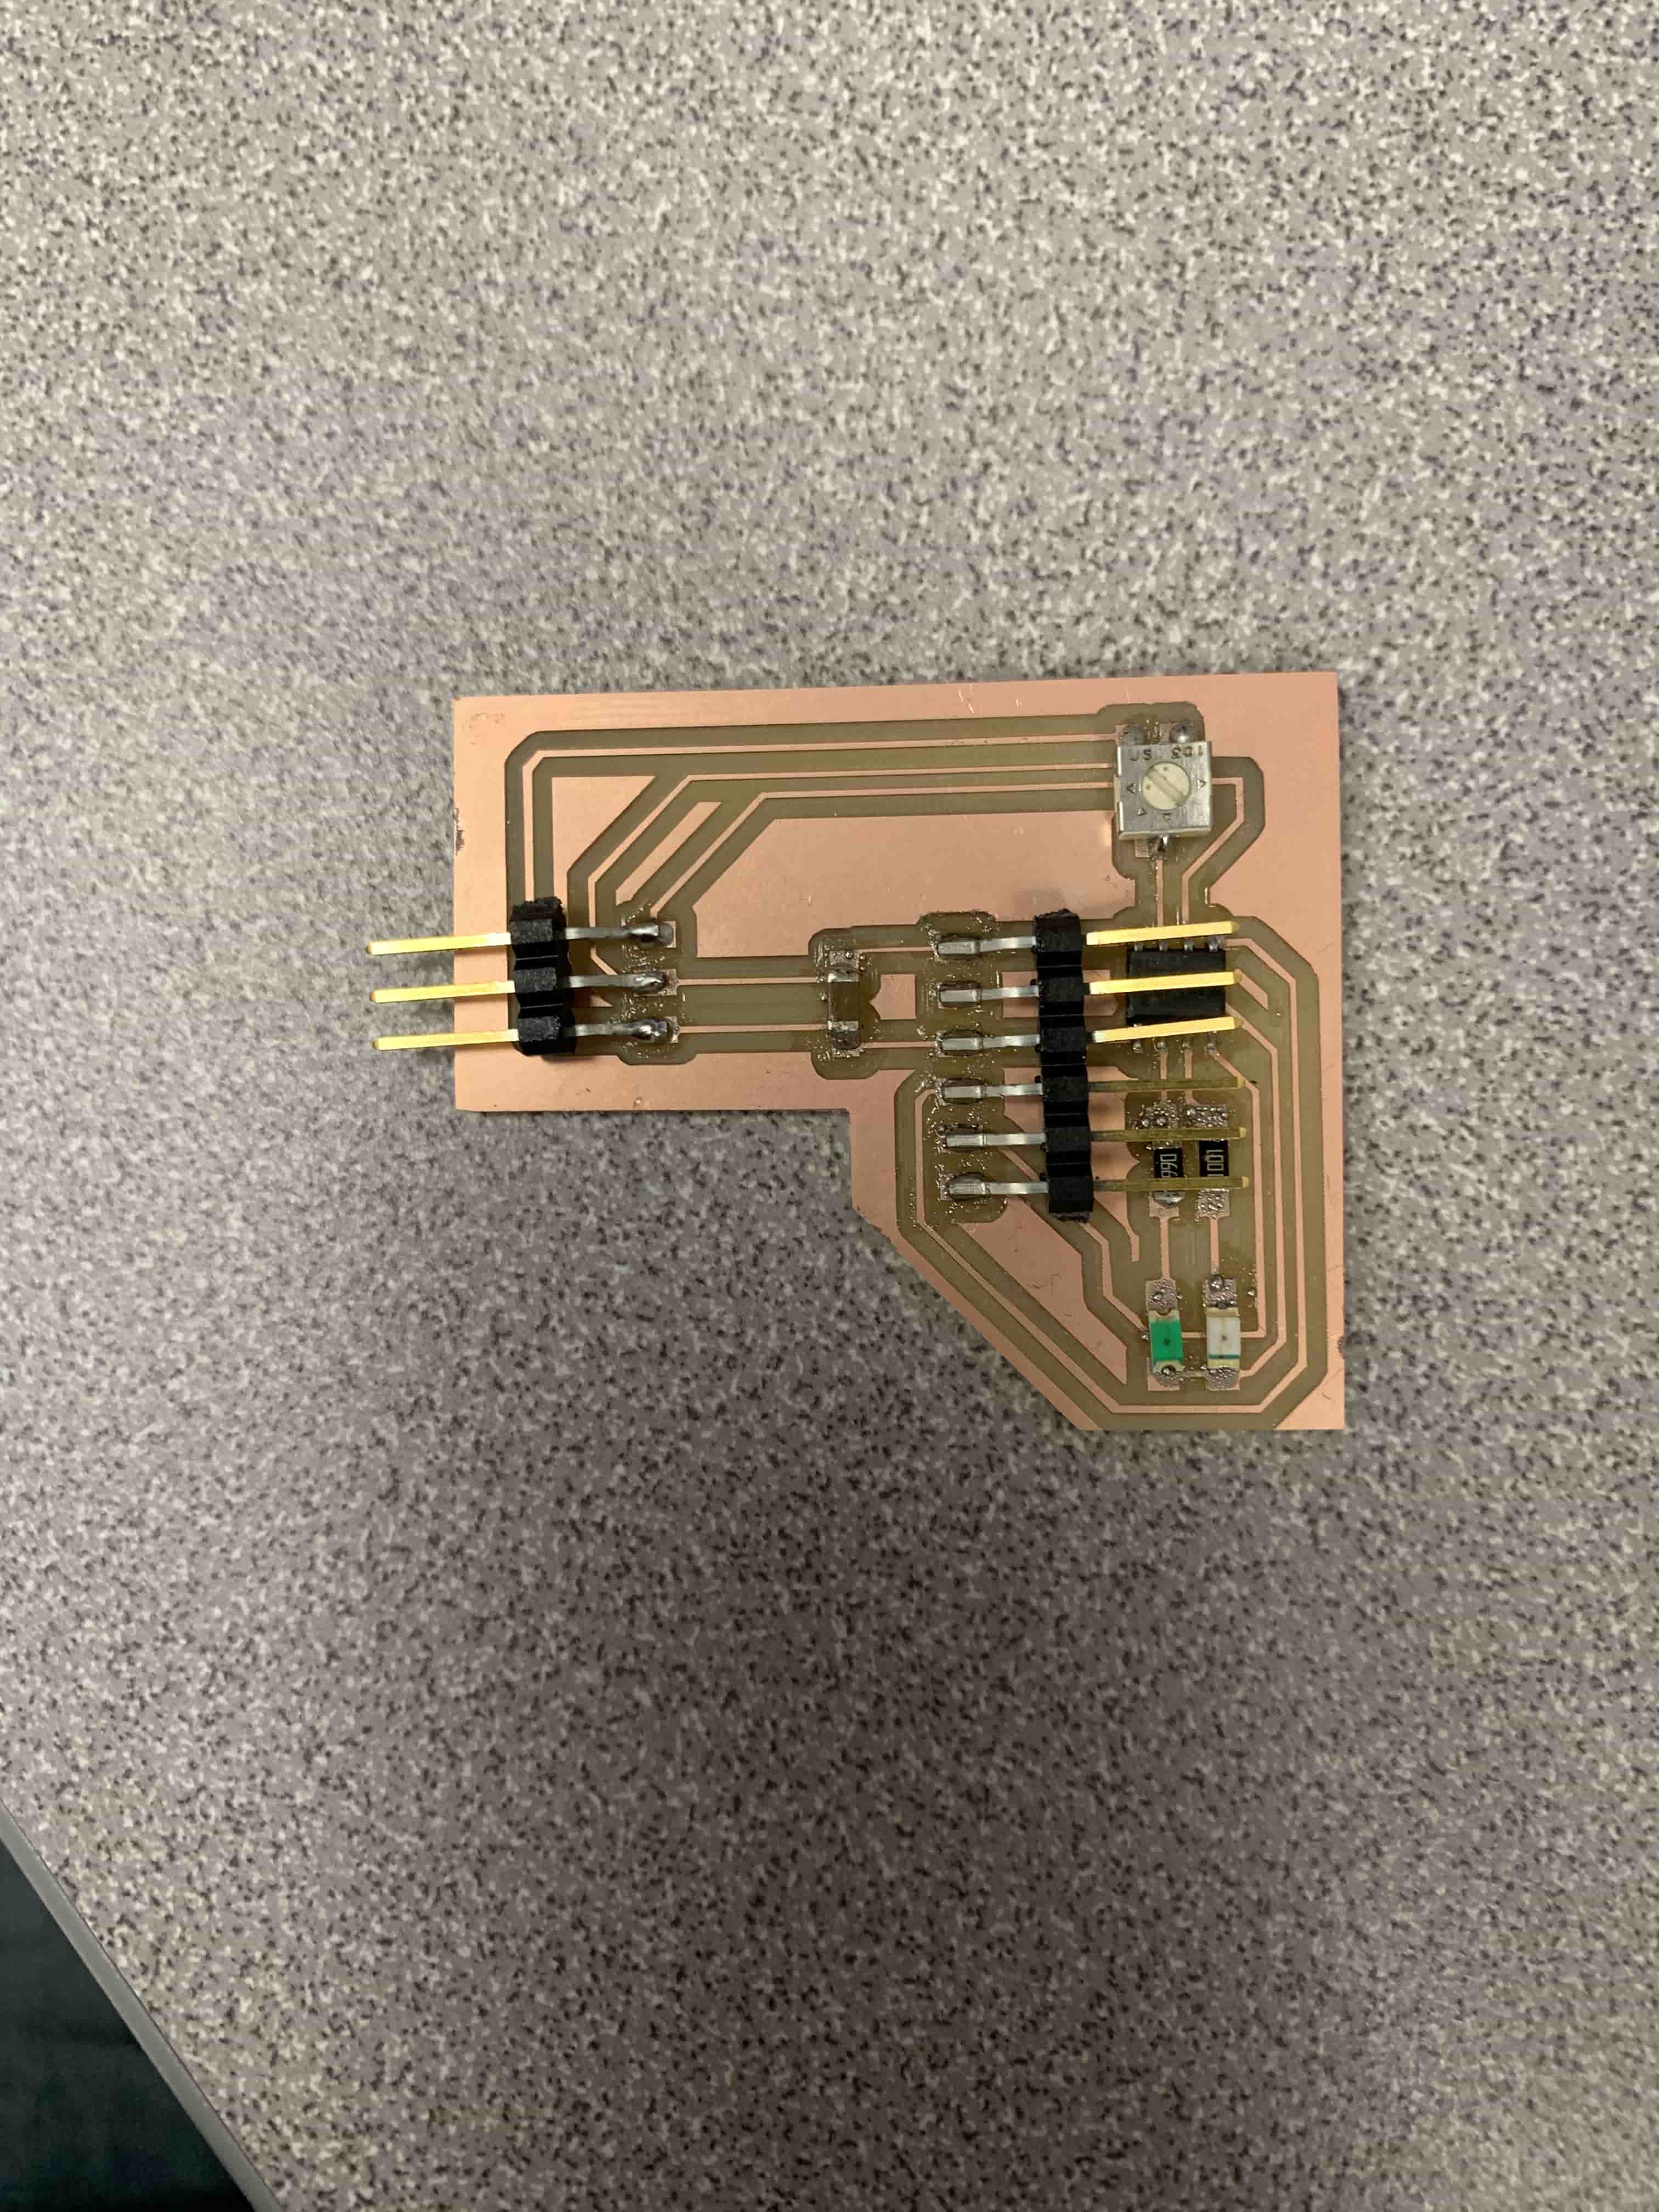
Board Design
Making the circuit wasn't too bad because of how simple the idea was, although at this step I did make a mistake and decided to use an ATtiny 802 because I felt that the design was simple and I didn't want to waste a 1616. Turns out I should've since there are no digital pins, and therefor I can't read the potentiometer with this board. So at this point I'm sure that you know that this board isn't going to work because I didn't realize this till like 15 minutes ago, and it now 3:52 AM as I write this sentence.
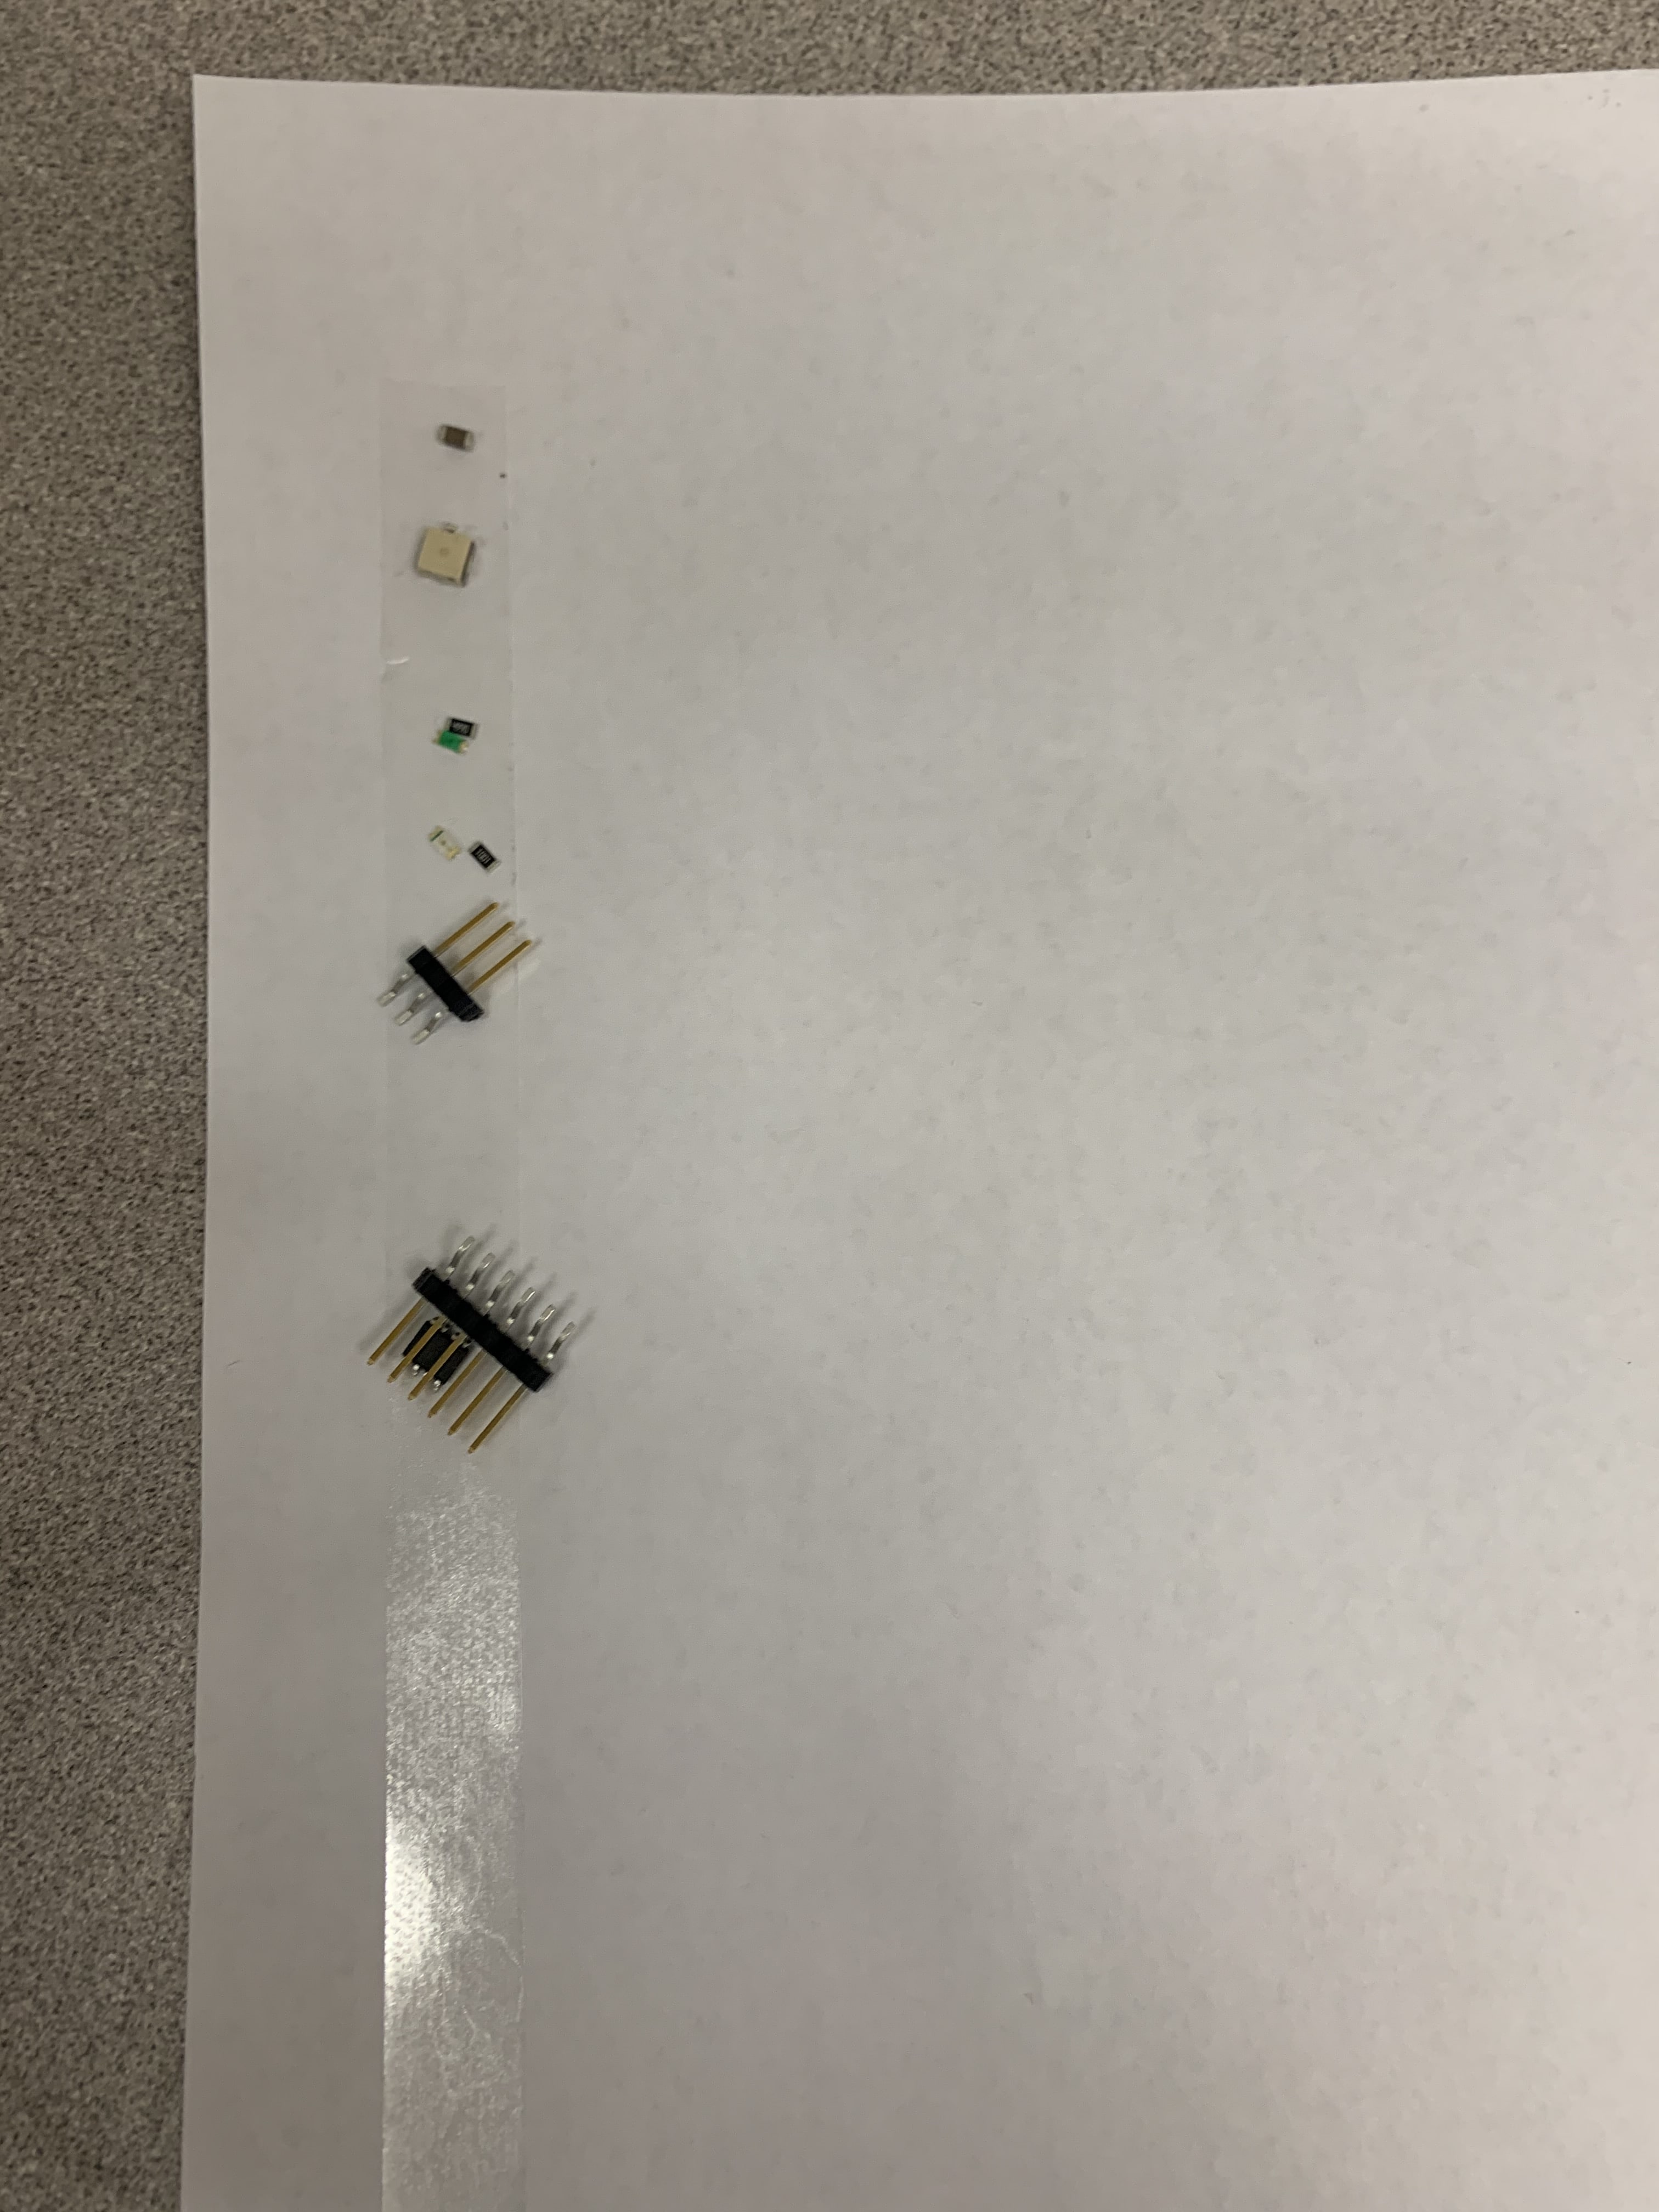
I also didn't know when designing this board that I would be using surface mounted pins instead of through-hole pins. Since I didn't plan for that I needed to do some bending of the pins that caused me to break two boards by accident.
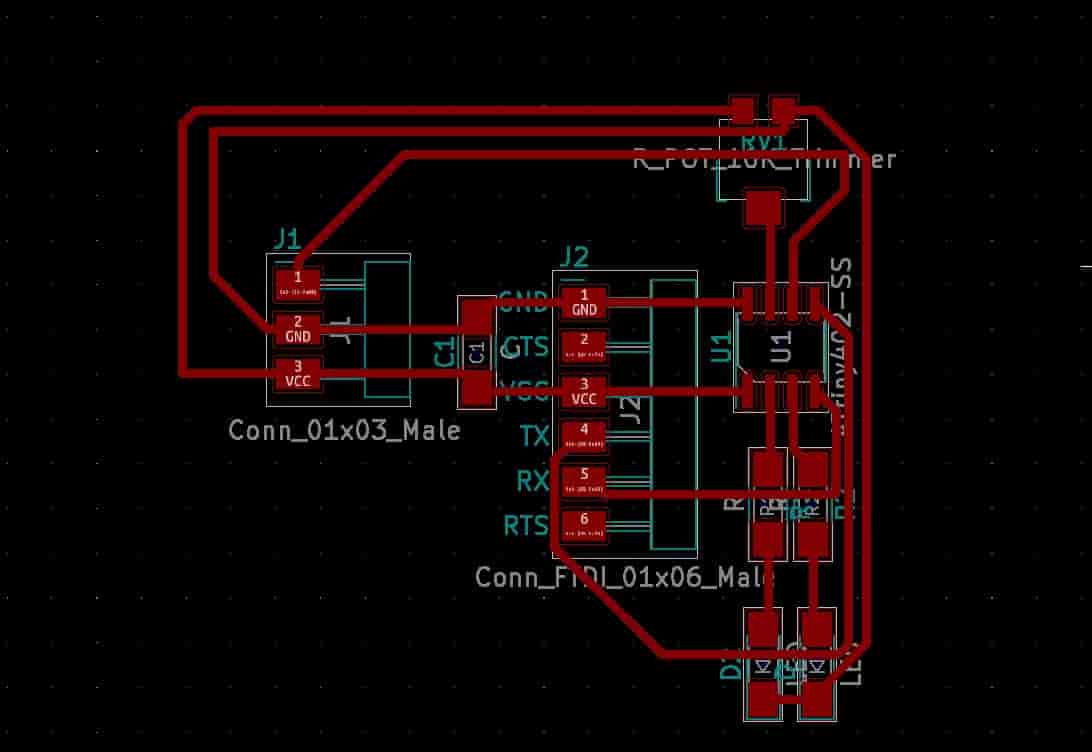
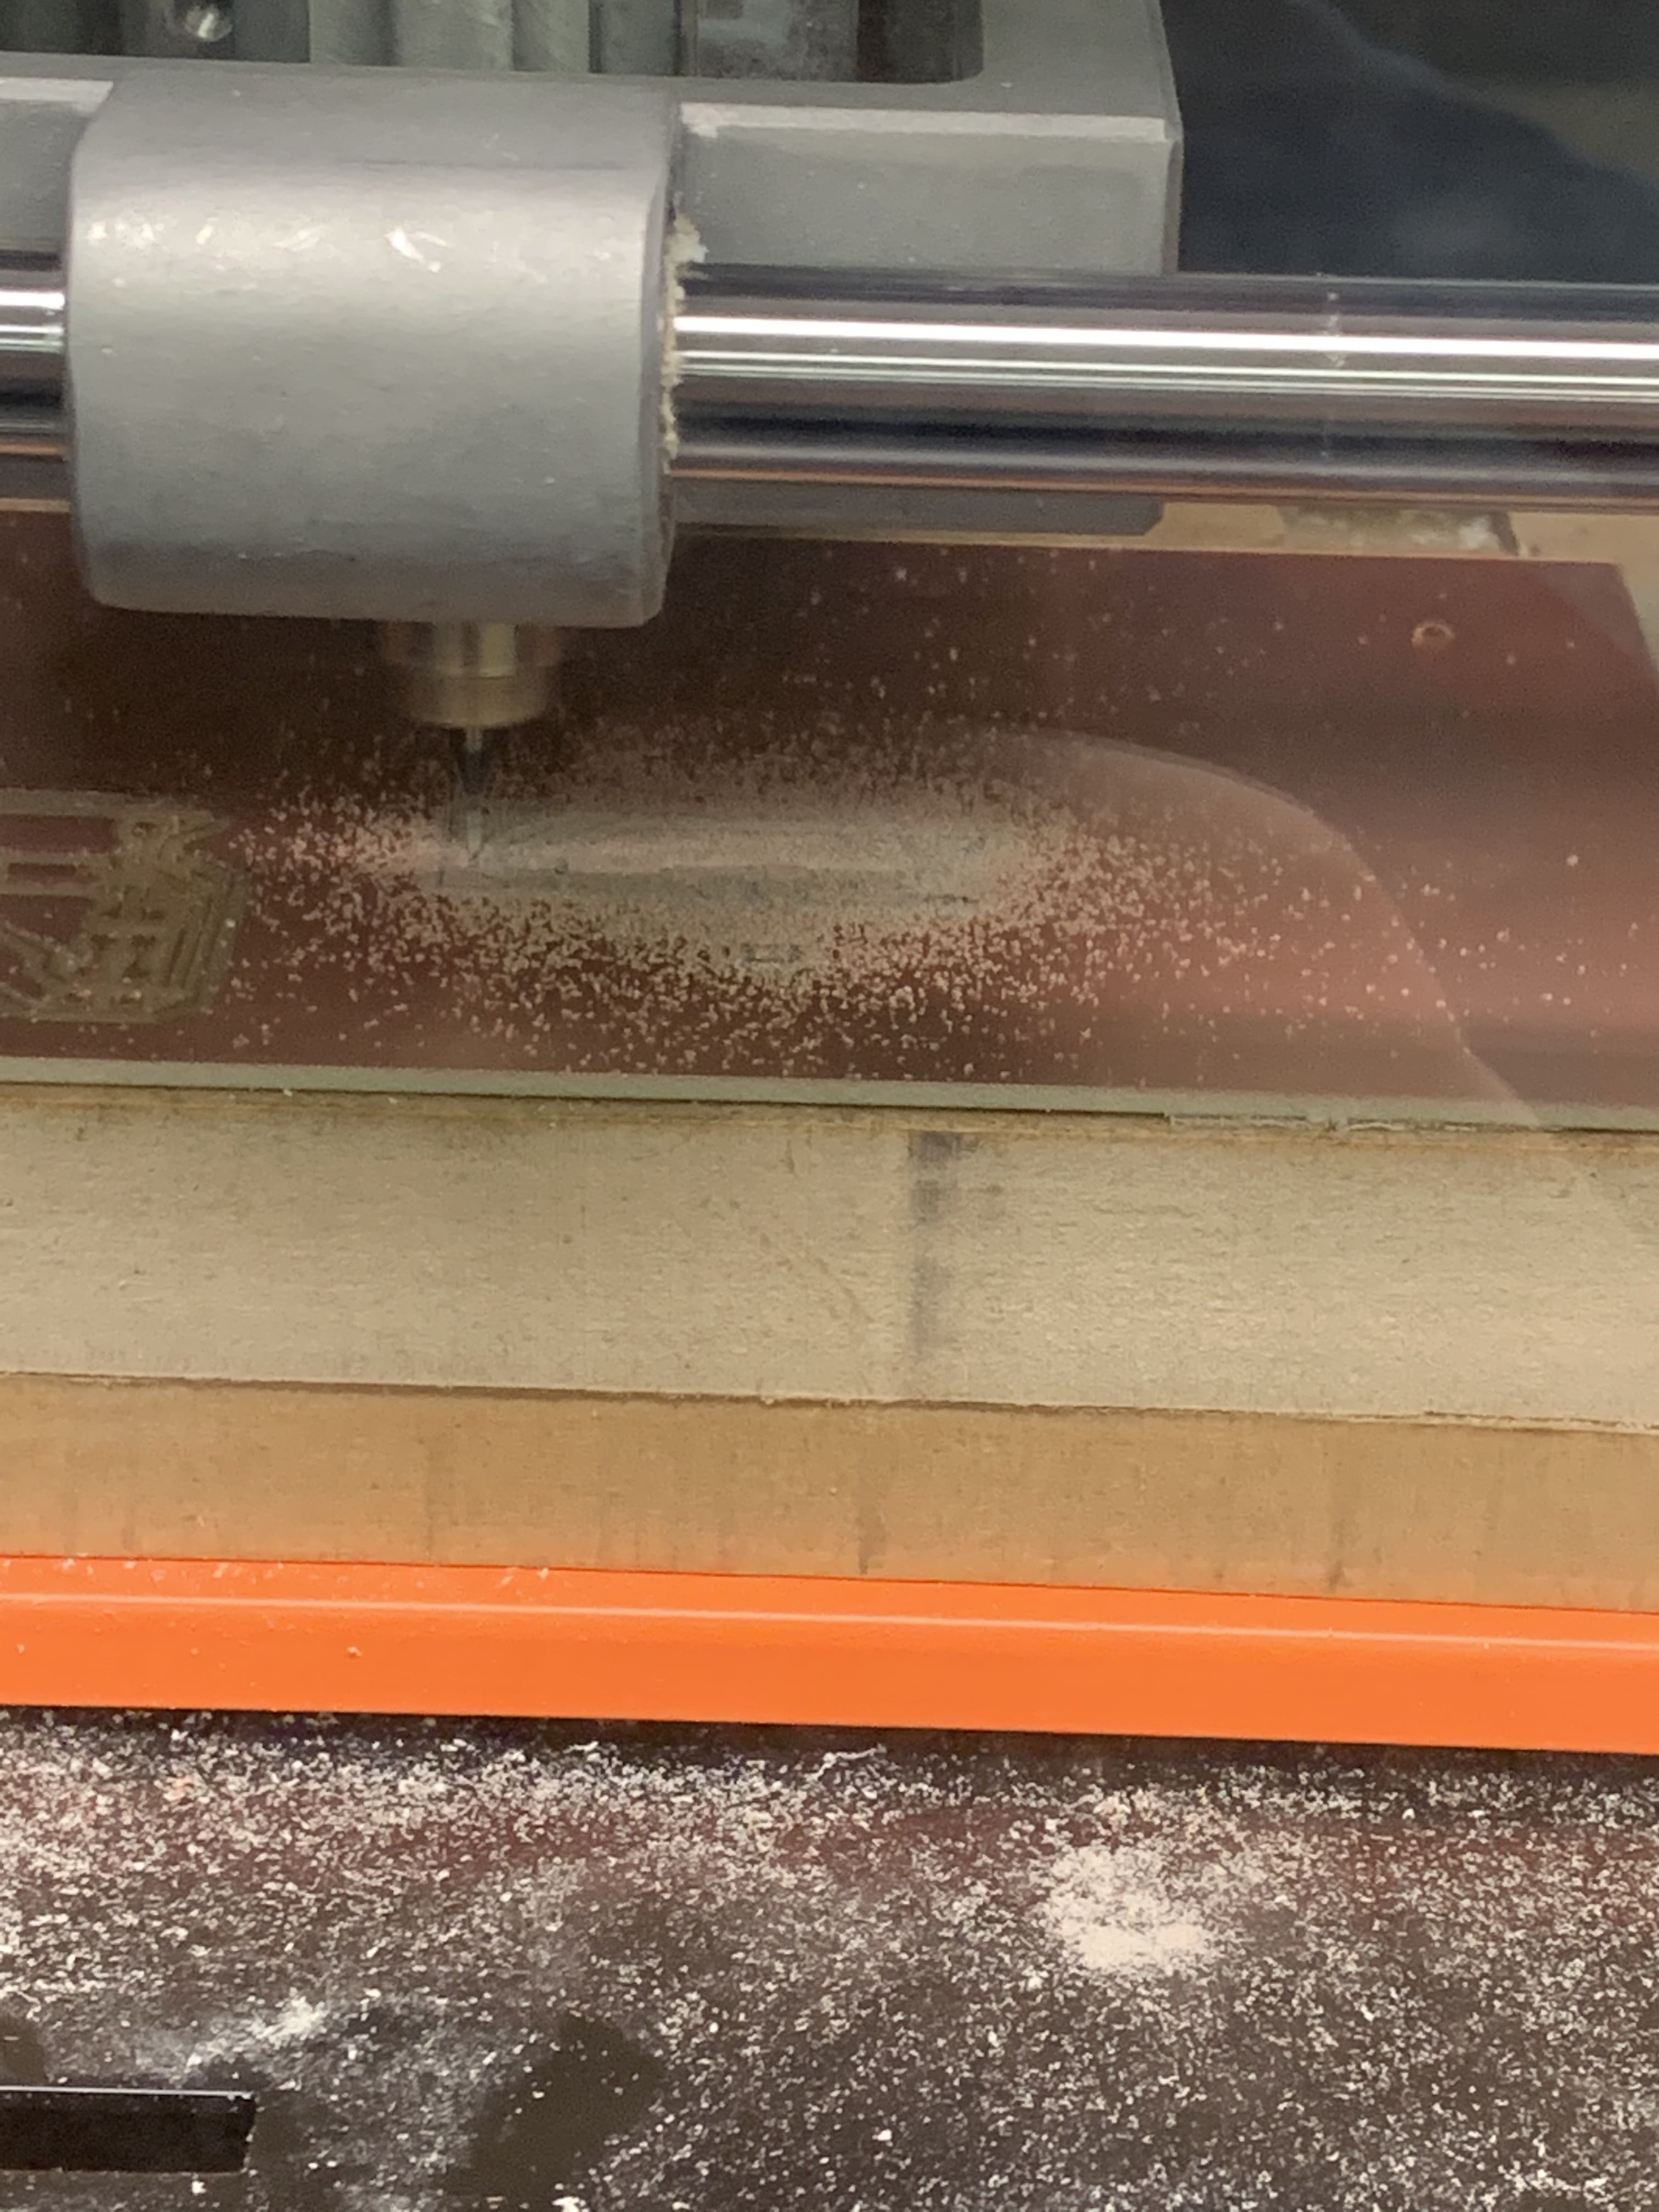
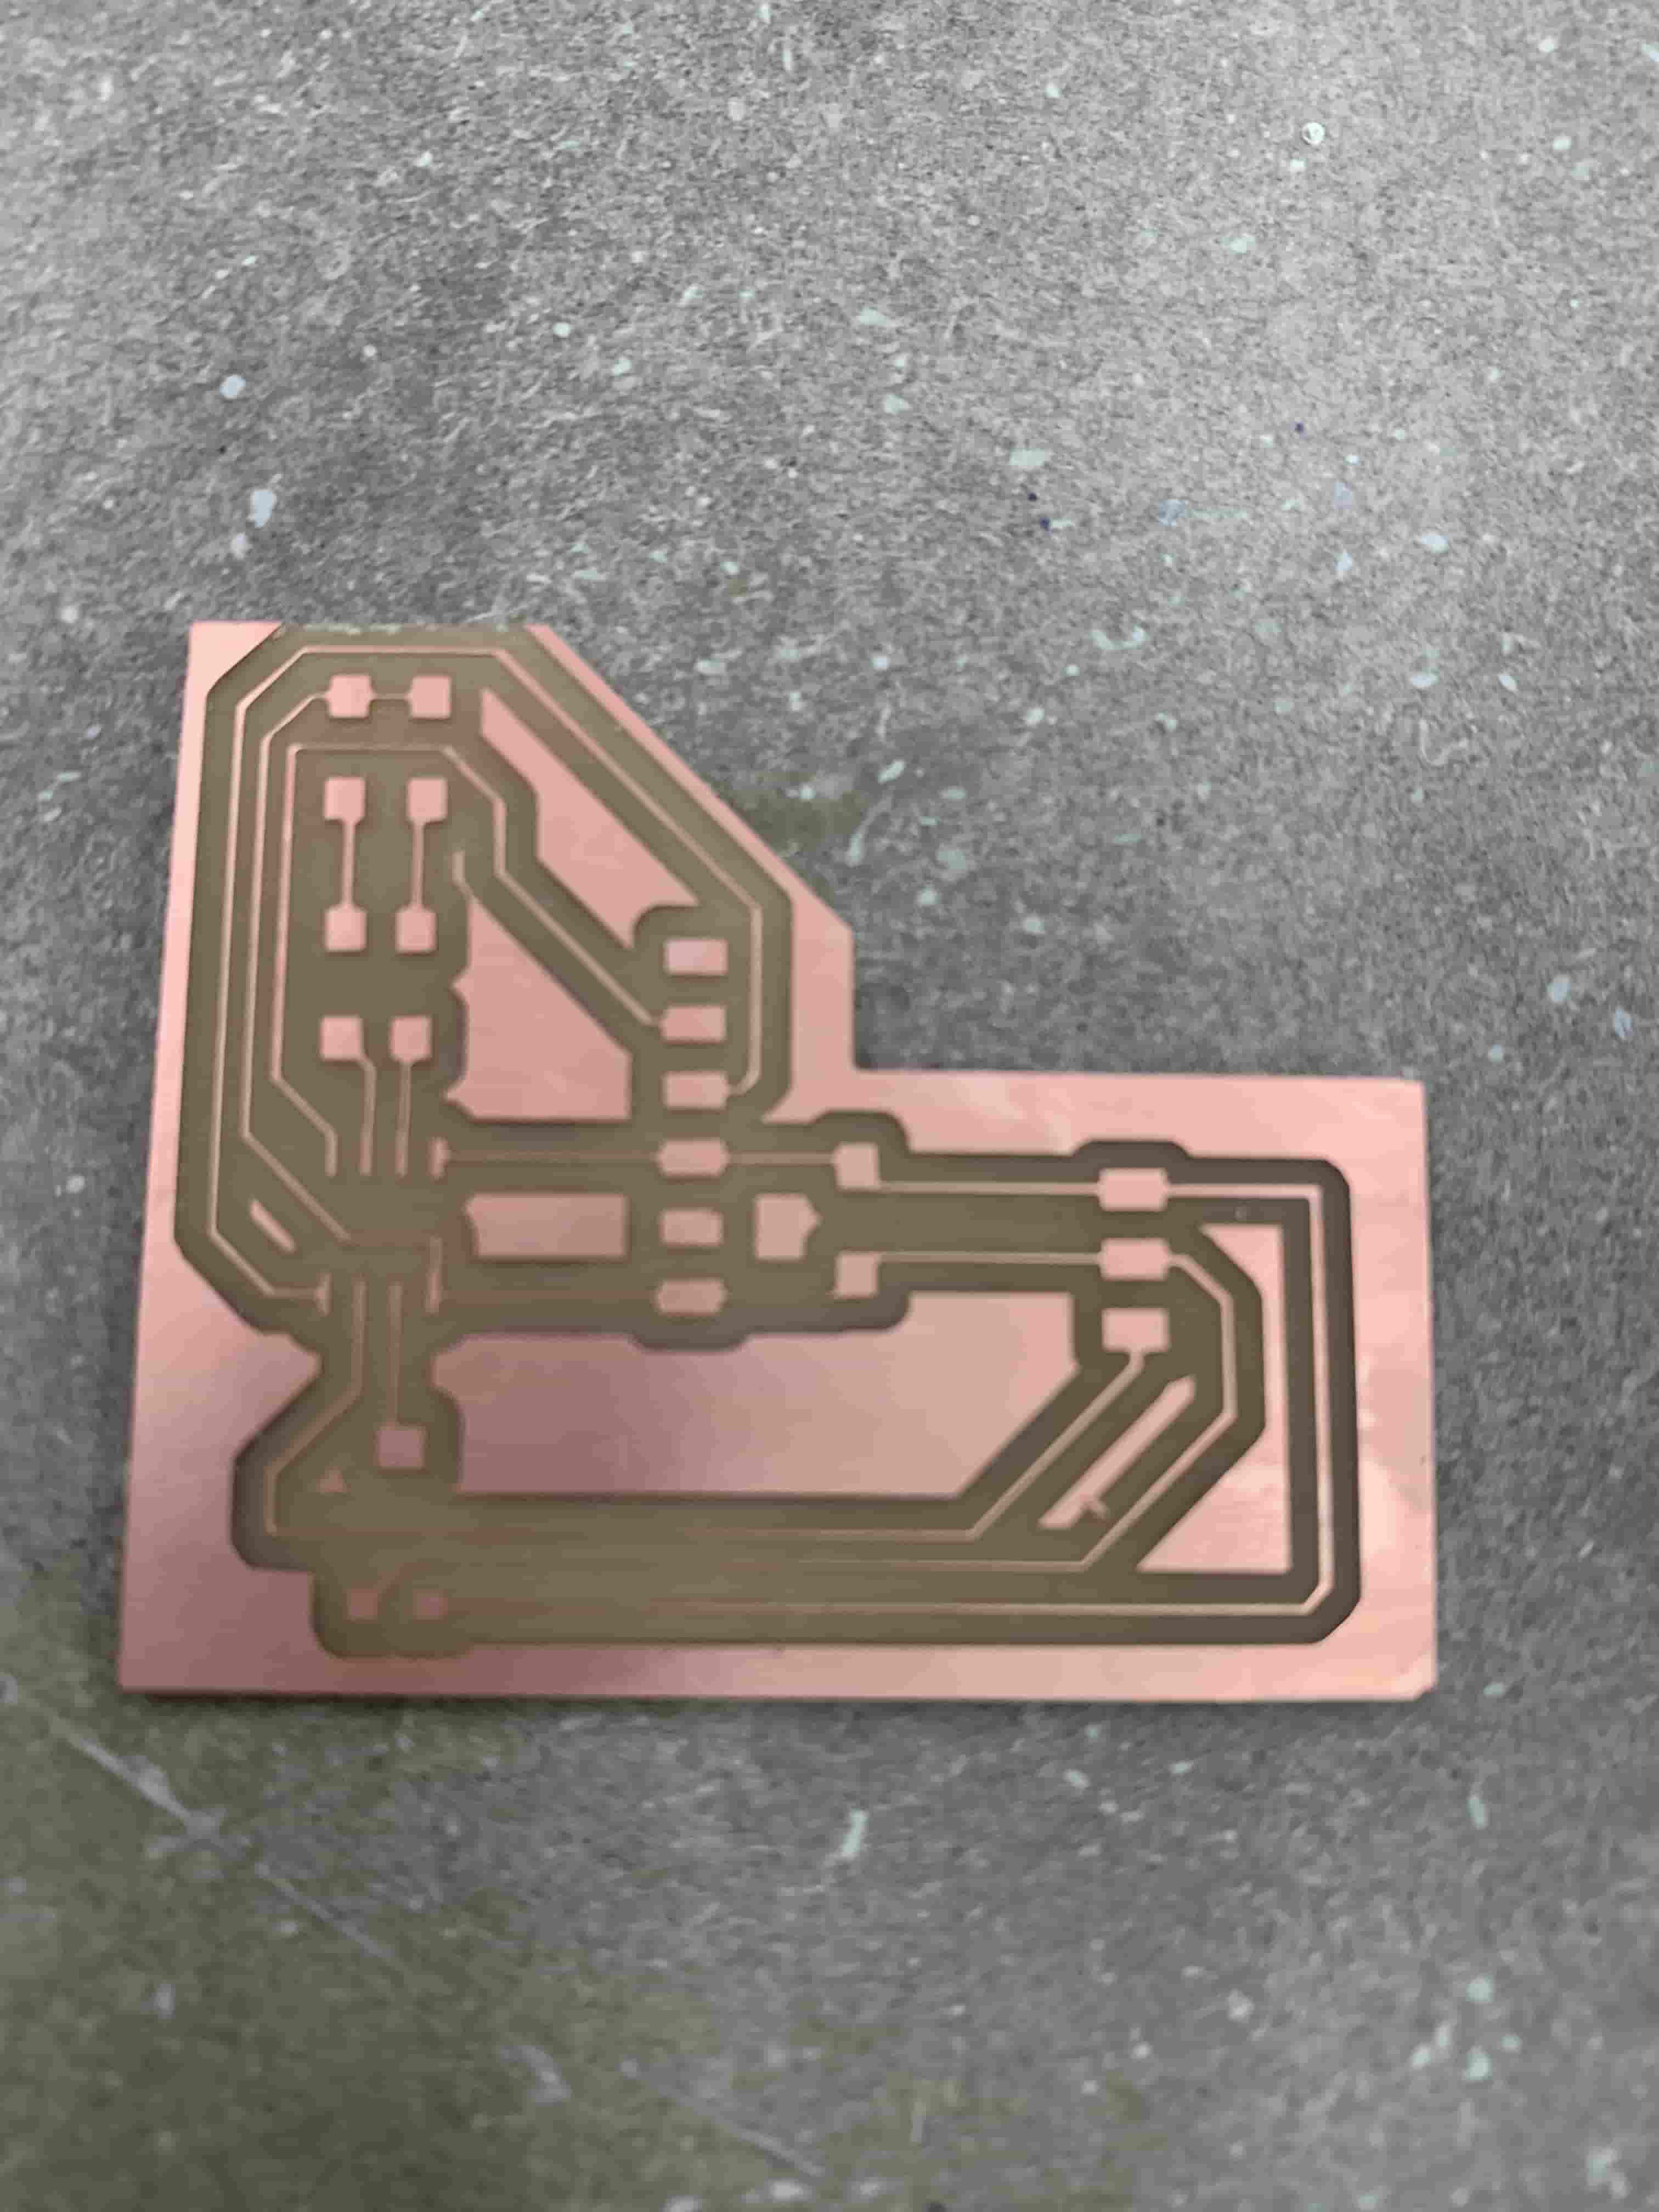
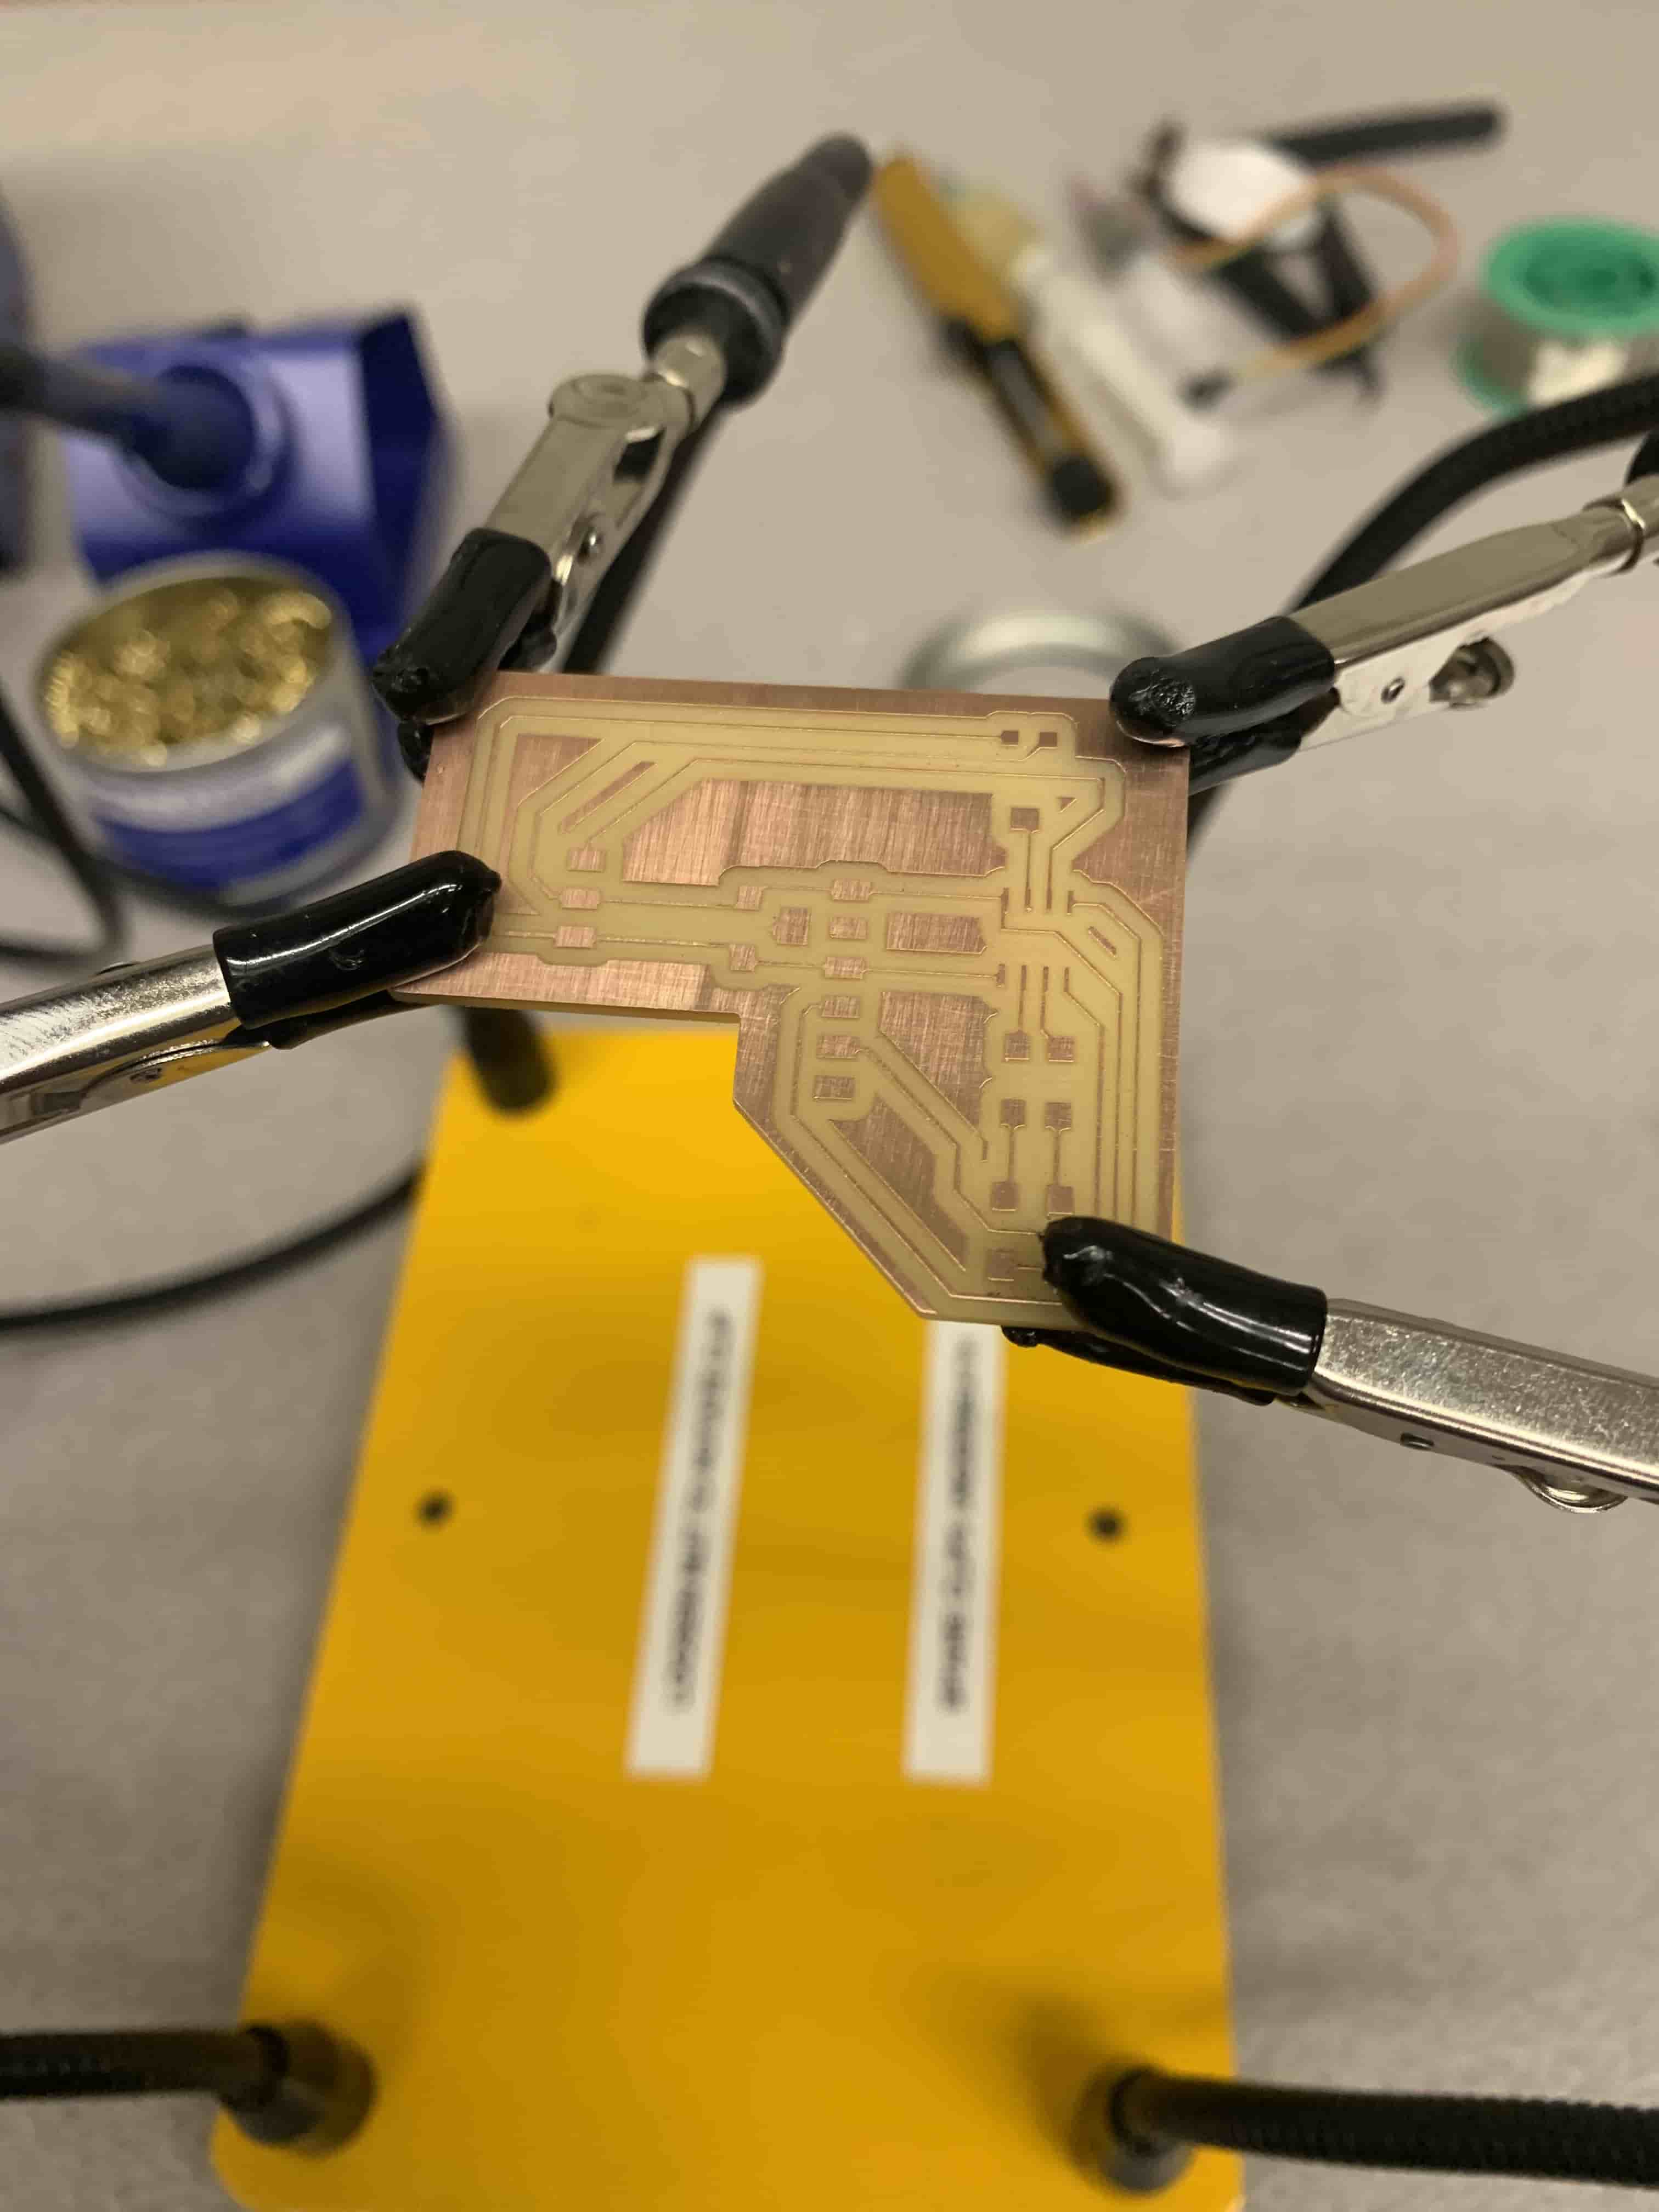
Milling
This part was really strange since the mill, or mods seemed to be shrinking all of my traces. This was happening for all of the people milling boards today, so I feel like it may be something with the mill. However all of the boards did get cut out well just with thin traces that made soldering a little harder.
Oh also I needed to do this part three times because I kept breaking the boards while soldering them.
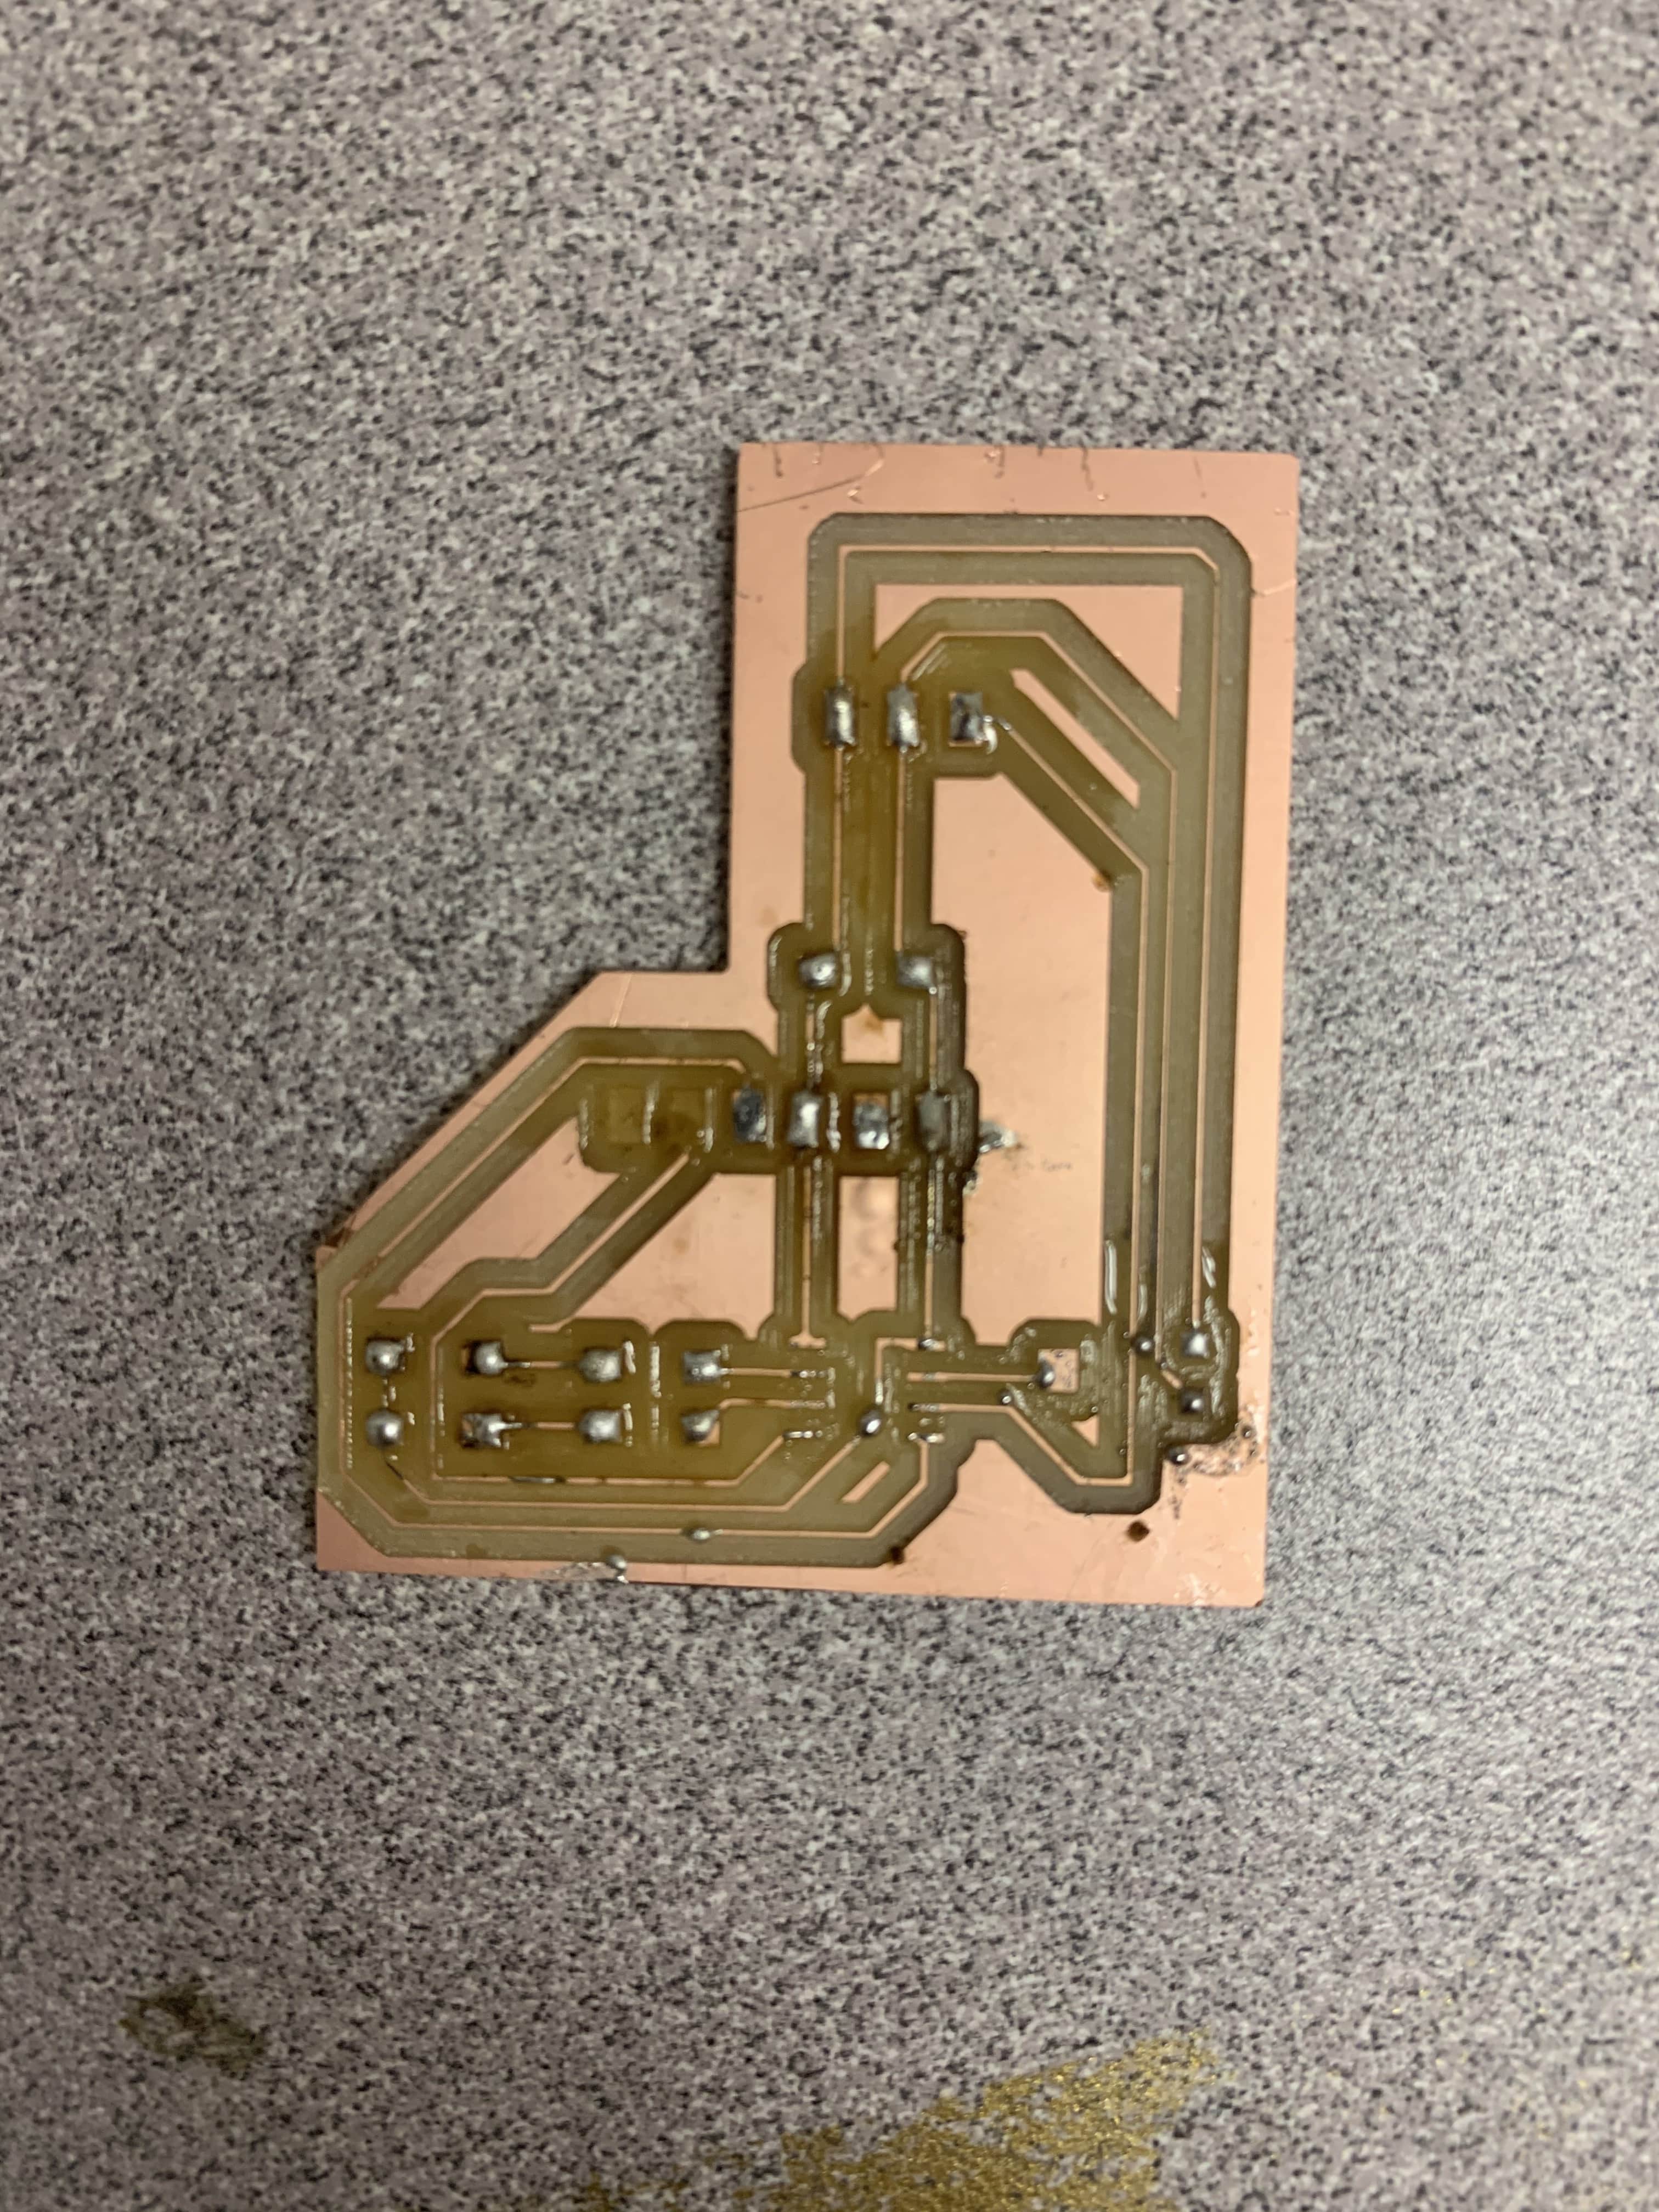
Soldering
As mentioned in milling I had quite a bit of problems with this step. I think the big problem was what I had previously mentioned about the headers. Since I needed to bend them, and that the traces are small I ripped off the traces twice when trying to move the pins. I also had problems with it because when trying to solder the bent pins I would sometimes end up with solder creating bad connections.
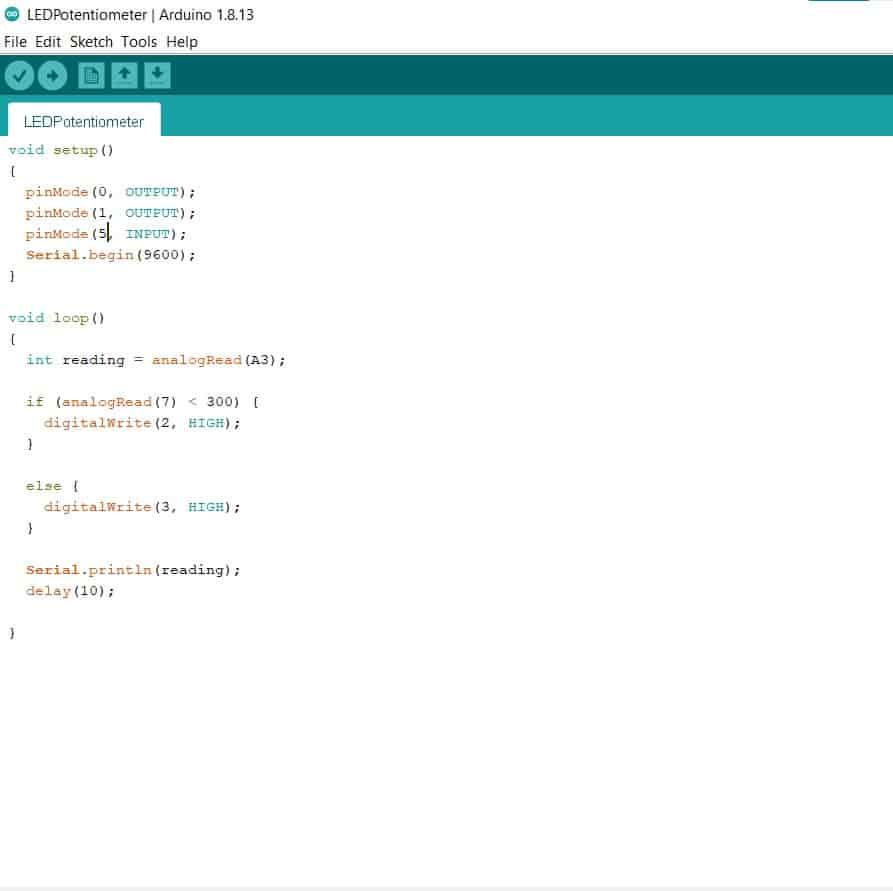
Coding
This part went very smoothly. I'm not entirely sure if it would work, becuase I can't use digital read on any of the pins, so it won't compile. However looking at the code I think it would work after a little testing to fine-tune the values for the light change from the potentiometer.

Conclusion
This didn't work. It is sad. I need to redesign it to make it functional. That is how it is sometimes. So that is how it is going to be.
Update
Hi so it turns out that I wasn't able to get that other board to work for the life of me. However good news is that I spent alot of time with my final project working with input devices in this case sensors. Now don't worry I still made a new board and all that but this one I knew how to use. So instead of using a potentiometer this week I used a thermistor.
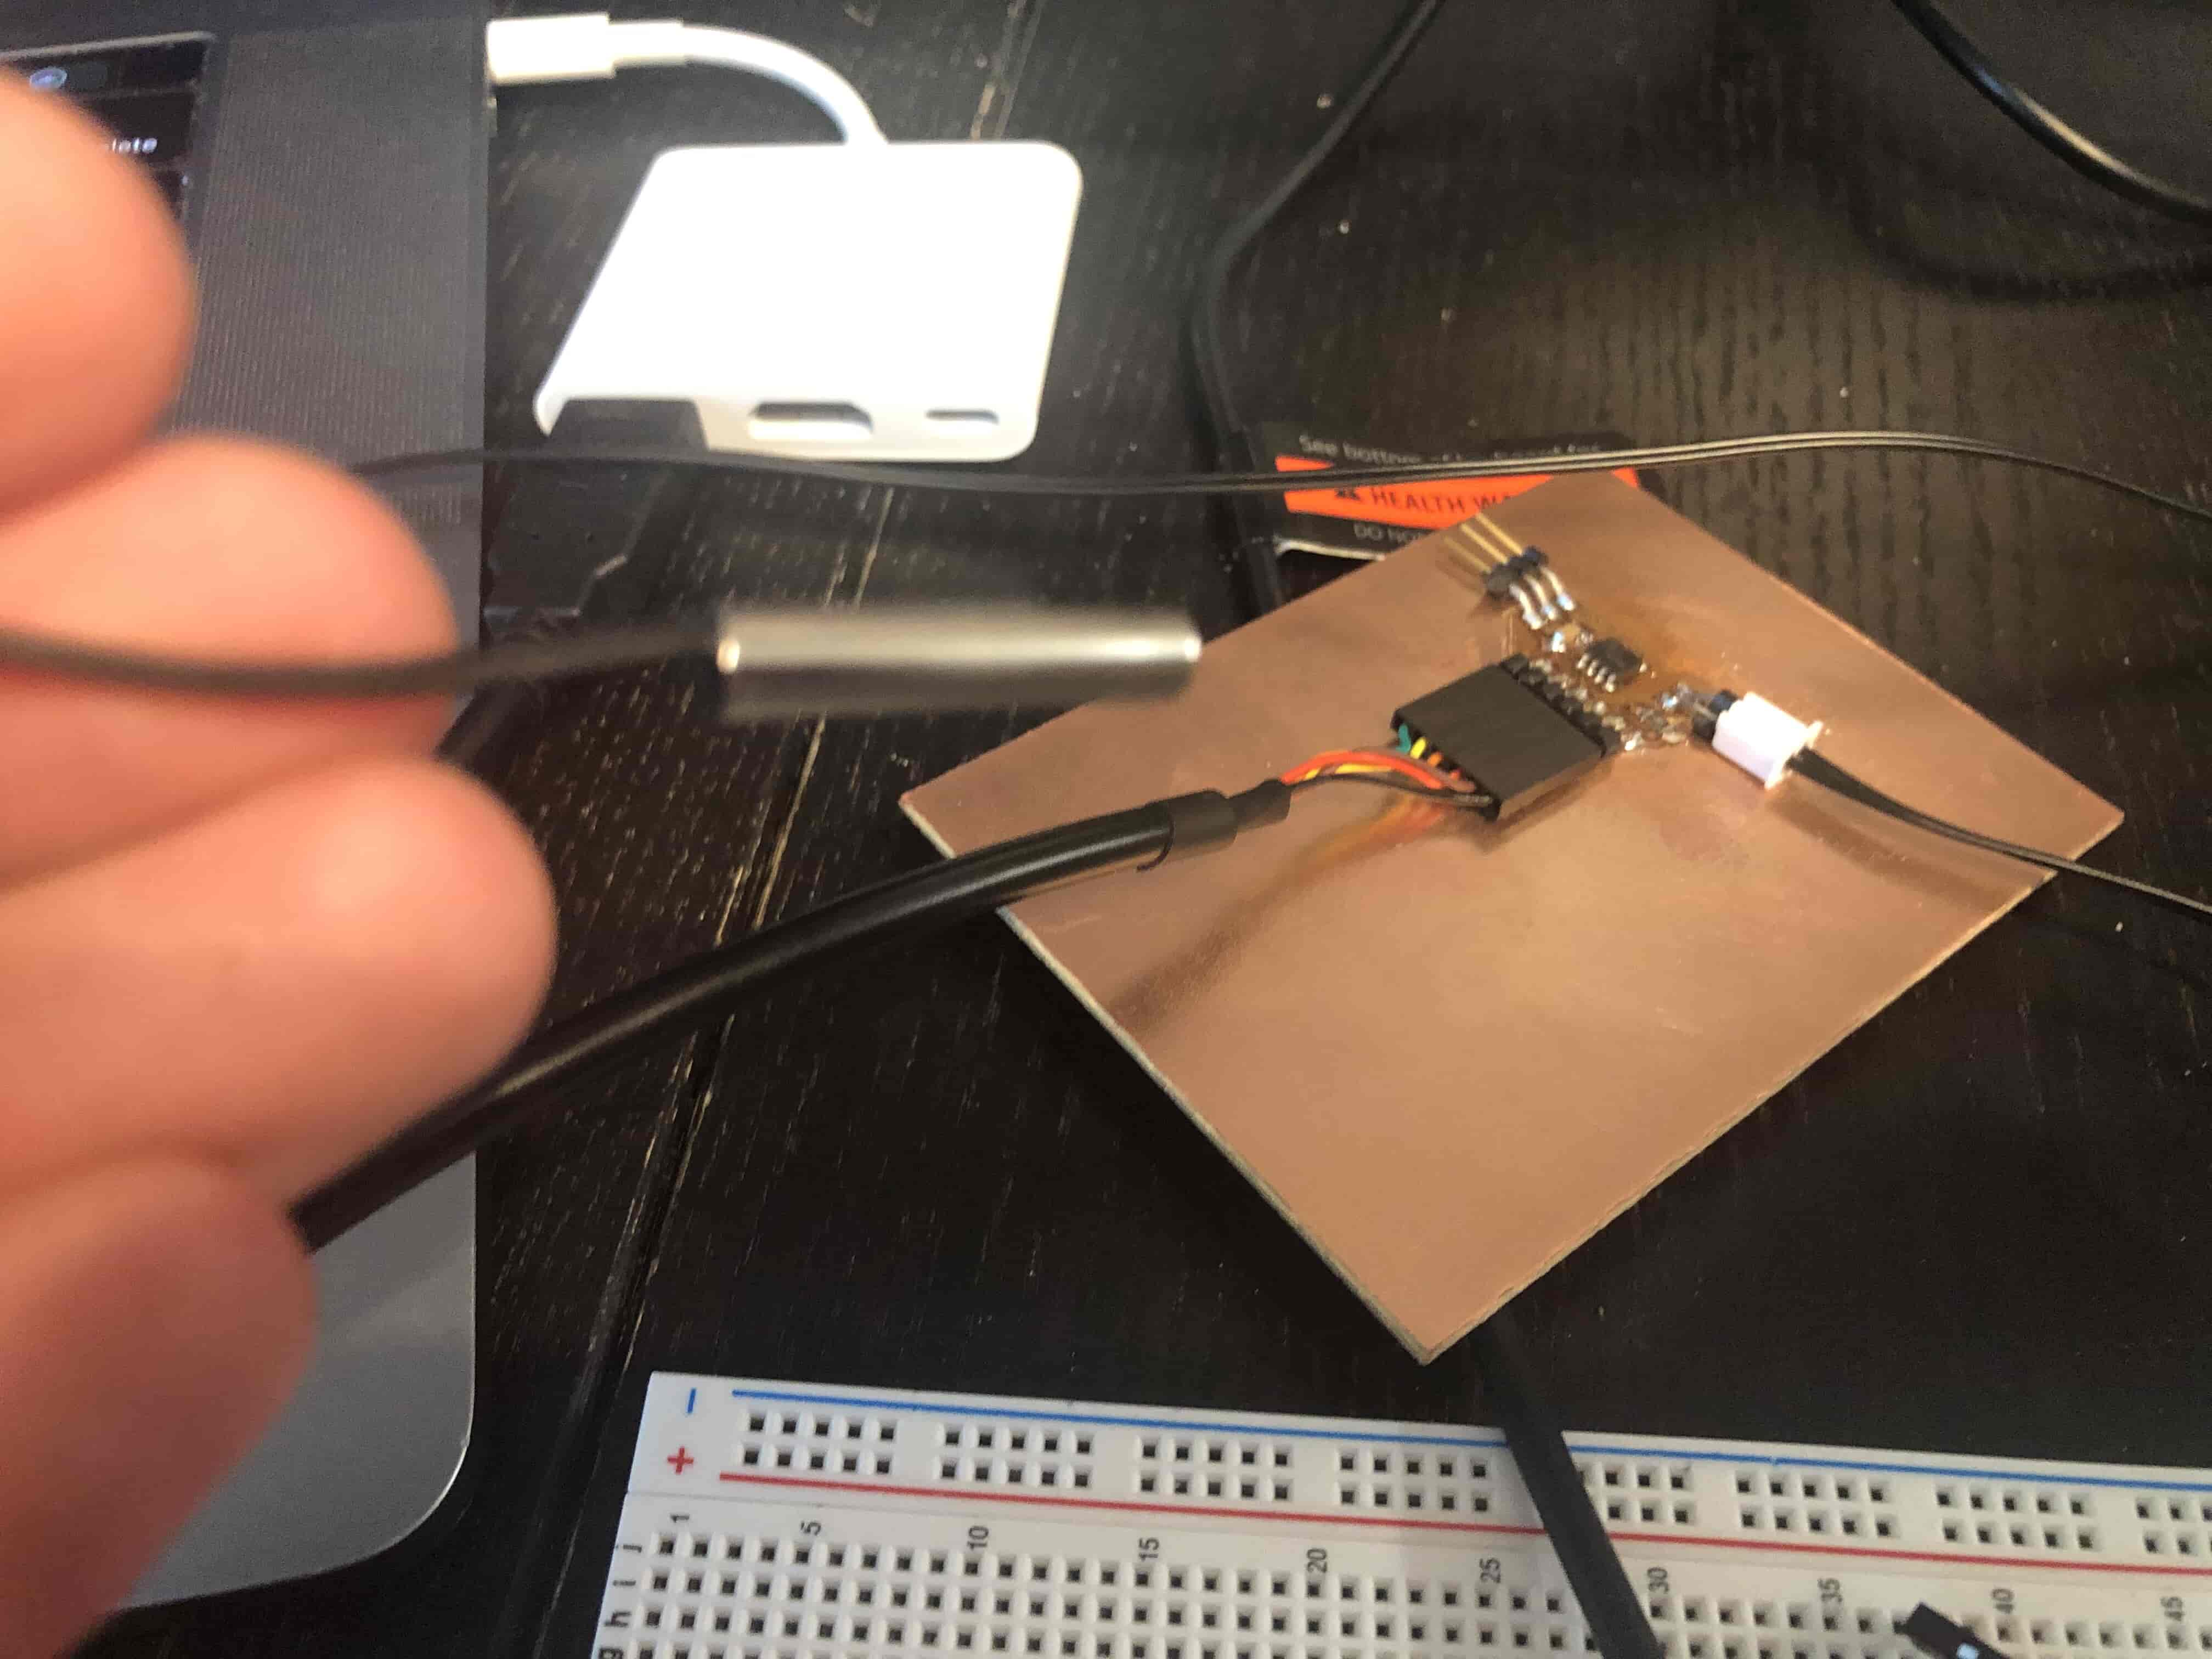
Thermistor
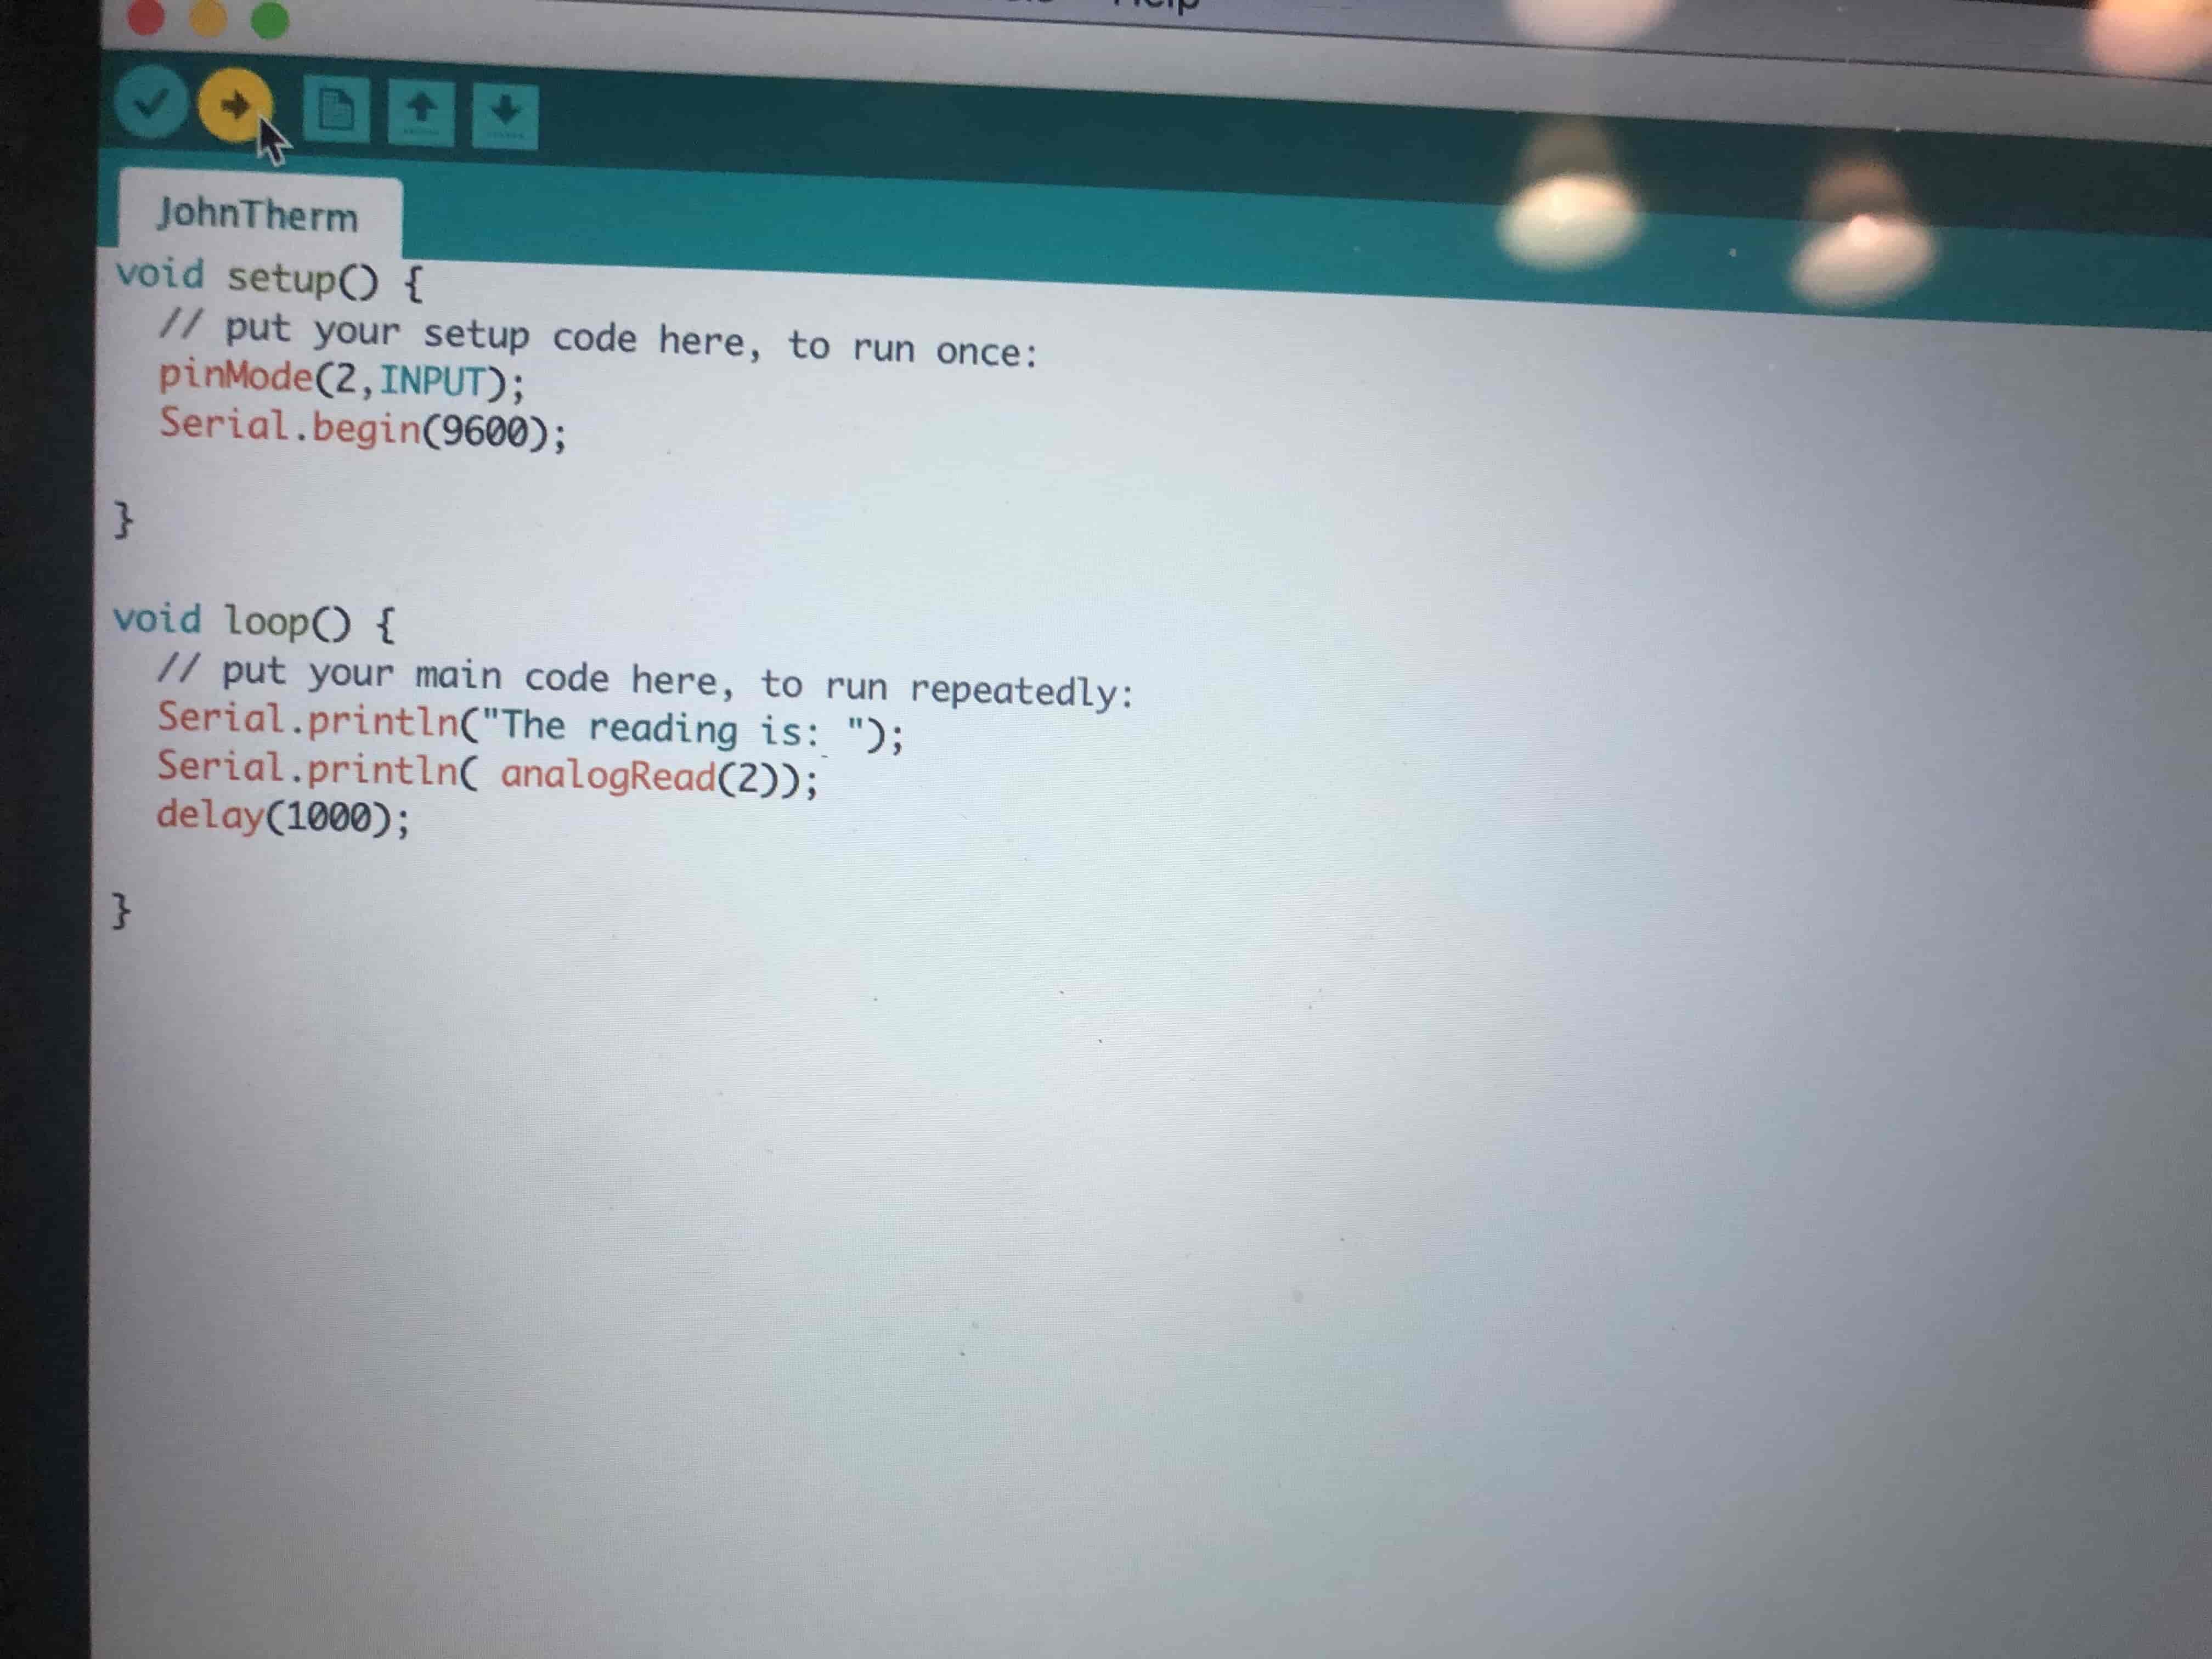
Thermistors are a type of resistor whose resistance is largely effected by temperature. So adding the thermistor into a circuit with a resistor of similar base resistance, and an input pin you can track the voltage after passing through the resistance. With that volatage and several constants from the thermistor, you can find the temperature near the thermistor. Now I have done this math and the code at the bottom of this page will have code that can print temperature, however I did not bother doing that for the board I will describe going forward because I don't think I need to for this weeks assignent. Also the work calibrating it can be a real pain, so I'm just going to be showing you the analogRead() values from the board.
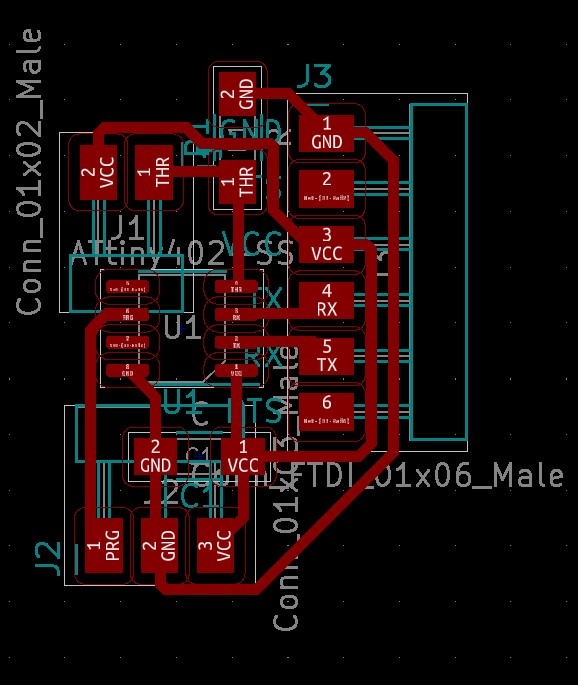
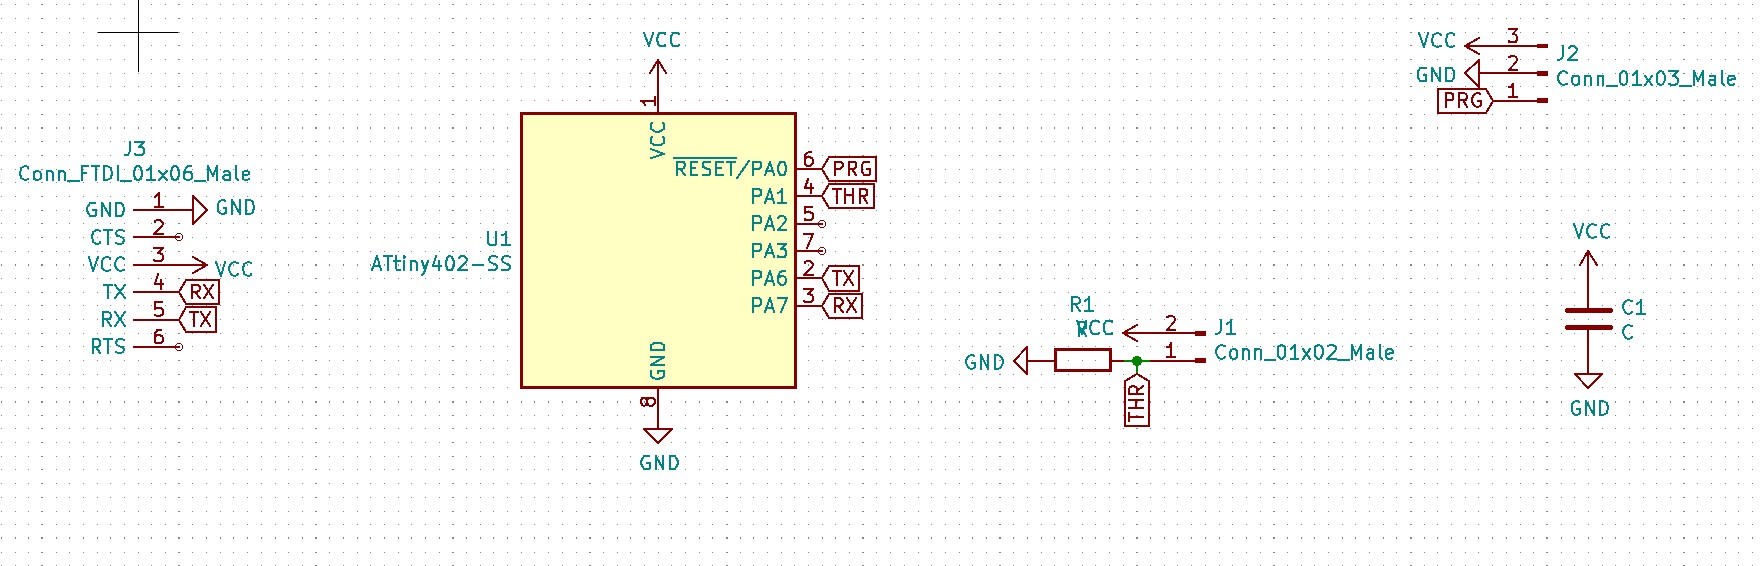
Board Design
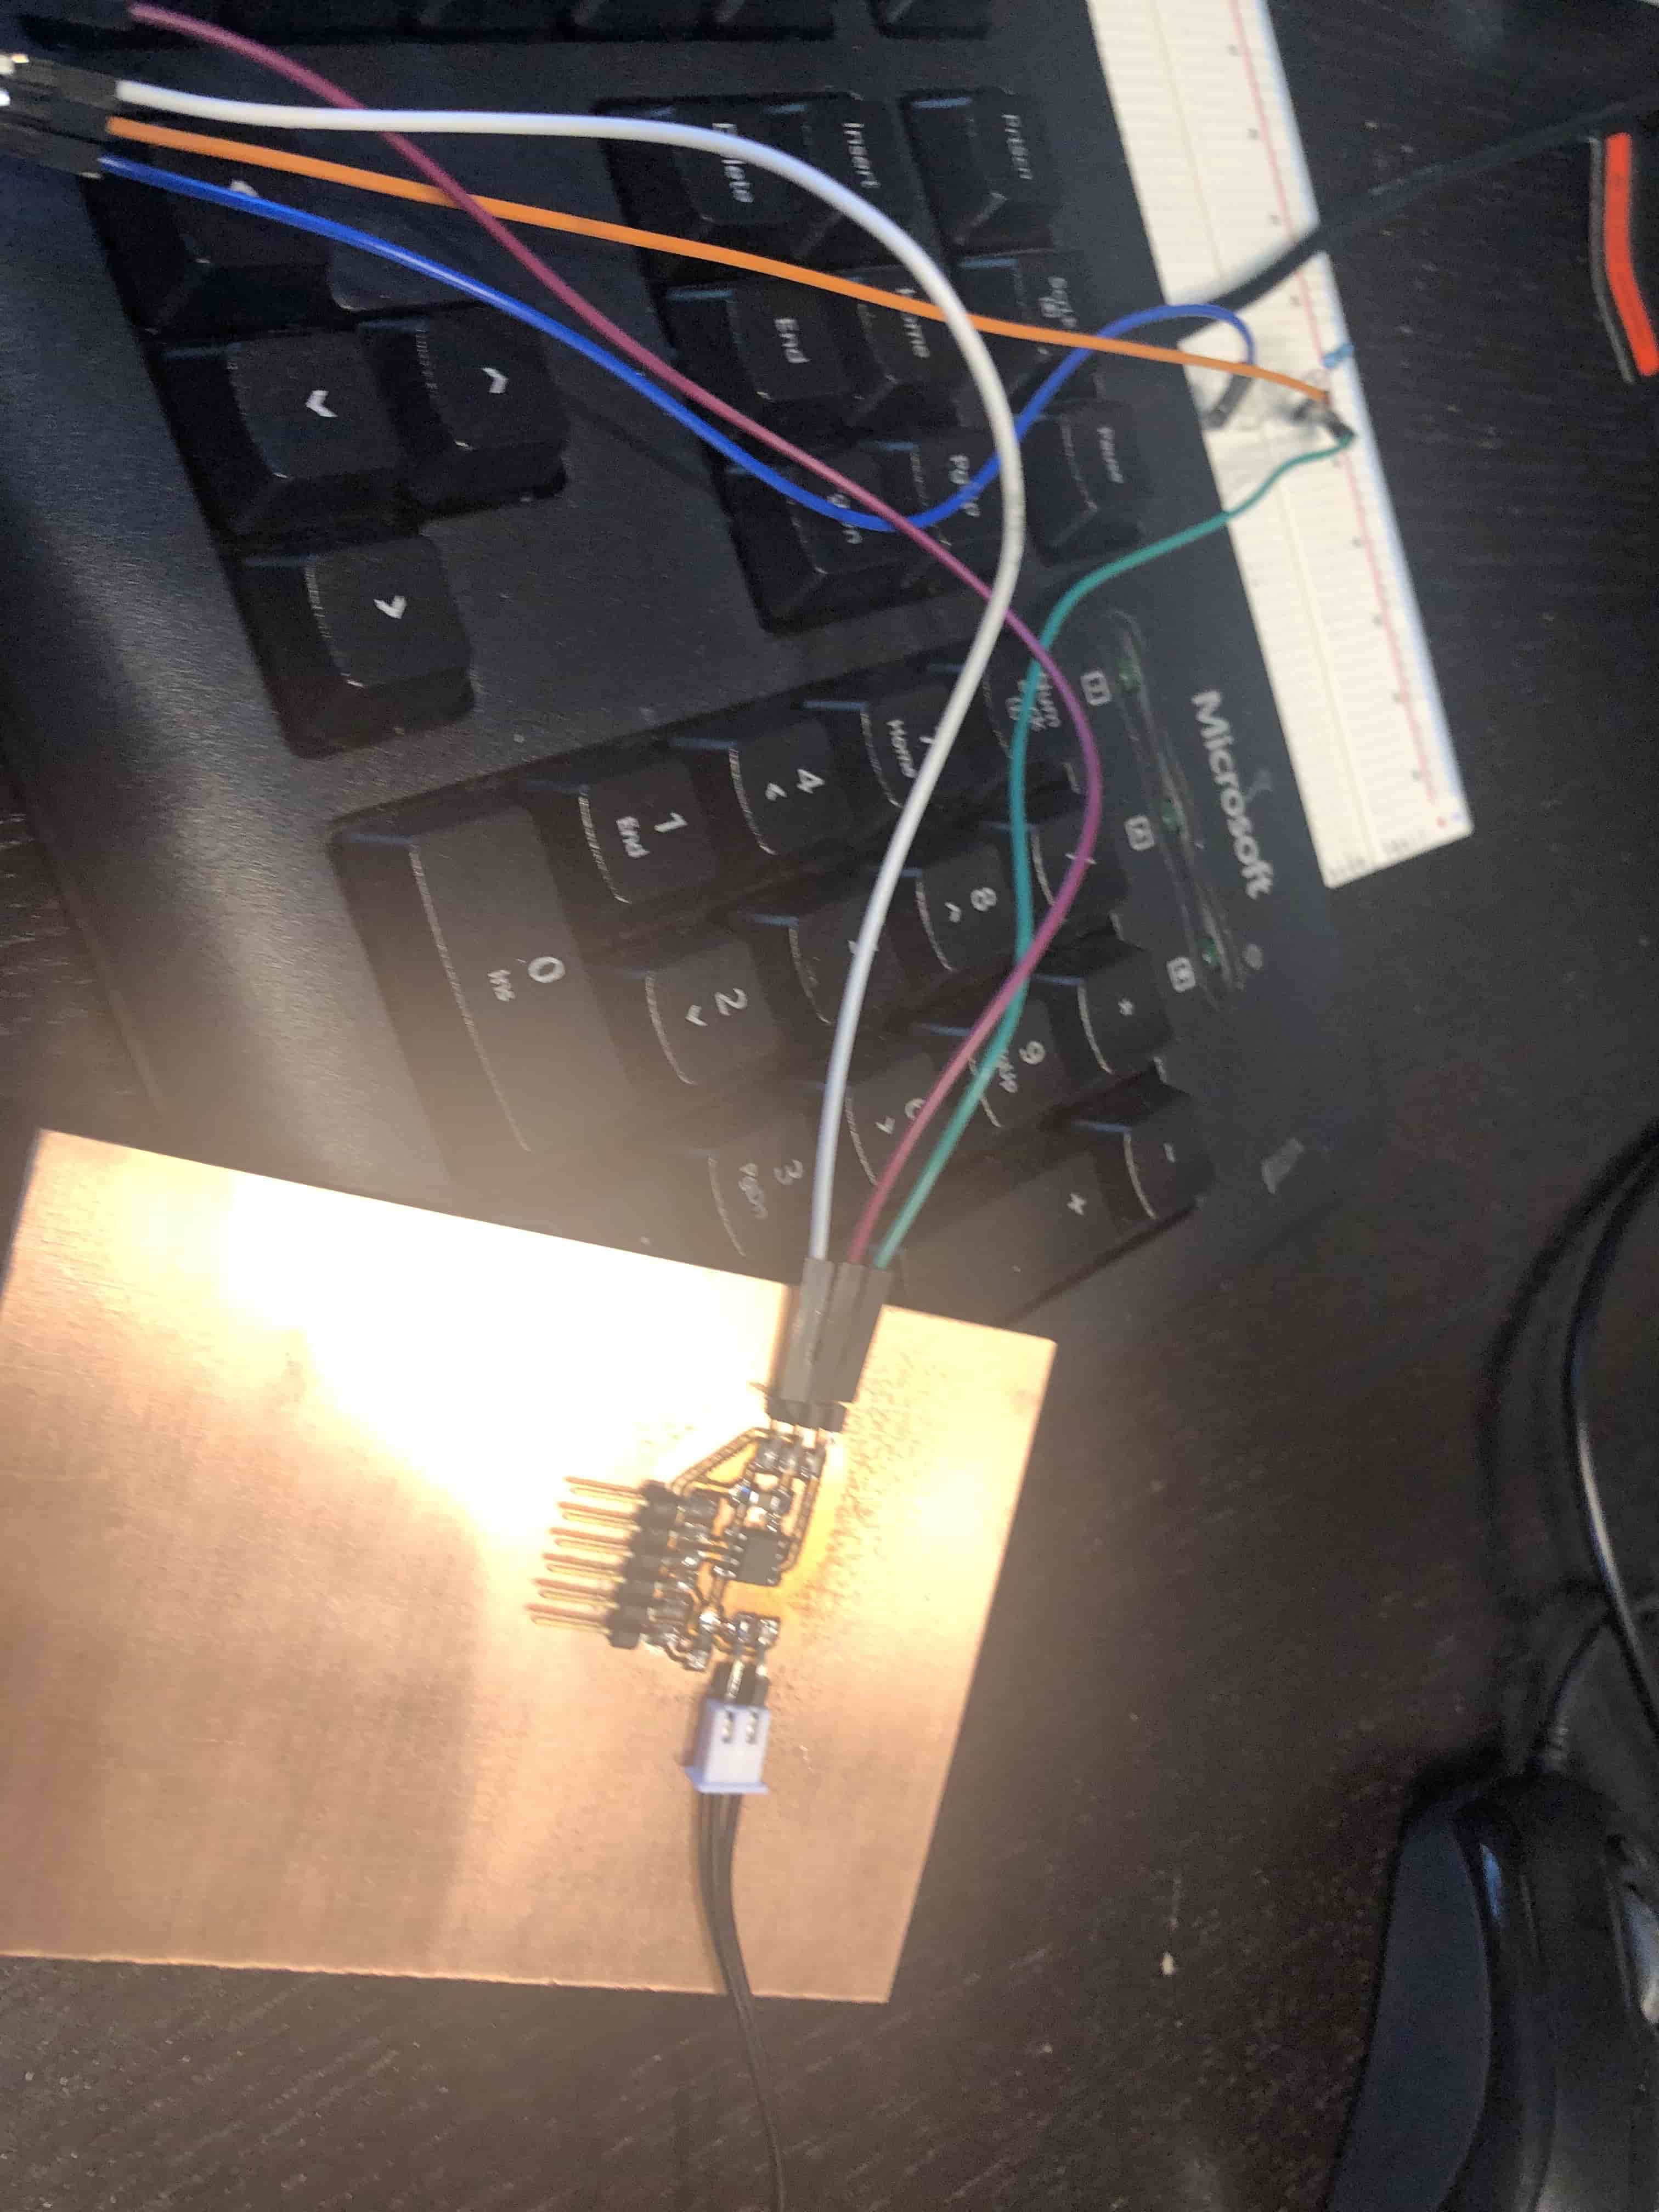
This board was really nice and simple to design it consists of programming pins, serial pins, a capacitor, a 10K resistor, an attiny 402, and two pins for the thermistor to attach to. Since there were so few parts I really didn't have any problems designing this board, and that was pretty nice.
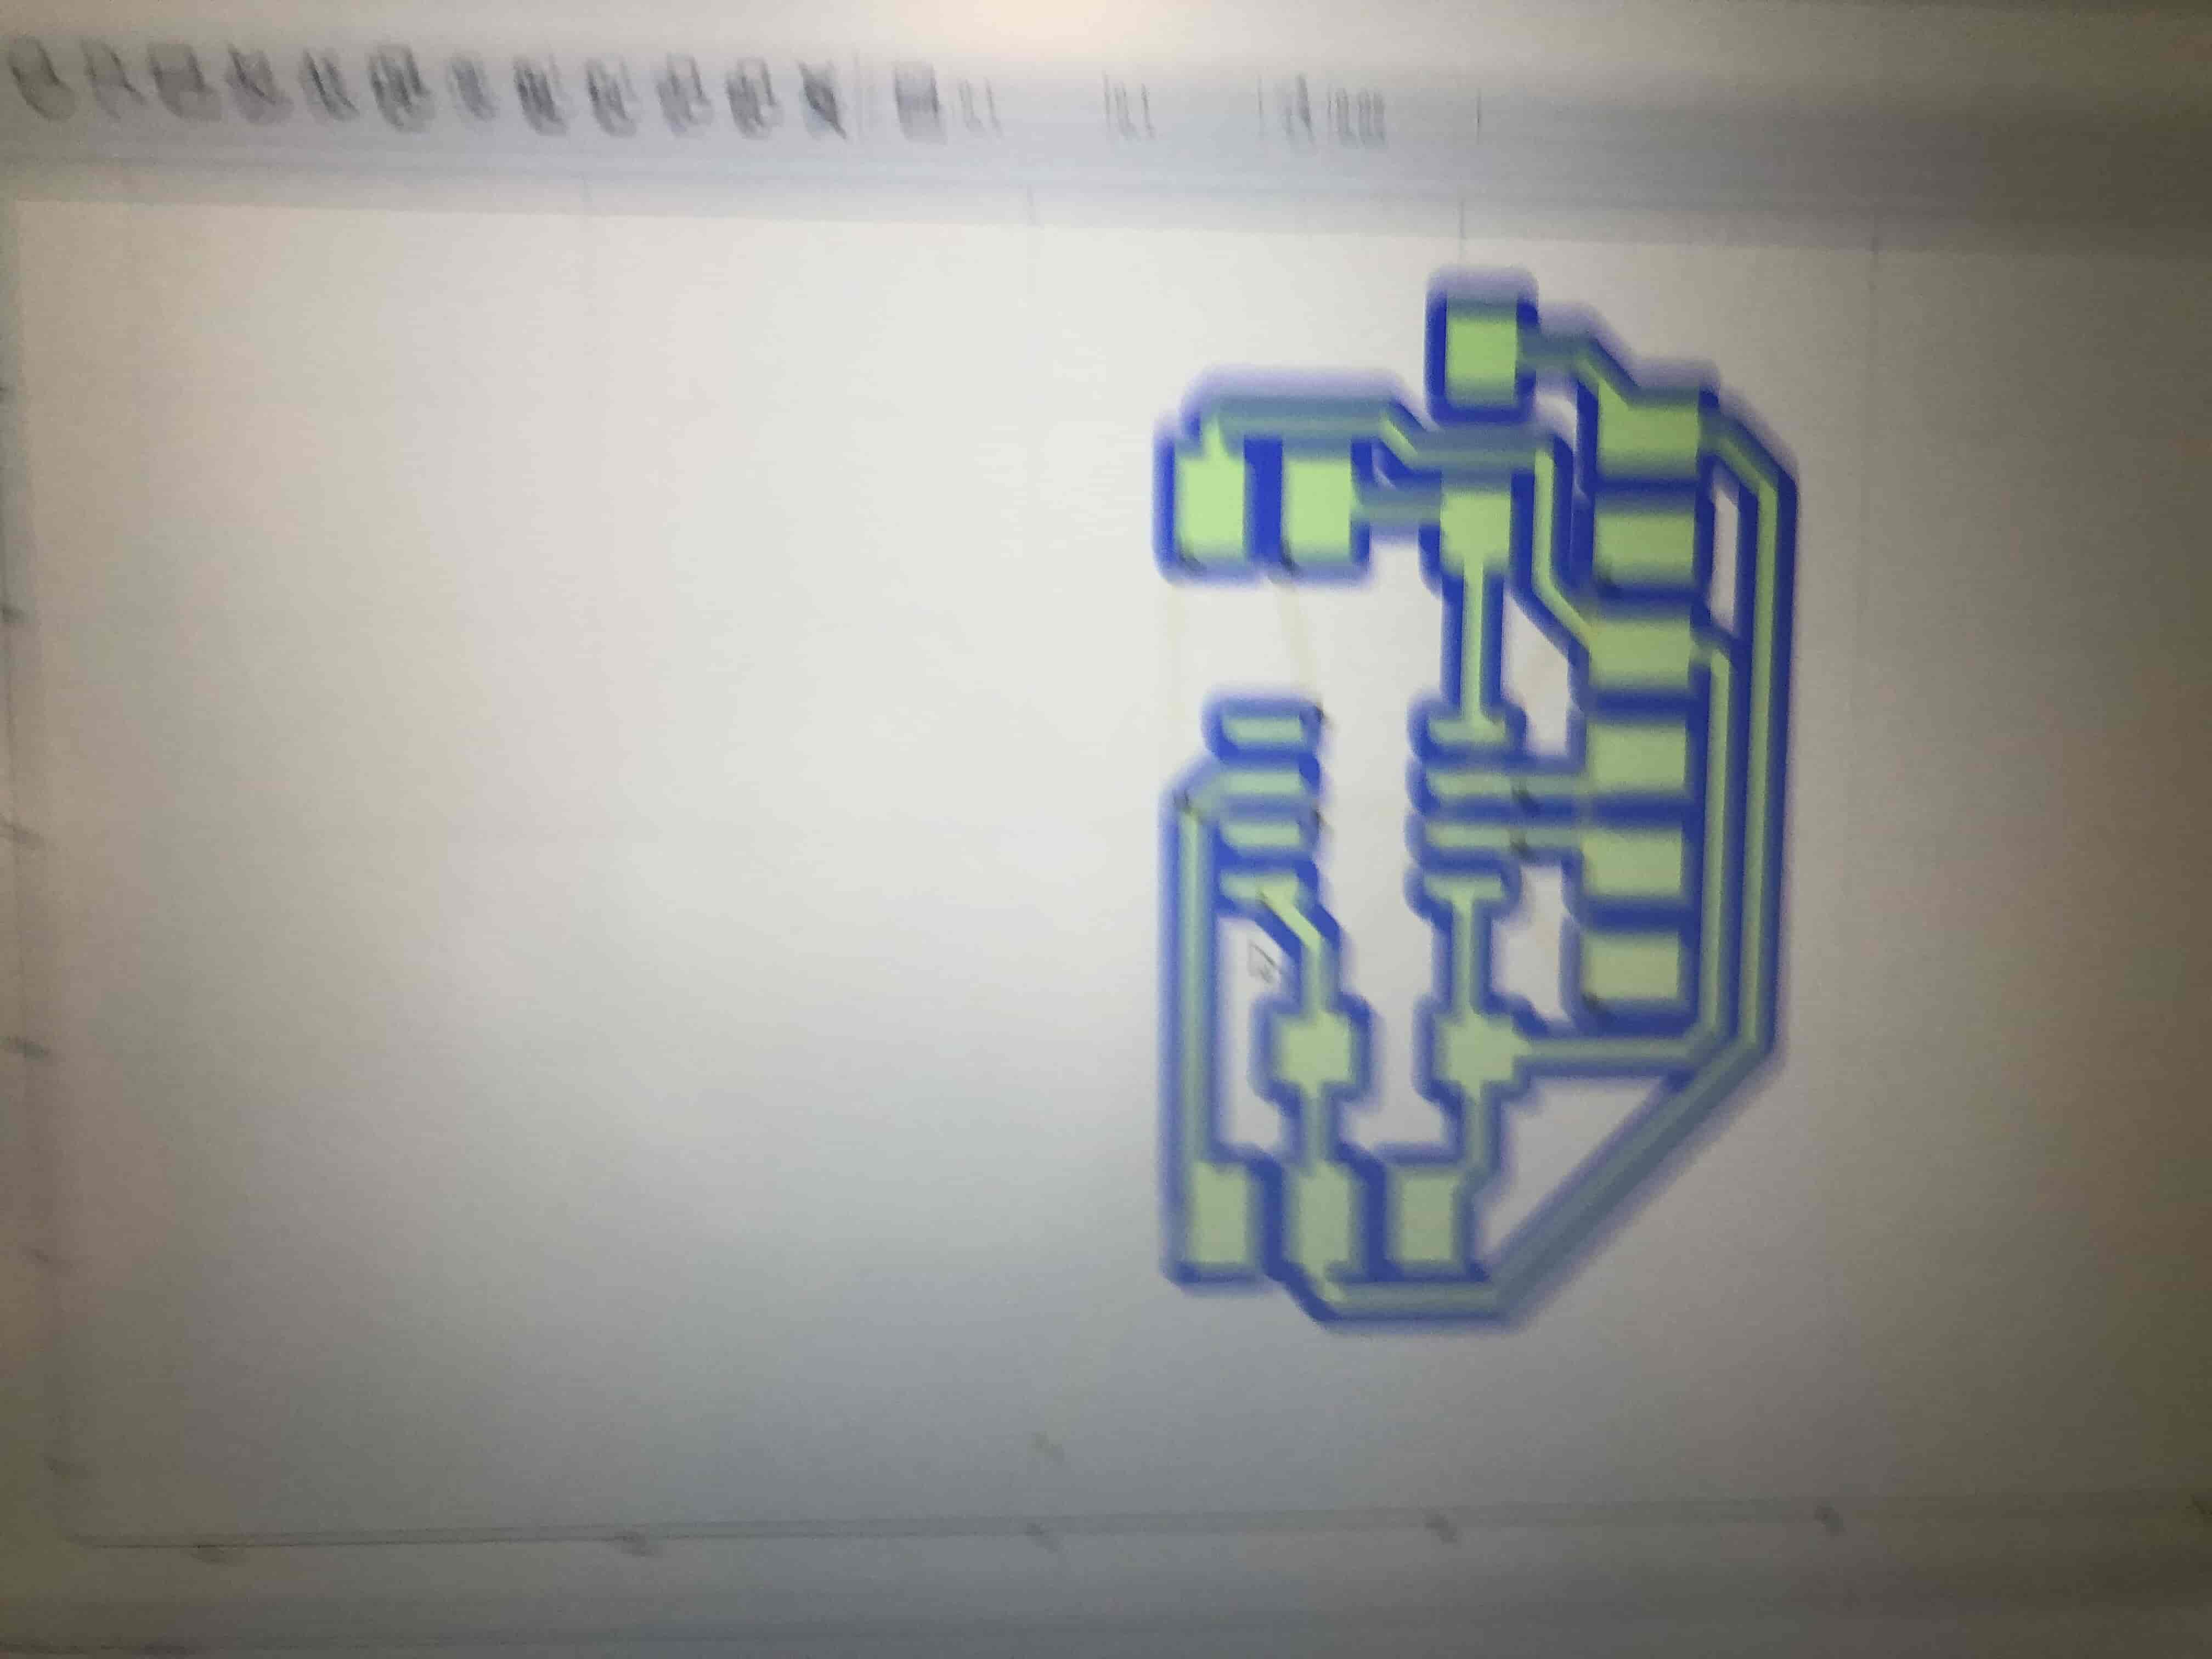
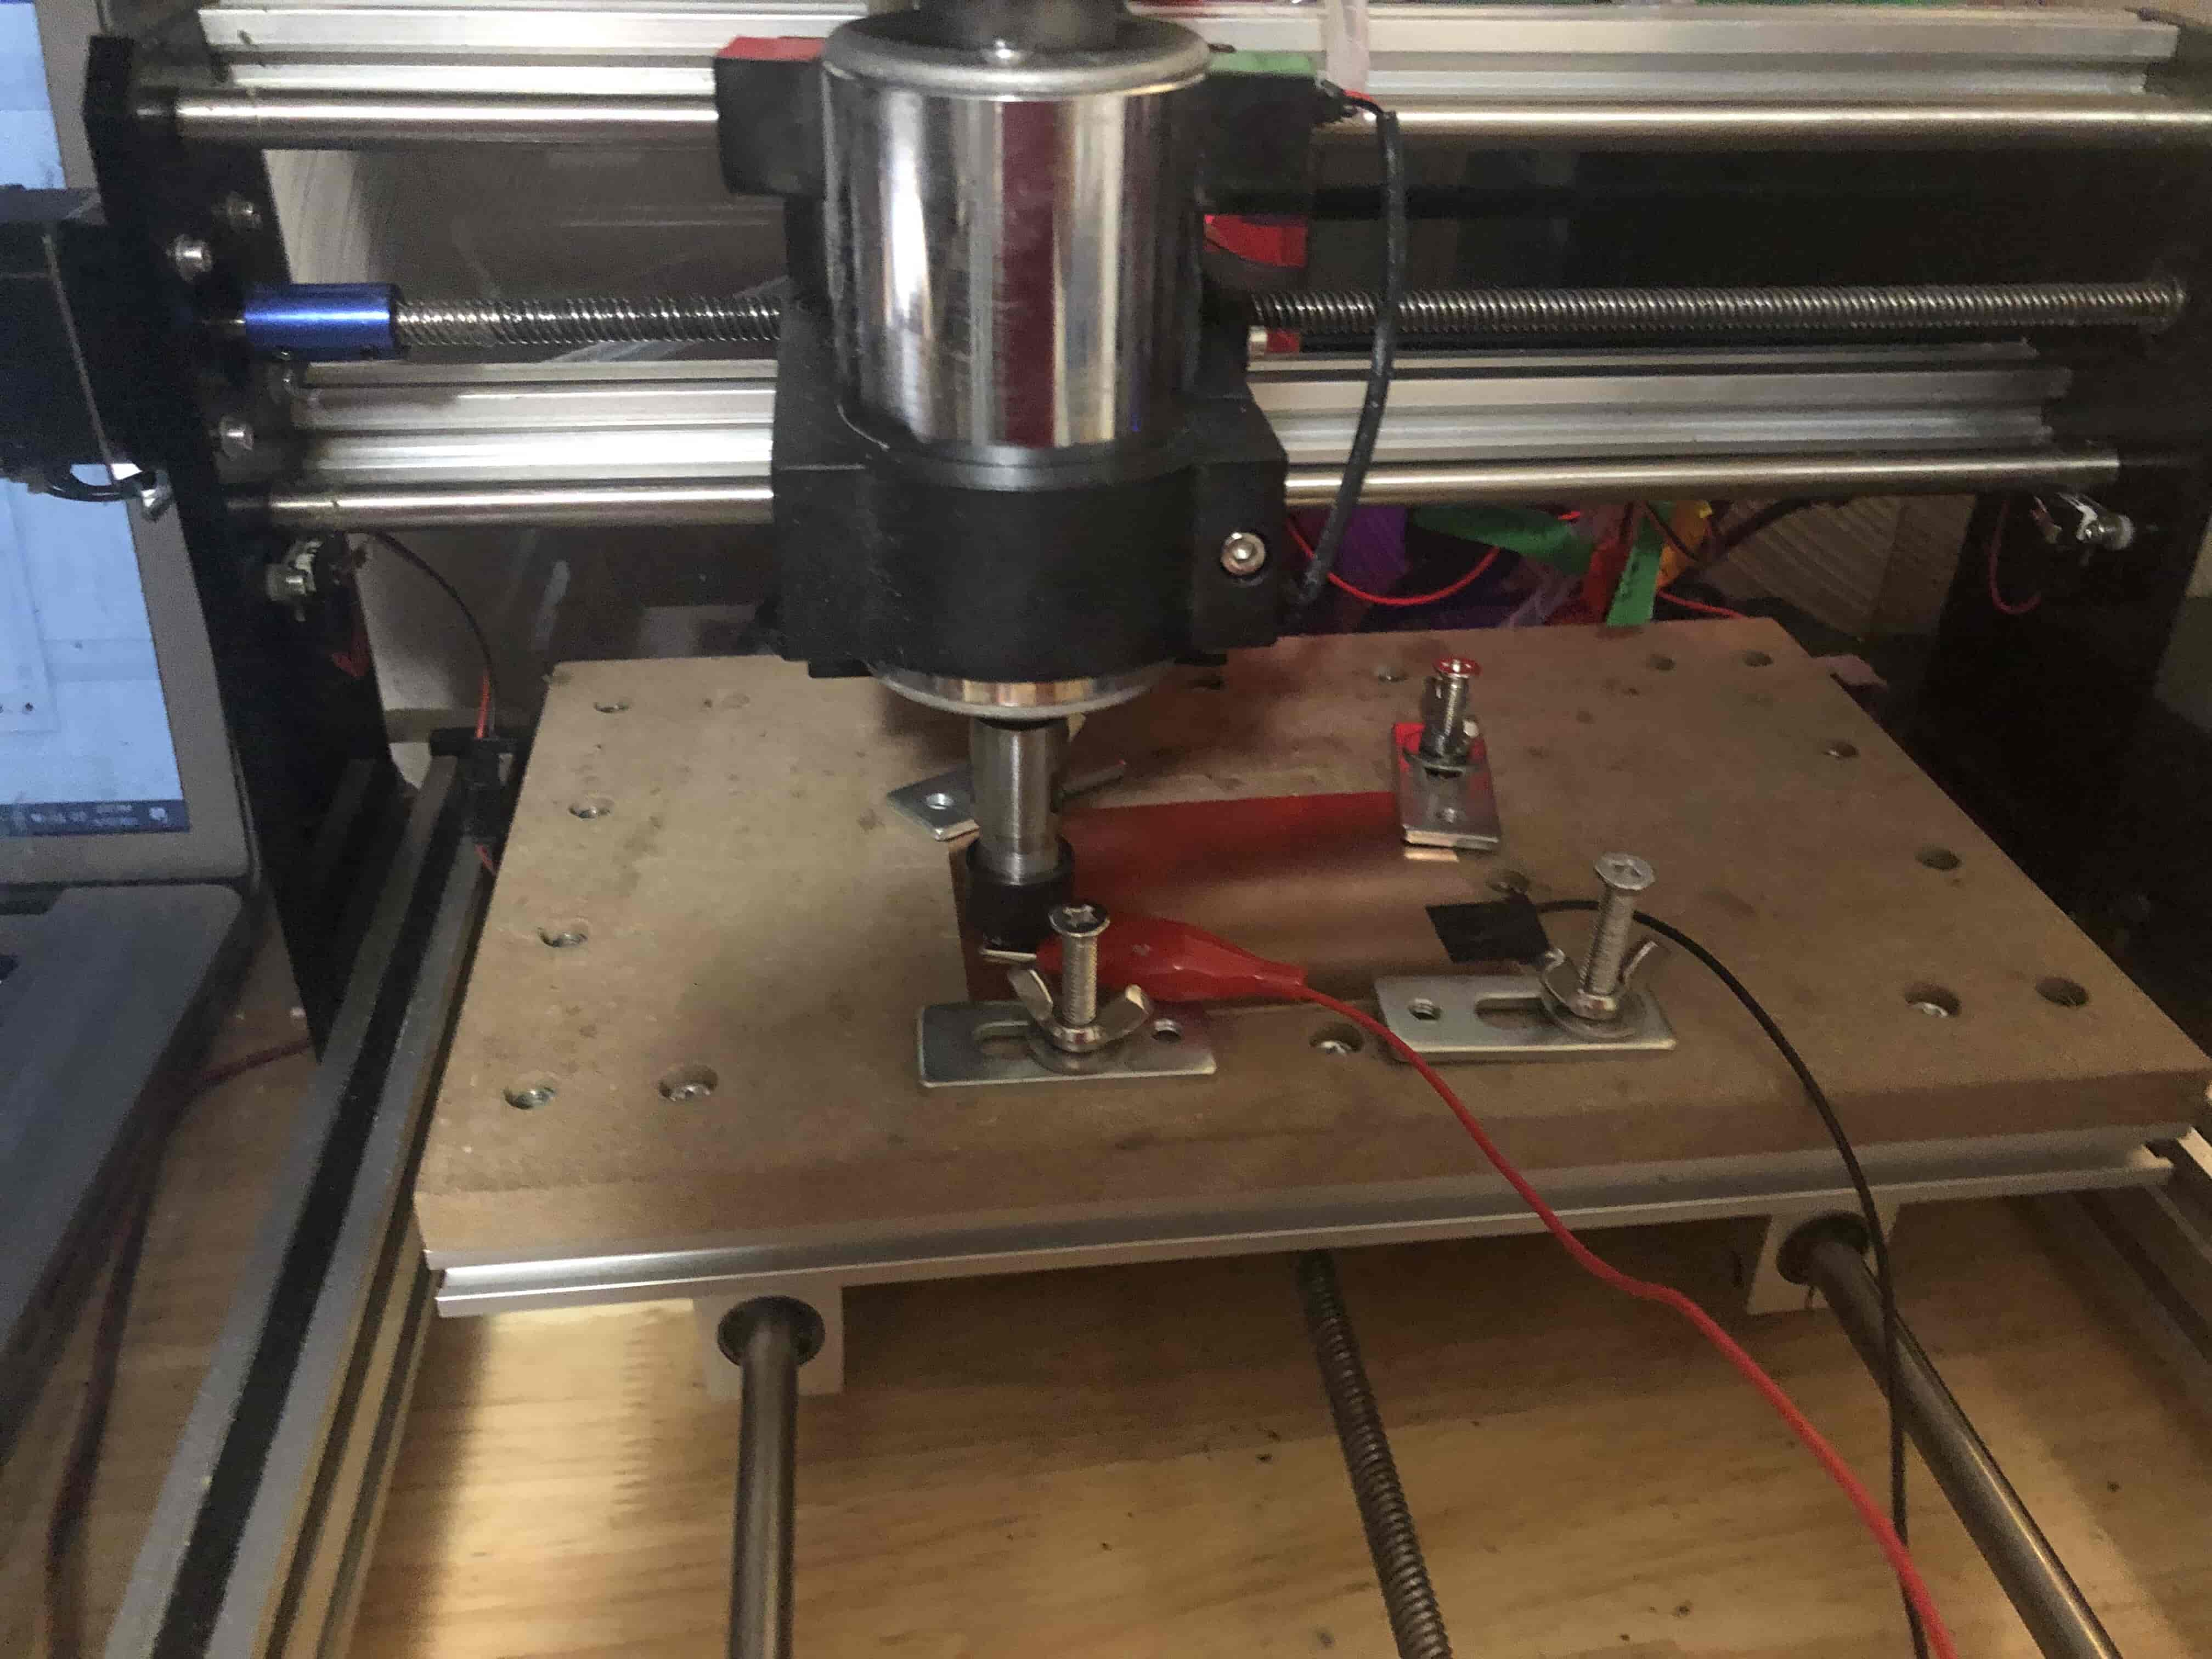
Milling and Soldering
I milled, and soldered this board in Kevin's Bat Cave, so I was able to avoid using the Roland mill. Using Kevin's home mill was excellent, it has a zero finder, and makes a height map to insure that the board is actually properly cut, which is so nice! So really I had no problems with milling it took about 40 minutes total which is less time than milling with the Roland has ever taken.
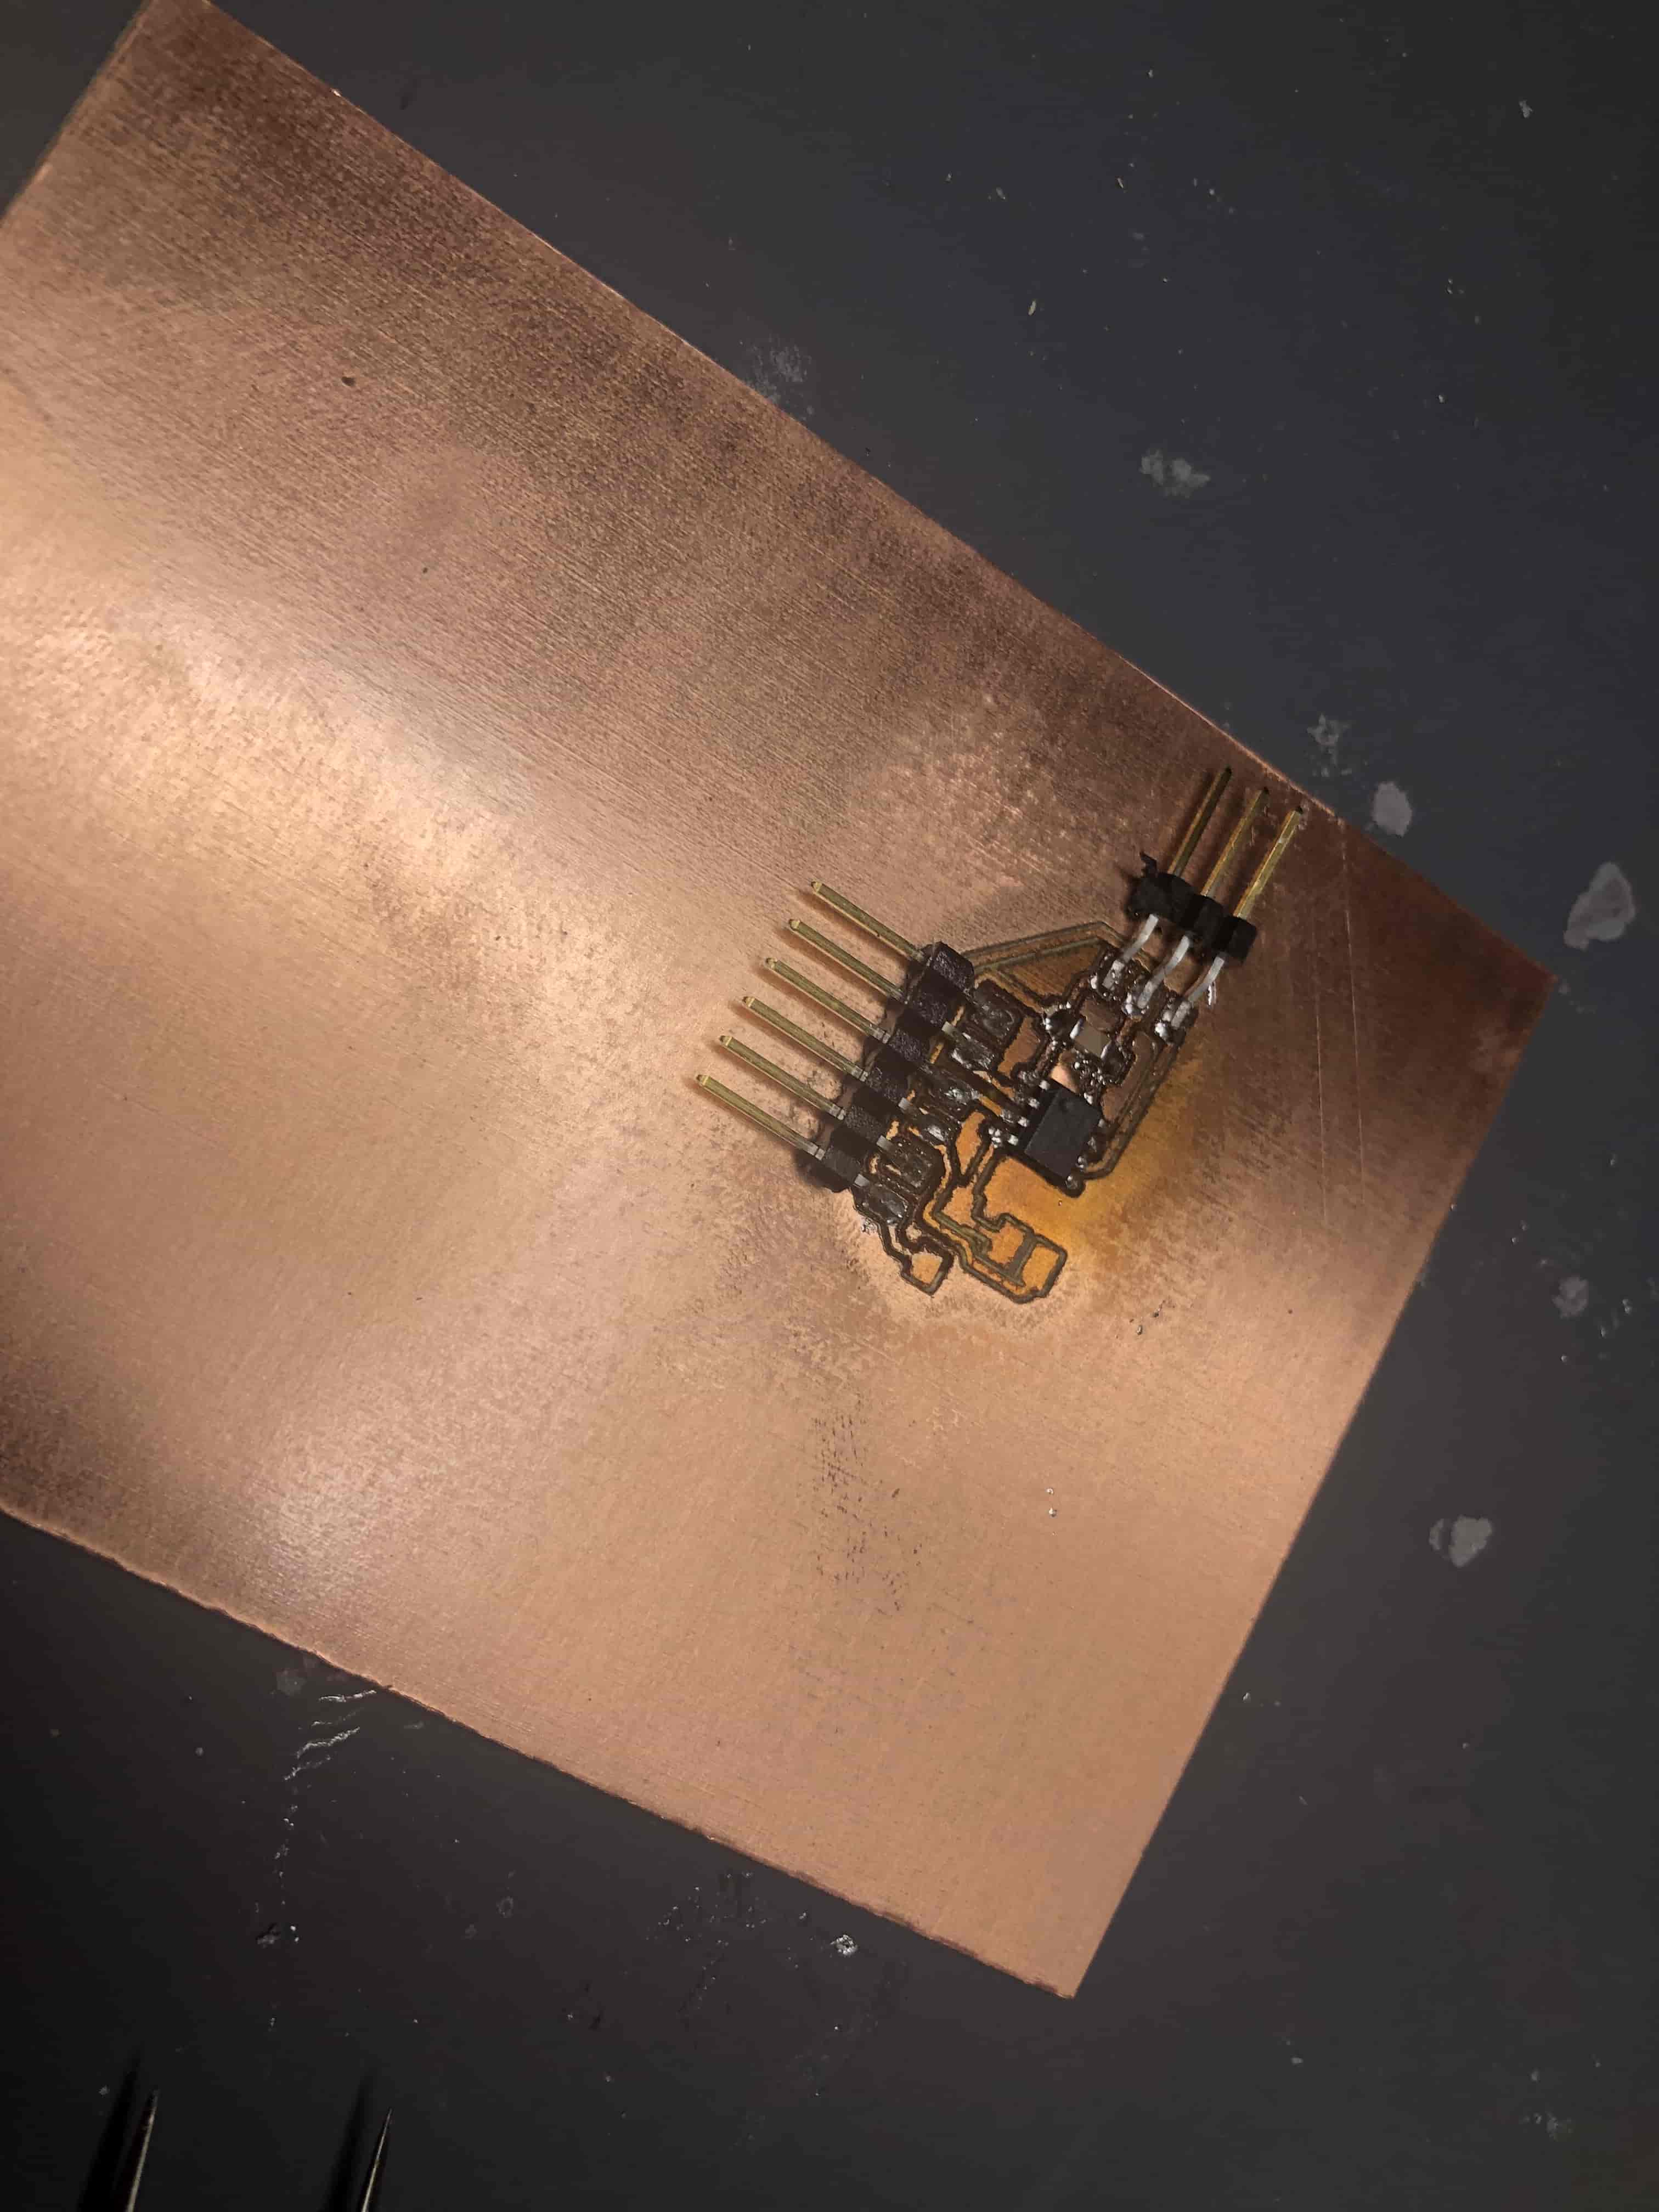
I'm grouping soldering in here because I don't really have alot to say about this. It went really smoothly I didn't hurt myself or break any parts, it took me like 15 minutes and then I had a funtioning board.
Programming
Again I almost feel bad since I have so little to say about this process. Since the data I'll be showing you in the photos is relativly simple. I guess I can explain the code that would exist if I decided to actually display temperature. So the data that is displayed in this example is an analog read value between 0 and 255 so I would first find the voltage value that it is attributed to. With the voltage found I would then use a longer formula to solve for the resistance of the thermistor. With that resistance found the next step would be to convert that resistance to temperature. This is done with 3 constants that are different for each thermistor. The one that I purchased didn't actually give me those values so instead I would need to use an internet value calculator. With those values found I could then give you the temperature. Now I didn't do any of that for this project so it was really easy.

Woah this board works that's pretty neat I think. Thanks for reading!