Week
Eleven
Mold Making
Group Project
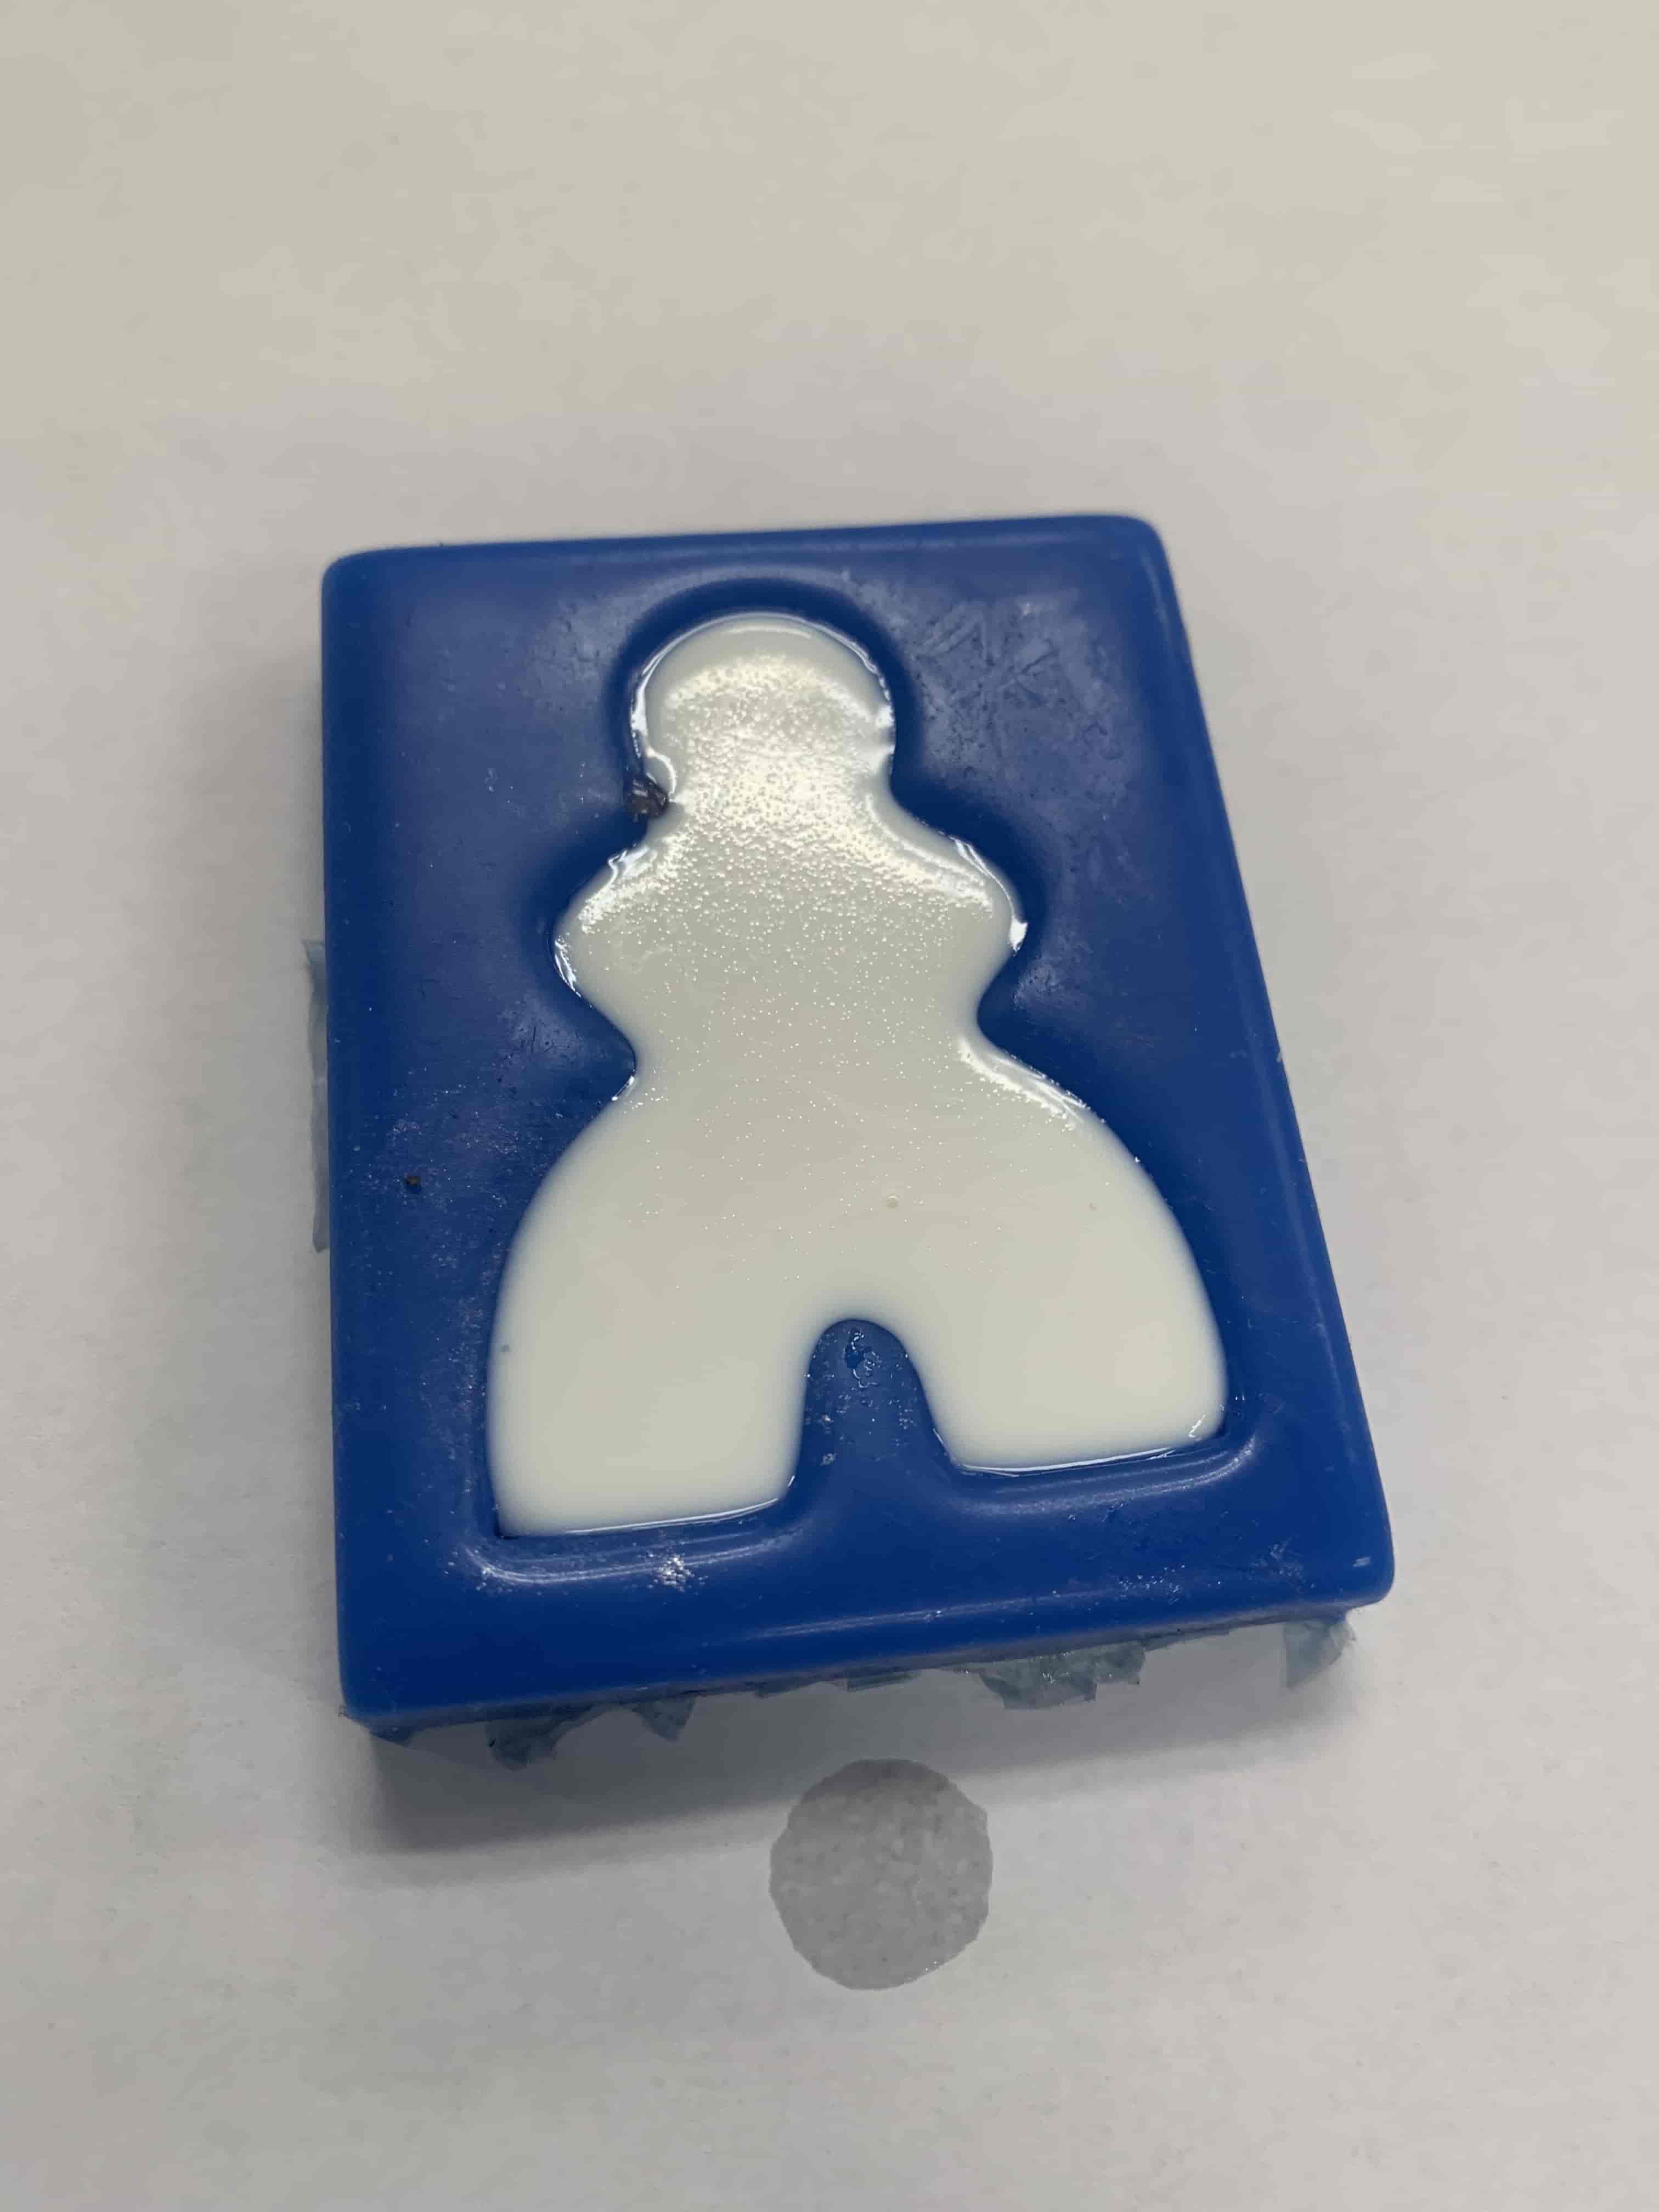
We had to do two things for this weeks group project. First we used a premade mold, to make a foam Wheaton College logo. As well as a little person looking thing. The other thing we did was make this google doc. I can't change the access to this but I hope you can access it.
Individual Assignment
For this weeks individual assignment we were told to make a mold for something. This was a three step process. The first process, was designing something that could be milled out of wax, this would be what we made our mold out of. The next step was to pour some mold making material into the hole that I cut out of wax, and leave that to set so that I'd have a mold. The third step is to put something in the mold to harden, and turn into your final product.
Design
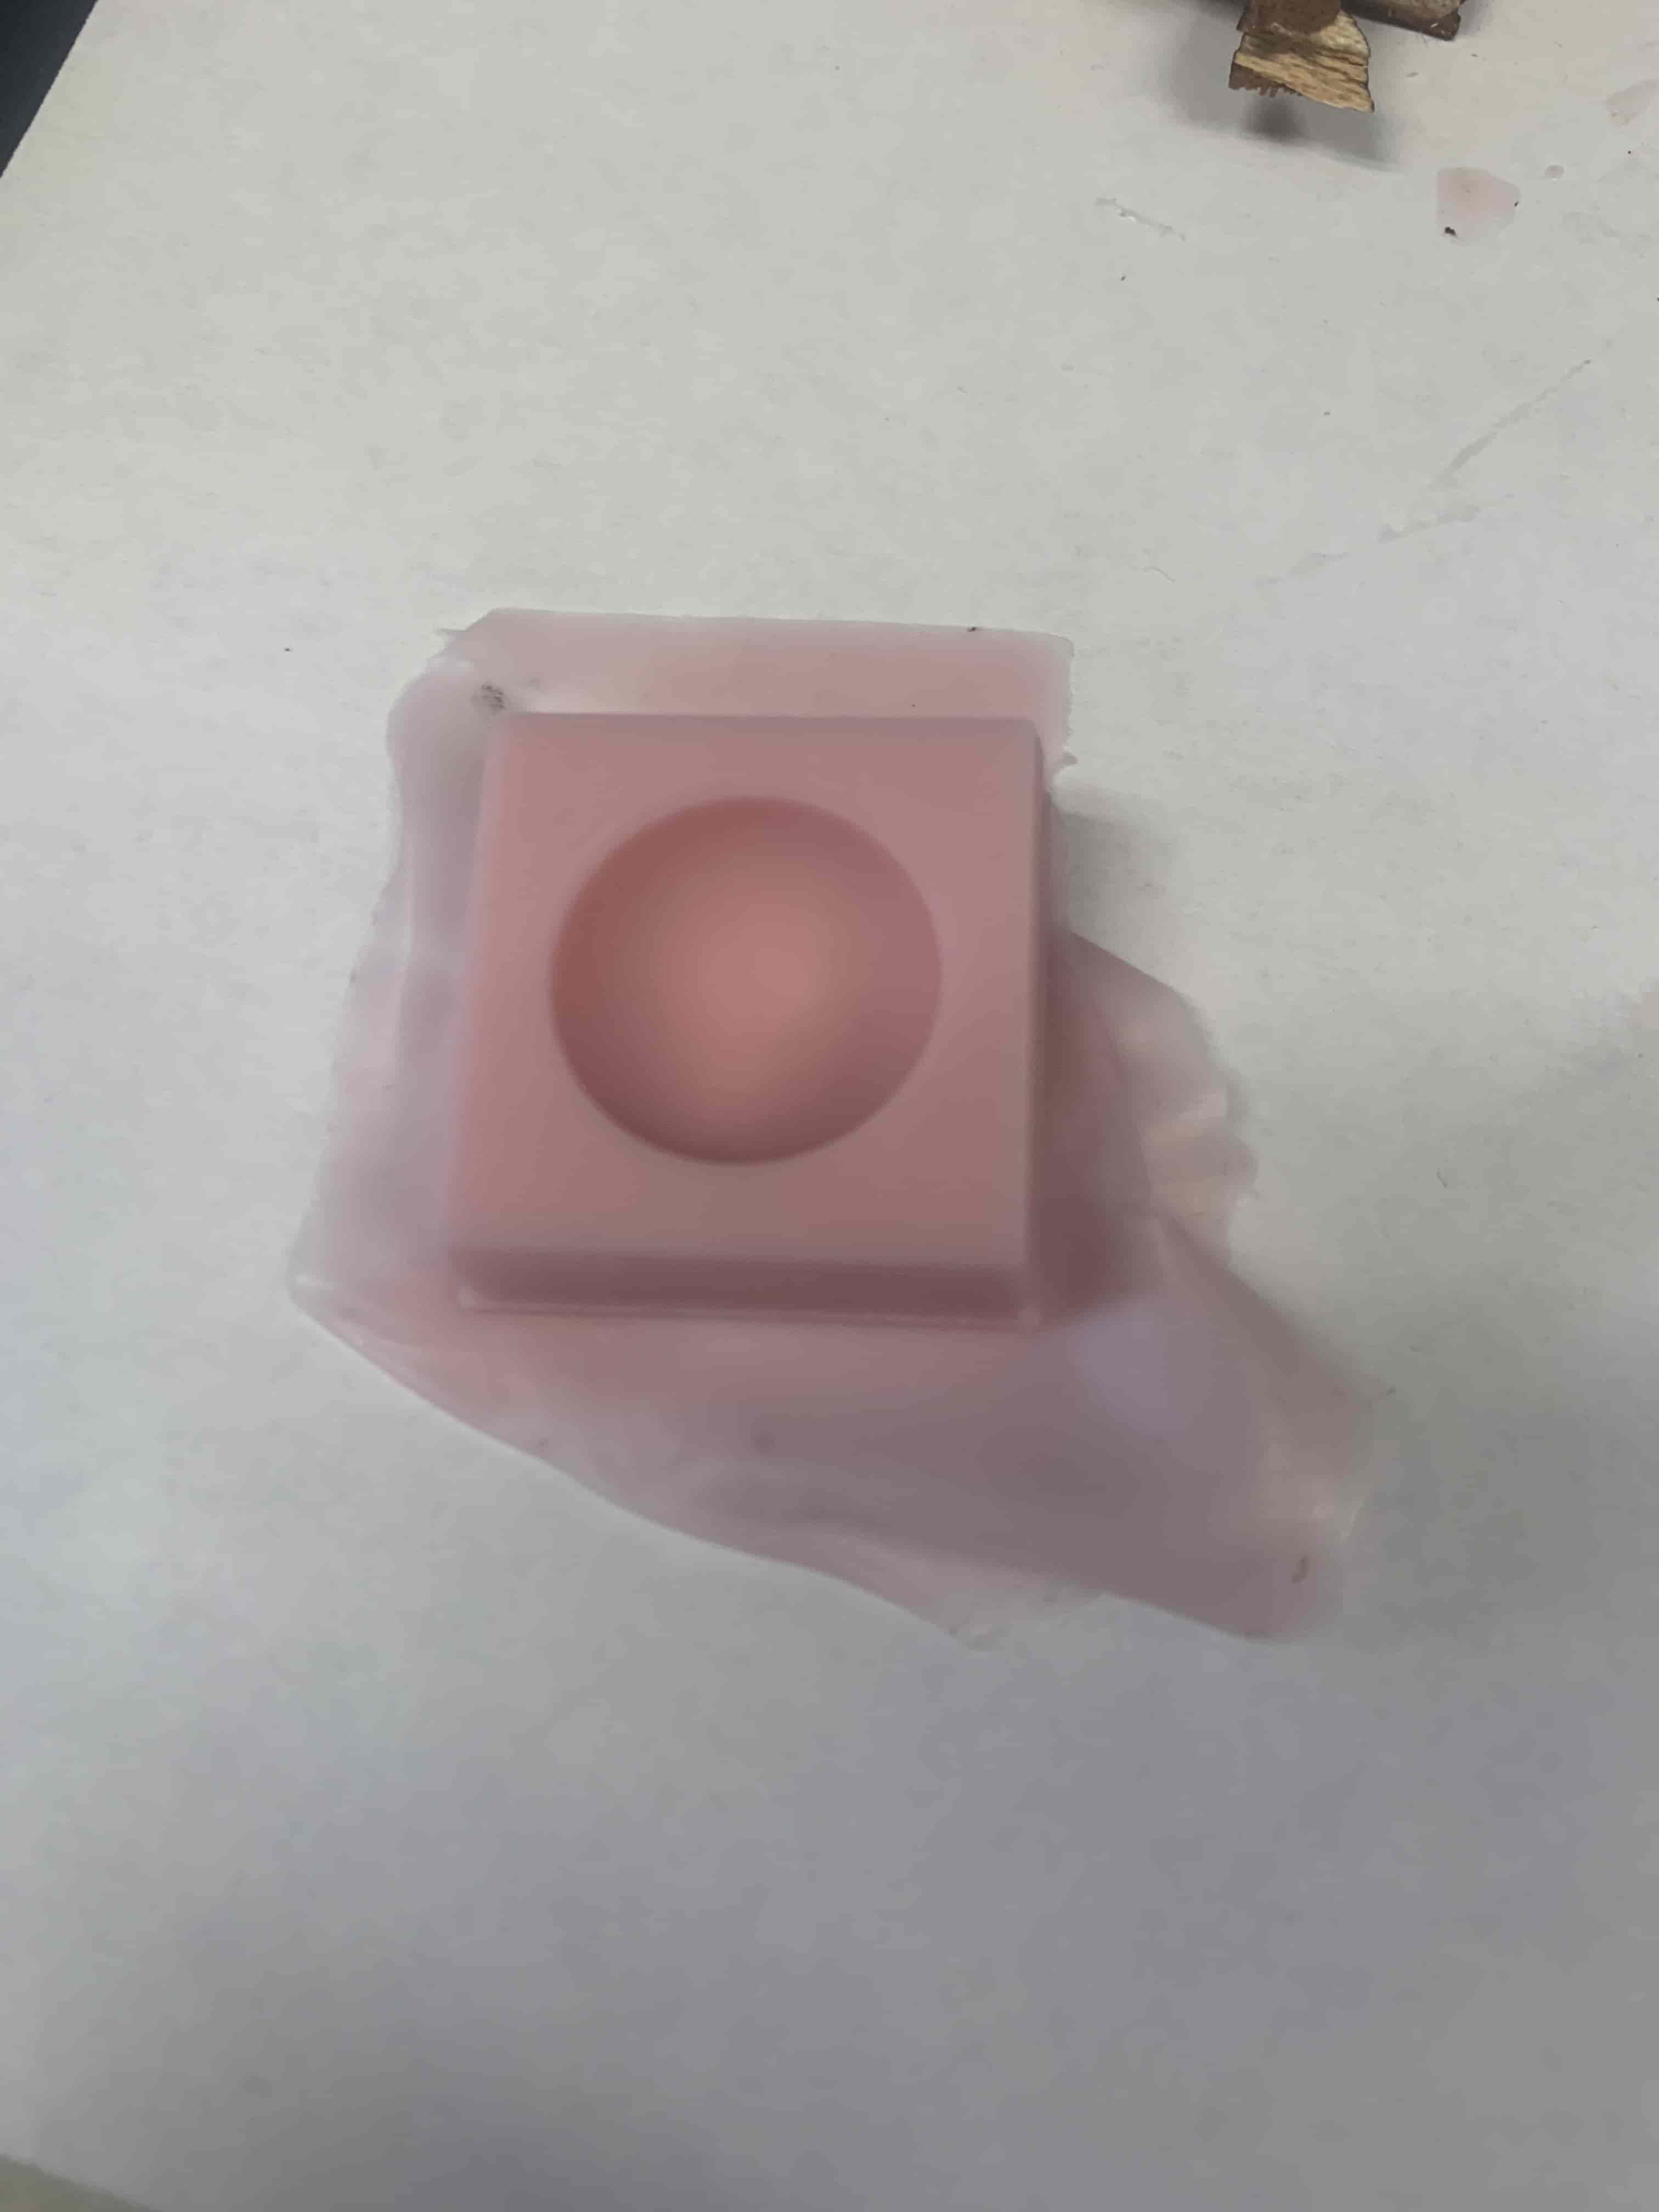
After the past couple of weeks of stuggling I went into this week wanting to make something simple that I was sure I could get done in the time that I had. With that in mind I came up with a simple design to do. It is just a half sphere.
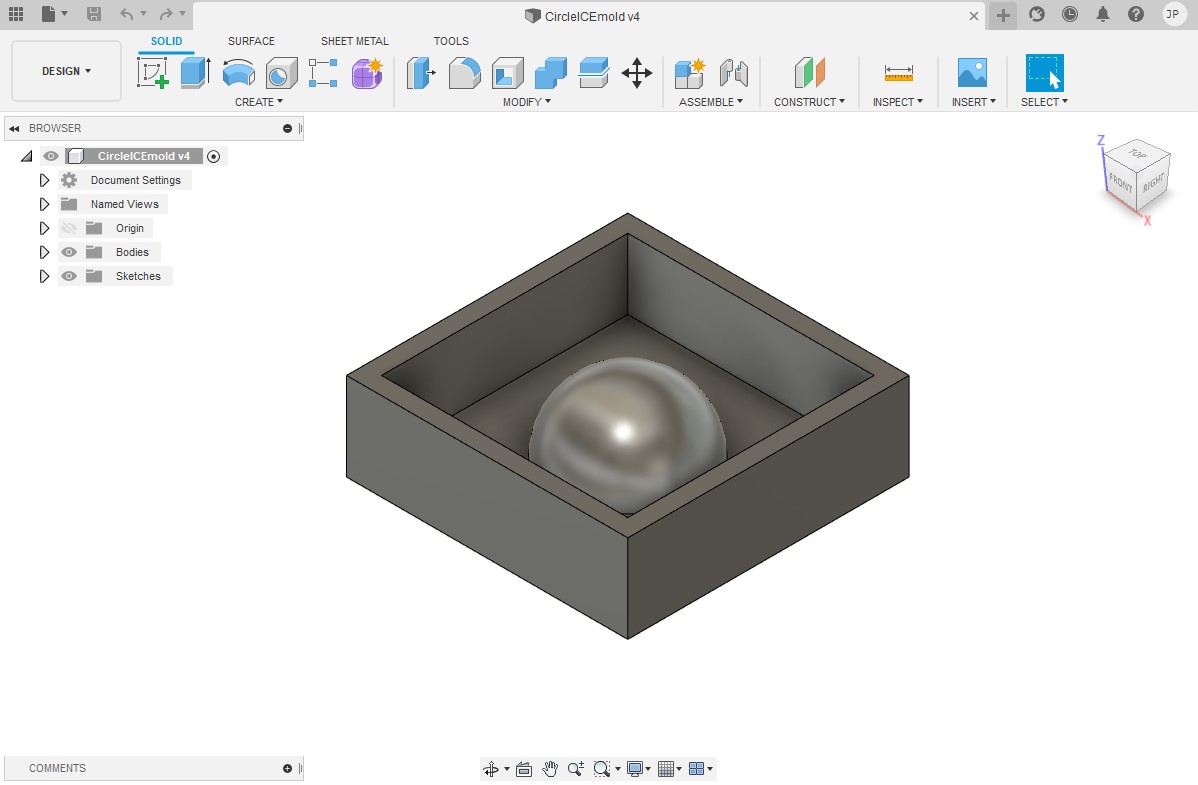
Making the half sphere in fusion was really simple. The only part that I feel is worth mentioning is the revolve tool. I only mention it because it's my first time using it. What it does is take any shape that you draw, and it revolves it around a line. It will revolve it any amount of degrees that you would like, and makes making a sphere really easy.
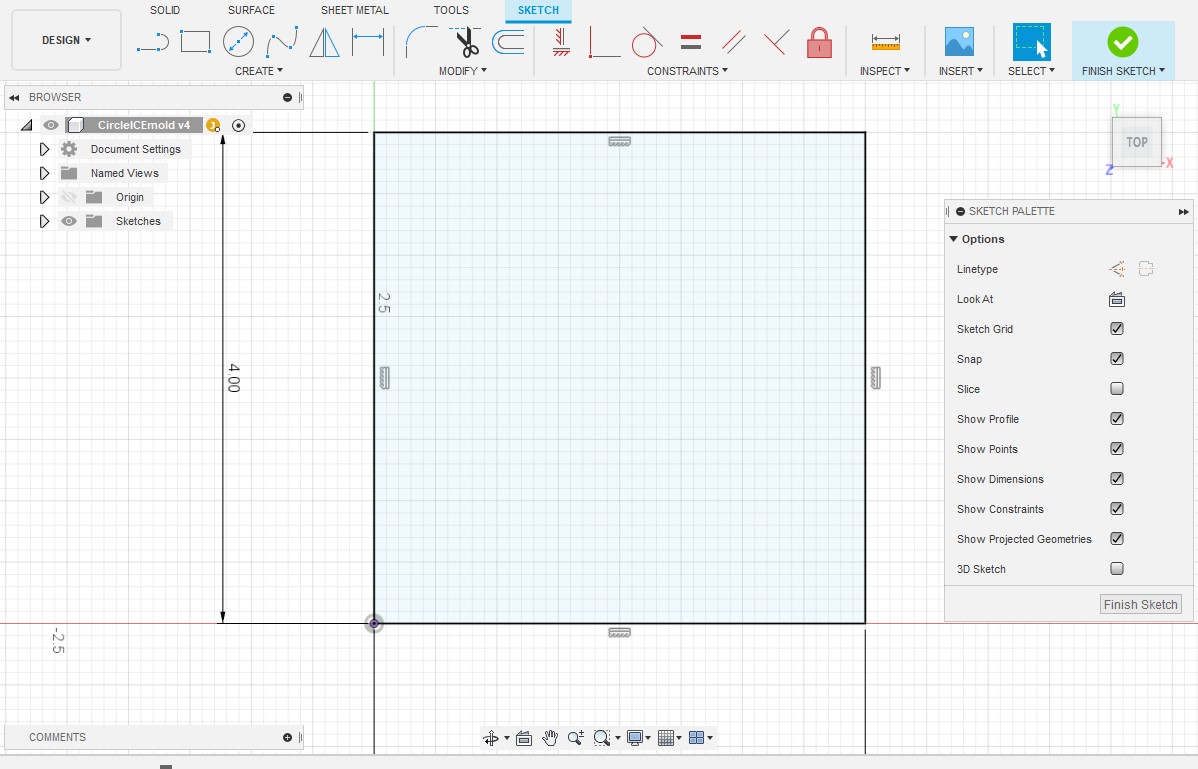
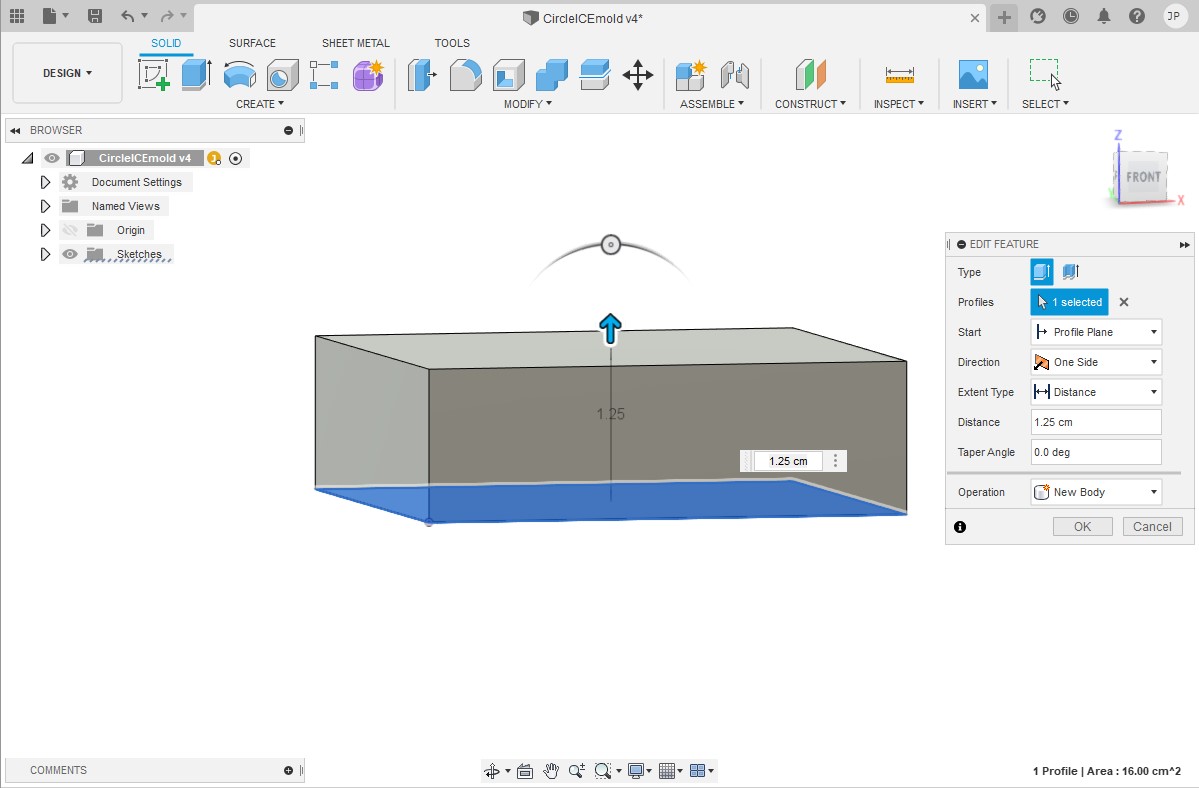
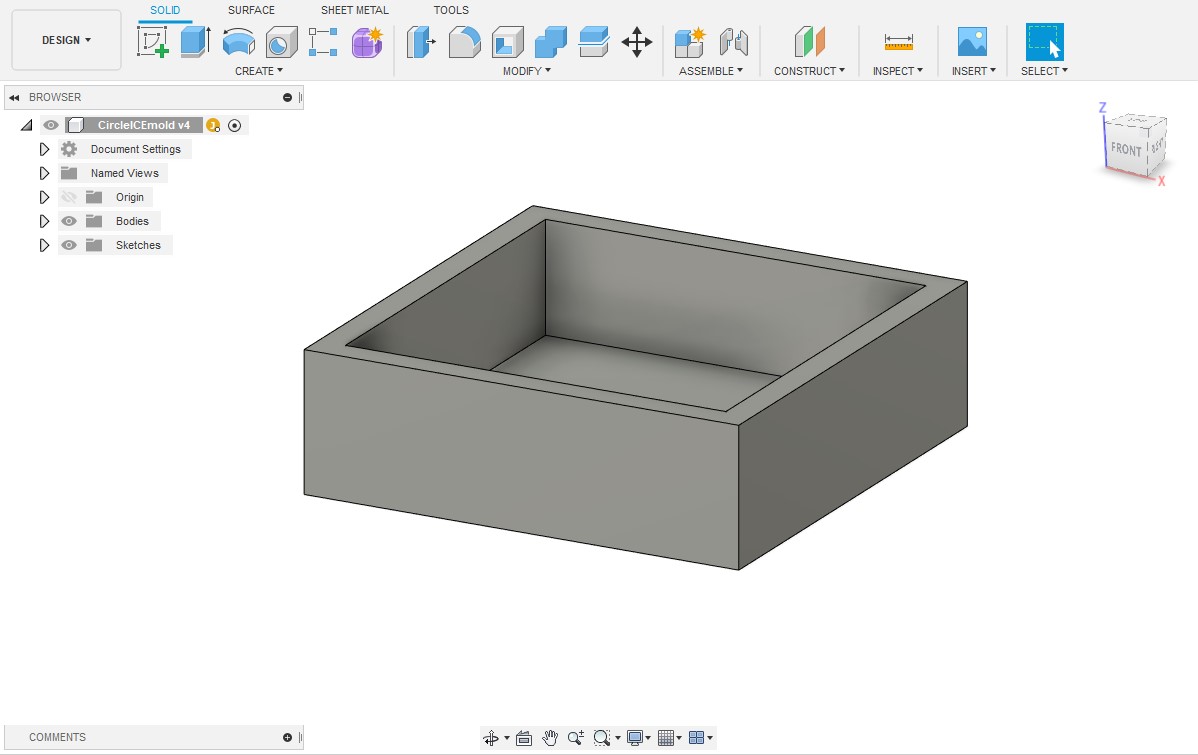
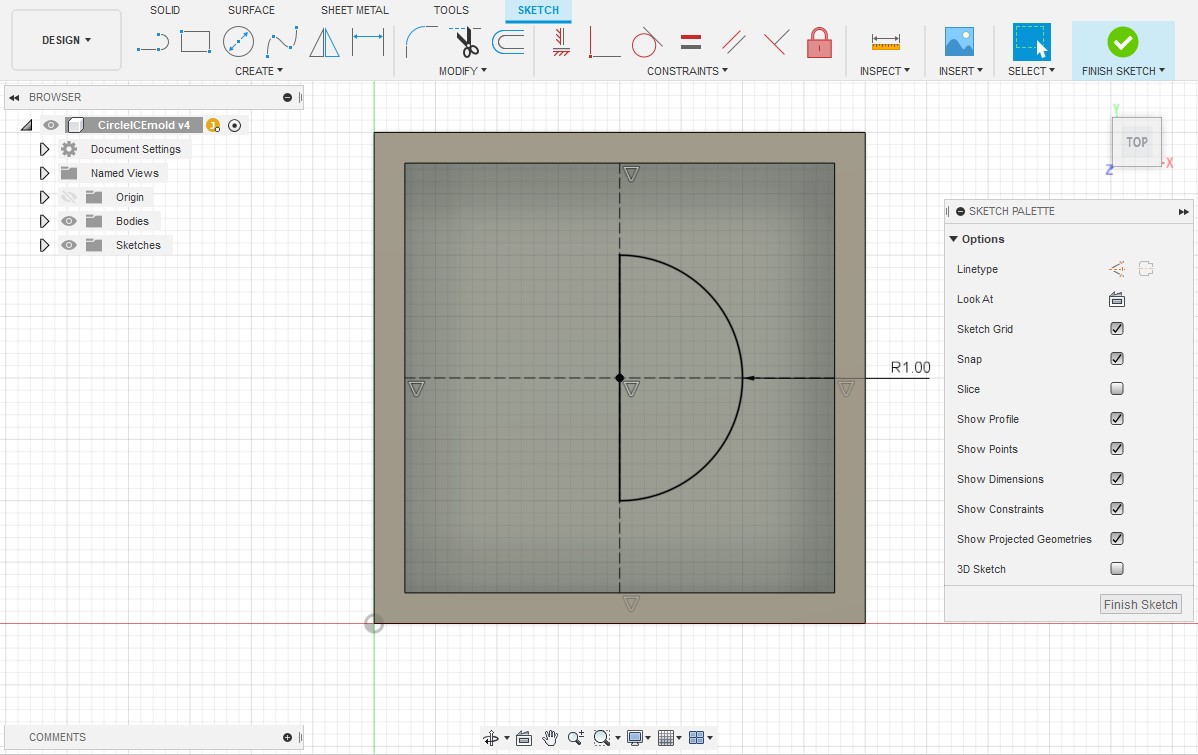
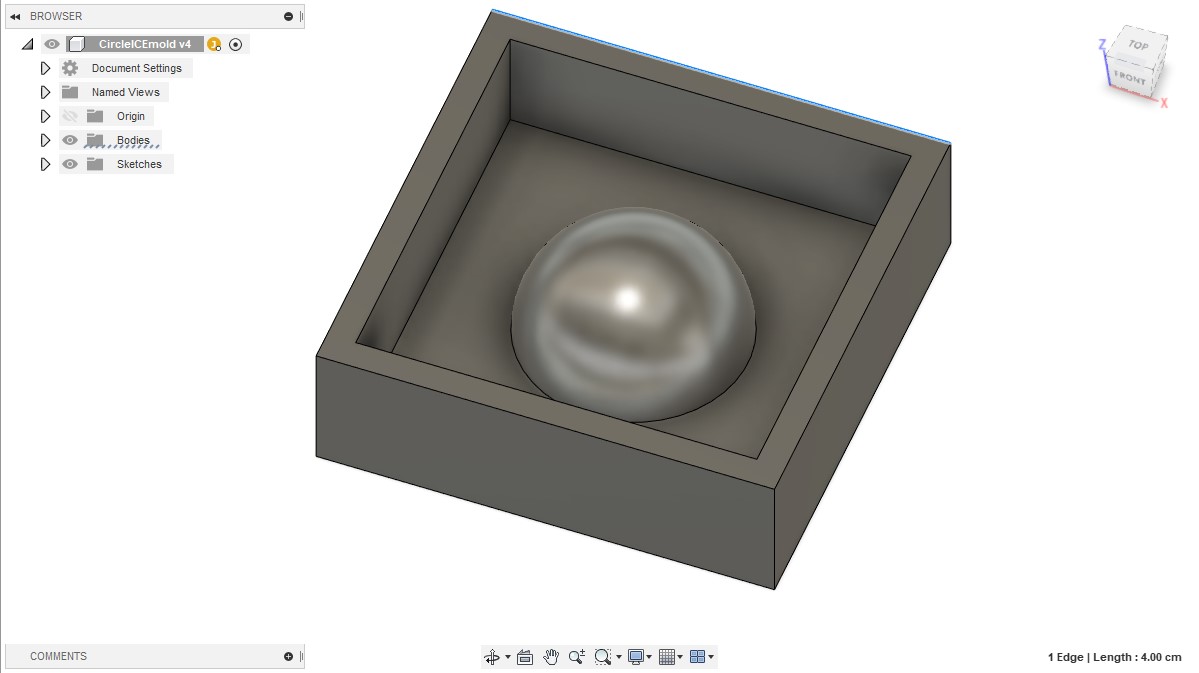
The manufacturing step was a little bit more complicated because I wanted my shape to be smooth. My first idea was to do a 3D pocket, and I thought it would pocket out the sphere. However what it did was make a sphere outline, but it was more stepped down then I'd like. I then had to look to see what tool would work best, and I found that the radial tool works really well when you have the boundaries of the cut set properly. With both cuts set up I was on to milling.
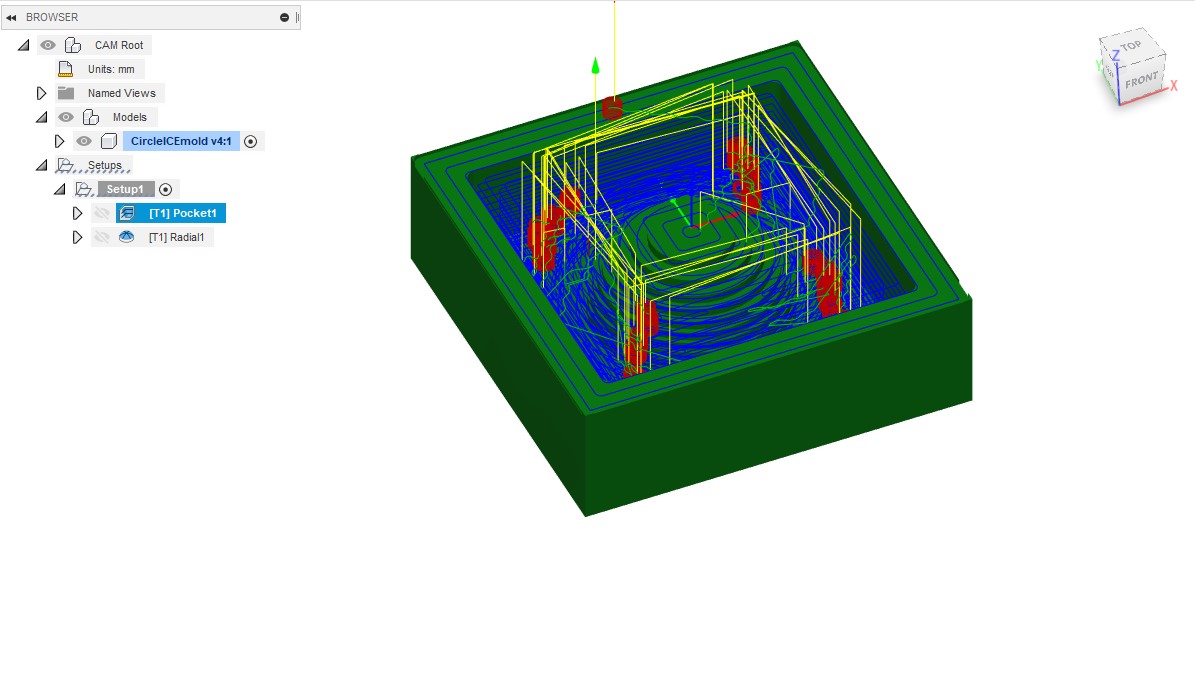
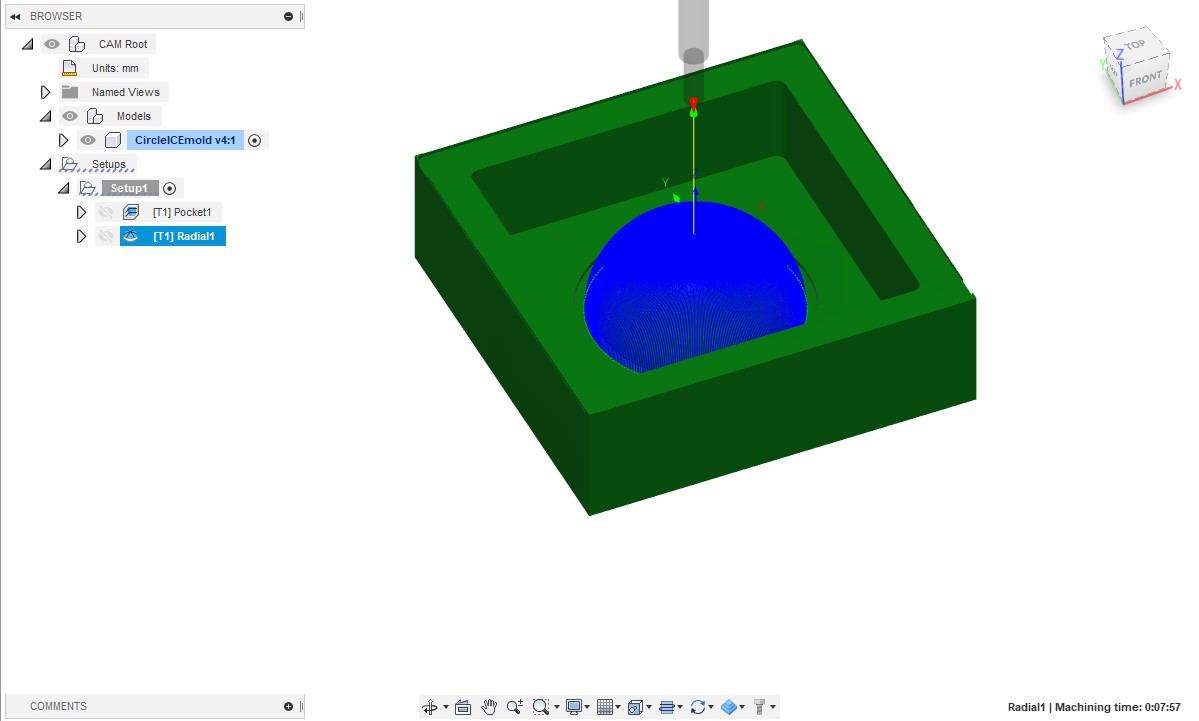
Milling
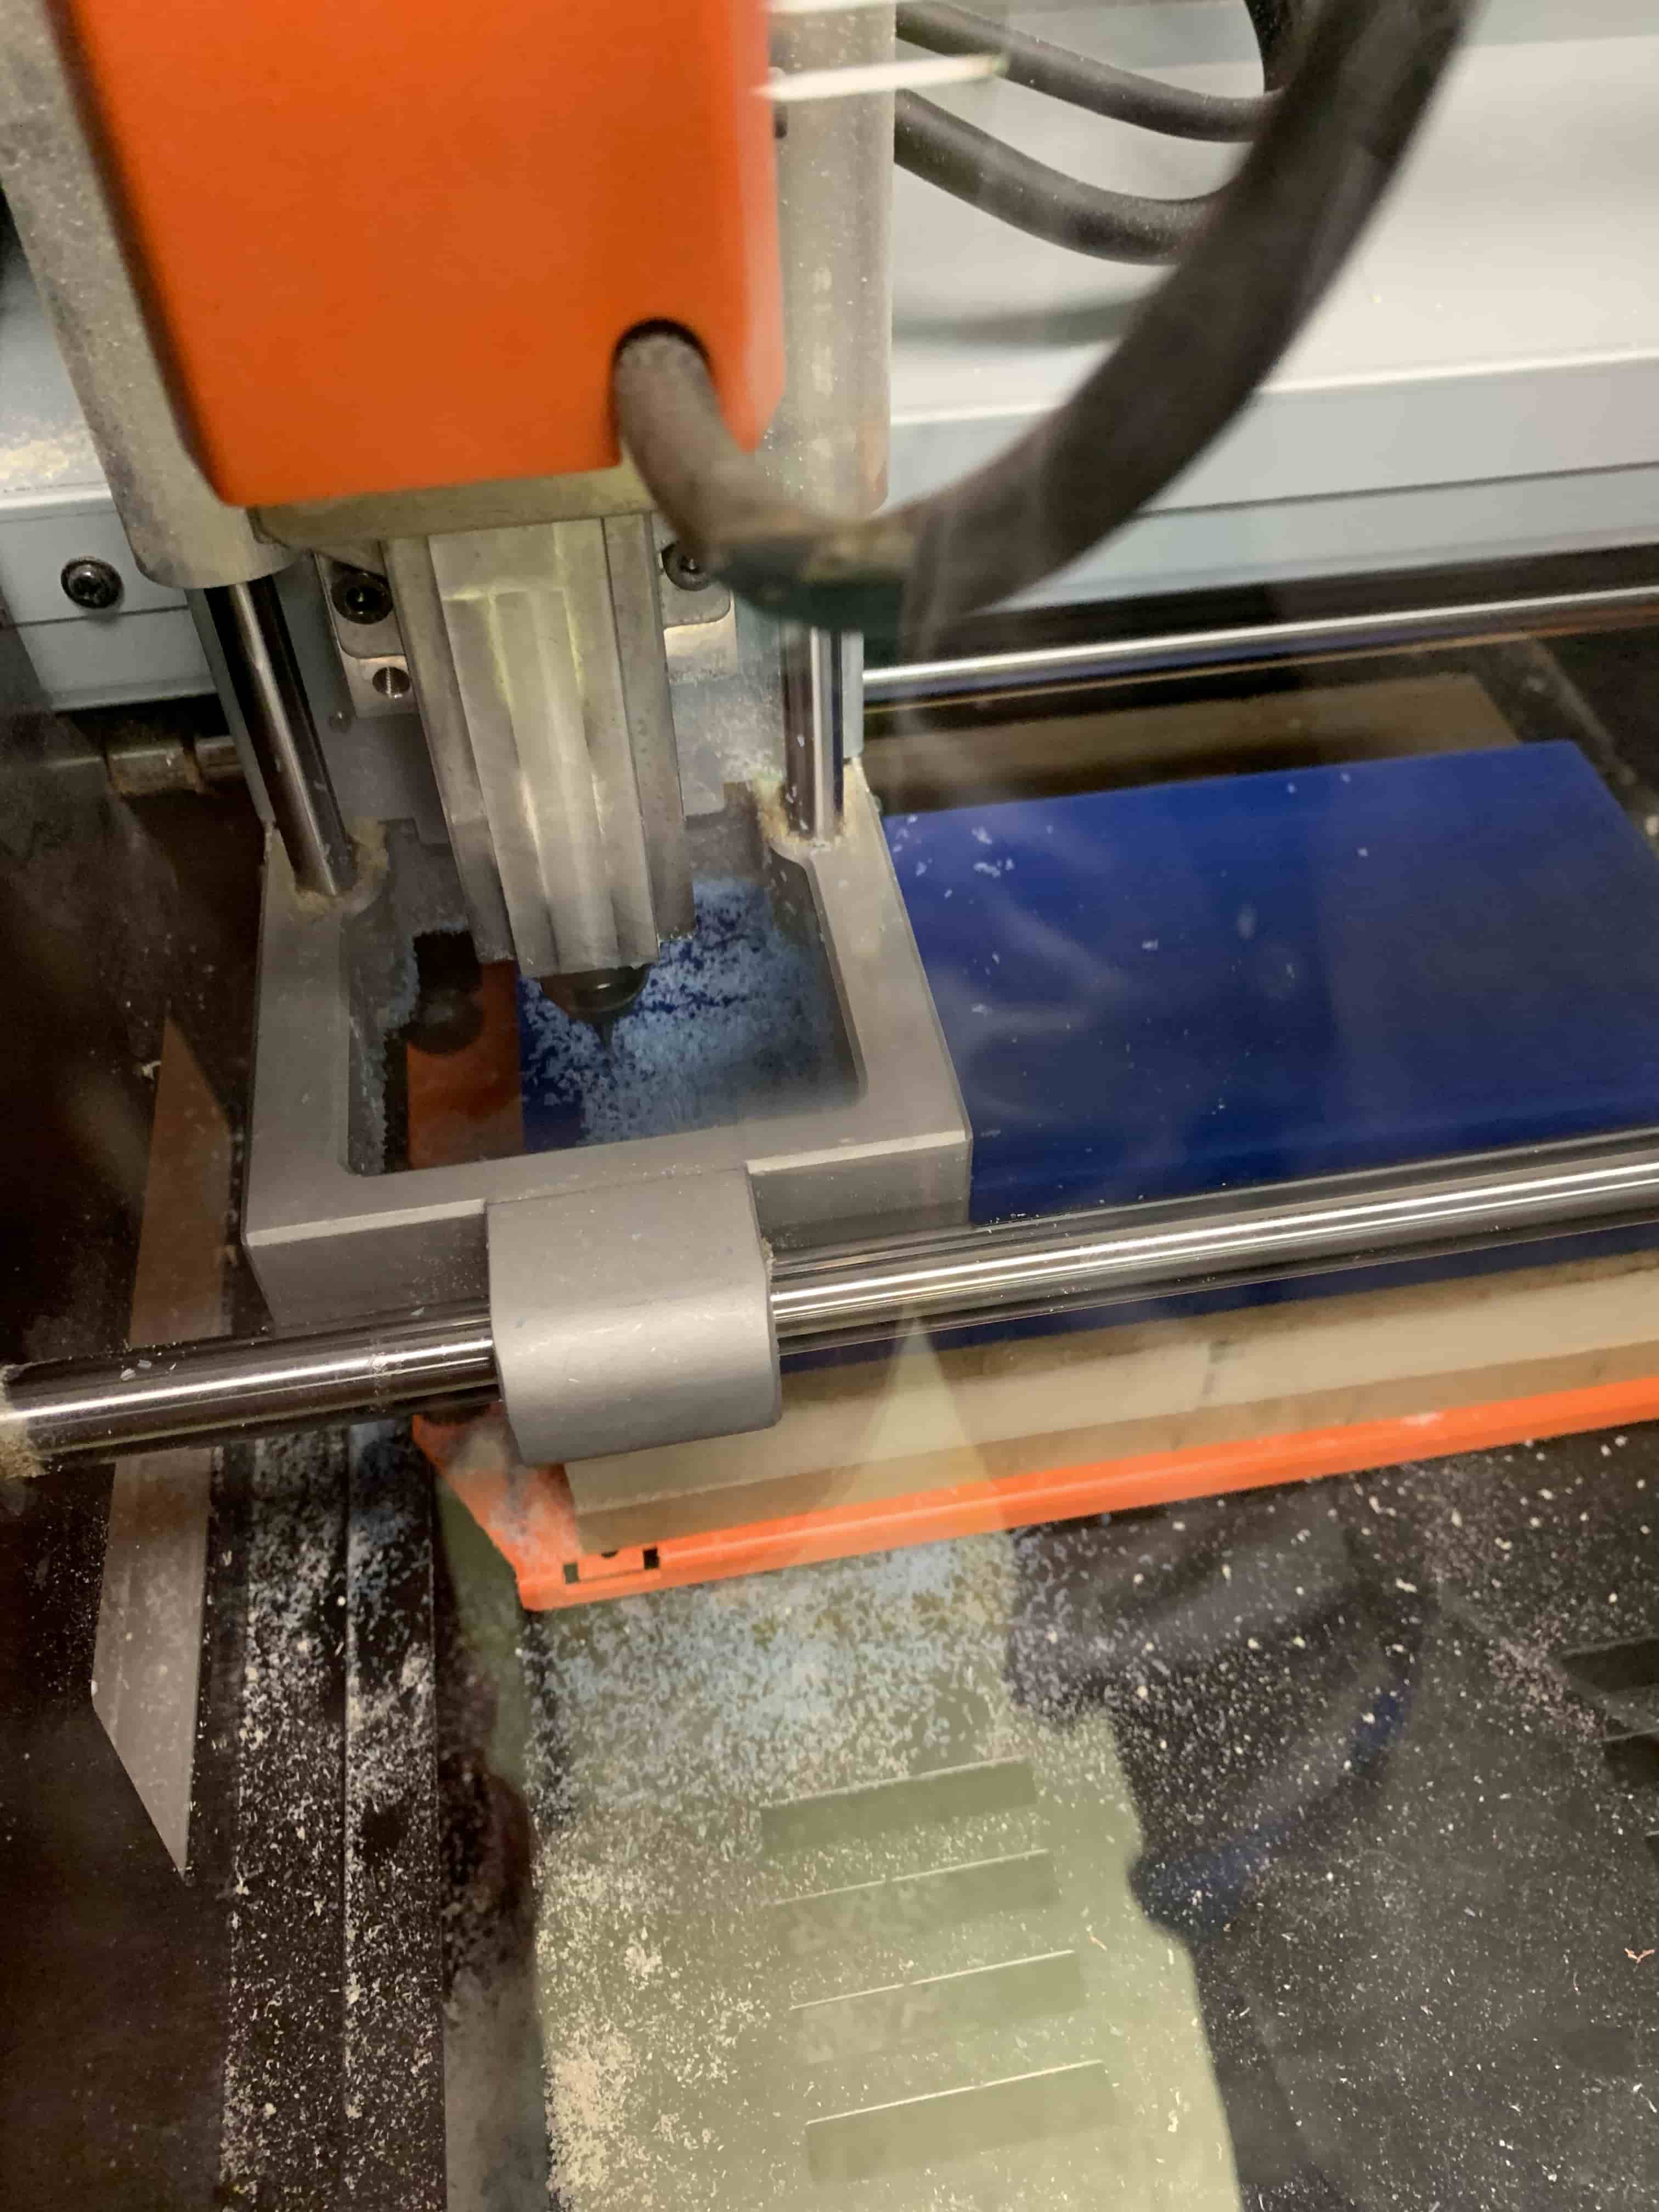
For the first time ever I had no problem milling in this project. The wax cut well, and the design file did it's job properly. The only thing I have to mention here is that I did my whole project with a 2mm flatend mill bit. This is not something I would recommend for folks cutting out larger things, but because that shape I was cutting was small the cuts took a reasonable amount of time.
Mold Making
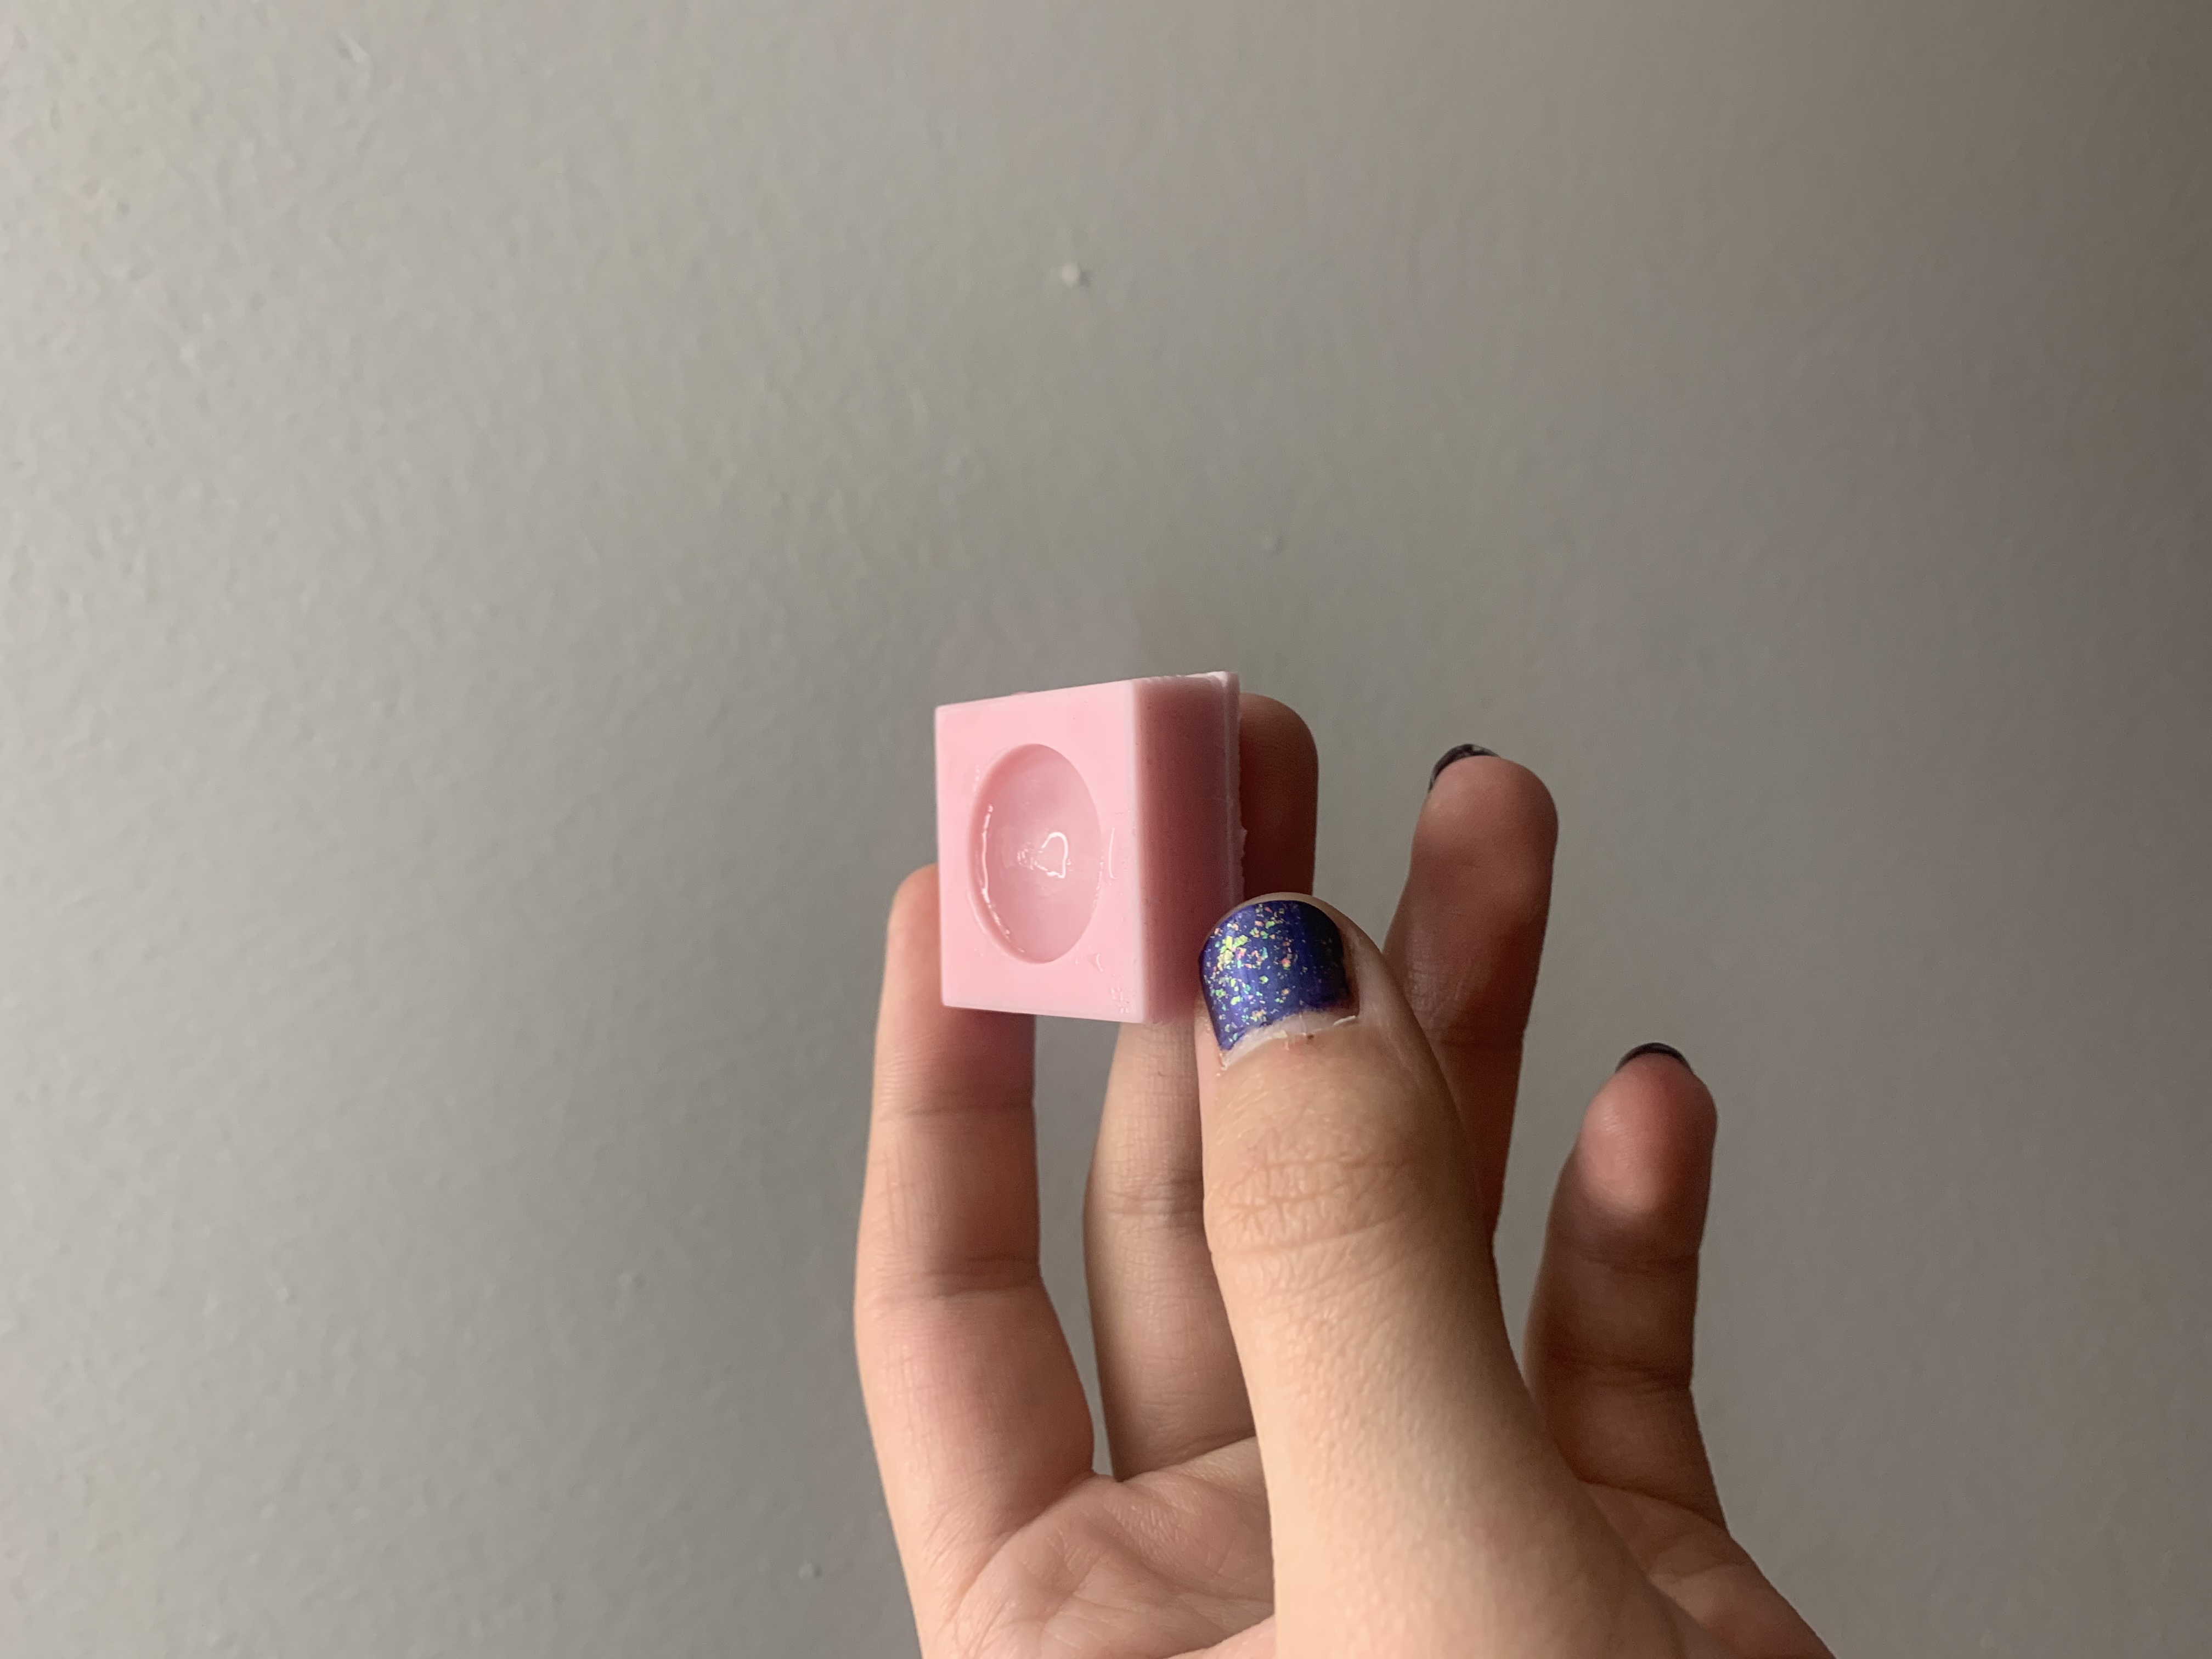
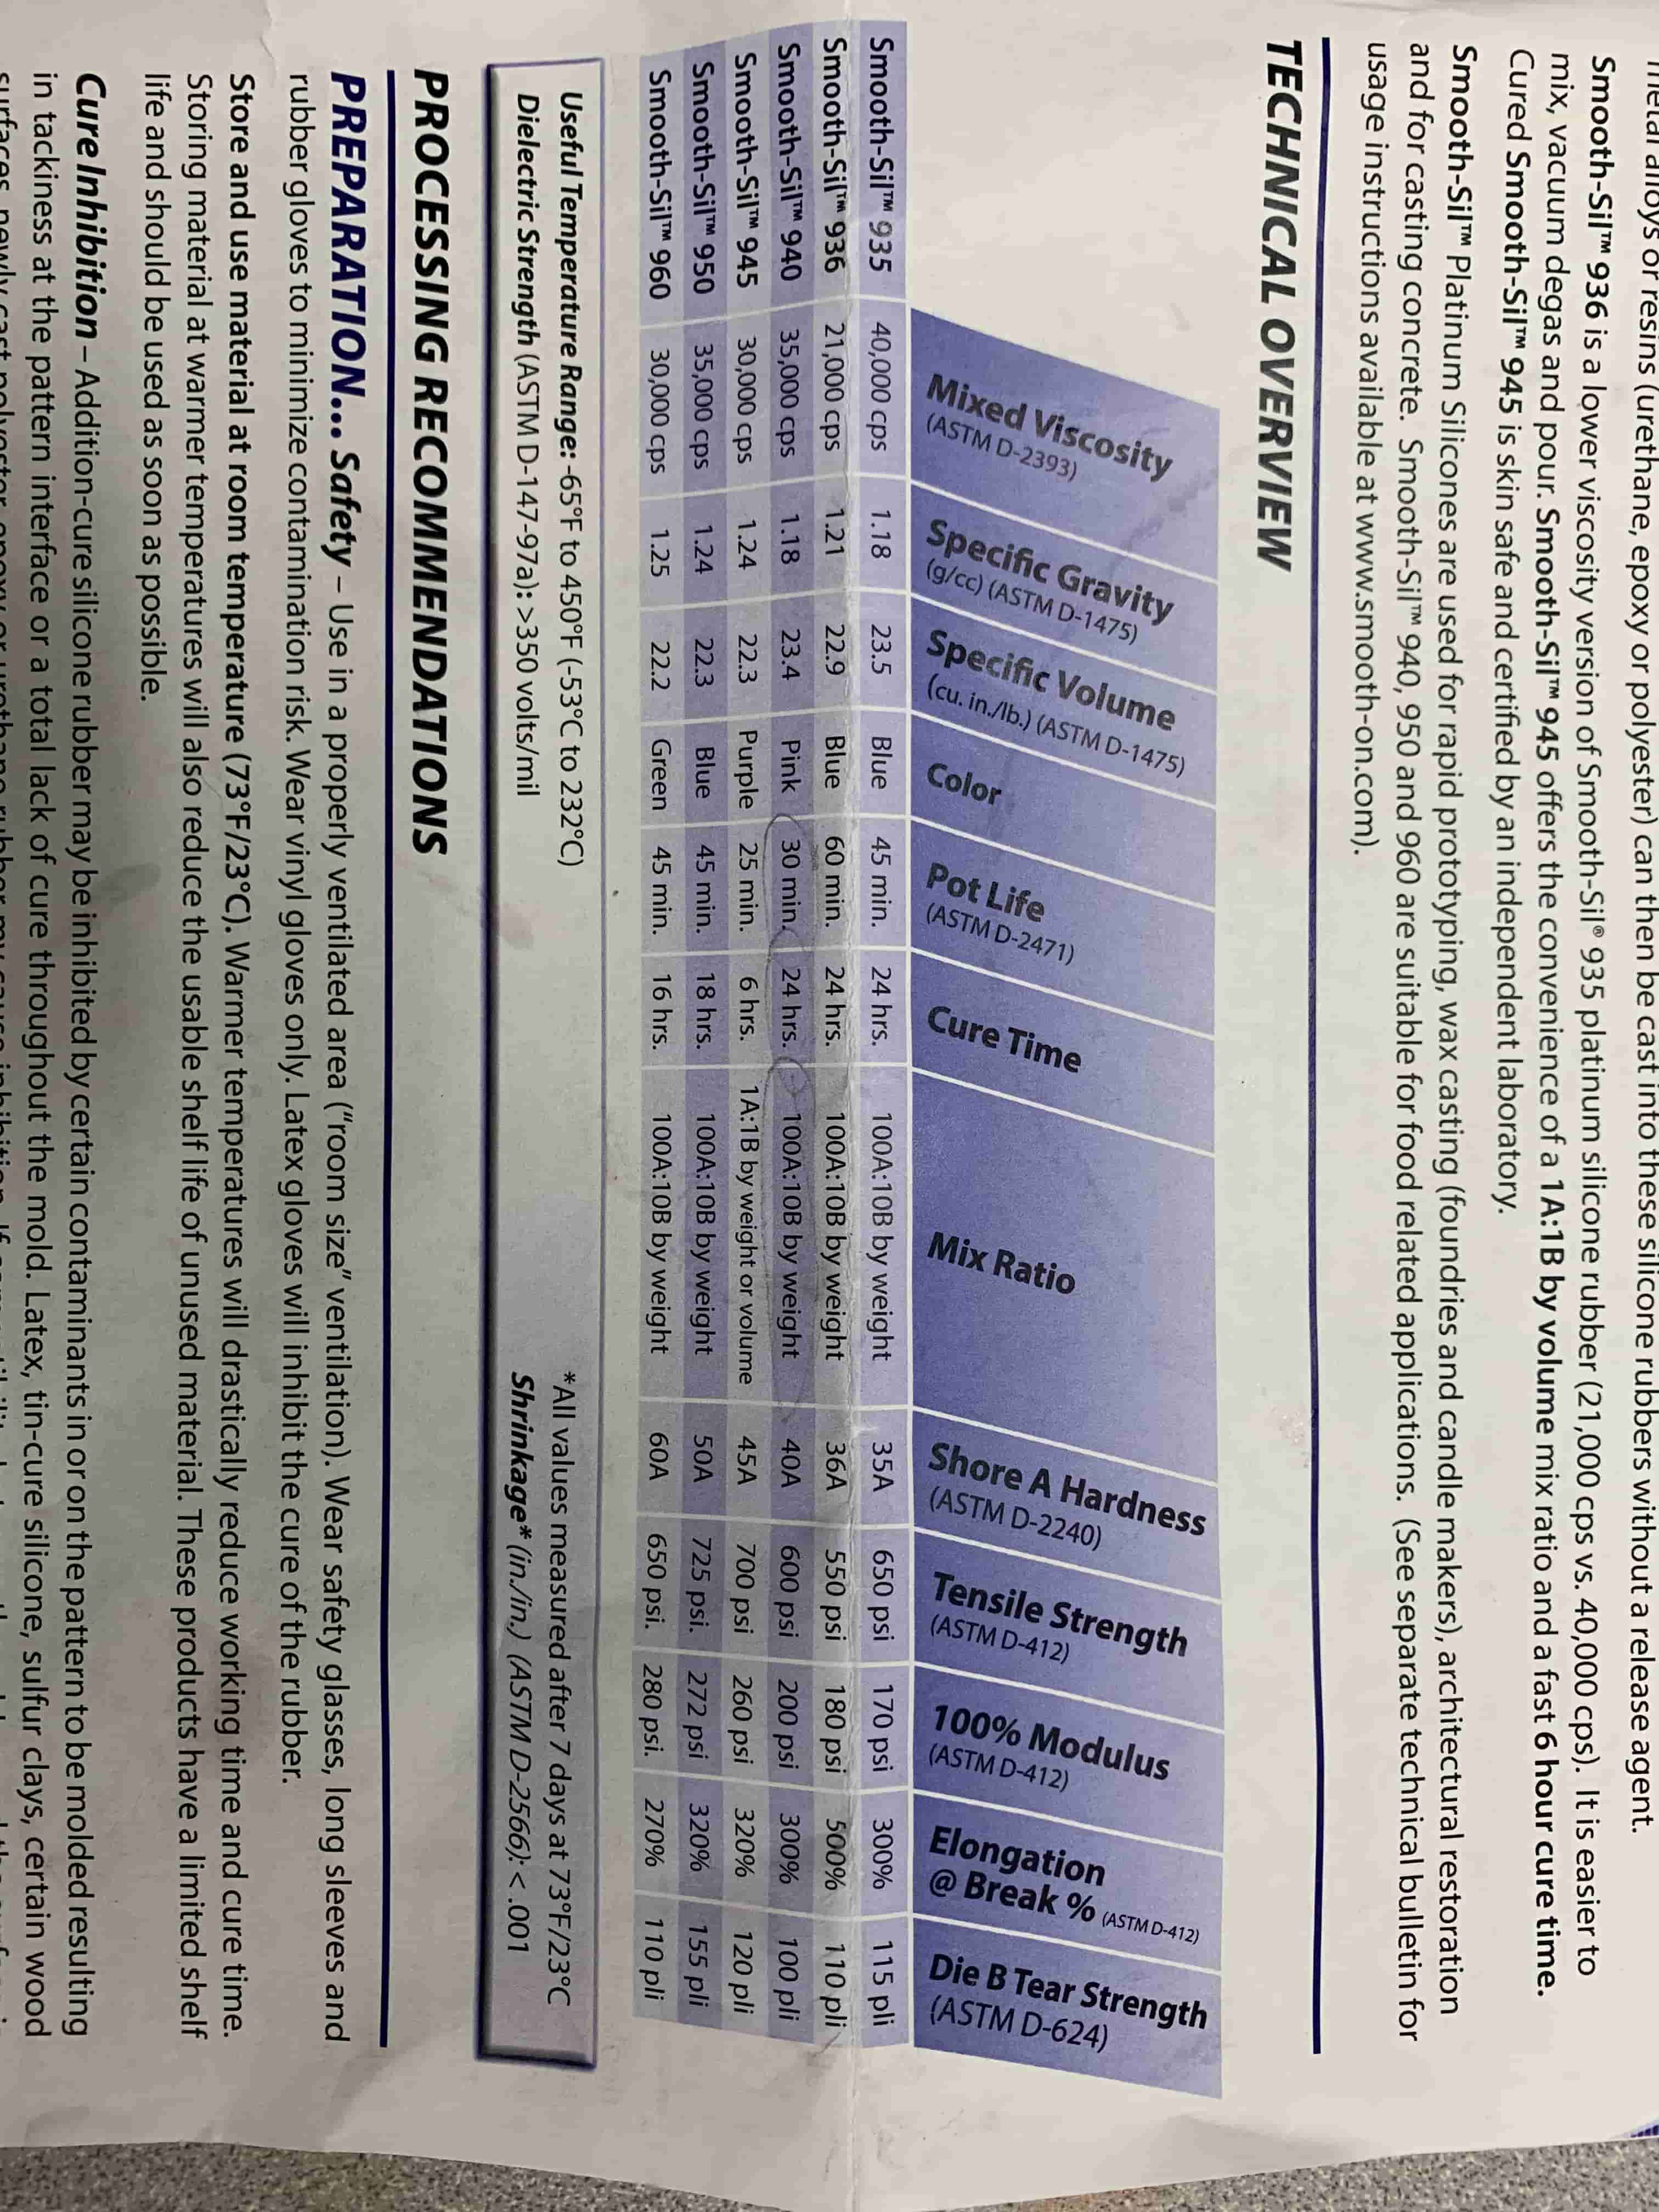
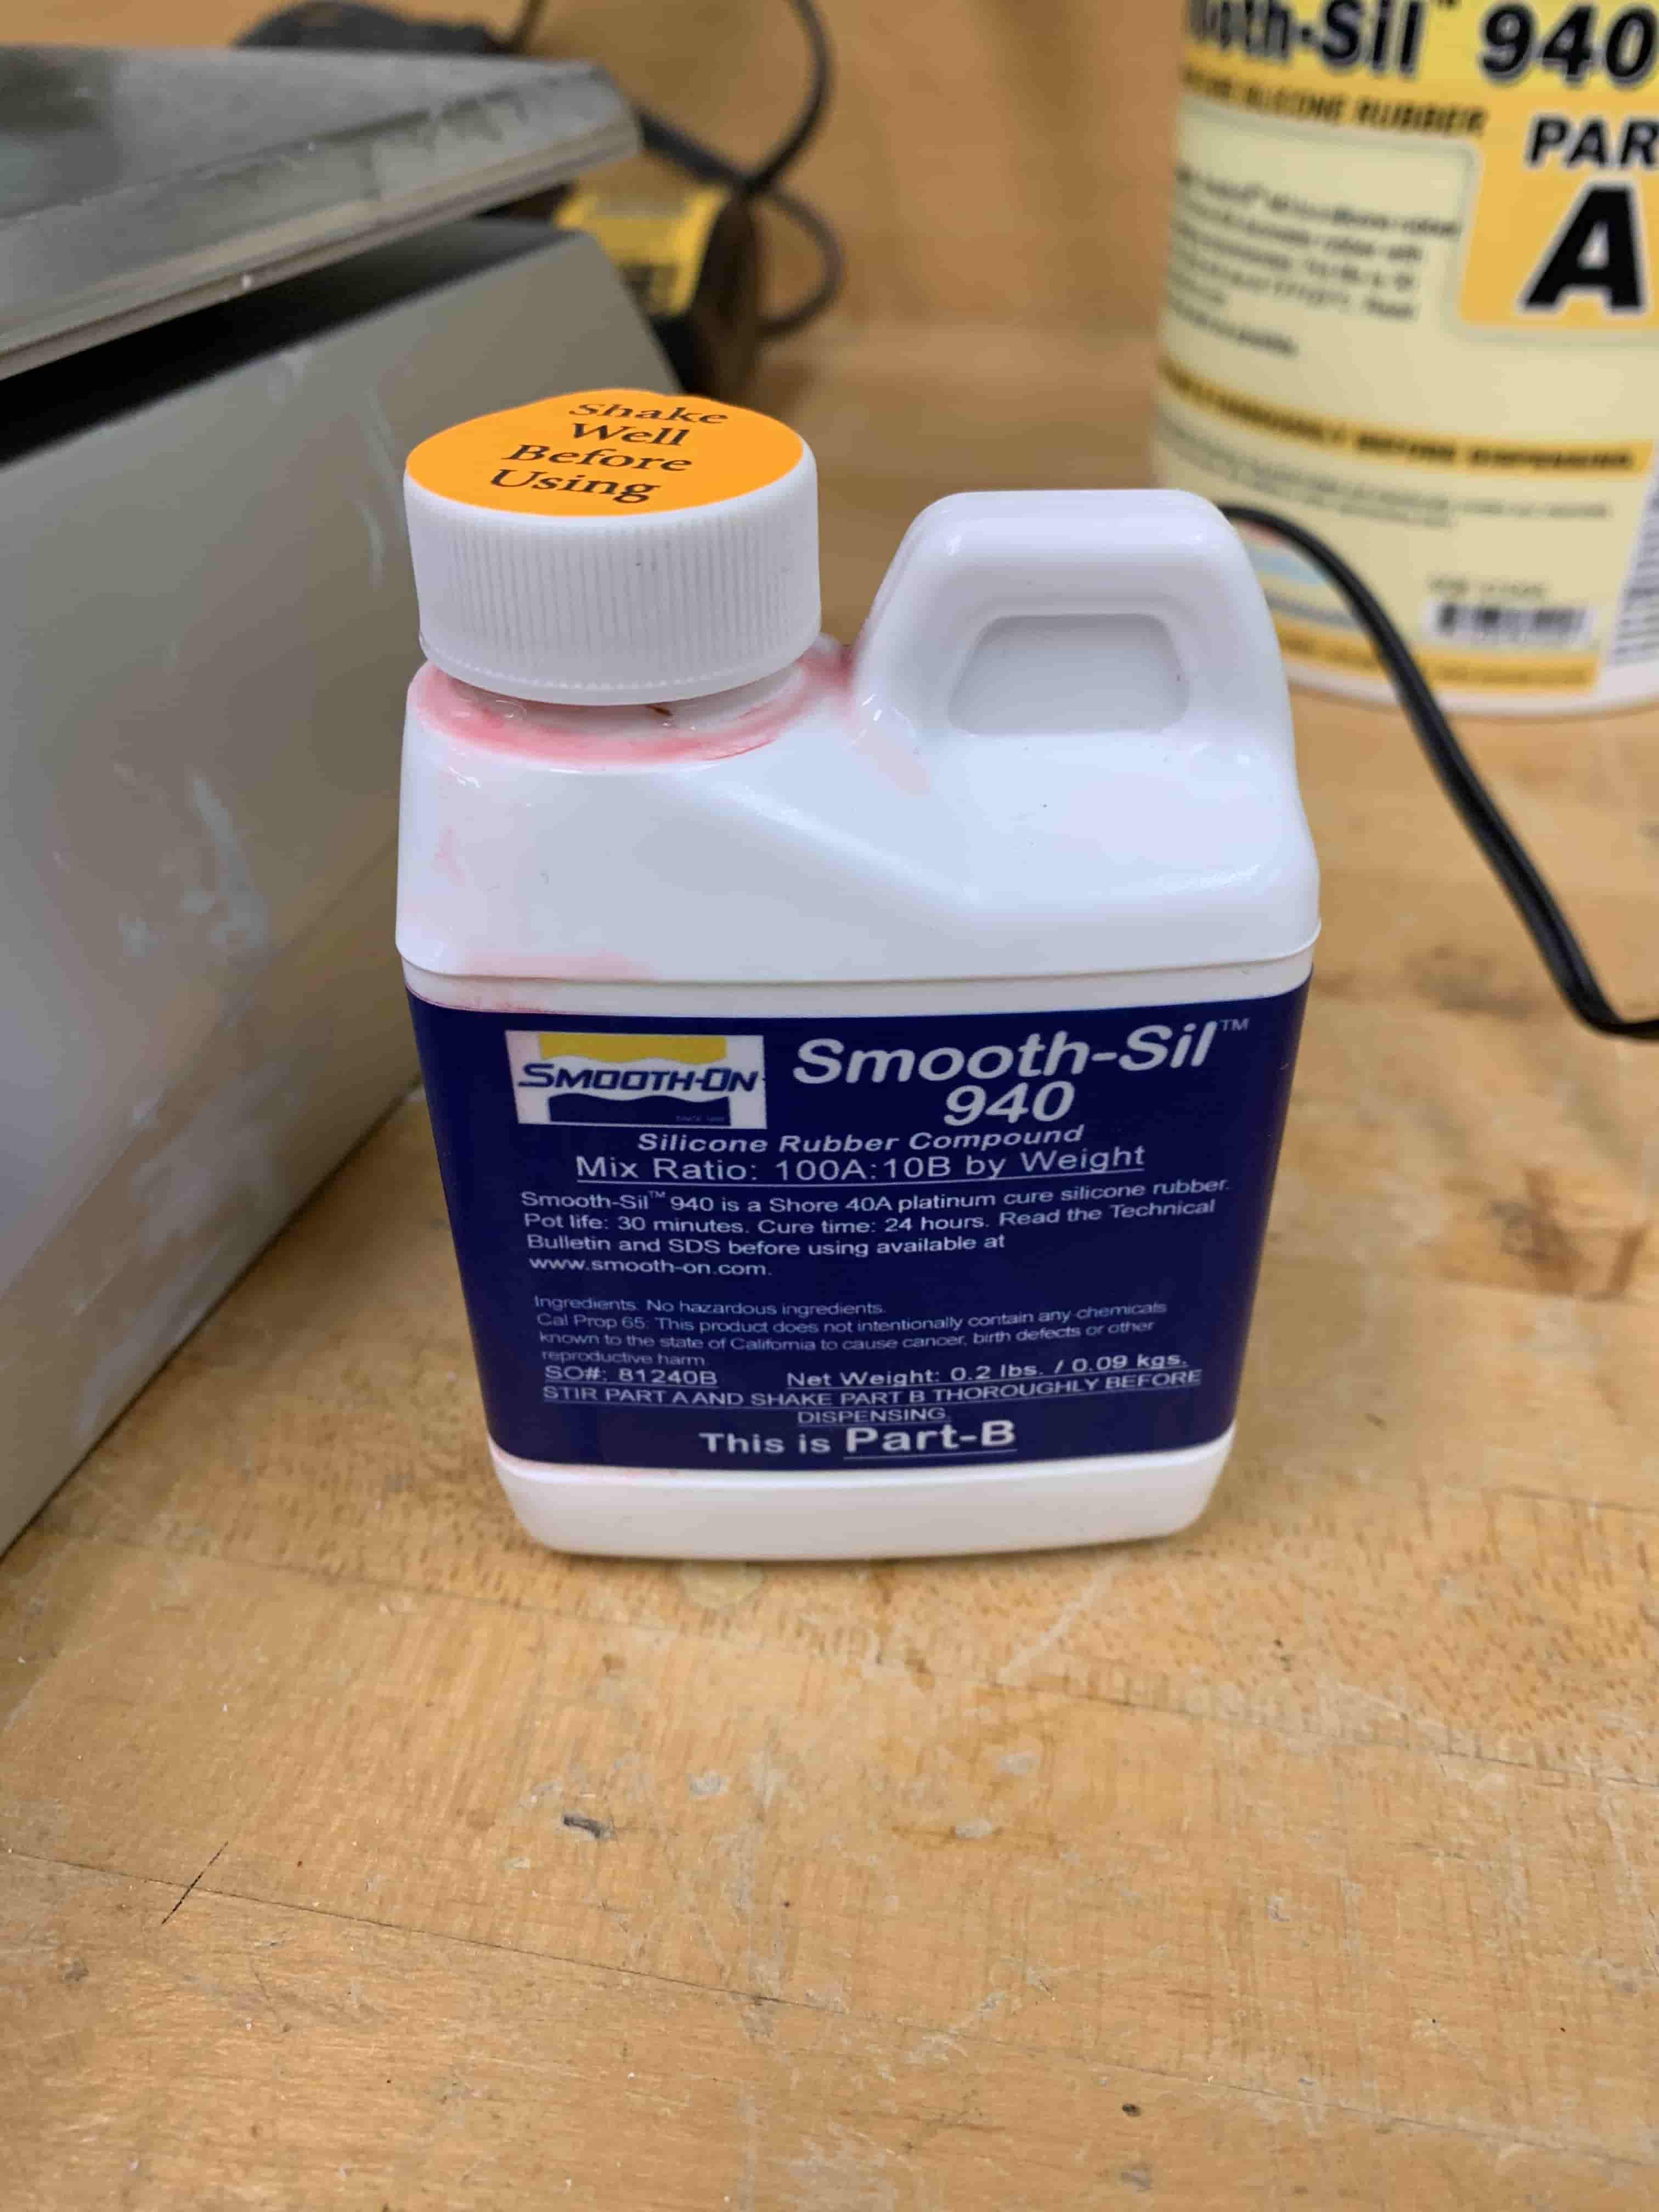
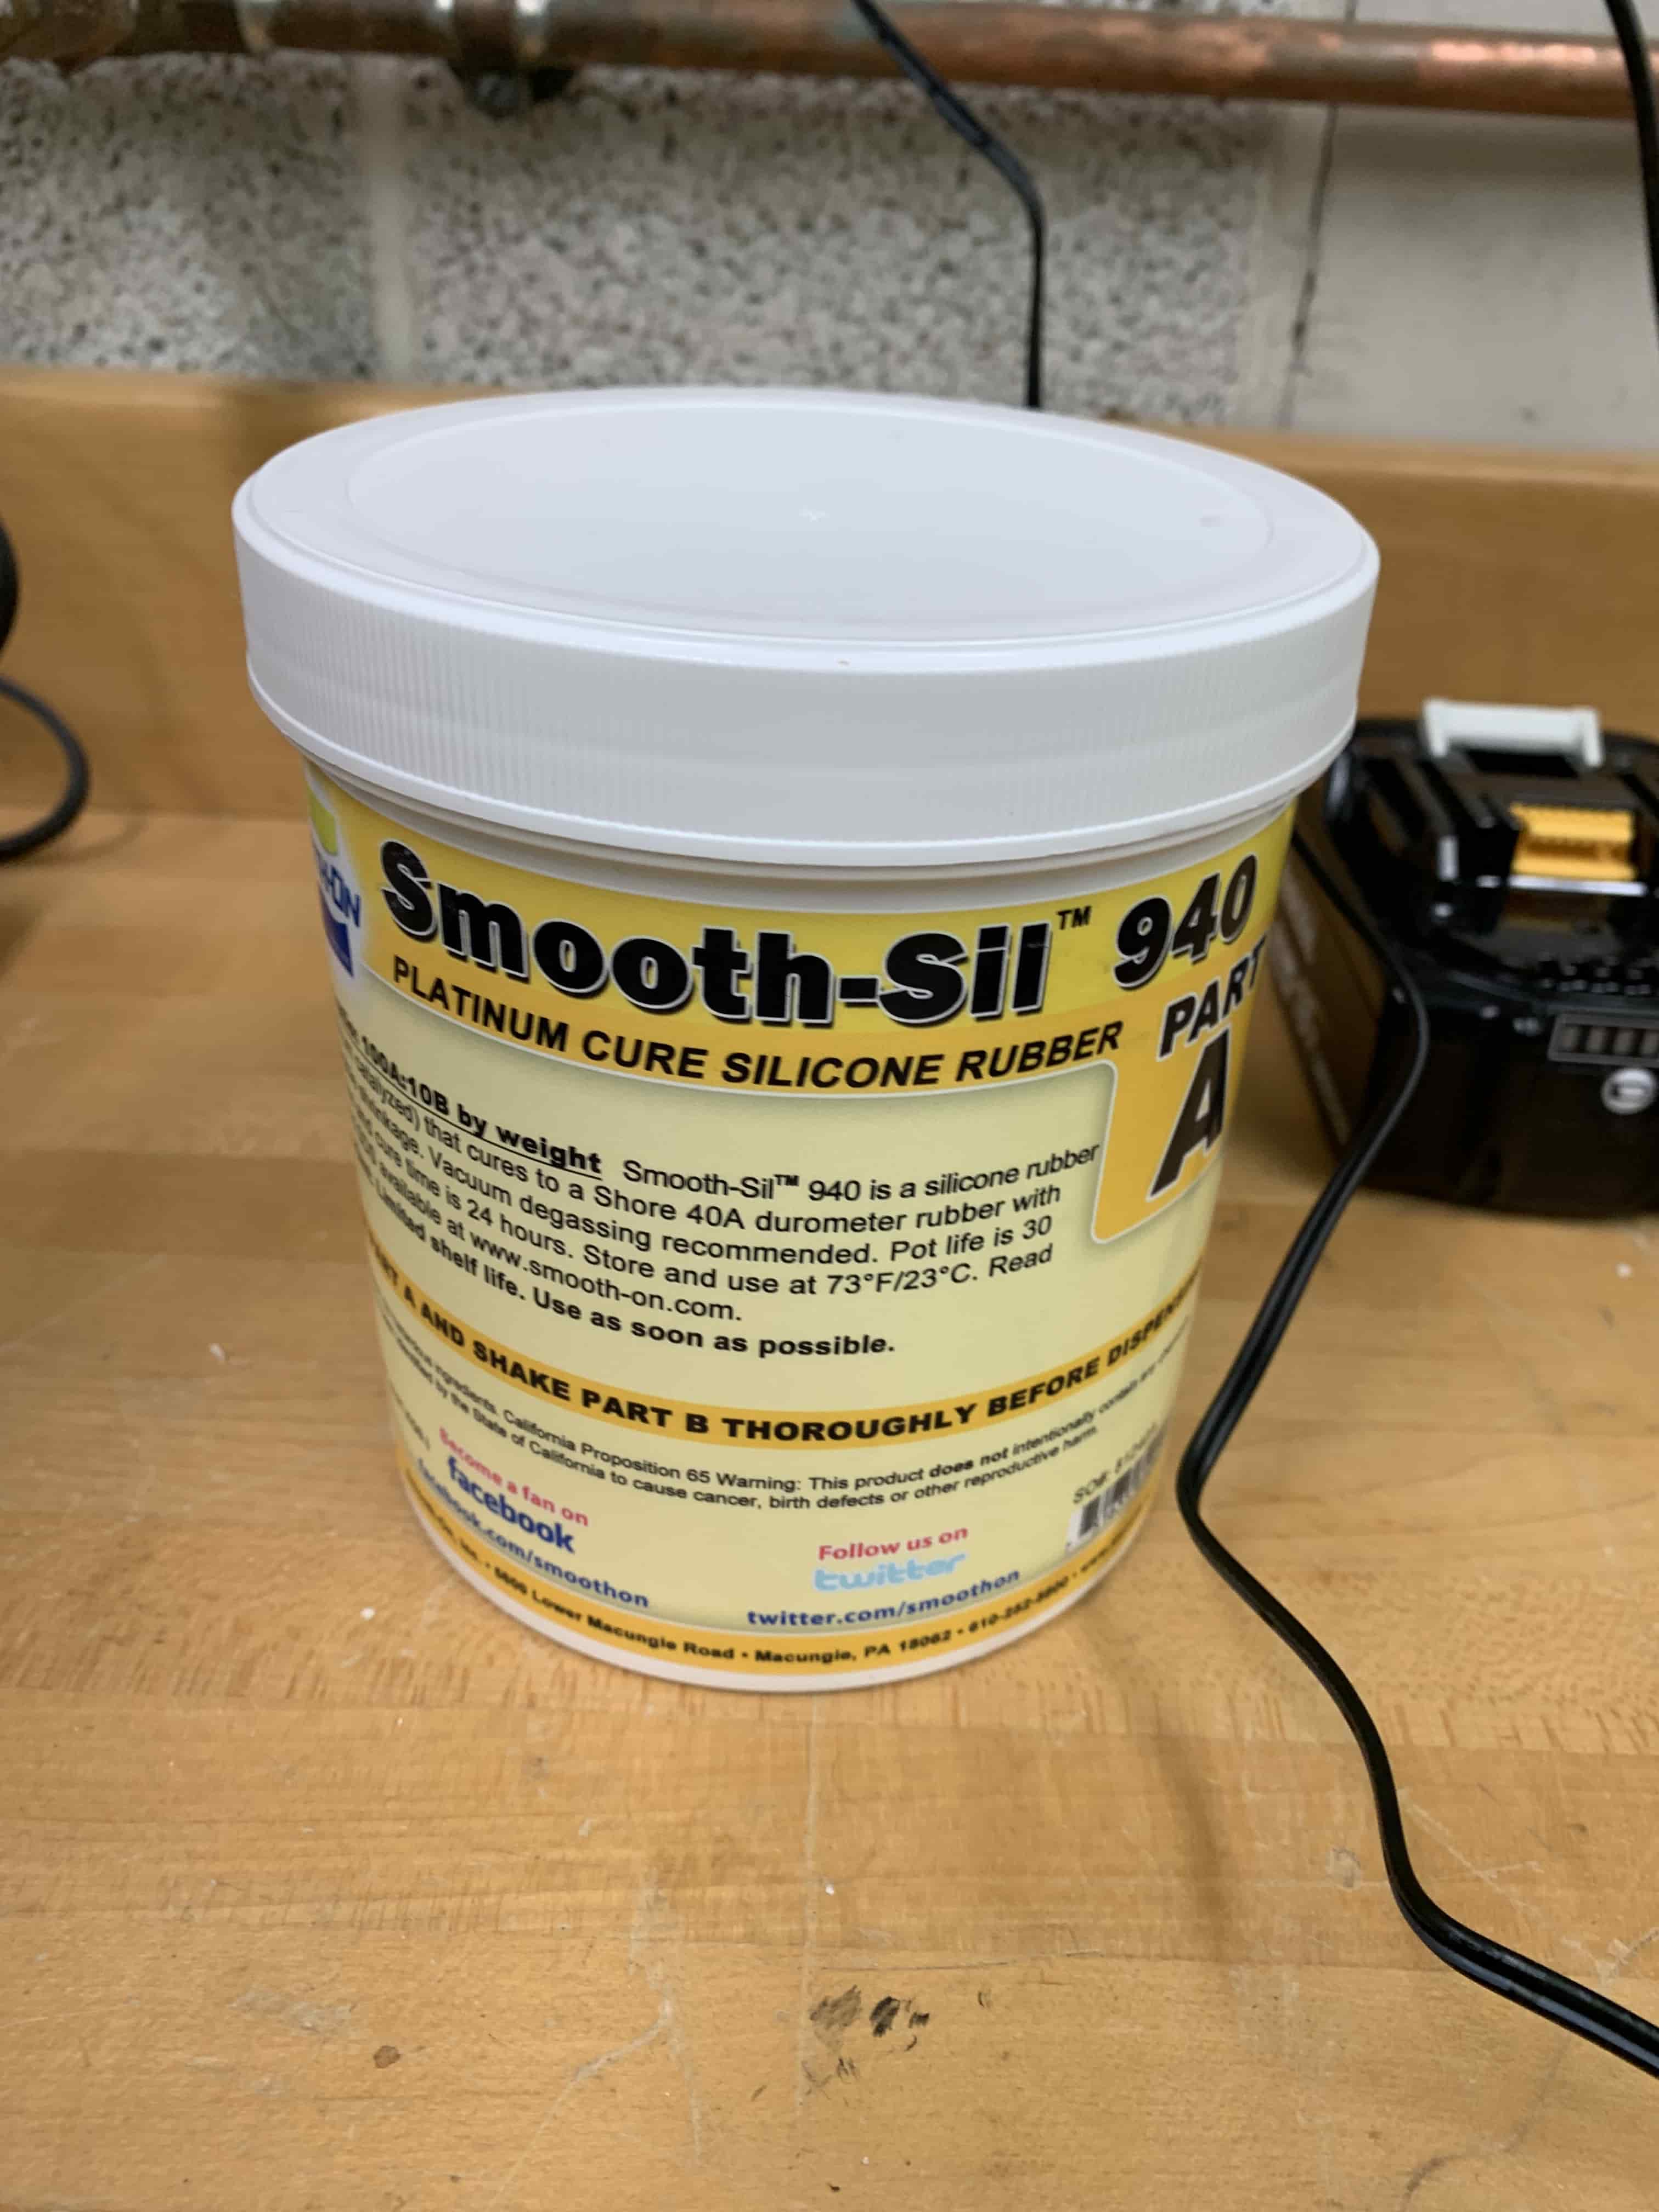
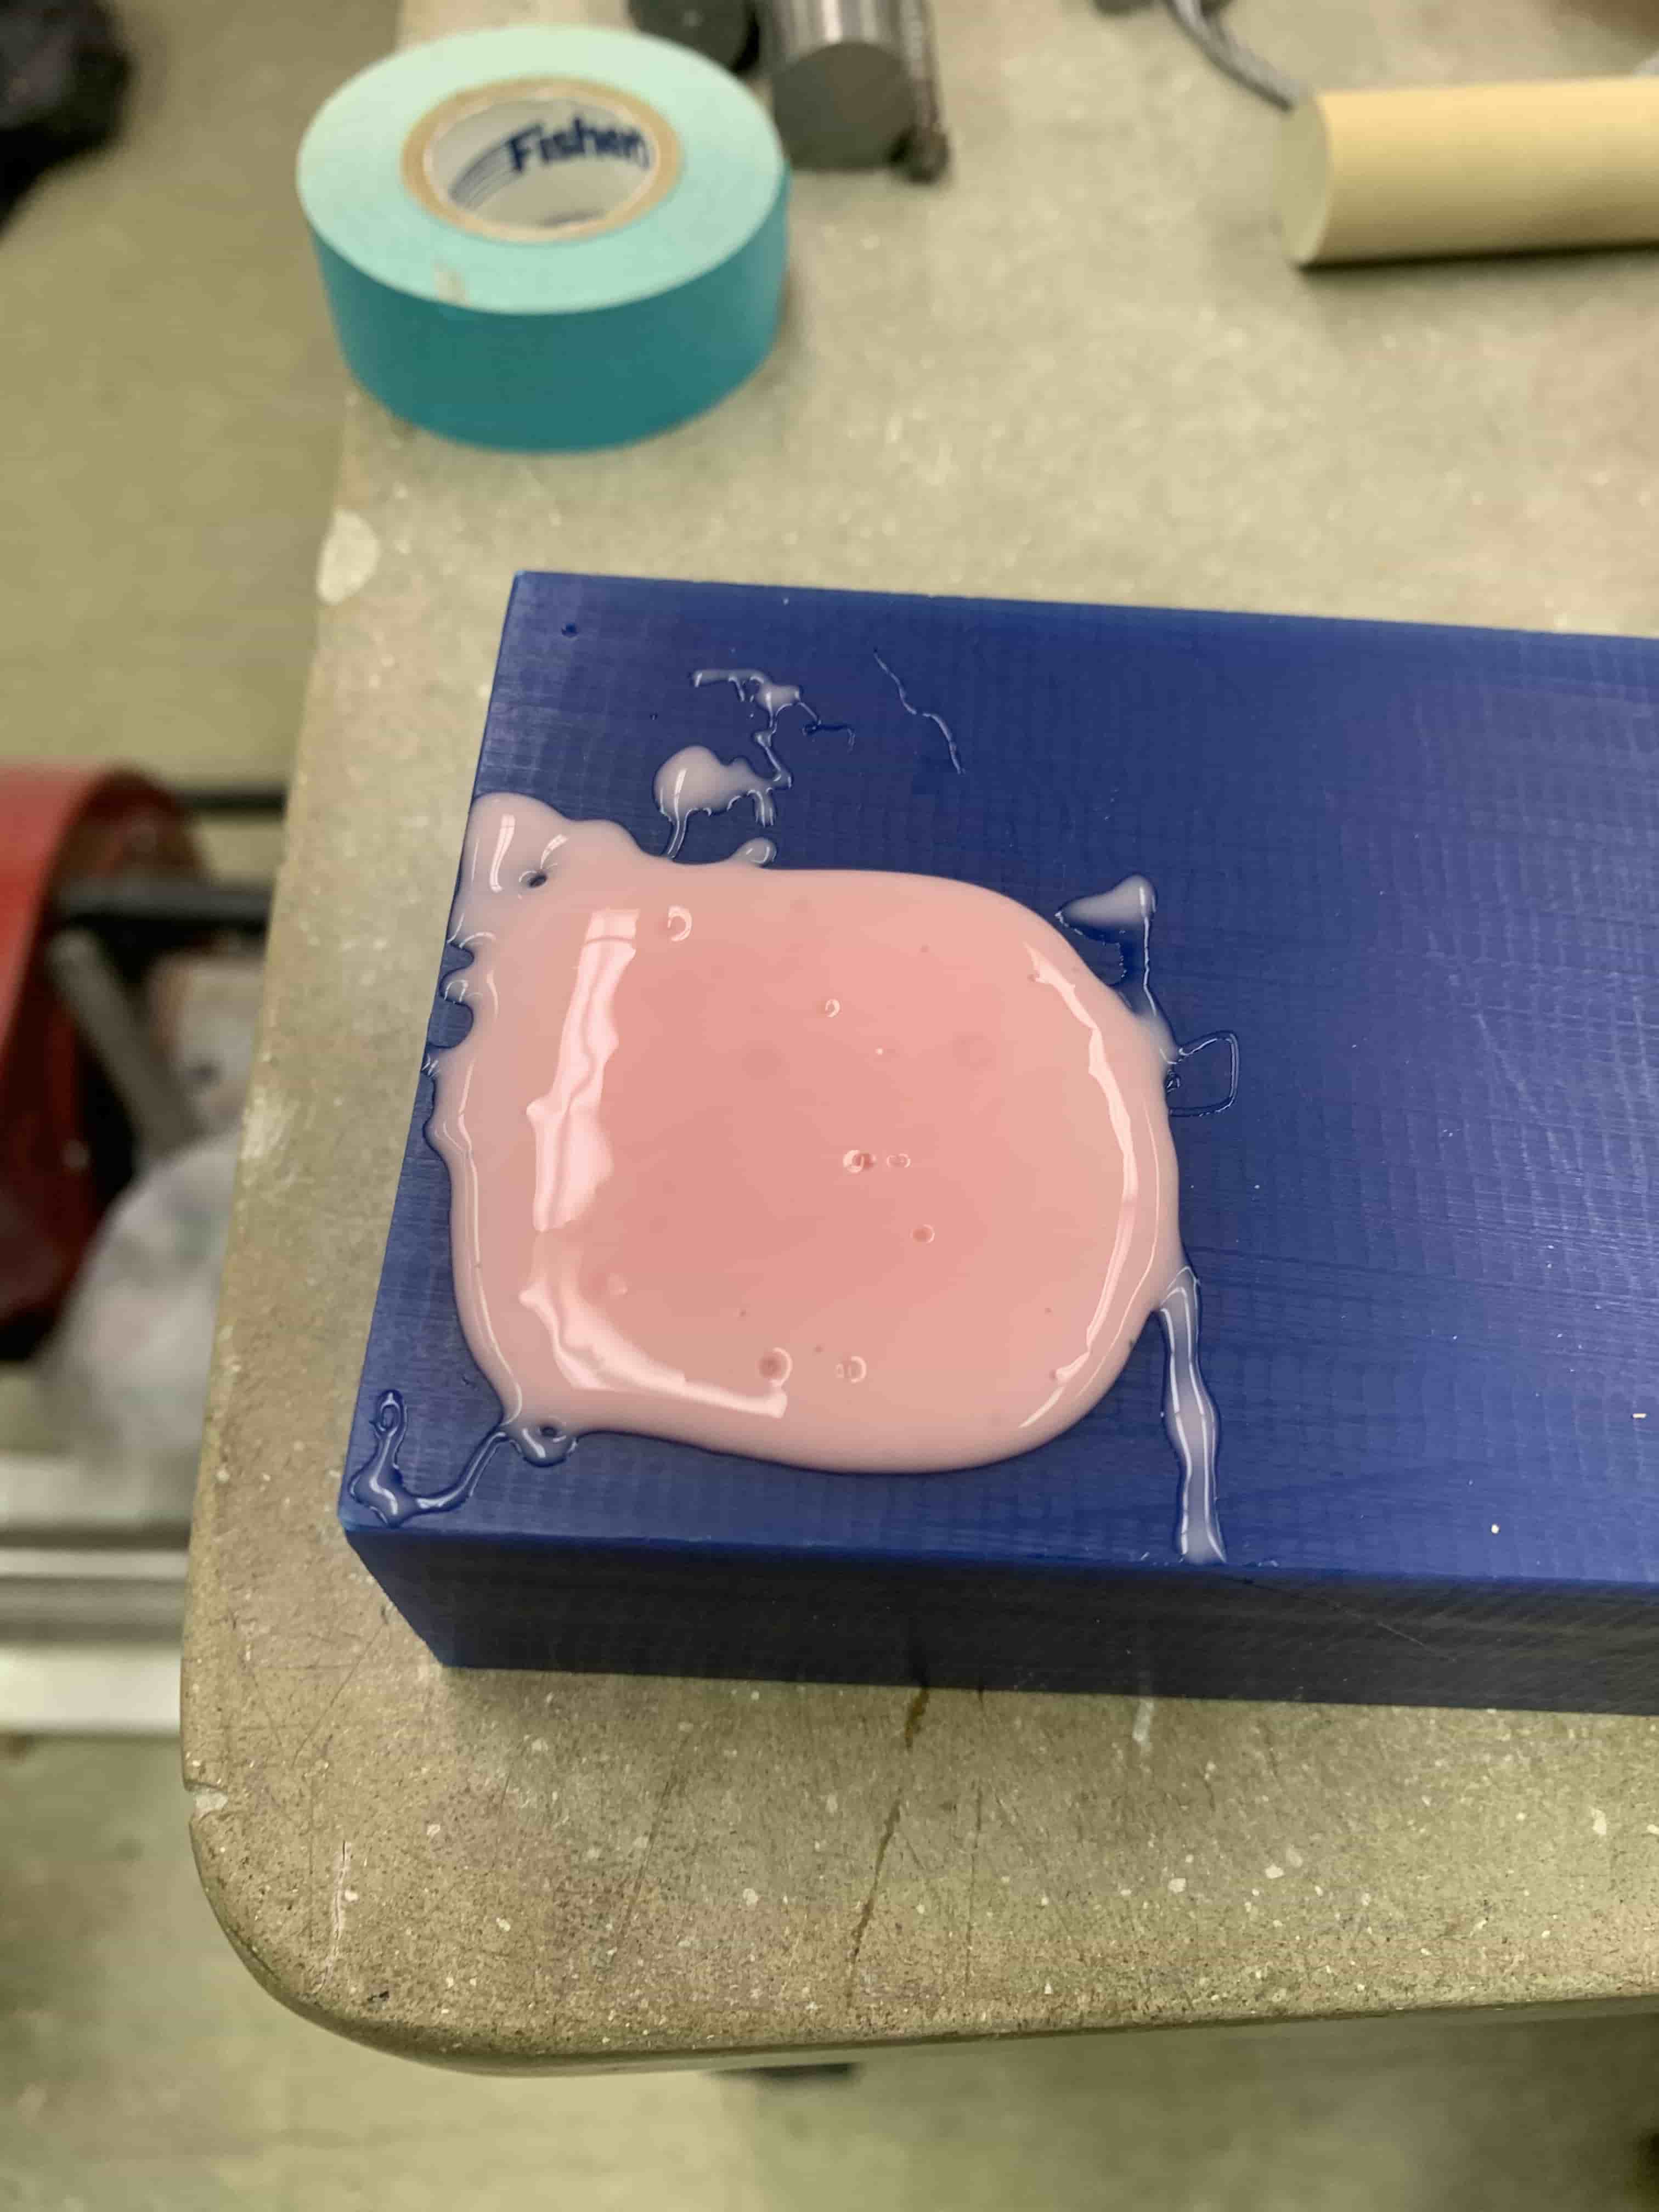
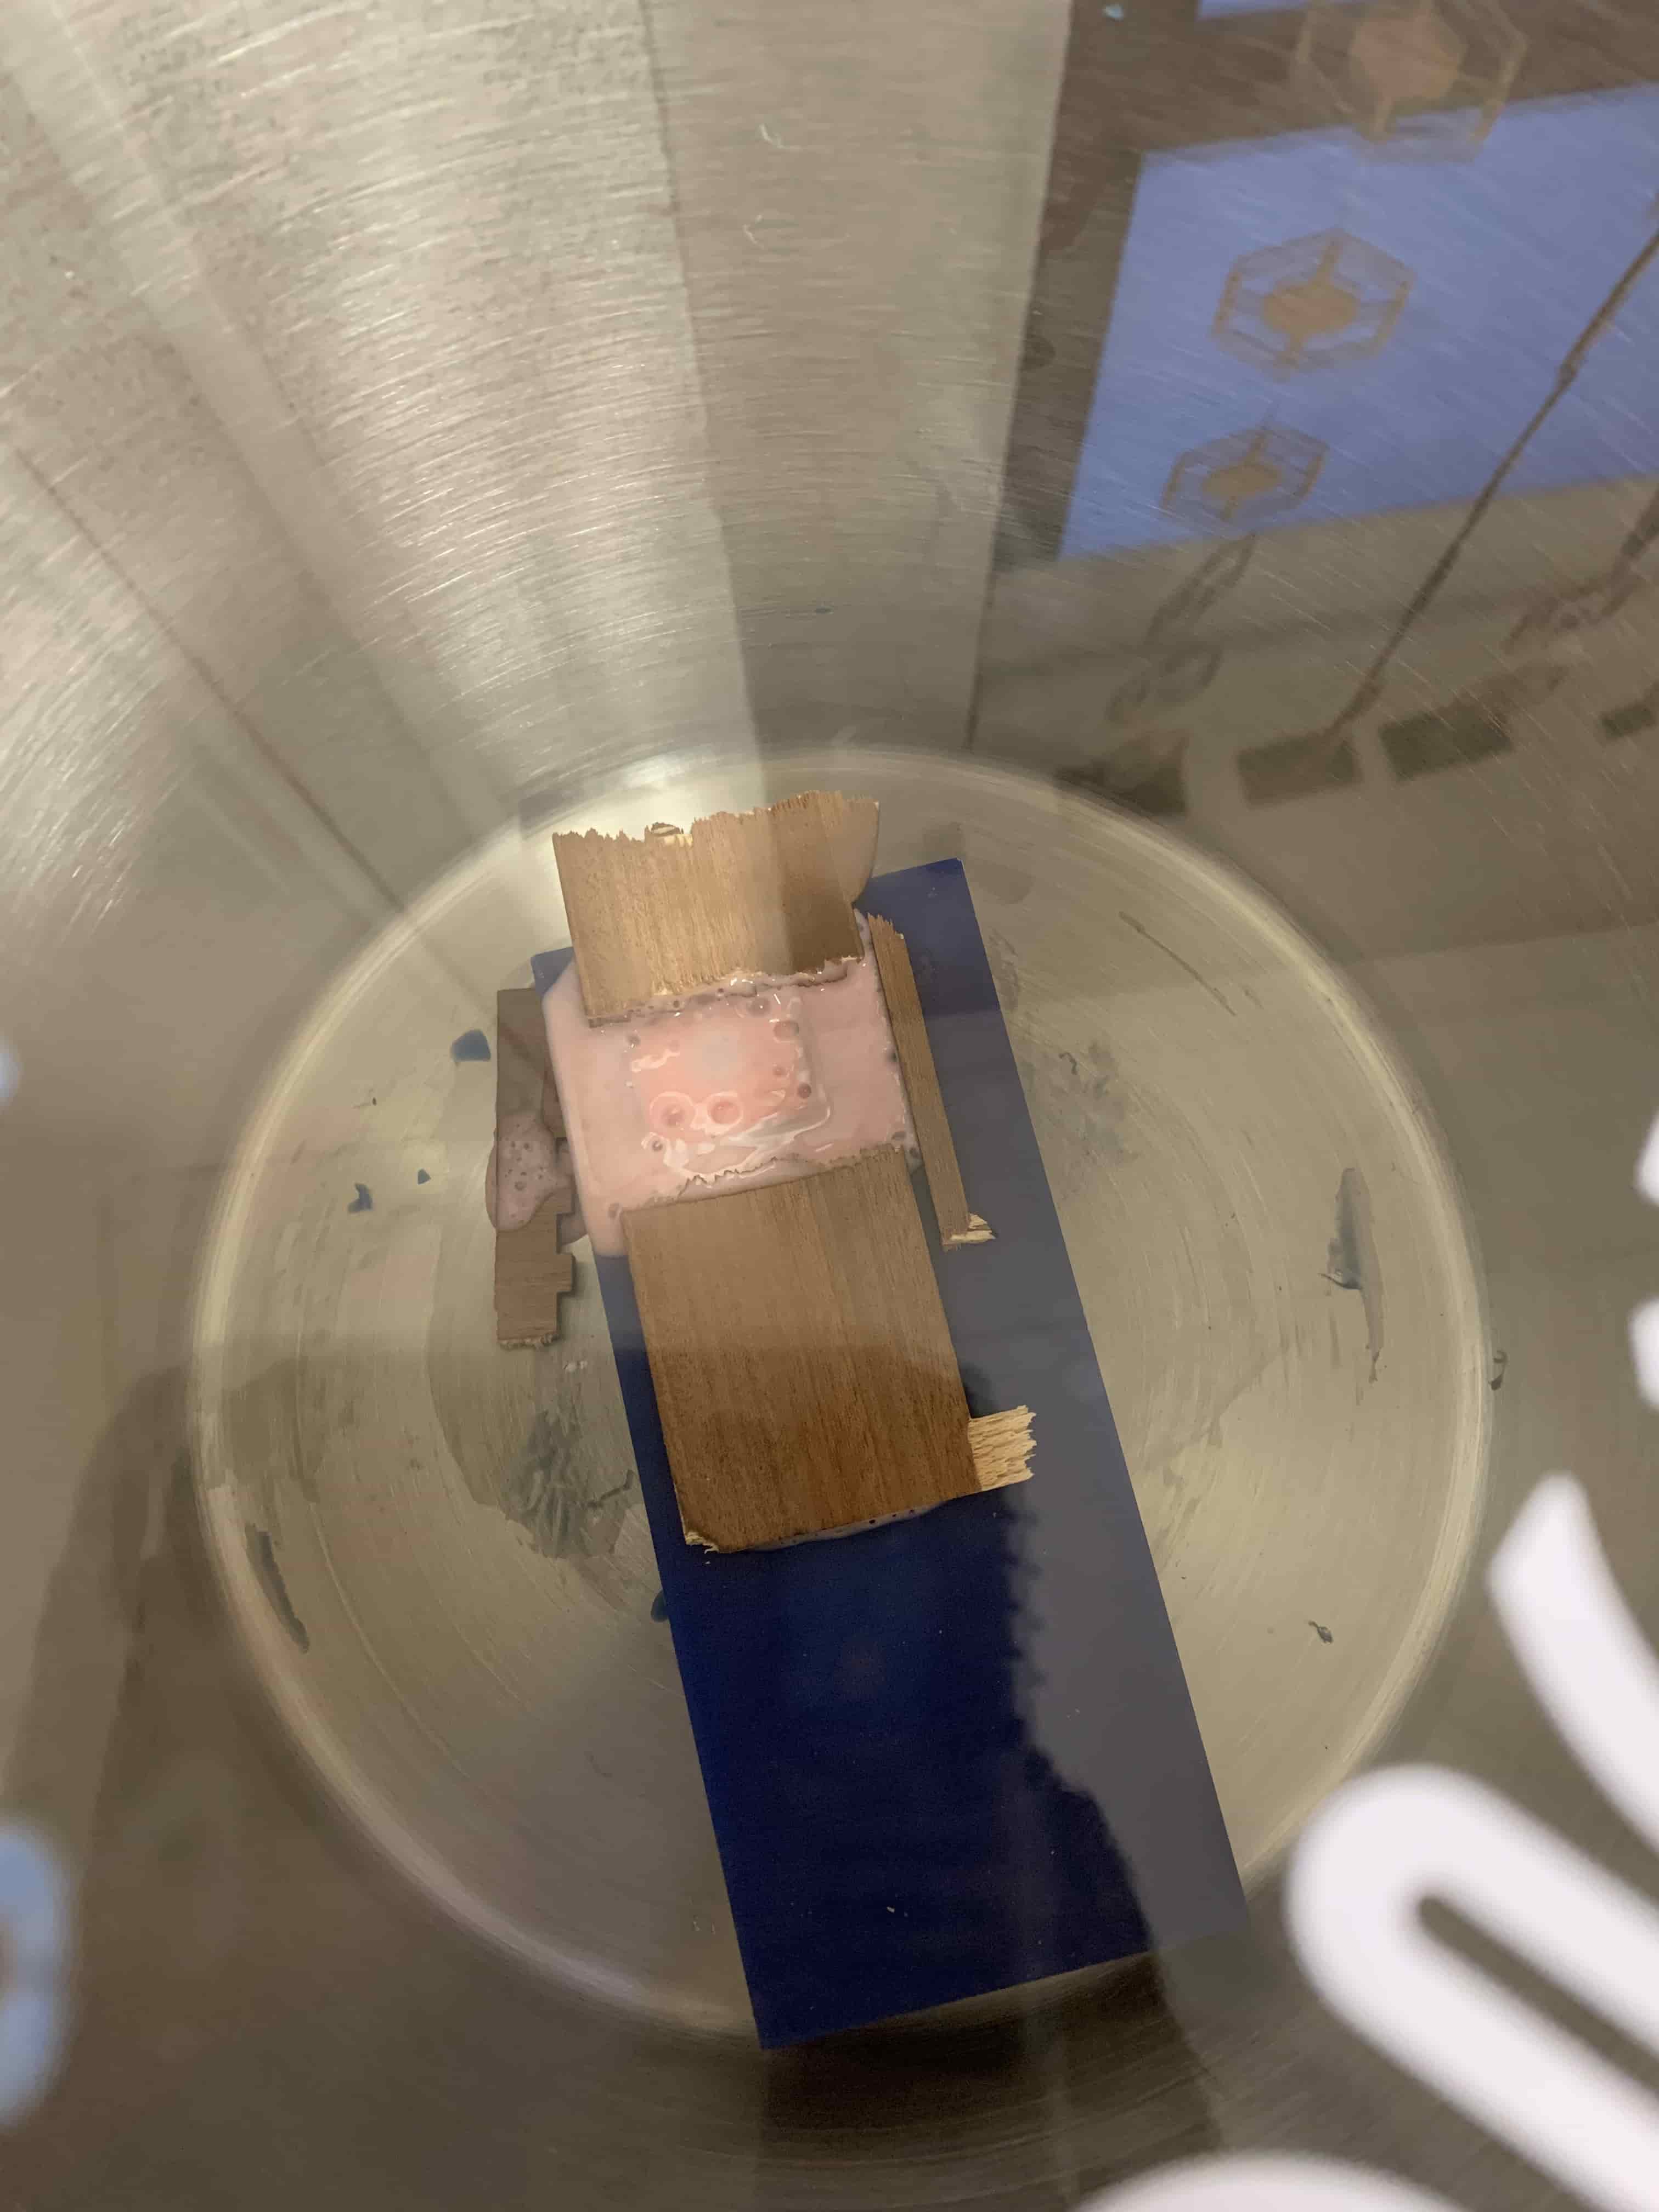
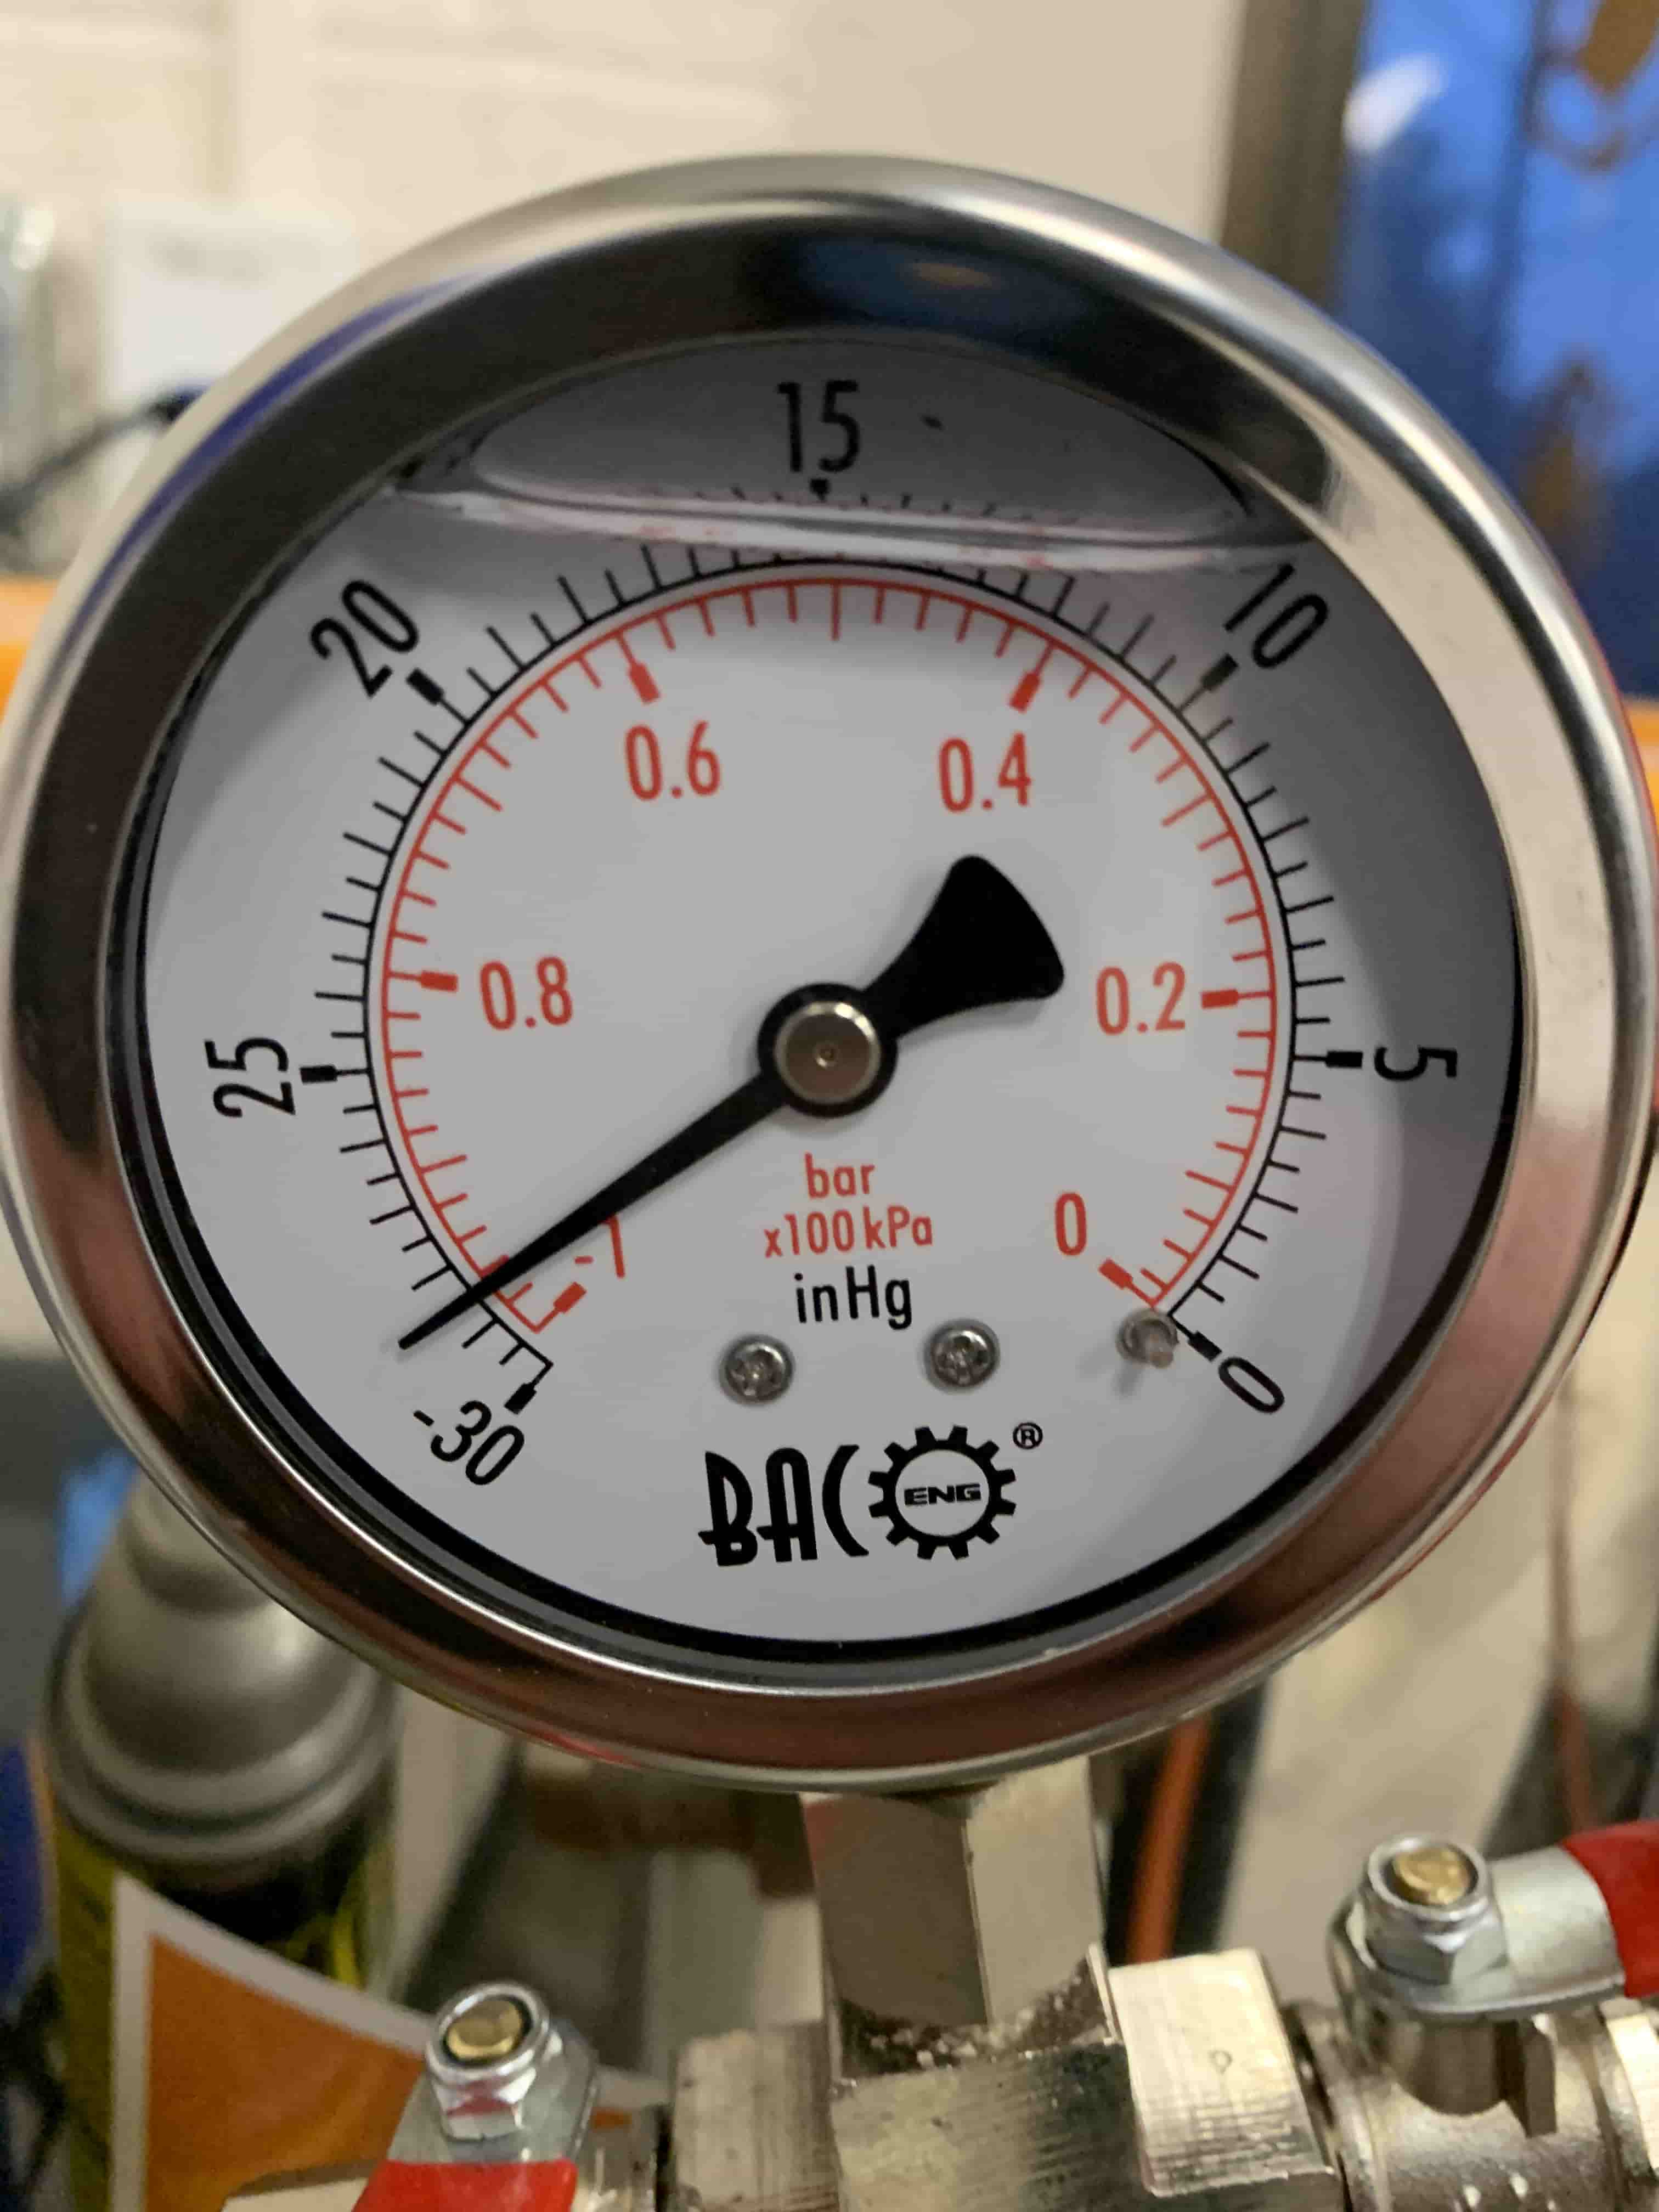
For making my mold I used Smoothsil 940, which has a mixing ratio of 100:10. I chose to use this product because it was food safe when set, and I planed on using my mold as a mold for ice cubes, so the ice cubes wouldn't be very useful if they were poison. Unless that were your goal. I put my mold in our pressure chamber in an attempt to pop bubbles although if I'm being honest I think it was more trouble than it was worth.
Ice Making
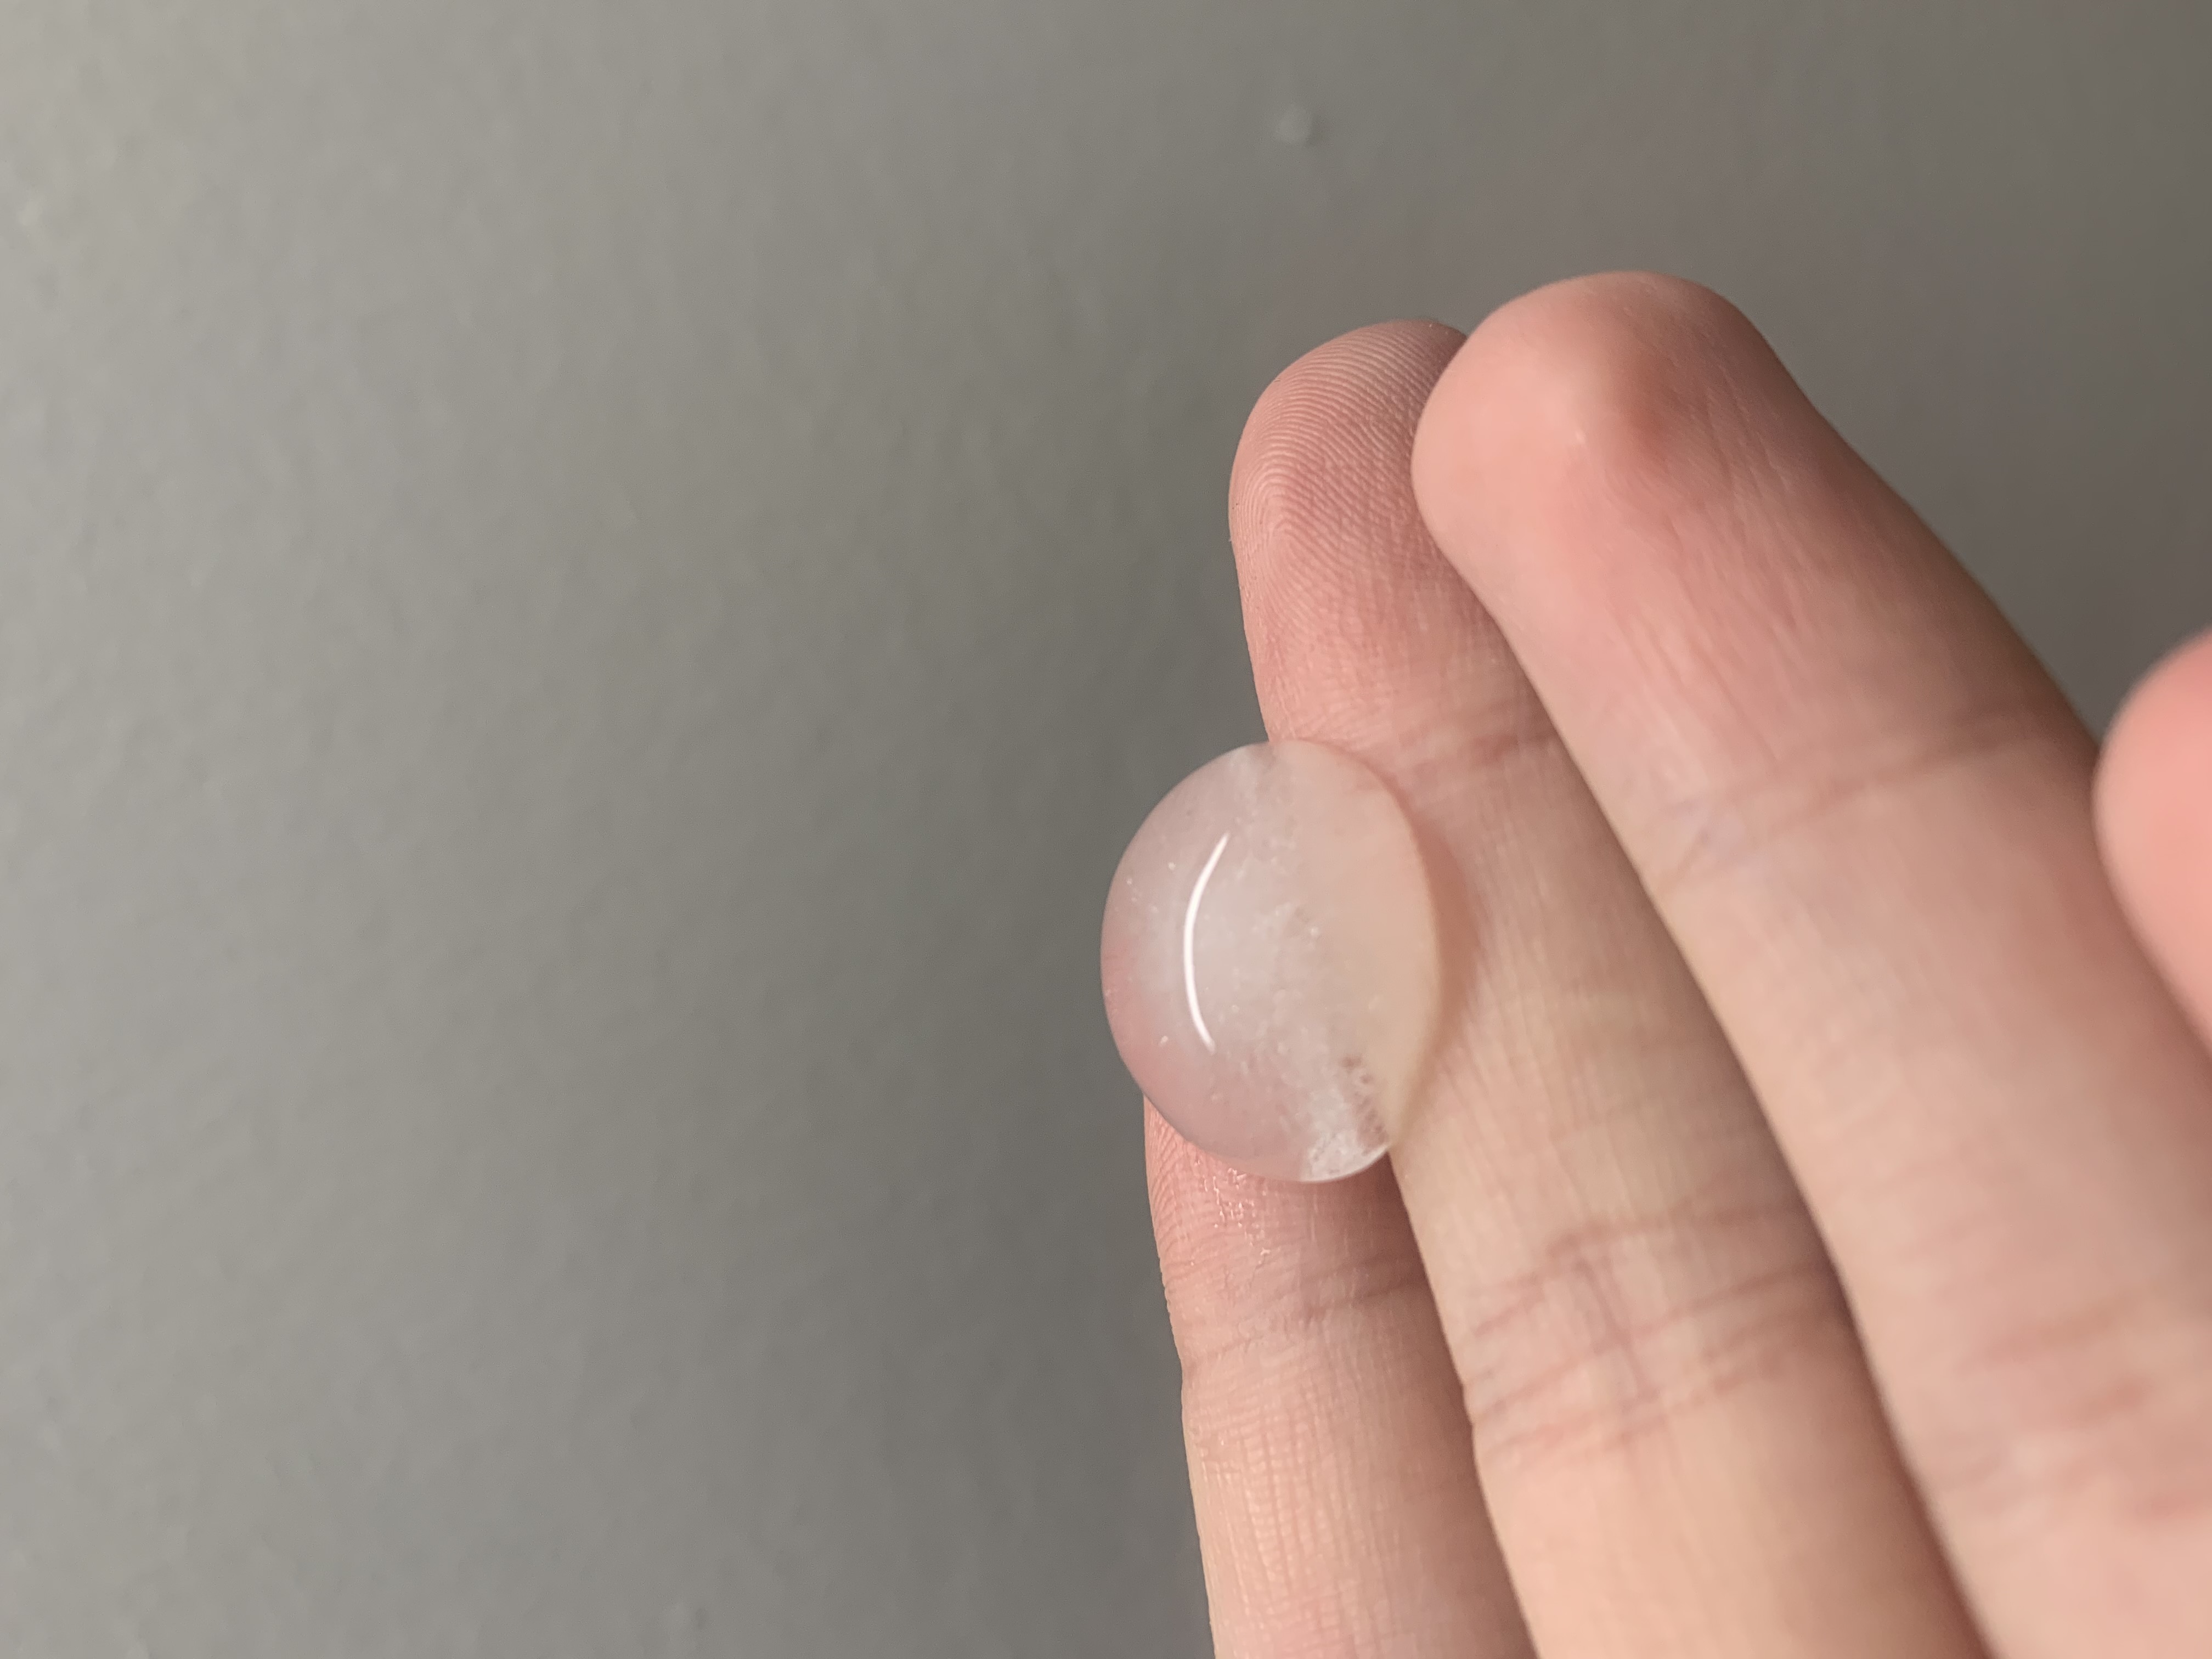
This was done exactly how'd you expect. I took the mold put water in it, and tossed it into my freezer, and unsurprisingly I ended up with ice in the shape of the mold.

