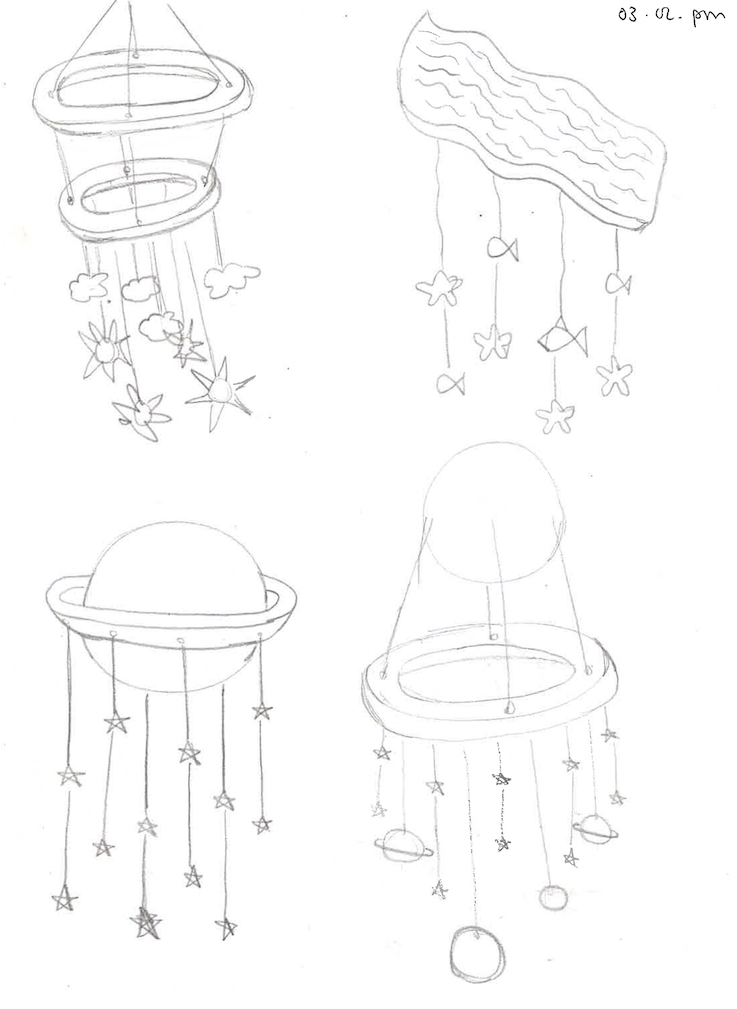
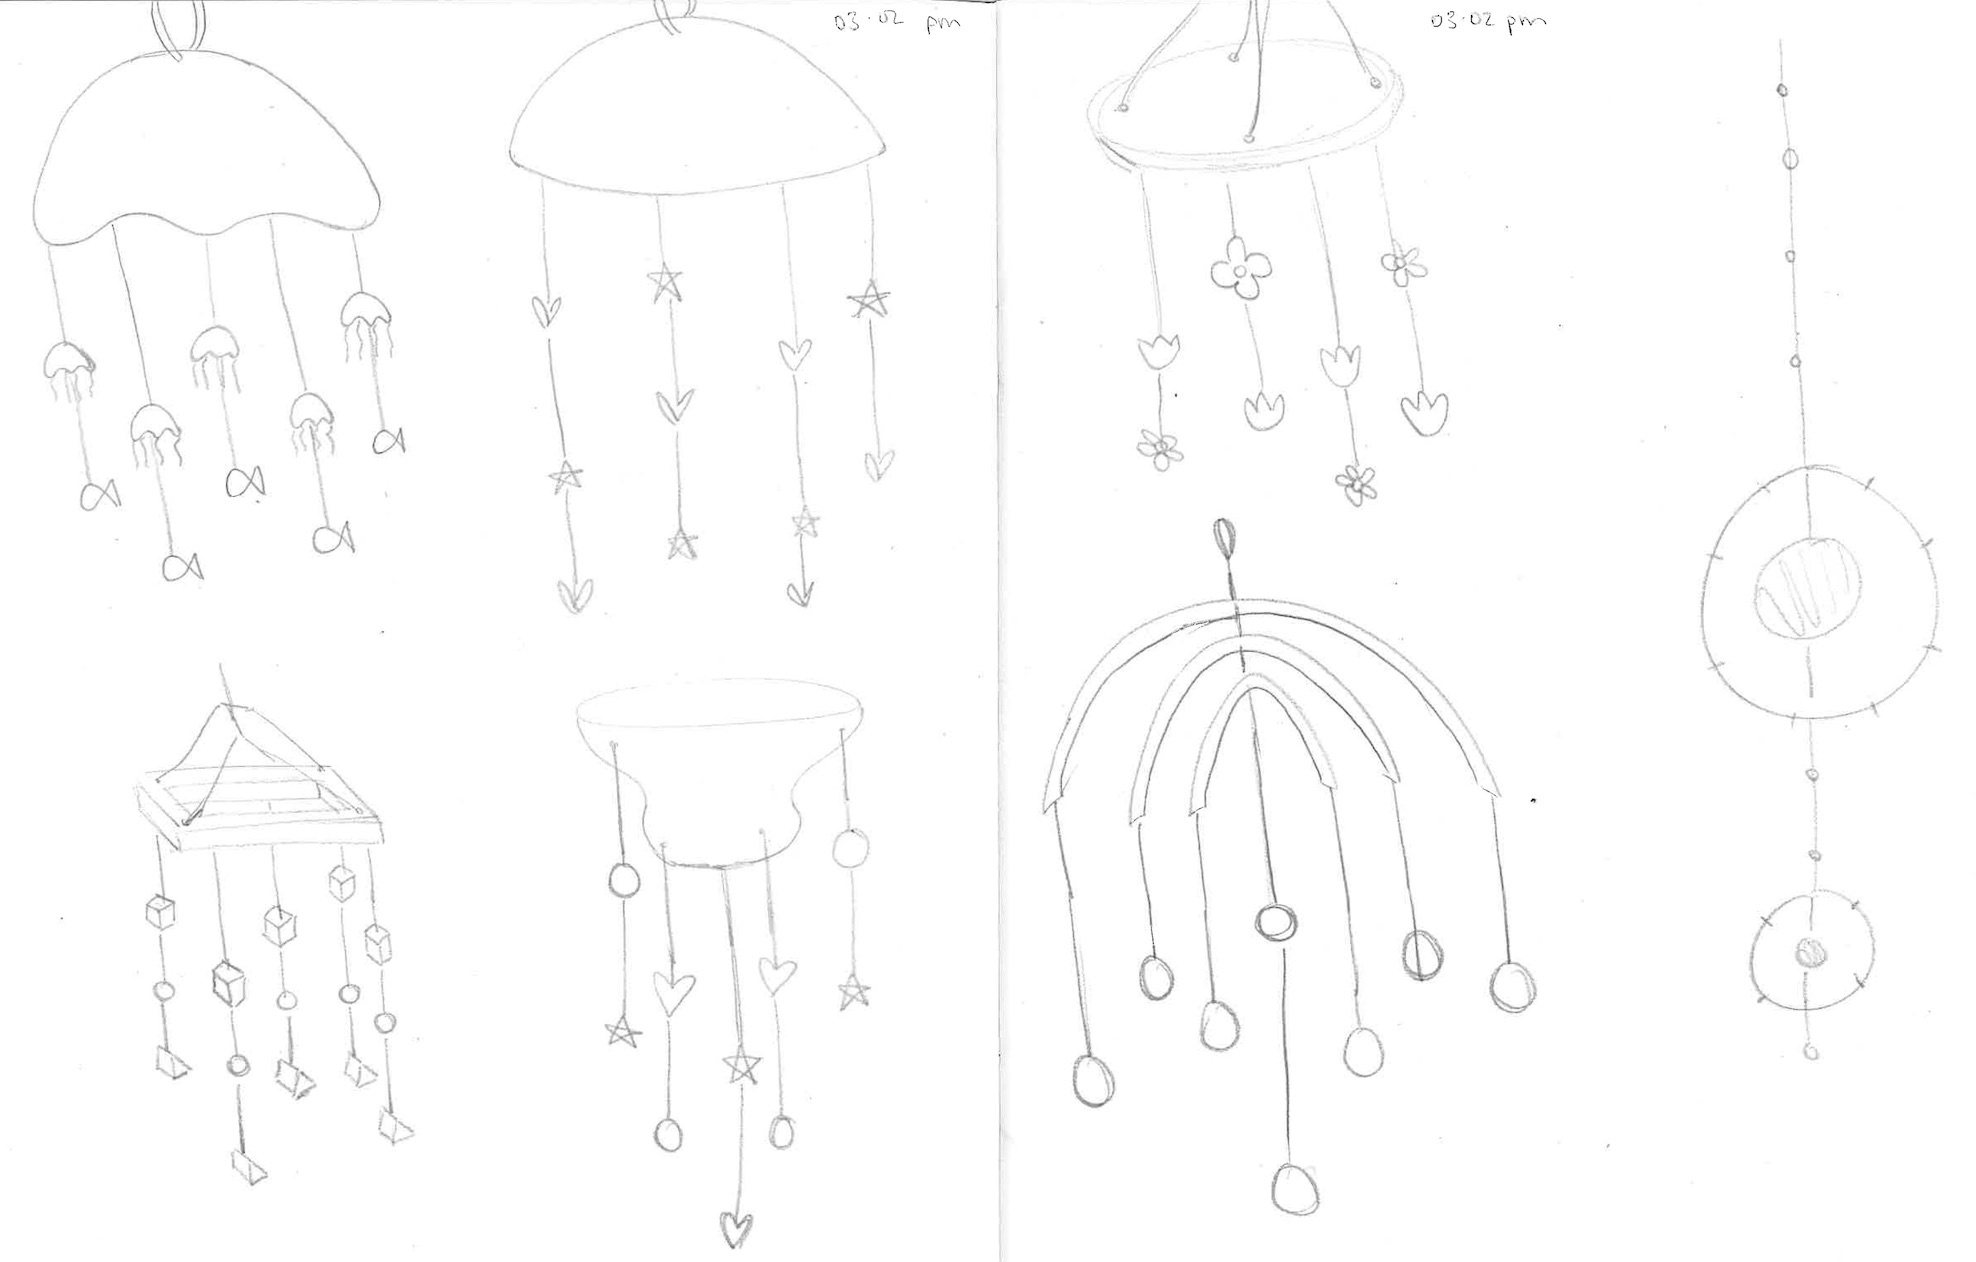
After the meeting on Wednesday with Neil and we knew the assignment coming up I decided to crack on with some very quick drawings. In my opinion I wasn't ready to start designing in CAD straight away, coming from my degree we would always think of ideas and then try out these ideas until we hit a block, we'd then come back to the drawing board and try another route, then when you were happy you'd draw your final piece. Therefore I started by drawing some ideas that I had so I could get an idea of what I was thinking before just jumping straight in.
After I had discussed more areas with Andrew see Version 2 about the issues that I had to consider and what I needed to figure out when it came to input and output. But as all my best ideas come to me in bed as I am about to fall asleep, I desided that the theme of my mobile would be Brighton themed. With getting what I think of when I hear Brighton which is sea gulls, icecream, fish, and clouds.
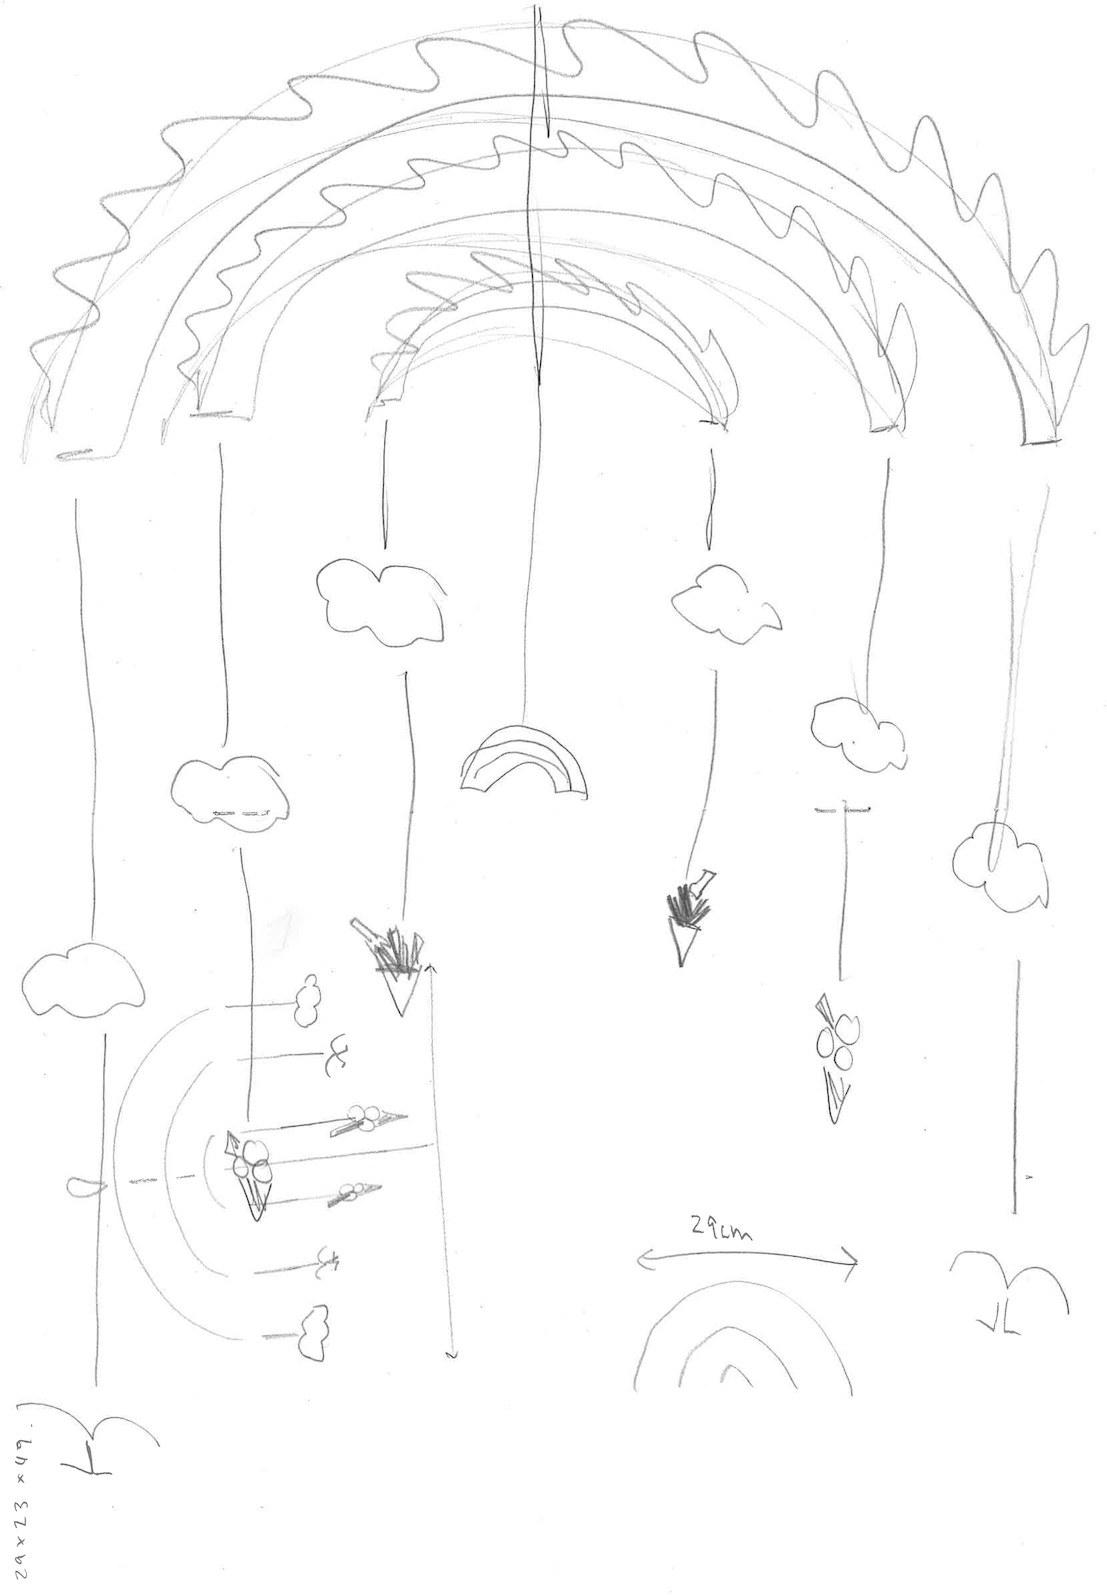
I am not very confident in CAD as I had only really used Fusion 360 in making dice for fun but follow a tutorial. I realised I would have to adapt my brain so that it could work in the CAD way, if that makes sense. I started by sketching out my design by hand so that I could understand the scale of my piece. This really did hlep me understand how it was going to look at the end, as you can tell my scale drawing was just for me haha.
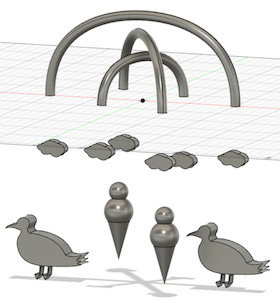
In CAD I started making the arches of the mobile which is what all the fun object will attach to. I then couldn't get to grips with figuring out to move the arches so they are round, I looked up a tutorial on conic curves and how they work and what to do. I also looked at a tutoiral on spline fit point and control point which really helped me as well all links will be added at the bottom of this page.
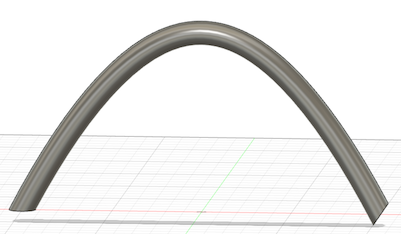
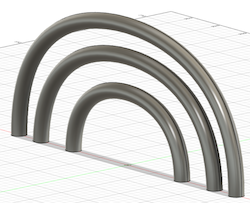
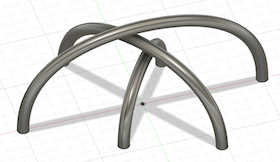
I then proceded to make the smaller arches that I would need for the mobile, once I had got the hang of it I was in a flow. I then moved the bodies so they were in different directions. This made me very pleased as it was finally starting to look like something (to me at least).
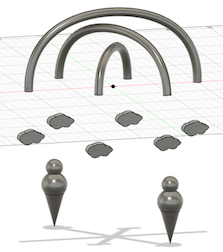
I then freehanded the clouds, extruded them, moved and copied them at the same time (see image), I was starting to feel rather confident in my ability with the sketchtool, choosing the correct face which I found very hard at the beginning but understanding more to just move around the document to get your barings. Also the move and copy tool was becoming the most useful so far!

Next up was the icecream, I started with a cone and then realised that it wasn't going to work and just looking it up and seeing what others has done was the best idea. I followed a tutorial of someone drawing the cone and then two balls in a 2D sketch then cutting it in half. They then used the 'revolve' tool to make the item 3D, this was very satisfying to watch. I then moved and copied the body to the coffect position under its arch base. Once the icecream was done I was worried that I had got the scale slightly off so I used the inspect tool and measured the largest arch because I knew I wanted that to be 290mm. It was so then I checked the clouds, these were a little small so I made them larger by using the 'scale' tool.
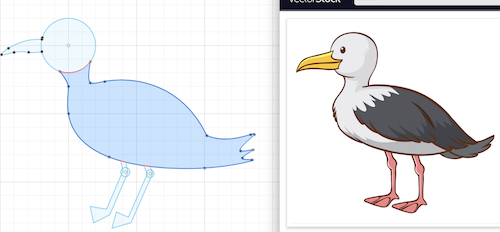
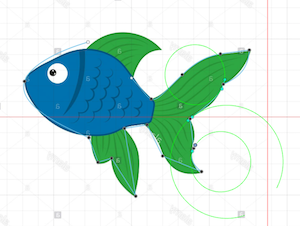
When it came to designing the bird and the first I first started off my looking up videos of house other people have done it but from trying to cpoy their work I realised my skills weren't quite ready. So what I did was get a 2D image of the fish or bird and traced it with the 'fit point spline' tool. This allowed me to get the curves of the sketch very well and then I made sure any lines that shouldn't be there were 'trimmed' out before extruding the sketches.
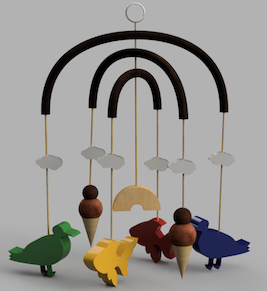
I then copied and pasted the 3D bodies, I then made sure they were all lined up correctly. Just by looking at the design without any 'strings' attaching the parts you can't quite tell what it is but I think by adding the attchments this made a big difference. I also realised I didn't have any piece that came throught the middle of the mobile so I added a rainbown in the centre and made a loop at the top. This was my very first CAD deisgn I've thought of from start to finish and I had completed it without throwing my laptop across the room so I am a very happy human!!


Once I had done the final piece I then rendered my mobile on Fusion 360. This was a very easy task and I found it very fun to play around with that the overal design could look like.
Over the next few weeks I ended up trying out different 2D and 3D software such as inkscape, illustator, photoshop, fusion 360, blender and previously before this I had tried out Rhino and sketchup.
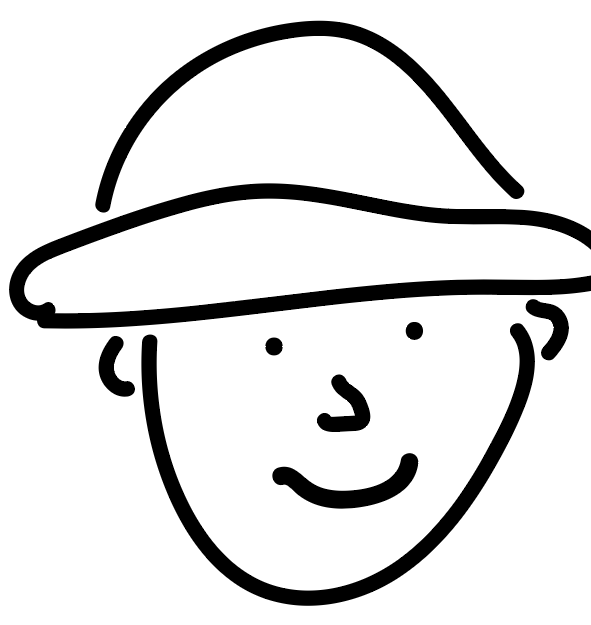
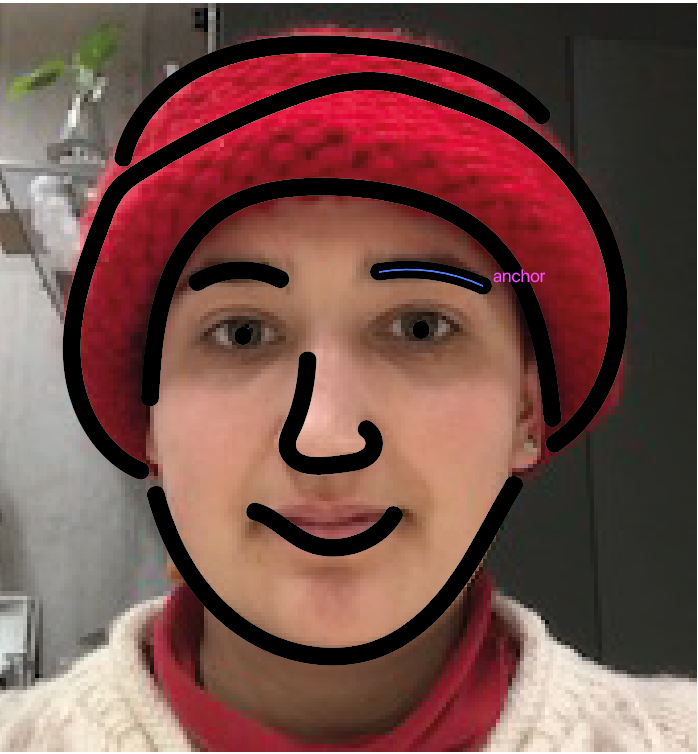
In week 3 I made a tshirt on the vinly cutter and used illitractor to trace around my face to use as an outline in the final print. As shown in the photos:
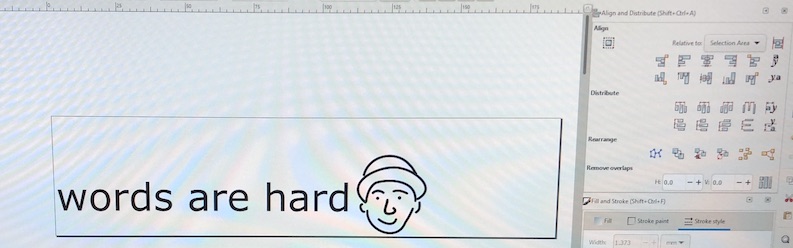
In week 3 I made a tshirt with the vinyl cutter, here is how I used inkscape to design my image and words together.
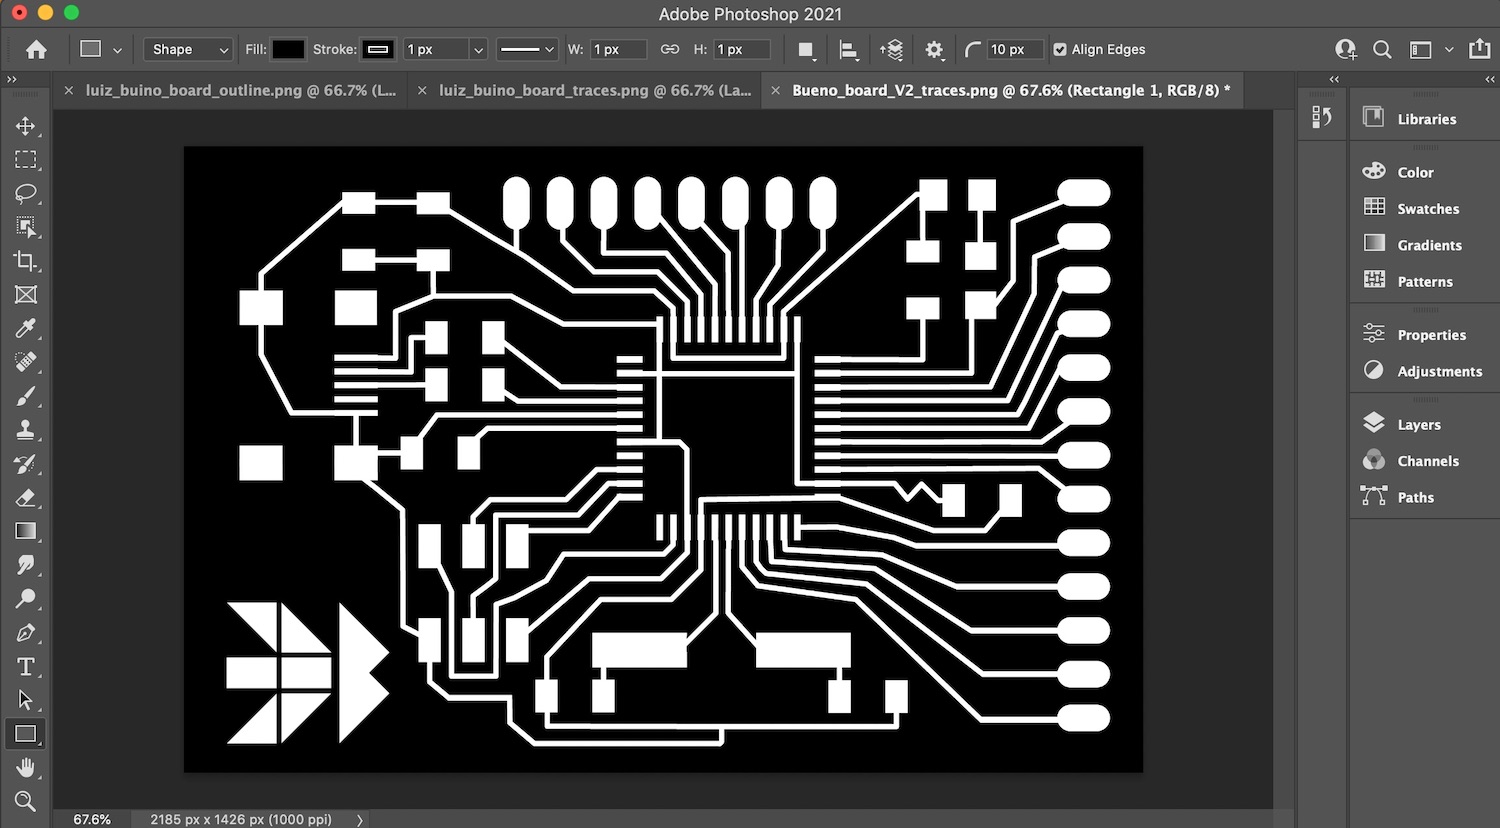
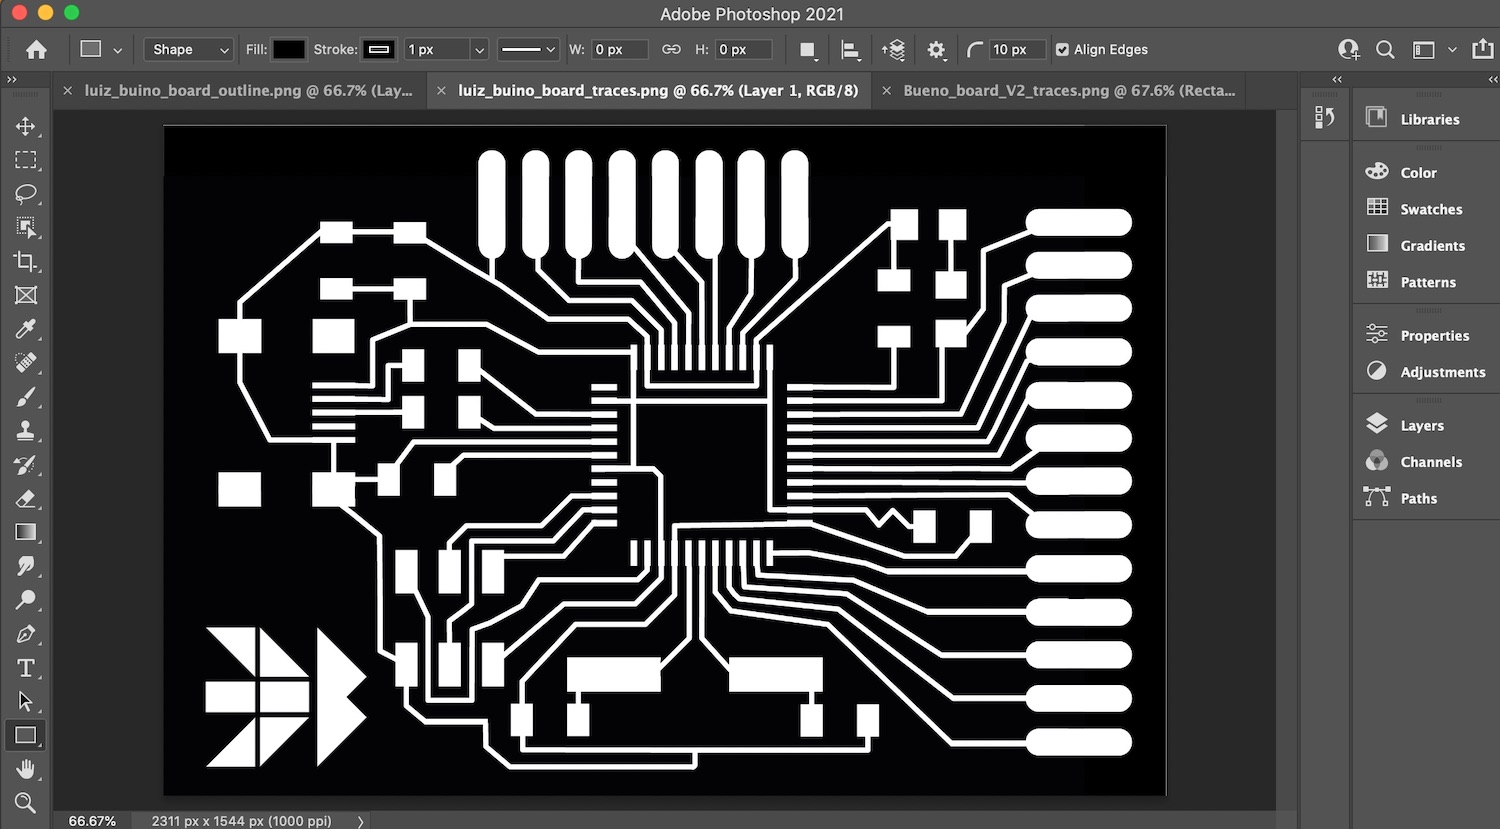
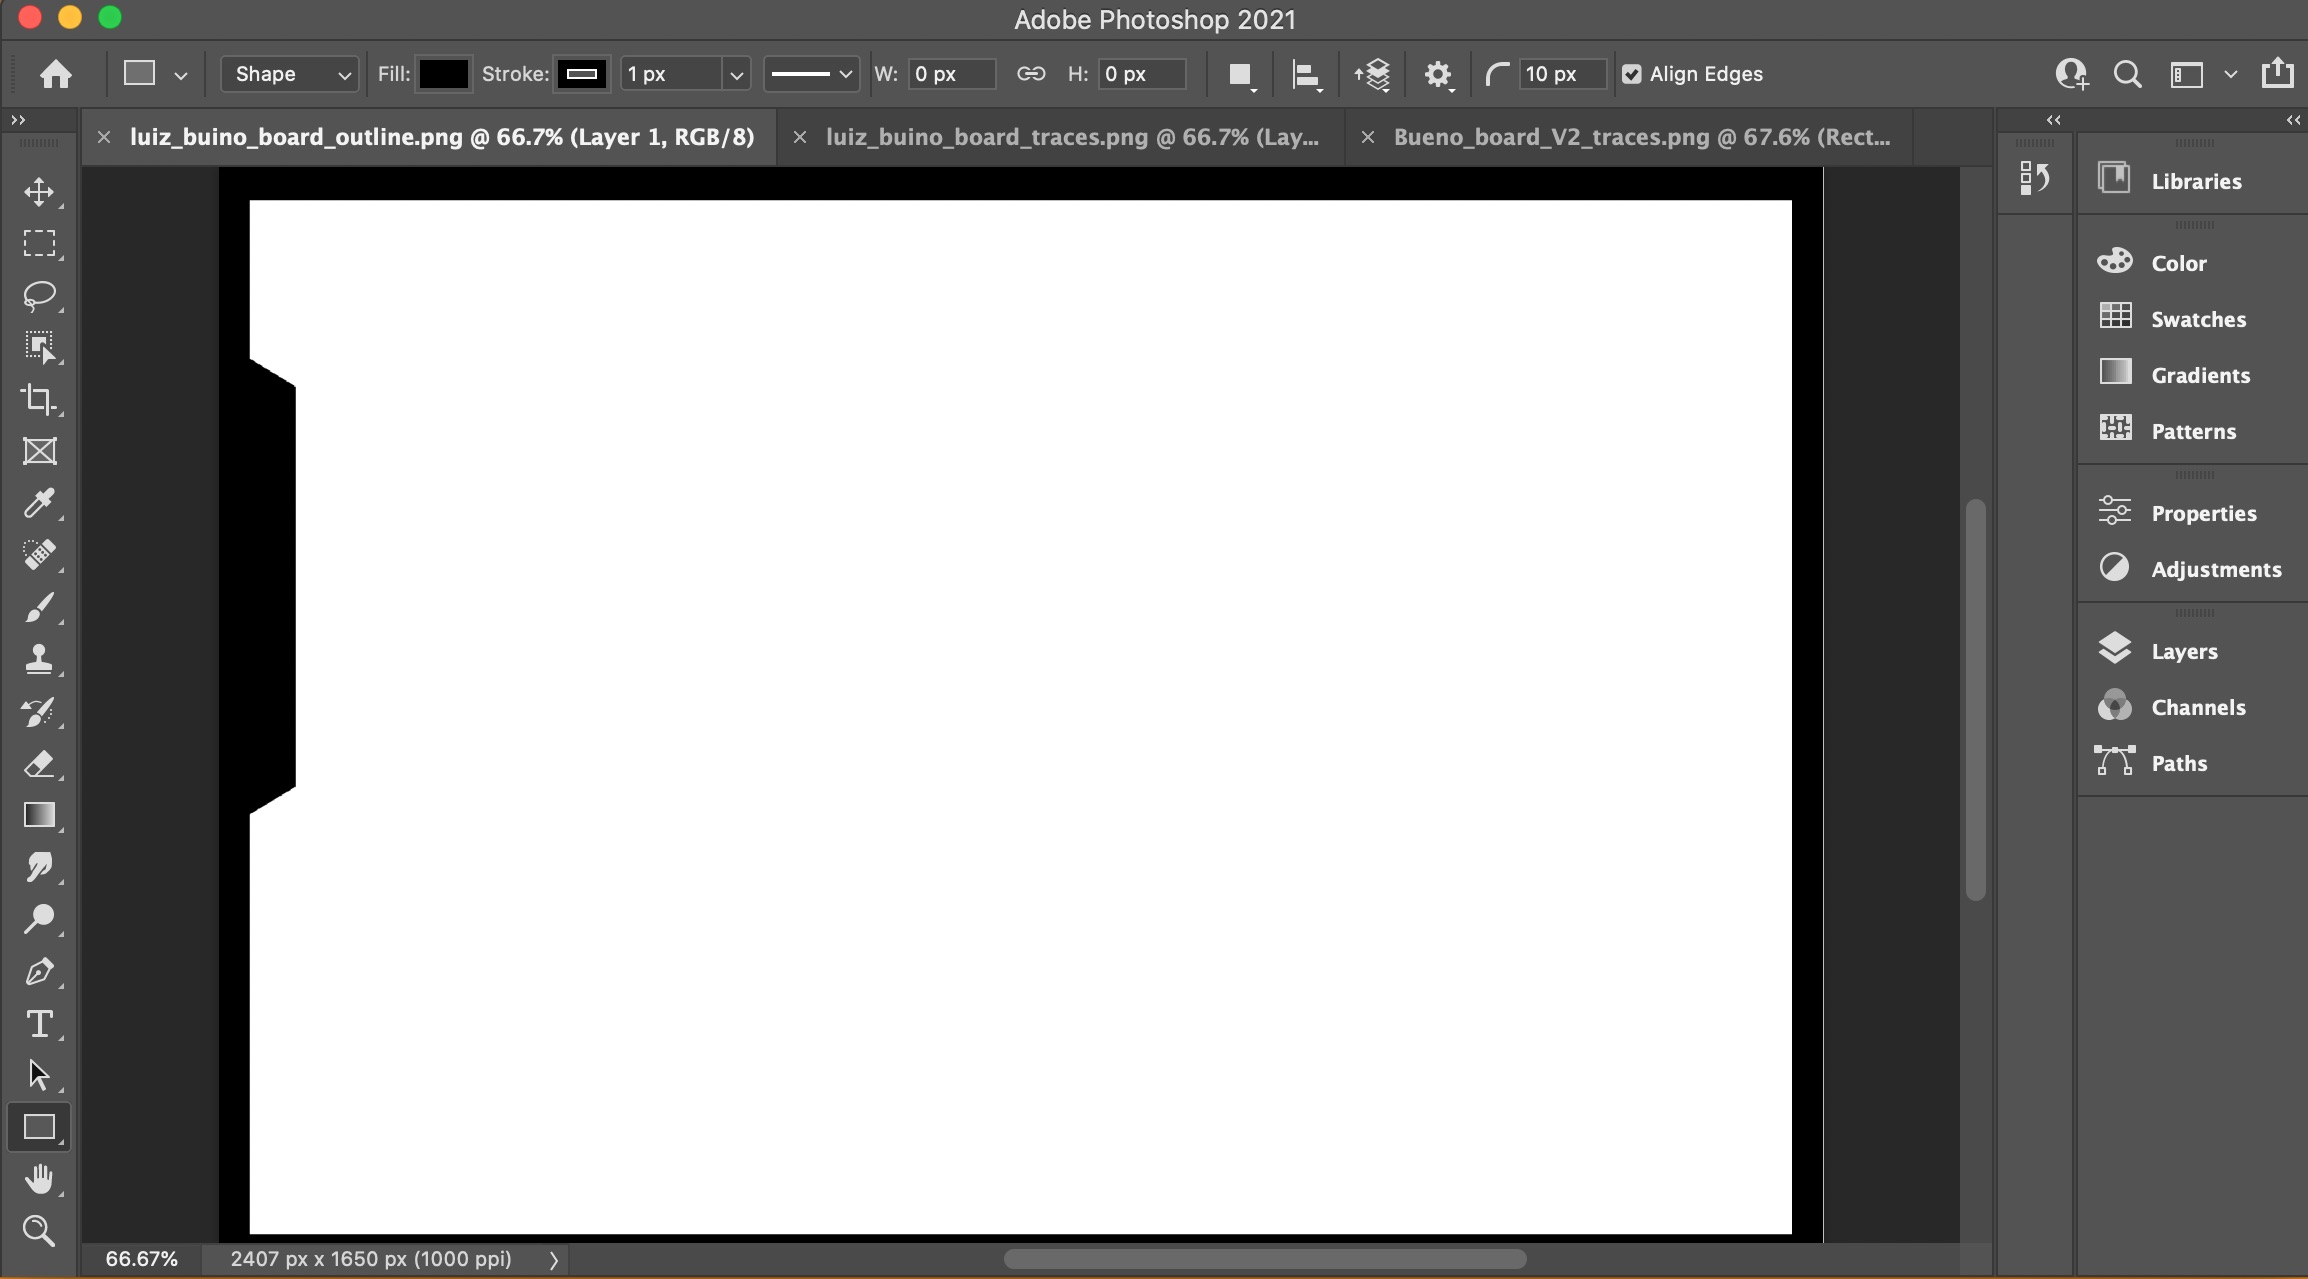
During week 14 I had to adapt Luiz's bueno board traces in photoshop as the footprint of the through whole female header as I didn't think it was needed for me. So I changed then to the surface-mount 13 and 8 pin male headers. This worked very well as explained in week 14 you can layer up on the outline and the traces so that when altering the board you can makesure everything still lines up with both parts.
Unlike last week I had dabbled in computer aided design, but had never done anything to thus scale. The overal experience was great and I can't wait to get to a point where I can just draw start into fusion 360 and not have to over think about the outcome and if it is going to work.
I did try to do margins this week as having the whole page covered was starting to bug me. I ended up watching many videos, looking at other peoples website to see what they do and also using w3schools which great but I still couldn't quite figure it out. I then decided to just try something which I had seen on other webistes and then that worked, but I had tried so many things before this and I'm still rather confused but I am going to Andrew about CSS and see if I get a tutorial by him about it.
I didn't have enough time to do any 2D CAD but if you check out Week Three I go thought me learing illustator to make a sticker to then screen print into a tshirt.
