4 - Embedded Programming
This week the following activities were carried out
Group Assignment:Browse through the datasheet for your microcontroller. Compare the performance and development workflows for other architectures. Document your work to the group work page. Reflect on your individual page what you learned. Individual Assignments:Write a program for a microcontroller development board to interact (with local input &/or output devices) and communicate (with remote wired or wireless devices).
PCB production process
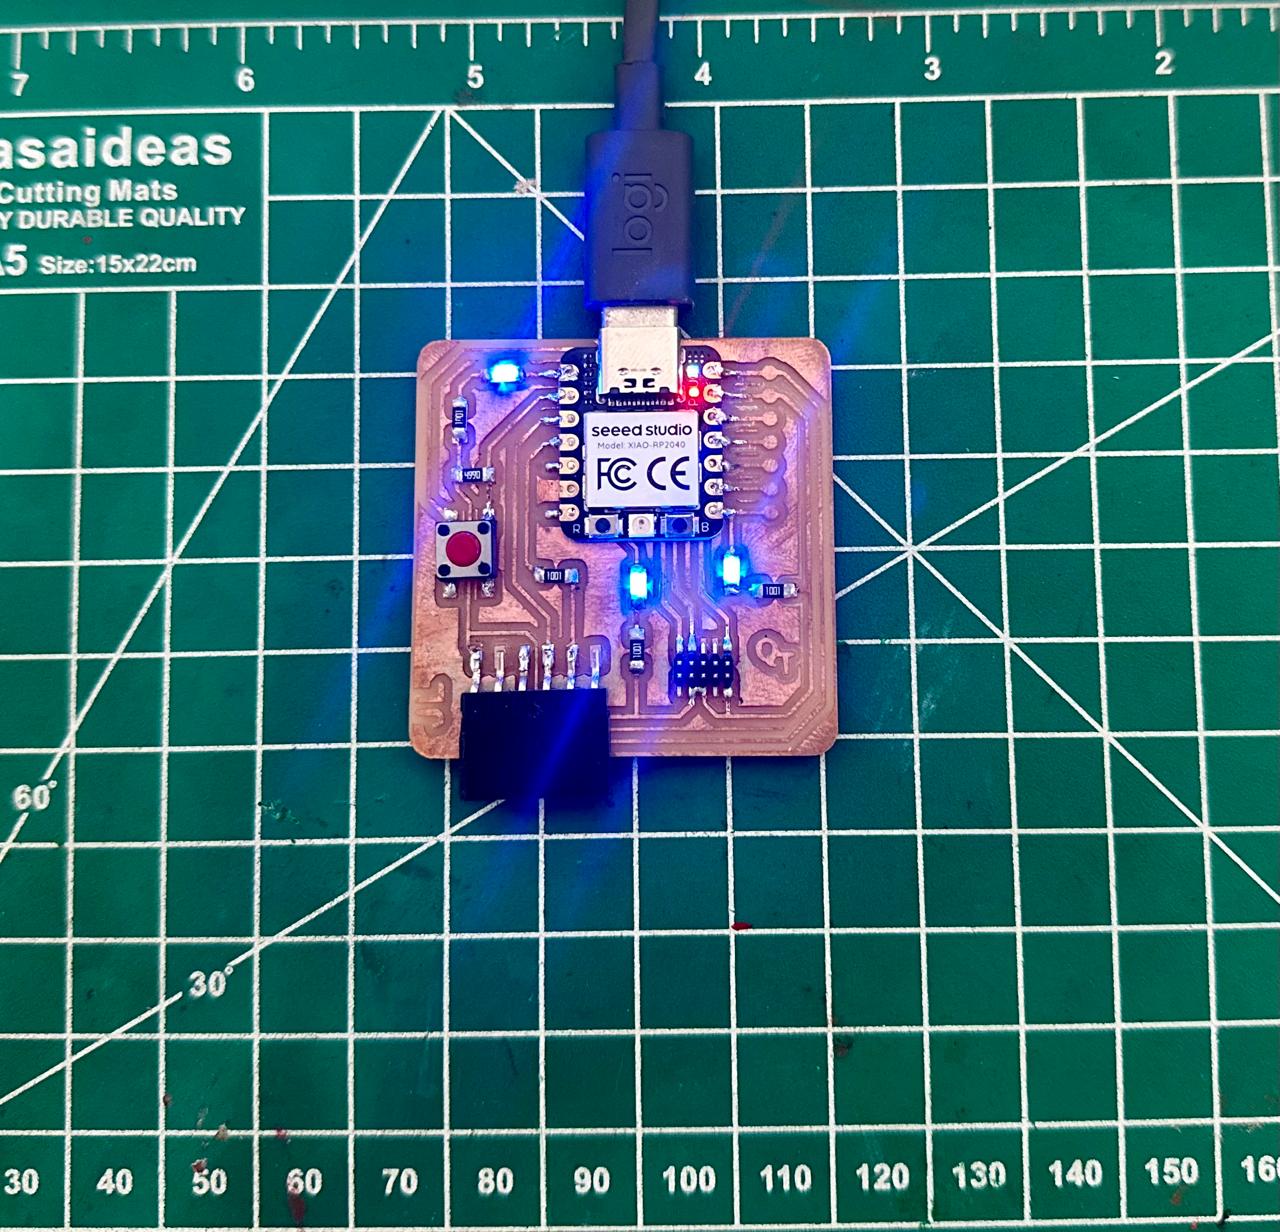
This week, I discovered a hidden talent for soldering SMD components, but the most rewarding part was developing a PCB from scratch. This time, I have to thank my friend Adrian Torres. It was during a visit to the Fab Lab in León where he gifted me a XIAO-RP2040. Perhaps he didn't realize it, but it was a very nice and significant gesture. Now, all my peers use the microcontroller he gave me because it was impossible to find it in Peru.
So, this week comes with a special gratitude towards my friend Adrian, the man who documents everything.
Group assignment
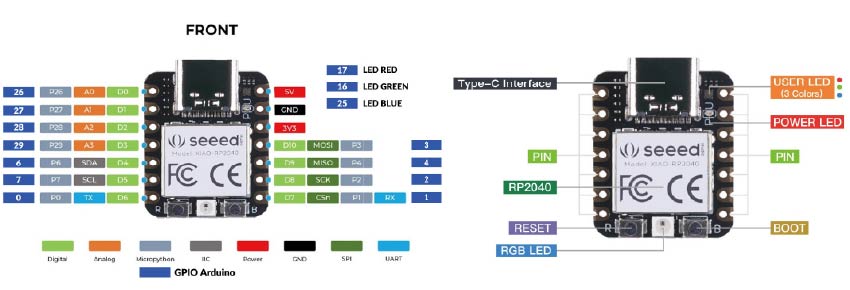
XIAO - RP2040
Microcontroller Specifications
| Item | Value |
|---|---|
| CPU | Dual-core ARM Cortex M0+ processor up to 133MHz |
| Flash Memory | 2MB |
| SRAM | 264KB |
| Digital I/O Pins | 11 |
| Analog I/O Pins | 4 |
| PWM Pins | 11 |
| I2C interface | 1 |
| SPI interface | 1 |
| UART interface | 1 |
| Power supply and downloading interface | Type-C |
| Power | 3.3V/5V DC |
| Dimensions | 20*17.5*3.5mm |
¡Attention!
▲ CAUTION
For general I/O pins: Working voltage of MCU is 3.3V . Voltage input connected to general I/O pins may cause chip damage if it' higher than 3.3V . For power supply pins: The built-in DC-DC converter circuit able to change 5V voltage into 3.3V allows to power the device with a 5V supply via VIN-PIN and 5V-PIN. XIAO RP2040 currently only supports battery power supply and cannot connect to Type-C while a battery is connected, as it may pose a safety risk. Please pay attention to use, do not lift the shield cover.
Odious comparisons
| Investigators | Microcontroller |
|---|---|
| Cristian / Grace | XIAO RP2040 |
| Ronal / Franco | ATTINY1624 |
| Silvana / Jesús | Attiny412 |
| Wilber / Renso / María Angela | ESP32-C3 |
| Maryori / Hans | SAMD11C |
| Board | XIAO ESP32-C3 | XIAO SAMD21 | XIAO RP2040 | ATTINY1624 | ATTINY412 |
|---|---|---|---|---|---|
| Processor | ESP32-C3 32-bit RISC-V @160MHz | SAMD21 M0+@48MHz | RP2040 Dual-core M0+@133MHz | ATTINY1624 8-bit AVR @20MHz | ATTINY412 8-bit AVR @20MHz |
| Wireless Connectivity | WiFi and Bluetooth 5 (LE) | N/A | N/A | N/A | N/A |
| Memory | 400KB SRAM, 4MB onboard Flash | 32KB SRAM 256KB FLASH | 264KB SRAM 2MB onboard Flash | 1KB SRAM 16KB Flash | 1KB SRAM 4KB Flash |
| Built-in Sensors | N/A | N/A | N/A | N/A | N/A |
| Interfaces | I2C/UART/SPI/I2S | I2C/UART/SPI | I2C/UART/SPI | I2C/UART/SPI | I2C/UART/SPI |
| PWM/Analog Pins | 11/4 | 11/11 | 11/4 | 6/10 | 6/10 |
| Onboard Buttons | Reset/ Boot Button | N/A | Reset/ Boot Button | N/A | N/A |
| Onboard LEDs | Charge LED | N/A | Full-color RGB/ 3-in-one LED | N/A | N/A |
| Battery Charge Chip | Built-in | N/A | N/A | N/A | N/A |
| Programming Languages | Arduino | Arduino/ CircuitPython | Arduino/ MicroPython/ CircuitPython | Arduino | Arduino |
Feature Analysis Among Microcontrollers
- Processors and Performance:
- XIAO ESP32-C3 uses an ESP32-C3 32-bit RISC-V processor, providing solid performance.
- XIAO SAMD21 uses a SAMD21 M0+ processor at 48MHz, while XIAO RP2040 has a Dual-core RP2040 M0+ processor at 133MHz.
- ATTINY1624 and ATTINY412 microcontrollers use 8-bit AVR processors at 20MHz. They are simpler options in terms of performance compared to XIAO microcontrollers.
- Wireless Connectivity:
- Only XIAO ESP32-C3 incorporates wireless connectivity with WiFi and Bluetooth 5 (LE), offering advanced communication options.
- The other microcontrollers (XIAO SAMD21, XIAO RP2040, ATTINY1624, ATTINY412) do not include integrated wireless capabilities.
- Memory:
- XIAO ESP32-C3 stands out with 400KB of SRAM and 4MB of flash memory, providing ample space for storage and data manipulation.
- XIAO RP2040 also offers significant memory, with 264KB of SRAM and 2MB of flash memory.
- ATTINY1624 and ATTINY412 microcontrollers have more limited memory, with 1KB of SRAM and different flash memory capacities.
- Interfaces and Pins:
- All microcontrollers share common interfaces such as I2C, UART, and SPI, providing flexibility for connection with other devices.
- PWM and analog pins vary, being more abundant in XIAO, while ATTINY offers a more limited quantity.
- Programming:
- All microcontrollers support programming through the Arduino development environment. Additionally, some (XIAO SAMD21 and XIAO RP2040) support CircuitPython and MicroPython, expanding development options.
- Sensors and Additional Features:
- None of the mentioned microcontrollers includes integrated sensors. Additional features such as LEDs and buttons vary depending on the model.
Conclusions
After our tedious but necessary comparison among these 5 microcontrollers, we can determine that the decisive factor for selecting one of them will be the project specifications. We will take into account the required connectivity and interfaces. While it is true that the XIAO stands out for its more advanced features, the ATTINY remains the best option for simpler projects.
Individual assignment
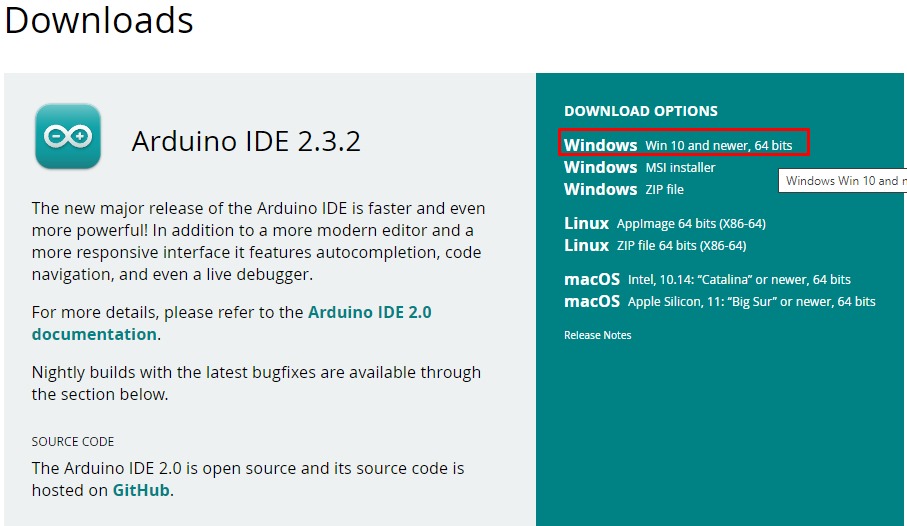
Arduino IDE
Files > Examples > Basic > Blink.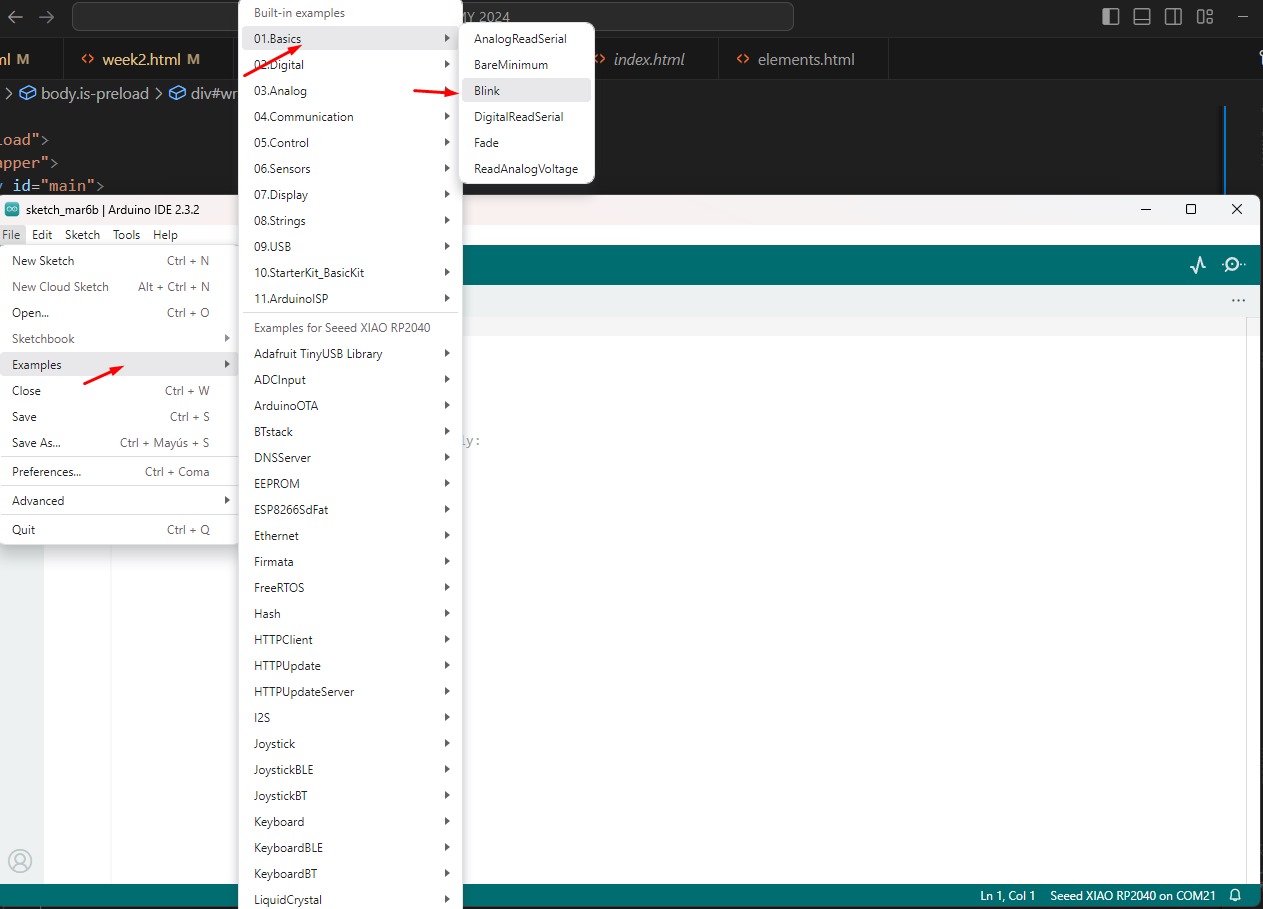
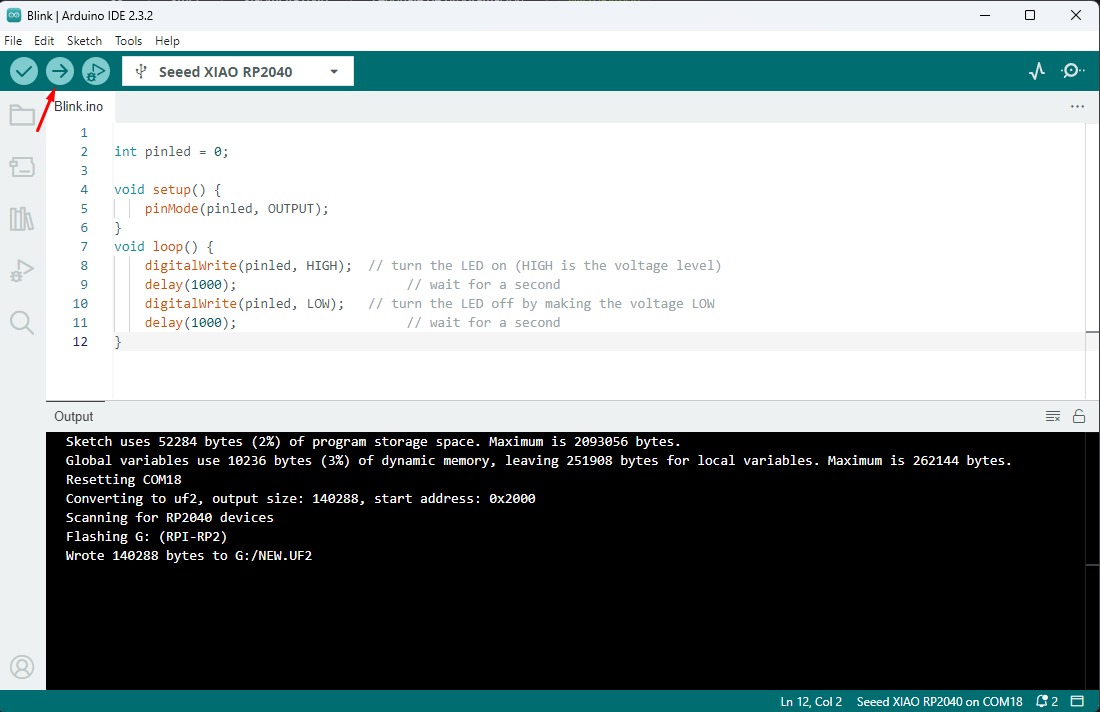
int pinled = 0;
void setup() {
pinMode(pinled, OUTPUT);
}
void loop() {
digitalWrite(pinled, HIGH);  // turn the LED on (HIGH is the voltage level)
delay(1000);                  // wait for a second
digitalWrite(pinled, LOW);   // turn the LED off by making the voltage LOW
delay(1000);                  // wait for a second
}
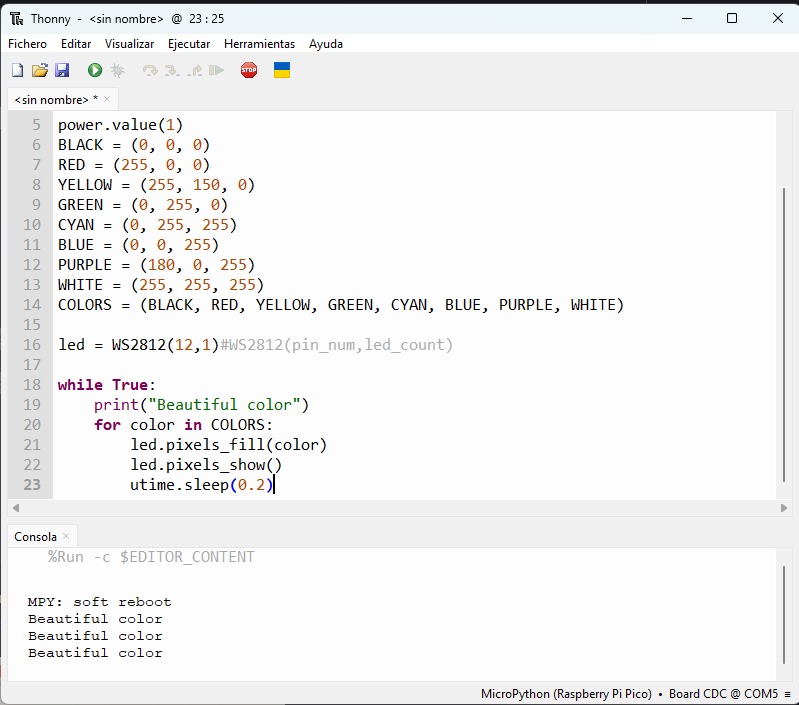
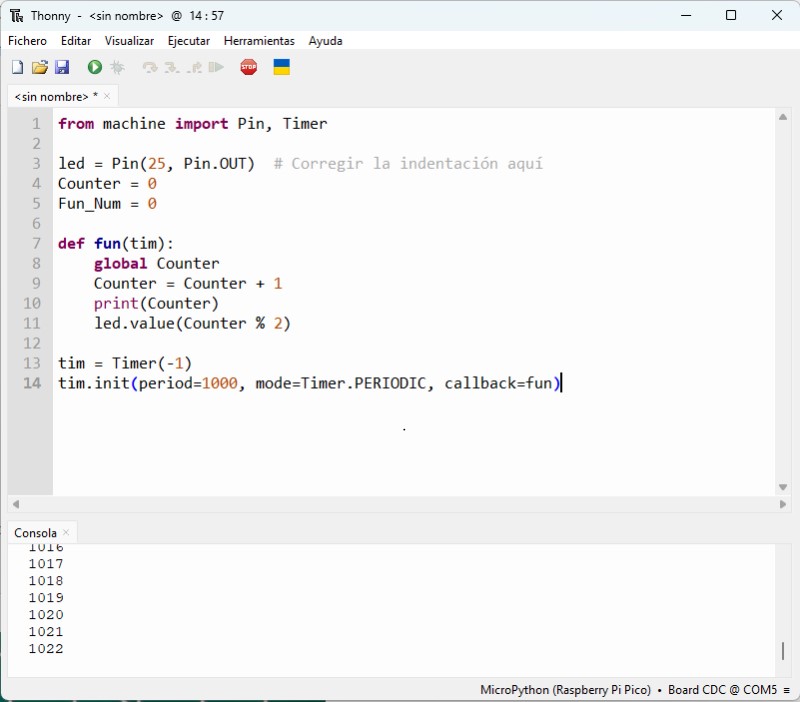
THONNY, Python IDE for beginners
from machine import Pin, Timer
led = Pin(25, Pin.OUT)
Counter = 0
Fun_Num = 0

def fun(tim):
    global Counter
    Counter = Counter + 1
    print(Counter)
    led.value(Counter%2)

tim = Timer(-1)
tim.init(period=1000, mode=Timer.PERIODIC, callback=fun)
from ws2812 import WS2812
import utime
import machine
power = machine.Pin(11,machine.Pin.OUT)
power.value(1)
BLACK = (0, 0, 0)
RED = (255, 0, 0)
YELLOW = (255, 150, 0)
GREEN = (0, 255, 0)
CYAN = (0, 255, 255)
BLUE = (0, 0, 255)
PURPLE = (180, 0, 255)
WHITE = (255, 255, 255)
COLORS = (BLACK, RED, YELLOW, GREEN, CYAN, BLUE, PURPLE, WHITE)

led = WS2812(12,1)#WS2812(pin_num,led_count)

while True:
	print("Beautiful color")
	for color in COLORS:
		led.pixels_fill(color)
		led.pixels_show()
		utime.sleep(0.2)