This week the following activities were carried out
Group Assignment:
Characterize your laser cutter's focus, power, speed, rate, kerf, and joint clearance.
Document your work to the group work page and reflect on your individual page what you learned.
Individual Assignments:
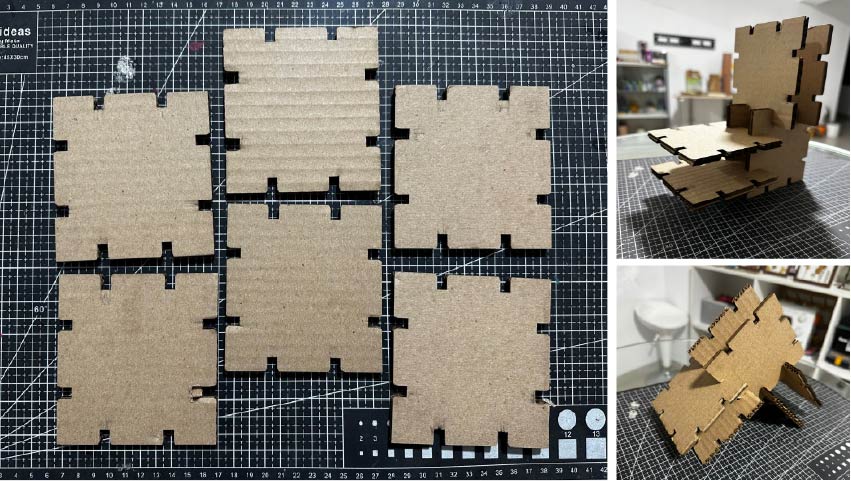
Design, lasercut, and document a parametric press-fit construction kit, which can be assembled in multiple ways. Account for the laser cutter kerf.
Cut something on the vinyl cutter.
Experience with the CO2 laser cutting machine
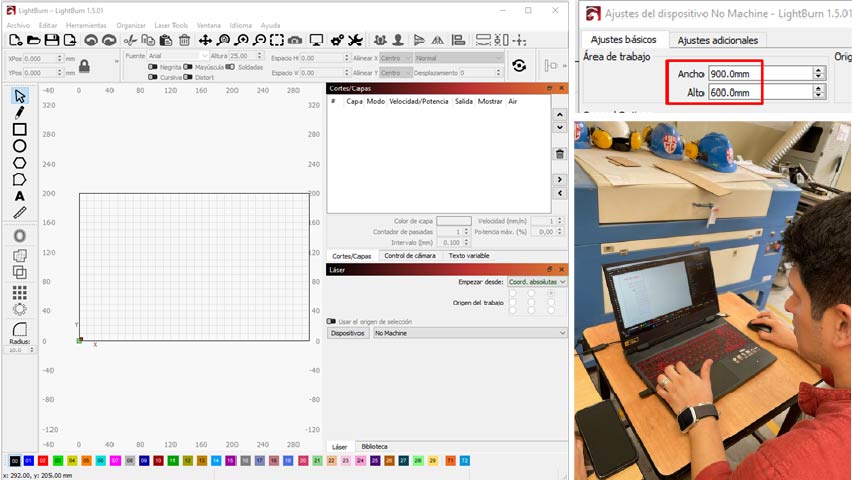
Hello everyone! Welcome to this exciting week. Today, we'll be using laser cutters. First, we'll share the essential steps to get our 80W laser cutter up and running, with a working area of 90 cm x 60 cm. However, these steps can be adapted for any other cutter with a different format.
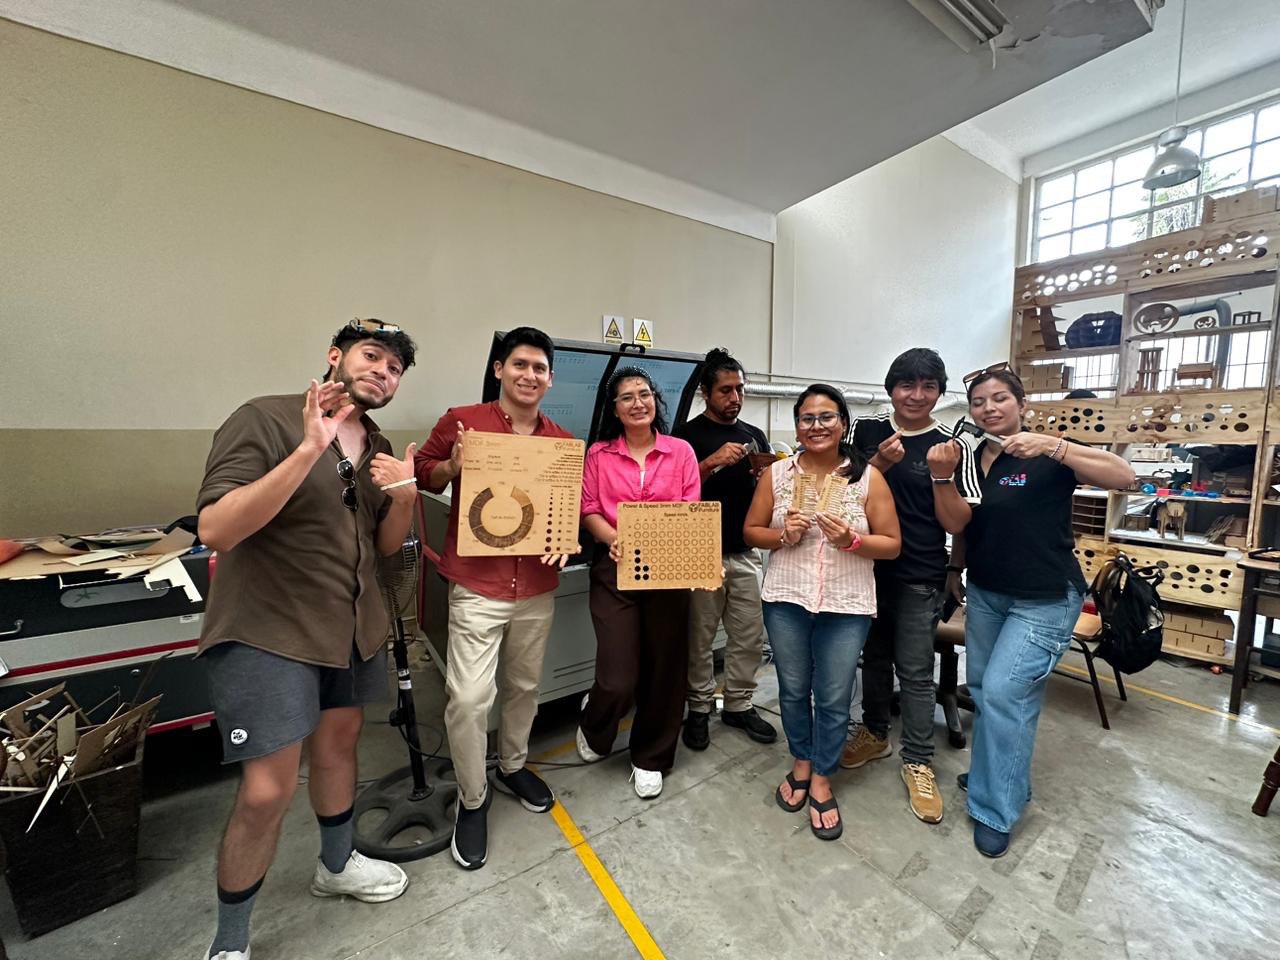
Note: This activity was carried out in collaboration with my colleagues at Fab Lab Peru.
It's crucial to understand the features of our cutter. The key to conducting your initial tests is to be familiar with the working area, whether it's a desktop format of 40 cm x 30 cm, semi-industrial at 130 x 90 cm, or even a full-format one at 320 * 220 cm.
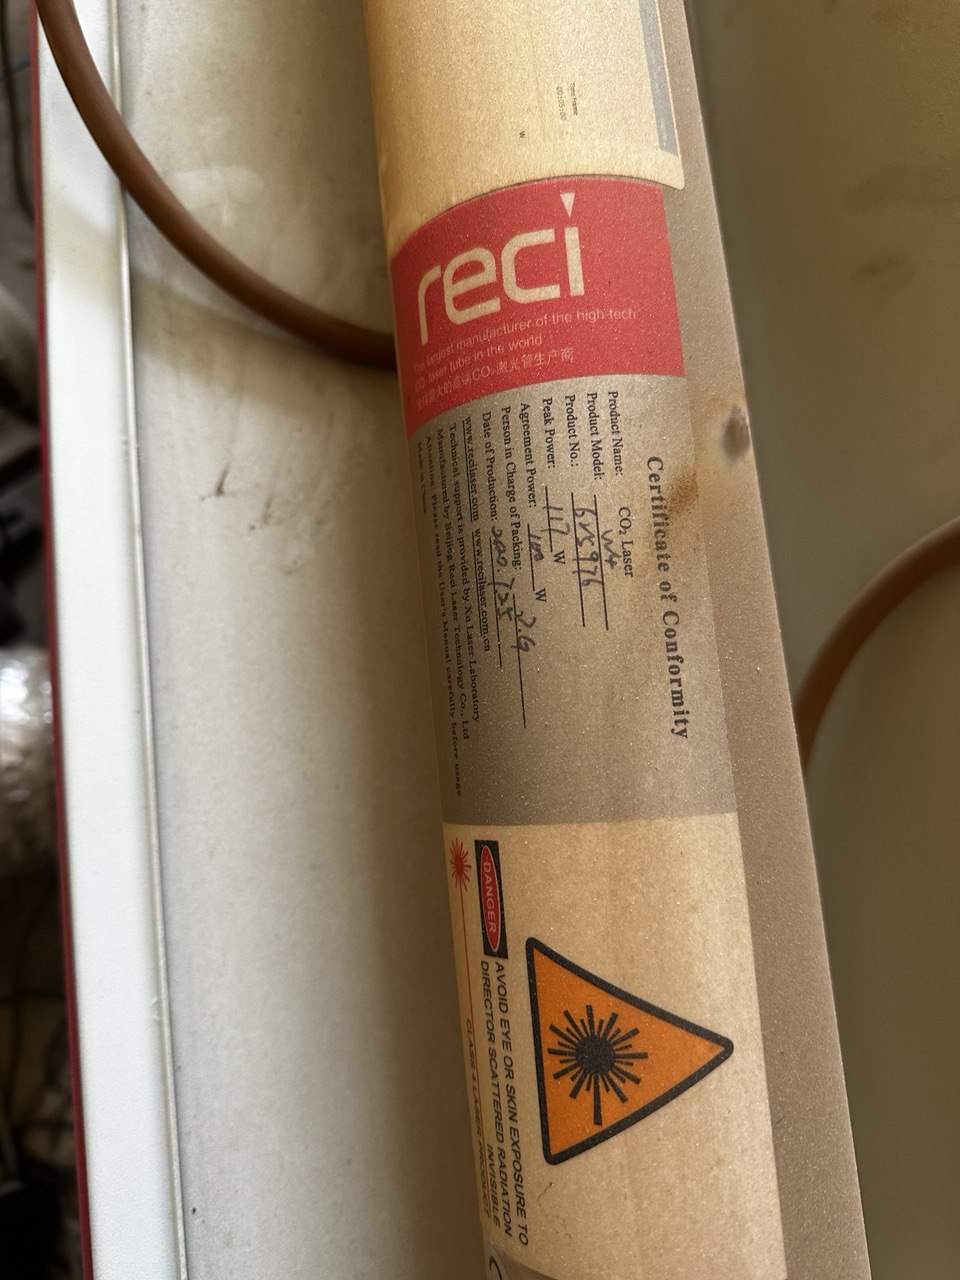
Also, it's important to check the power of the CO2 tube in your laser; it's located at the back of the machine. There's a range of power options, from 40W to 150W. This information helps us determine the maximum cutting width and allows us to configure it for engraving purposes.
In our case, we have an 100W tube.
After understanding all the mechanical aspects and getting to know the features of the cutter we are using, we will conduct a power and speed test. This will help us comprehend which parameters are most suitable for tasks ranging from cutting to engraving.
After understanding the entire mechanical aspect and familiarizing ourselves with the characteristics of the cutter being used, we will conduct a power and speed test. This will help us comprehend which parameter is most suitable for tasks ranging from cutting to engraving.
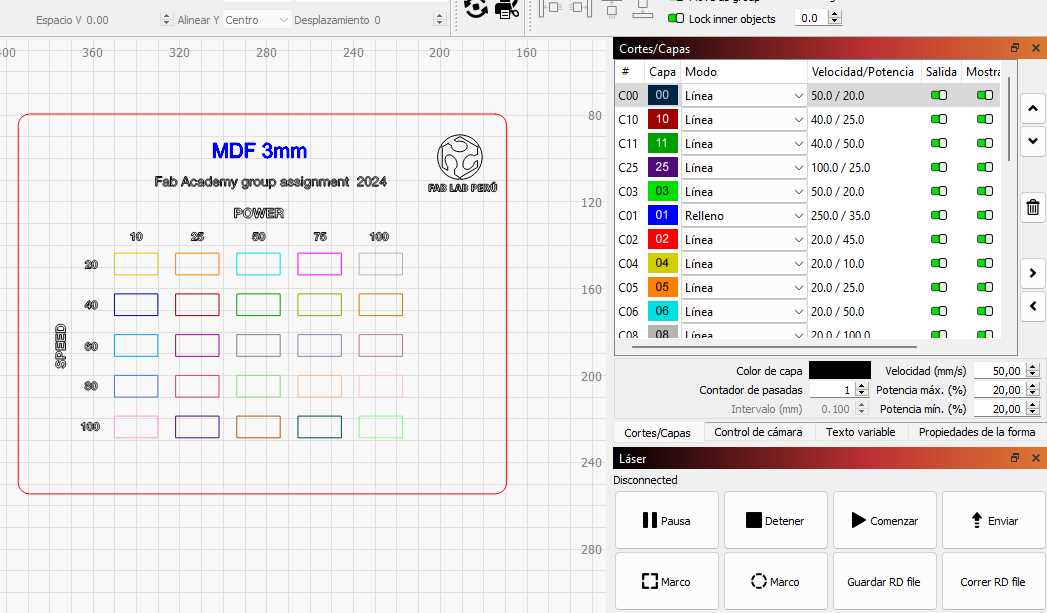
To configure the cutter, I am using Lightburn, which has a free version.
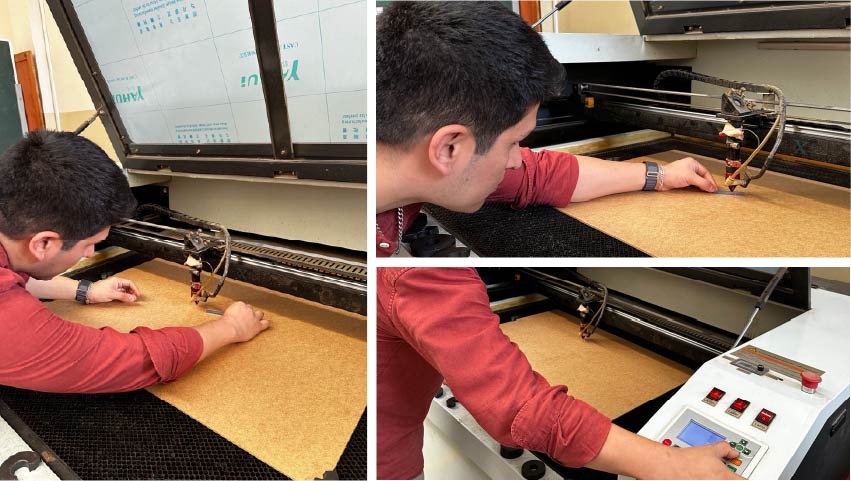
The most exciting part is approaching - laser cutting. That's why we first conduct a test run.
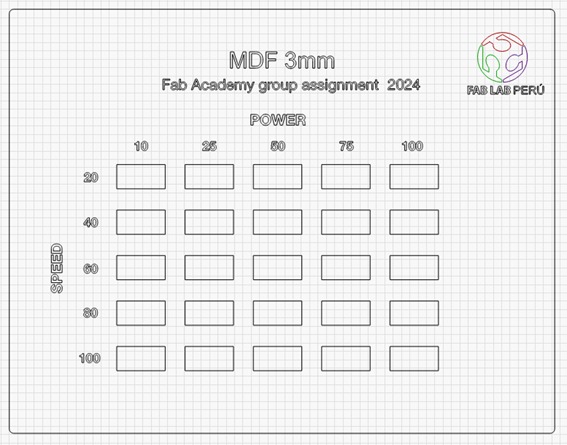
These tests involve a series of parameters that vary. We start with power levels of 10 and gradually increase up to 100 W. The same goes for speed; we begin at 20 and progressively reach 100. This test will determine the optimal cutting and engraving parameters.
We carried out this initial group task on the Lightburn platform itself. It involves a test scheme using 3mm MDF material.
After defining the test, we proceed to assign the specified parameters in both columns. The primary objective in this process is to achieve the optimal configuration for laser speed and power, in order to determine which parameter is most suitable for our needs.
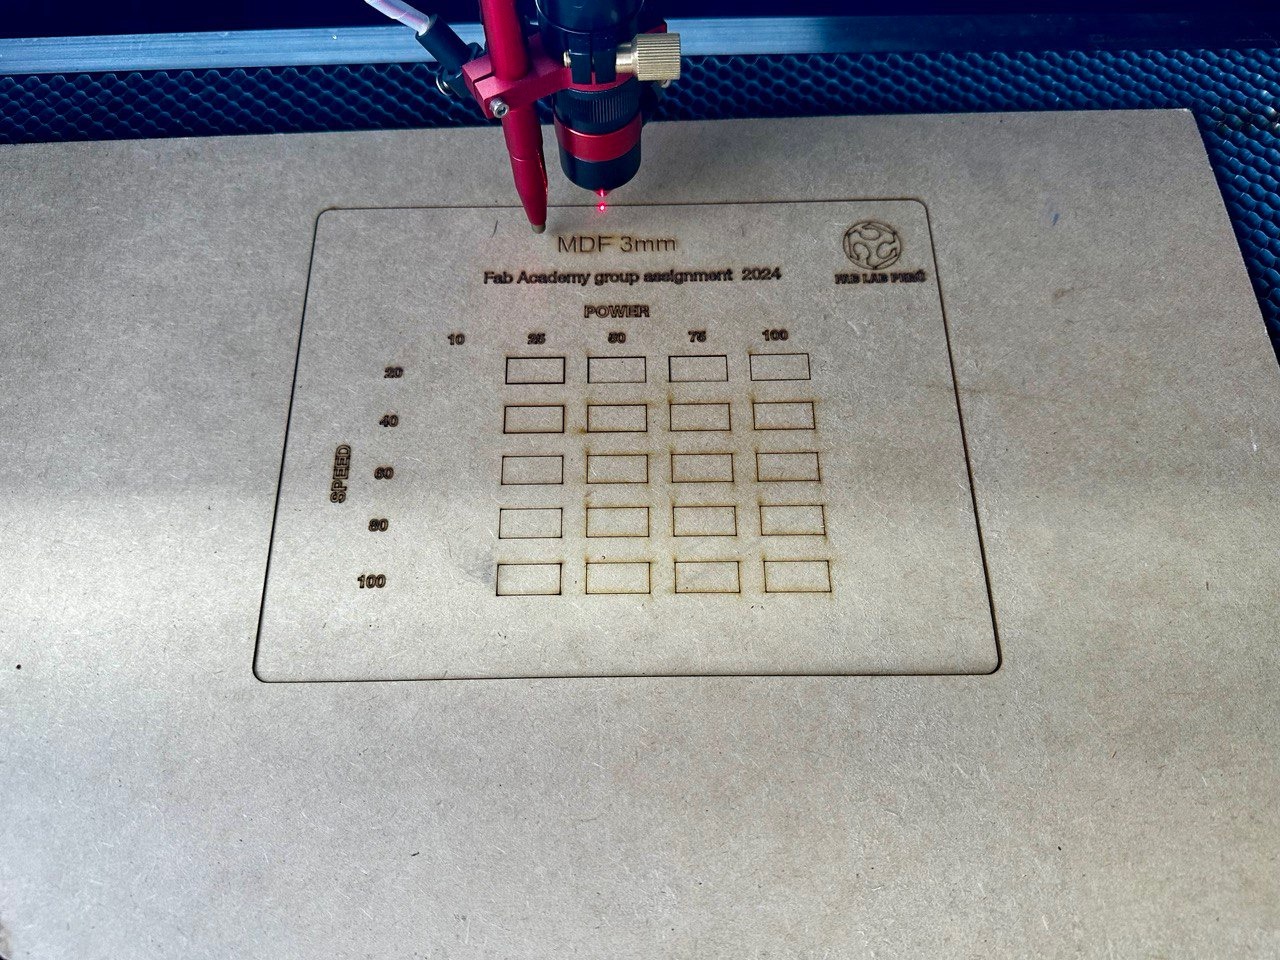
The table has taken shape after meticulously configuring each space with the designated values for power and speed. Now, the crucial moment arrives to turn on the laser and test this setup. I ask you to join me with your best wishes as I embark on this phase of experimentation and discovery.
This step is crucial, as the accurate calibration of laser speed and power is essential for achieving precise and efficient results in any task, ranging from cuts to engravings. Each adjustment made contributes to the creation of an optimal environment that maximizes the performance of the laser cutter.
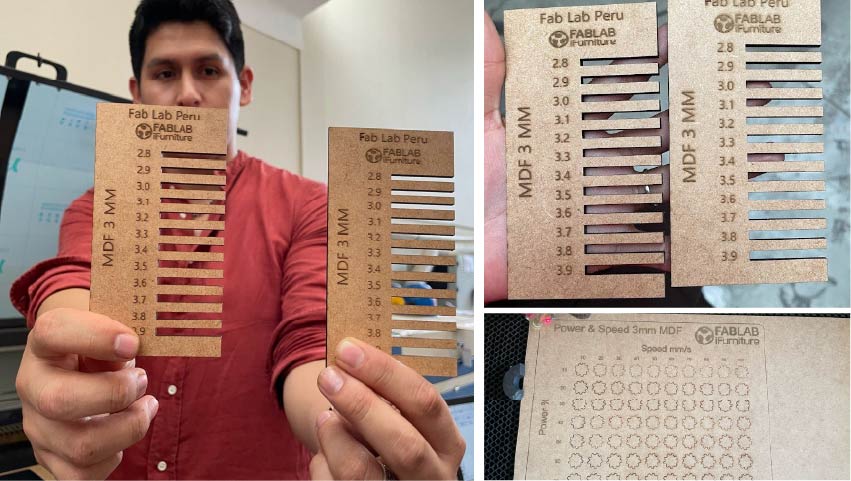
After successfully completing our first test, I have gained confidence in the process, which has motivated me to explore more possibilities.
In collaboration with others, we have devised a design for the comb and decided to carry out additional tests of engraving and cutting.
This initial success has provided us with valuable experience and increased our willingness to take on new challenges.
Experiencing Rhino Laser Cutting
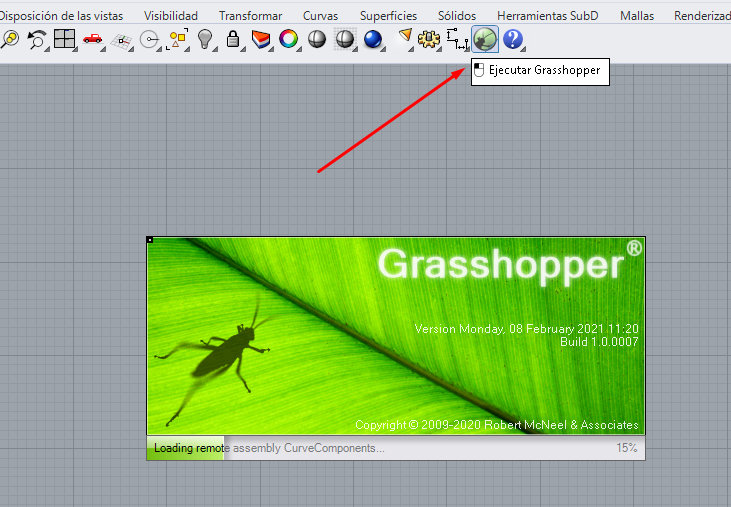
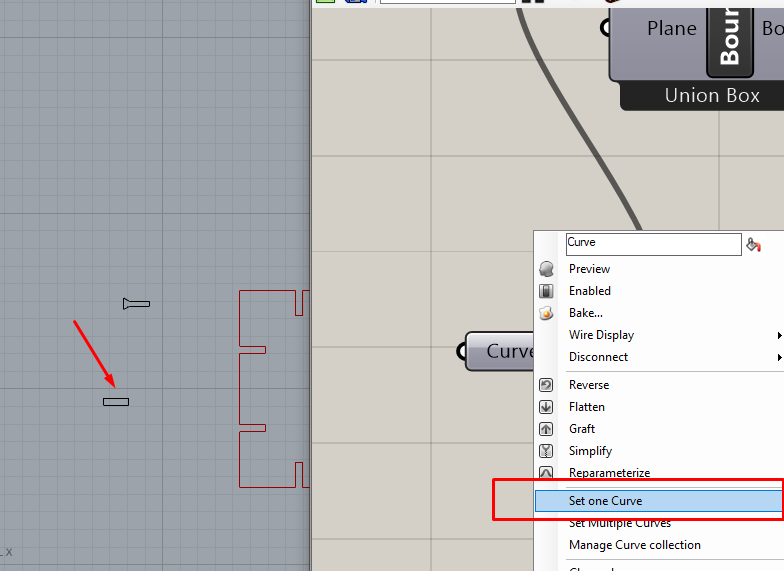
For this assignment I will use Rhino, since Neil commented that parametric design could be used, this totally new concept for me, he showed me the alternative to be able to design without designing, at the beginning the idea was a little crazy, but with the Grasshopper tool, With this form we can generate a visual programming environment that allows the user to have extensive control over the relationships between the objects and their parameters, we can multiply the figures, vary the thickness, the shape, etc. All this using block programming.
The software has a very nice and intuitive environment.
From here we can enter the Grasshopper plugin.
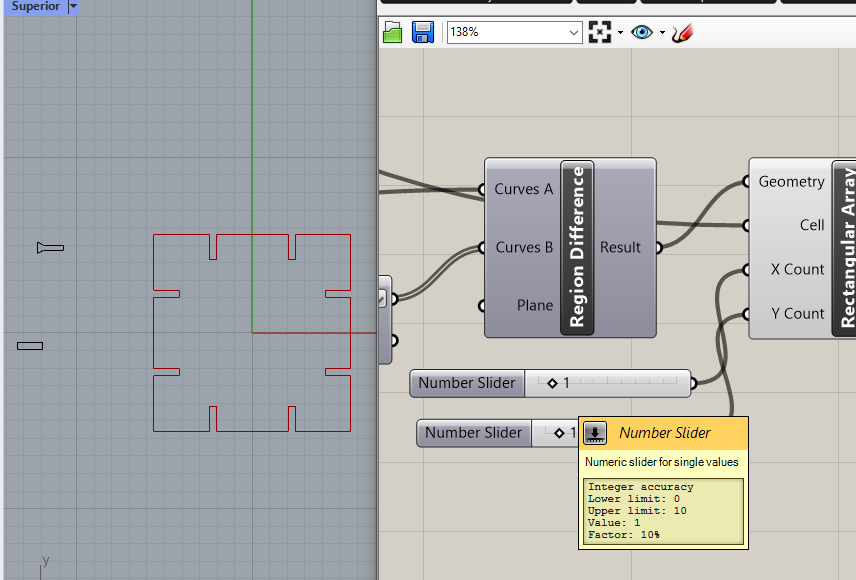
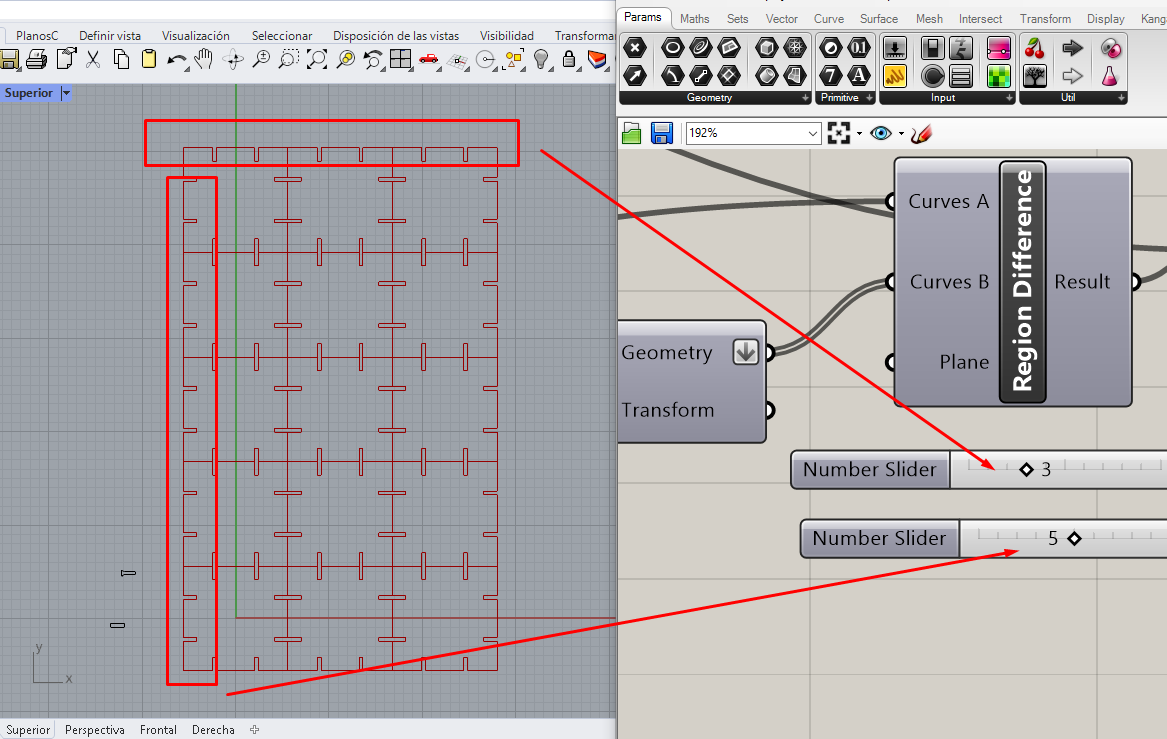
To create a parametric design, we must start from the creation of a block, in my case this figure is my design which will be multiplied.
We must also define a point so that this is the cut that will be given in my design.
With these blocks I can define the amount that my design will multiply, both horizontally and vertically.
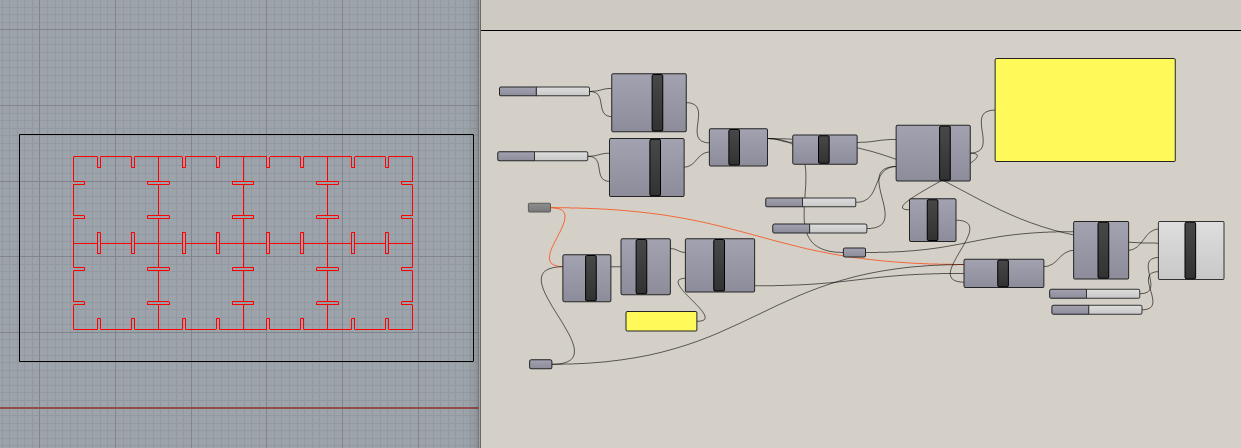
Finally, we define the size of our laser cutter and place the pieces of our design within it.
And this was the final result.
Experience cutting with vinyl
I have enjoyed this experience with the vinyl cutter very much, it is fantastic what this machine can do when it comes to customizing, working with your logo or just remembering your "Art Attack" times.
I always wanted to have a sticker from the fab lab and today I made it.
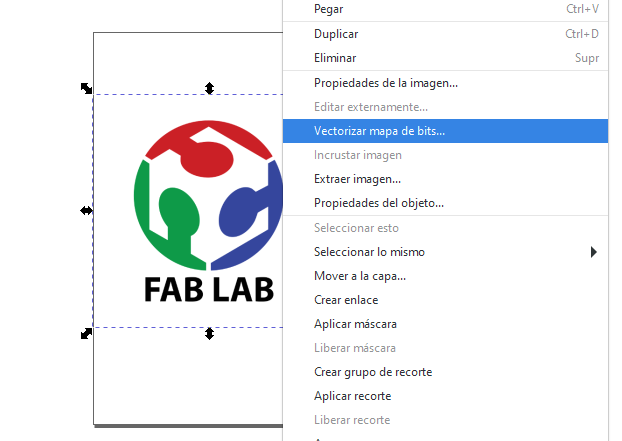
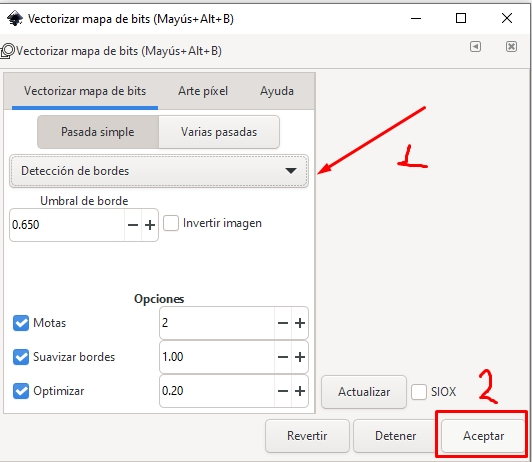
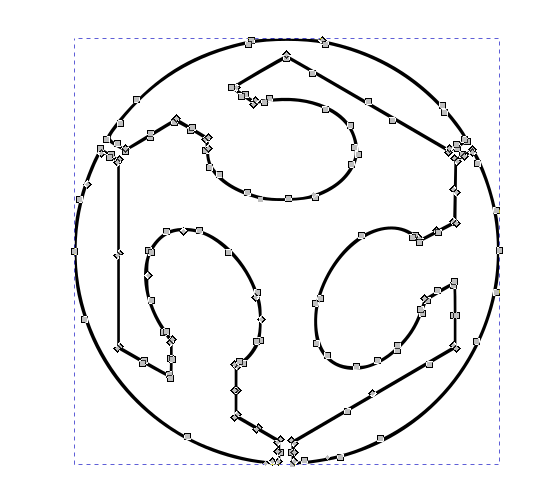
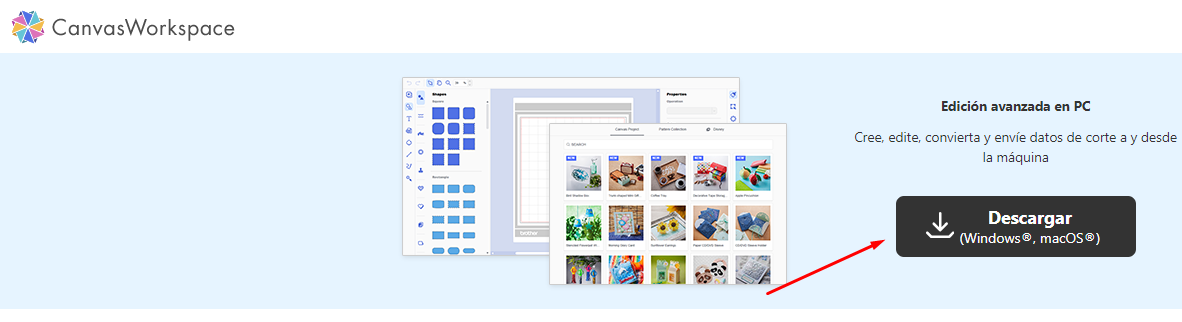
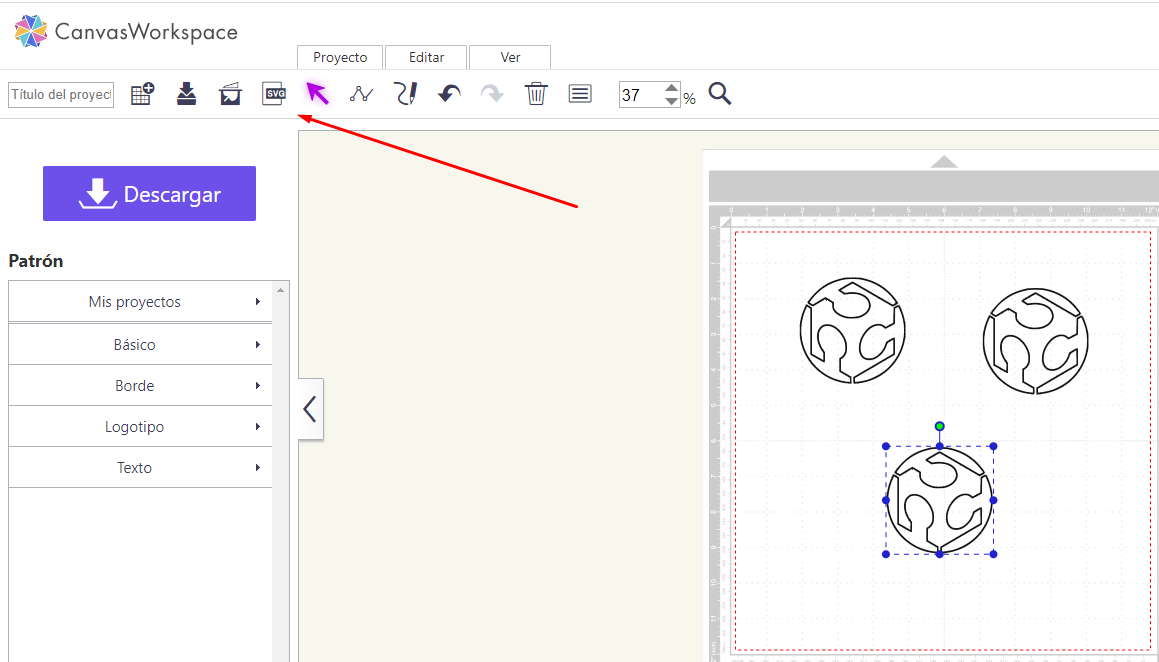
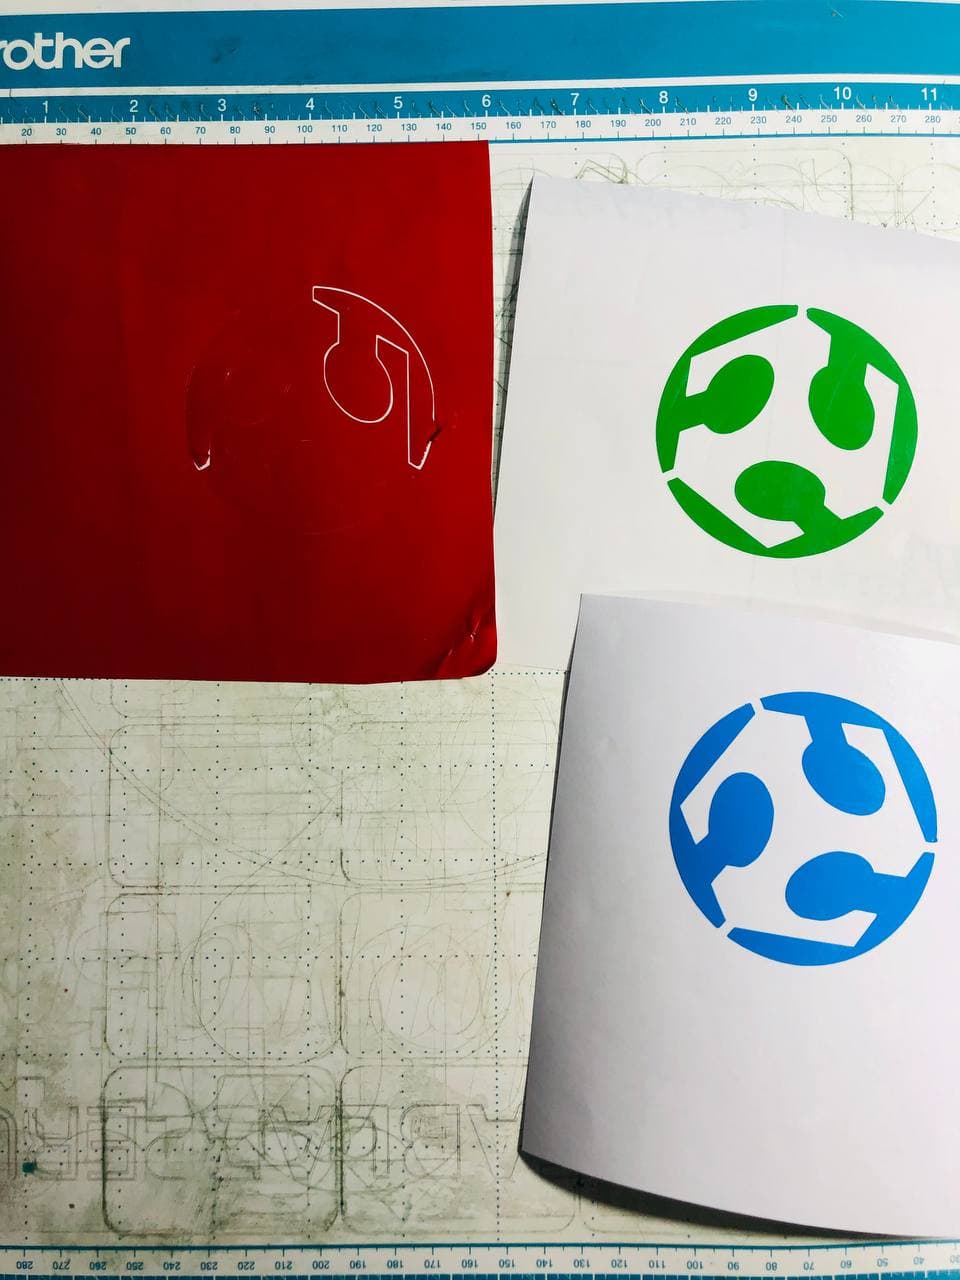
We start by choosing the image in PNG and then opening some software that vectorizes the image, in my case I used Inkscape.
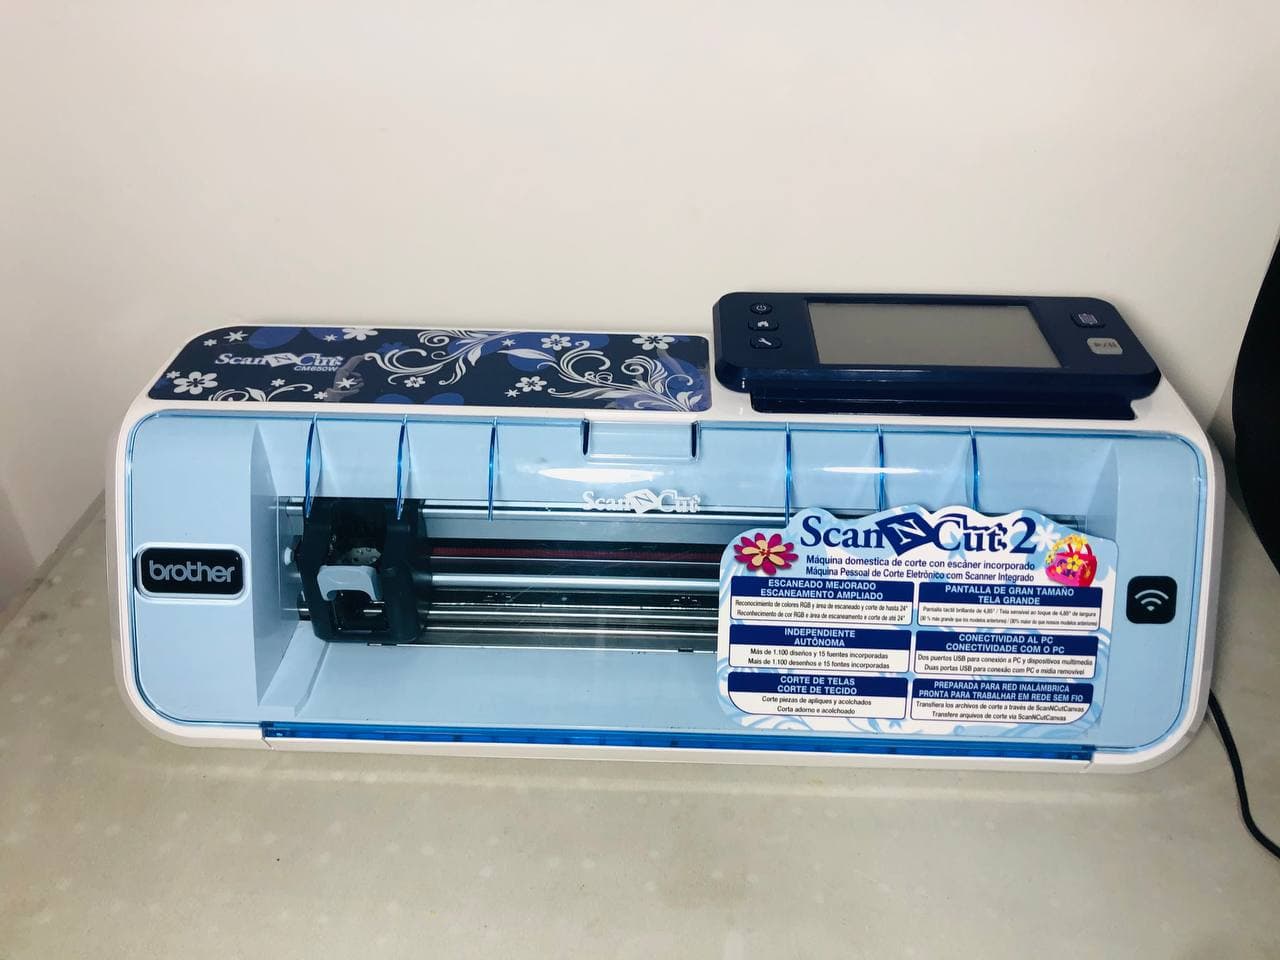
Then we have to configure the vinyl cutter online, in my case I used a CM650W model.
Then we can configure the vinyl cutter online or by downloading it to our PC, in my case I used the online version and selected the model of my CM650W cutter
Then you import the vectorized file in .svg format and place it within the cutter's work area.
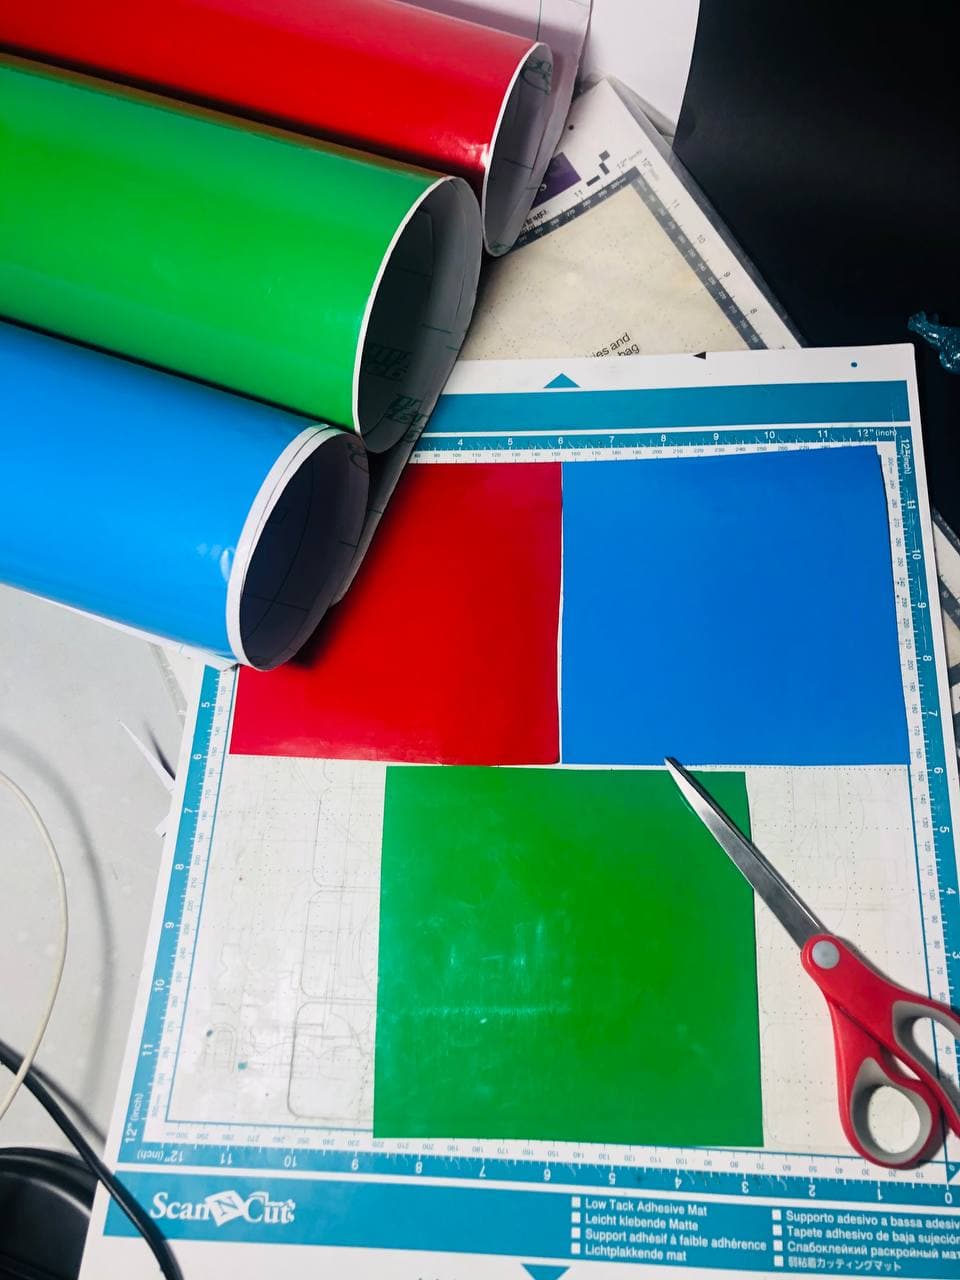
Due to the fact that our bed has lost the glue that allows us to adhere with the use, because I calculated the proportions of my image and placed the pieces of colors of each of them according to the space that the software suggested to me and So that it adheres, take off a piece of the glued part of the scraps and cut the part without glue, so that I have glued edges and thus adhere to the bed.
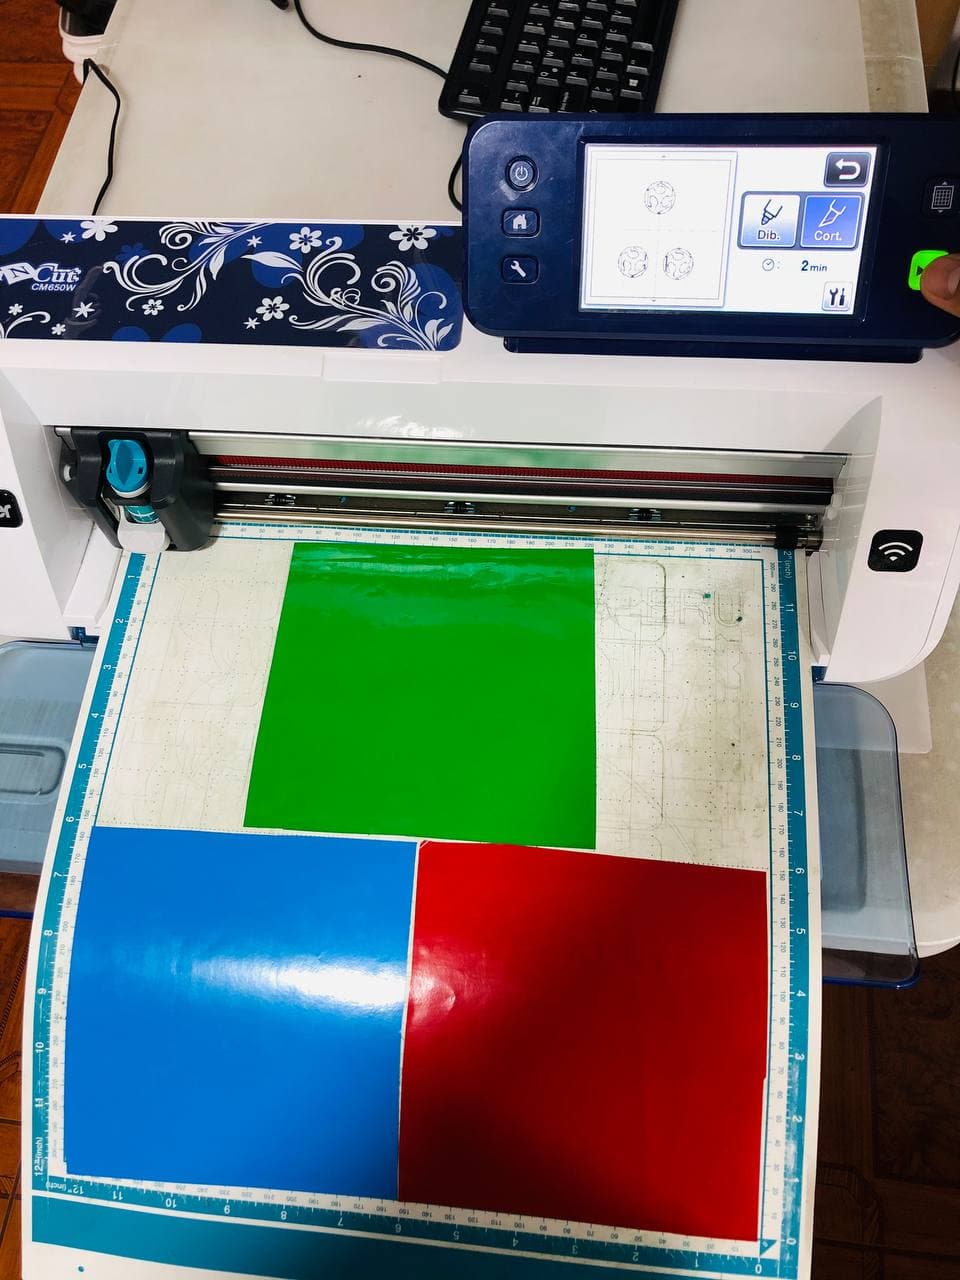
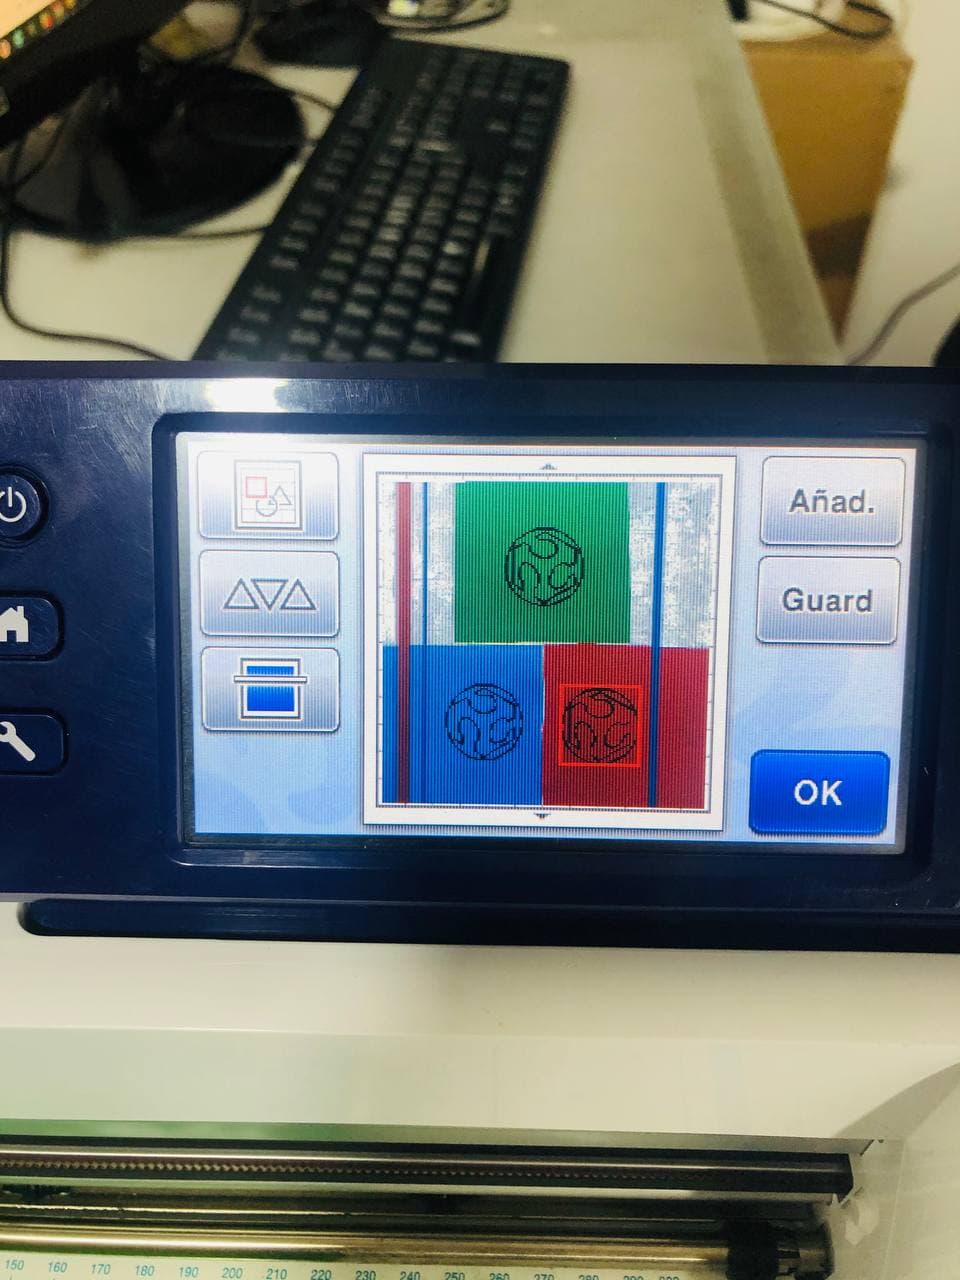
And time to turn on our printer.
On the screen of our cutter it shows us how the cut of our images is distributed. If something does not match, you can move it from the cutter's touch panel.
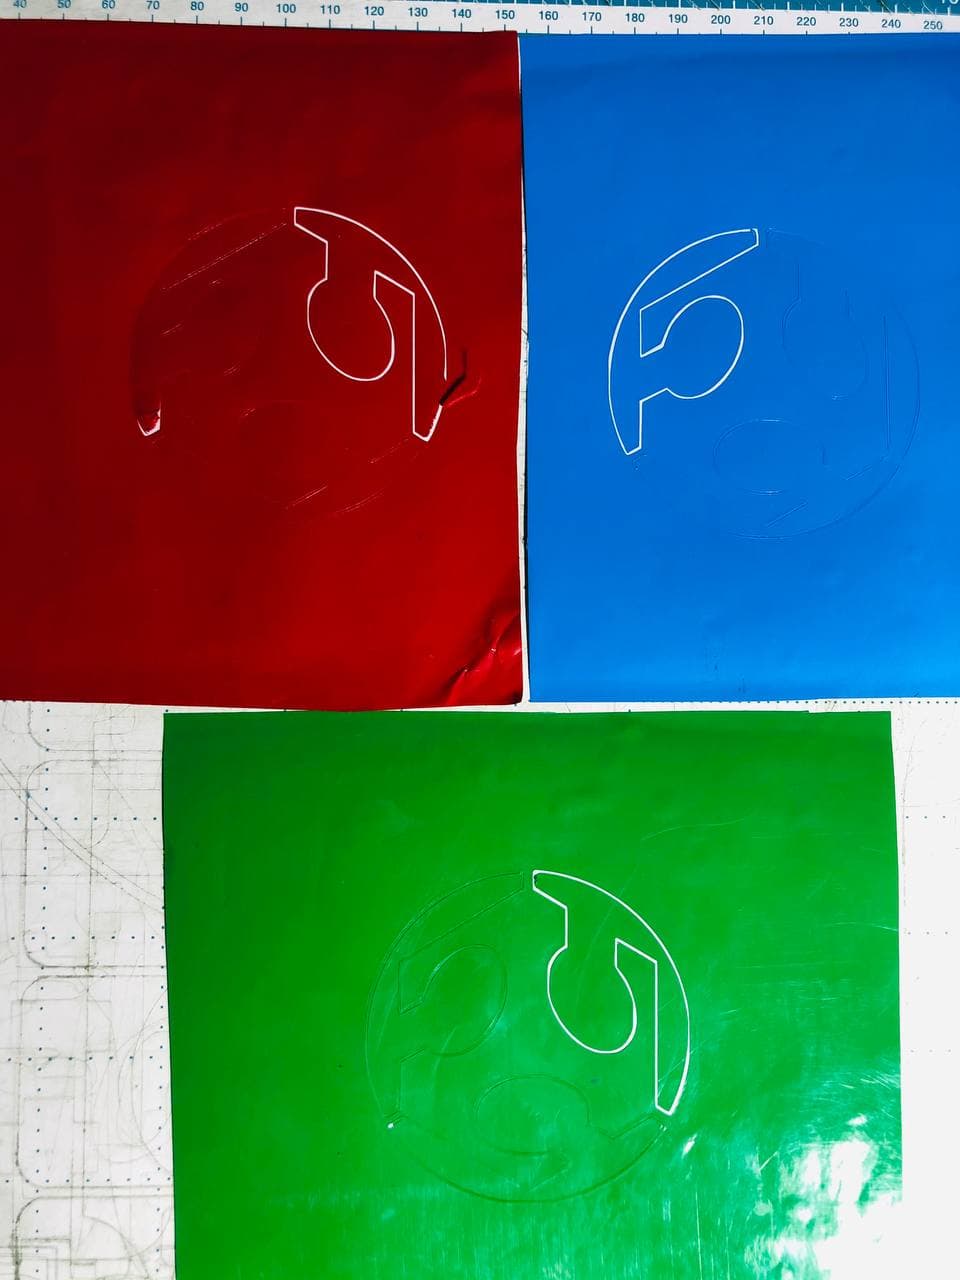
Finally the cut lasted 2 minutes and these were the results.
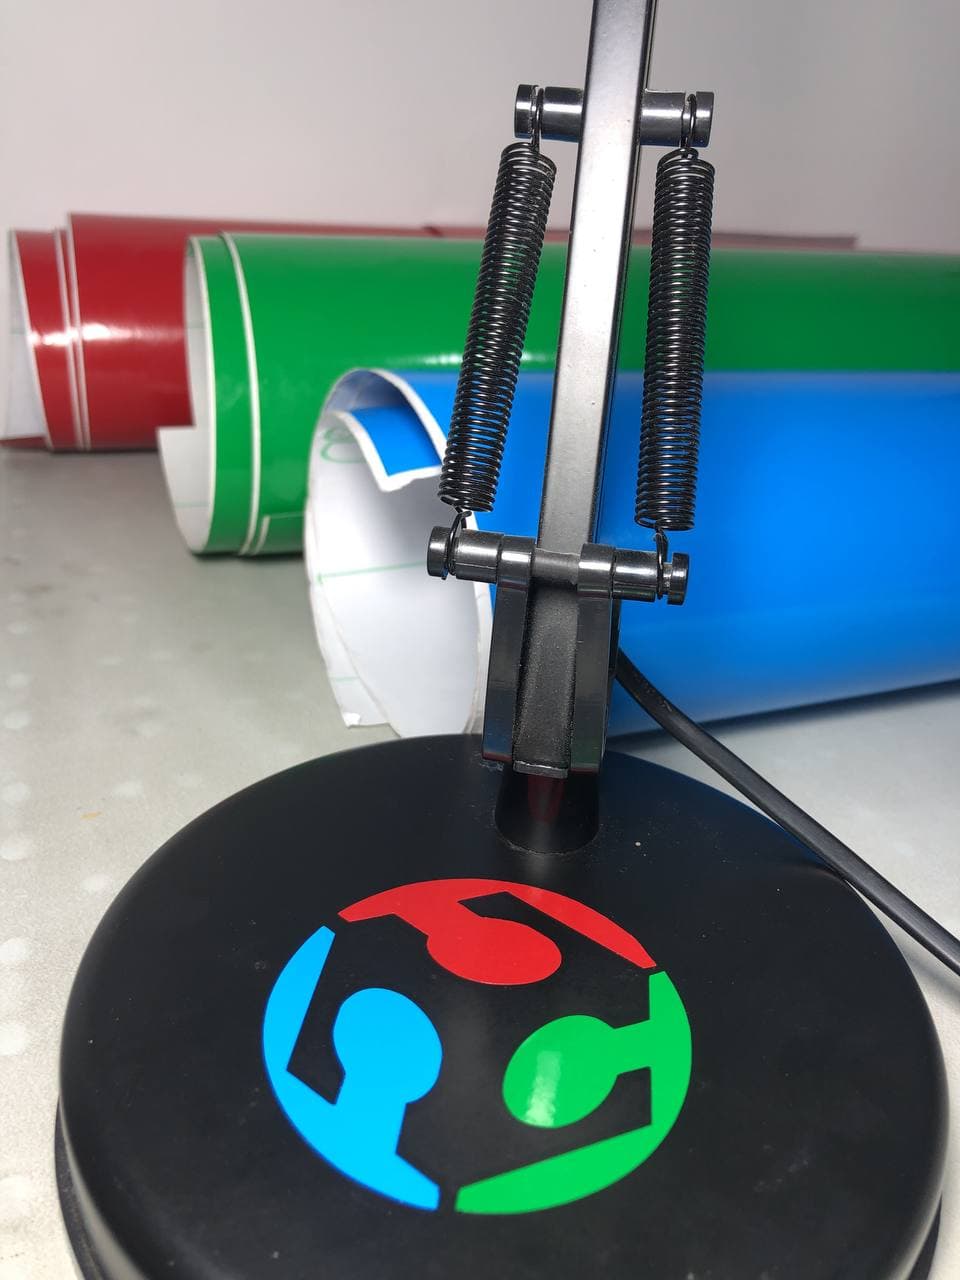
This experience was the most enjoyable, it was simple, and I really liked being able to use the colors of the vinyl. In addition, I stuck the result onto the base of my lamp, and it looks really cool!