12. Molding and casting
This week was centered on molding and casting, an other possibility to manufacture parts which is ideal for small series.
Mold design
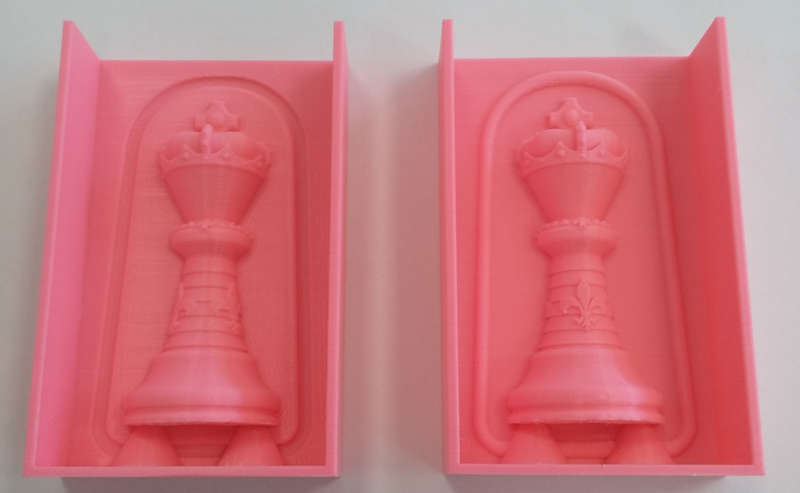
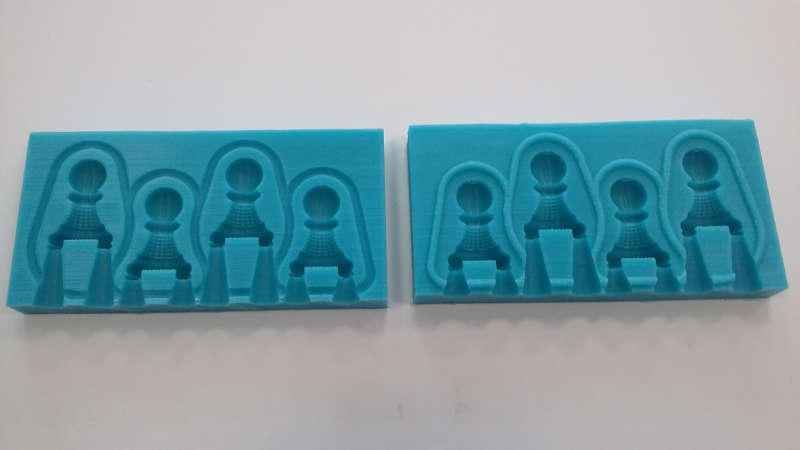
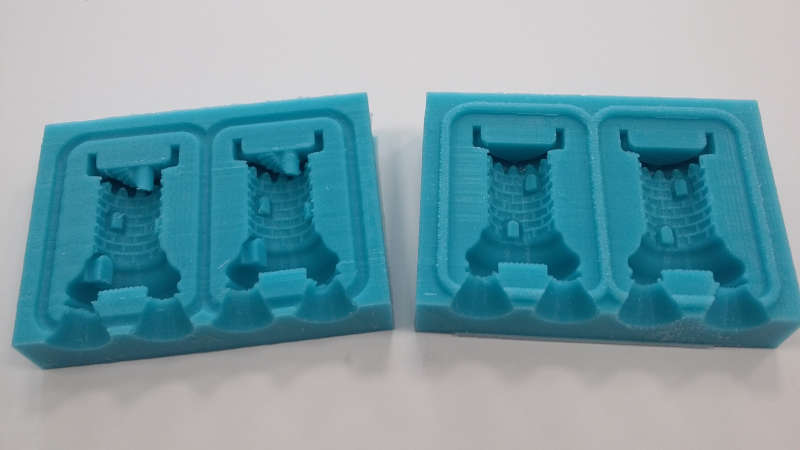
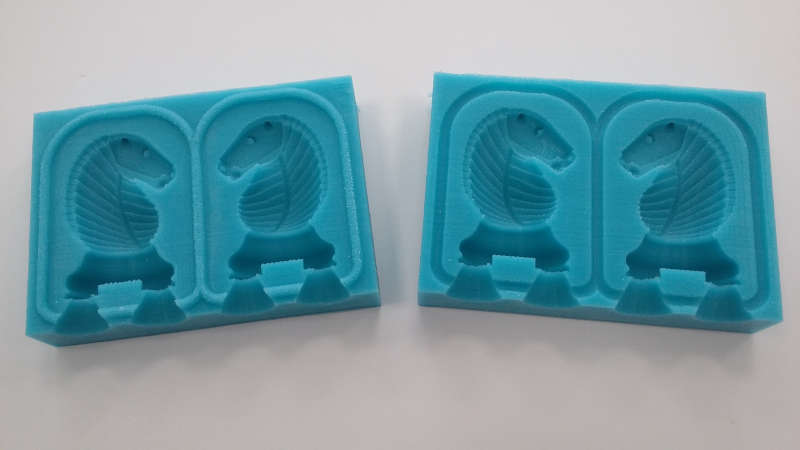
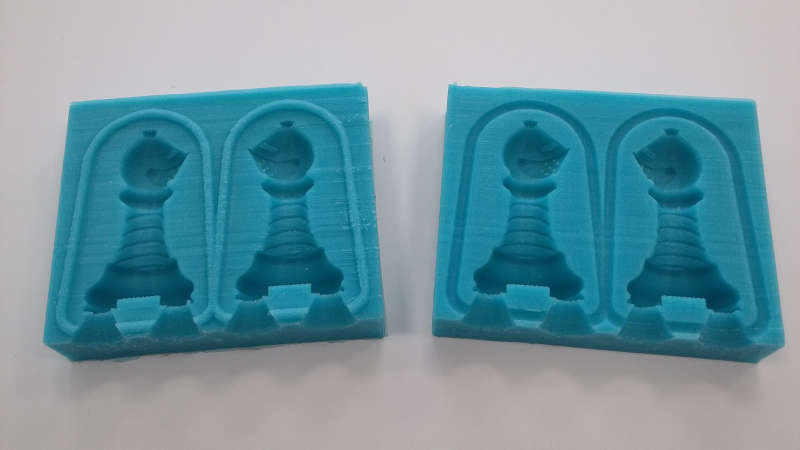
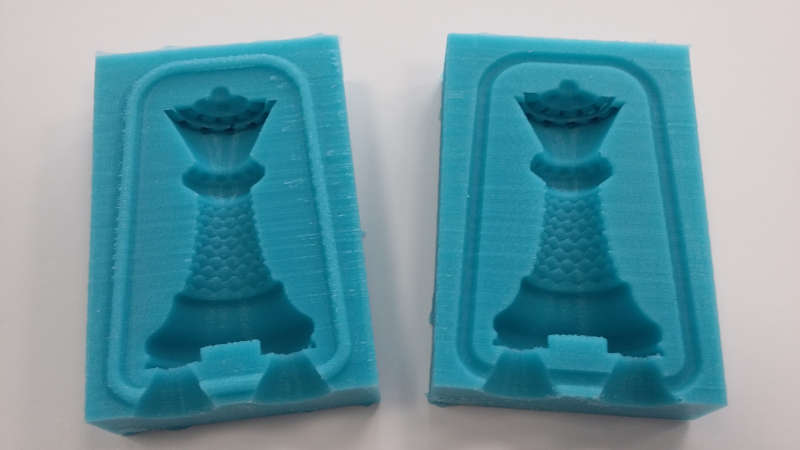
To begin, if we want to cast something, we need molds. For my final project, I wanted to cast the pieces with resin and metal filler to differentiate the two sides. So I design a mold for every piece of the set I presented on CAD week. The pieces are still the same except the rook which had a staircase impossible to make by casting. I also add a hole under their bases because I’m planning to put a magnet inside them.
Since the shapes are revolution with a lot of details, it is difficult to manufacture the mold by milling. The only solution was to use 3D printing. To facilitate the demolding I choose to create a two parts mold. To properly do this you have to follow some specific rules. First, you have to put shapes on each part which will fit together and align both side of the mold. Then you need to think how you will cast your material inside the mold and don’t forget how the air will go out. In my case, I made two chimneys under the base of the pieces, one to cast and the other one for the air.
Silicon and resin
Before casting anything, you need to be wary of the risks. The materials you are using are chemicals that will react together and can create mortal emanations. So be careful, read the instructions and follow the rules of security.
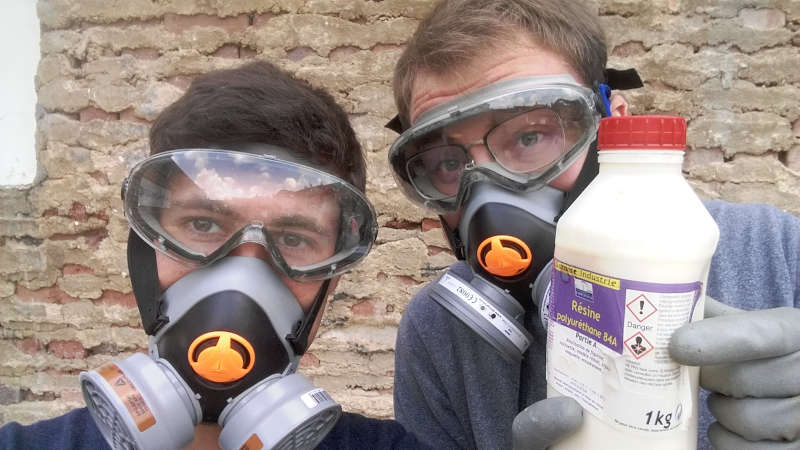
Also if you have old materials in your stock open for long enough that you forgot about it, it is possible that it is not going to work and will never harden. So you need to test them beforehand. The time indicated on the instructions can also differ so don’t forget to check the time it takes to cure.
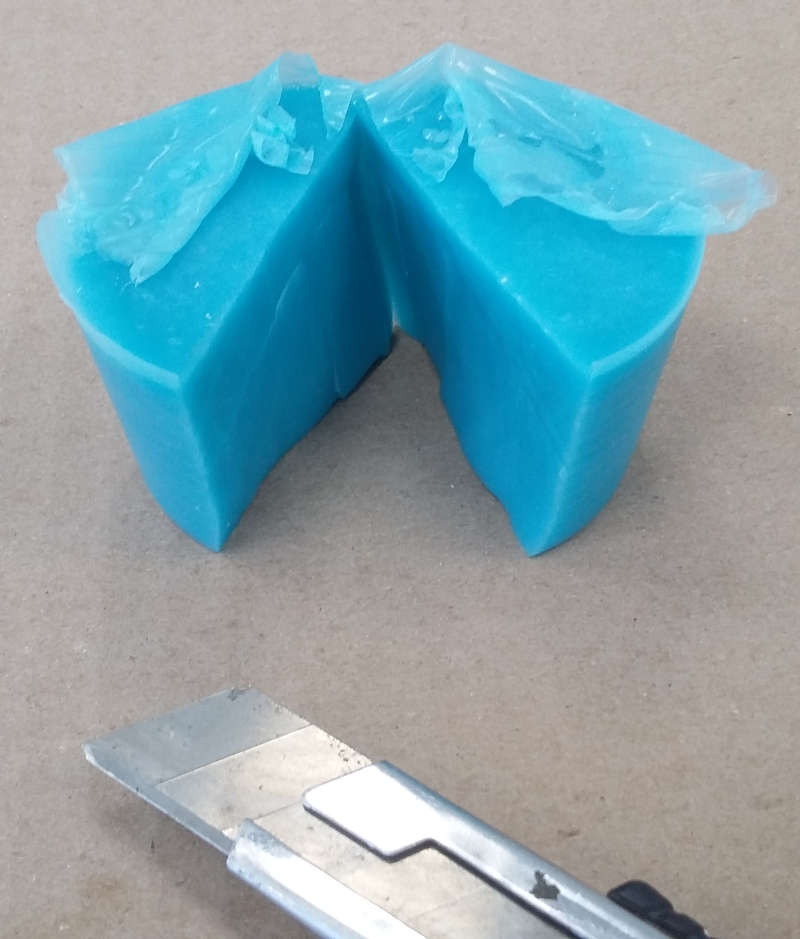
Don’t hesitate to cut it to see if it hardened to its center.
Everything seems OK so we can continue.
Mold preparation
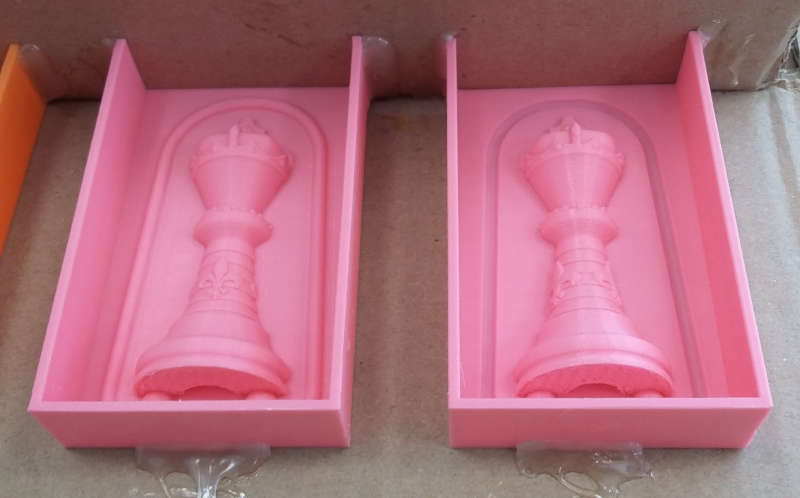
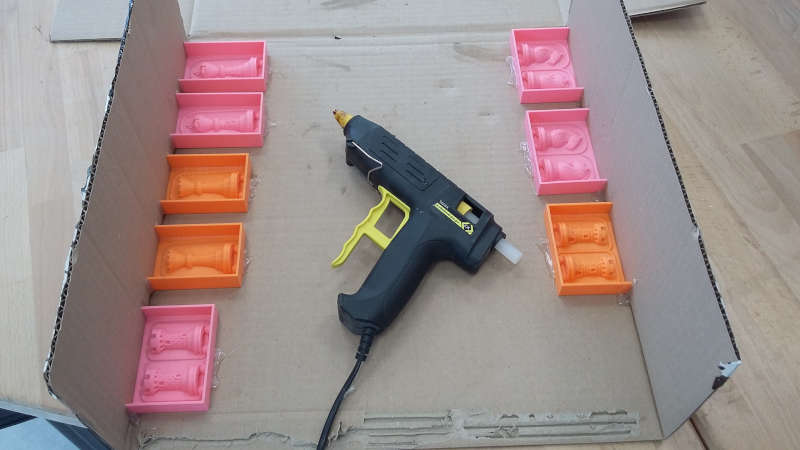
Since my molds are printed, my first operation was to clean them up, remove the supports and if needed sand them with a small file.
Then I glued them to a cardboard to close the last side and also to protect the table because silicon can be messy.
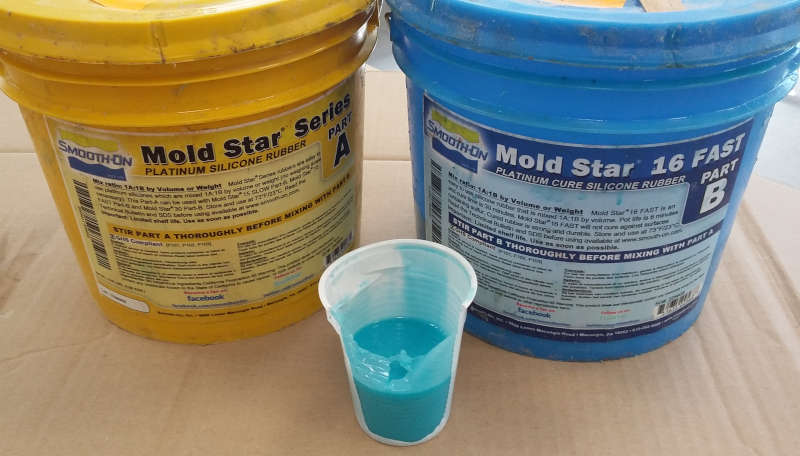
Molding silicon
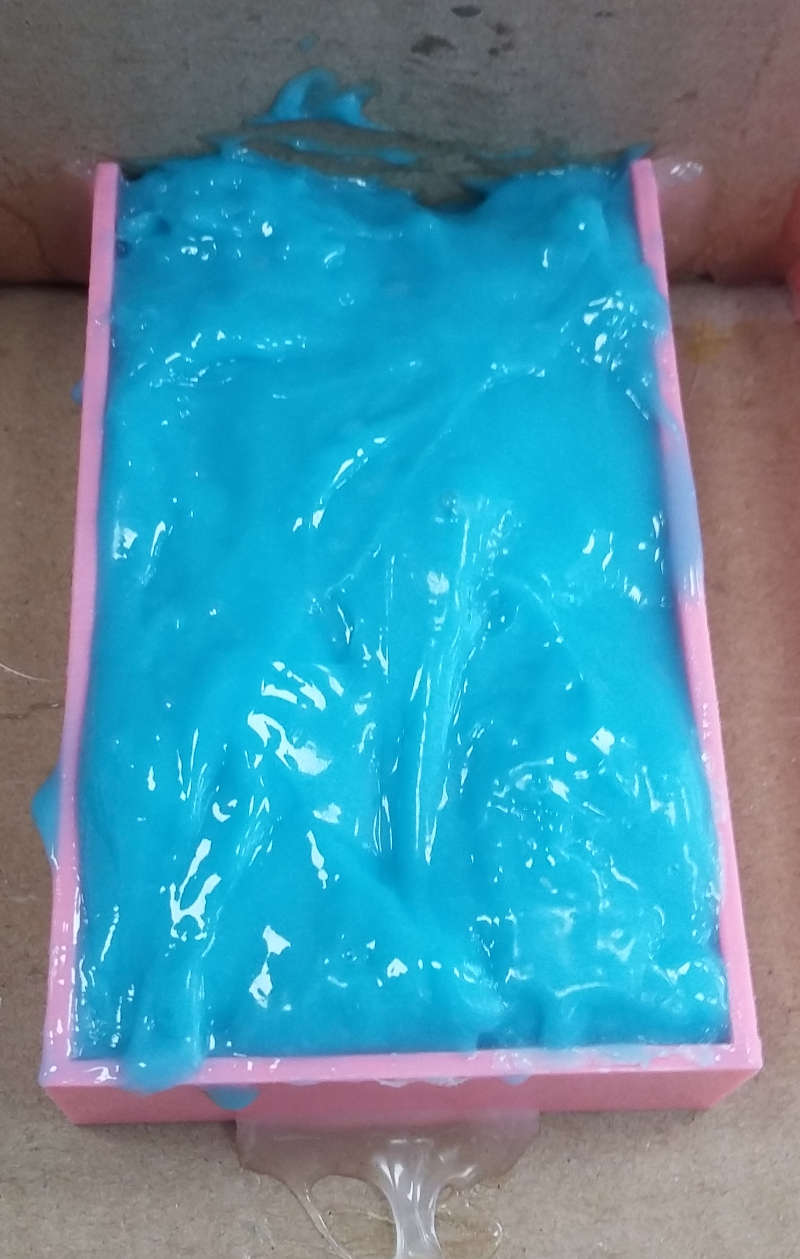
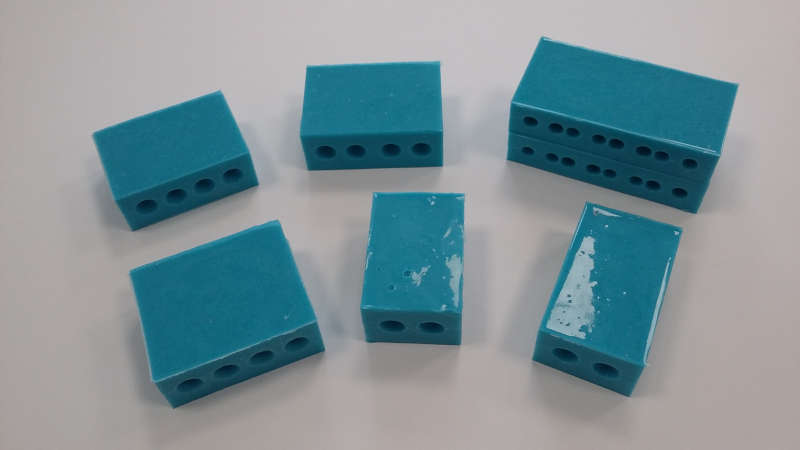
When everything is ready you just have to pour your silicon inside the mold. But it is not that easy, we have several enemy time and bubbles. To avoid bubbles, you have to poor the silicon slowly in a corner and let it fill/cover all the details by itself. However, we have a time limit, in my case 6 min, and of course on my first batch, being to careful not to make any bubbles, I hit this limit. You can see the result below the last mold on the right isn’t flat because the silicon already began to harden and it was impossible to pour it correctly.
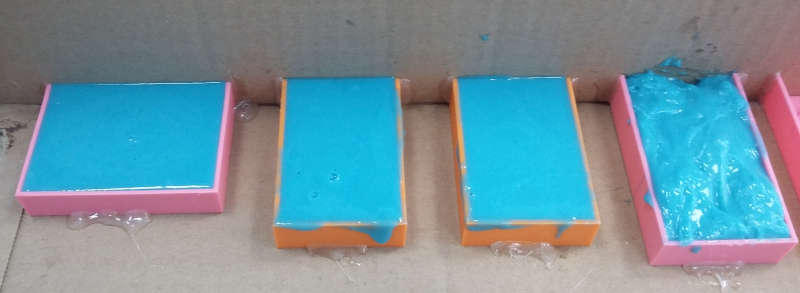
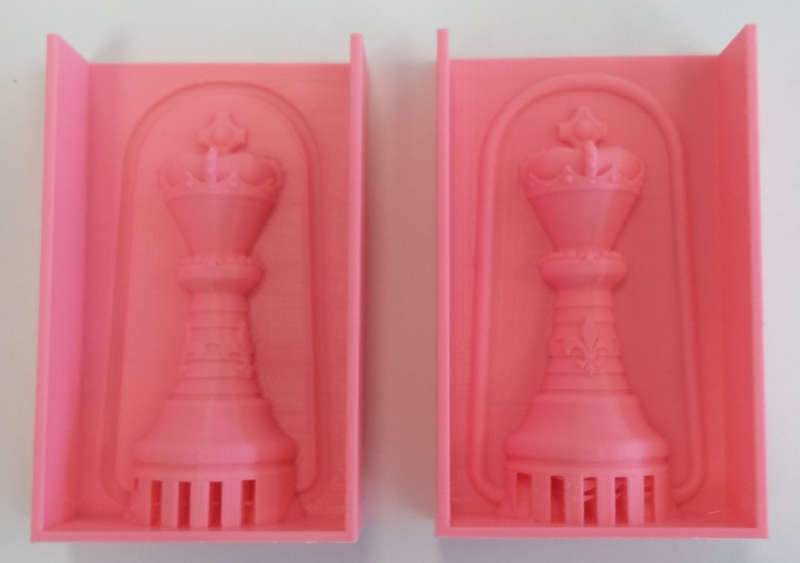
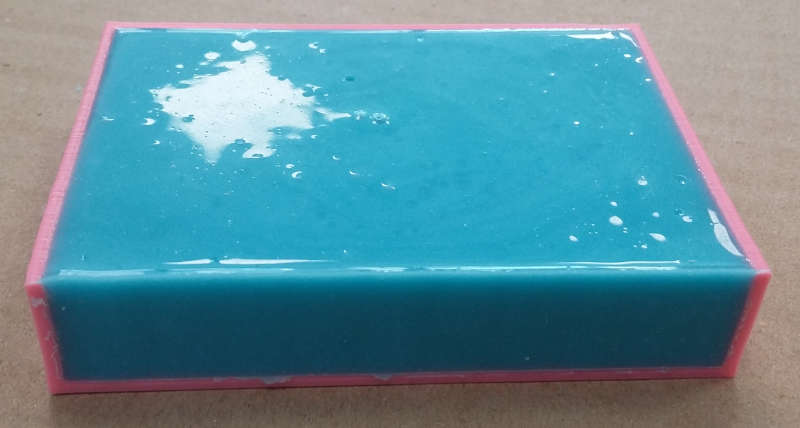
Nevertheless, the results for the rest of them are greats.
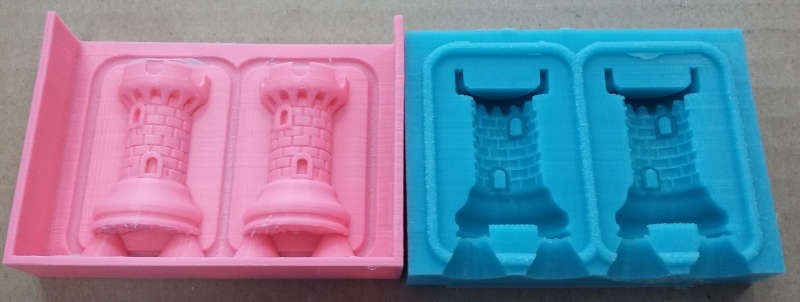
The side without plastic facilitate the demolding. Below is the first one I put out and I was really pleased to see that the details were still intact. In fact, the silicon work so well that you can see the layers of 3D printing.
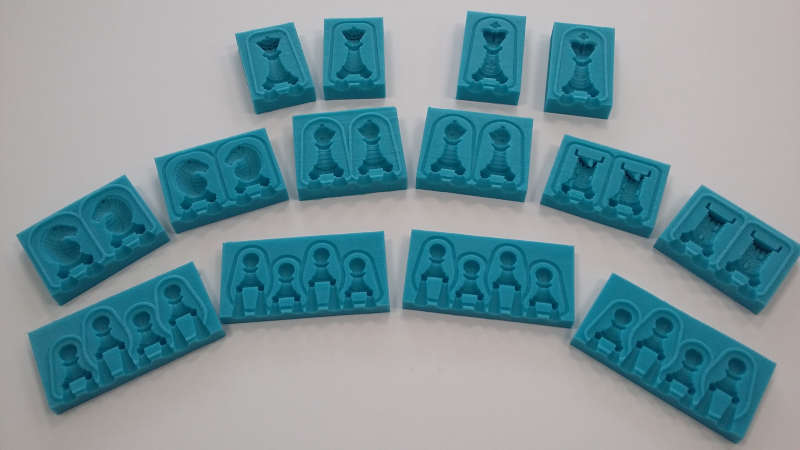
Below is the complete set of silicon molds.

Casting resin
We order some resin but didn’t receive it yet. So I’m waiting in impatience.