Weekly Summary
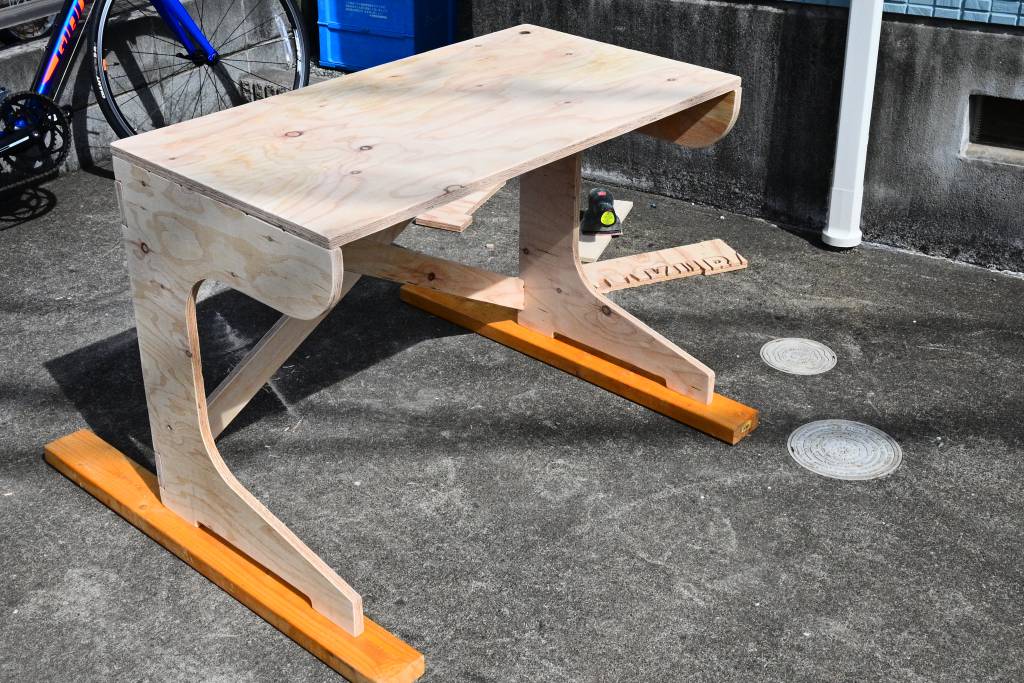
For this week's make something big session the challenge was to design something that can only be made with the ShopBot. The limitation was that we could only use one sheet of 910 x 1820 x 18mm plywood - and it absolutely had to be finish in one day. I finally decided to make a console desk, I designed it during the Saturday Lab session in Kamakura, on Sunday we went to Enokido Lumber in Shin-Kiba (north east of Tokyo, not far from Disneyland) to use their ShopBot.
Group Assignment
This weeks group assignment was to do your lab's safety training, and test runout, alignment, speeds, feeds, materials, and toolpaths for your machine. More details at the Group Page.
Individual Assignment
Setting
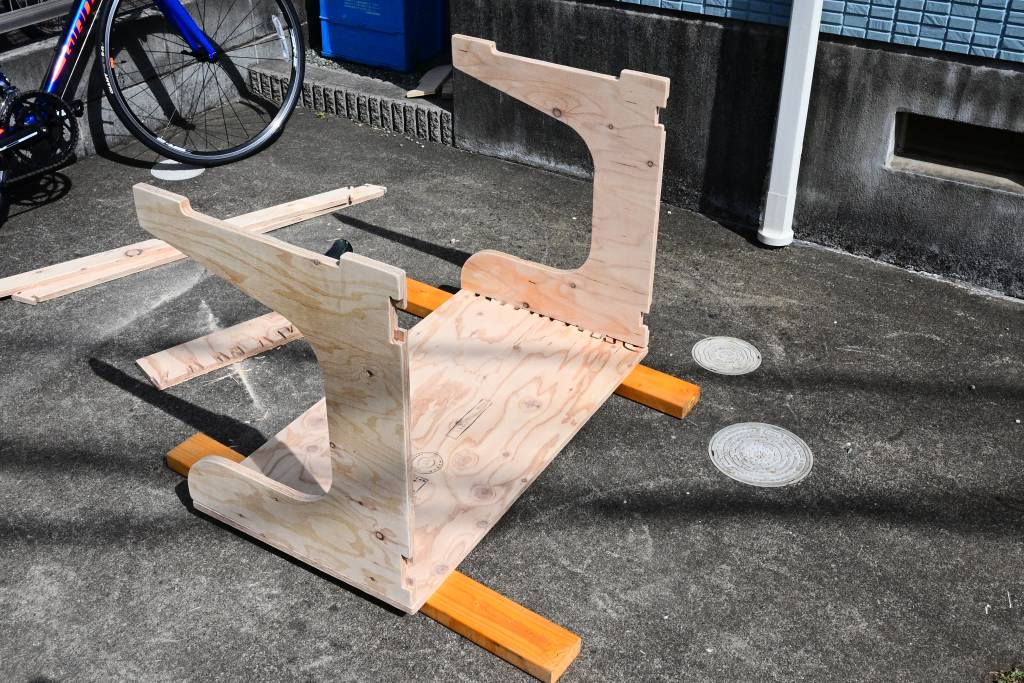
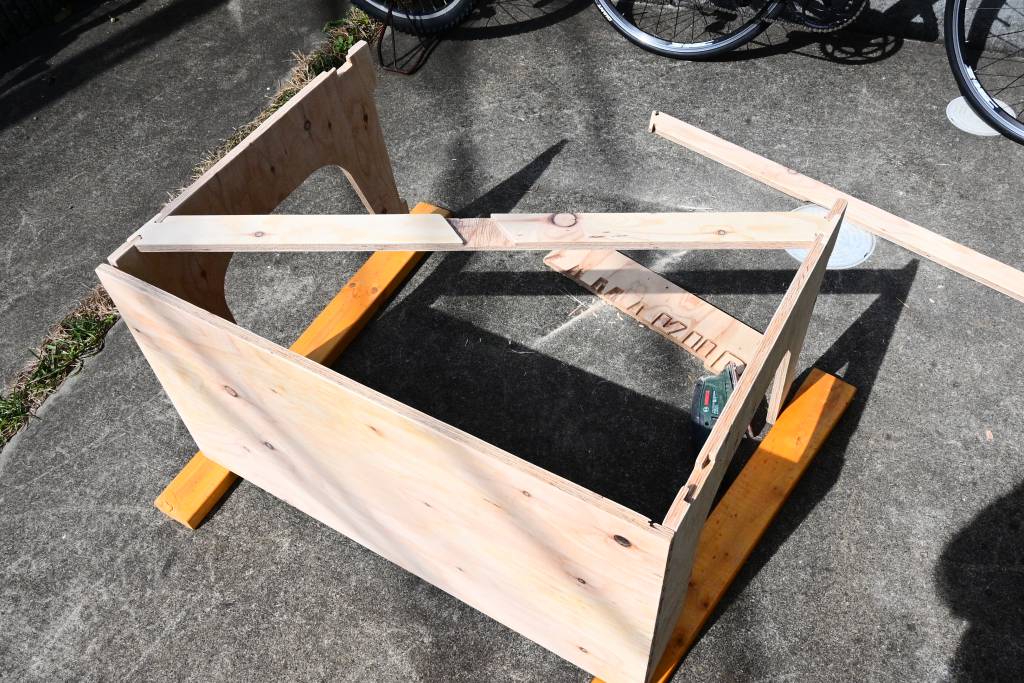
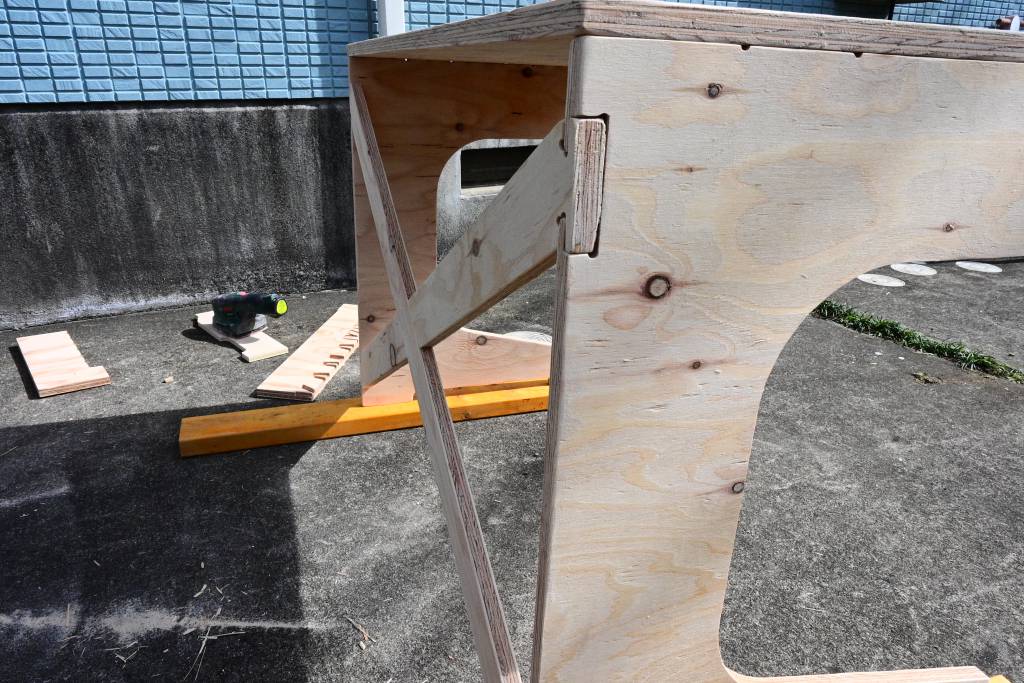
The individual assignment was to make (design+mill+assemble) something big (~meter-scale).
We were going to have access to a ShopBot - many thanks to Enokido Lumber in Tokyo for letting us use their ShopBot - and their workshop.
We had the following restrictions:
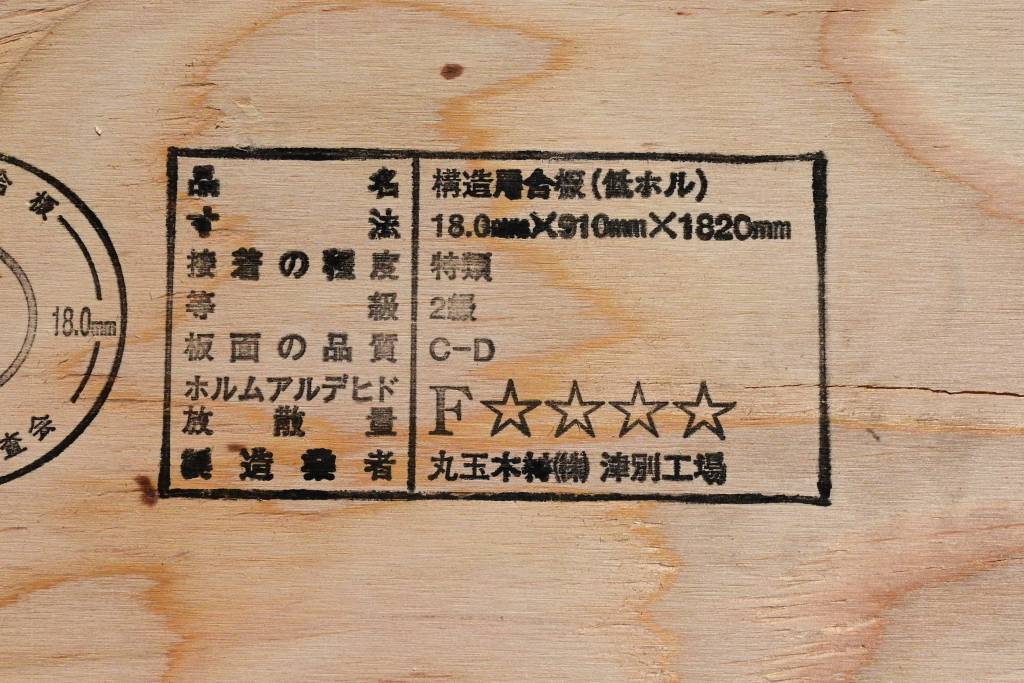
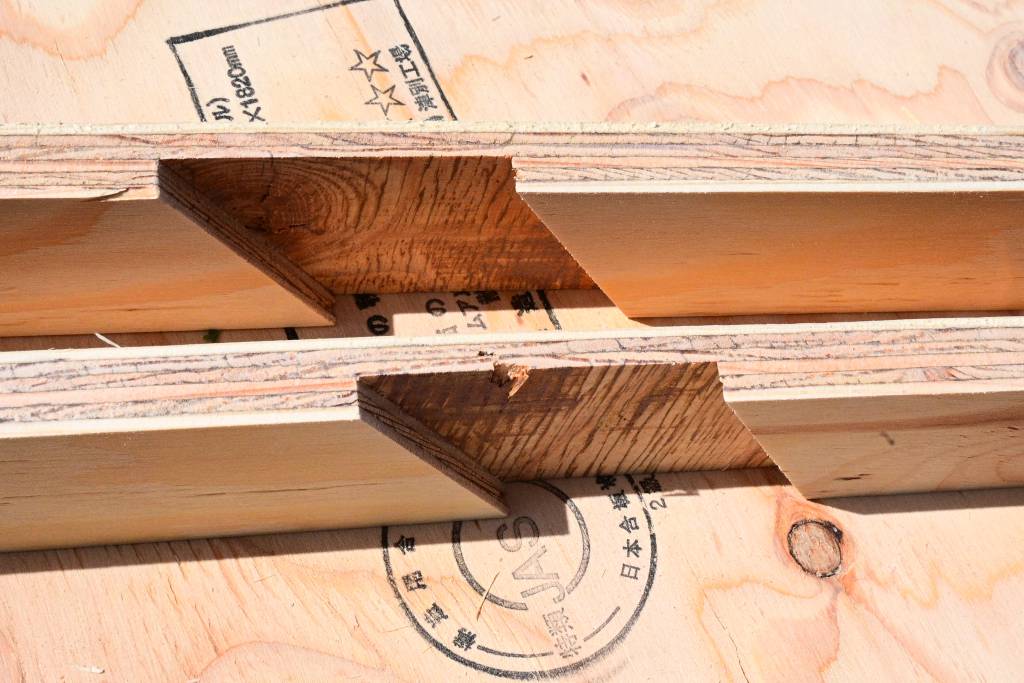
- 1 sheet of Plywood 18mm Thickness 910x1820mm
- 2 hours Tool Time / person
The plan was to do design on Saturday in Kamakura, and the go on Sunday to Enokido Lumber and use the ShopBot. Not only use, but finish!
Sketches and Ideas
This was the most fun. As Neil mentioned in his lecture, this week - unlike the electronics week - will have potential for expressiveness.
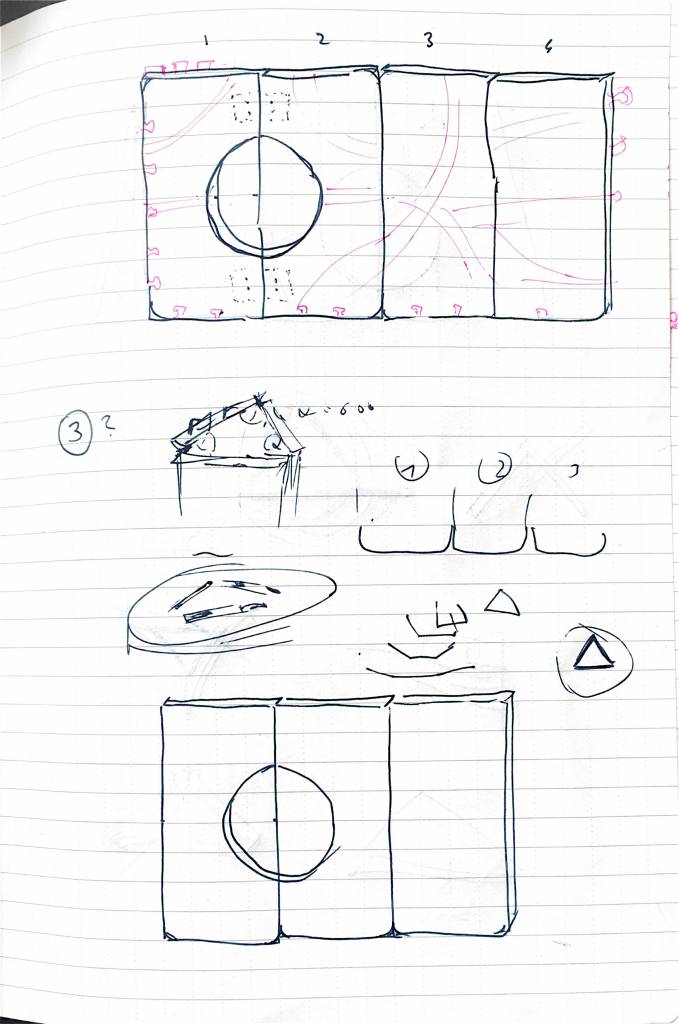
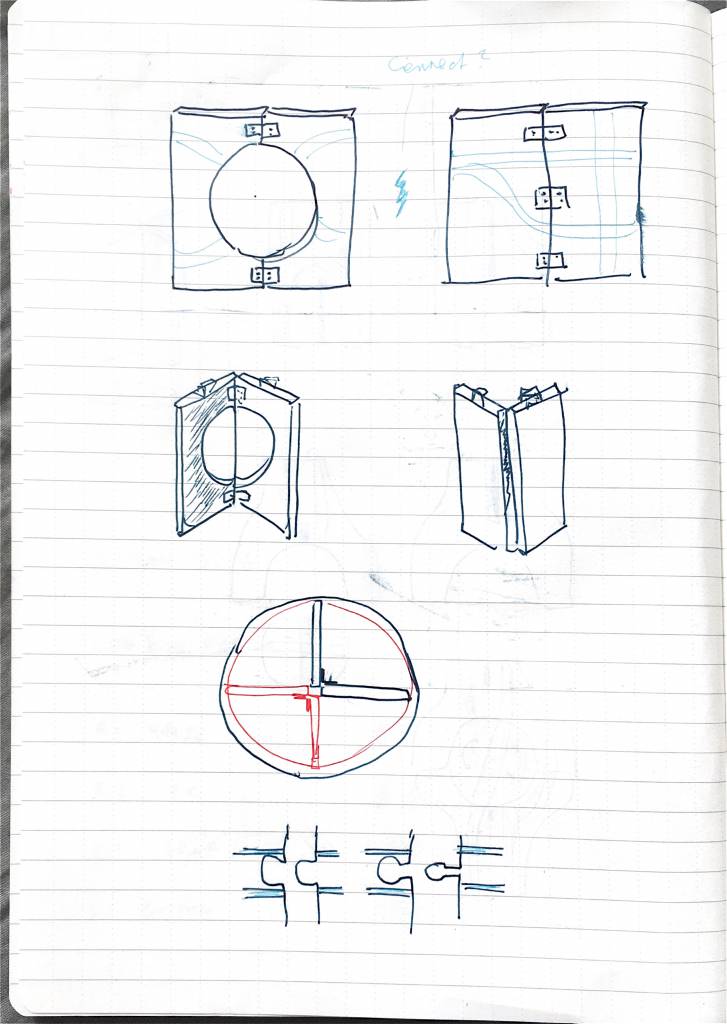
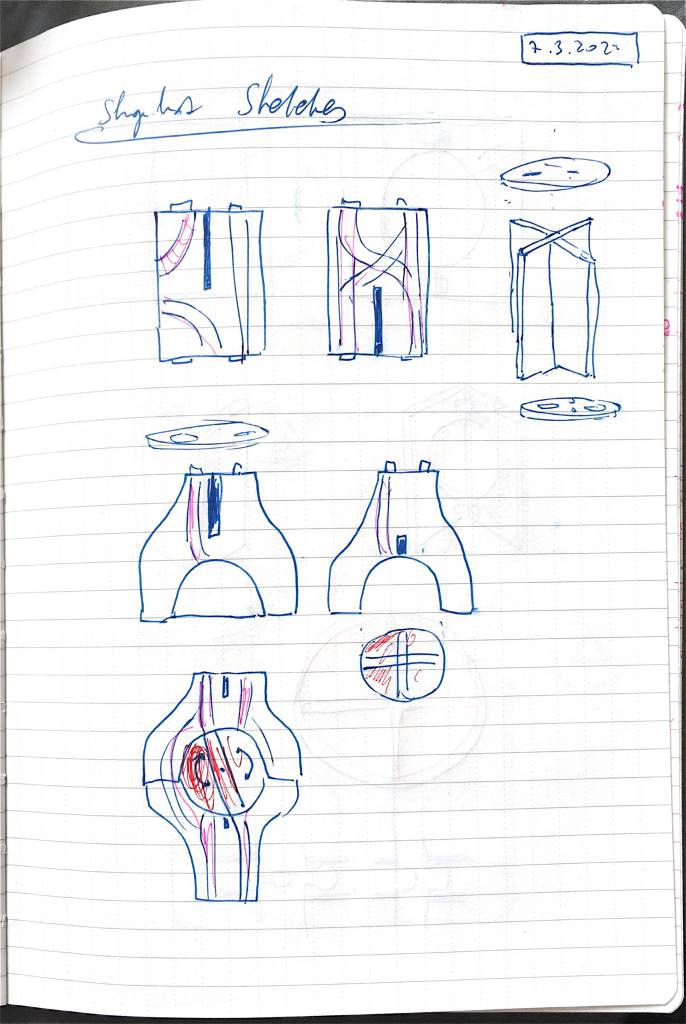
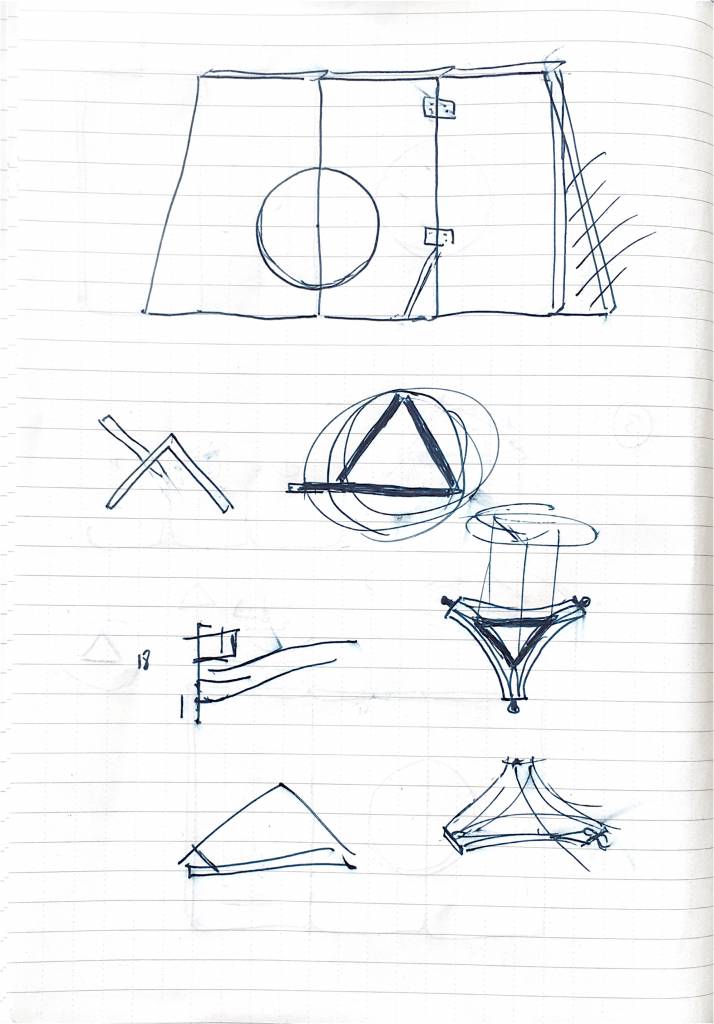
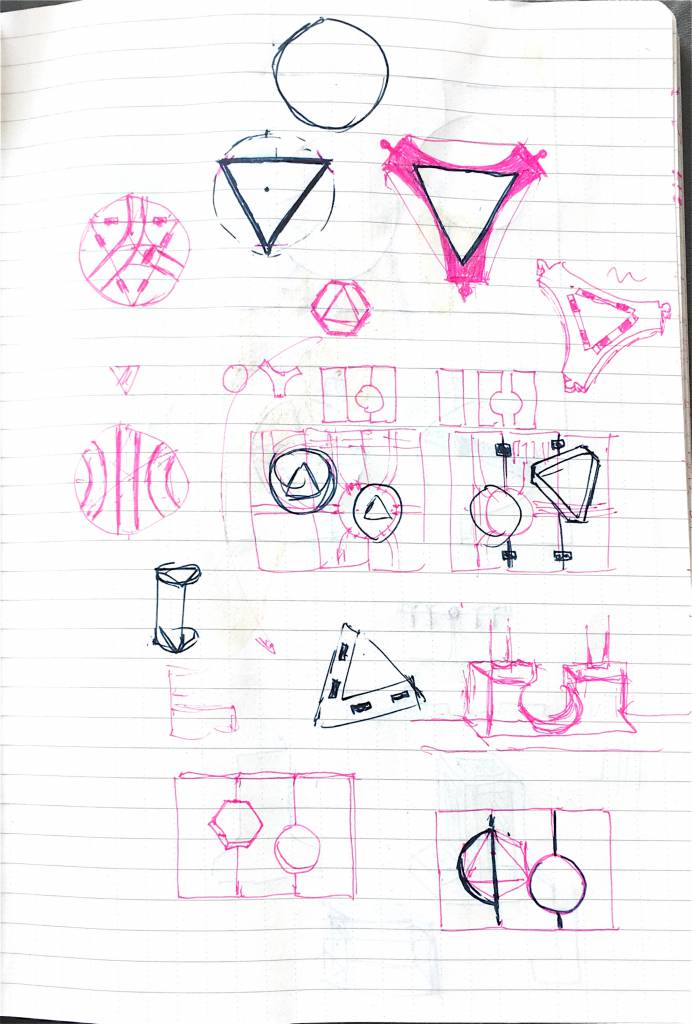
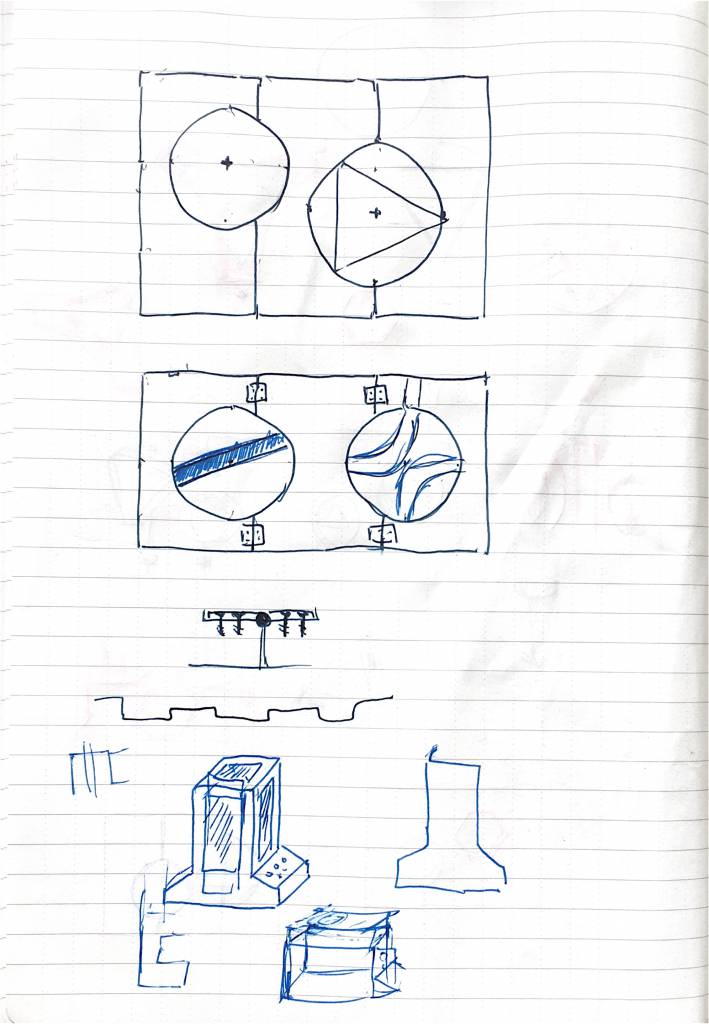
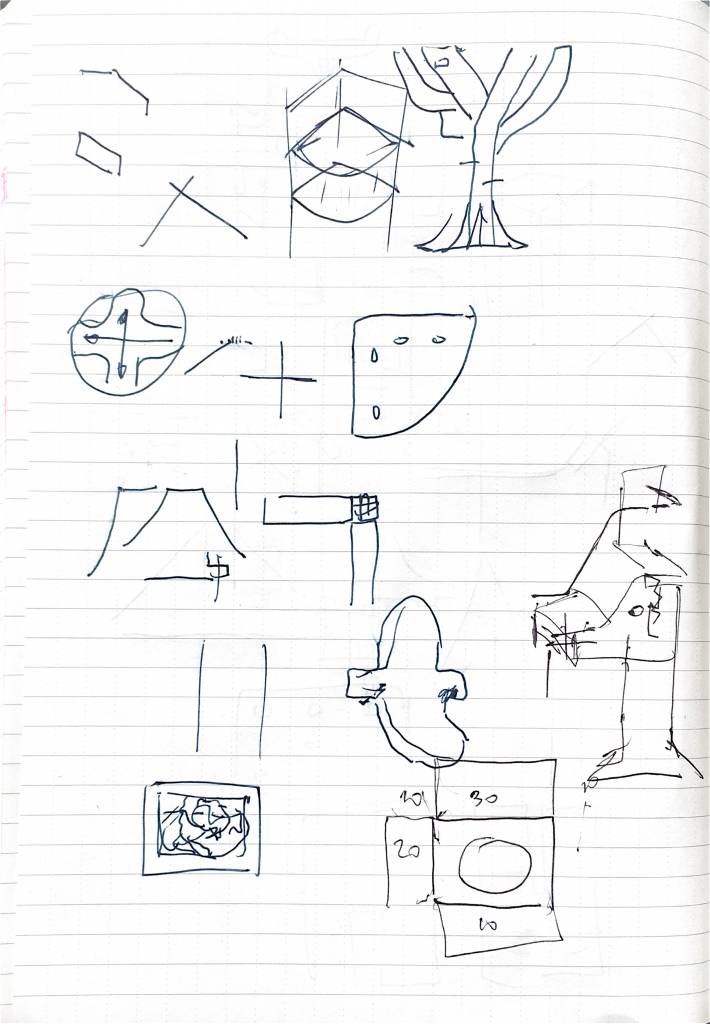
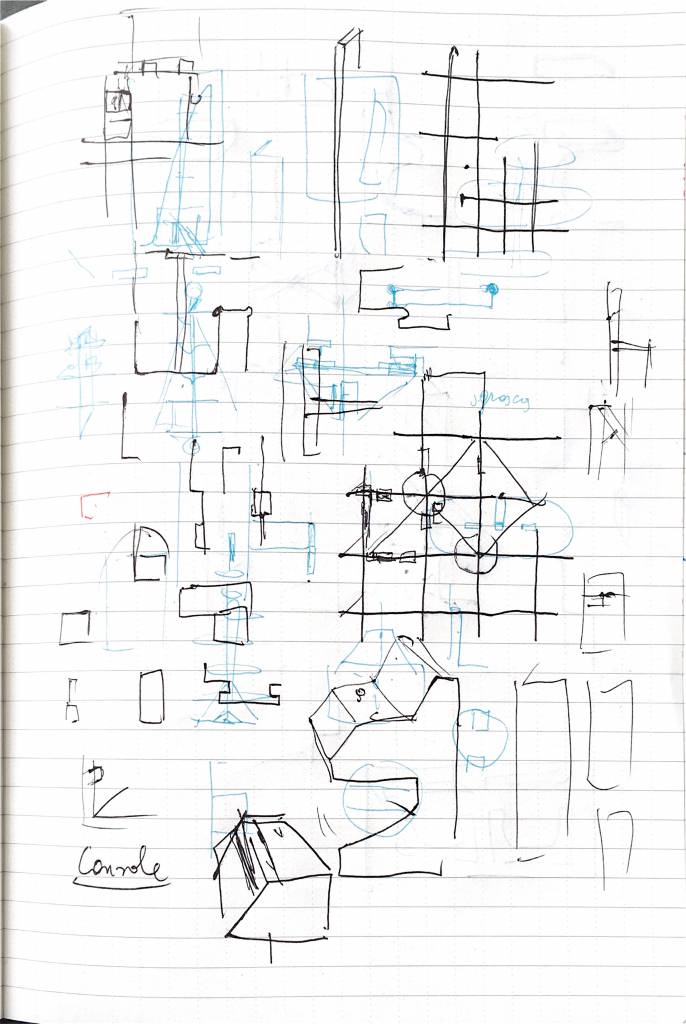
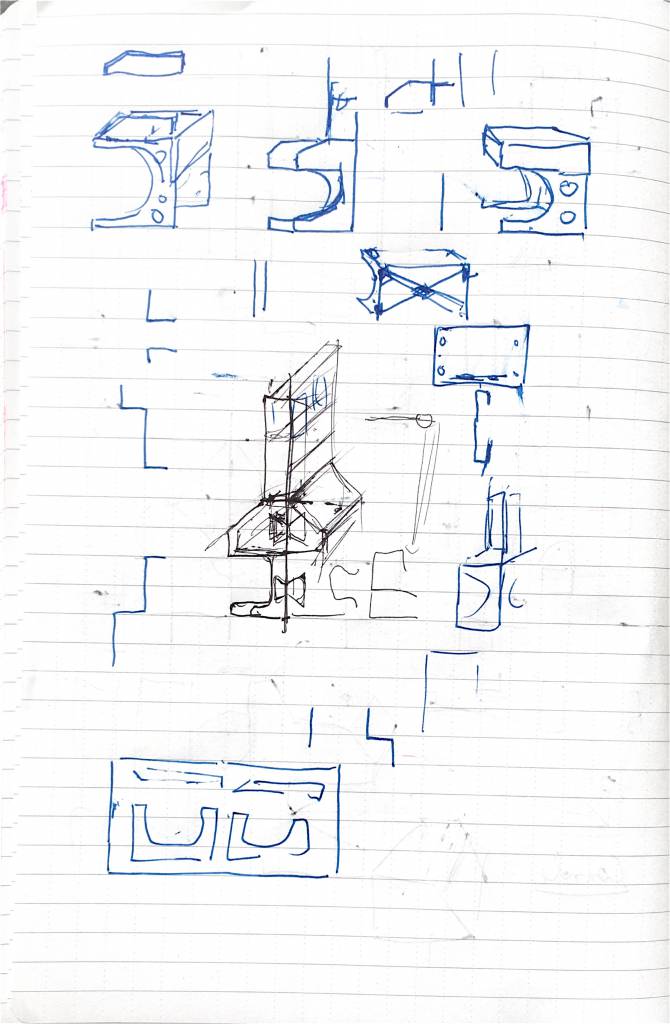
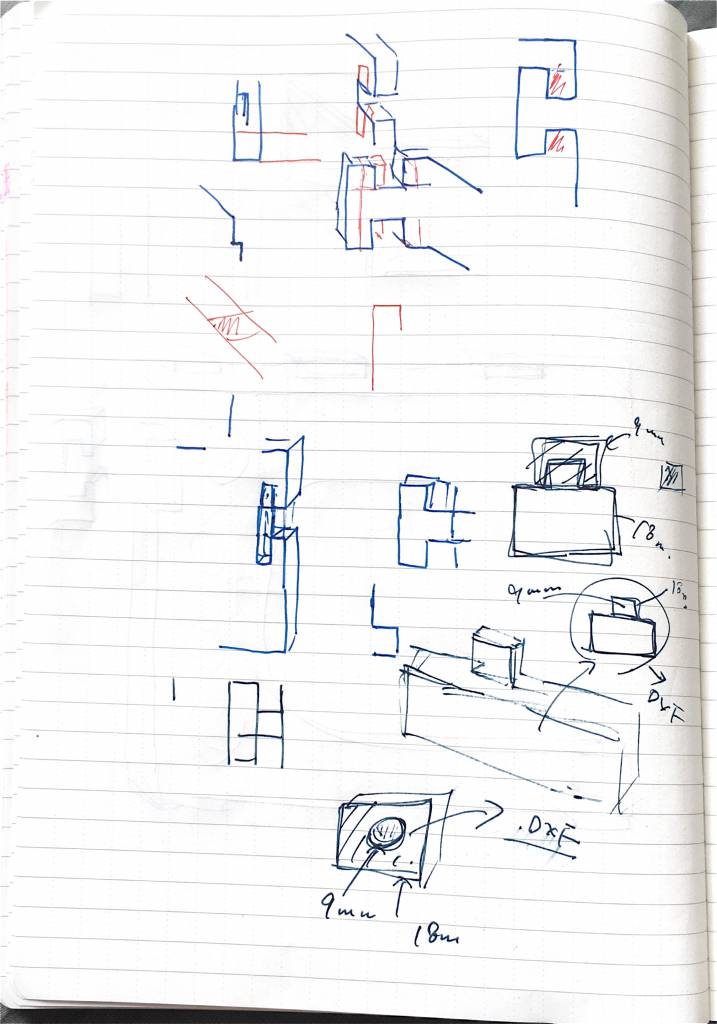
Here are sketches of my development journey, how I ended up making the piece I did:
-
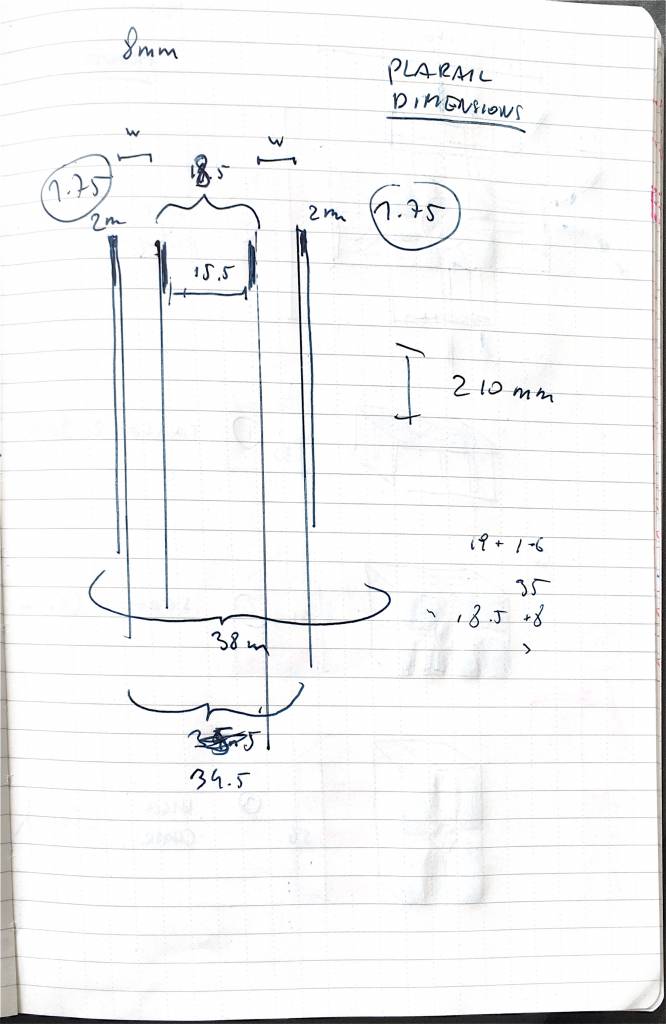
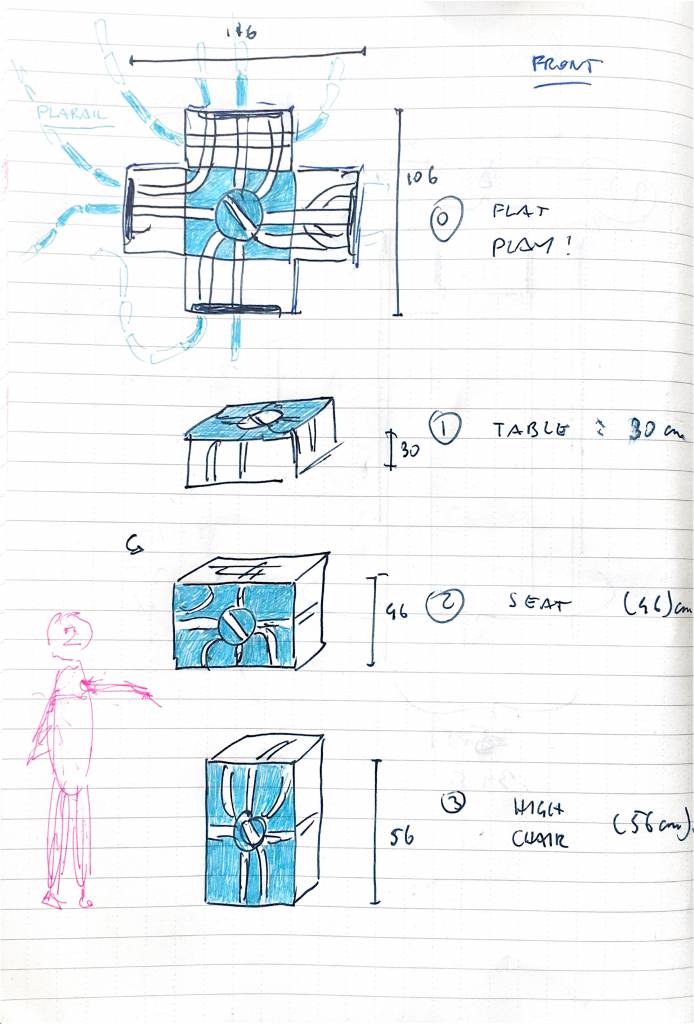
My first idea was a semi-sentimental project, where a 10-year old version of myself tried to make wooden track for a toy train (and failed). I would use a combined Brio and PlaRail Track layout, complete with a railway turntable - to turn the trains.
-
The train playground could be folded into a seat, the top of the seat would be come the train turntable.
-
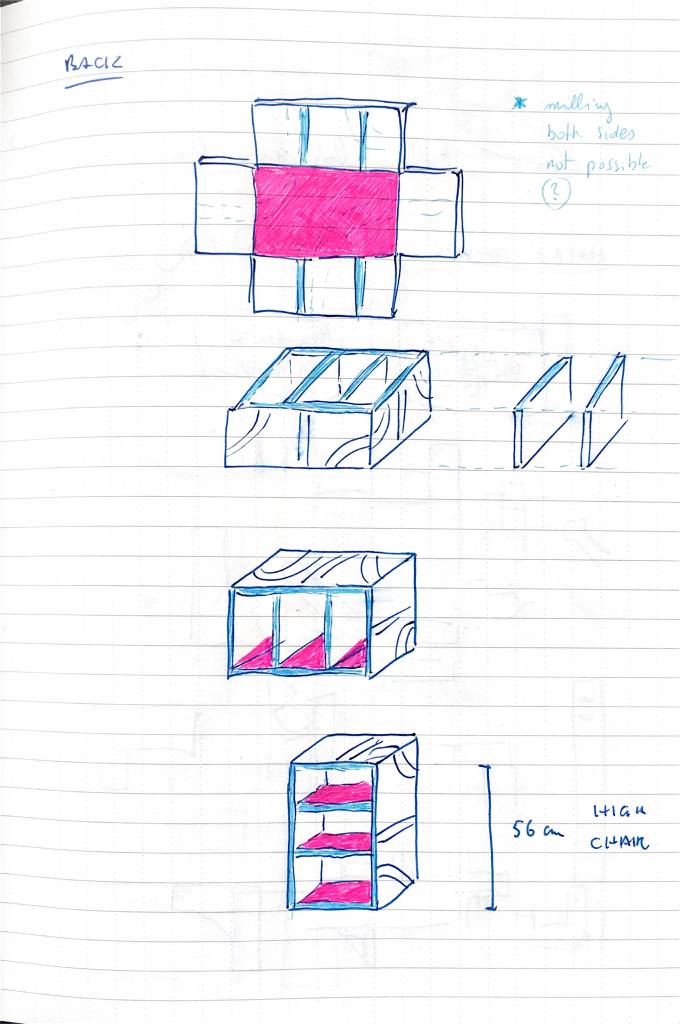
A combined table/chair/high-chair box, again with train tracks. While now playing with trains, the box could either be a table, chair or high-chair. Great, but basically only a box - and not really related to the final project.
-
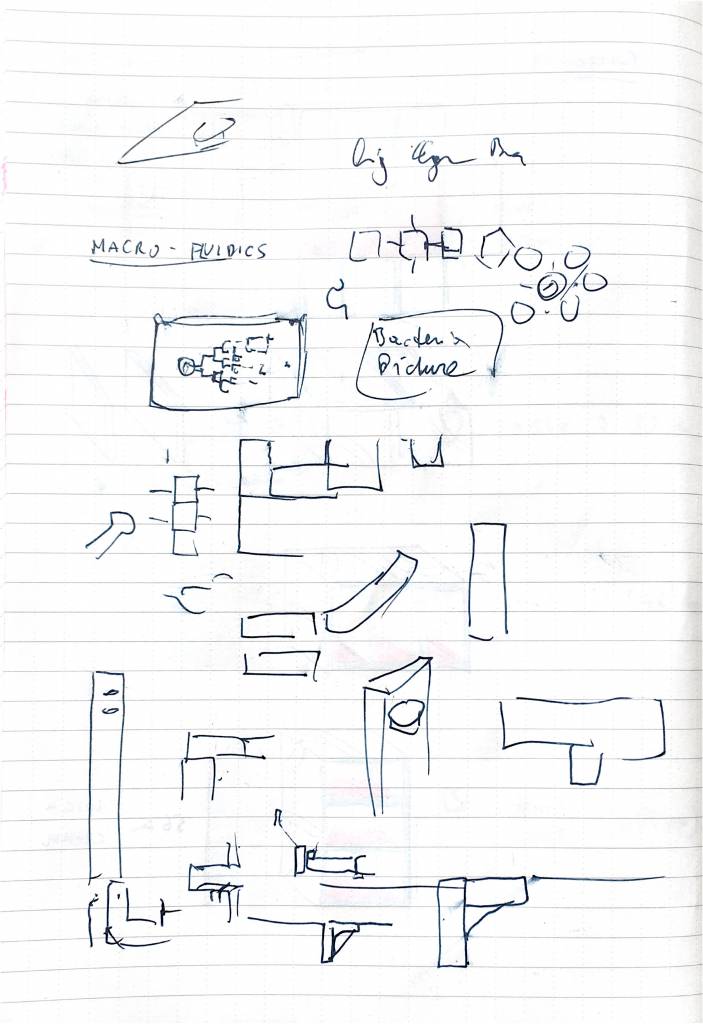
The Final Project will be an array of different incubator for different organisms, what is needed for that is some sort of control console. So I decided to make a table, which will eventually have the console on top.
-
Big, not that exciting, but spiraling in/out of control.
Modeling the Console
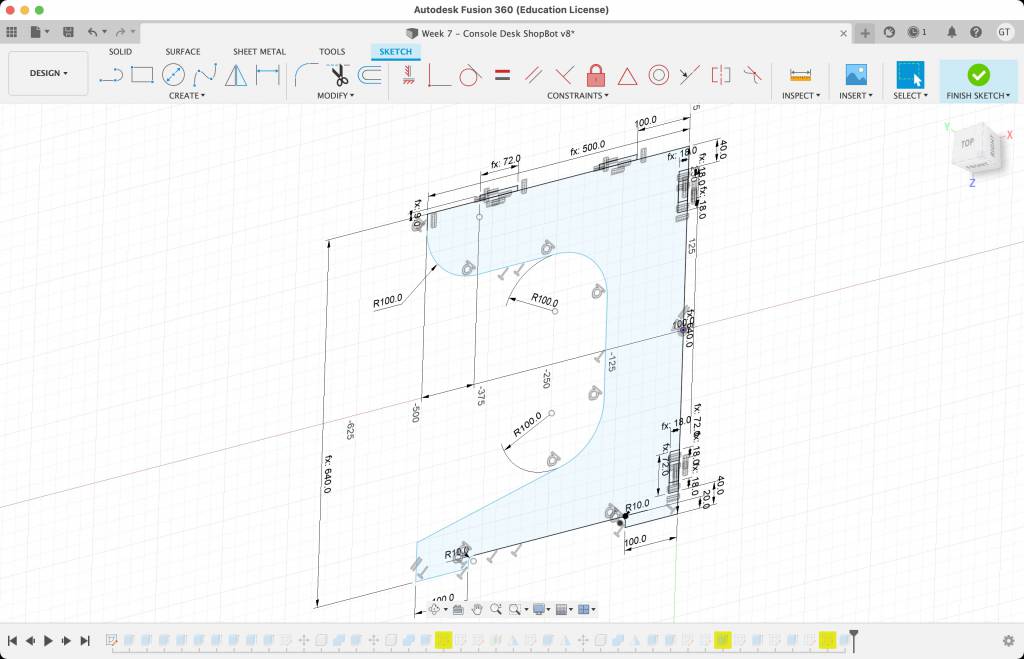
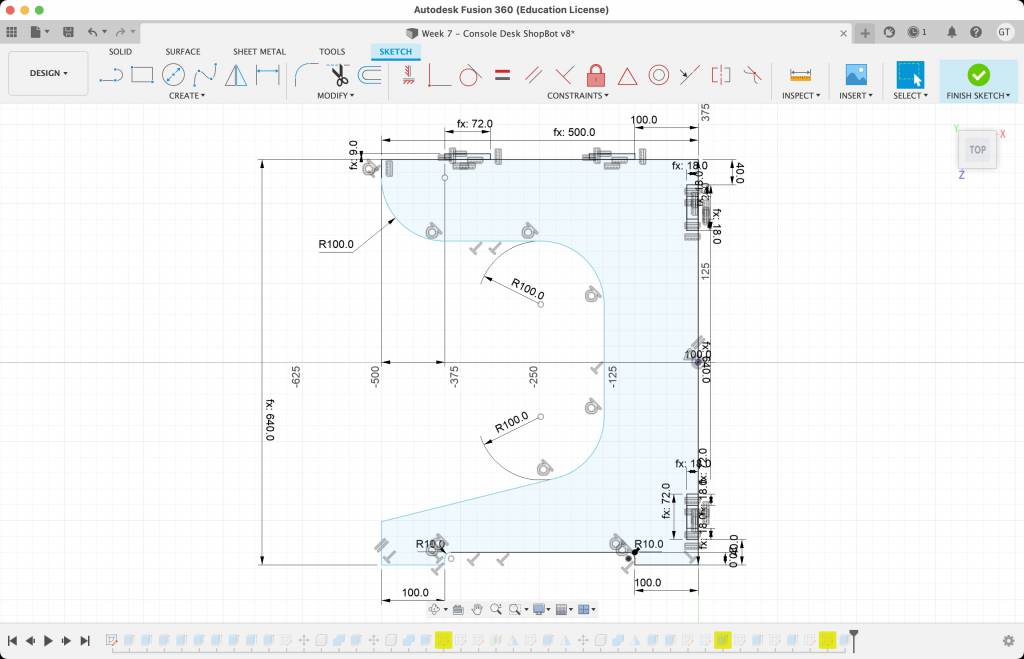
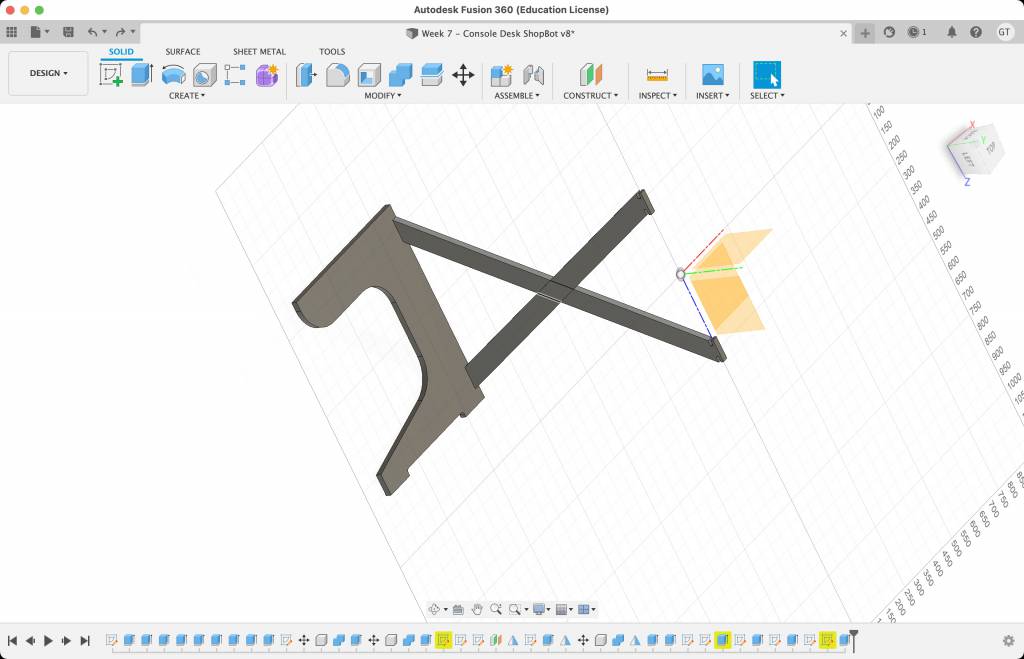
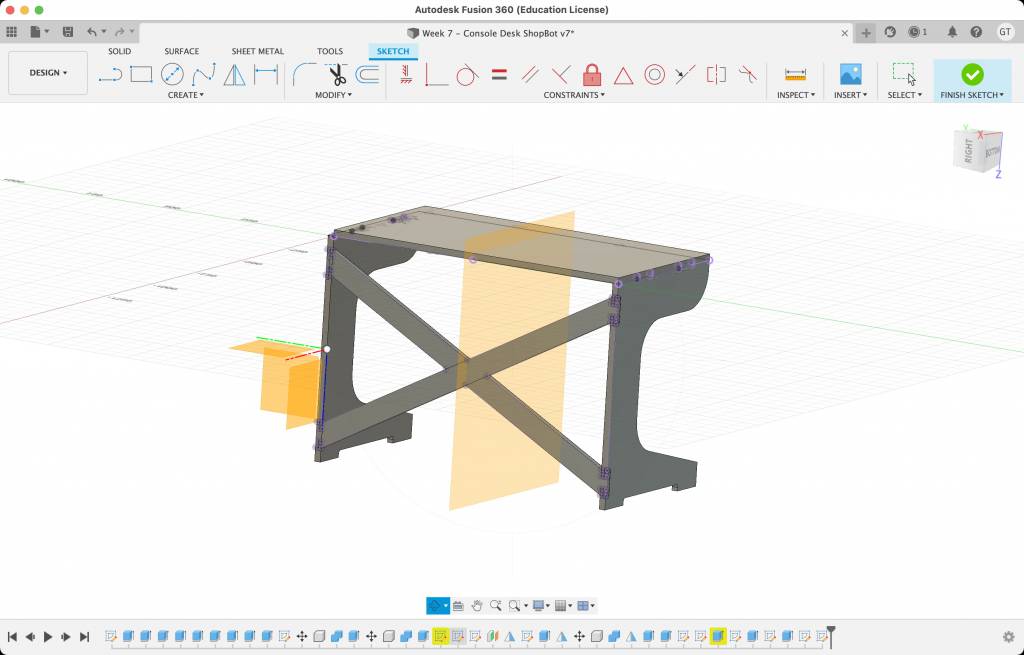
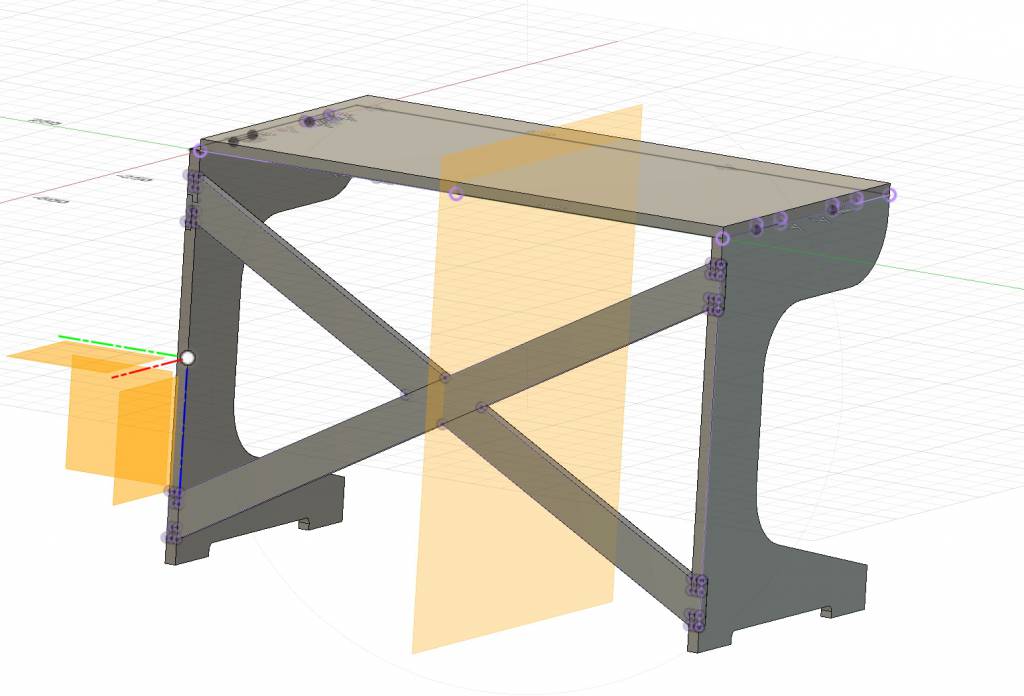
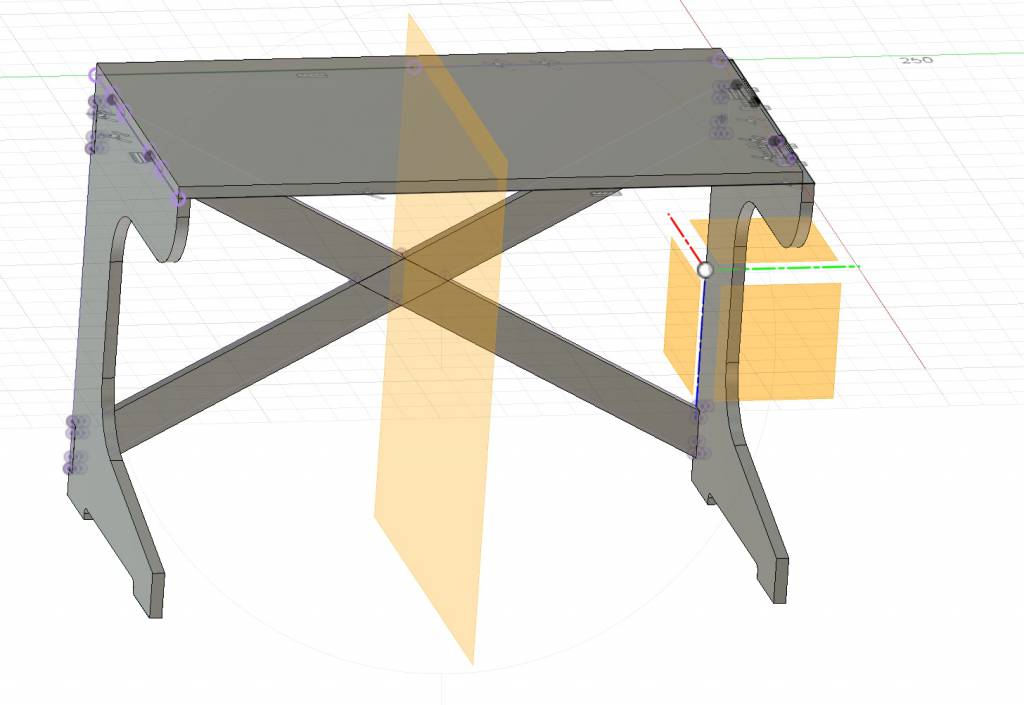
And here is the Fusion 360 Embed:
Modeling still does not come easy for me. I need to deep dive into the tutorials.
Data Pathway
- Model paramedically in Fusion 360
- Export as DXF
- Clean in Illustrator/Inkscape
- Import to VCarve Pro
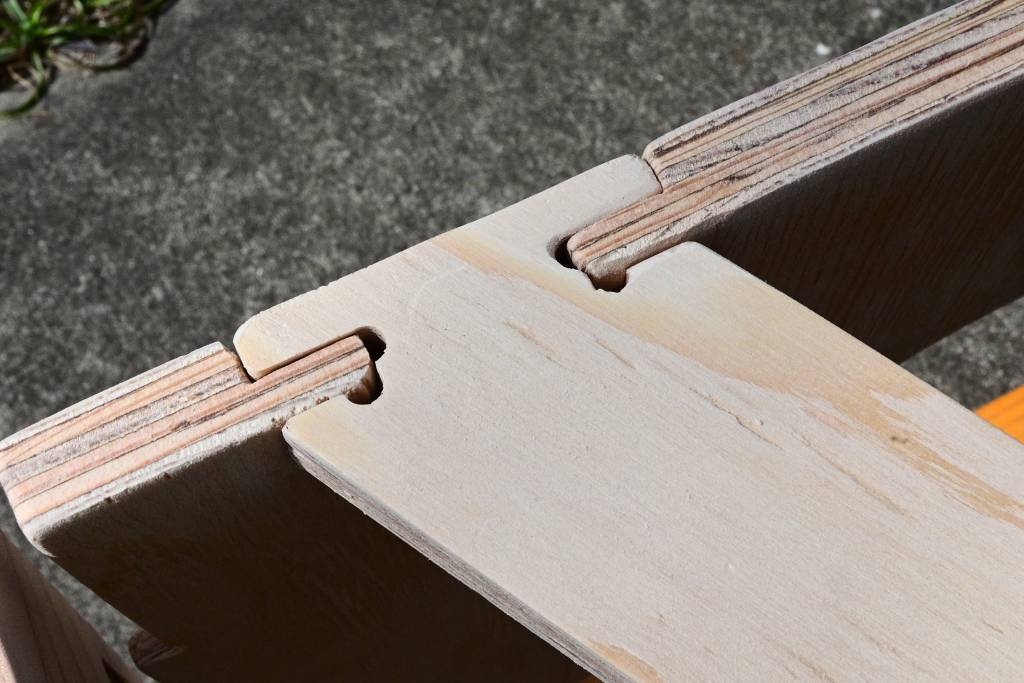
- Add Dogbone/T-Bones, Tabs, Pockets, etc
- Export from VCarve Pro
- Import to ShopBot Software (dedicated Computer connected to ShopBot)
- Run ShopBot
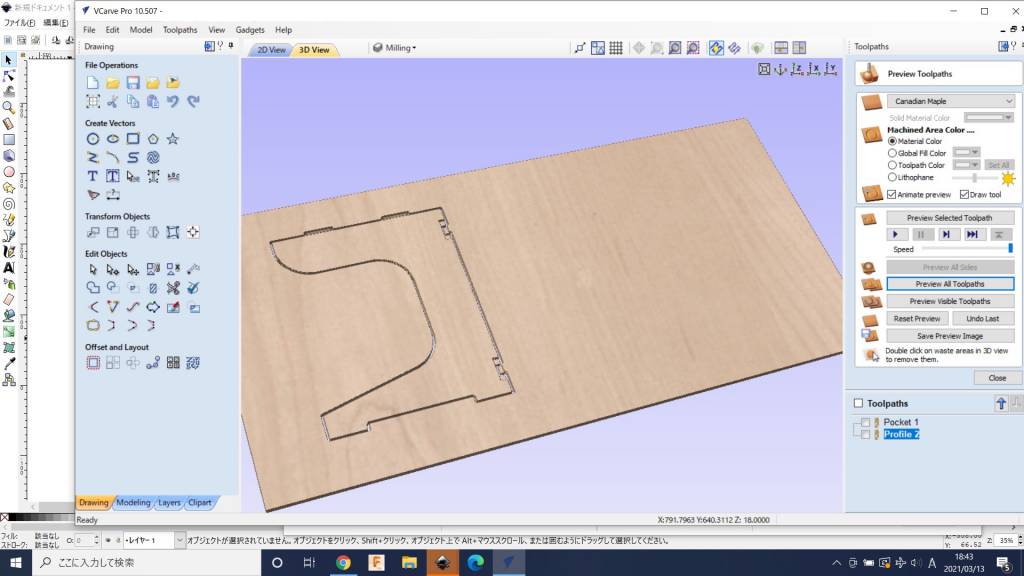
VCarve Pro
VCarve Pro is a proprietary software for Windows ($699 / £540 / €660), that is used to prepare vector files for the ShopBot.
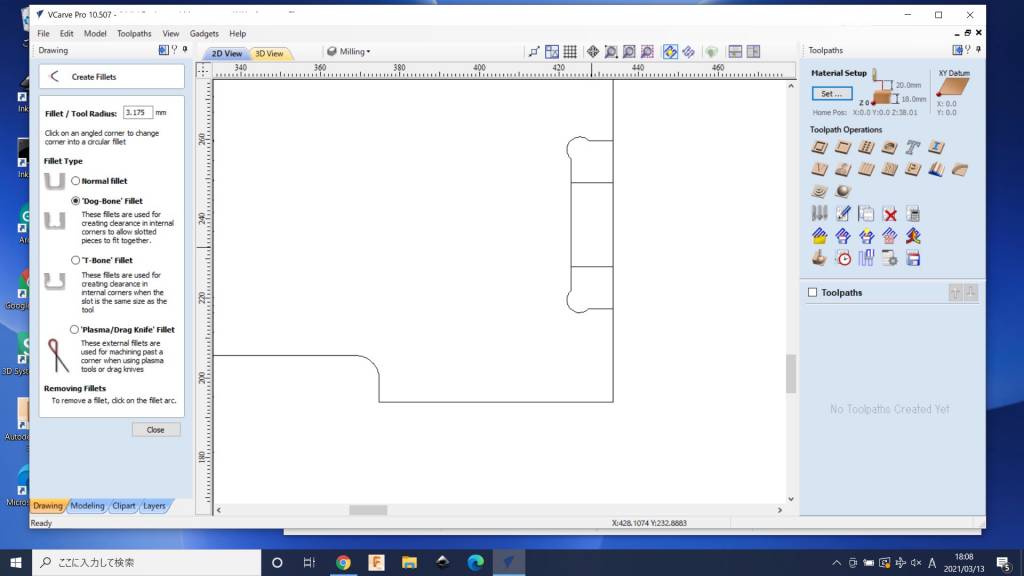
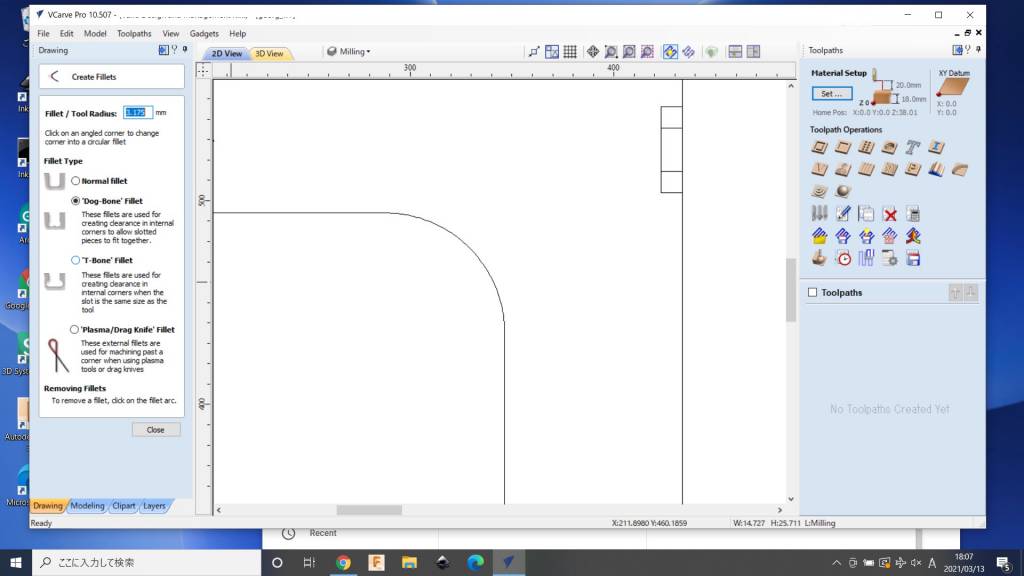
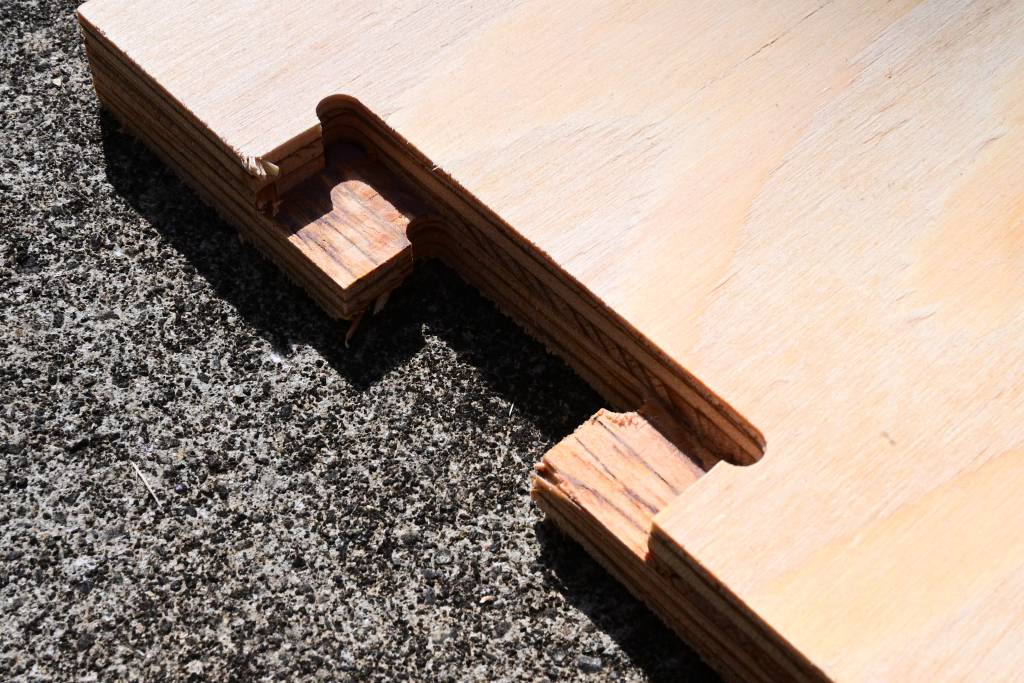
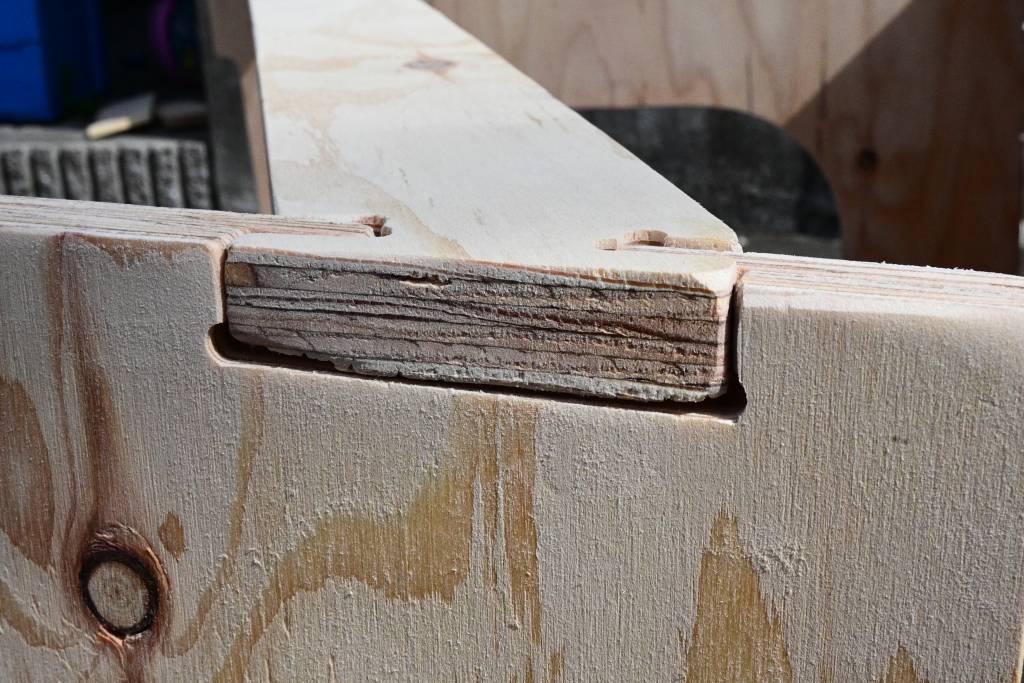
Adding Dogbones and Pockets
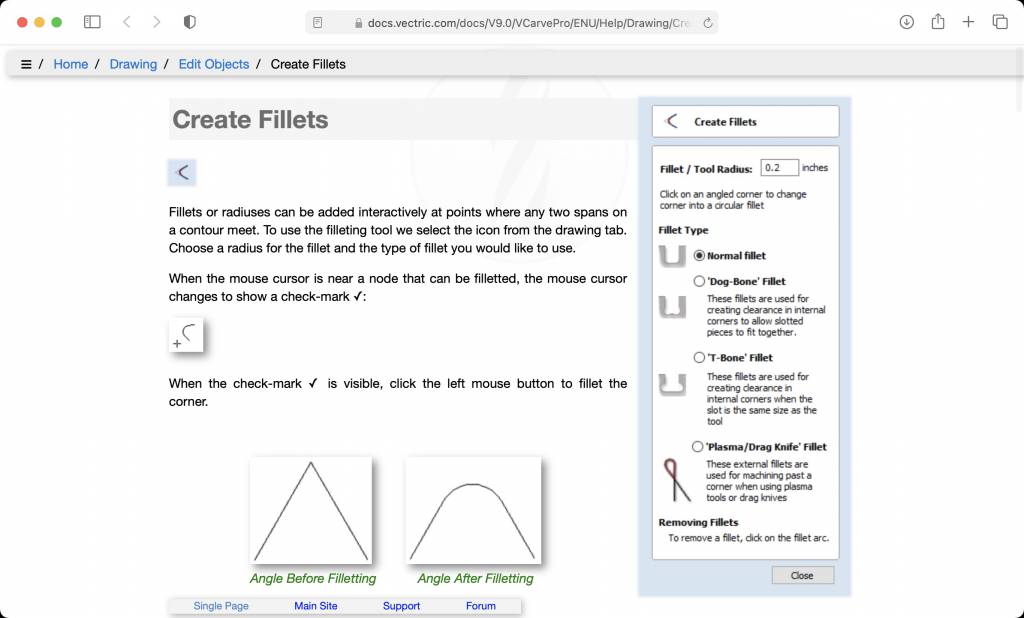
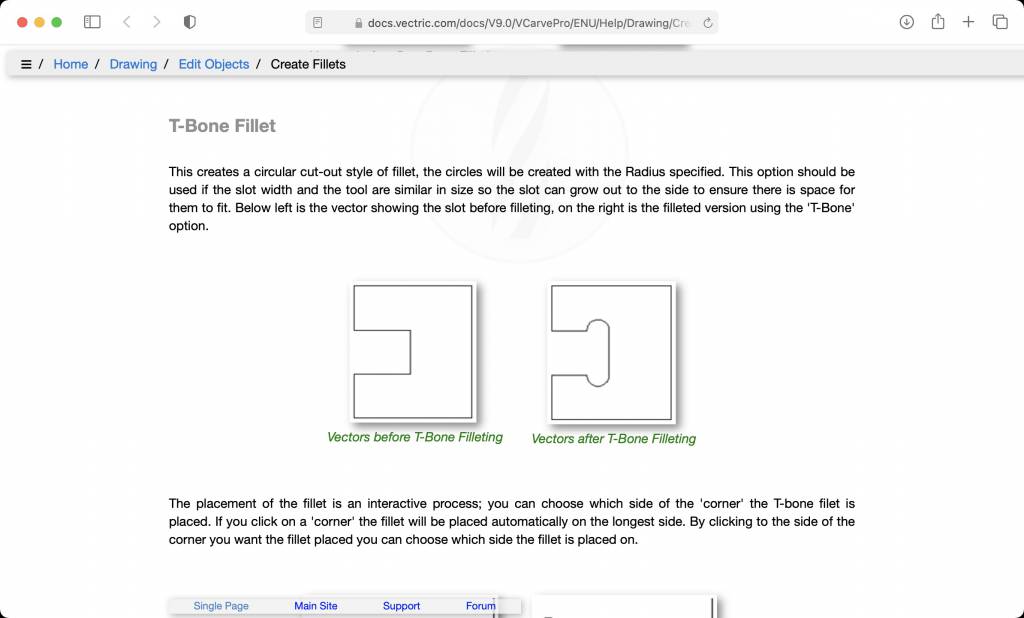
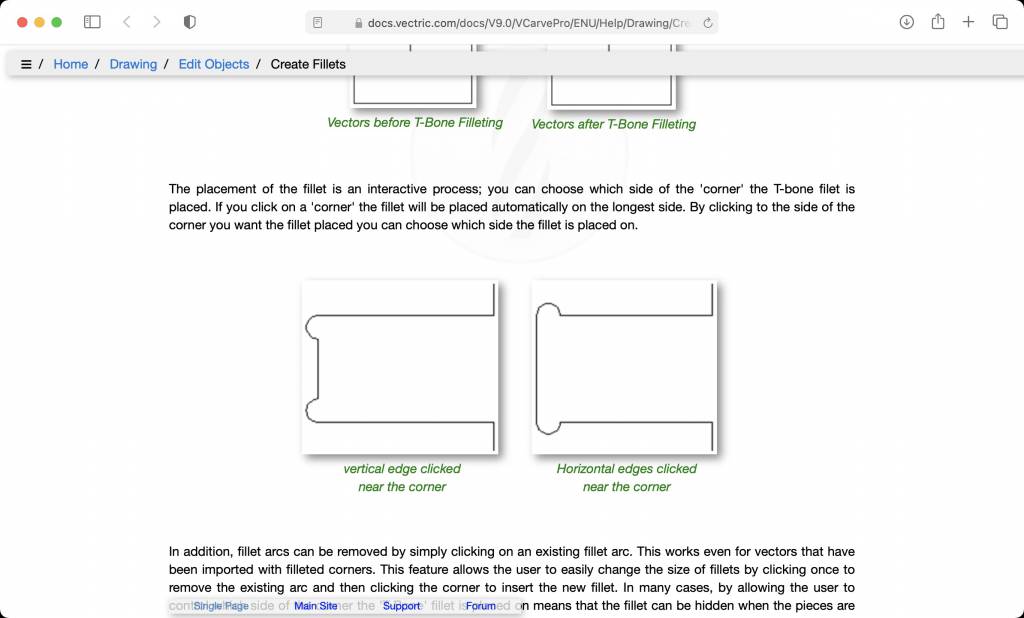
As VCarve Pro is a proprietary software, we only had limited access to it. And I forget to document the process of adding dogbones & pockets in detail. The screenshots above are from the VCarve Pro 9.0 User Manual
-
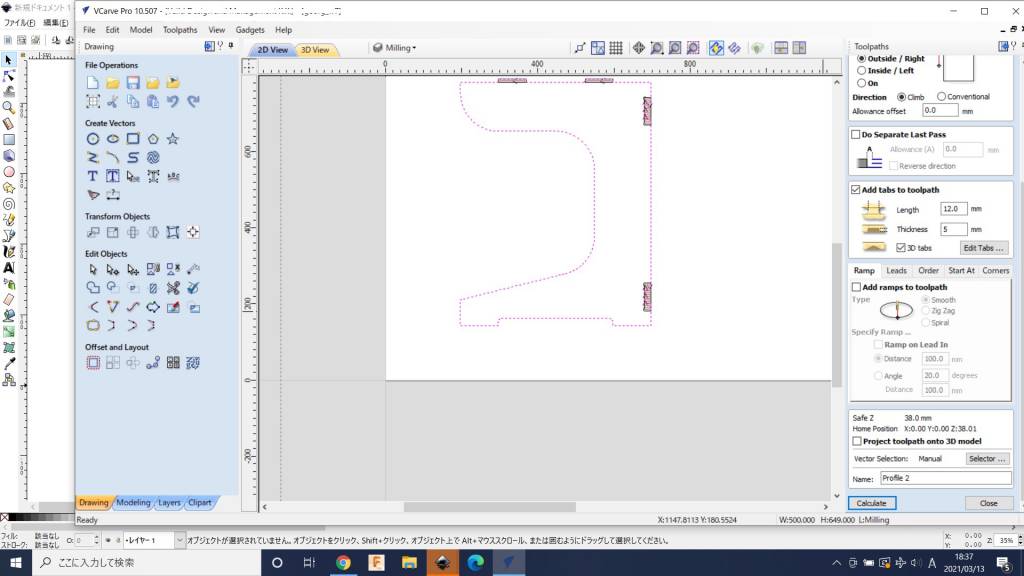
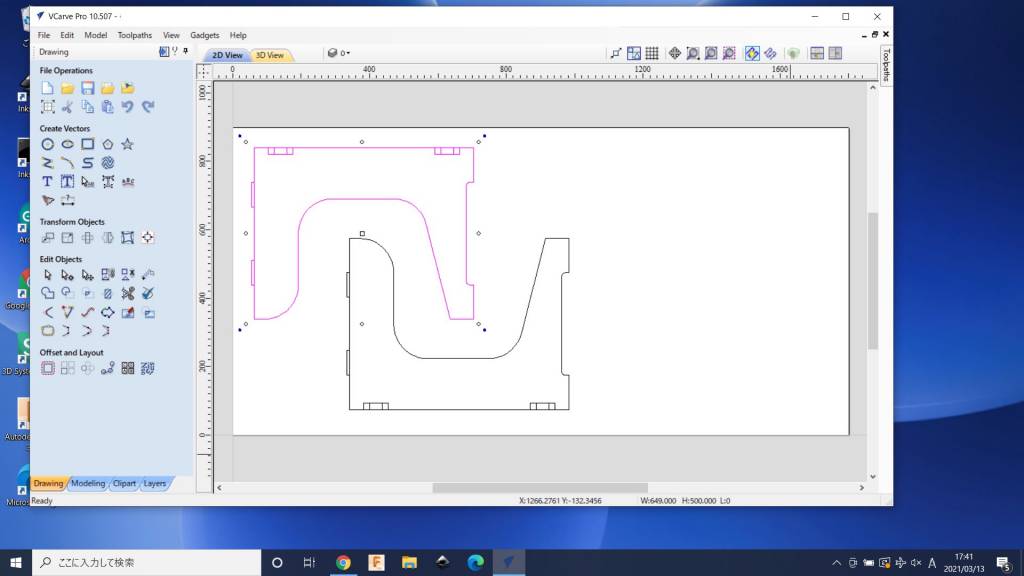
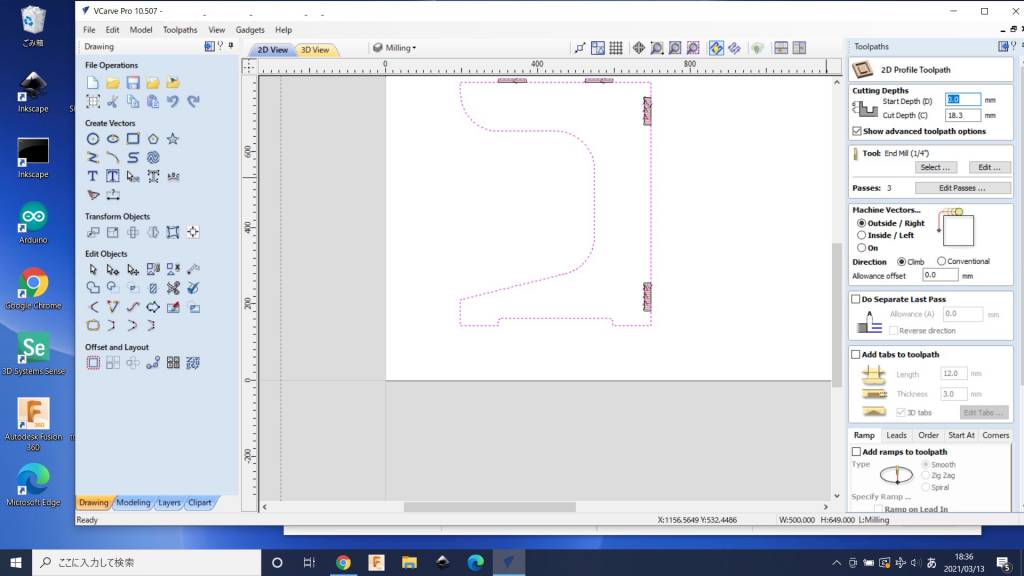
The basic premise of VCarve Pro is to create Toolpaths from vector files. Toolpaths have a Z-dimension, the can cut on the inside or the outside of the path.
-
Select the paths and create either a pocket or a cut.
-
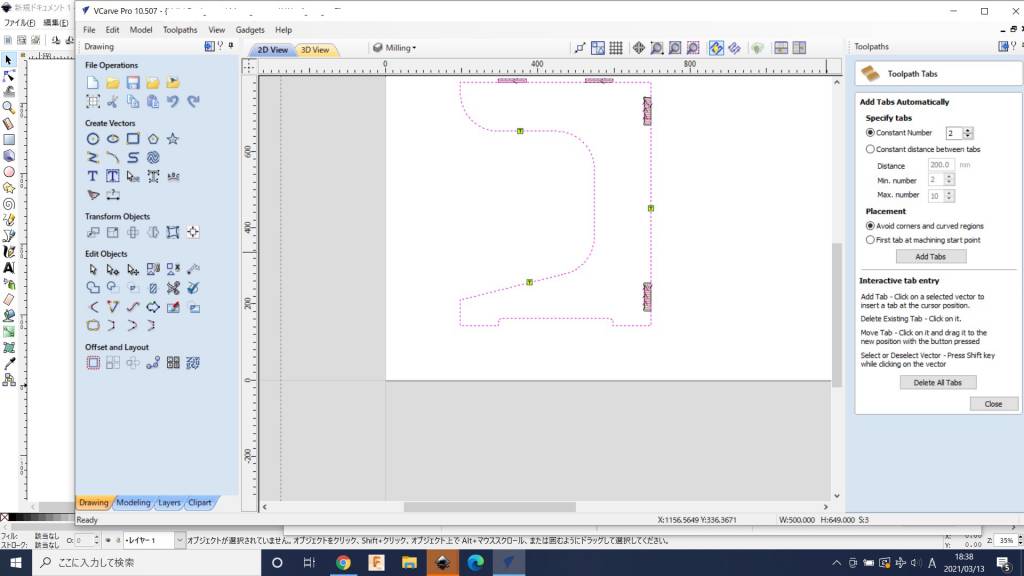
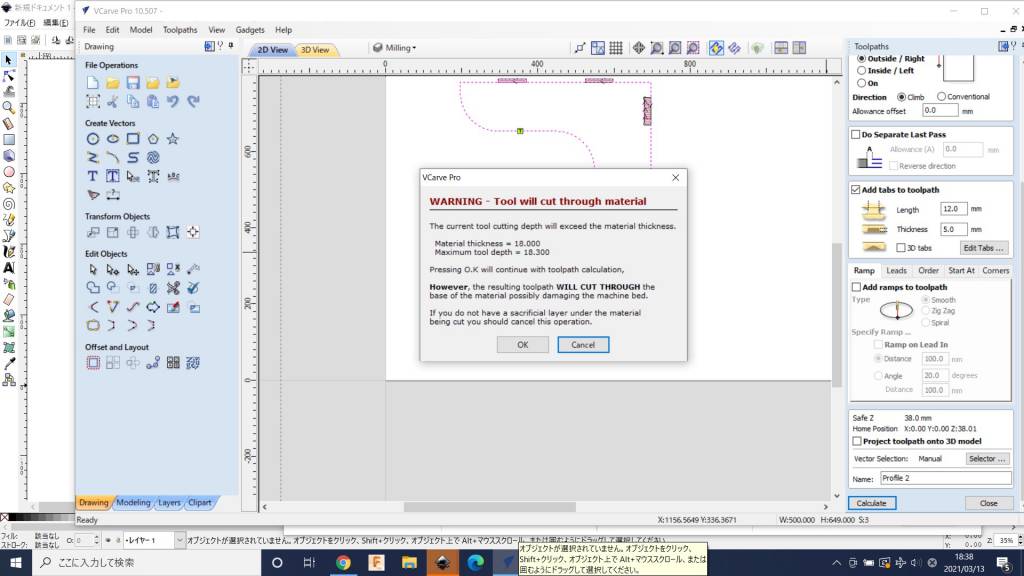
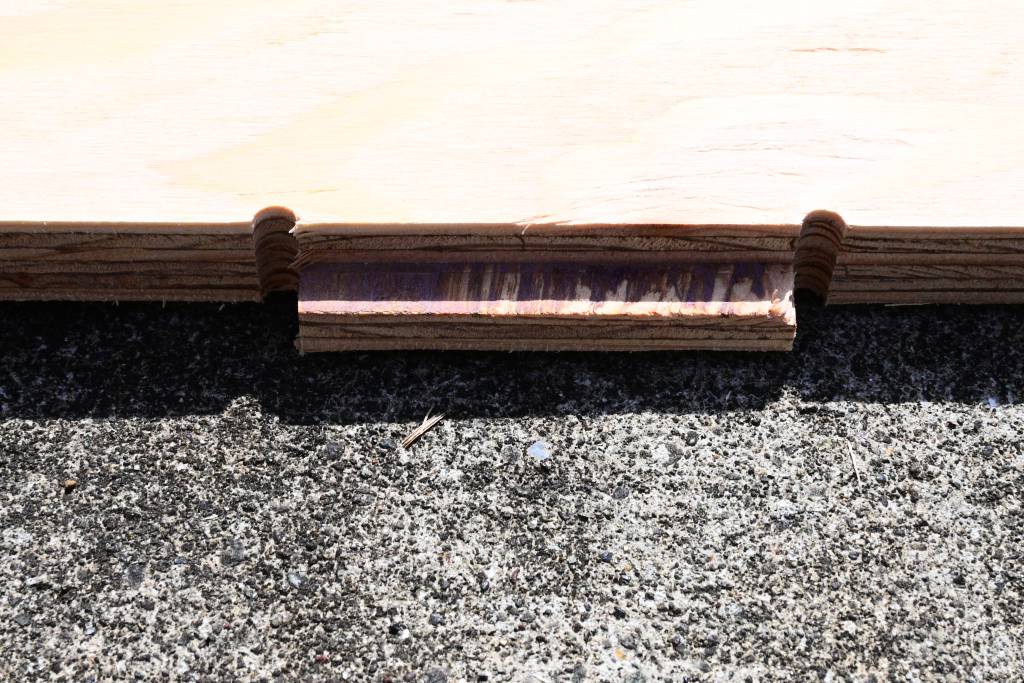
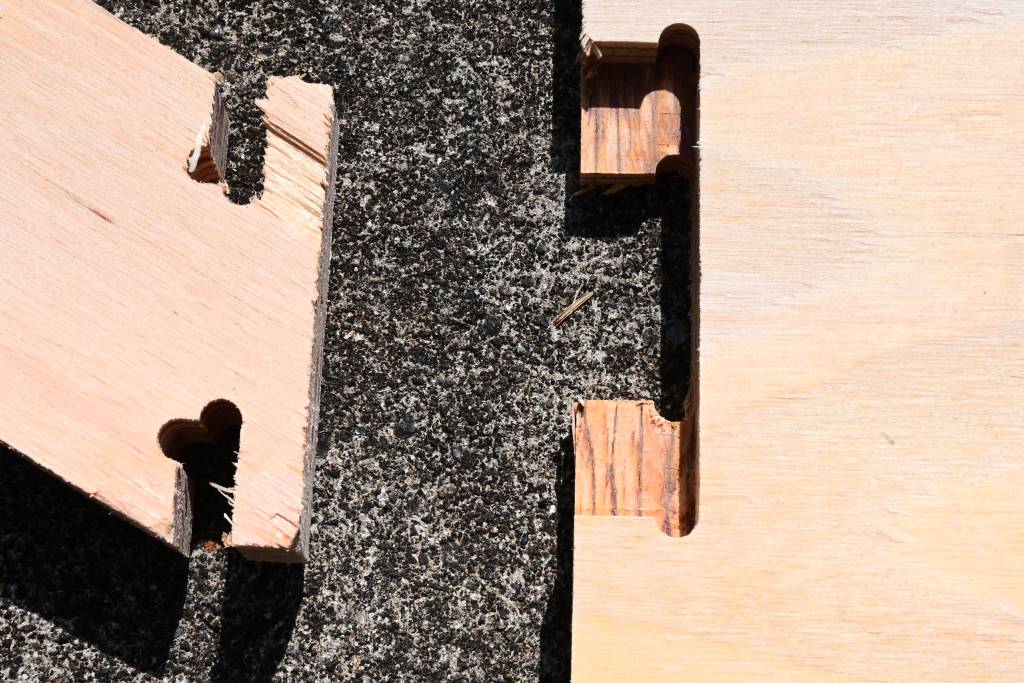
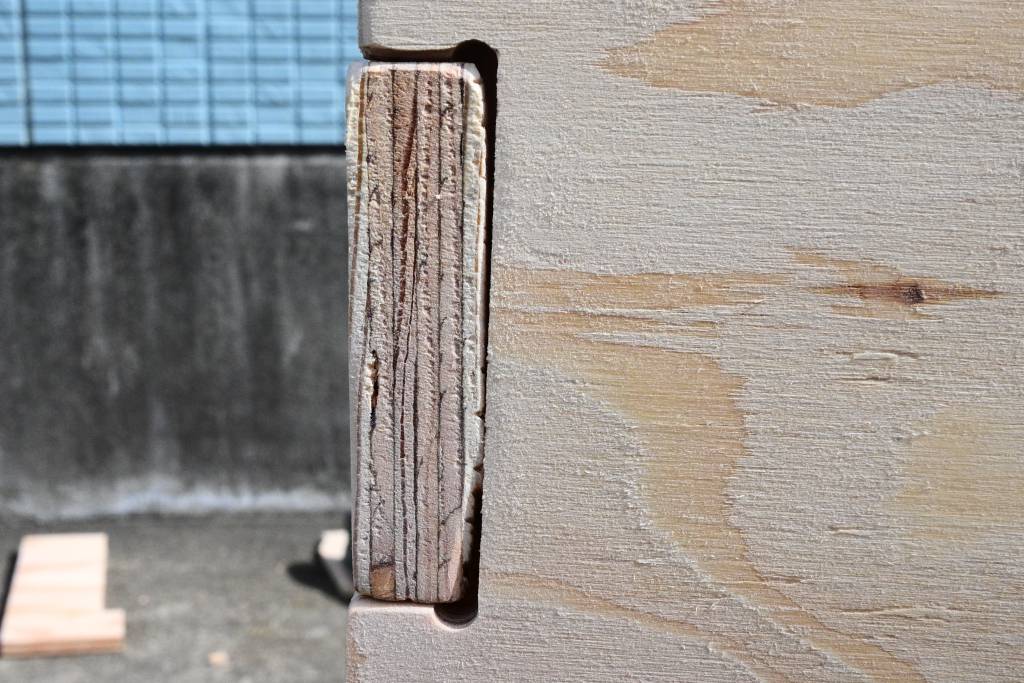
Cuts need to have tabs, that hold the cut workpiece on the cutting floor after cutting.
-
Holes are where we place screws that hold the plywood sheet on the cutting surface.
-
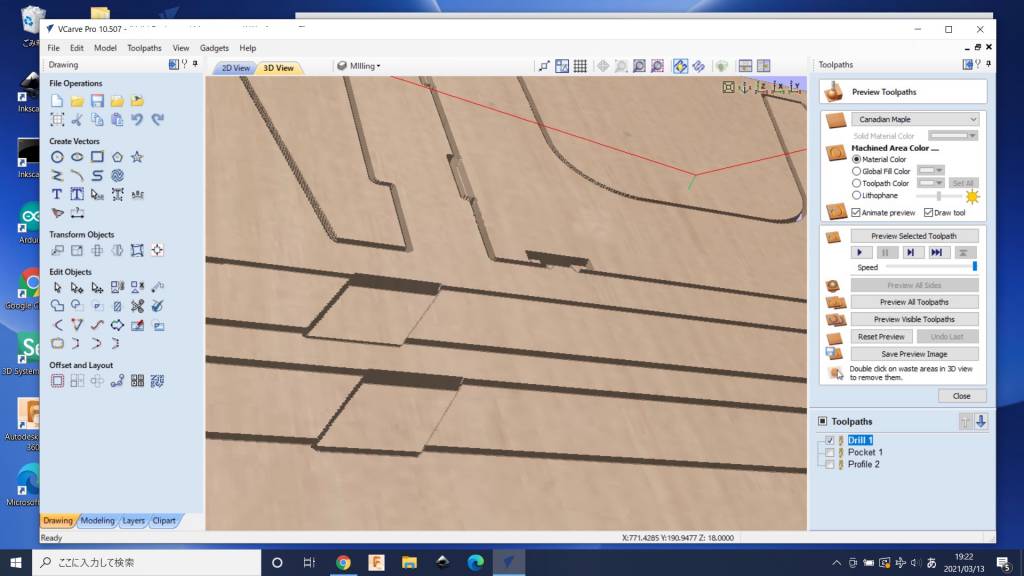
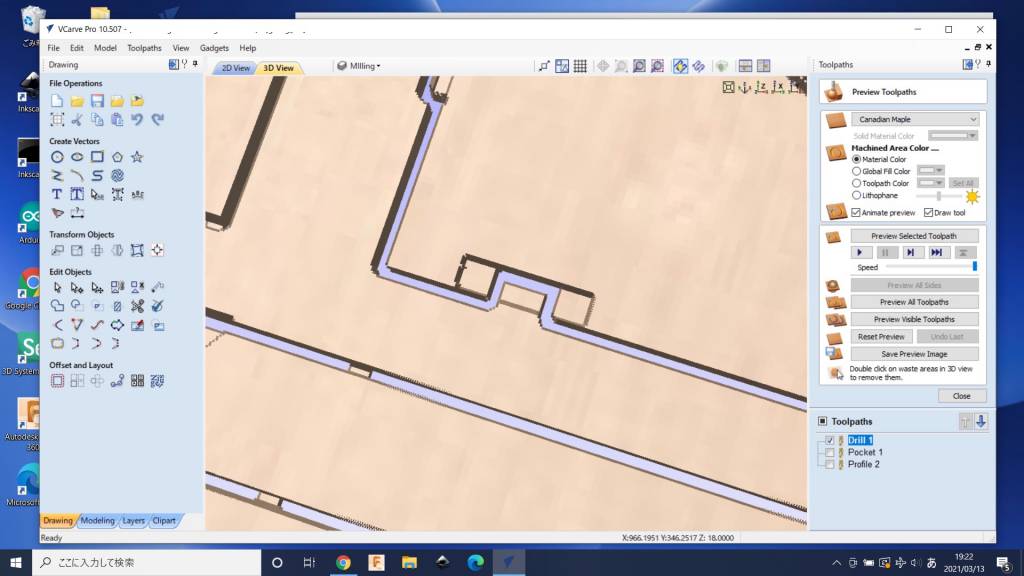
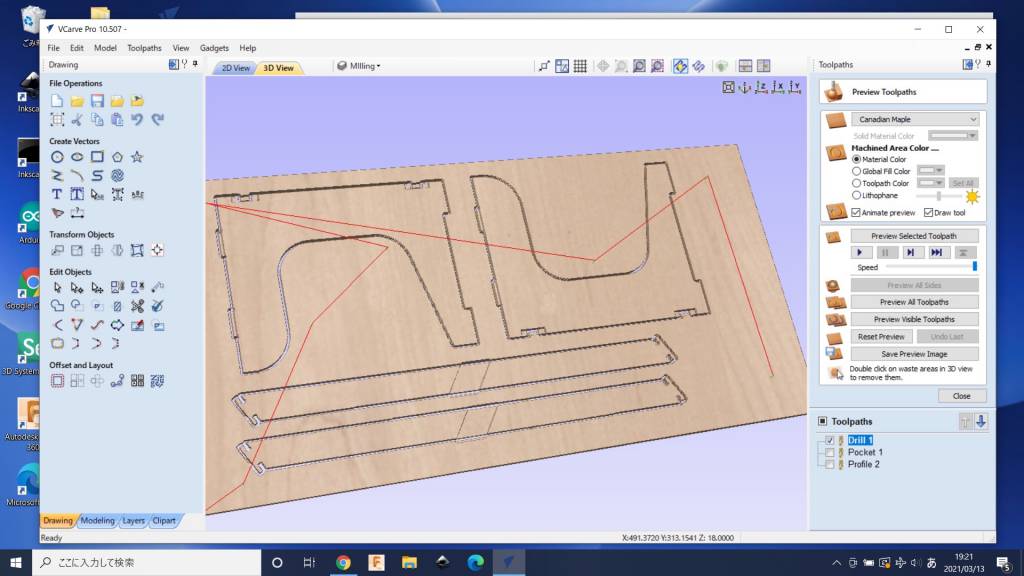
VCarve also allows you to preview the tool paths, that is an essential steps as it reveals possible mis-cuttings and mis-alignments.
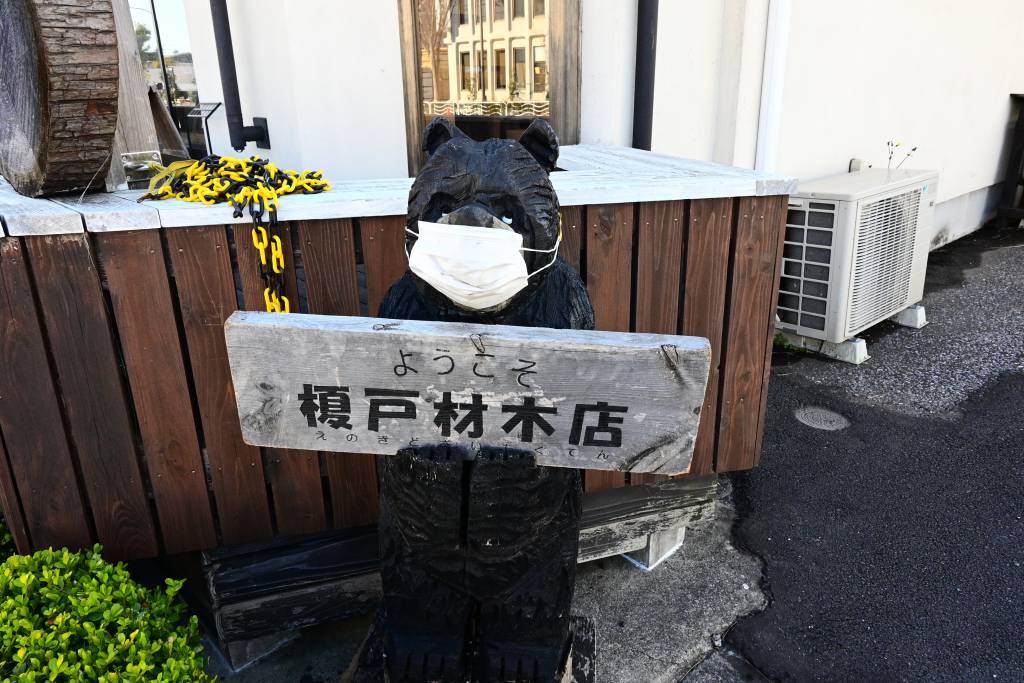
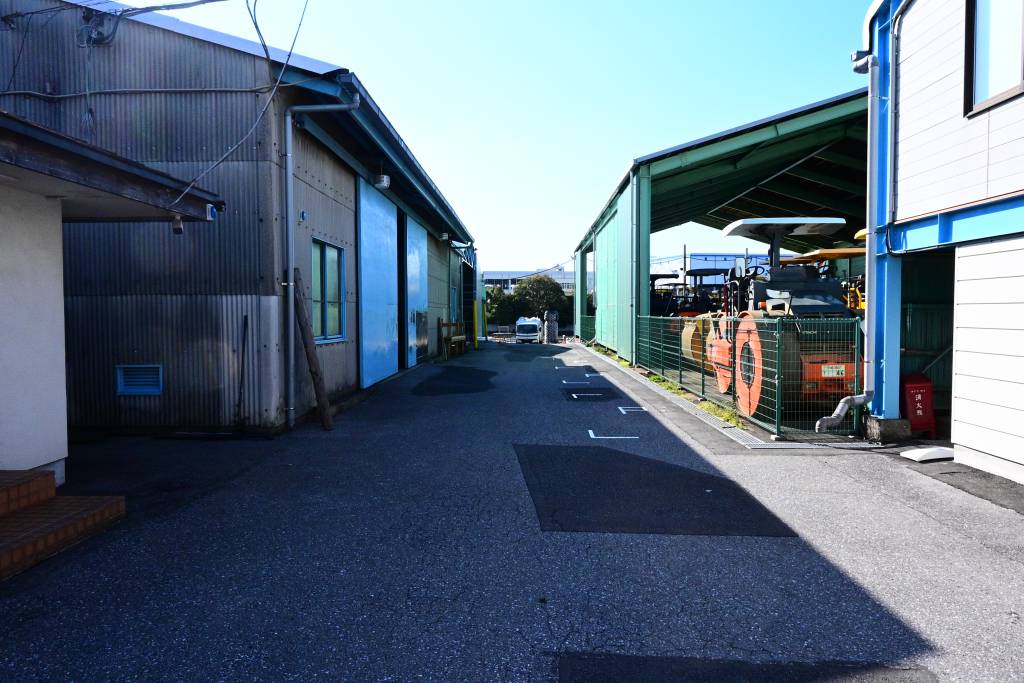
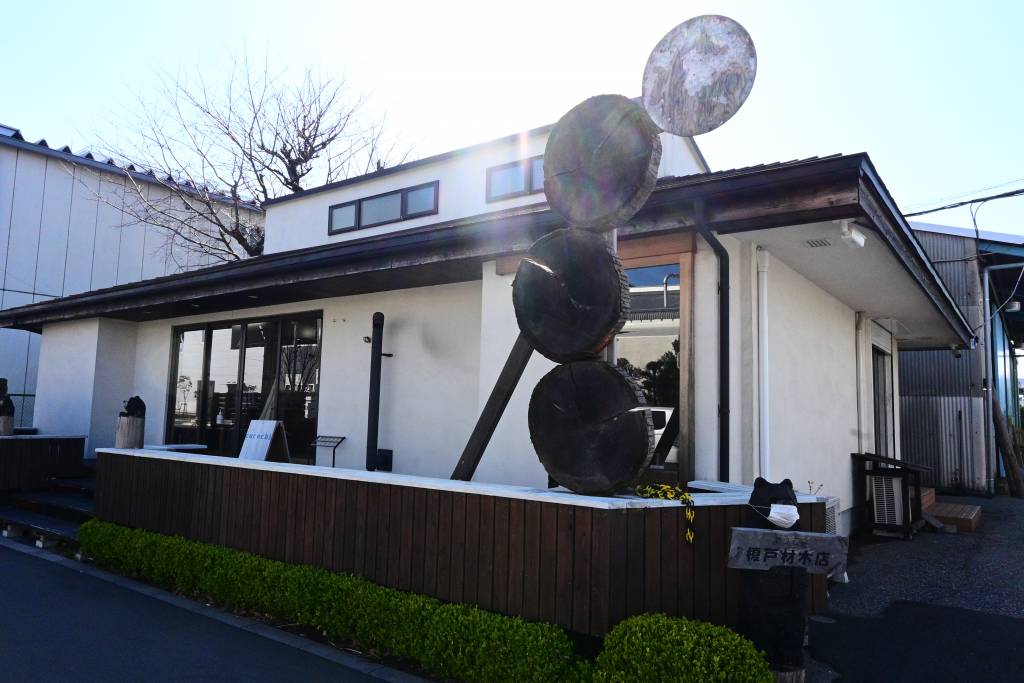
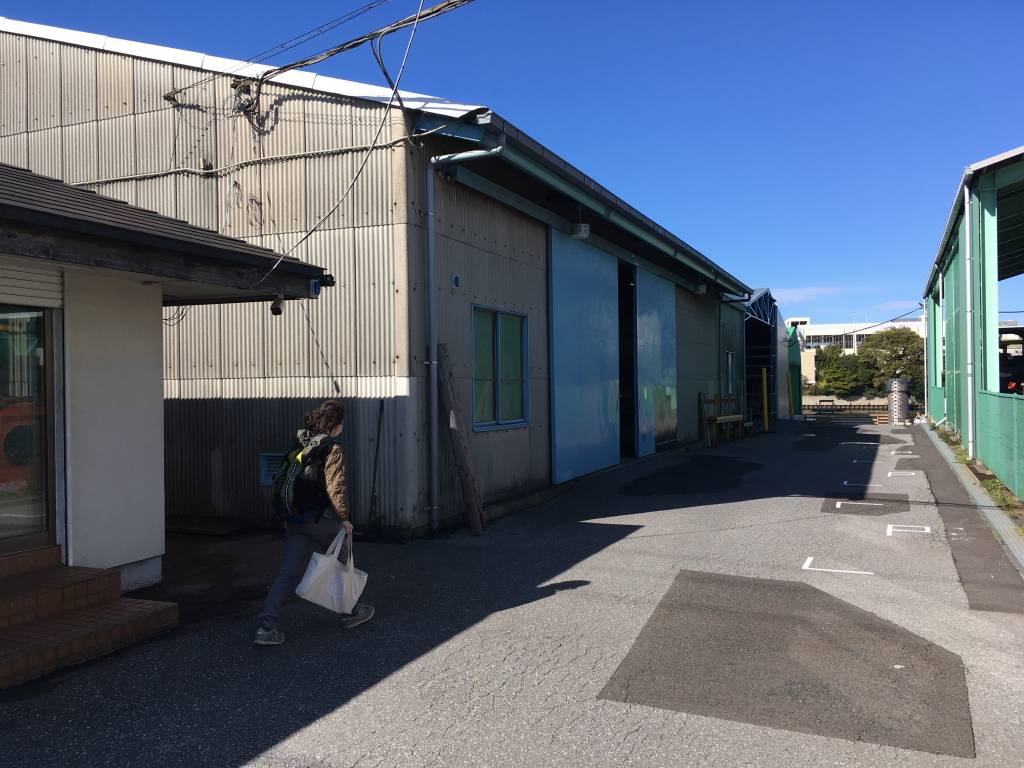
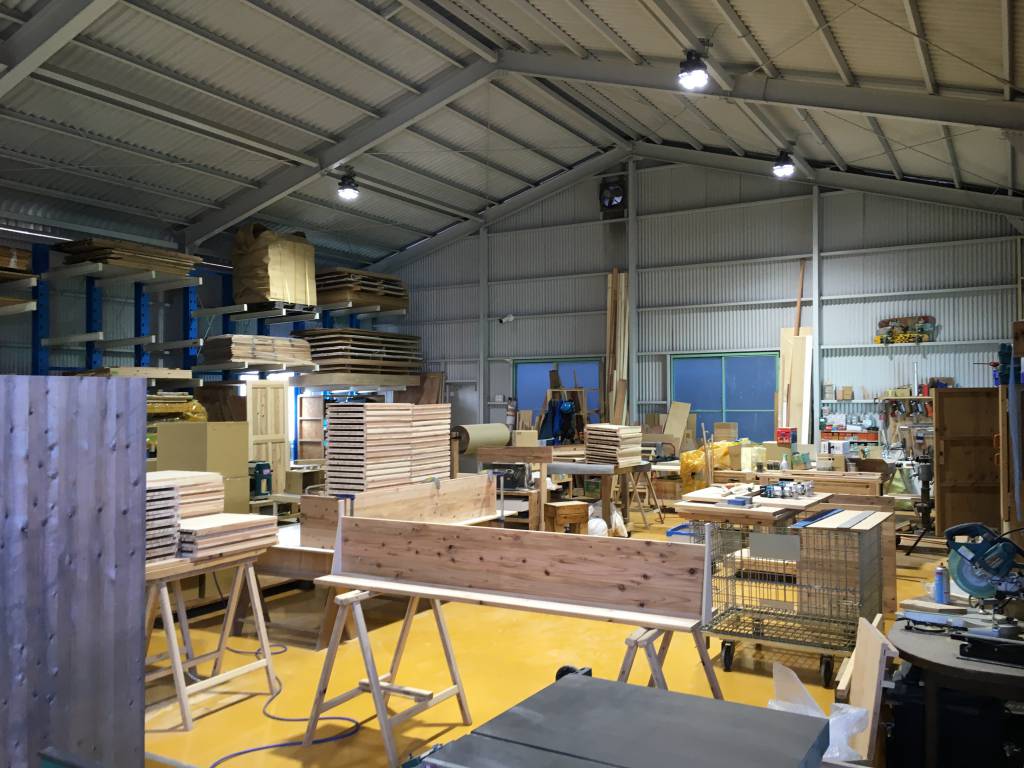
The Shop
Enokido Lumber is located near Shin-Kiba, an industrial area in the Tokyo Bay. Very Neo-Tokyo.
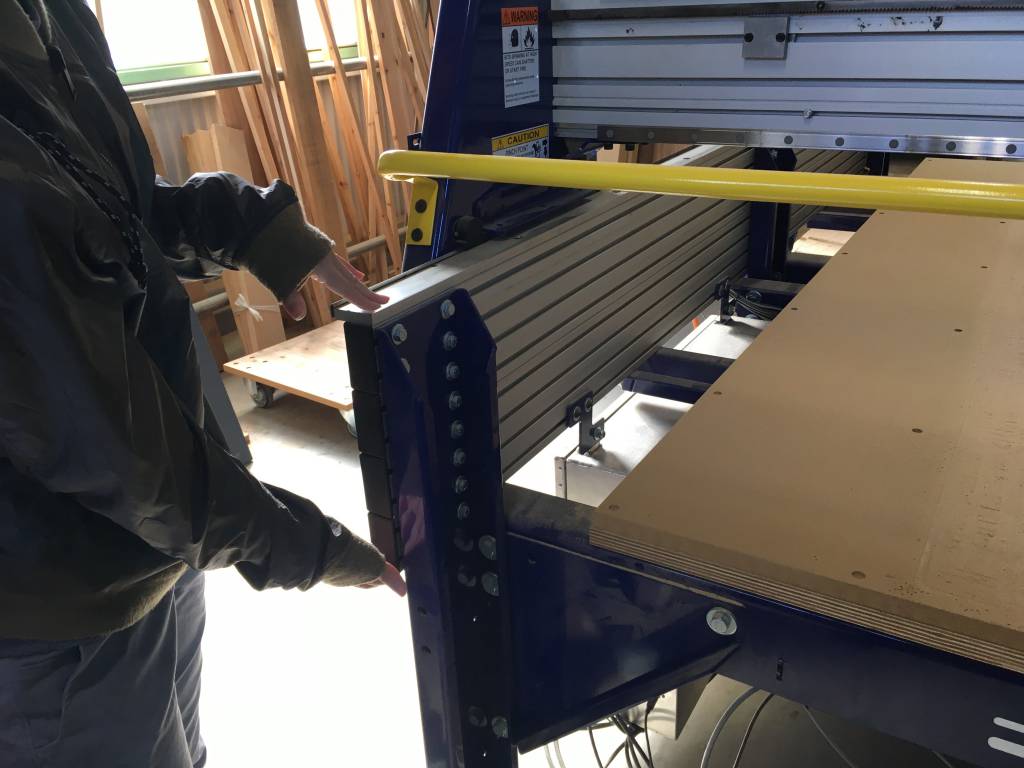
The ShopBot
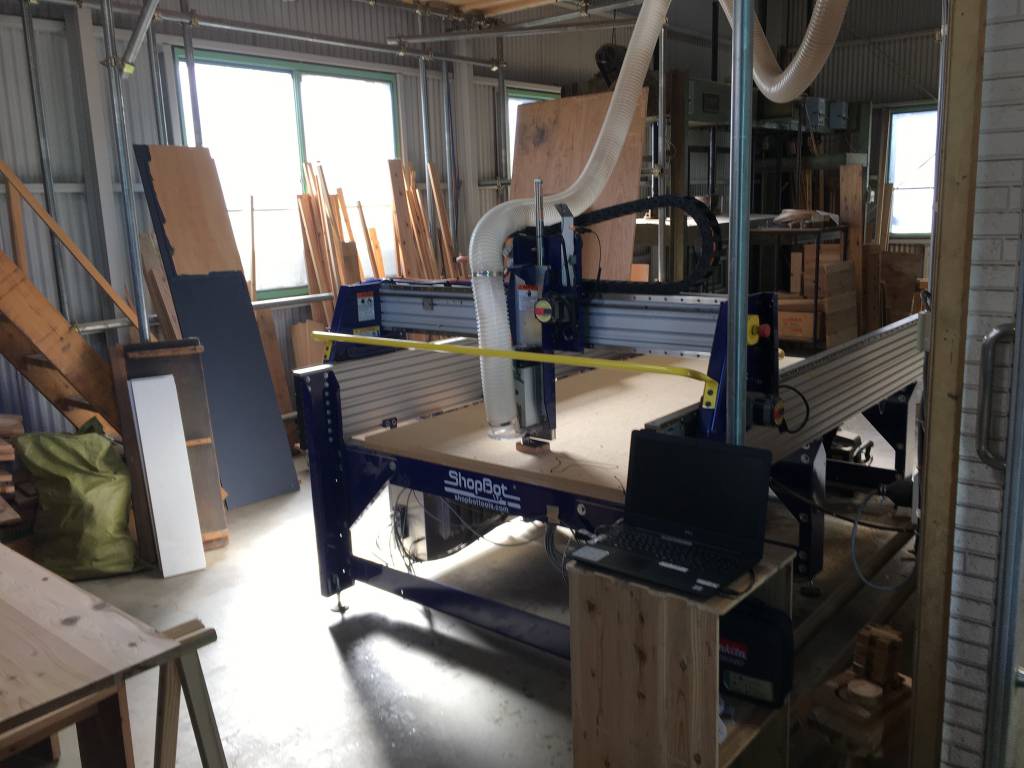
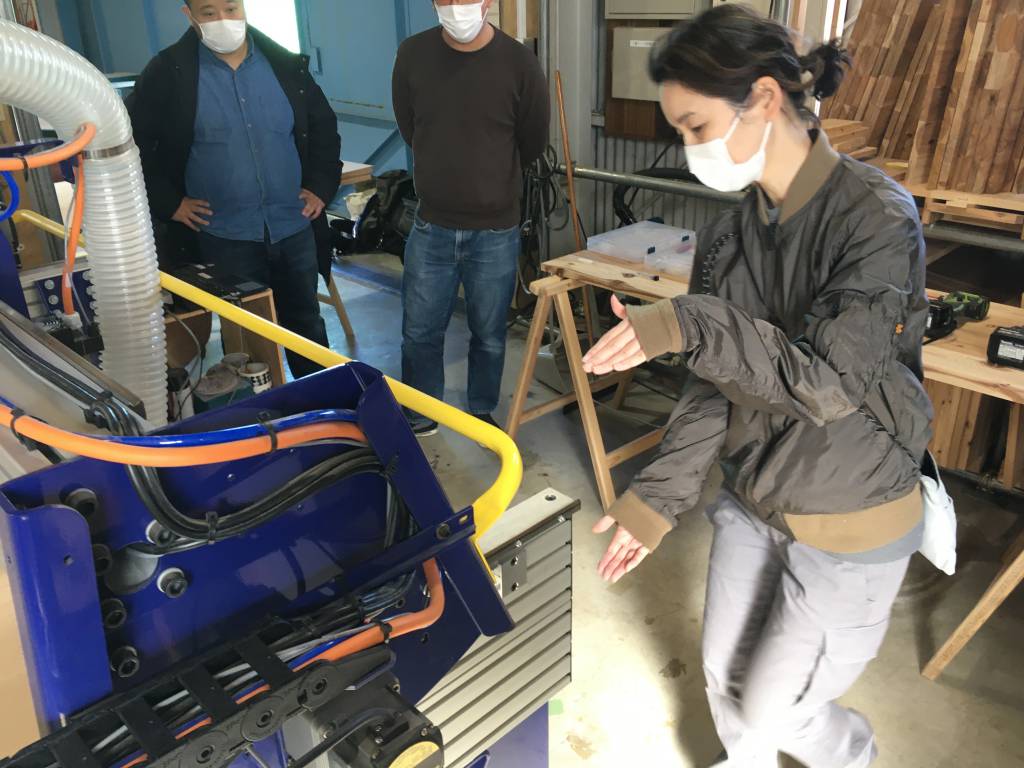
Our Instructors Asako Okazaki and Tsuchiya Yosuke were on site to introduce the ShopBot, Asako-san has deep knowledge of ShopBots, as she is working Vuild which distributes ShopBots in Japan.
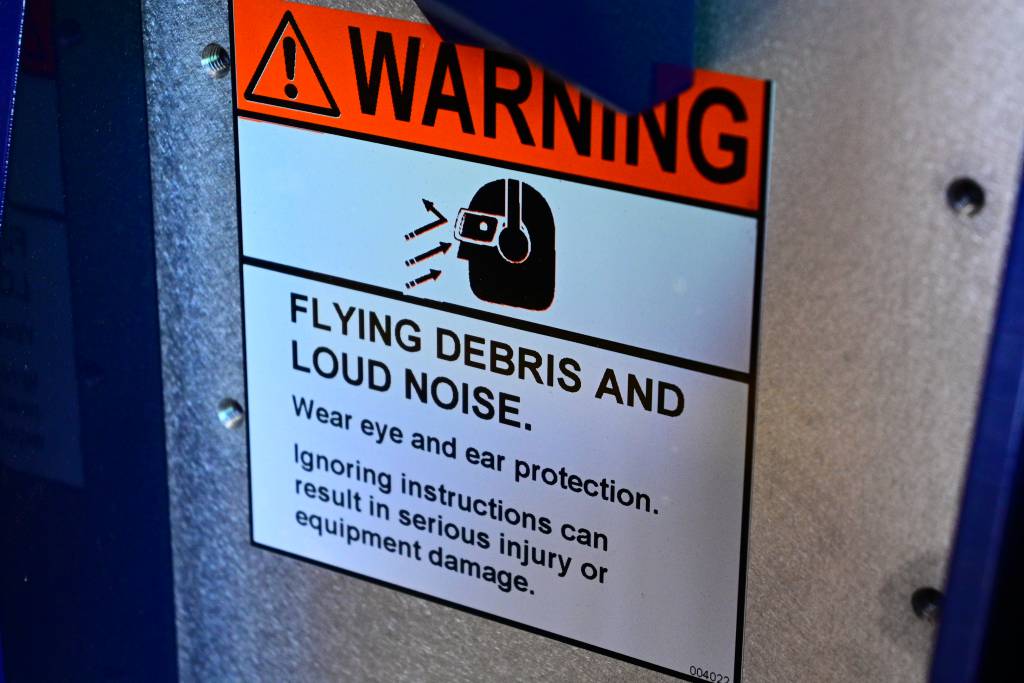
Health & Safety Instructions
- Always Wear Protection Glasses
- Always stay clear of the moving parts.
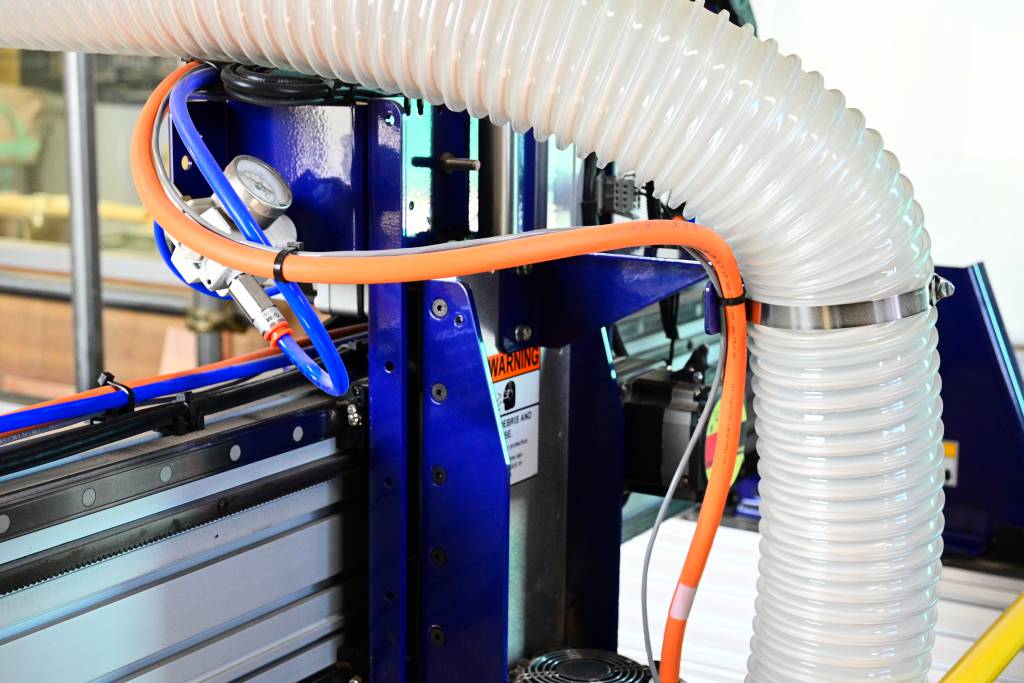
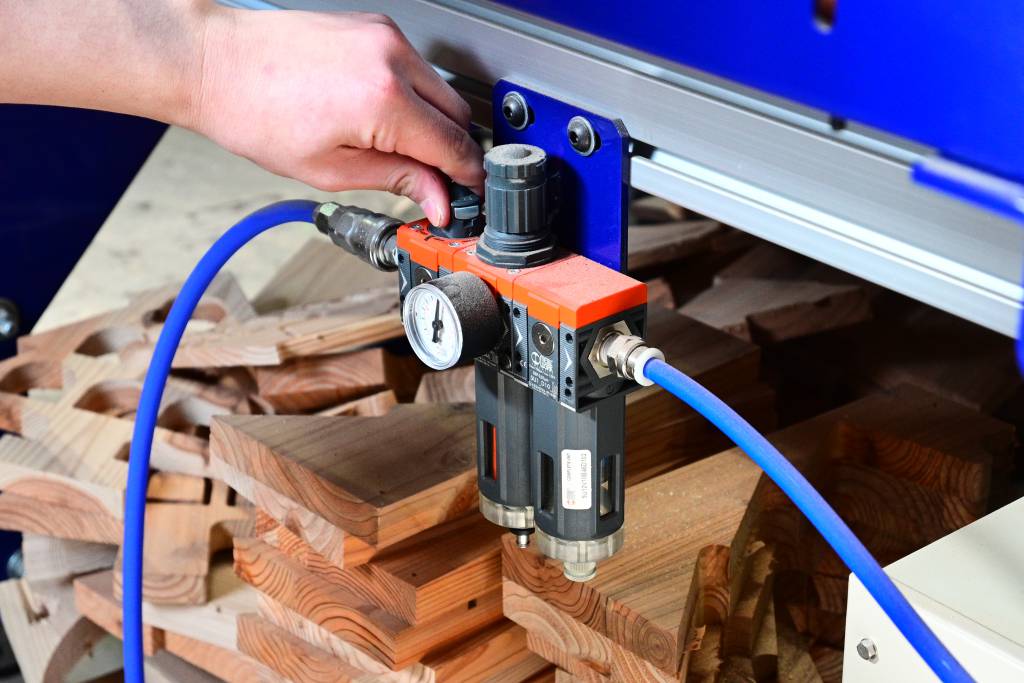
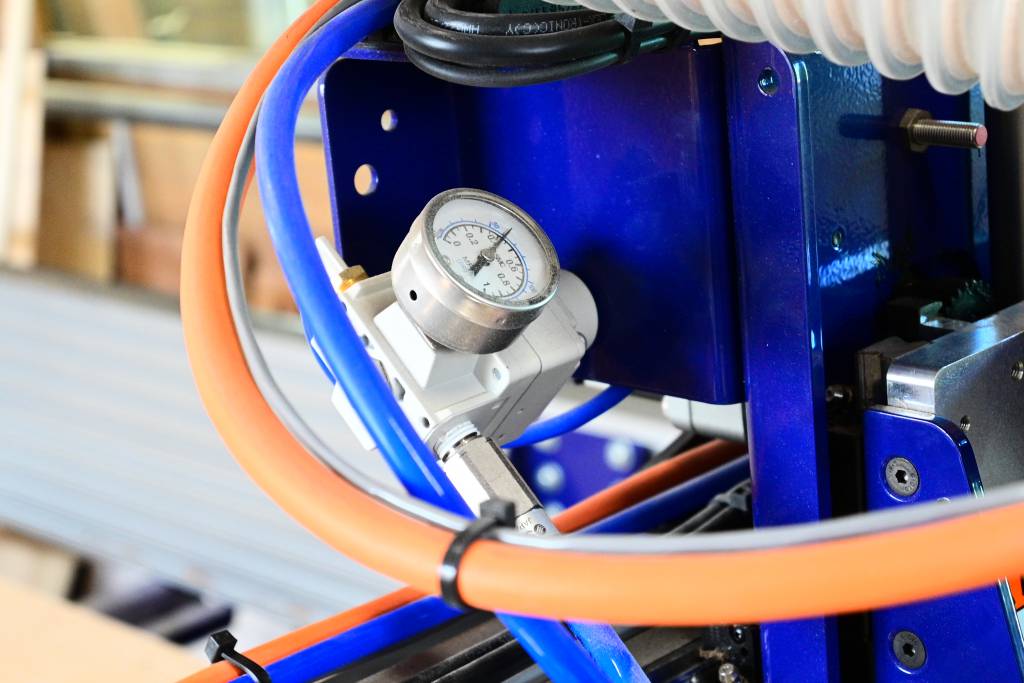
- Make sure, air pressure is on.
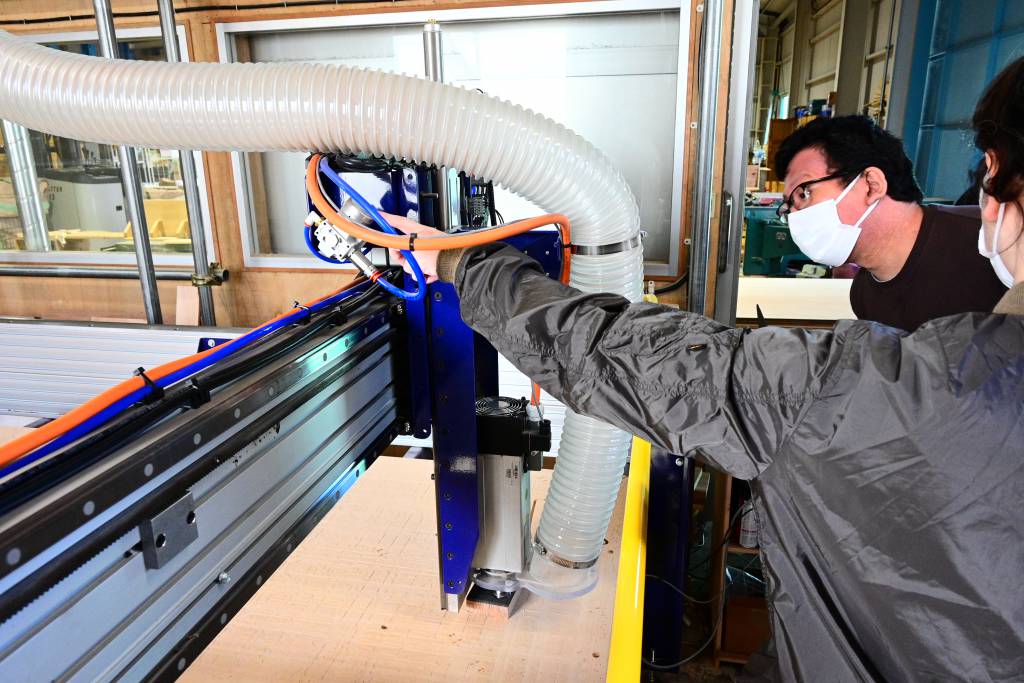


Adding the Mill Bit
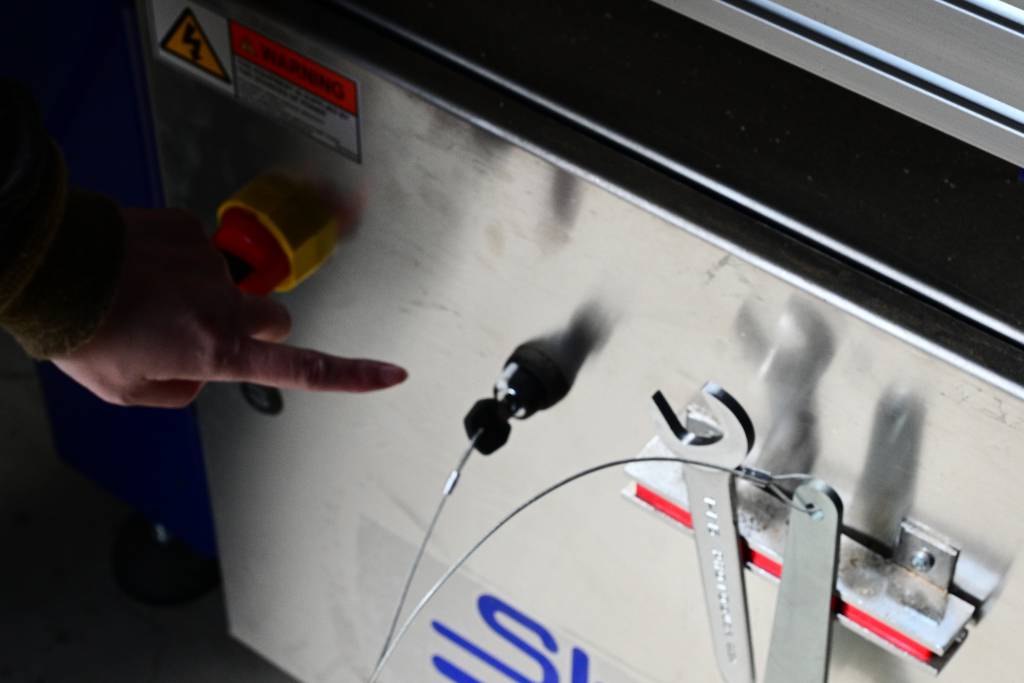
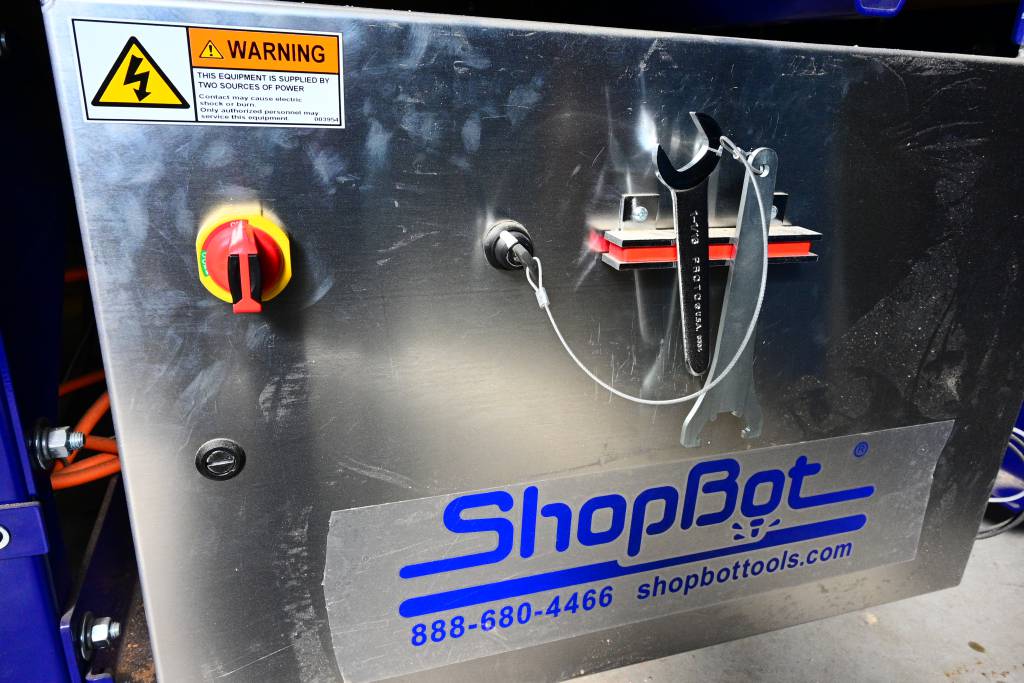
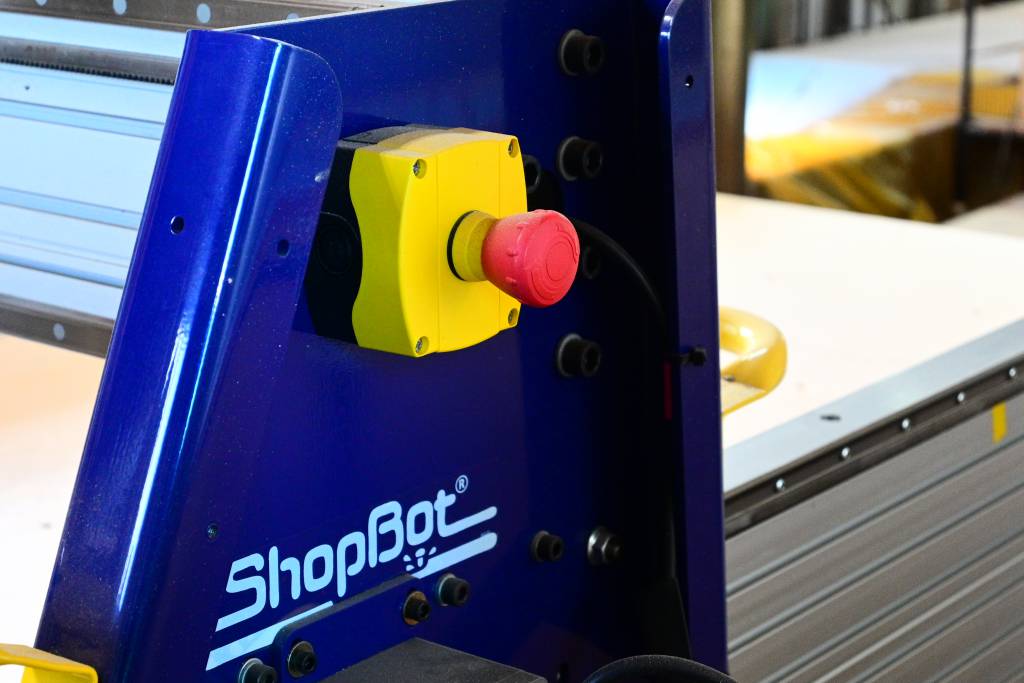
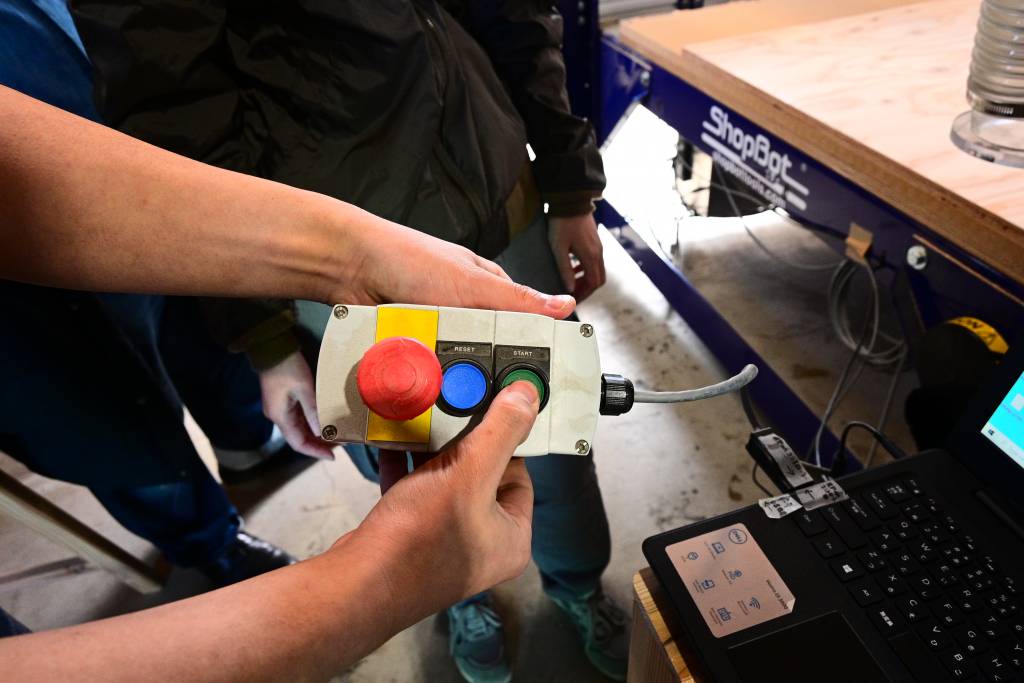
Emergency Stop Buttons
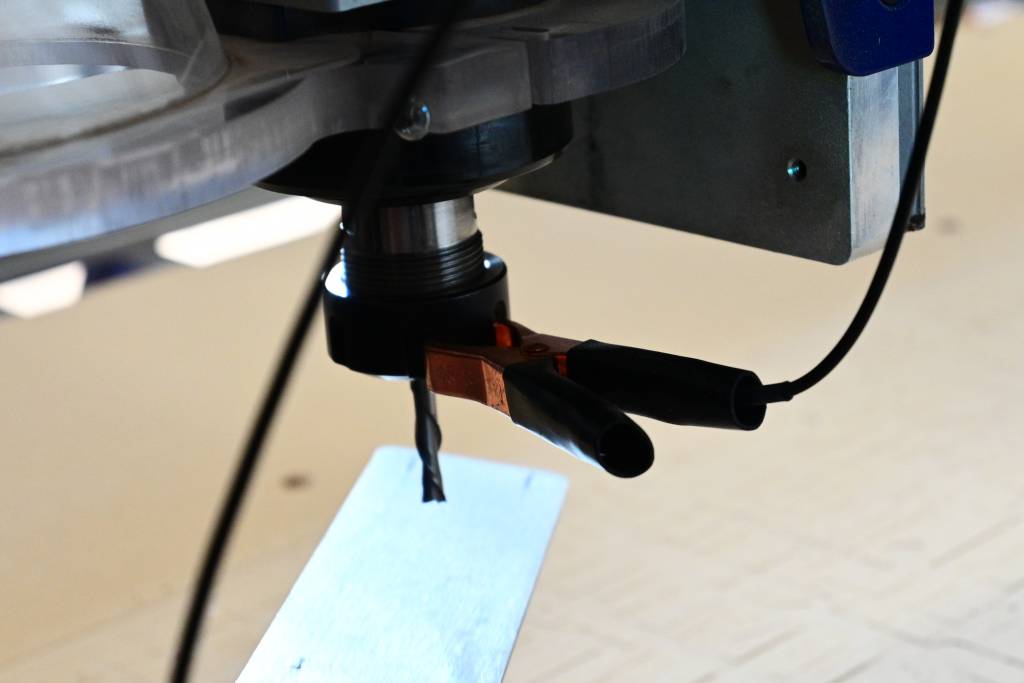
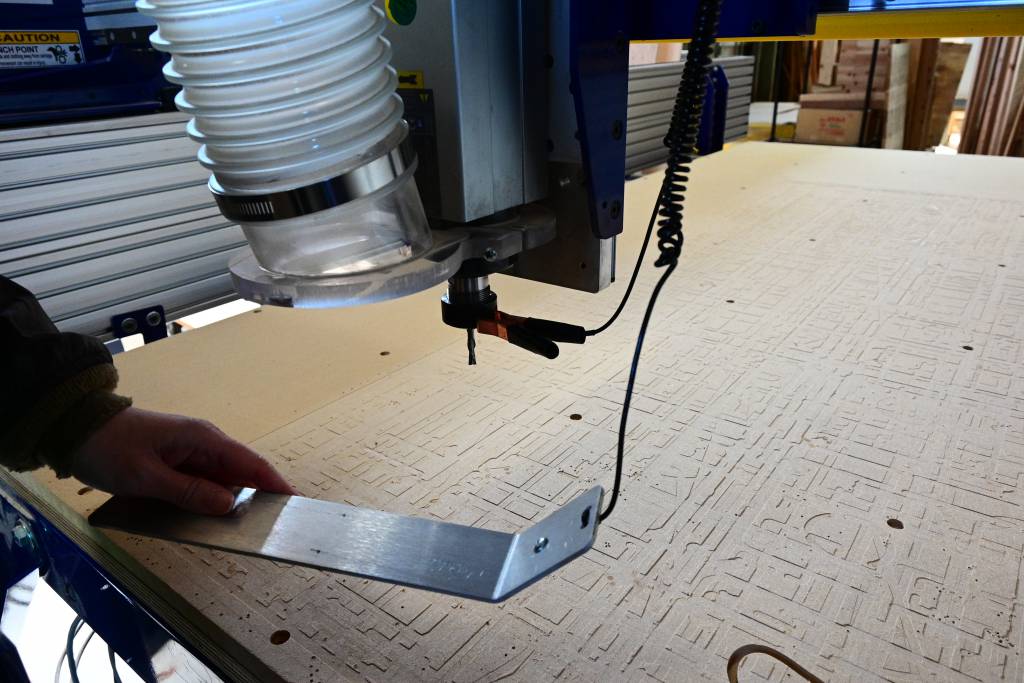
Zero-ing the Mill Bit
The zero-ing works semi-automatically. A conductive plate is put underneath the mill bit, the bit lowers until an electrical connection is made.
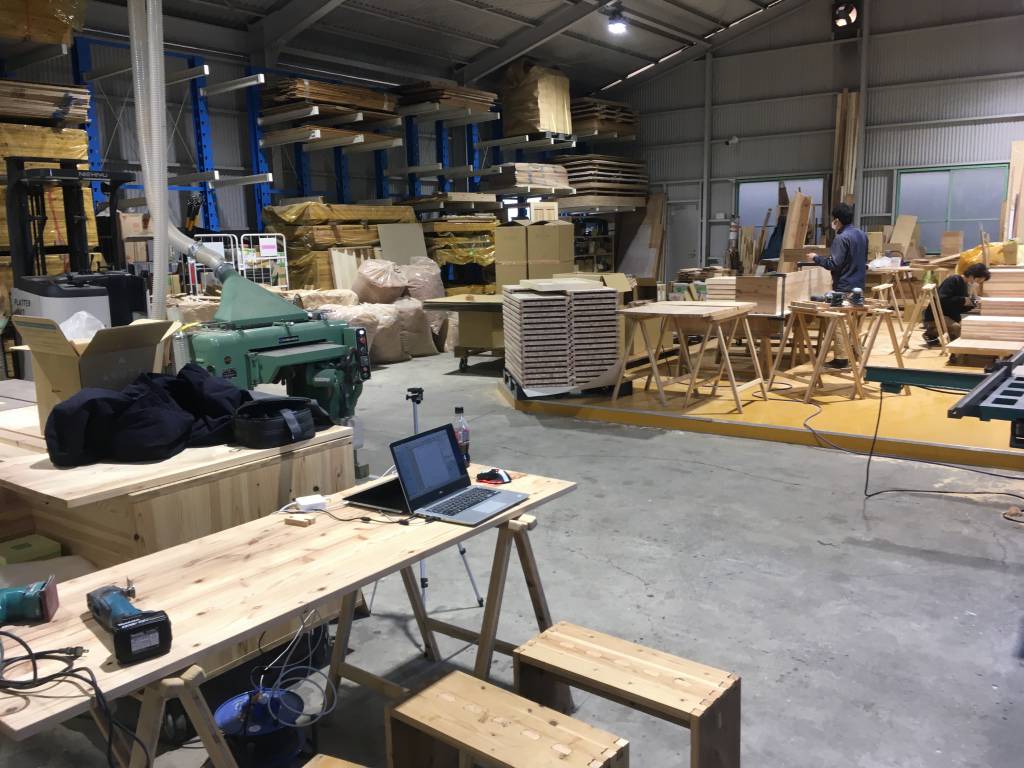
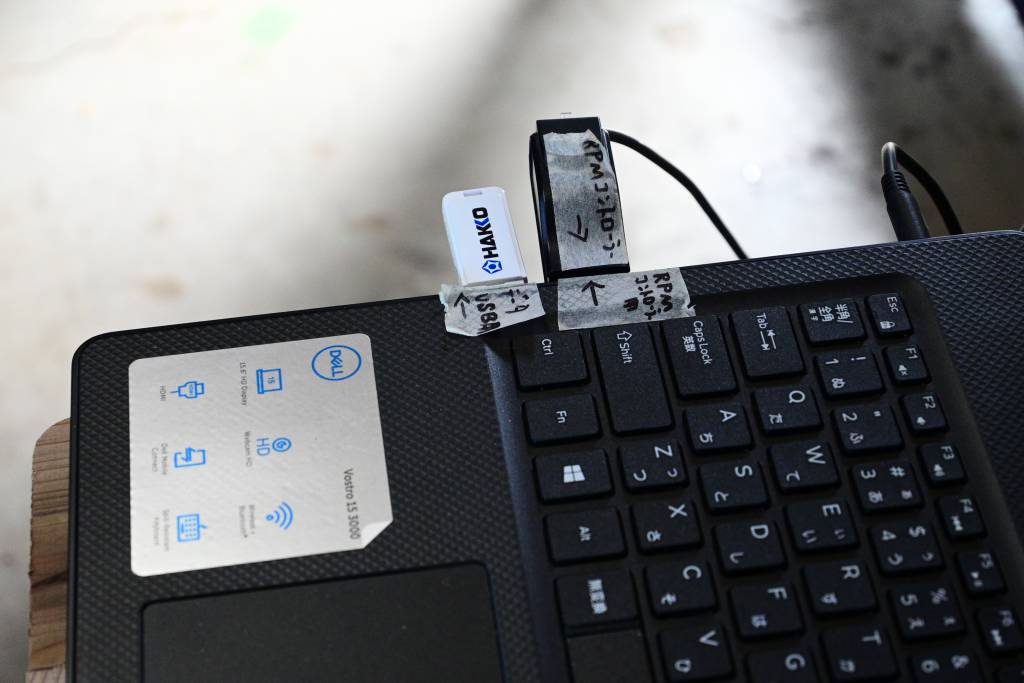
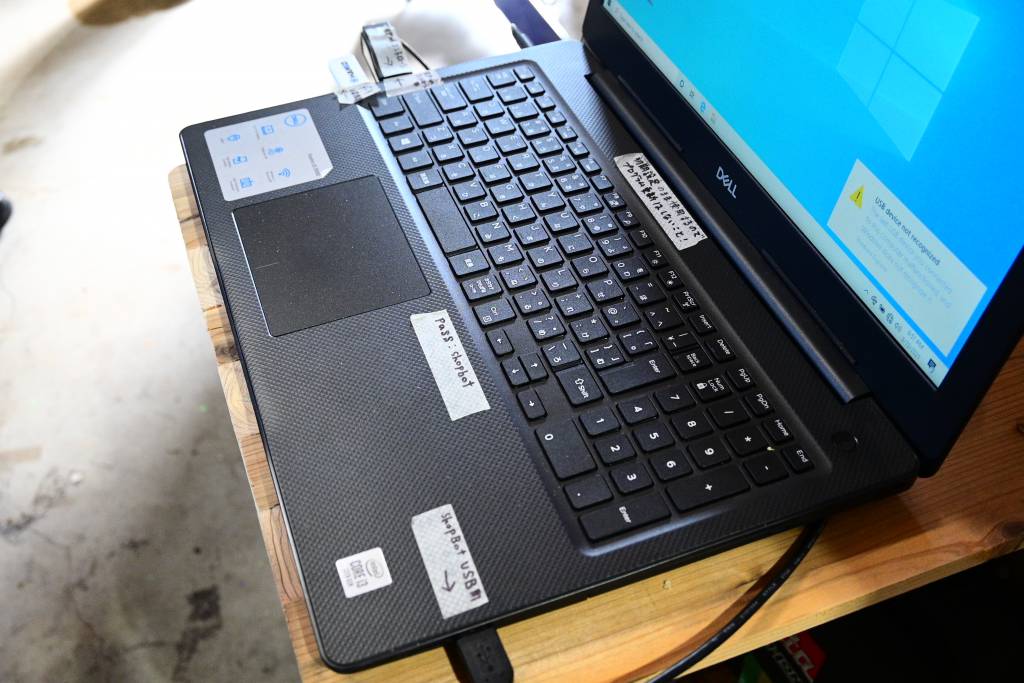
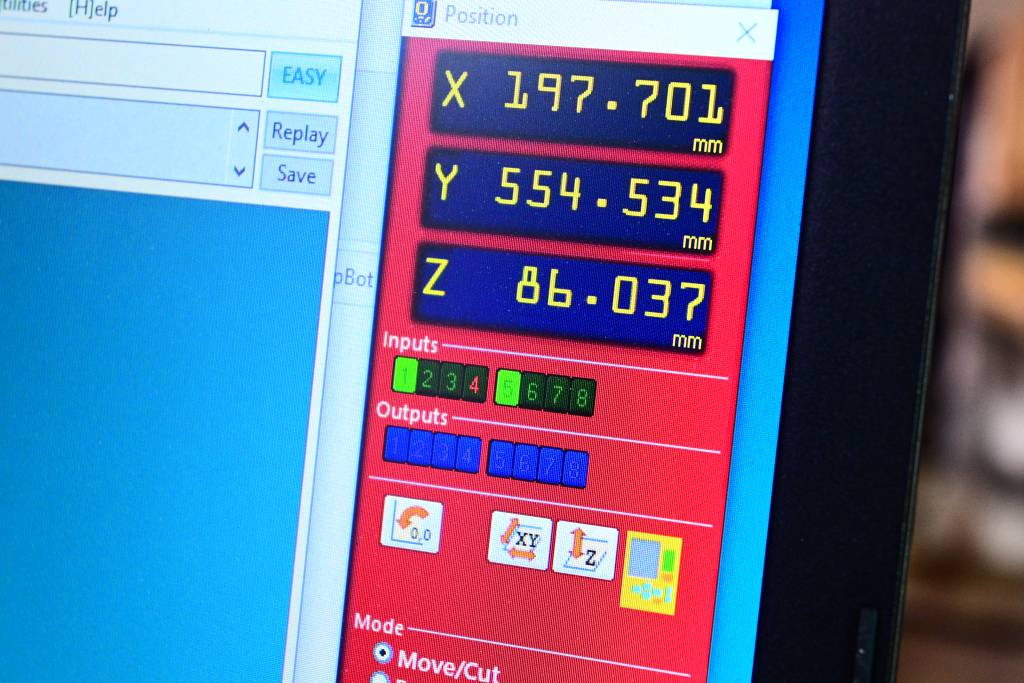
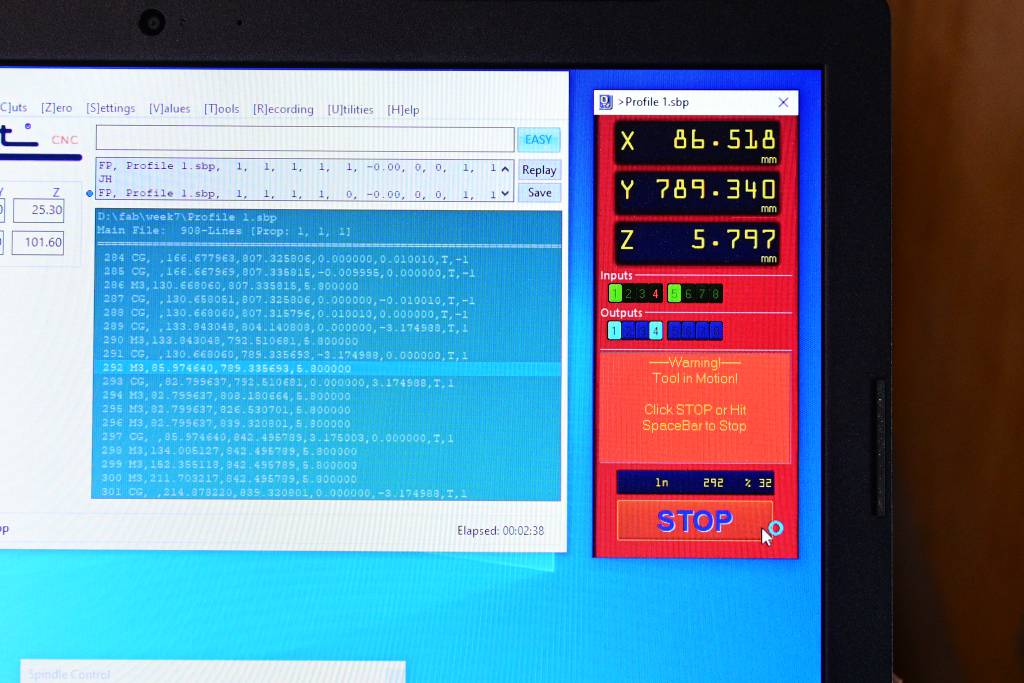
The ShotBot Software
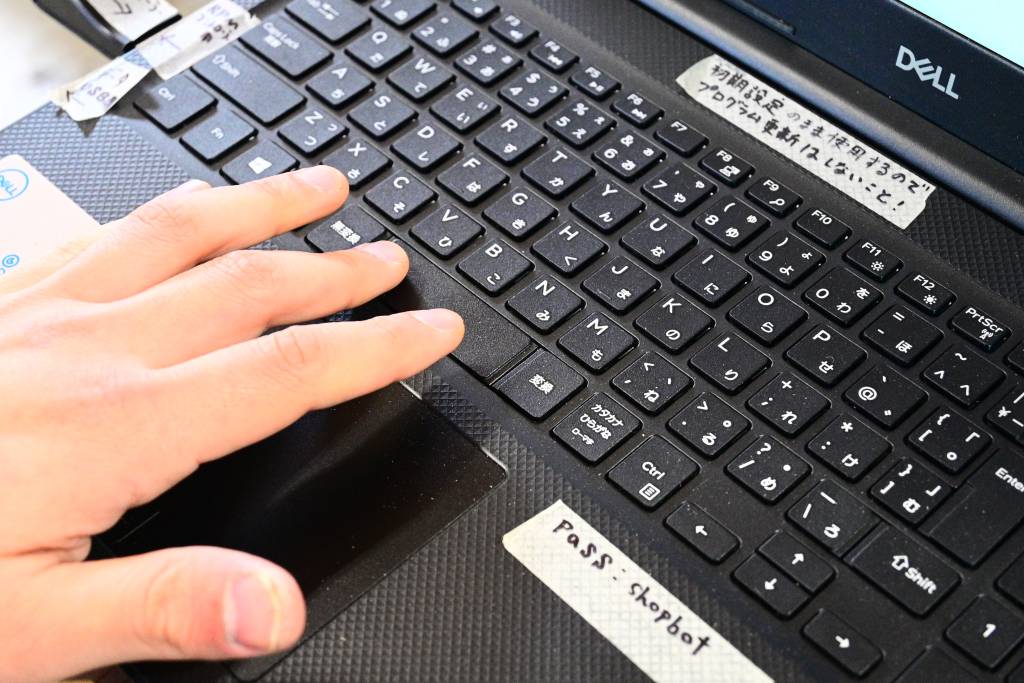
The ShopBot software is running on a dedicated Windows machine, connected directly to the ShopBot. (I wonder how much dust is inside that machine. After 1 day in the shop, my Laptop had already a fine, even dust cover.)
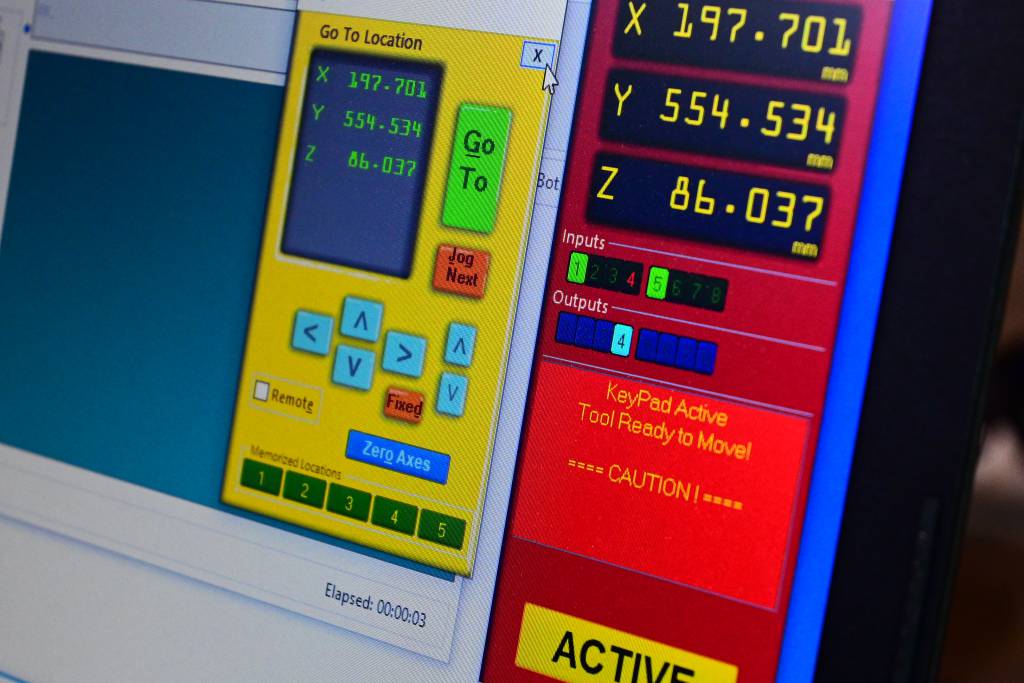
The software panel shows the position of the end-effector. The yellow icon on the right brings up the 'Go to Location' Panel, which allows you to move the end-effector manually - when adding a new plywood sheet or drilling holes.
Feeds & Speeds
- Feed-Rate: 1.125 Inches/Sec
- RPM: 18,000
- Bit Type: 1/4" (0.25 inch) Straight Two-Flute
- Pass Depth: 0.5 inch
- Stepover: 0.1 inch
More information about the recommended Settings at the Shopbot Info Page.
Cutting Preparation
The cuttings itself has 3 steps, that should be followed:
- Preview, if OK then
- Air Cut, if OK then
- Material Cut
Preview

A bit counter-intuitively, to do the Preview, you have to click the big, screaming CUT PART button - but the mode has to be in the Preview position.
If that looks good, proceed to Air Cut. Mode needs to be set to Move/Cut again, press the big CUT PART button. This brings up another settings menu:
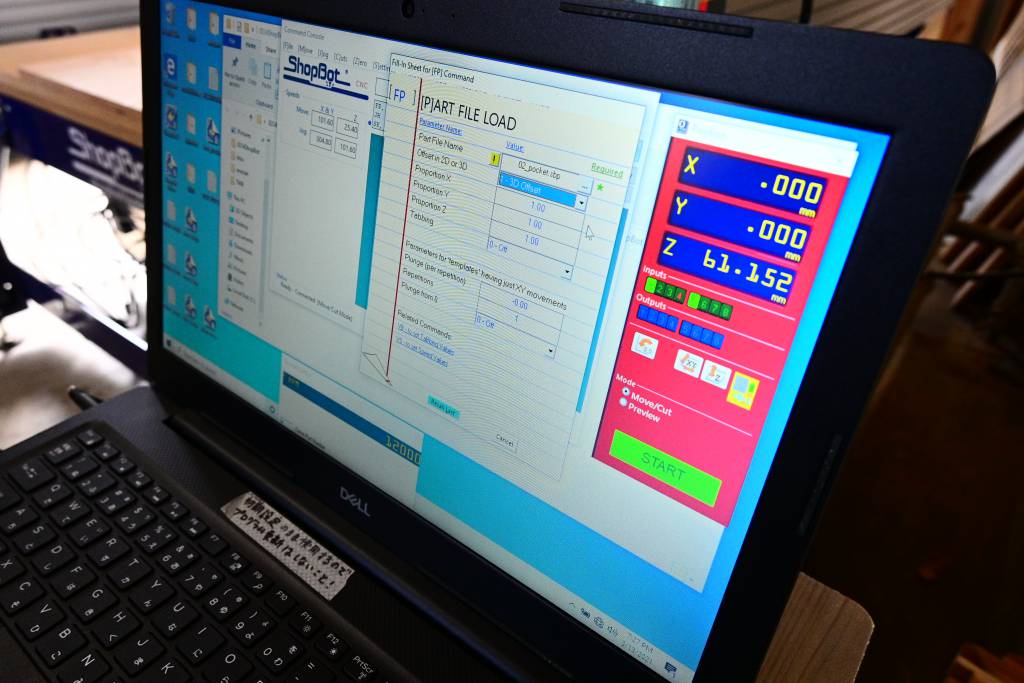
Air Cut
To do an Air Cut, set the Offset in 2D or 3D to 3D and press START, which will result in this message:
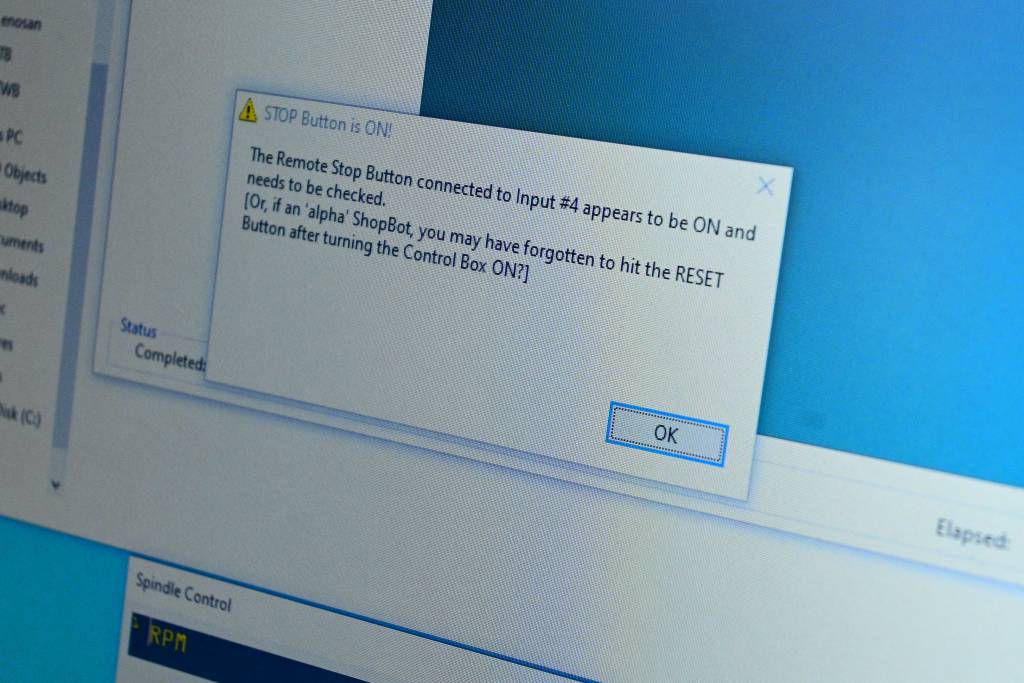
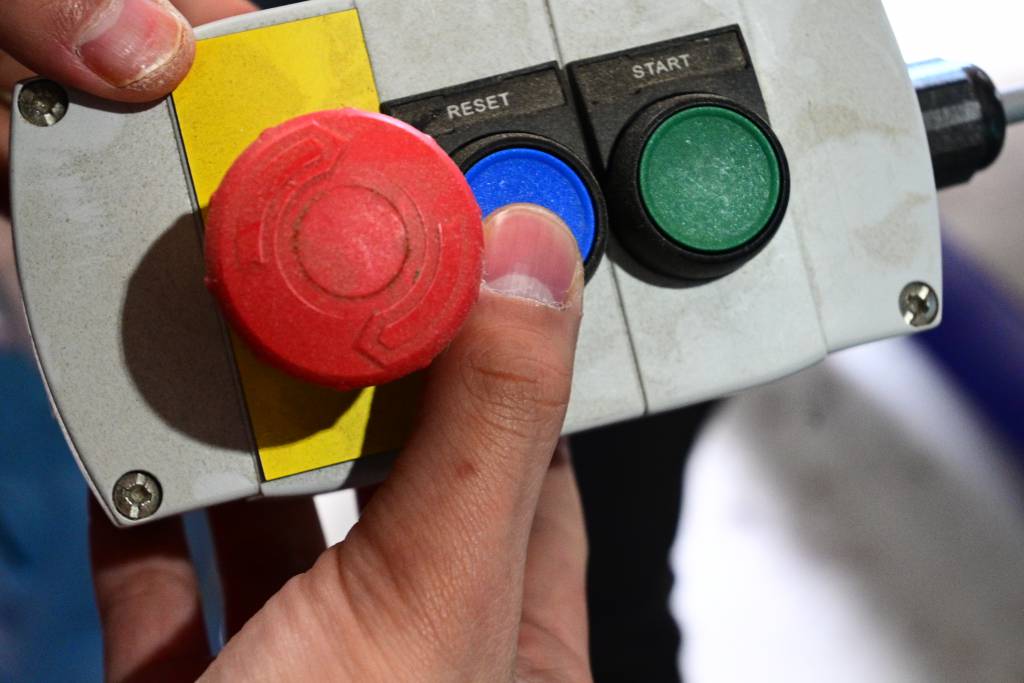
This is another safety precaution. Before cutting starts, the physical START button needs to be pressed:
Cutting in Action
Observer the numerical values in the console!
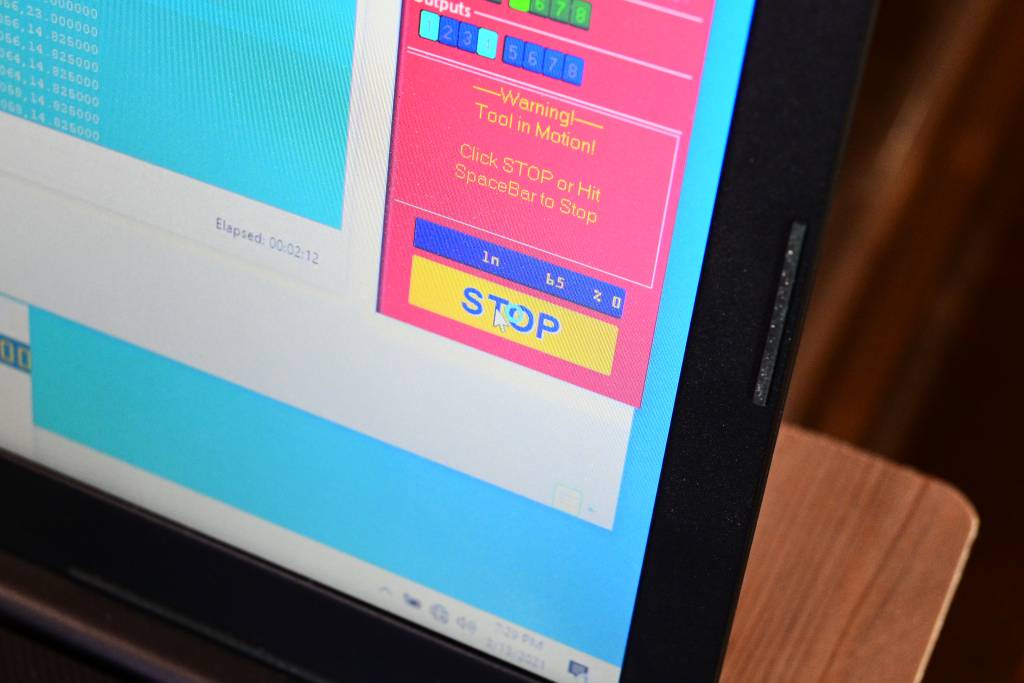
Stop Cutting
Stopping the cut can be done gracefully by pressing the stop button - or the space key on the keyboard.
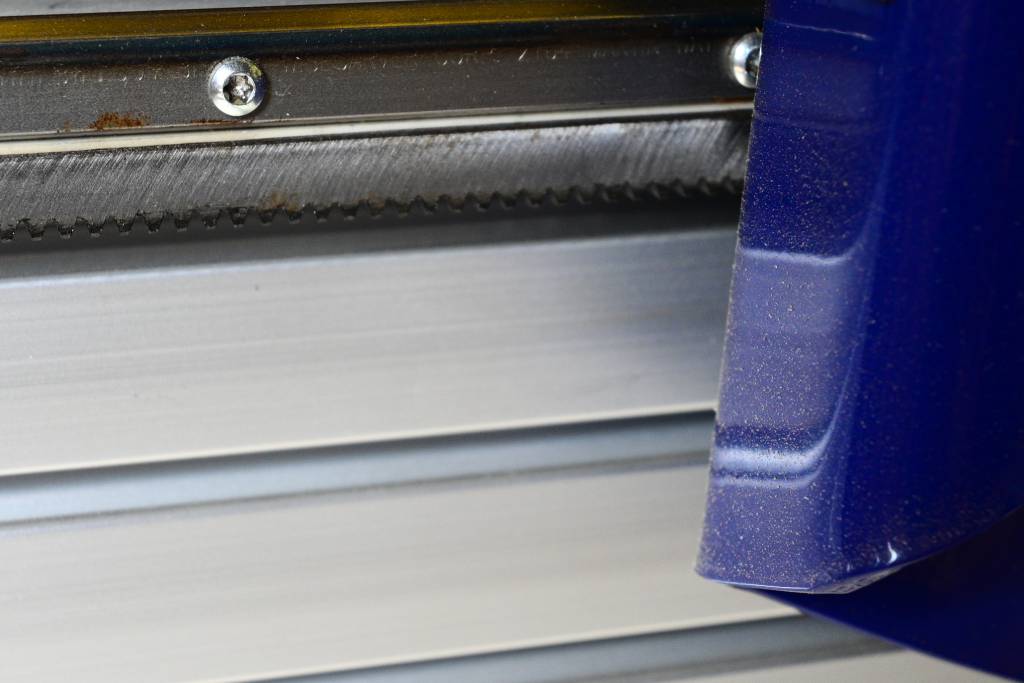
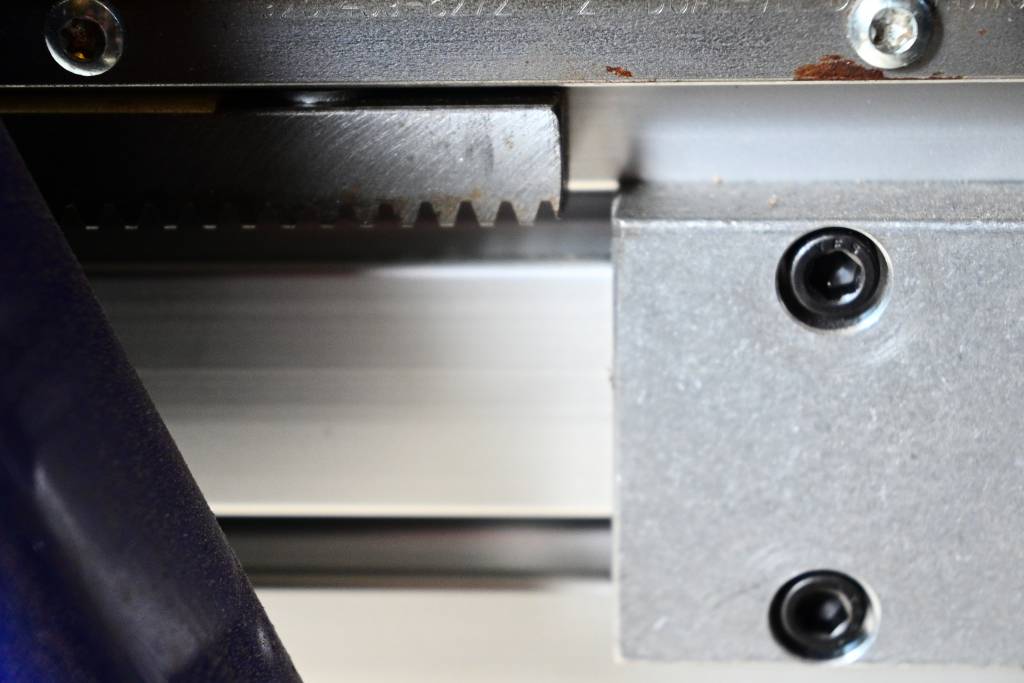
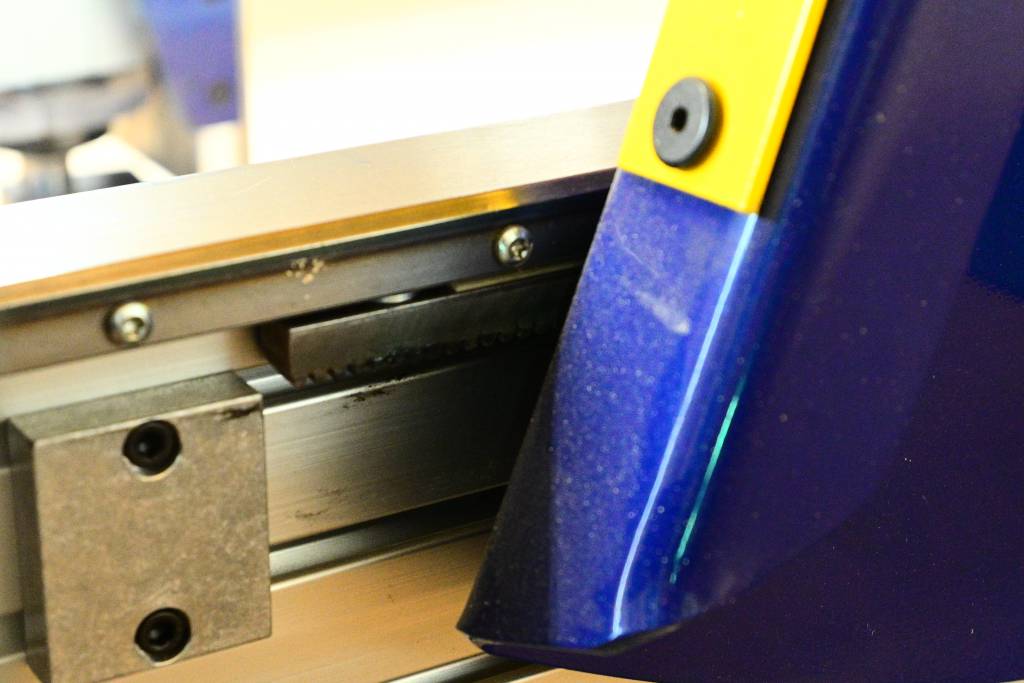
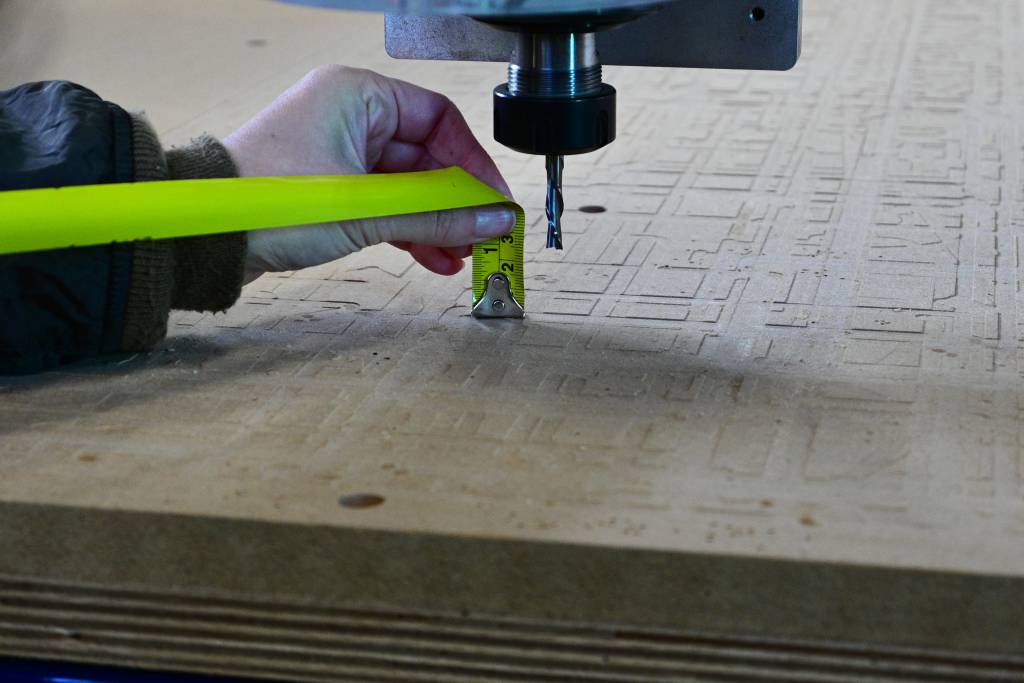
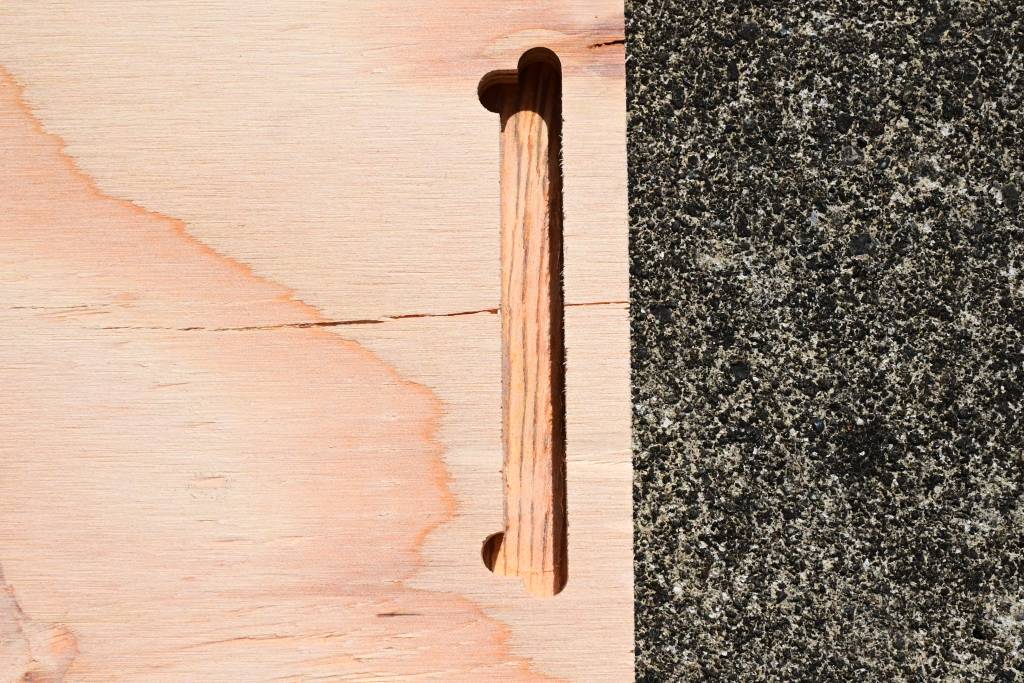
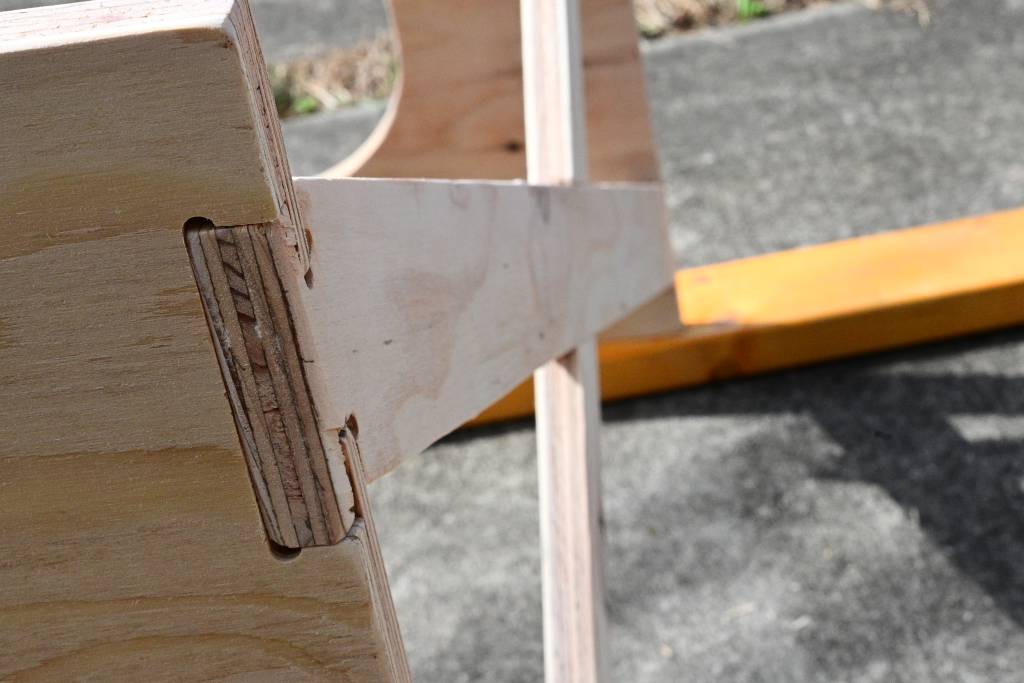
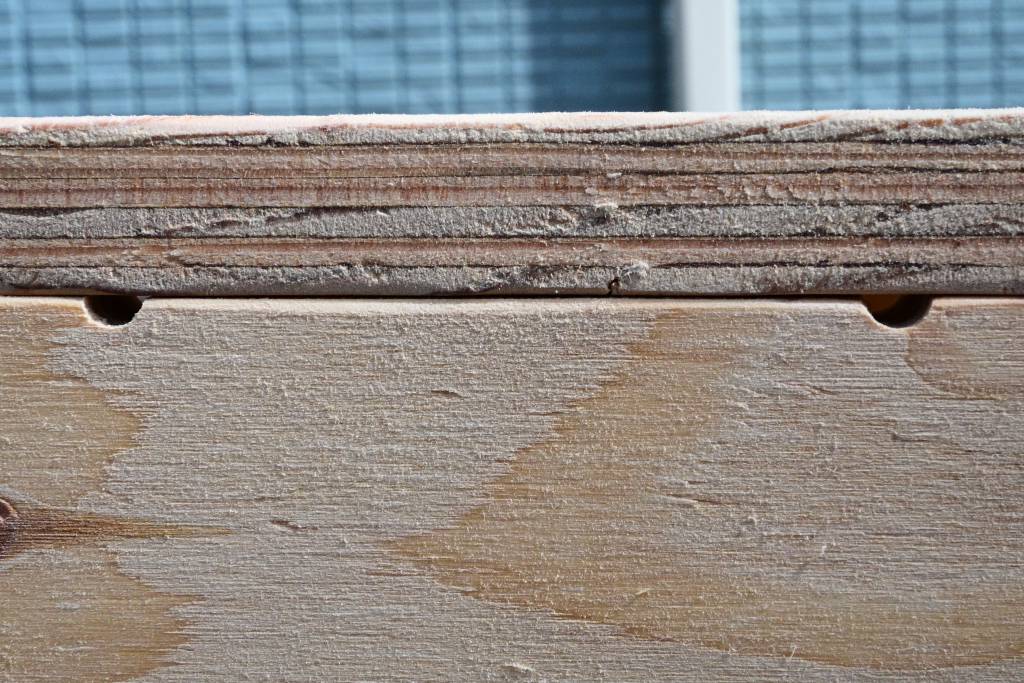
Runout
Runout is defined as the rotation inaccuracy which occurs when the tool is no longer aligned with the main axis. *. Ideal a tool with 1/4 inch should leave a trace of exactly 1/4 inch.
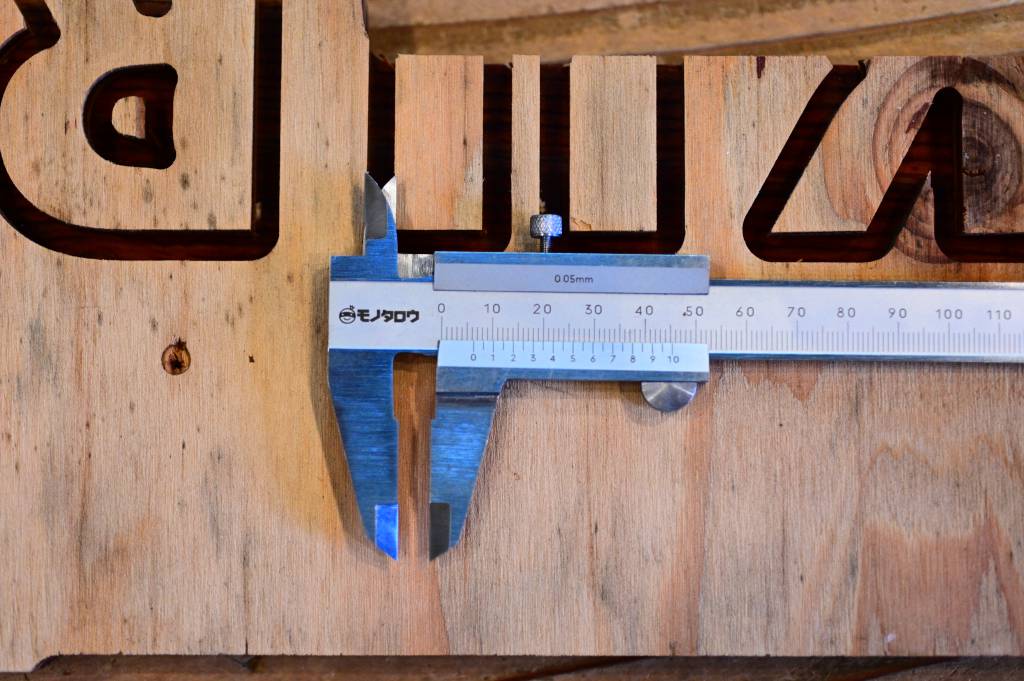
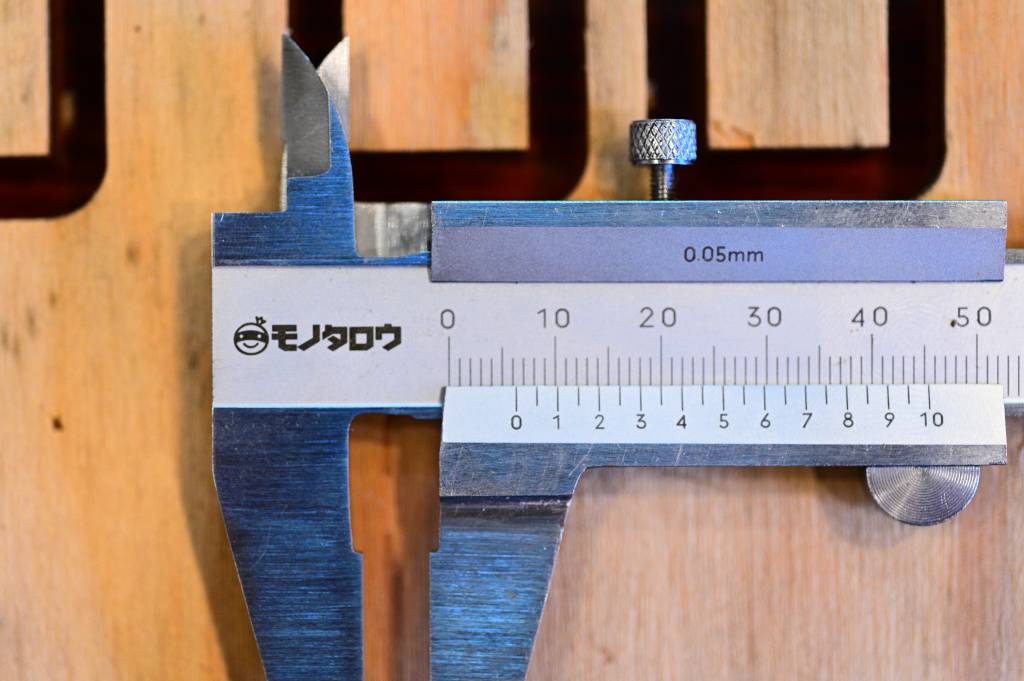
The measured runout is between 6.30 and 6.40mm, 1/4inch is 6.35mm.
Cutting Videos
Quite relaxing.
Long (25min) Version on Vimeo.
Longer Version on Vimeo.
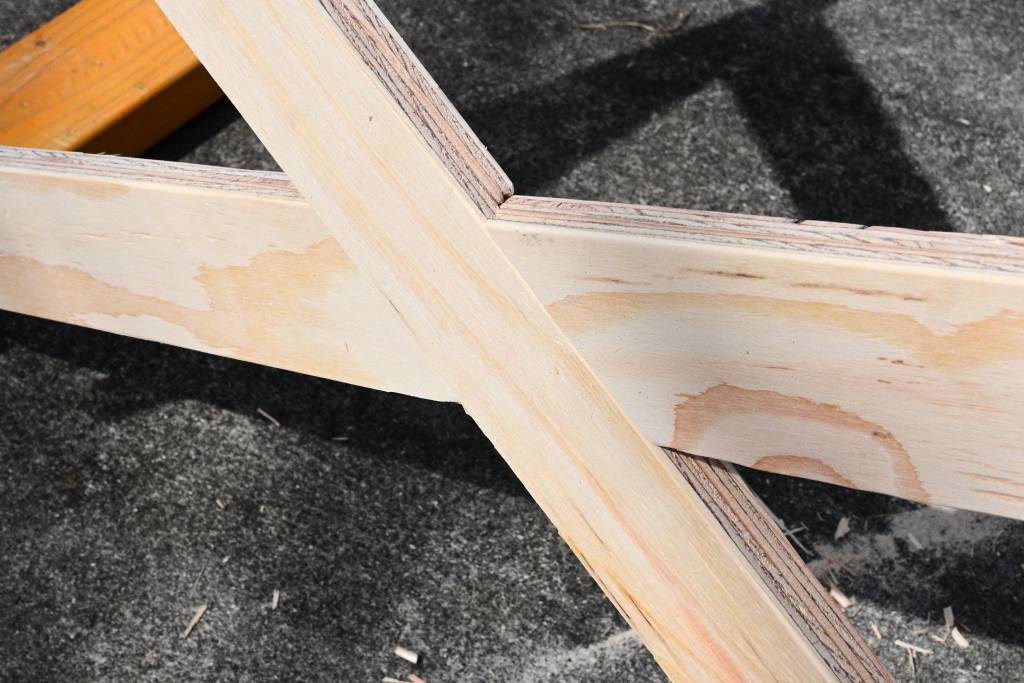
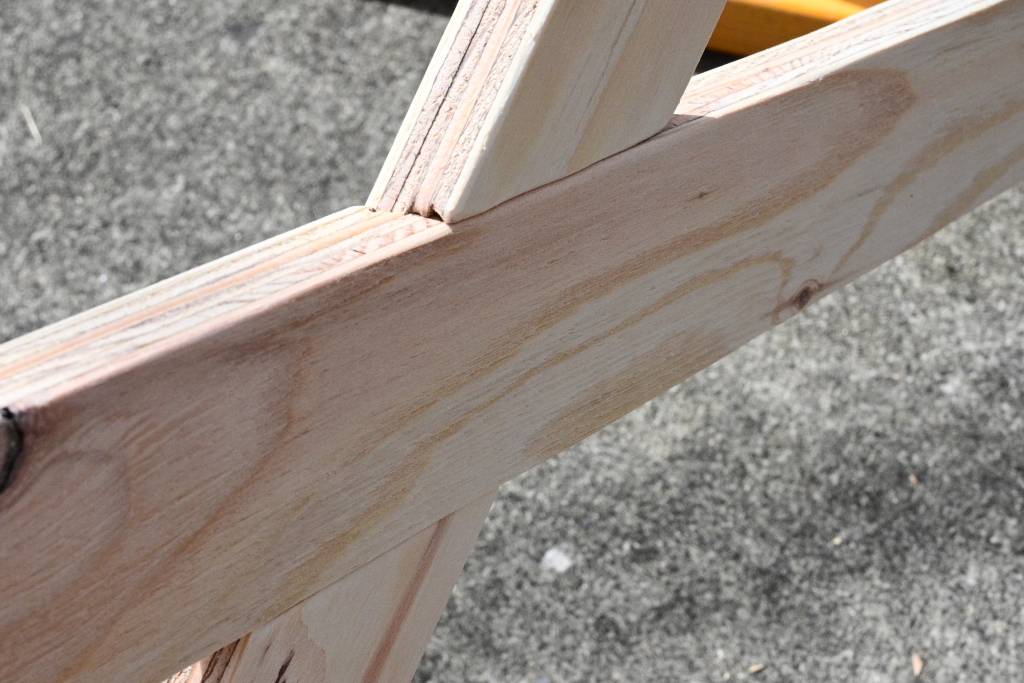
Post-Processing
Well, sanding.
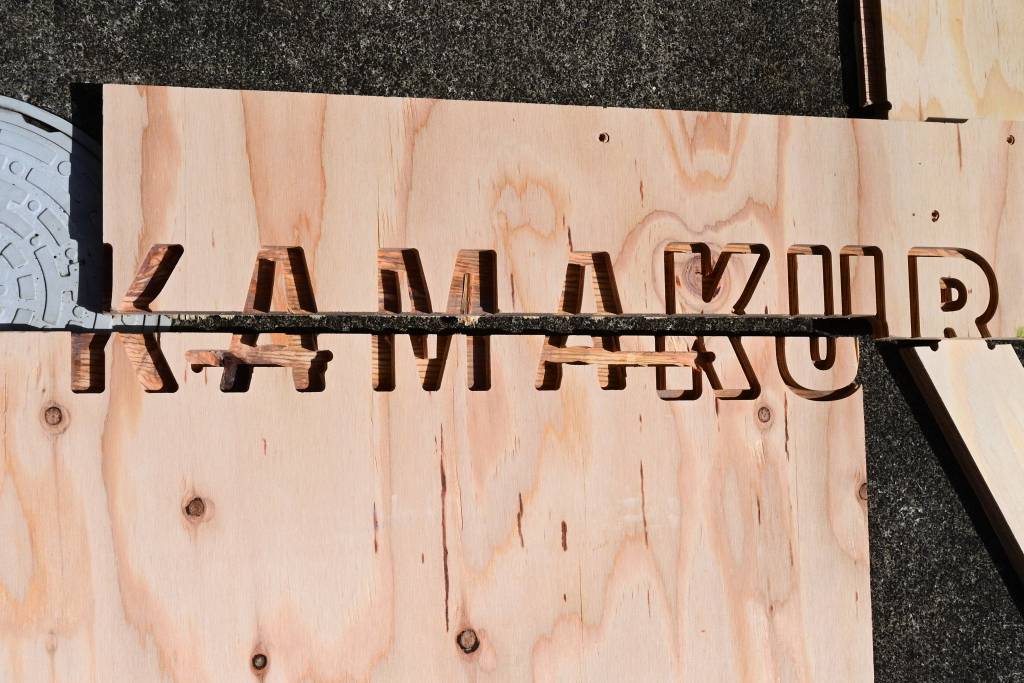
Pre-Post-Processing
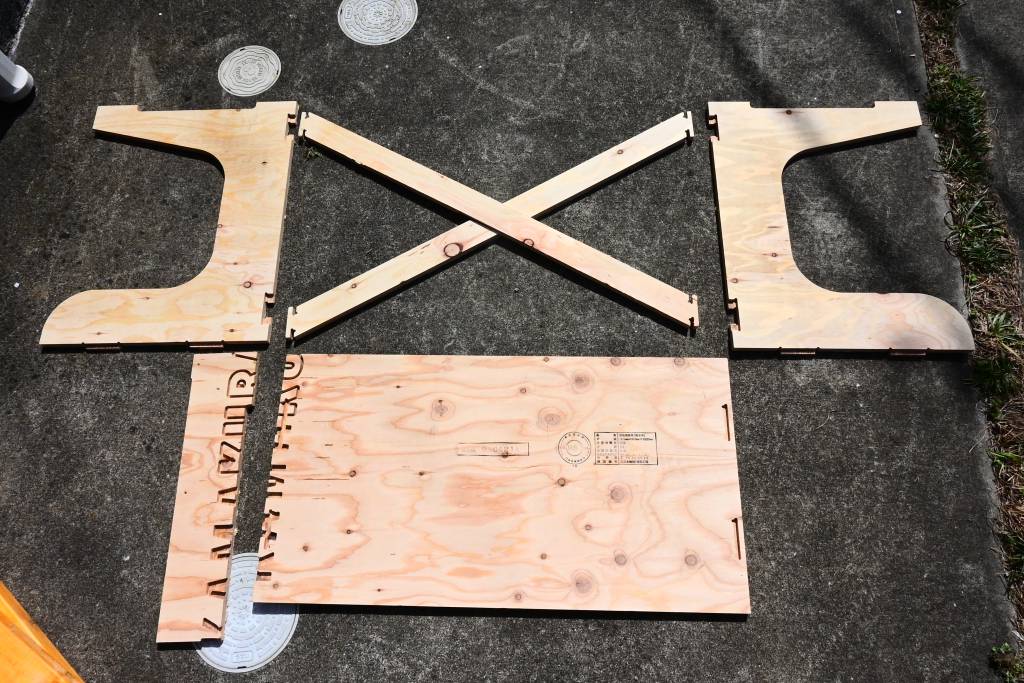
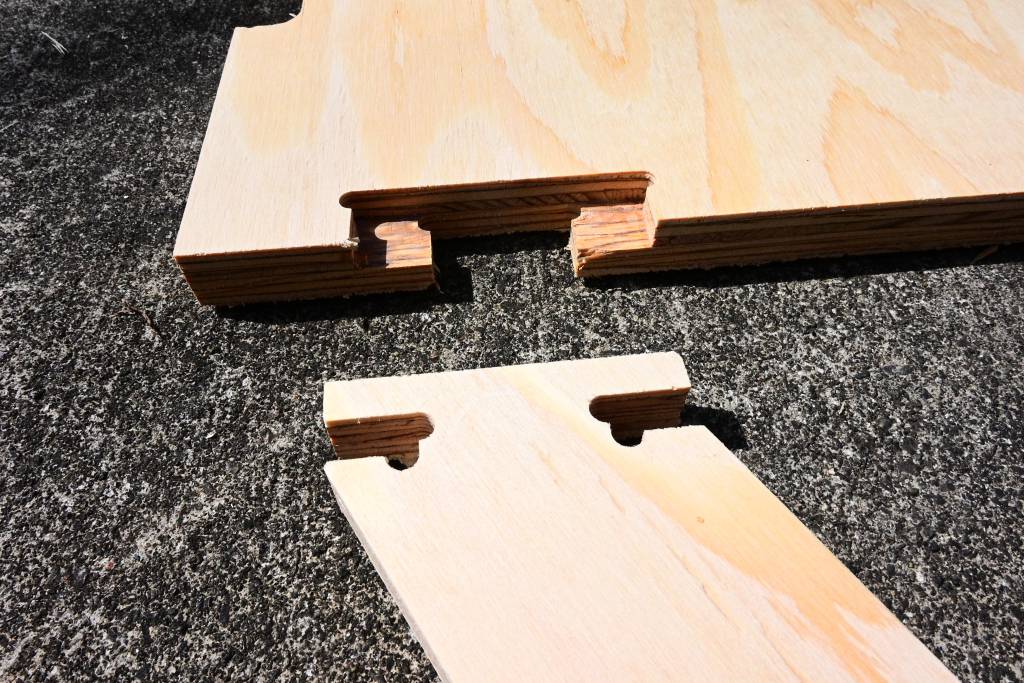
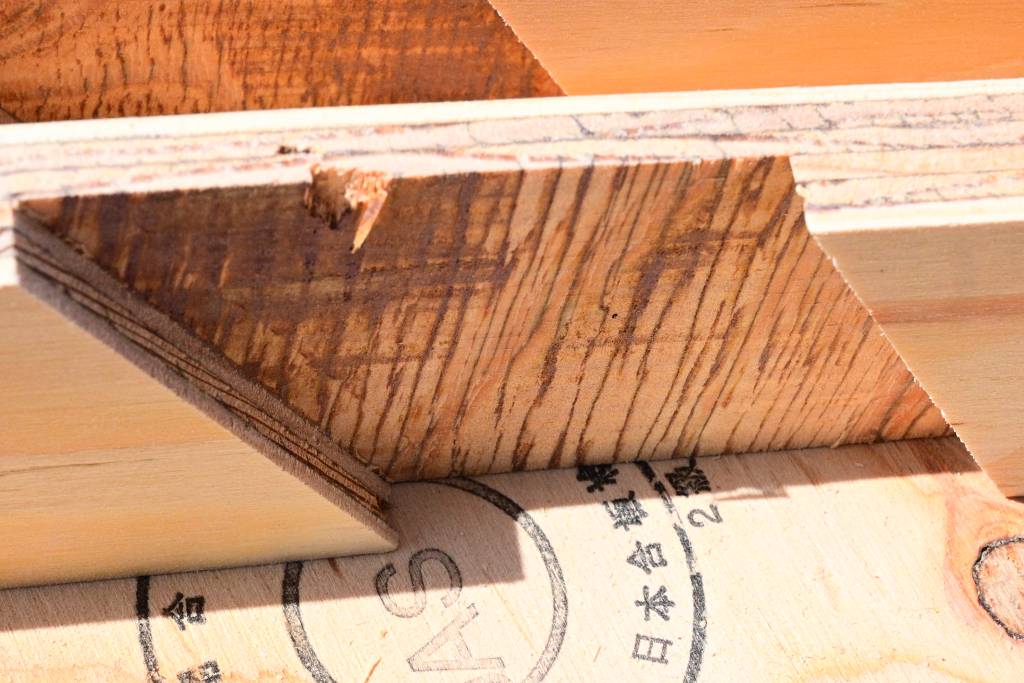
Why are there a Kamakura letters engraved on the table? Because I re-used the group board to make my table top. Otherwise we would have thrown it away (and my sheet was not big enough for all my parts!)
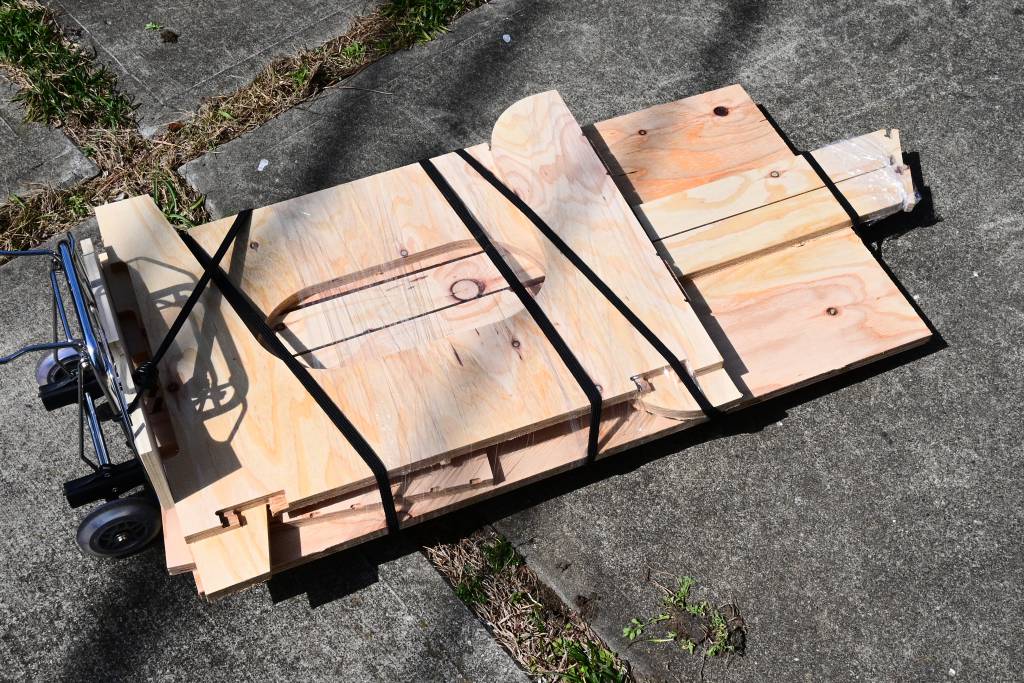
Post-Post-Processing
Hero Image
Other ShopBot Places
Cainz is a chain of Home Centers/DIY places Japan, some of their shops have a ShopBot on site, which can be rented for 30min for ¥2,500. (TODO: find out details) https://map.cainz.com/map/289 (Tokyo, Tamasakai)