Week 18 : Project Development
☛ Assignment
☐ 1. Complete your final project
☛ Final Week:
Making the Blow Controller
Making the Drawing Car

Making the Labyrinth
Making the Drawing Machine
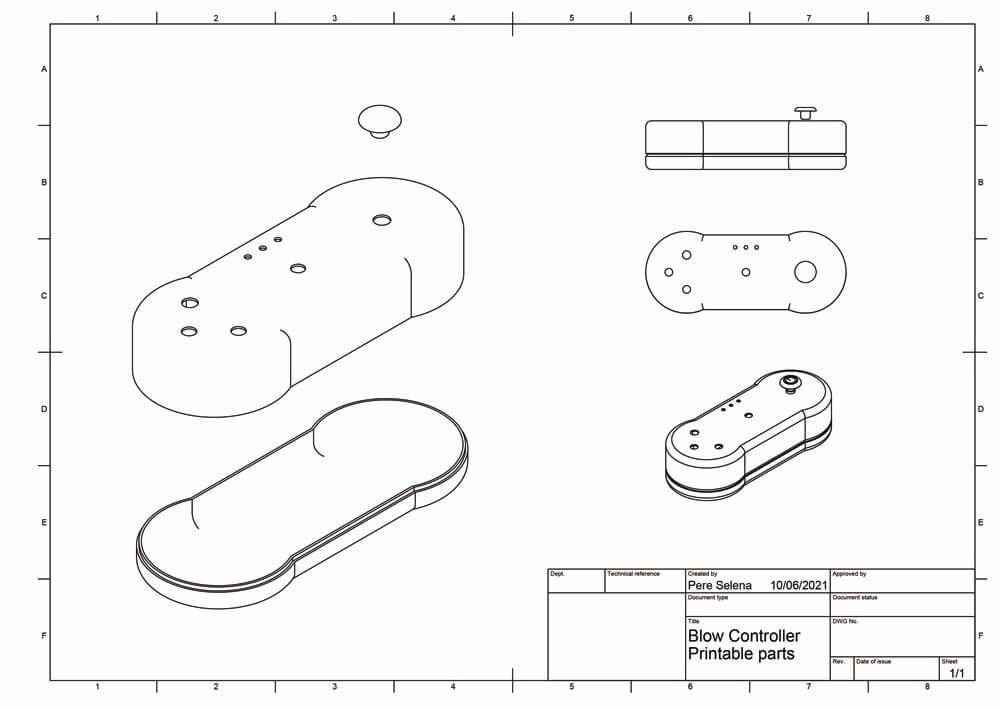
☛ Making the Blow Controller
▸ Prototyping & Integration
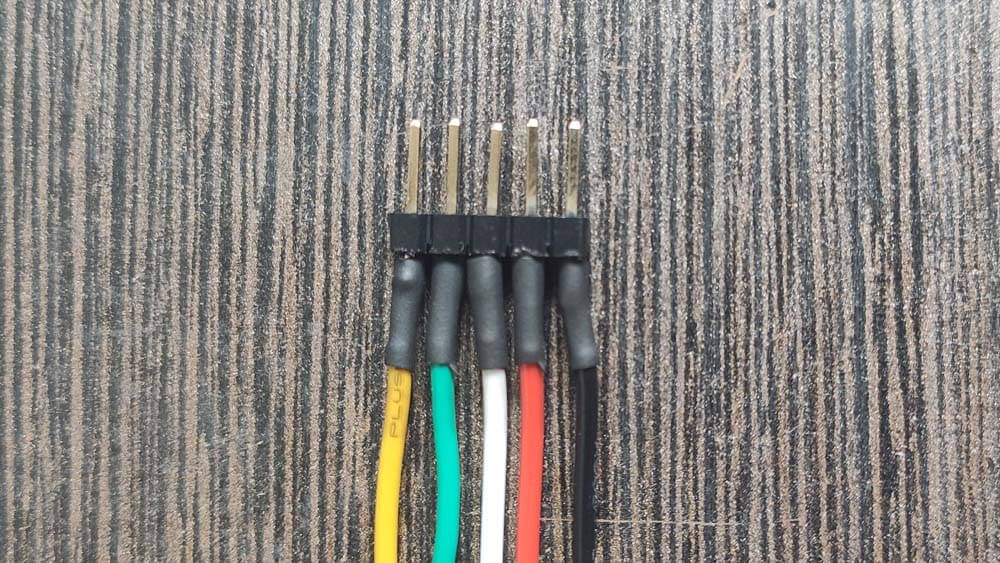
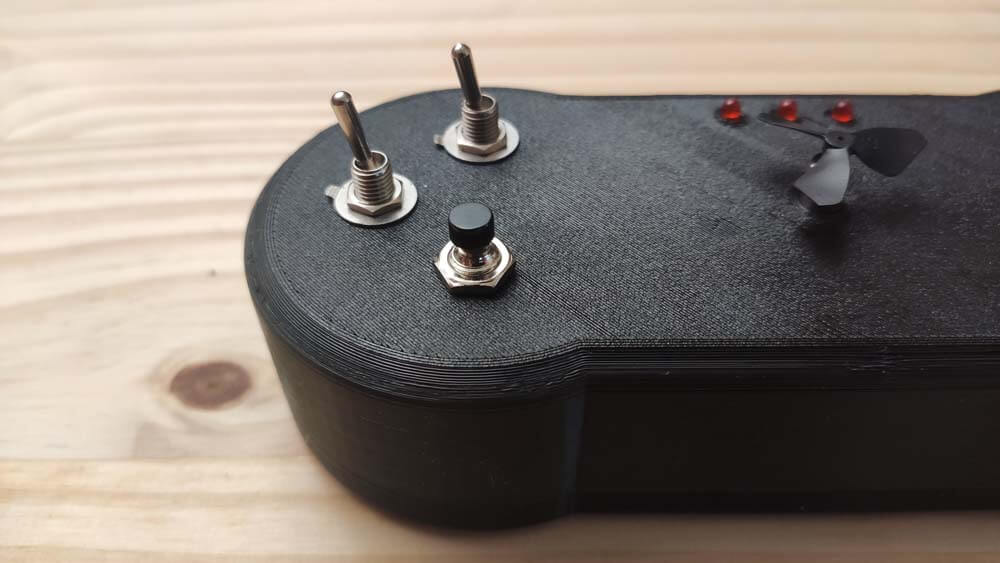
As explained above, I need to work the wires integration in order to make it fit the controller body I designed. I soldered every parts, headers, switches and LEDs, and protected these using heat-shrinkable sleeves, so no shorts, and maybe it gives a little mbit more resistance to the soldering. Maybe.
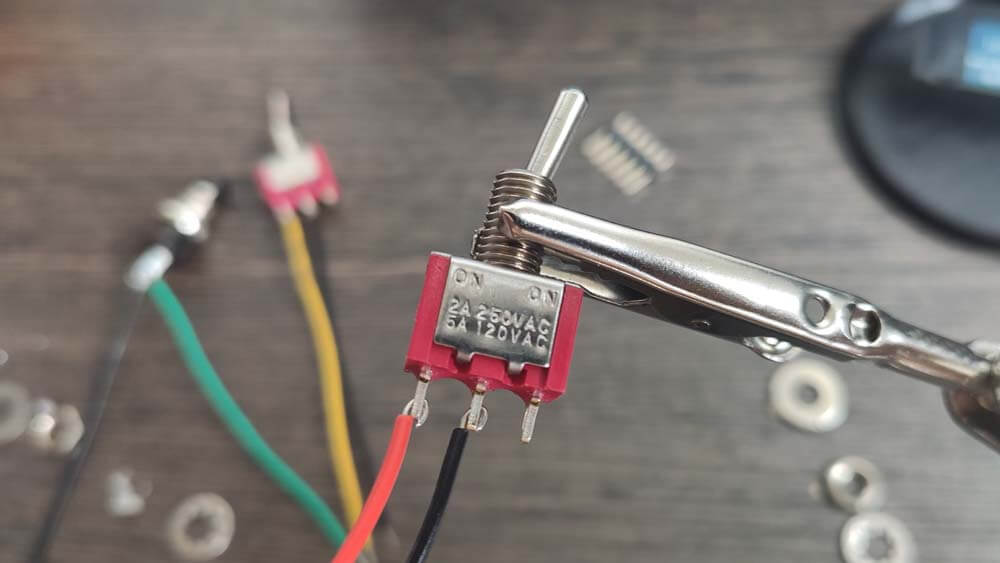
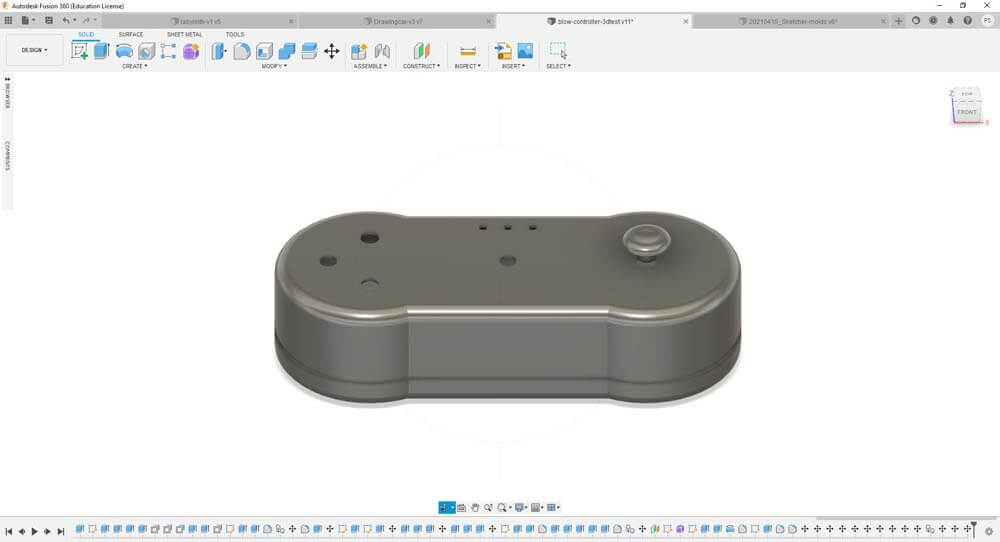
I reworked the controller's shape, adding two circles so the controller is easier to "grip" with both hands.

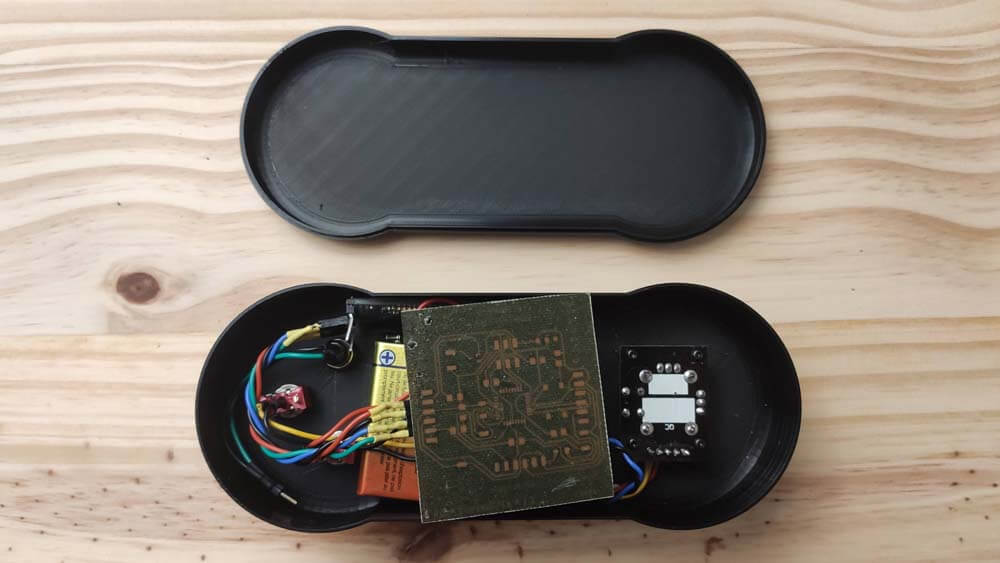
It turned out that I forgot some kind of important "detail". Where do I fit a battery in this ? I need to power the circuit with 5V, I have been doing that using an alimentation so far. I added a Voltage regulator to my circuit, so I can add a 9V battery in the controller's body. But now, even if the wires are better integrated, they are "hard" and they are taking space. I will redesign the controller so the circuits and components can fit better in it.
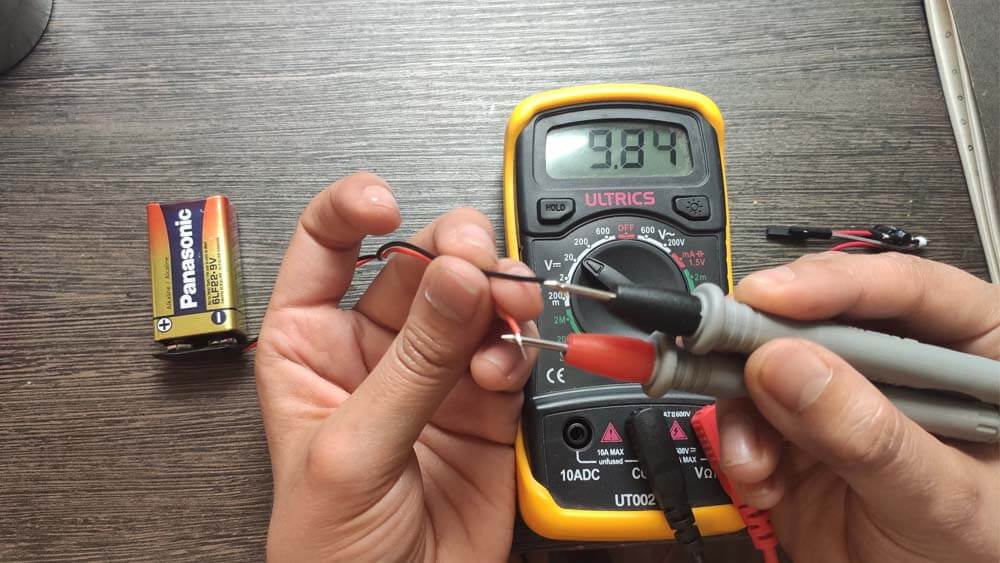
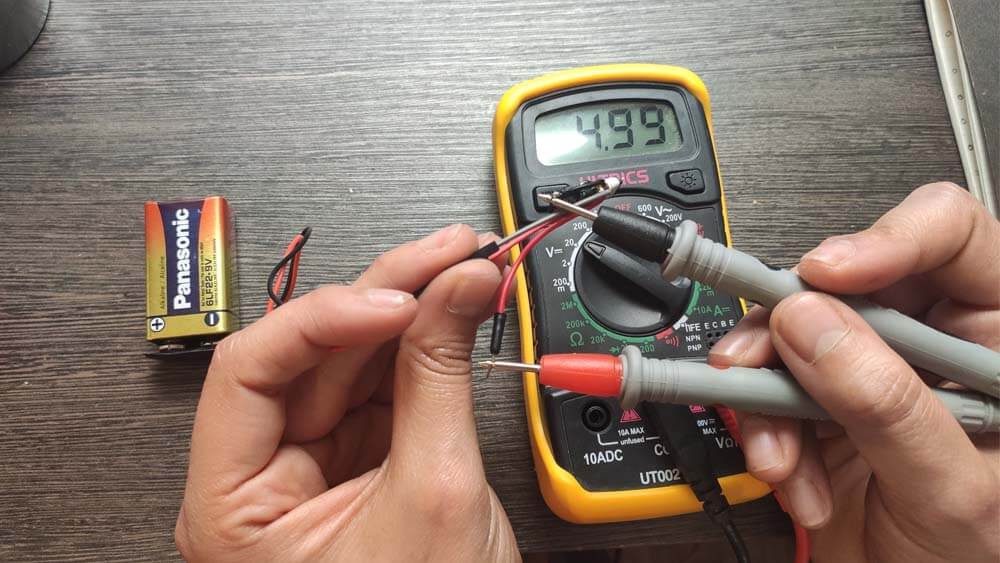
In the next images I am measuring the voltage of the battery alone, and then the battery with the Voltage regulator module. It drops from 9V to a little bit under 5V. It is great, and I will have to add this component on the board to gain space.
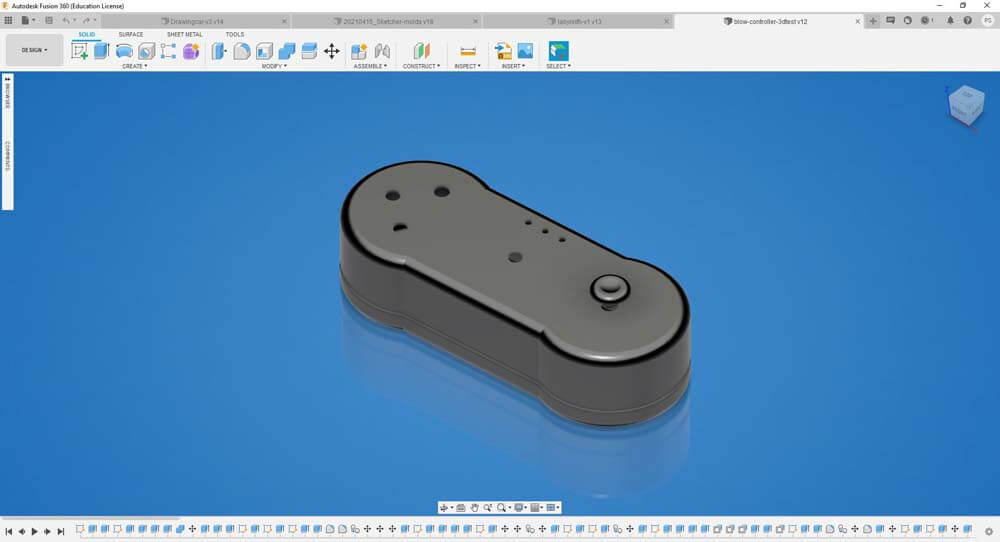
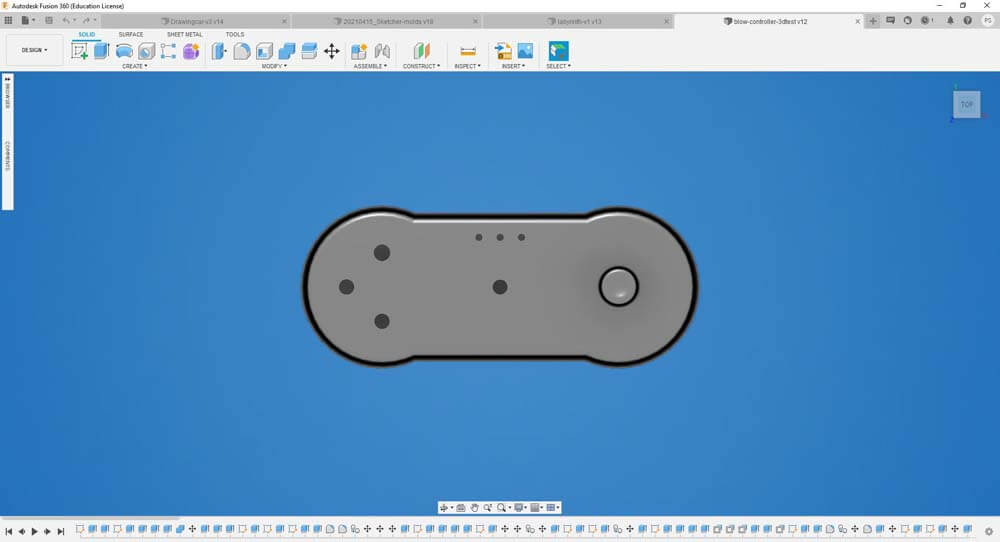
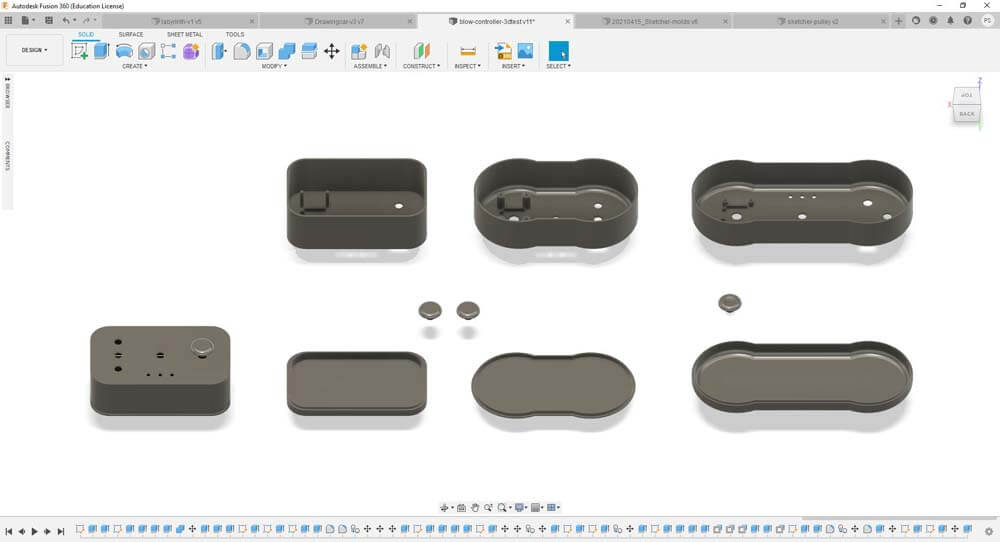
I modified the Controller's body again, so my Frankeinsteined board can fit in it properly. I did not wanted to make it higher, so I made it wider.
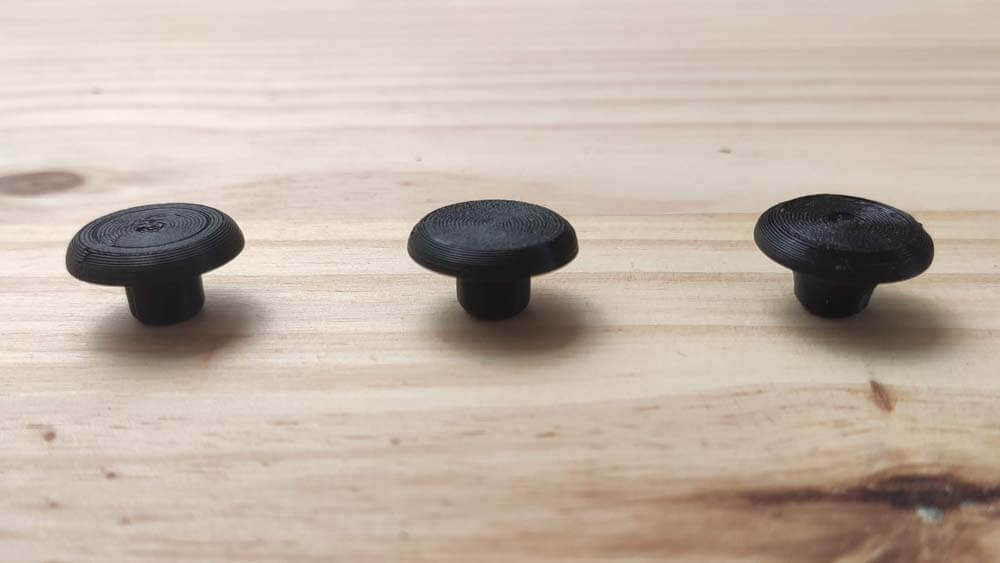
I tried several times to print the thumb joystick cap, it was not that easy because the base is a smal surface and it did not adhere properly on the printer's bed. I used the "Tree" support, in Cura's Slicer, and the result was more satisfying this way.
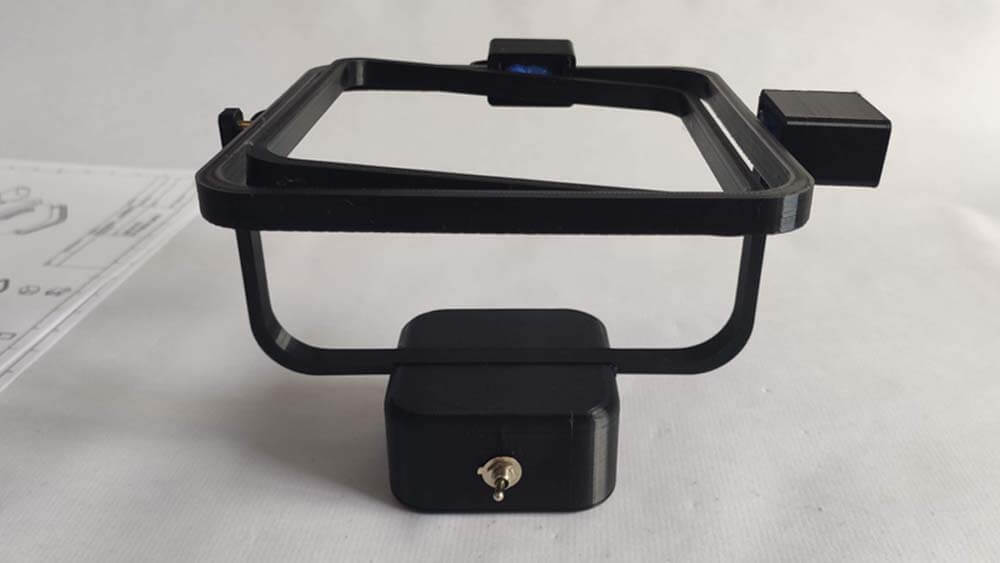
And I printed and assembled the Controller again :
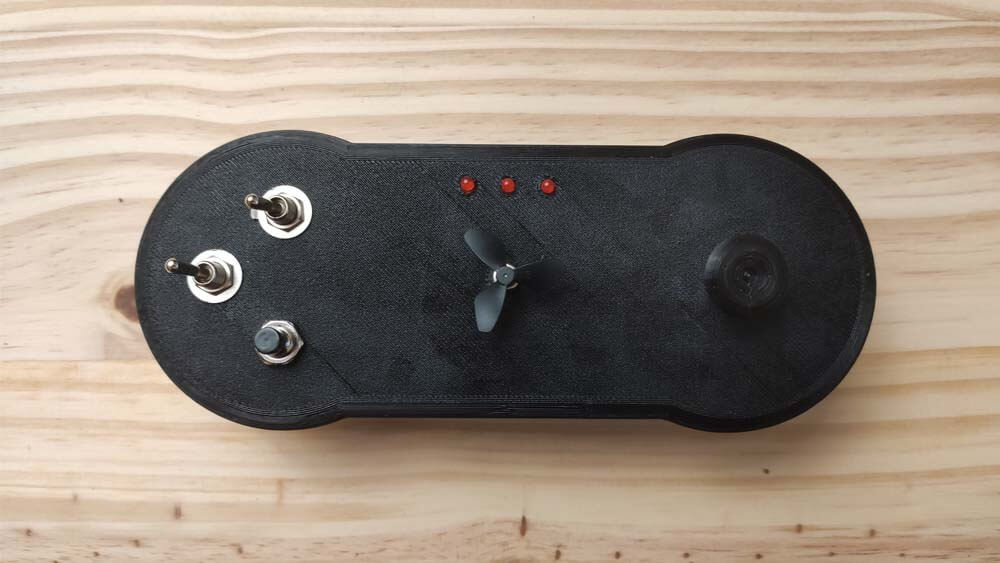
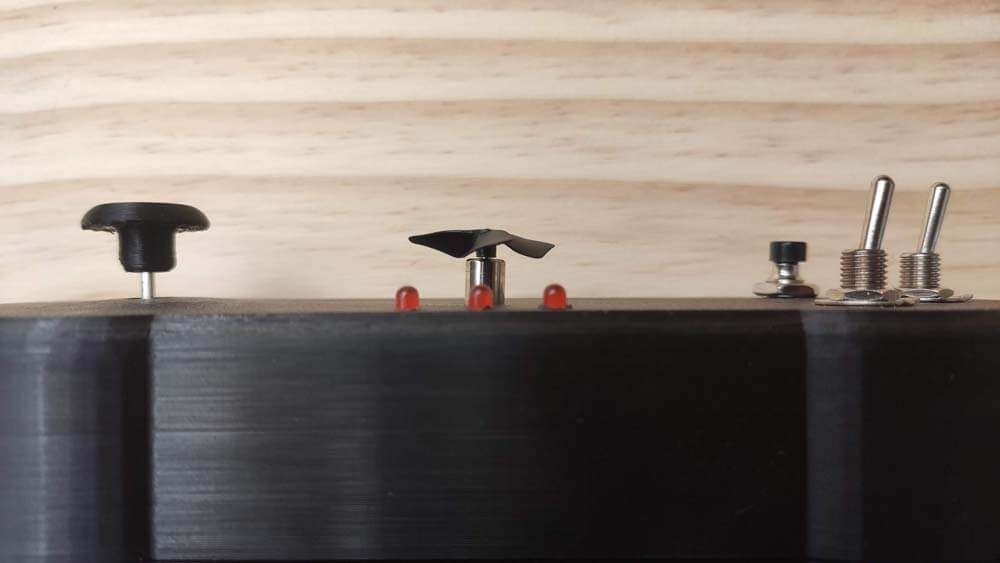
The integration is better, the joystick module is screwed and fits nicely, I re-arranged the switches so there is more space between them so they are more accessible.
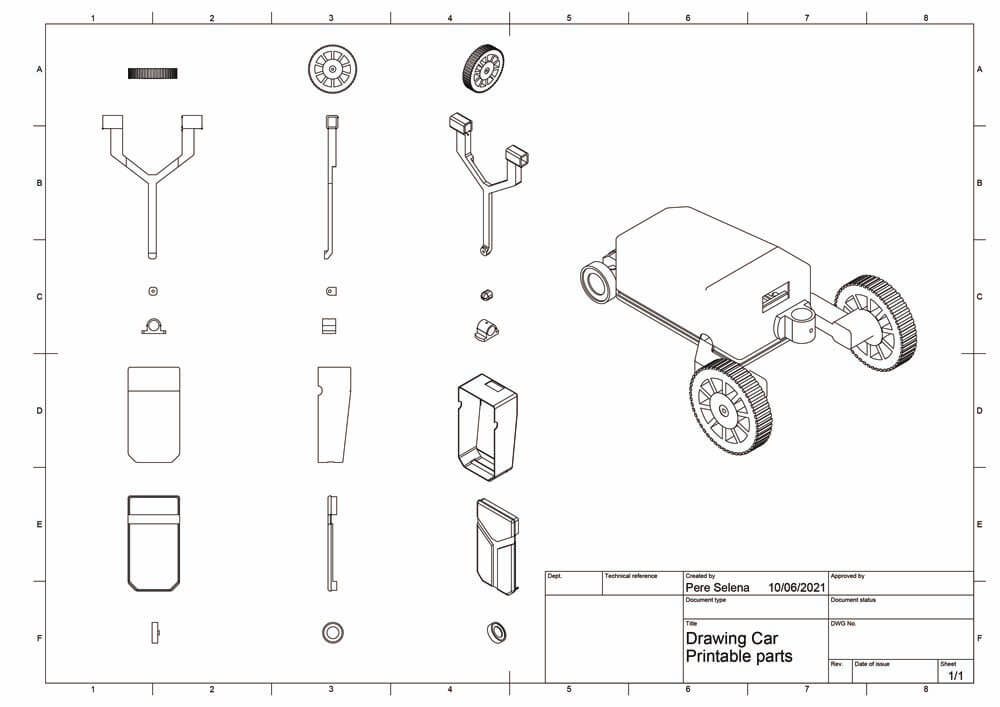
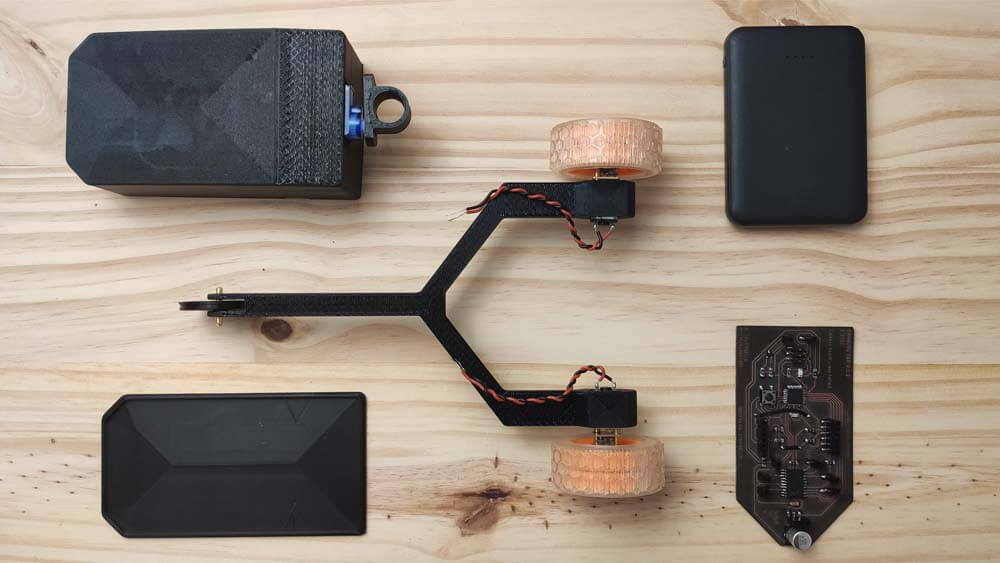
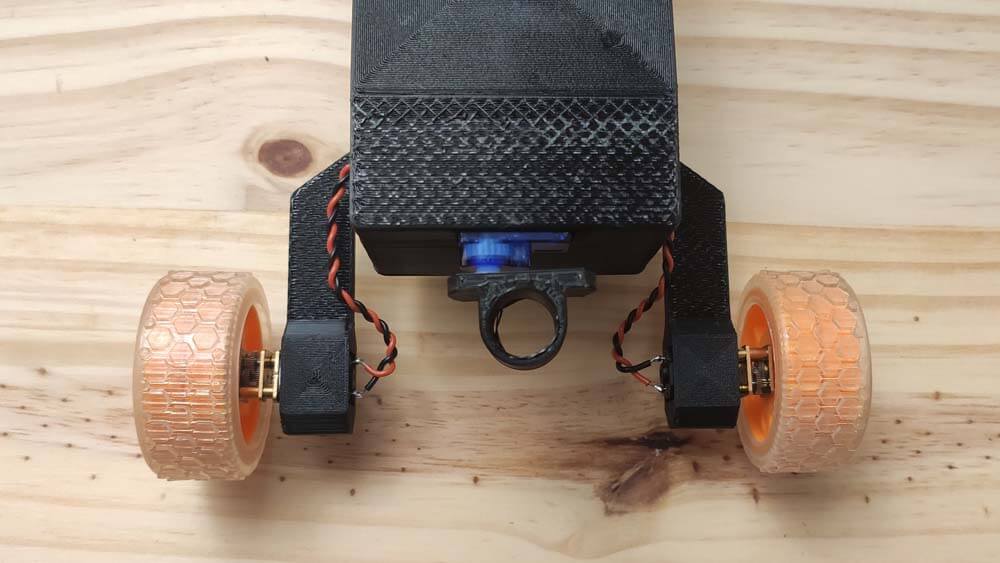
☛ Making the Drawing Car
▸ Prototyping & Integration
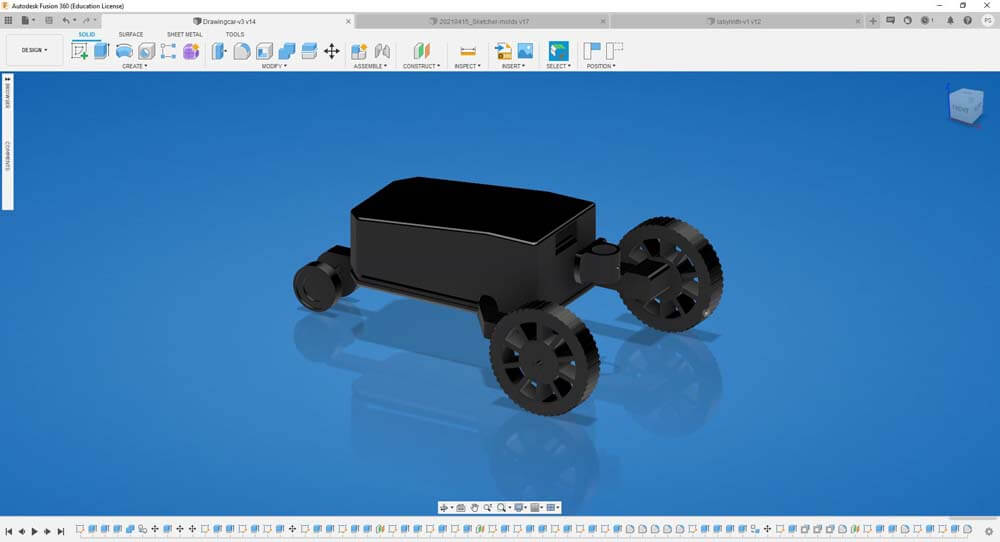
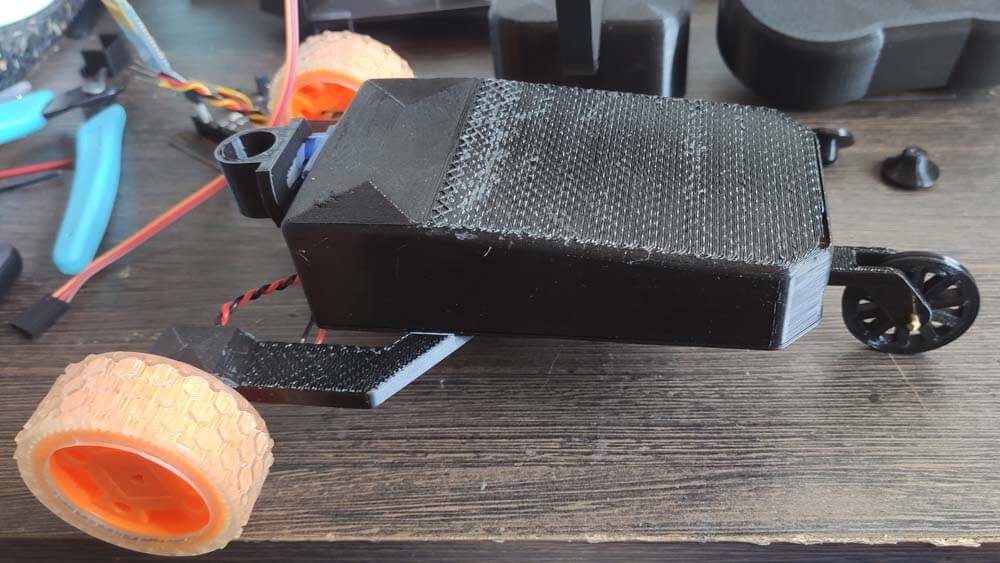
As the Blow Controller, the shape is totally different from the initail idea proposed, these first sketeches were an ideation and I was not aware of the size of the PCB, plus I wanted to try something else, so here it is. As for the controller, I did not think enough about the battery integration, so I will have to resize the body. Also, I have to find better settings to print the top boday, as the support leaves marks on the surface. But printing it in the other way around would use way too much filament, much more thant the objetc to print itself. So... I will test things.
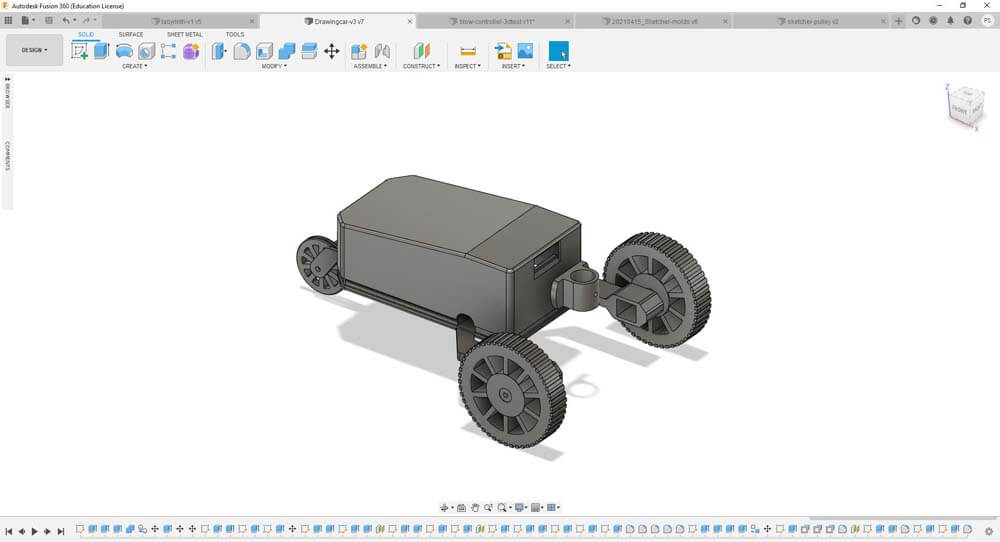
So, here is this Drawing Car on Fusion 360, print is coming.
Print is ready to be assembled.
It needs modifications on the frame so the back wheel is actually "free-wheeling" to follow the directions.
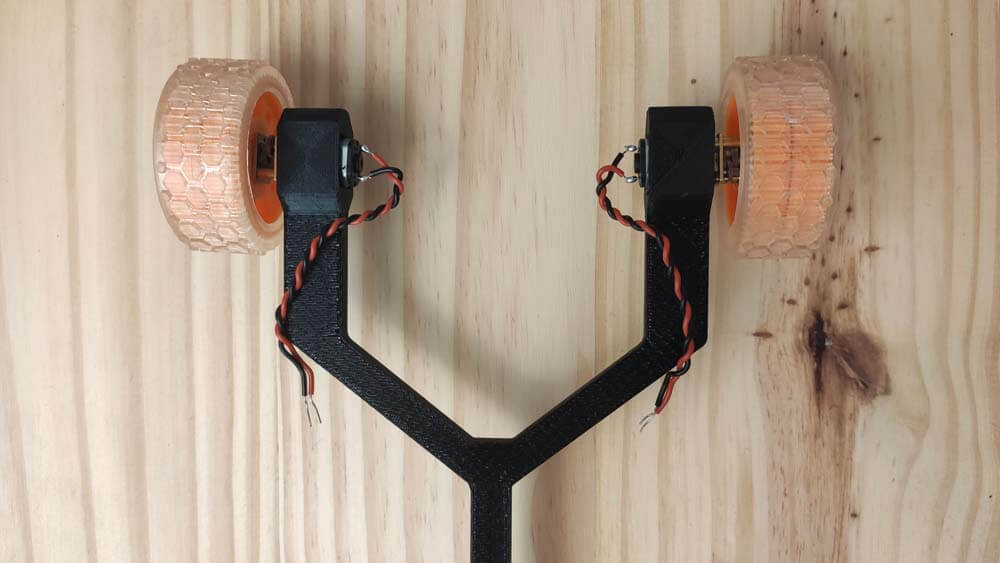
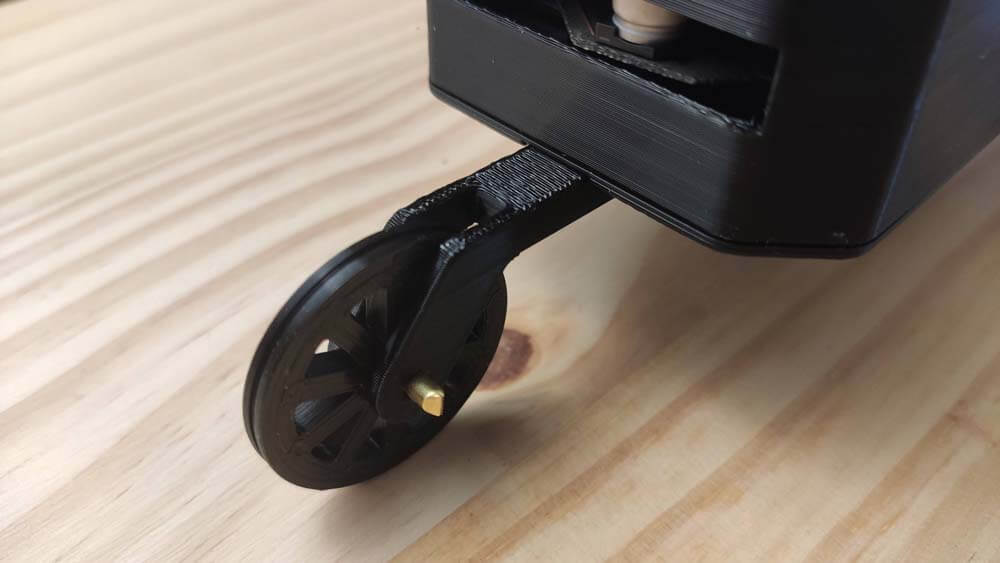
Also, I have to think of integrating the wires in the frame.
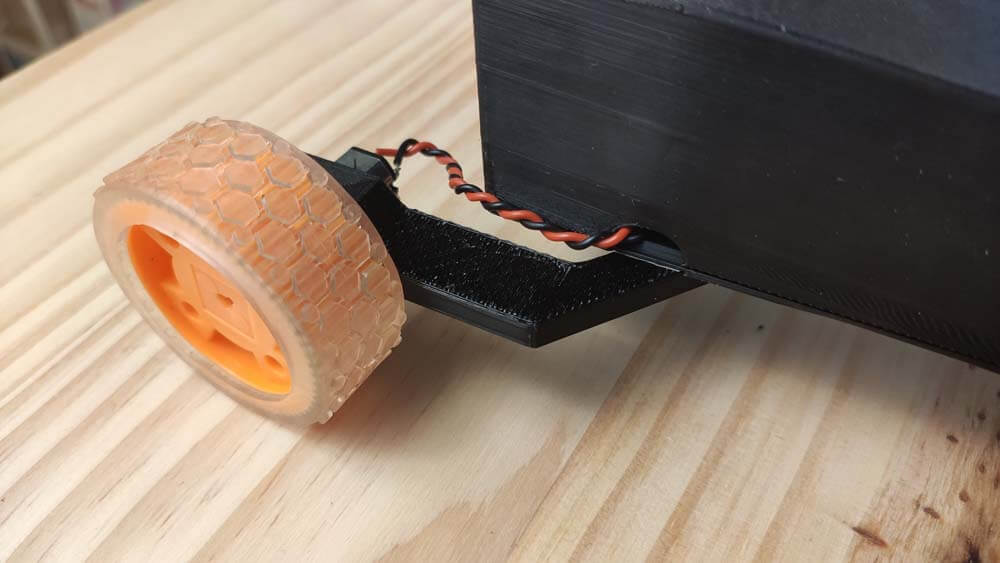
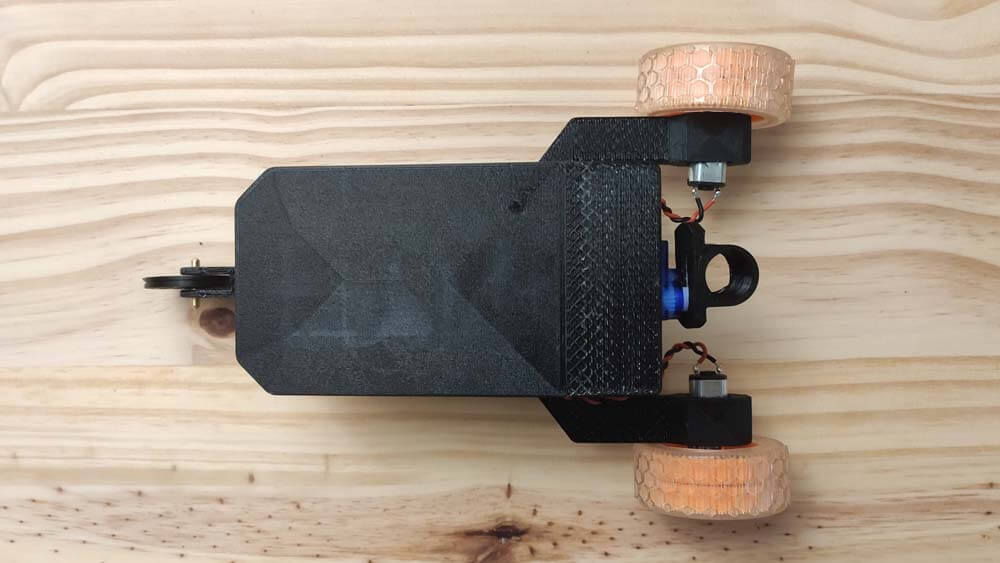
I modified the labyrinth model in order to make the frames slighty wider in order to create a safe way for the wires. The Car's frame has a complex shape and the easiest way to 3D print it is surprising :
☛ Making the Labyrinth
▸ Prototyping & Integration
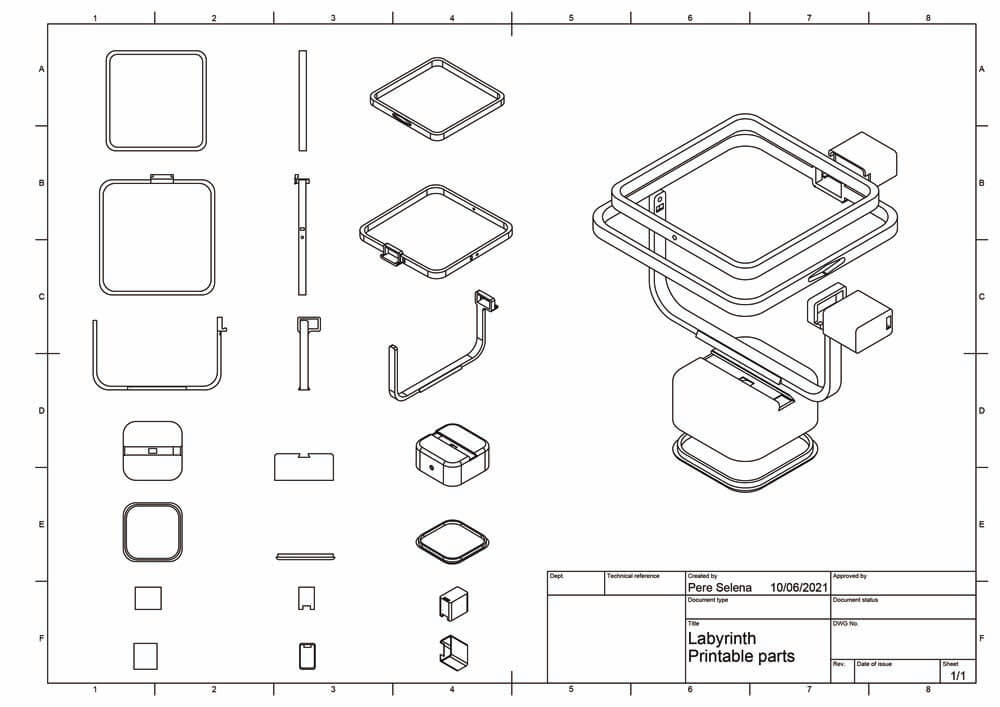
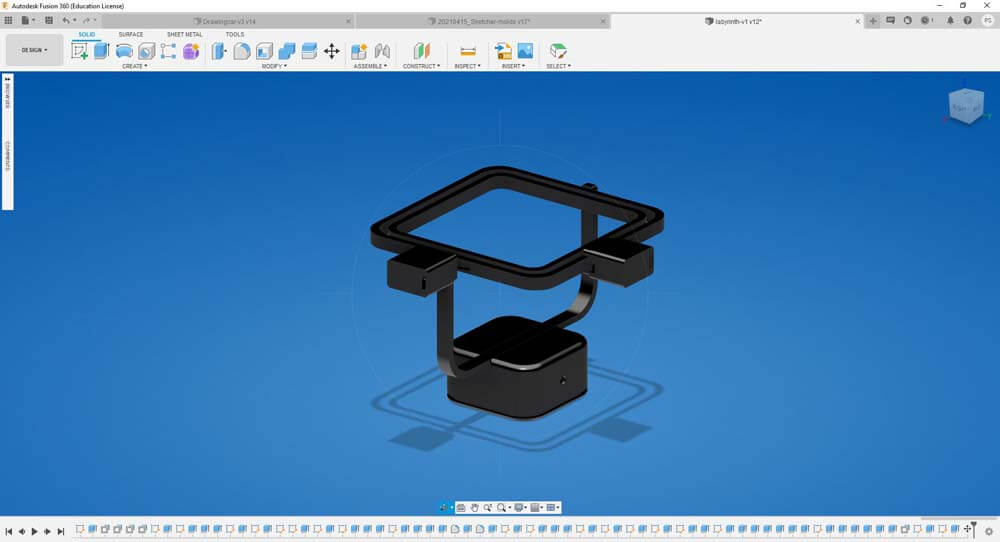
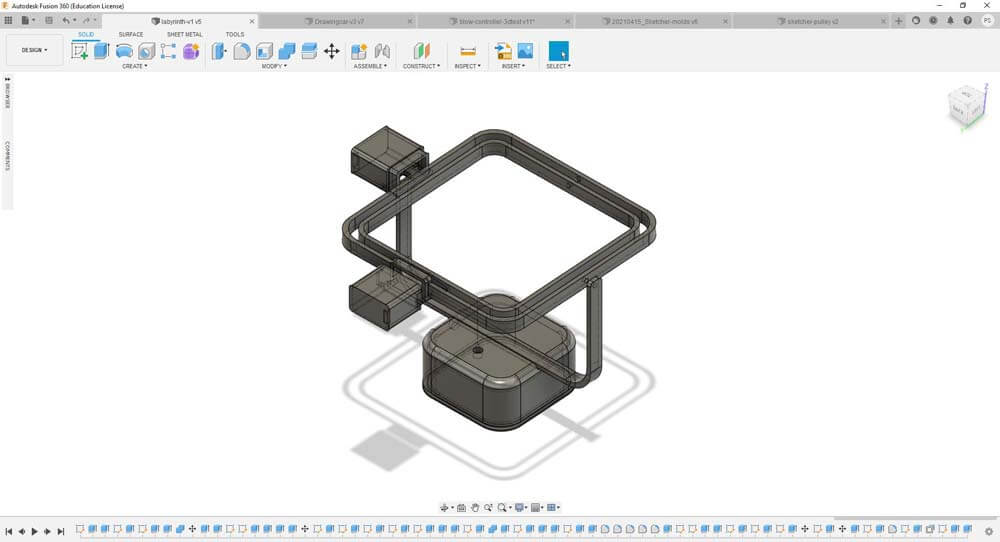
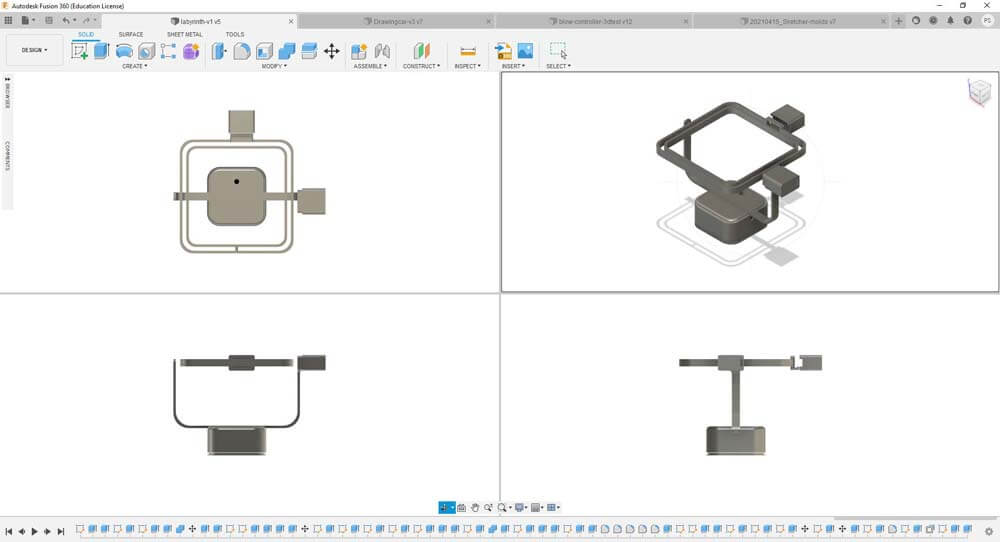
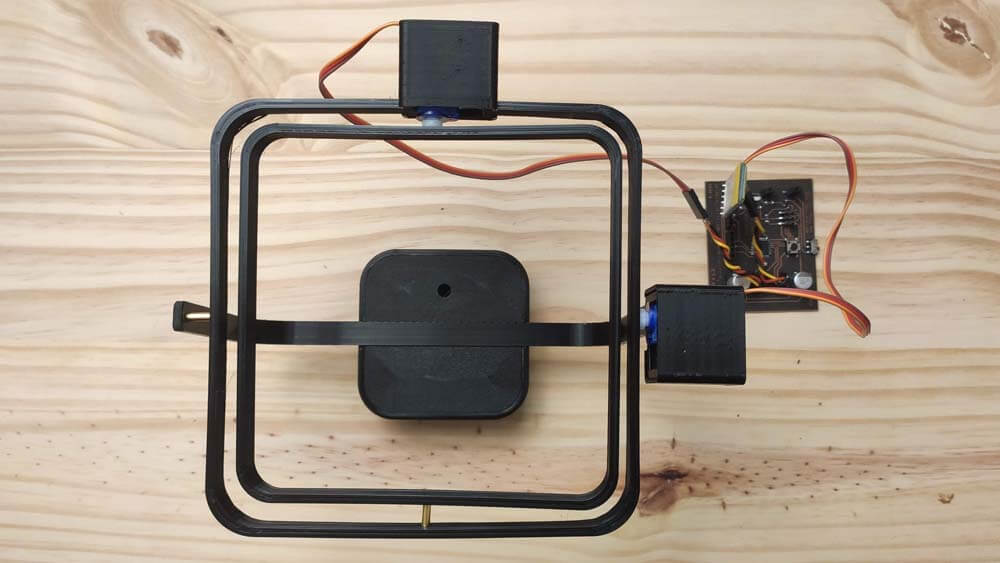
This machine went faster, because this is the last minute panic, a week before the final presentation. I designed the labyrinth "geometrically", a frame in another frame, in another frame. In order not to have wires to move the frames, I tried to integrate the servo motor in the frame axis. Great news is, it works, bad new is, I have to find ho to make it all hold tighter.
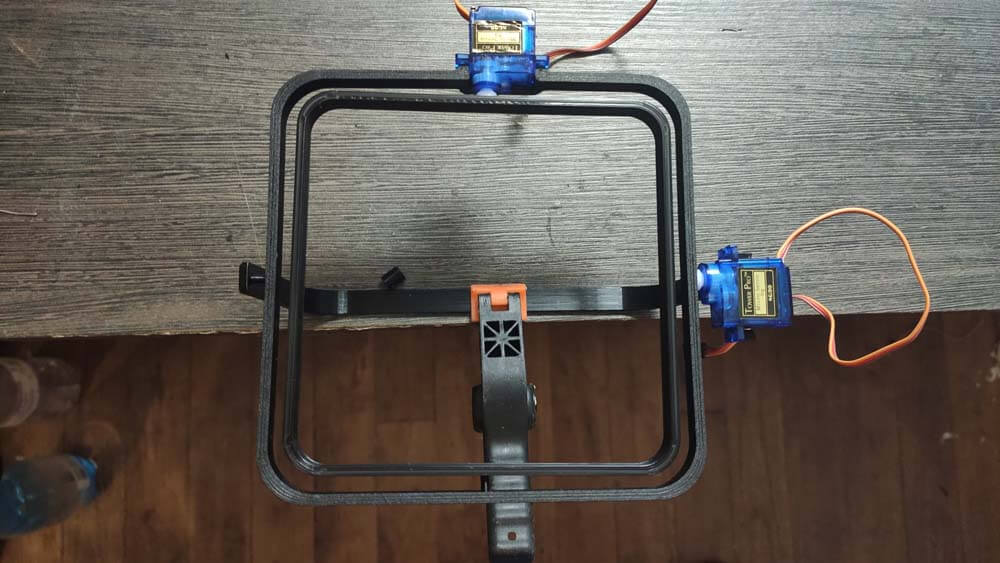
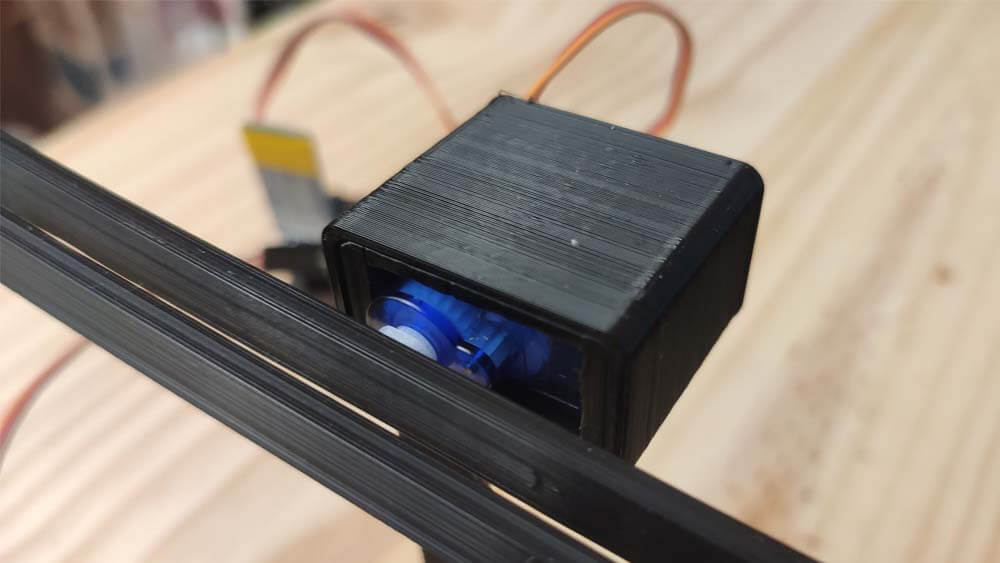
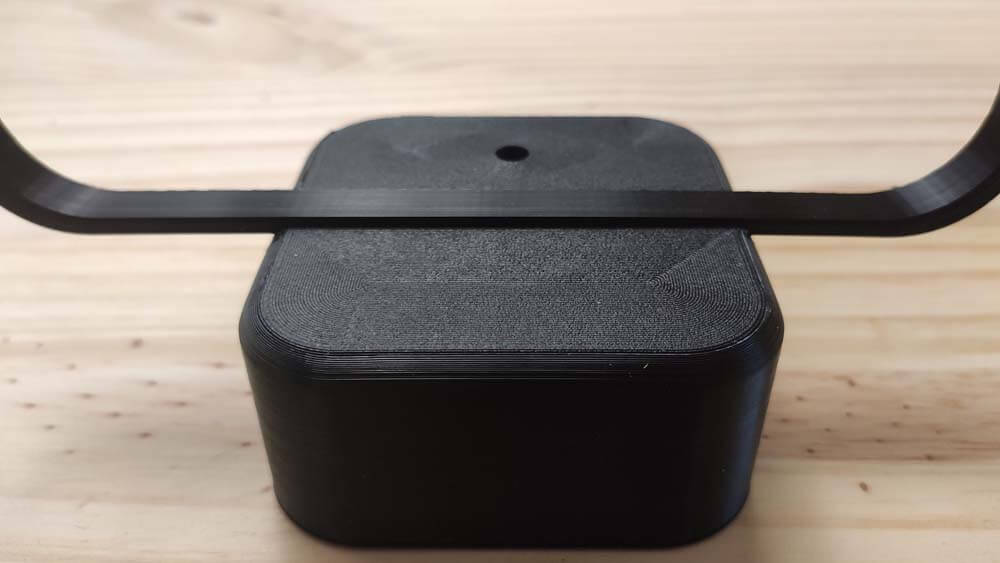
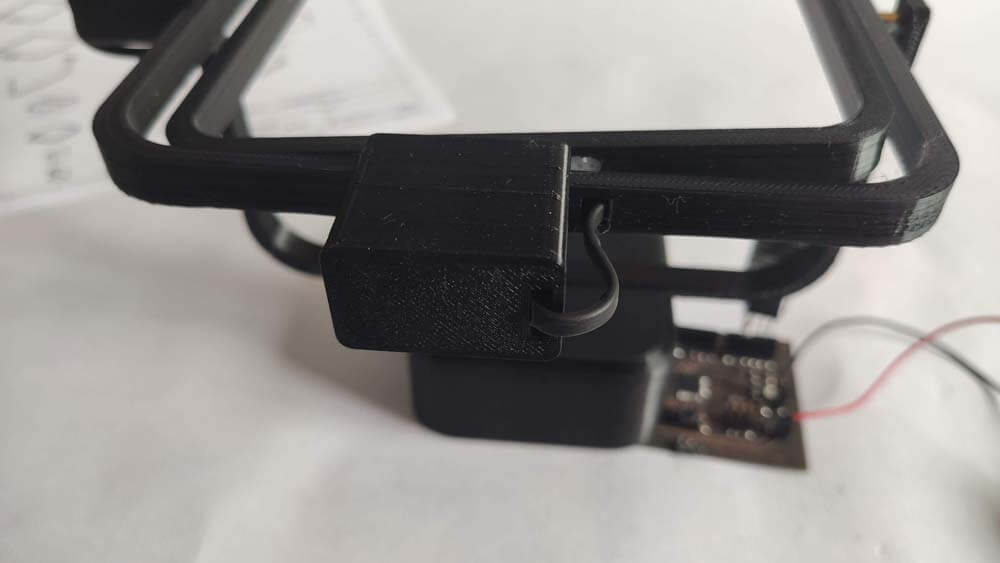
I modified the "servo holder" part on the frame, so the servo can be "pressed" in it. Then I designed "Caps" for hiding the servos.
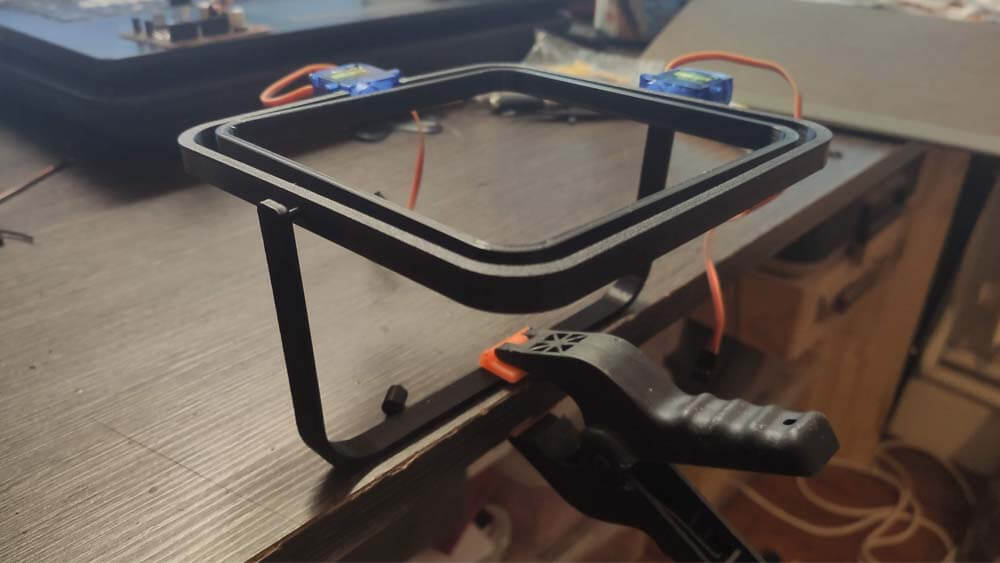
I printed this second version and added the "box" holding the labyrinth mechanism.
I modified the "servo holder" part on the frame, so the servo can be "pressed" in it. Then I designed "Caps" for hiding the servos.
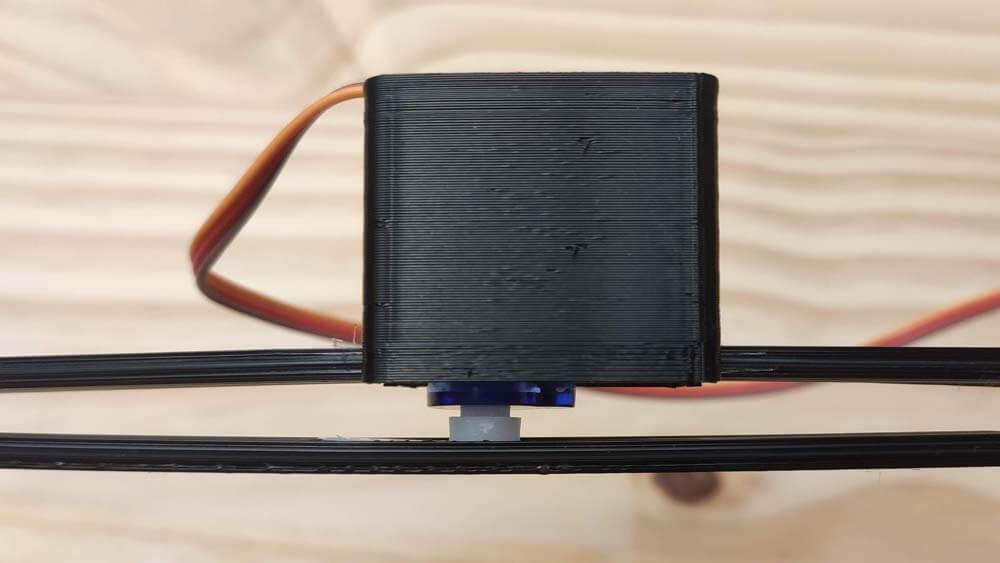
I modified the "servo holder" part on the frame, so the servo can be "pressed" in it. Then I designed "Caps" for hiding the servos.
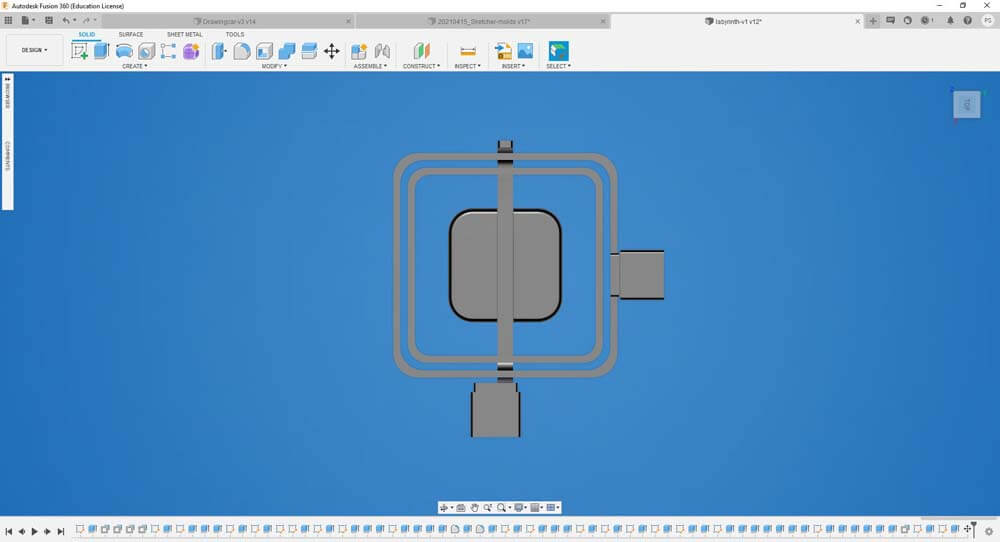
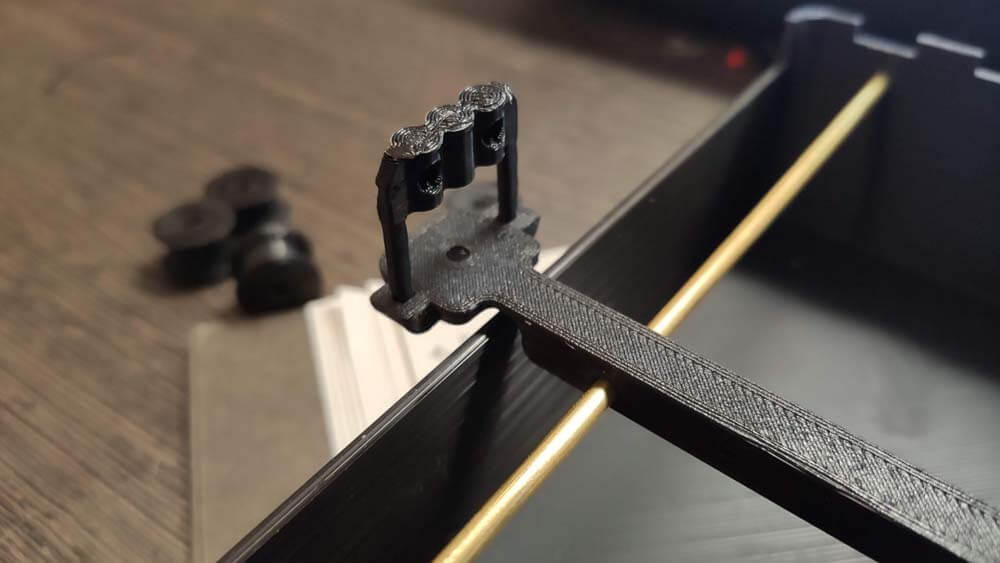
I redesigned the frame in order to manage the wire integration, the following picture shows three wires passing through the labyrinth's frame. This part was 3D printed with a support for the parts touching the bed only in Cura.
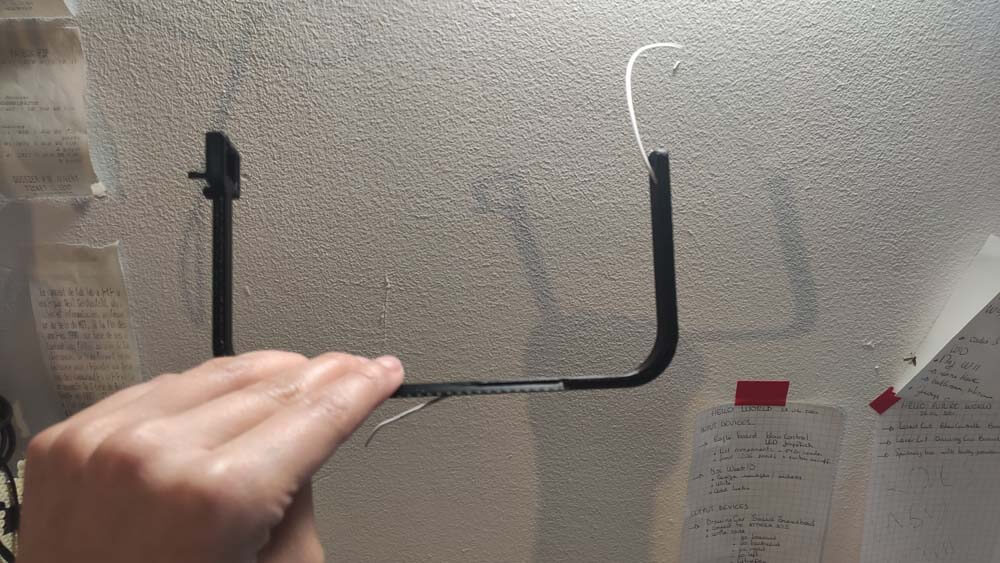
As this system was working pretty fine I redesigned the whole labyrinth so its design integrates the wire and they are almost invisible when the machine is assembled. The following pictures are details from this system.

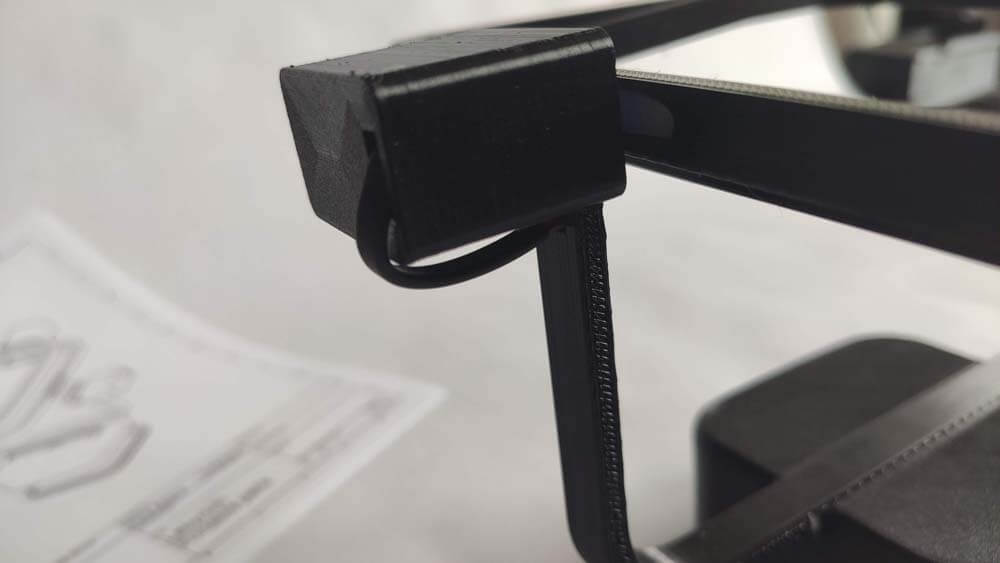
And here is the final result when the Labyrinth is assembled.
☛ Making the Drawing Machine
▸ Prototyping & Integration
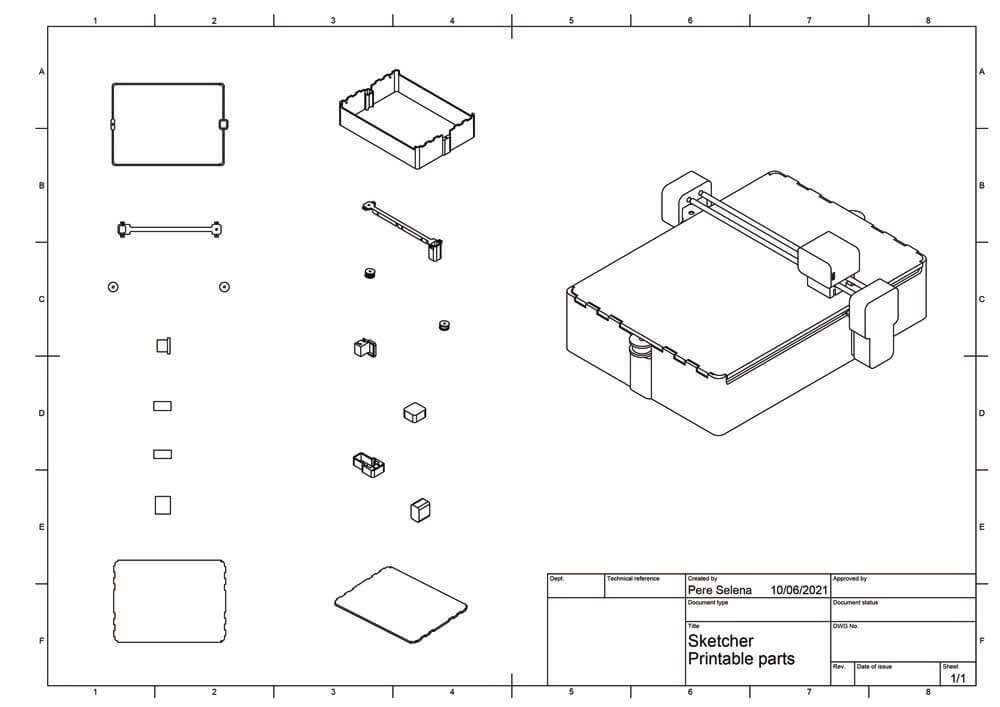
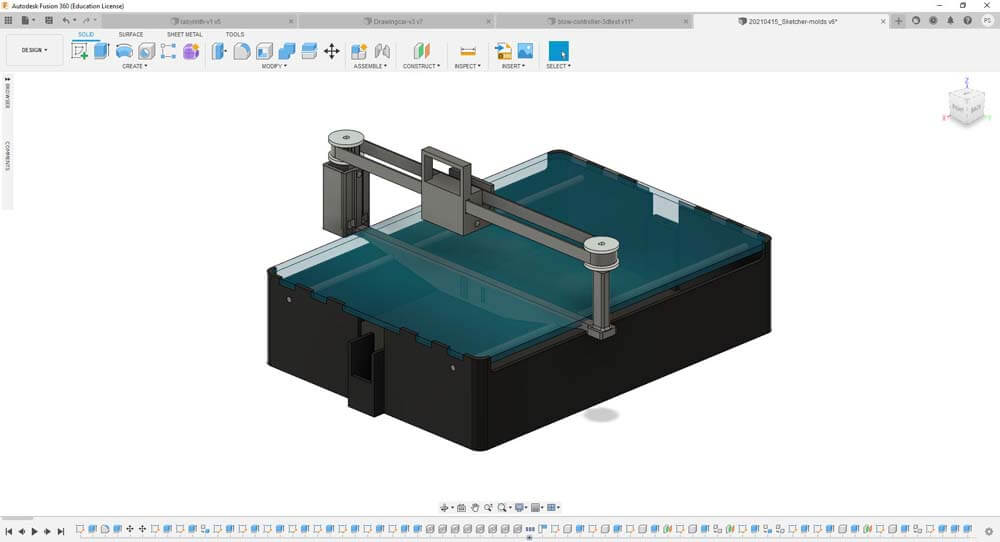
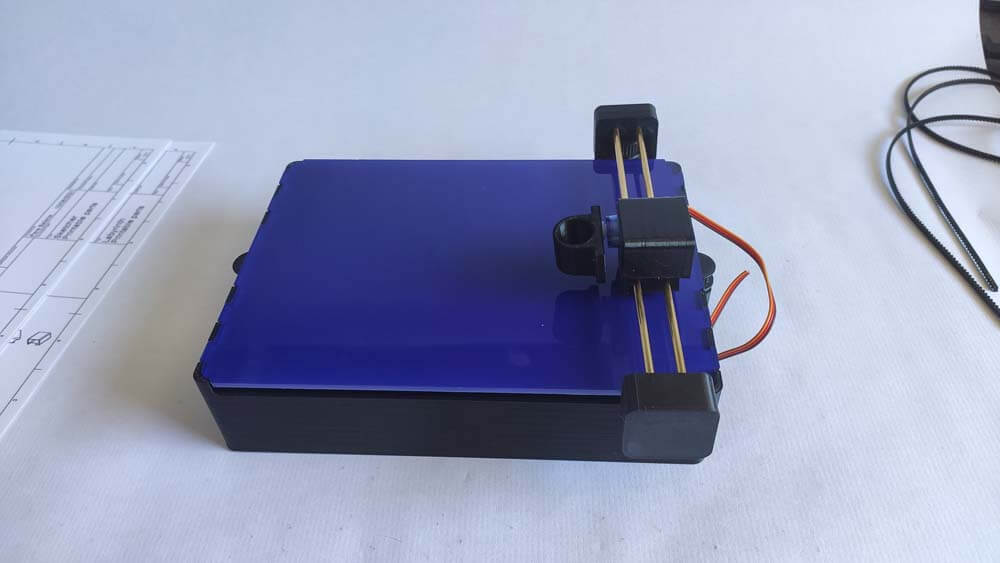
As time is running, I tried to simplify a lot this system, here is my second proposal for this one :
I printed the parts of the model above, but as for a first prototype, there's several things that are not right. However, here is the first test assembled :
I had to modify the horizontal axis because I made a mistake in the measures. But I didn't just changed that measure, I decided to remake it from scratch and founs a cool system, made by zooming a lot without noticing in Fusion 360. So useless in these proportions.
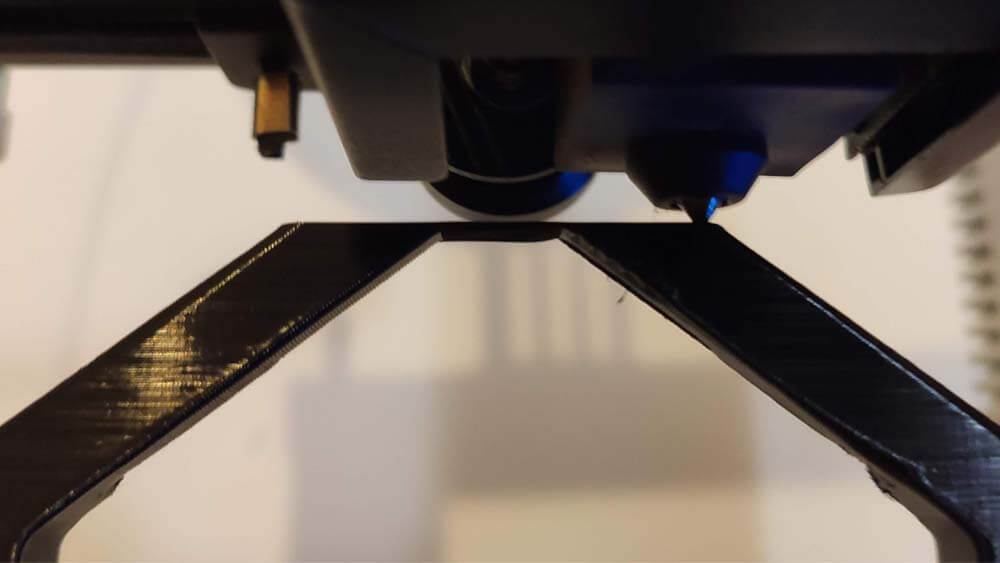
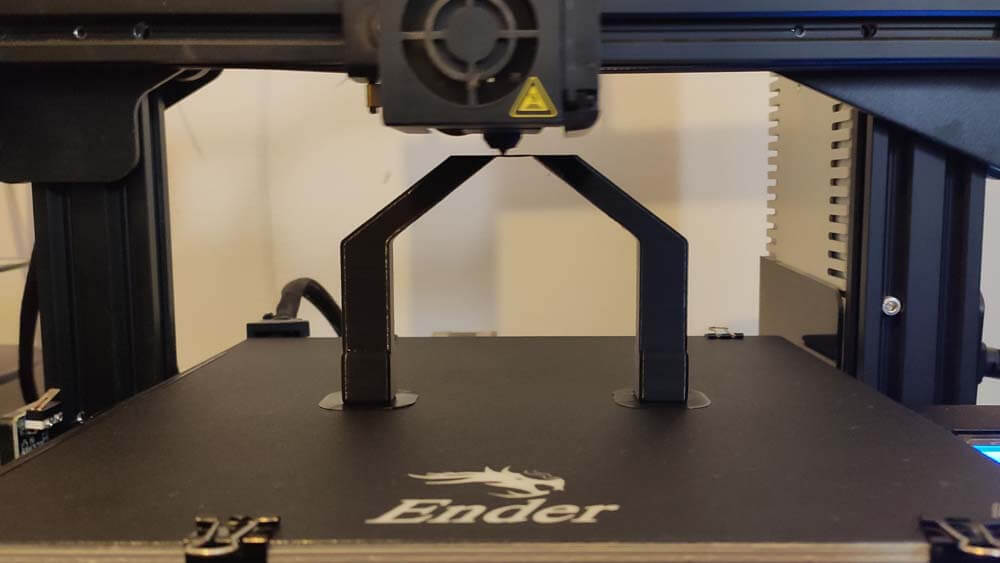
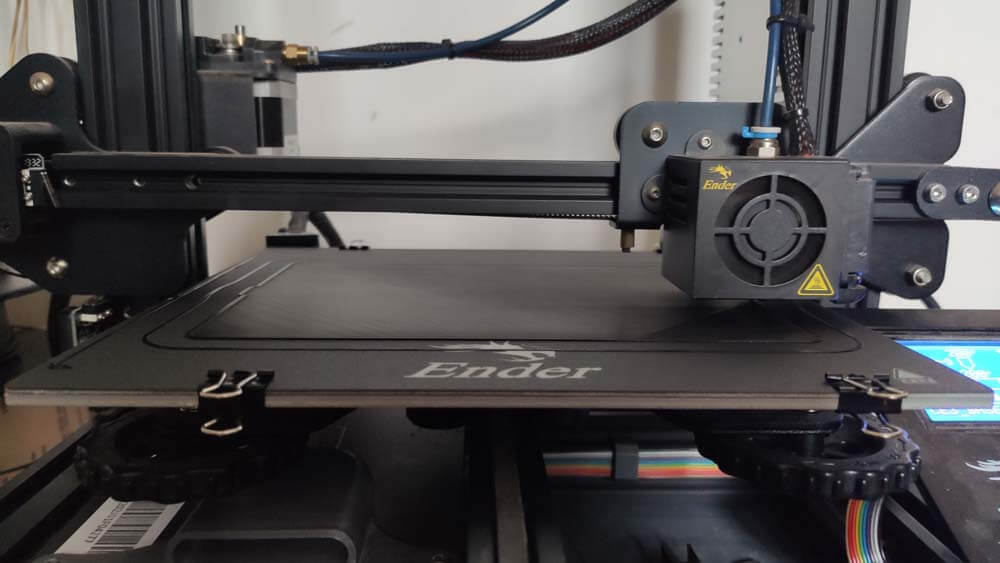
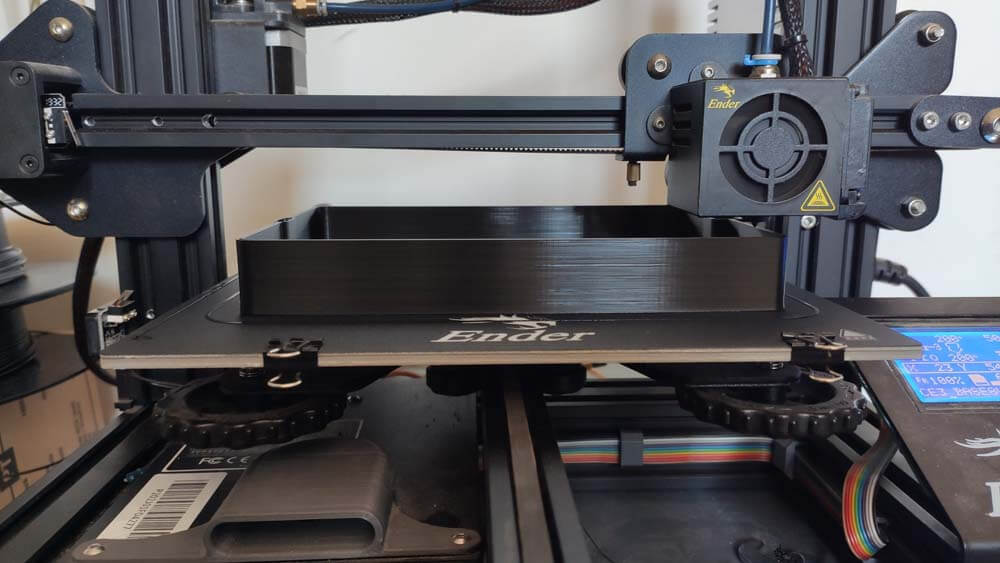
I redesigned the main "box" of the sketcher, and I wanted to share this calibration of the Ender 3 3D printer, what you see is not only the bed, but the first layers that can be confused visually with the bed as it is almost perfectly plane (Yes I am very staisfied to finally be able to calibrate this machine properly !) :
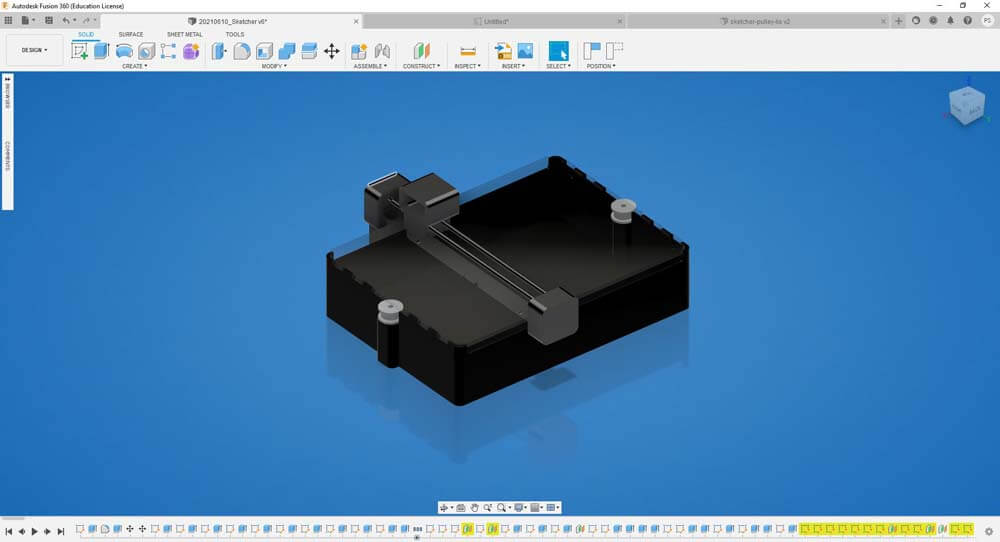
I redesigned the useless axis by trying to intagrate the systems at the same time. The test assembly looks like that now :
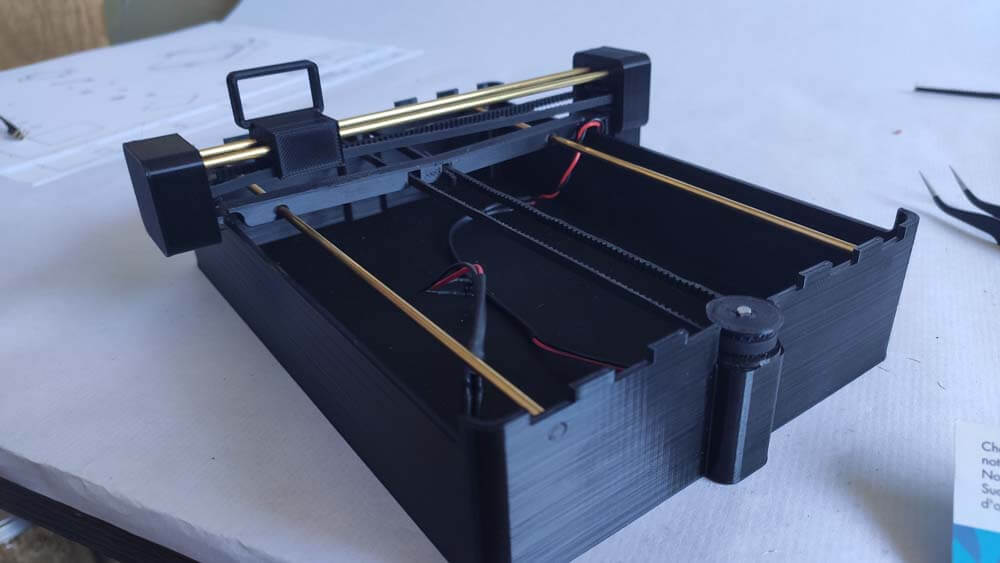
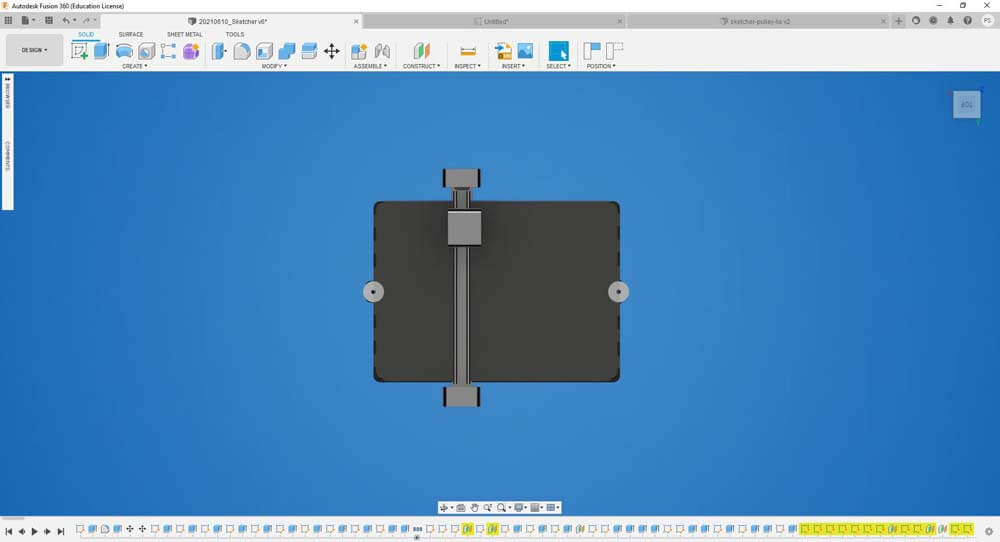
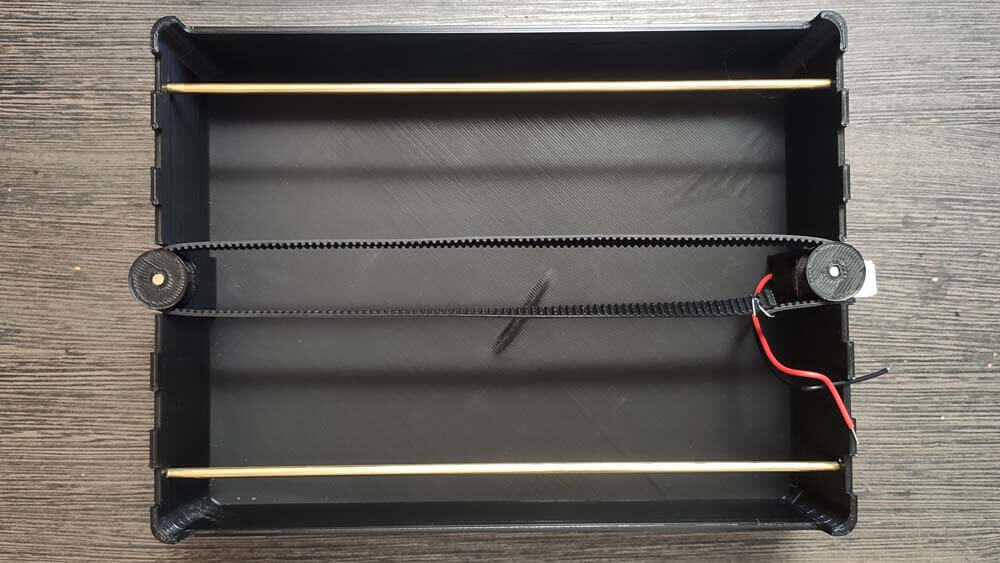
Here is the "internal" very simple assembly.
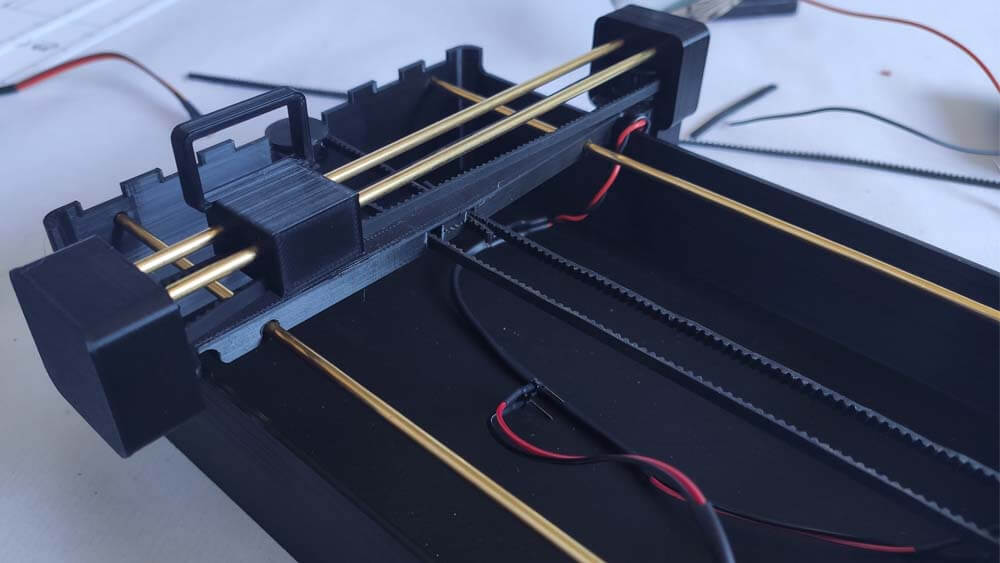
I still need to modify the second axis to gain precision and stablility, where the timing belt is clipped is actually preventing the axis to move with balanced.
☛ Questions
▸ What tasks have been completed ?
The minimum that I wanted to produce has been completed quite satisfyingly.
▸ What tasks remain ?
What remains is to reproduce a newer version of my board, then to write a better code to control these machines.
▸ What has worked, what hasn't ?
Several systems that I imagined didn't work, I wanted to use bio-sourced material, wood and casein, but the material was hard to "control", its deformations and retractations made it complicated to produce the result I wanted initially.
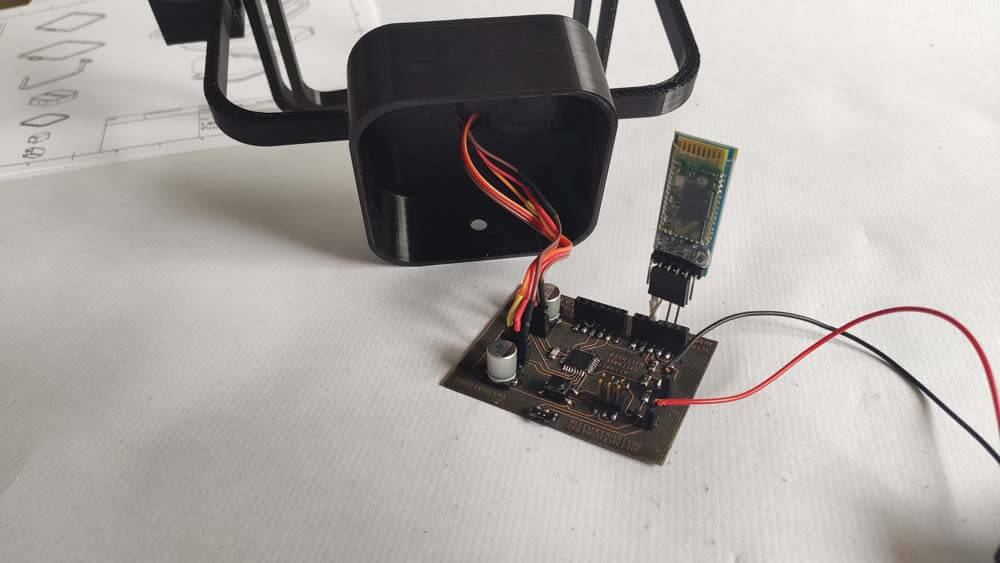
What has work, then has not anymore, on the Drawing car board, is the bluetooth connexion. I tested it in week 13 documentation (so I have proof that it did work) then I had to modify a few things on it, and the connexion was lost.
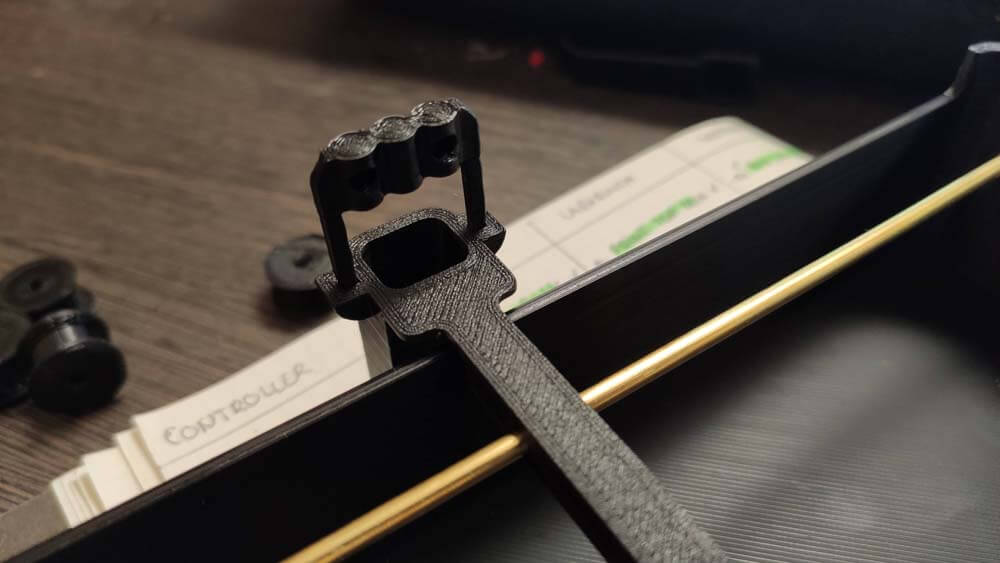
What is "working" but could be working better, is the "pen holder" system that I use on the Drawing Car and the Drawing Machine. The system is simple, but I will design a system that lift the pen vertically instead of just "turning" it.
▸ What question(s) need to be resolved ?
A lot of new questions will appear when I will test theses machines with users. In terme of "user experience" I think the controller is not optimized for the blow practice yet. The propeller and the motor should be higher, so the user don't need to put the controller up to his face.
▸ What will happen, When ?
I hope to get a better version of these machines during the summer.
▸ What have you learned ?
I have learned so much things these last months, thankfully there is a documentation for all of it, I wouldn't be able to remember the half of it otherwise. Electronics and Programming were difficult to approach with my background, it is not the most advanced in my final project, still, I think this is were I learned the most as I had no basis in these fields before. I am glad I could experiment so much with the 3D printer, I feel like I learned to harness it, at least I have better understandment of these machines.
I improved my english a lot this year, I had good basis before, but I feel that I have been speaking and writing english more than franch this year, this is really great. I improved my self management, even if this part is not totally satisfying yet.
☛ Files of the Week
The link above contains the last versions for the Drawing Car, the Labyrinth & the Drawing Machine. The oldest version can be found in the final project page, or in the documentation of the previous weeks (Week 10, 12 and 13 mostly).