3. Computer-Controlled Cutting
Feb 10, 2021 This week I worked on parametric design in Fusion 360 by creating a cardboard press-fit construction kit on a laser cutter, made a two-color sticker for our lab’s office window on a vinyl cutter, and worked with our lab’s group of students to create our group website and characterize the focus, power, speed, rate, kerf, and joint clearance of our lab’s Fusion Pro 48 laser cutter. (Feb 10)
In week 3, I have two different assignments, which are our group assignment- characterize our lasercutter’s focus, power, speed, rate, kerf, joint clearance and types- and my individual assignment- cut something on the vinylcutter design, lasercut, and document a parametric construction kit. I think my week 2 engineering learning experience in Fab Academy is successfully moving forward, and I do explore and understand more as I spent increasing time working in our project. In my website, I will present my individual assignment.
Vinyl Sticker
I started making my vinyl sticker with full excitement. {^-^} We decided to paste all of our vinyl stickers on a same window, so after watching some tutorials and PDF instructions online, I started to do my Vinylcutter assignment.
Sticker ideas
Since I really like Disney Marie cats, I look up for the animated cat images online and I find this cute picture as my vinyl sticker prototype.

Tracing
I download the image to my google drive and open the image in Sillhoutte Studio software in another operating computer through google drive folder.
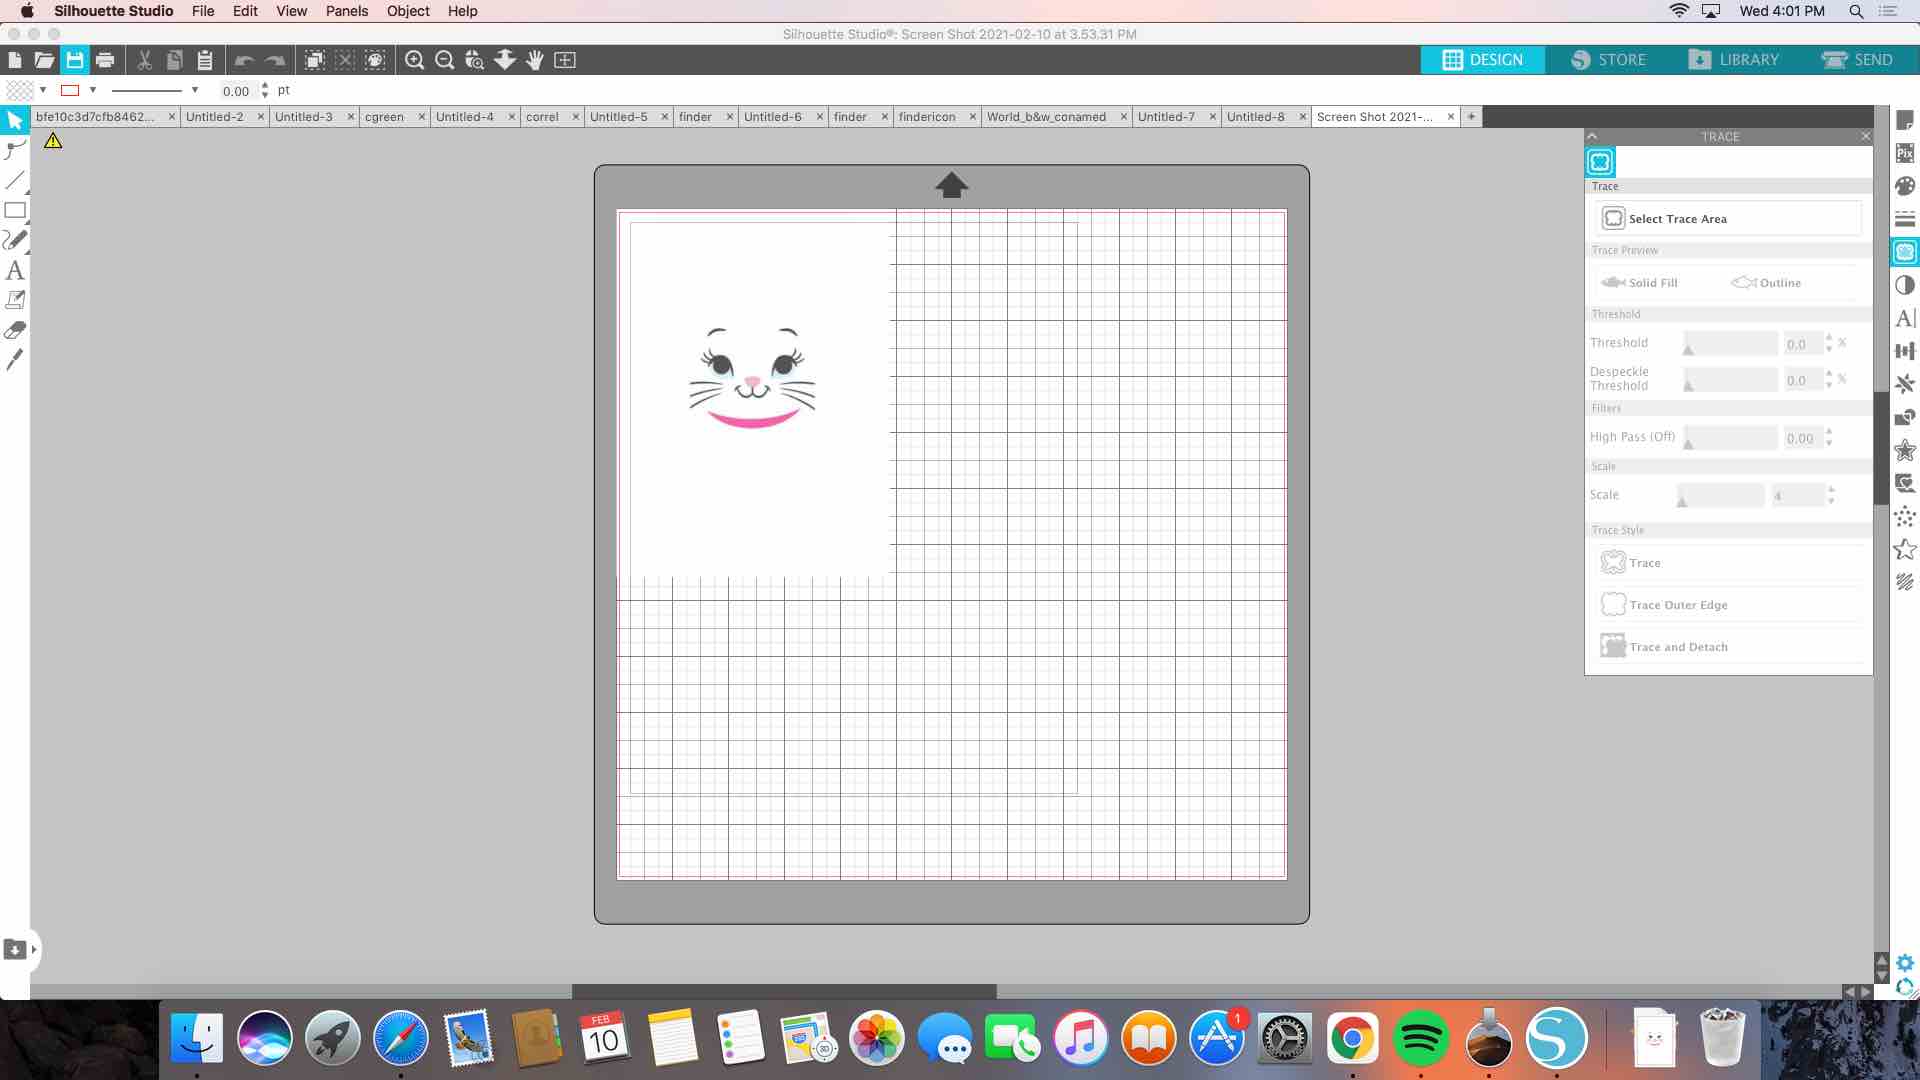
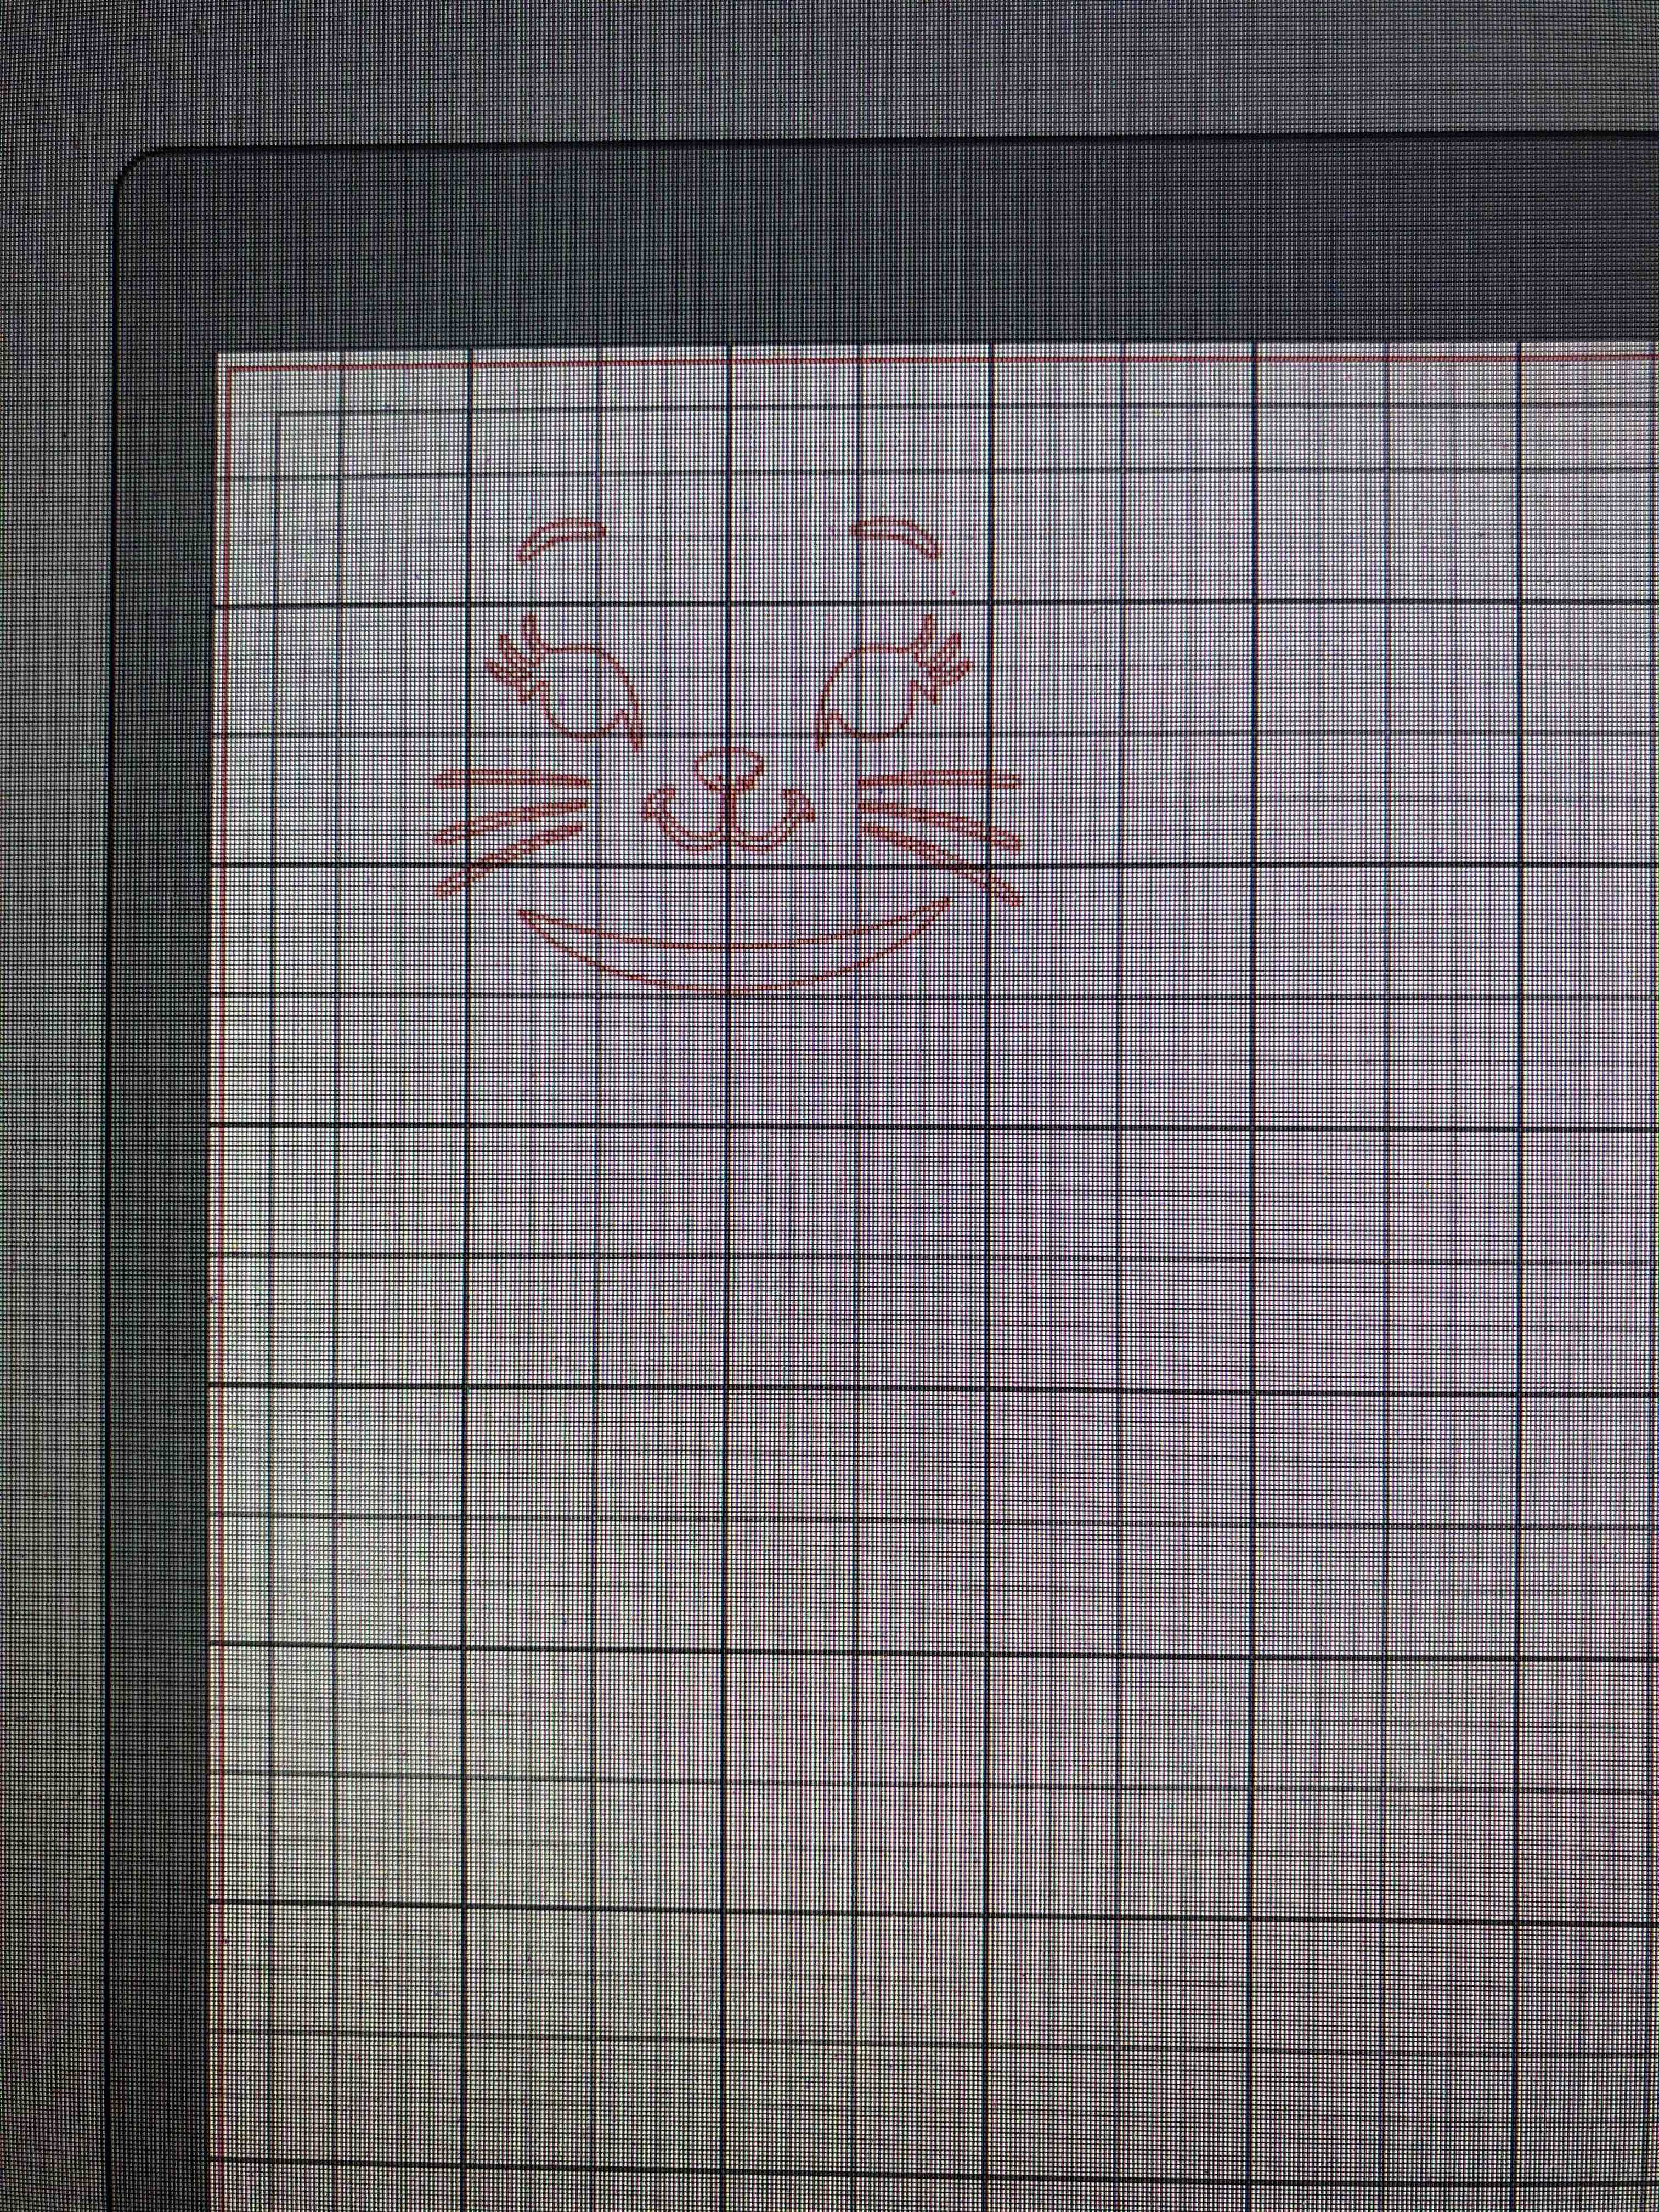
Click the Trace button on the right then I select the trace area which is the cat image I want to make. After that, I adjust the factors, such as Threhold, Filter, Trace Preview, and Trace Style provided to approach the best condition for printing, that the trace lines are complete and smooth.

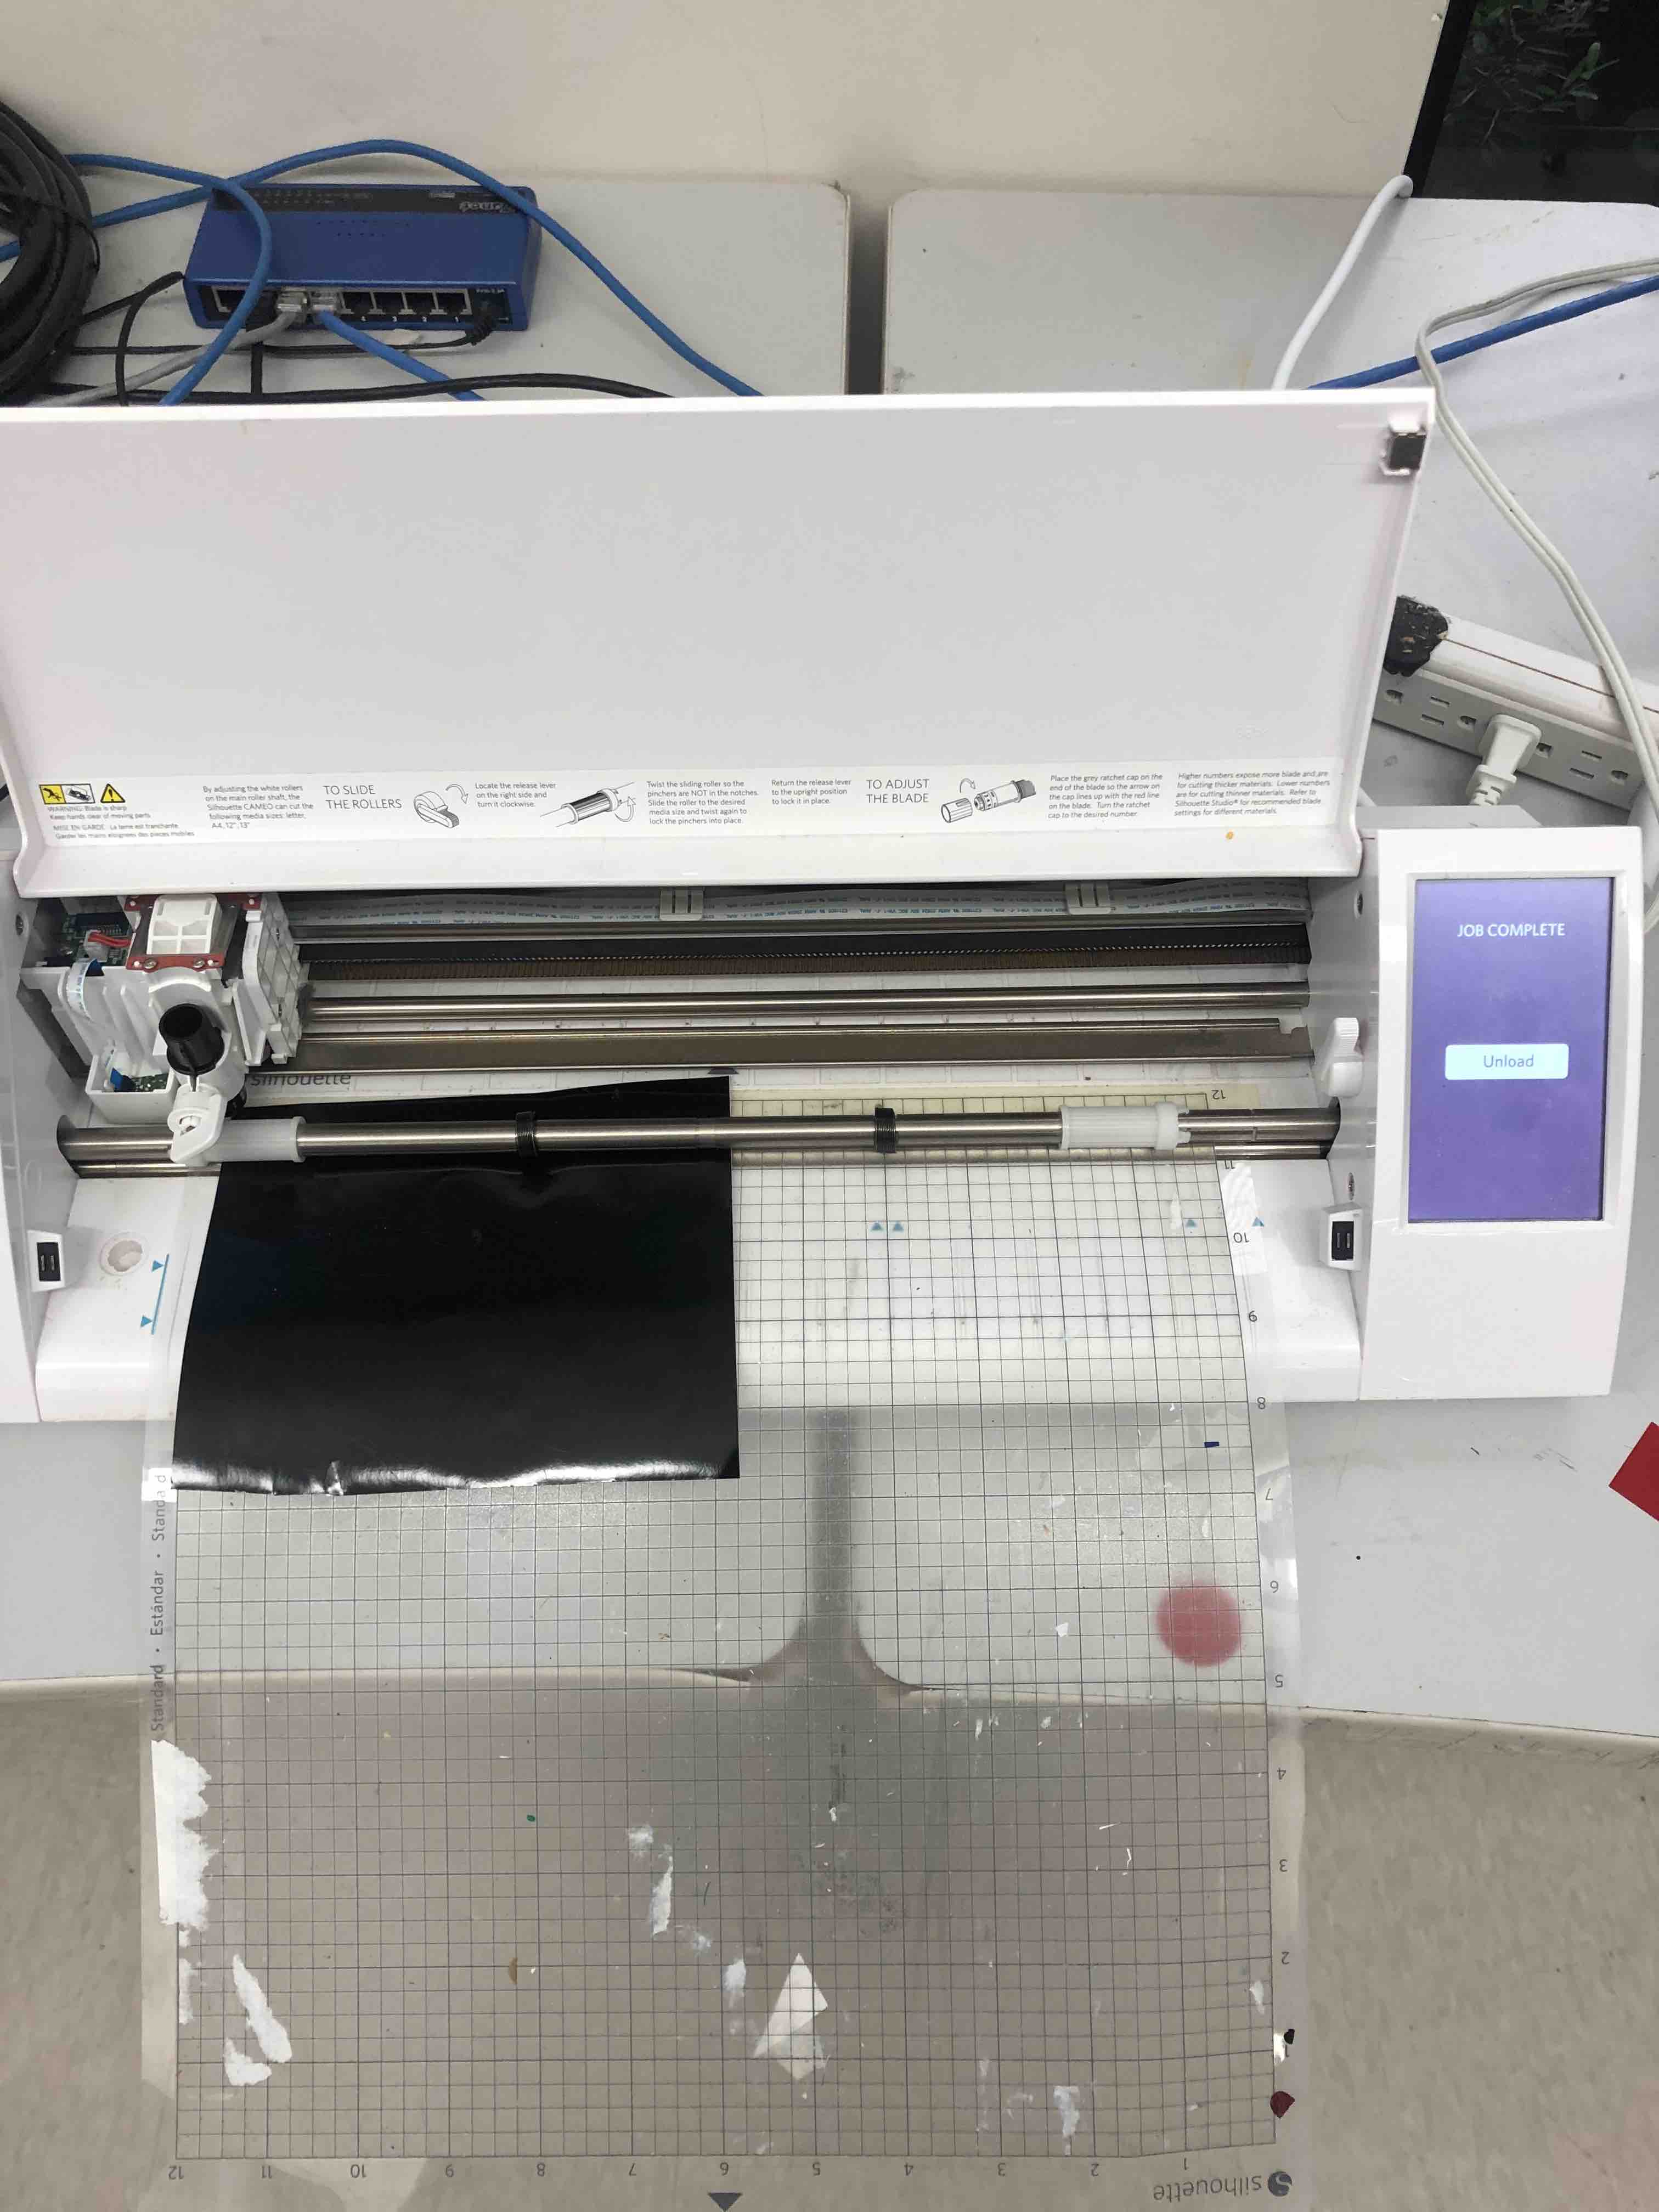
Vinyl-Cutting
Then, it is the cutting time. I use two colors in my vinyl stickers, so I cut my color sections for two times.
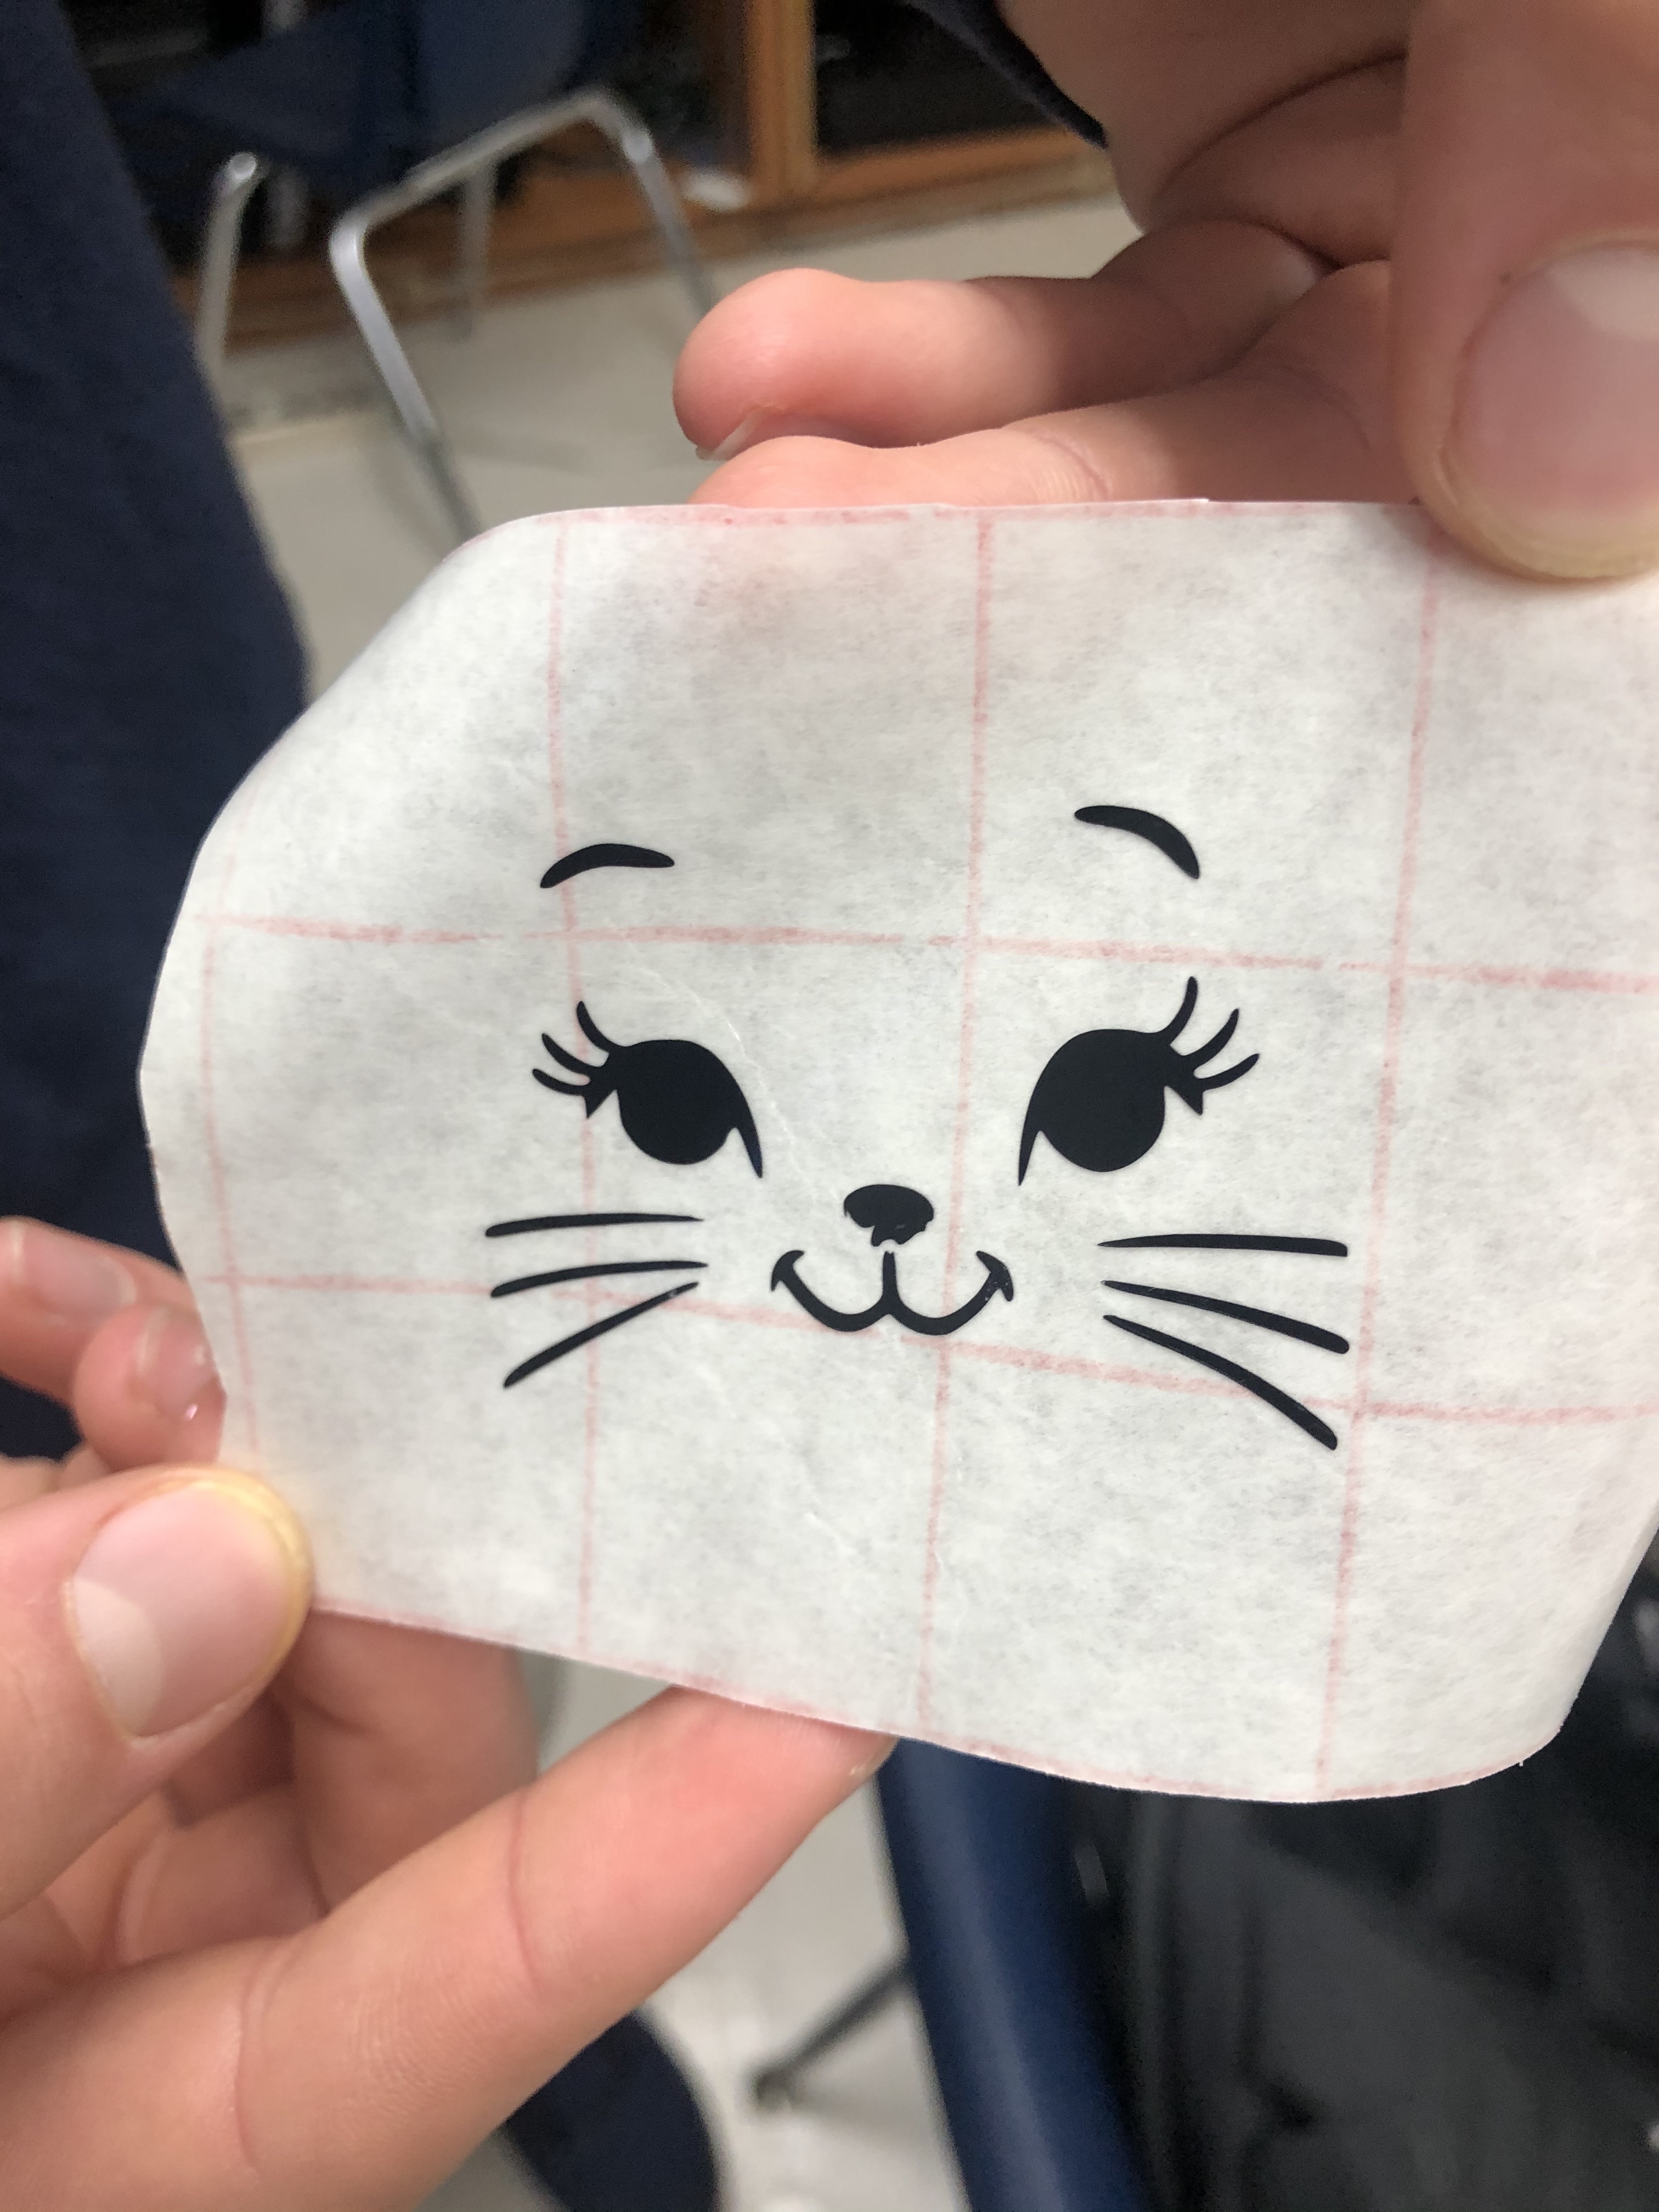
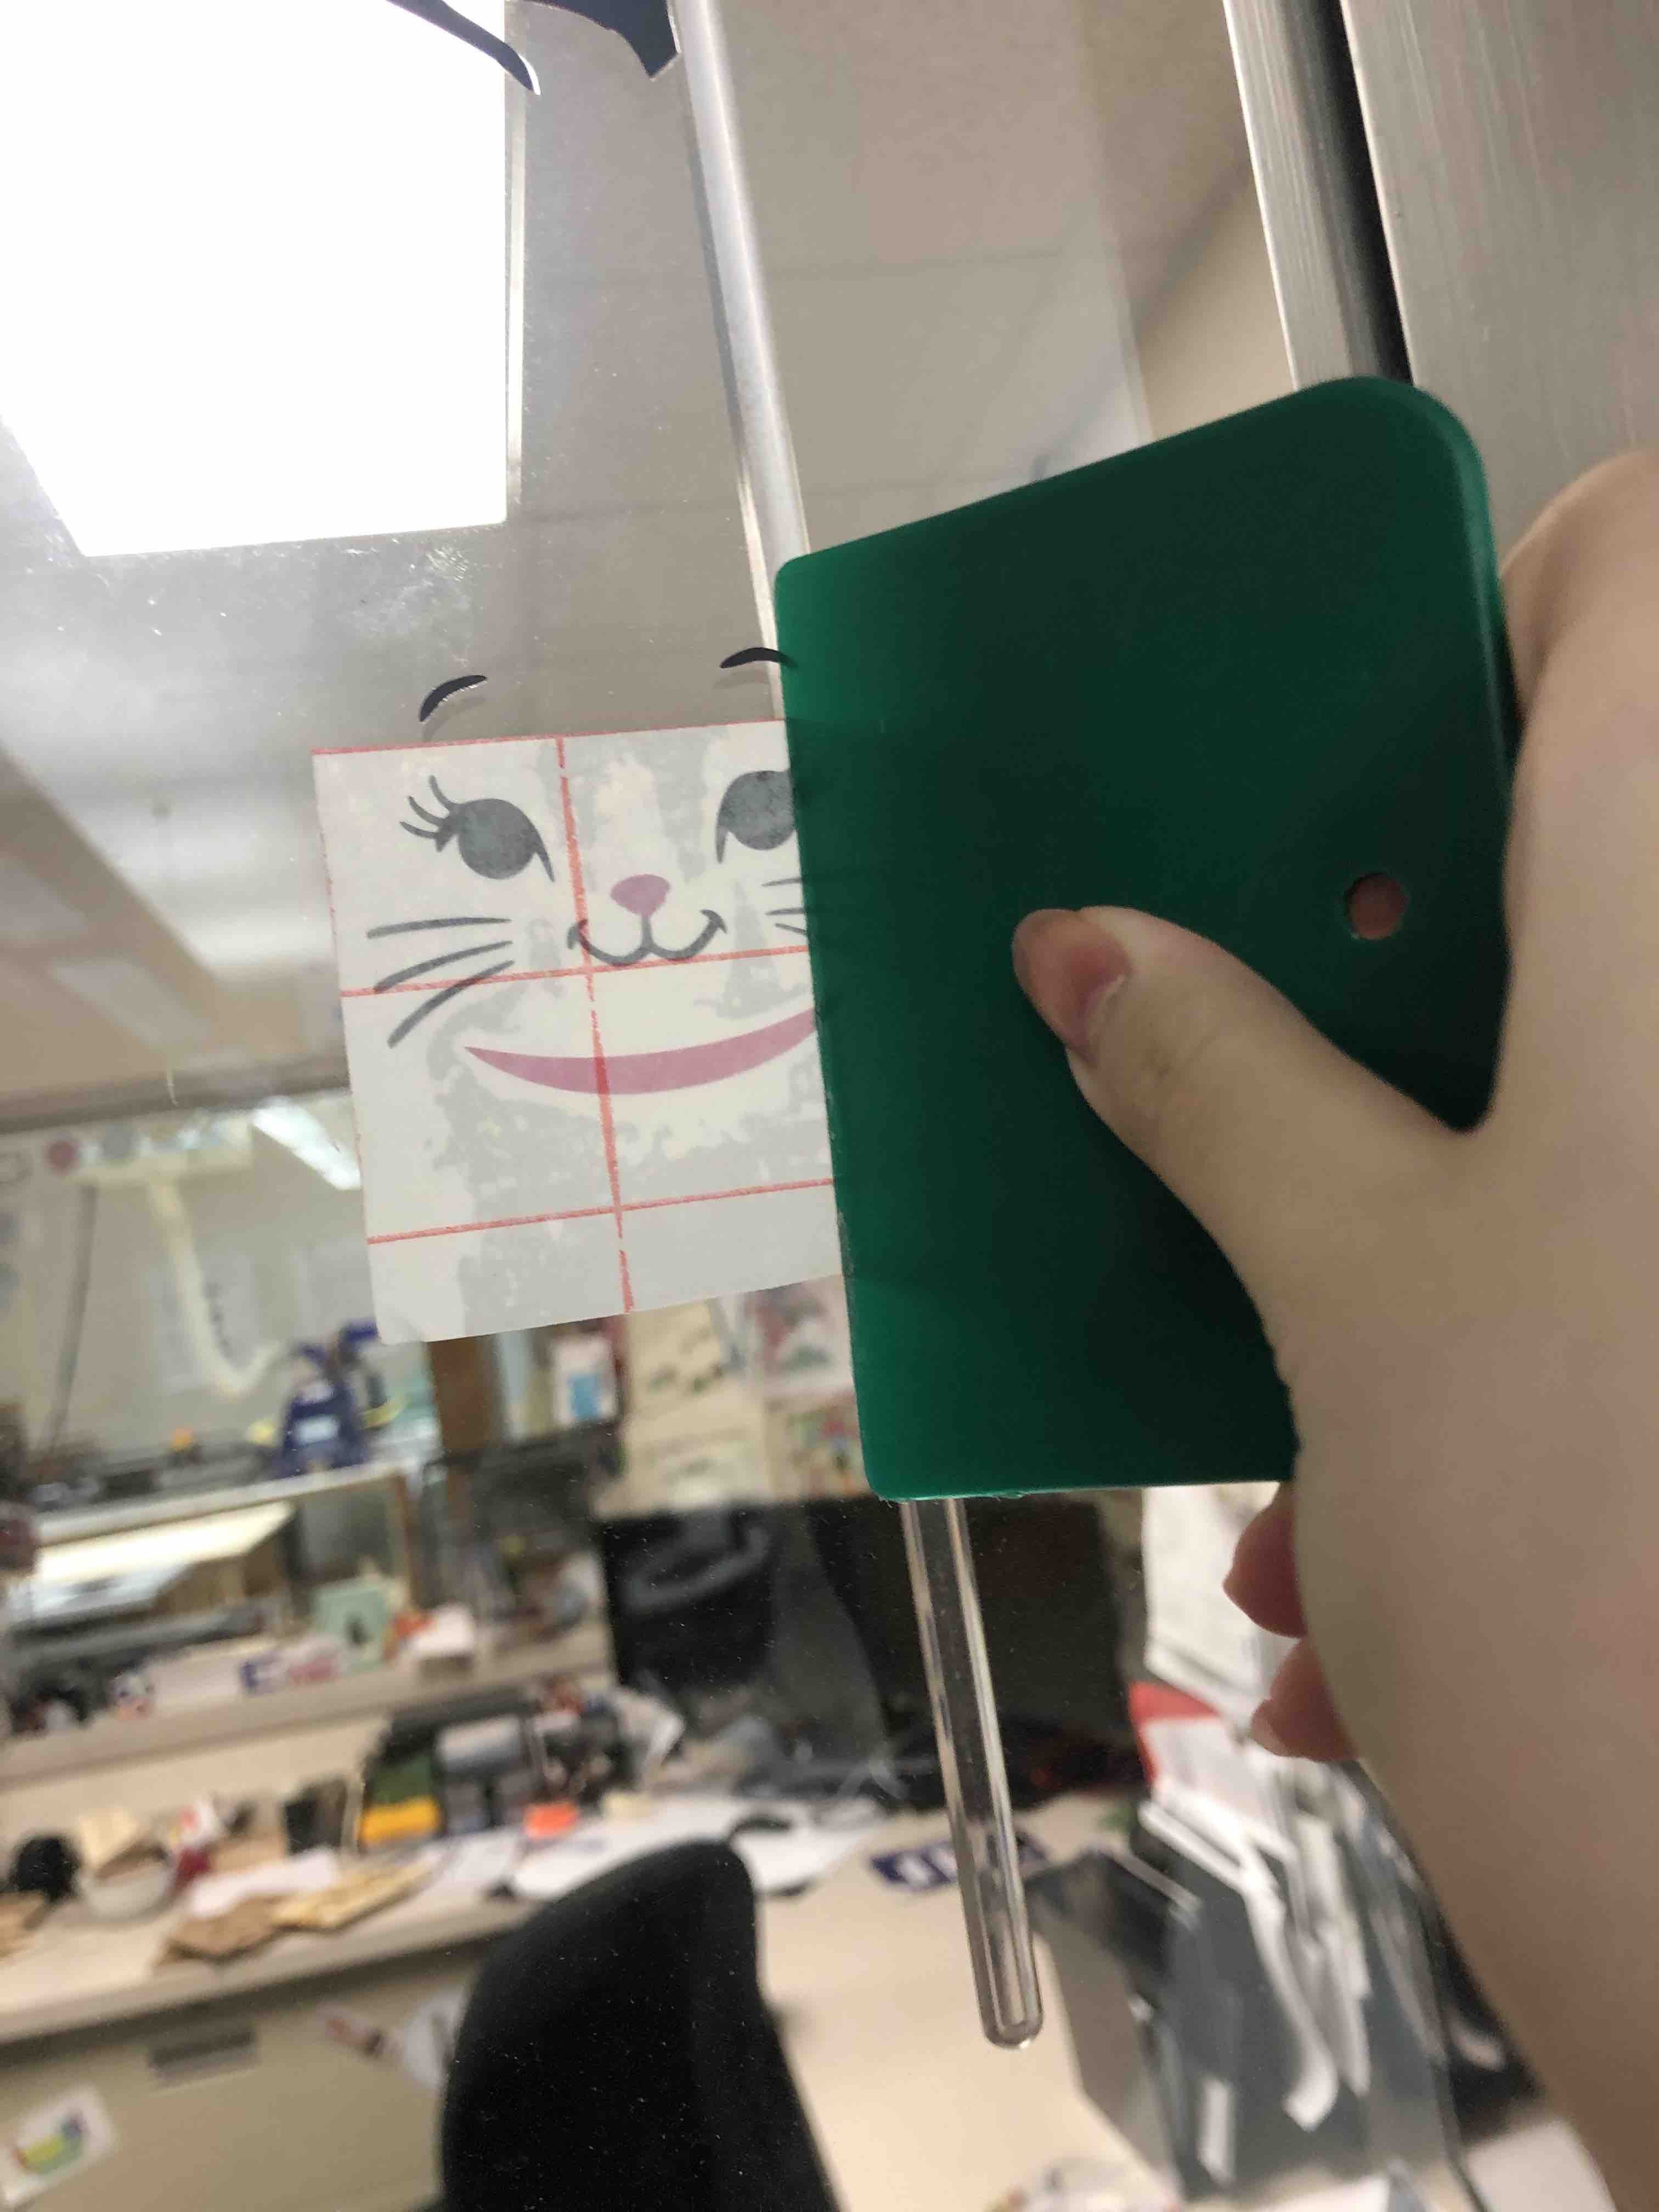
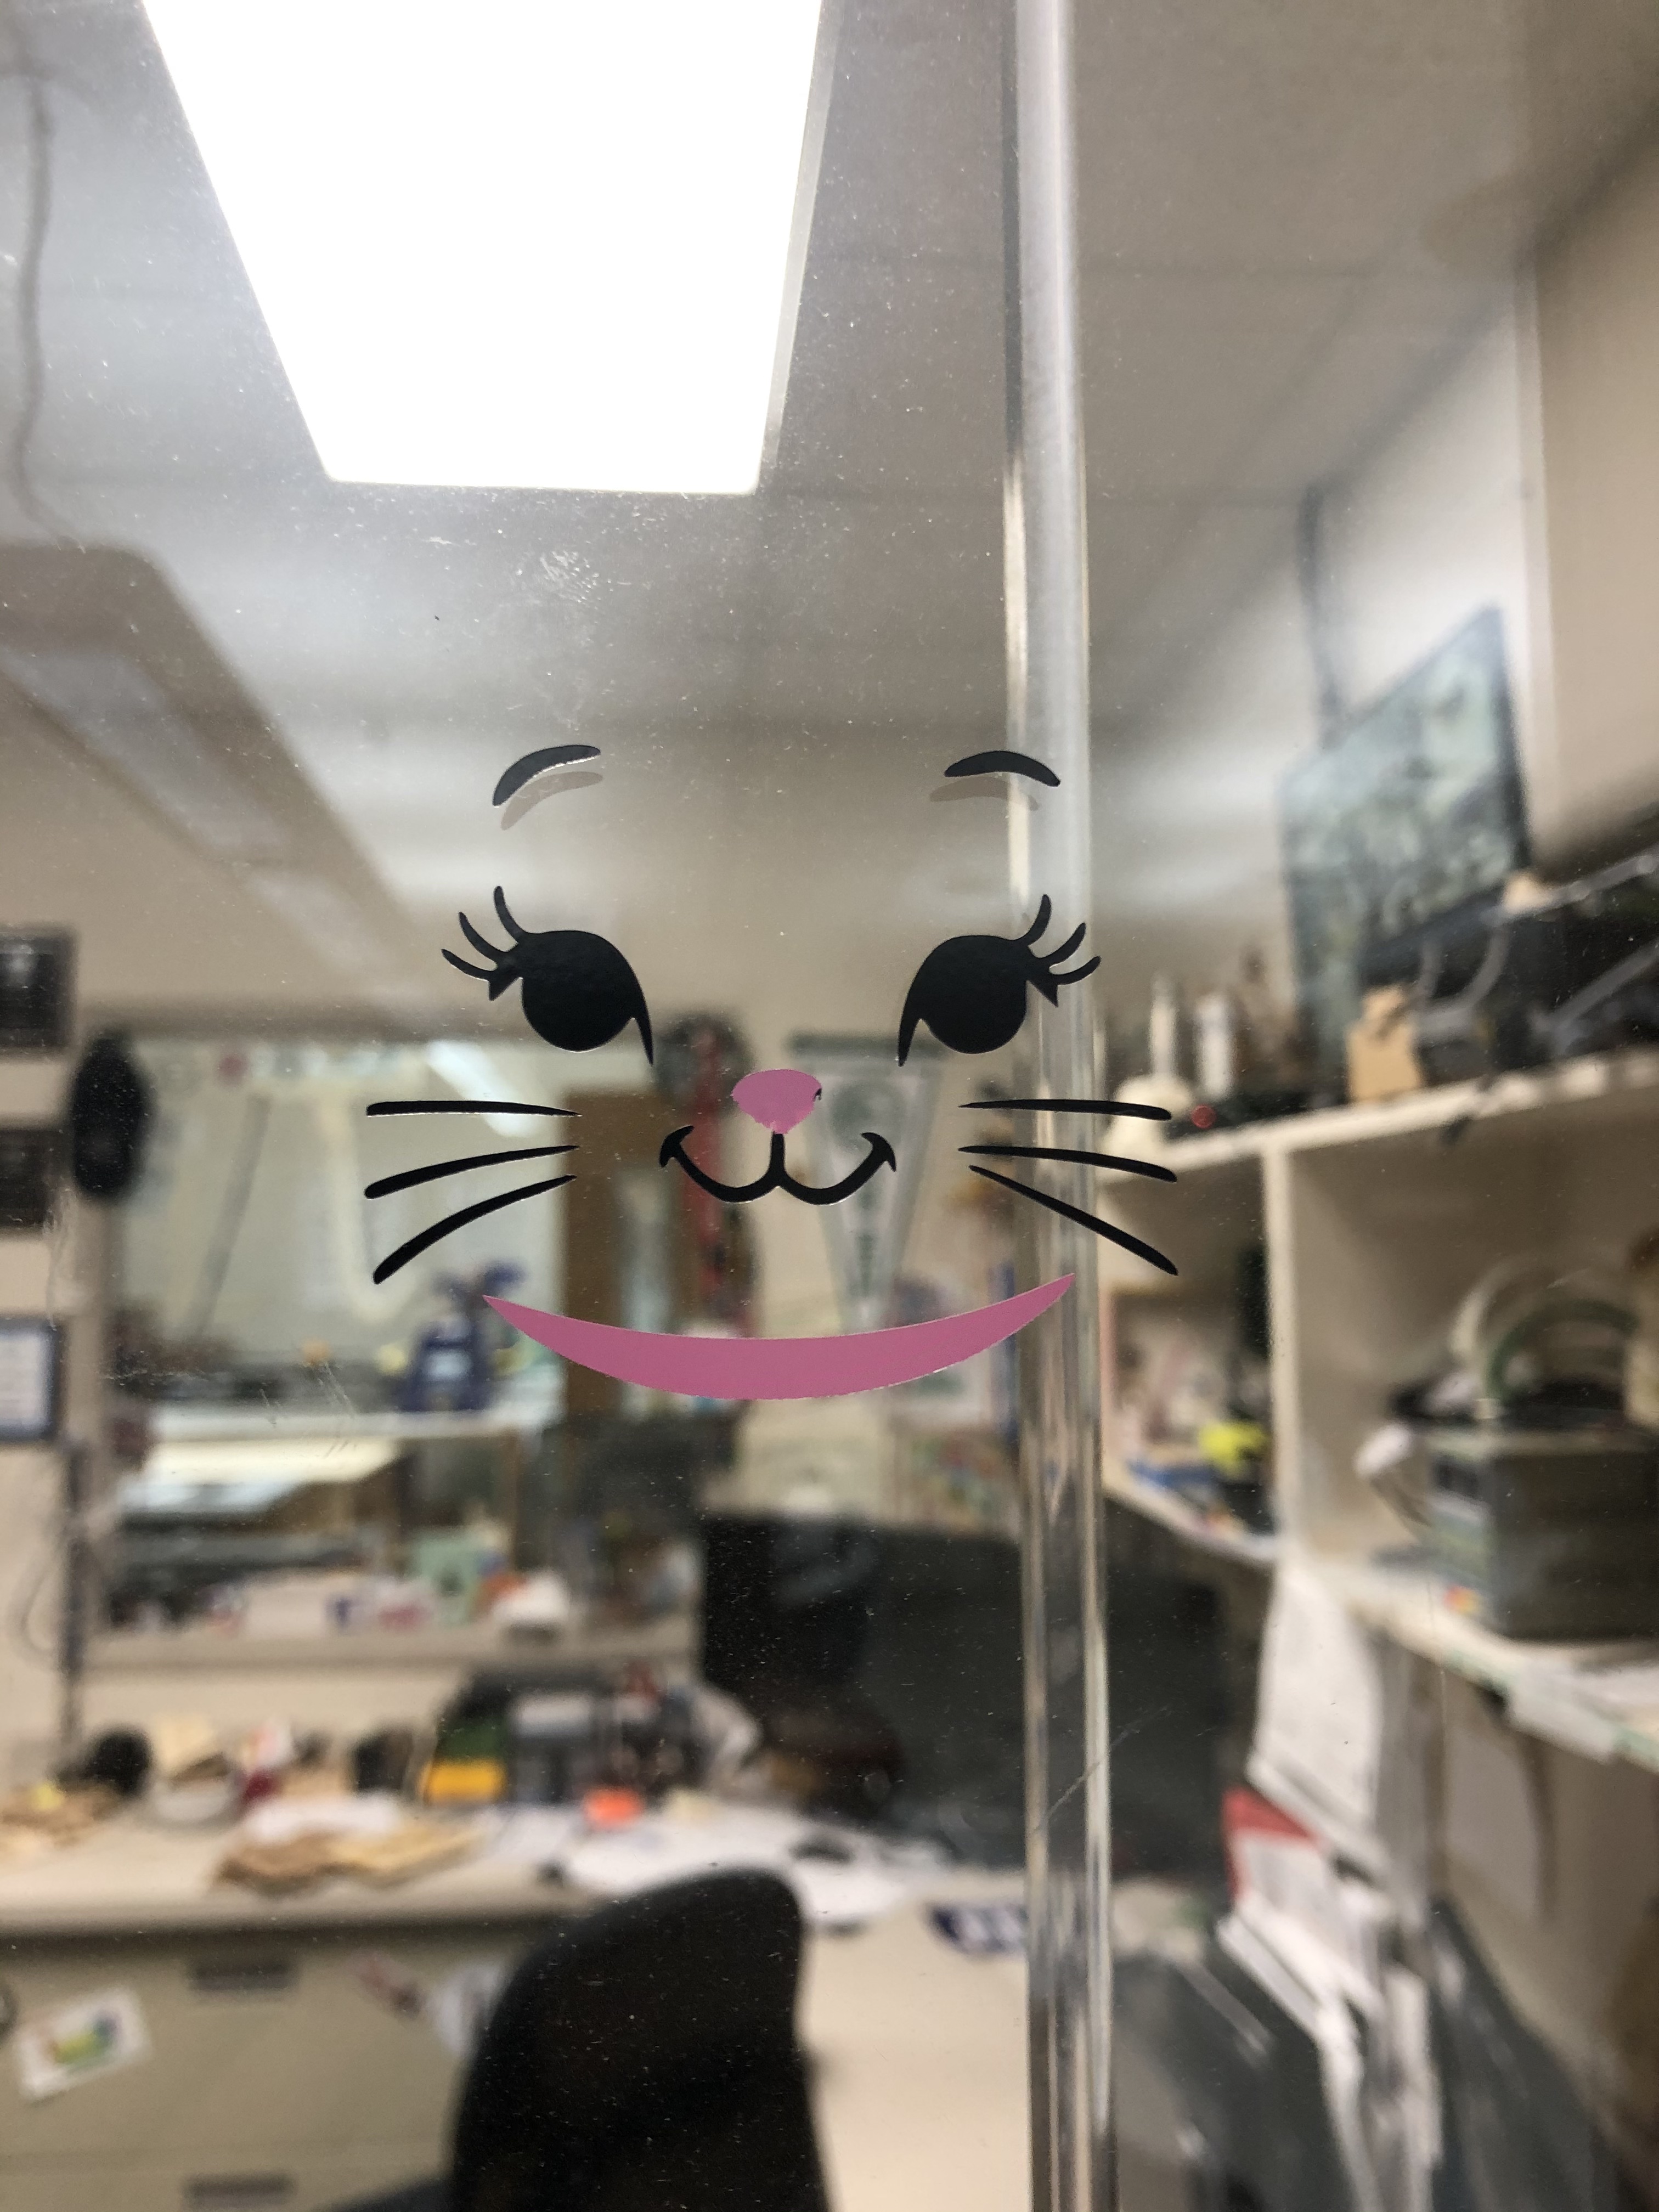
Final sticker
This is my final vinyl sticker!
Research
“Lorem ipsum dolor sit amet, consectetur adipiscing elit, sed do eiusmod tempor incididunt ut labore et dolore magna aliqua. Ut enim ad minim veniam, quis nostrud exercitation ullamco laboris nisi ut aliquip ex ea commodo consequat. Duis aute irure dolor in reprehenderit in voluptate velit esse cillum dolore eu fugiat nulla pariatur. Excepteur sint occaecat cupidatat non proident, sunt in culpa qui officia deserunt mollit anim id est laborum.”
“Lorem ipsum dolor sit amet, consectetur adipiscing elit, sed do eiusmod tempor incididunt ut labore et dolore magna aliqua. Ut enim ad minim veniam, quis nostrud exercitation ullamco laboris nisi ut aliquip ex ea commodo consequat. Duis aute irure dolor in reprehenderit in voluptate velit esse cillum dolore eu fugiat nulla pariatur. Excepteur sint occaecat cupidatat non proident, sunt in culpa qui officia deserunt mollit anim id est laborum.”
Useful links
Code Example
Use the three backticks to separate code.
// the setup function runs once when you press reset or power the board
void setup() {
  // initialize digital pin LED_BUILTIN as an output.
  pinMode(LED_BUILTIN, OUTPUT);
}

// the loop function runs over and over again forever
void loop() {
  digitalWrite(LED_BUILTIN, HIGH);   // turn the LED on (HIGH is the voltage level)
  delay(1000);                       // wait for a second
  digitalWrite(LED_BUILTIN, LOW);    // turn the LED off by making the voltage LOW
  delay(1000);                       // wait for a second
}
Gallery

Video
From Vimeo
Sound Waves from George Gally (Radarboy) on Vimeo.